Hey there, copper sink lover! Got one of those astonishing beauties stealing the spotlight in your kitchen? Lucky you! But I’m betting you’re staring at it thinking, “Is that green patch ‘vintage charm’ or ‘whoops, forgot about that pasta pot again?'”
We’ve all been there! Copper sinks are like aging rock stars; they get cooler with time, but need their daily routine to keep shining.
Learning how to clean a copper sink doesn’t have to be rocket science! After years of trial and error (and a few panic moments), I’ve cracked the code on keeping these beauties happy.
Your sink is about to go from “meh” to “WOW!” faster than you can say dinner party ready.
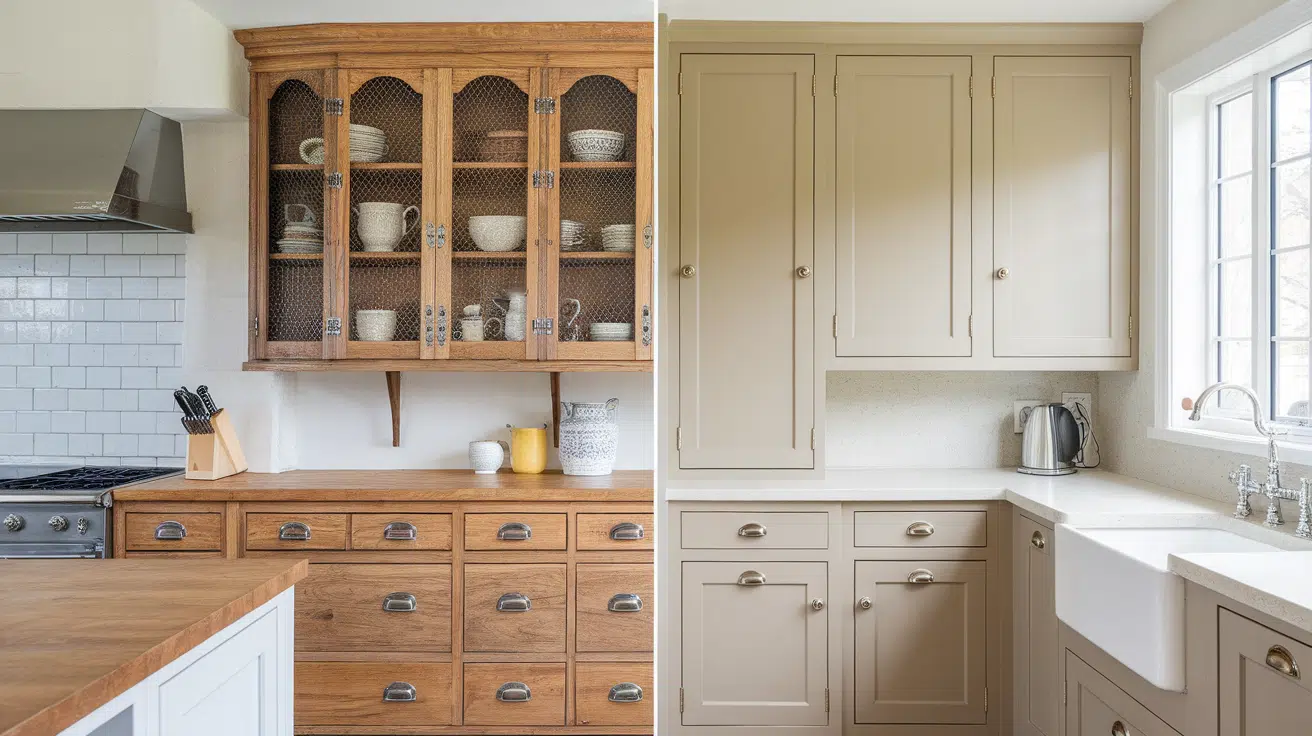
What Makes Copper Sinks Different from Other Materials?
Copper sinks are like chameleons of the kitchen world; they’re constantly changing and advancing, unlike your boring stainless steel sink, which looks the same every day.
Think of copper as having mood swings; it reacts to water, air, and soap, making it like having a pet that changes colors based on how you treat it!
The real magic happens with “patina”, a fancy term for the beautiful color changes that make your sink unique, just like the Statue of Liberty.
Plus, copper naturally kills 99.9% of bacteria within hours, giving you a built-in cleaning assistant working 24/7!
Why Does Copper Get Tarnished with Time?
Have you ever wondered why your grandmother’s copper pots have that weird greenish layer on them?
Well, you’re about to learn something pretty cool about one of humanity’s favorite metals!
Copper basically has a chemical conversation with oxygen in the air. During this chat, copper gives away electrons to oxygen (much like lending money to a friend who never pays it back). This creates copper oxide, which causes your bright copper to appear darker and brownish.
But copper doesn’t stop there! It forms a chemical bond with carbon dioxide and water in the air, creating the distinctive blue-green color that is often seen on old buildings and statues.
The green layer (called Patina) is weird-looking; it’s copper’s armor! Unlike rust, which flakes off, this green coat sticks around and protects the copper underneath from further damage.
The following are some factors that turn copper green:
- Humidity: Wet air significantly accelerates the process. It’s like how bread molds faster in a damp kitchen.
- Salt air: Live near the ocean? Your copper will change color super fast. Salt particles are like tiny bullies that pick on copper.
- Pollution: City air with car exhaust contains sulfur that loves messing with copper.
- Heat: Warm weather accelerates everything, much like cooking food on high heat.
How to Clean Your Copper Sink Like a Pro
Ready to make your copper sink shine like a bright pink penny?
Let’s jump into this cleaning magic and learn how to clean a copper sink that’ll have your sink looking gorgeous!
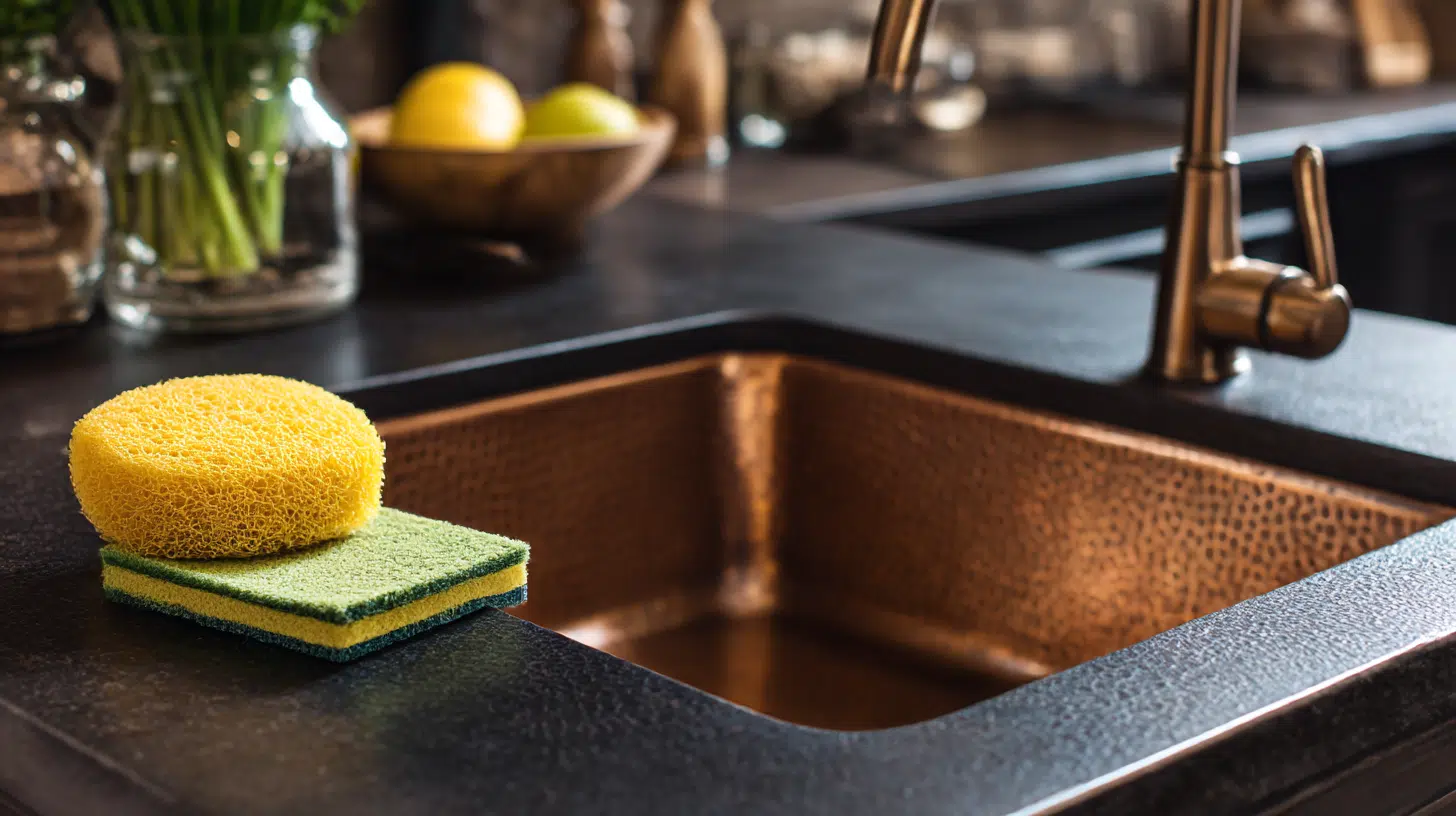
What You’ll Need
- Bar Keepers Friend (liquid or powder version – both work like gold!)
- Soft sponge (only use the soft side – your copper deserves gentle love)
- Water
- Clean cloth for Drying
Step 1: Wet and Apply

Start by thoroughly wetting your dirty copper sink with water to create the perfect foundation for cleaning. Then apply a very generous amount of Bar Keepers Friend all over the sink surface – don’t be shy with this product as it’s absolute gold for copper cleaning!
The water helps the cleaner spread more effectively and prevents it from being too abrasive on the copper surface.
Step 2: Spread and Wait

Take your soft sponge and gently spread the Bar Keepers Friend evenly across every inch of the sink, treating it like a spa treatment for your copper. You’re not scrubbing yet, just making sure complete coverage happens.
Let it sit for a few minutes to work on breaking down all that stubborn grime and buildup. Keep an eye on your countertops during this time. If any Bar Keepers Friend gets on other surfaces, wipe it off immediately, since it can be harsh on different materials.
Step 3: Gentle Scrub Time

Now comes the most satisfying part of the process! Using only the soft side of your sponge, start gently scrubbing the entire sink surface for 5-7 minutes. You’ll notice brown grime coming off onto your sponge; that’s exactly what we want to see happening!
Pay special attention to the area around the drain where water settles and creates extra buildup. Rinse out your sponge as needed during this process to remove the grime you’re lifting from the copper.
Step 4: Rinse Thoroughly

Once you’ve completed the scrubbing process, rinse the entire sink with clean water to remove all traces of the cleaning product. Make sure to get every bit of Bar Keepers Friend and all the loosened grime completely down the drain.
Take your time with this step to ensure no residue remains on the copper surface.
Step 5: Clean and Dry
Always finish by cleaning the entire sink area, including the faucet and surrounding countertop space. Thoroughly dry the copper surface with a clean, soft cloth to prevent water spots from forming on the surface.
This final step keeps your newly cleaned sink looking perfect and maintains that beautiful copper shine you just worked so hard to restore.
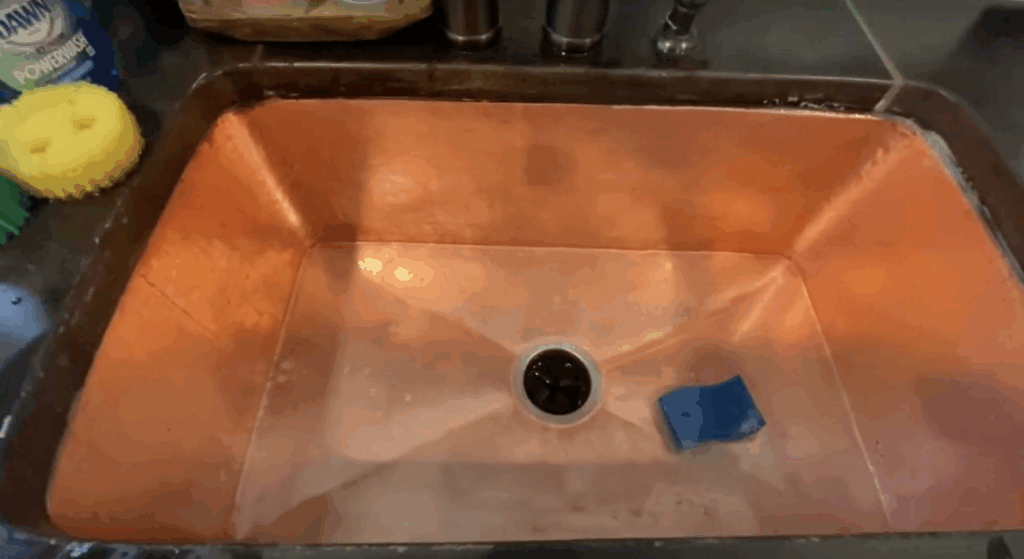
The Amazing Results
After following these steps on how to clean a copper sink, your copper sink will change from dull and dirty to a beautiful, bright pink shine that’ll make you want to show it off to everyone!
Remember: Even if some stubborn spots remain after your first cleaning, don’t worry – this process will dramatically improve your sink’s appearance, and regular maintenance will keep it looking gorgeous.
For more detailed instruction on how to clean copper sink, check out this YouTube video:
Home Remedies that Can Clean Your Copper Sink

Got a copper sink that’s lost its sparkle? Learning how to clean a copper sink with everyday household items is easier than you think.
Here are some fantastic home remedies that work:
1. Lemon and Salt: Cut a fresh lemon in half and sprinkle coarse salt on the cut side. Rub this natural scrubber all over your sink, letting the citric acid and salt work their magic.
The acid breaks down tarnish while the salt gently scrubs away grime. Rinse with warm water and watch your sink brighten up!
2. Baking Soda Paste: Mix baking soda with just enough water to make a thick paste. Spread it over your sink and let it sit for 15 minutes. Then scrub gently with a soft cloth or sponge.
This method is perfect for removing stubborn stains without scratching your copper.
3. White Vinegar: Soak a cloth in white vinegar and wipe down your entire sink. For tough spots, let the vinegar sit for a few minutes before scrubbing.
The natural acid cuts through mineral deposits and water spots like nobody’s business.
4. Ketchup Treatment: This sounds wild, but ketchup’s mild acidity makes it great for cleaning copper!
Spread a thin layer over tarnished areas, wait 10 minutes, then scrub with a soft cloth. The tomato acids work surprisingly well at removing that dull, dark layer.
5. Flour Finishing Touch: After cleaning, sprinkle some flour over your damp sink and buff it with a dry cloth. This creates a fantastic shine that’ll make your sink look professionally polished.
These simple ingredients can restore your copper sink’s natural beauty without the use of harsh chemicals or expensive products.
Maintenance Tips to Delay the Tarnishing
Want to keep your copper sink looking amazing for longer?
Smart maintenance is the secret! Knowing how to clean a copper sink properly is just the first step in preventing tarnish buildup, which will save you time spent scrubbing later!
1. Wipe your sink dry after every use – Water spots cause mineral buildup that leads to tarnishing.
2. Clean weekly with mild dish soap and soft sponges only – Steel wool scratches copper and makes it harder to maintain.
3. Apply car wax or copper wax monthly – This creates a protective barrier that slows down tarnishing significantly.
4. Never use bleach or ammonia on copper – These harsh chemicals damage copper’s natural protective layer.
5. Rinse with filtered water when possible – Hard water speeds up tarnishing, so filtered water helps keep your sink looking better longer.
The Bottom Line
Caring for your copper sink doesn’t have to be complicated; it just requires a gentle touch and the right approach.
With simple ingredients like mild dish soap and soft cloths, you can keep your sink looking amazing while allowing it to develop a gorgeous natural patina.
Copper is forgiving when treated with care, so accept those natural changes rather than fighting them. Avoid harsh chemicals and abrasive tools, and your copper sink will reward you with decades of warmth and character.
The best-maintained copper sinks aren’t the ones that look brand new; they’re the ones that look beautifully lived-in and loved.

With a Master in Architectural Studies from University of Pennysylvania, Marwa Haydar has pioneered living spaces since 2005. Her expertise, initially honed in a prestigious architectural firm, is evident in her approach to creating environments. Marwa became part of our team in 2019 and has since been a driving force in our home improvement section, known for her practical yet stylish solutions. She’s been spearheading our design workshops since then, infusing her passion for teaching into her work. In her leisure time, Marwa enjoys exploring historic architecture and is an enthusiastic pottery hobbyist, further enriching her understanding of form and texture.