German smear is a popular way to give brick walls a classic, worn look. It adds texture and charm by spreading mortar over the bricks. But even though it sounds easy, it can go wrong pretty fast.
Maybe the mortar dried too thick or looks uneven, or perhaps the color doesn’t match what you had in mind.
Or the texture feels rough in all the wrong places. Don’t stress – I’ve been there, and I know how frustrating it can be.
This guide will help you fix common German smear mistakes. You’ll learn what went wrong and how to make it right using tools you probably already have at home.
I’ve helped lots of homeowners turn messy smears into walls they’re proud to show off. It just takes a little time and the right steps.
So, if your German smear didn’t go as planned, don’t worry – we’ll fix it together.
What Is a German Smear?
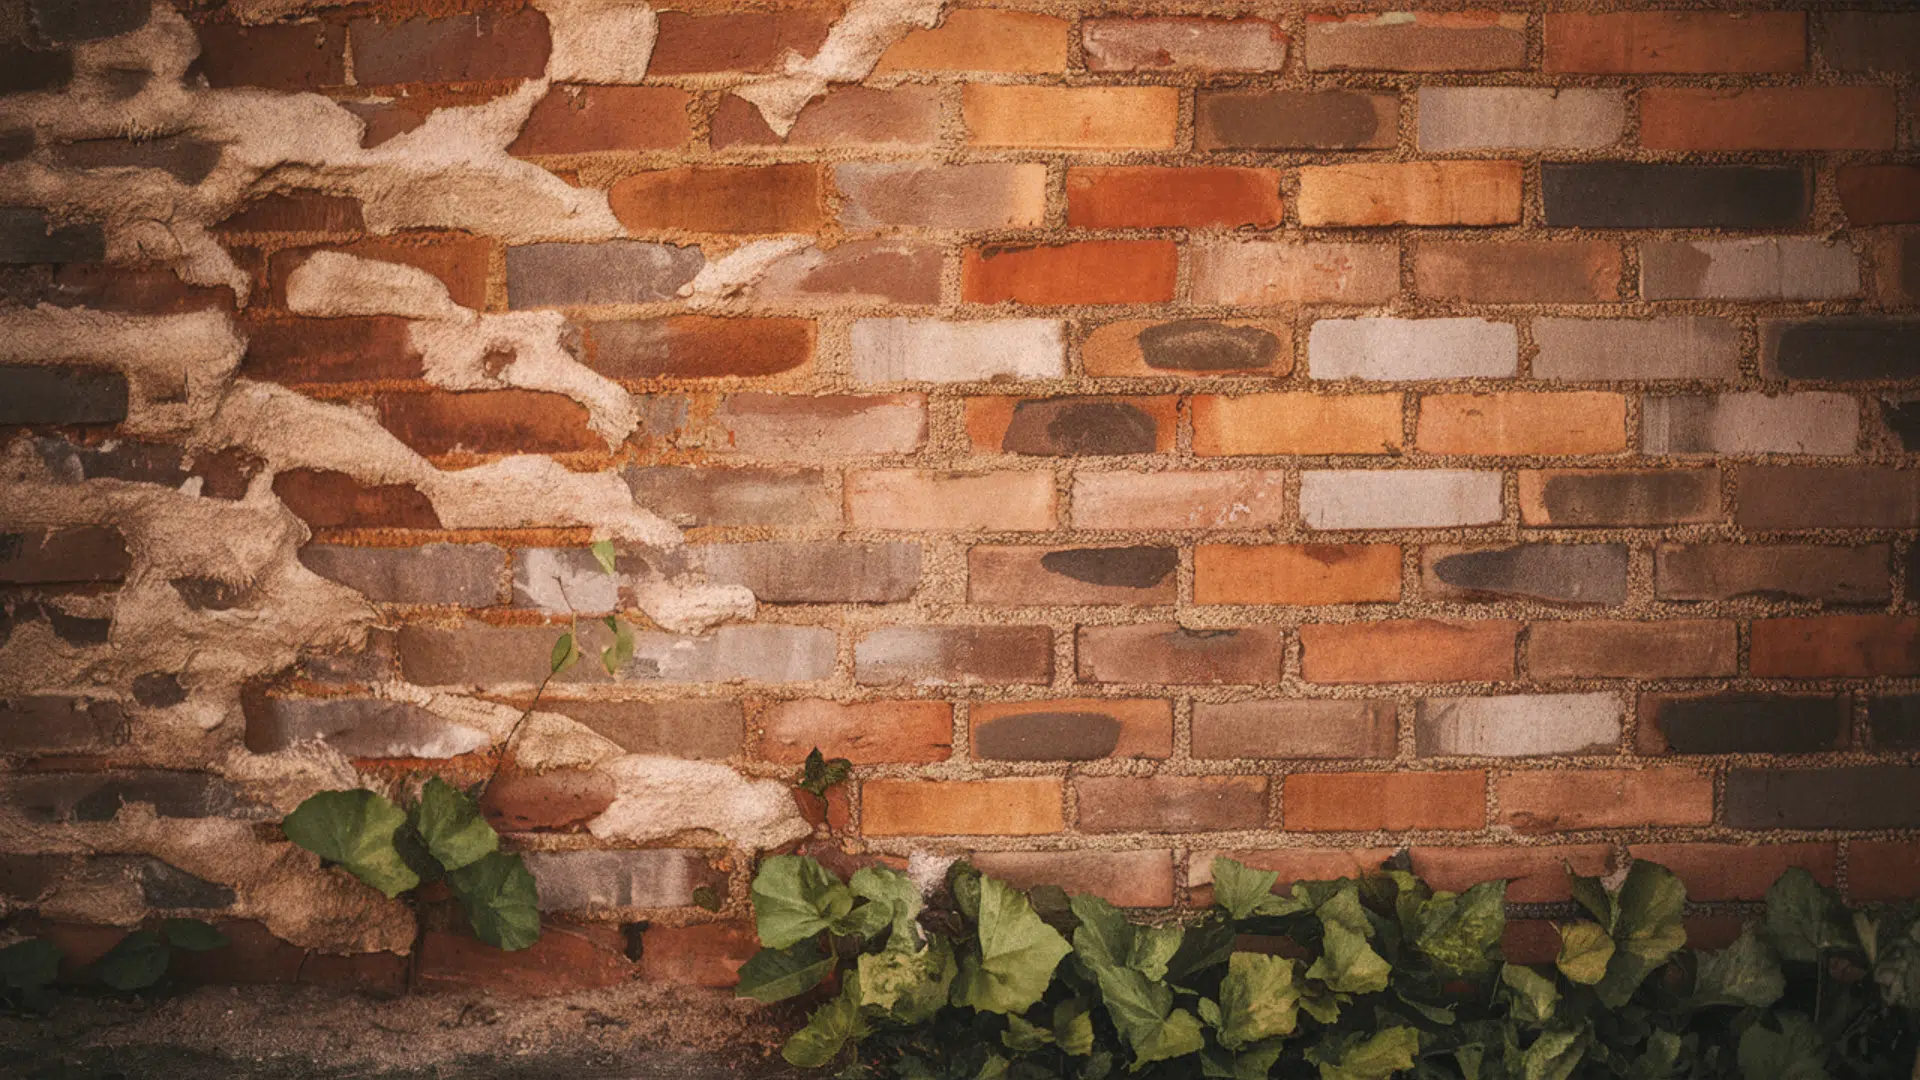
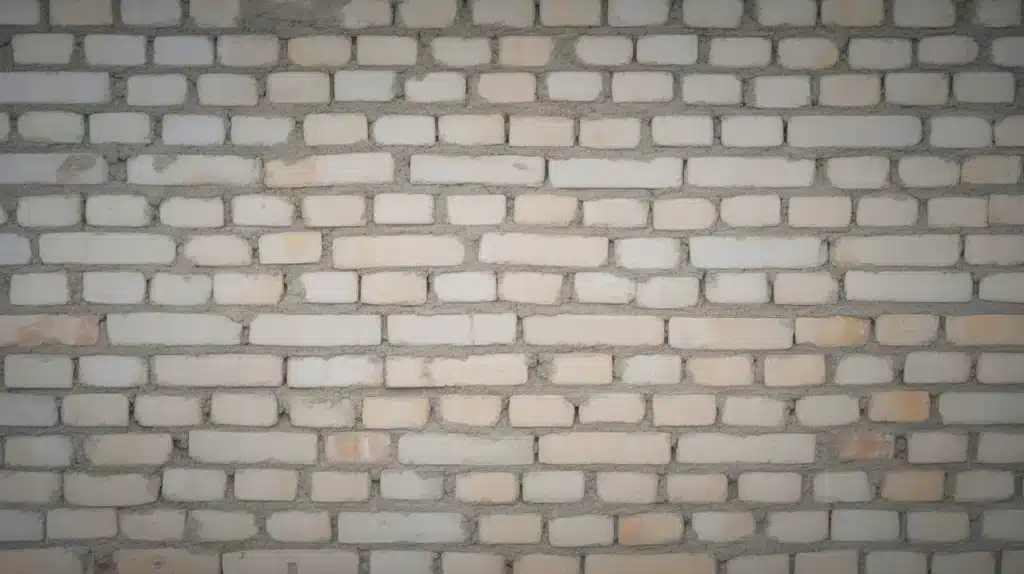
A German smear is a way to give brick walls a rustic, old-world look using mortar. Instead of painting over the bricks, you smear a thin layer of wet mortar across the surface.
Some of the brick shows through, while other parts get covered. This creates a soft, worn look that feels cozy and timeless.
It’s often used on red brick to make it look lighter and more charming. You can do it inside your home or on the outside walls. The best part? It’s affordable and DIY-friendly.
German smear is also sometimes called “mortar wash,” but it’s not the same as whitewashing. With German smear, you’re using real mortar, not paint. That gives it a thicker, more textured finish that lasts longer.
Common Issues With a German Smear
One of the biggest mistakes people make with German smear is rushing the job.
They want fast results, so they spread thick layers of mortar without thinking it through. That creates a chunky look that feels off.
Another common issue is mixing the mortar wrong. If it’s too wet, it slides right off the wall. If it’s too thick, it won’t spread smoothly. You need the mix to be just right.
Color surprises are also a problem. Mortar often dries darker or lighter than it looks when wet. Always test a small area first.
Skipping prep is a huge mistake. Dusty bricks won’t hold mortar well. Also, avoid working in very hot or cold weather.
And don’t forget – having the right tools makes everything easier and way less stressful.
Tools and Materials You’ll Need
Before you start fixing your German smear, make sure you have the right tools and materials. Having everything ready makes the job smoother and helps you avoid mid-project delays.
- Hammer and chisel (for removing bad mortar)
- Wire brush or grinder
- Mixing bucket and paddle
- Trowels (pointing and margin)
- Sponges and rags
- Drop cloths
- Mortar mix (Type N works great)
- Mortar colorant, if needed
- Clean water
- Sealer or primer
- Safety gear (gloves, glasses, dust mask)
How to Fix a German Smear Gone Bad
Fixing a failed German smear takes patience, but it’s totally doable. The key is working through each problem systematically rather than trying to fix everything at once.
1. Scrape or Soften Unwanted Mortar
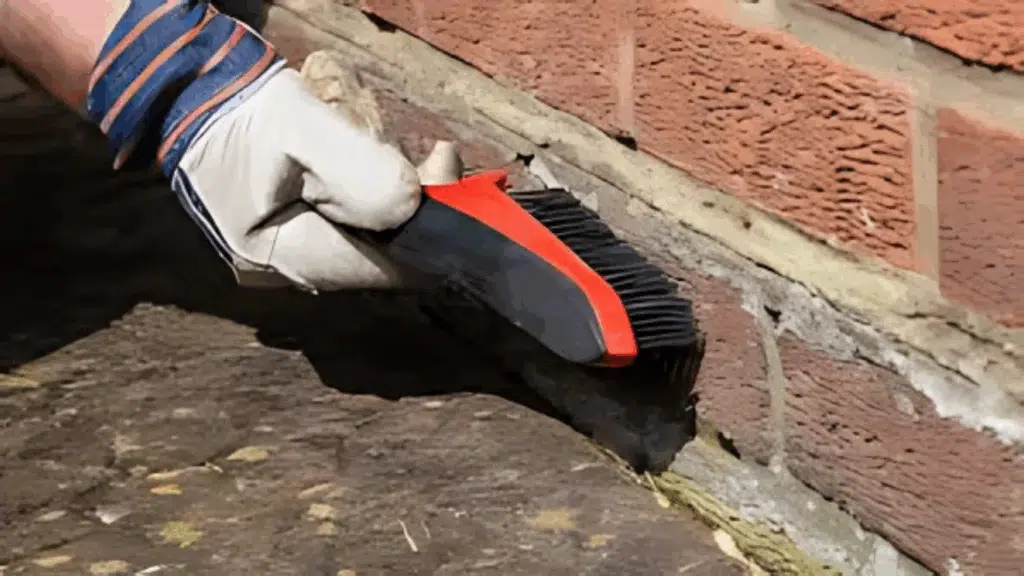
Thick mortar that looks chunky or uneven has to be removed. You can’t just cover it up because adding more only makes things worse.
Use a hammer and chisel to chip away the heavy spots. Go slowly so you don’t damage the brick underneath.
For thinner areas, a wire brush works well – scrub in circles to remove loose bits. A grinder with a wire wheel helps on tough areas but creates a lot of dust, so wear your safety gear.
Keep the surface slightly damp as you work. When you’re done, clean everything well so no debris gets trapped.
2. Reapply Mortar Where Needed
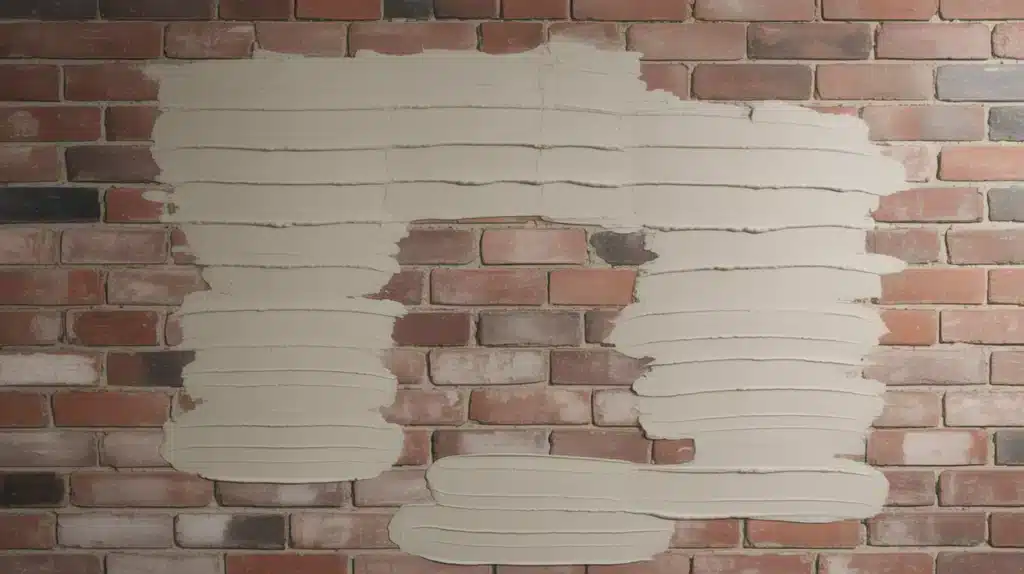
Mix your mortar until it resembles peanut butter. It should stick to your trowel but not drip off.
Don’t mix too much at once because it dries quickly. Apply it in thin layers and spread it slowly. Press the mortar into the bricks, not just over the top.
That helps it stay in place and look more natural. Keep your trowels clean and damp while you work. Dried mortar on your tools makes things harder.
Take breaks to step back and see how it’s looking overall. Small fixes are easier now than after everything dries.
3. Smooth Out Uneven Texture
If the surface looks too bumpy or rough, now is the time to fix it. While the mortar is still soft, use a damp sponge and move in circles with light pressure.
This evens it out and blends your work. You can also drag a clean brush across the surface for a more uniform texture.
Be careful not to smooth it too much, or it might look fake. Leave a little natural texture for a real look.
Check the wall from different angles. What looks fine from one side might show issues from another, so take your time.
4. Correct Discoloration
If your mortar dried unevenly in color, don’t worry – it’s fixable. Most color problems result from parts drying faster than others.
Next time, work in the shade and keep the surface slightly damp. To fix it, try adding colorant to new mortar for touch-ups.
Test on a small area to match it, and write down your mix. If the color is way off, staining the whole wall might be the best fix.
Use masonry stain, not paint – it soaks in and lasts longer. Apply it in light, even coats using a brush or sprayer until it looks even.
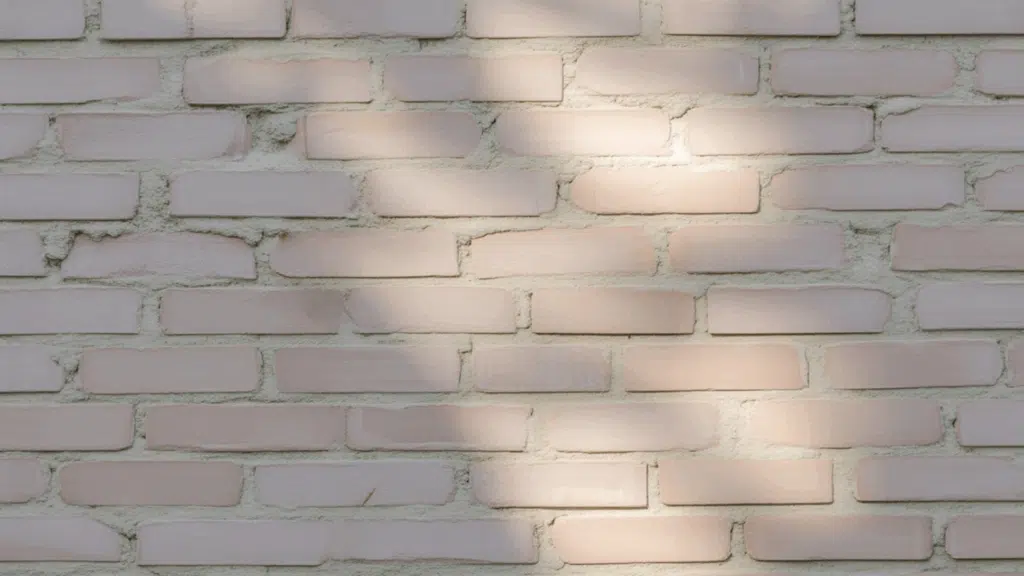
5. Seal the Surfaces
Once everything looks good, protect your hard work by sealing the surface. This keeps out water and weather that can ruin mortar over time.
Pick a sealer that’s made for brick and works for your wall – indoor and outdoor sealers are different.
Clean the wall one last time so you don’t seal in dust or dirt. Then apply the sealer in two thin coats instead of one thick one.
Let each coat dry fully. Watch the weather and make sure you have at least one dry day. If water beads up on the surface after sealing, you’ve done it right.
Pro Tips for Fixing a German Smear That Went Wrong
Prevention beats correction every time. These simple steps save you hours of repair work later:
- Test Your Technique First: Try your method on a small, hidden area before committing to the entire surface. This helps you spot issues early.
- Prep Your Workspace Thoroughly: Clean bricks, gather the right tools, and protect nearby areas from splatter or mess.
- Control the Working Conditions: Avoid extreme temperatures or direct sunlight, as these can affect how the mortar sets and dries.
- Take Breaks and Step Back Often: Pause to review your progress from a distance to catch uneven patterns or textures.
- Keep Notes of What Works: Document your mortar mix ratio, tools used, and successful techniques to guide future projects.
- Start Small and Build Confidence: Begin with a smaller wall or section to get comfortable before tackling a larger surface.
Conclusion
Fixing a German smear that didn’t turn out quite right might feel frustrating, but it’s absolutely manageable with the right mindset.
I’ve worked on surfaces that looked beyond saving and was amazed at how much better they became with a few careful adjustments.
The key is to slow down and focus on one area at a time. Rushing often creates more issues, while patience brings out the best results.
Clean up uneven spots, touch up areas that dried oddly, and don’t be afraid to redo small sections. I always remind myself that no project is perfect on the first try – and that’s okay.
With a little effort, your wall can still turn into a stunning feature you’re proud of. Got stuck along the way? Leave a comment and let me know what worked for you—or what didn’t!
Frequently Asked Questions
How Long Should I Wait Before Trying to Fix My German Smear?
Wait 24–48 hours for the mortar to fully cure before starting any repairs. Trying to fix it too soon can damage the surface and make the problem worse, so give it time to set properly.
What’s the Best Weather for German Smear Repairs?
The best conditions are temperatures between 50–80°F with low humidity. Avoid working in direct sun, rain, or strong wind, as these can cause the mortar to dry unevenly or cure too quickly.
Can I Use Regular Paint to Fix Color Problems?
No, regular paint doesn’t stick well to mortar and will eventually peel. Use masonry stain or colored mortar for a long-lasting fix that blends well and keeps the rustic look intact.
Do I Need to Seal My German Smear?
Yes, sealing is recommended – especially outdoors. It protects the surface from water, dirt, and weather damage and helps your German smear last longer.
Can I Use Regular Paint to Fix Color Problems?
No, regular paint doesn’t bond well to mortar and will likely peel over time. Instead, use a masonry stain or tinted mortar mix to ensure it soaks in better.

With a Master in Architectural Studies from University of Pennysylvania, Marwa Haydar has pioneered living spaces since 2005. Her expertise, initially honed in a prestigious architectural firm, is evident in her approach to creating environments. Marwa became part of our team in 2019 and has since been a driving force in our home improvement section, known for her practical yet stylish solutions. She’s been spearheading our design workshops since then, infusing her passion for teaching into her work. In her leisure time, Marwa enjoys exploring historic architecture and is an enthusiastic pottery hobbyist, further enriching her understanding of form and texture.