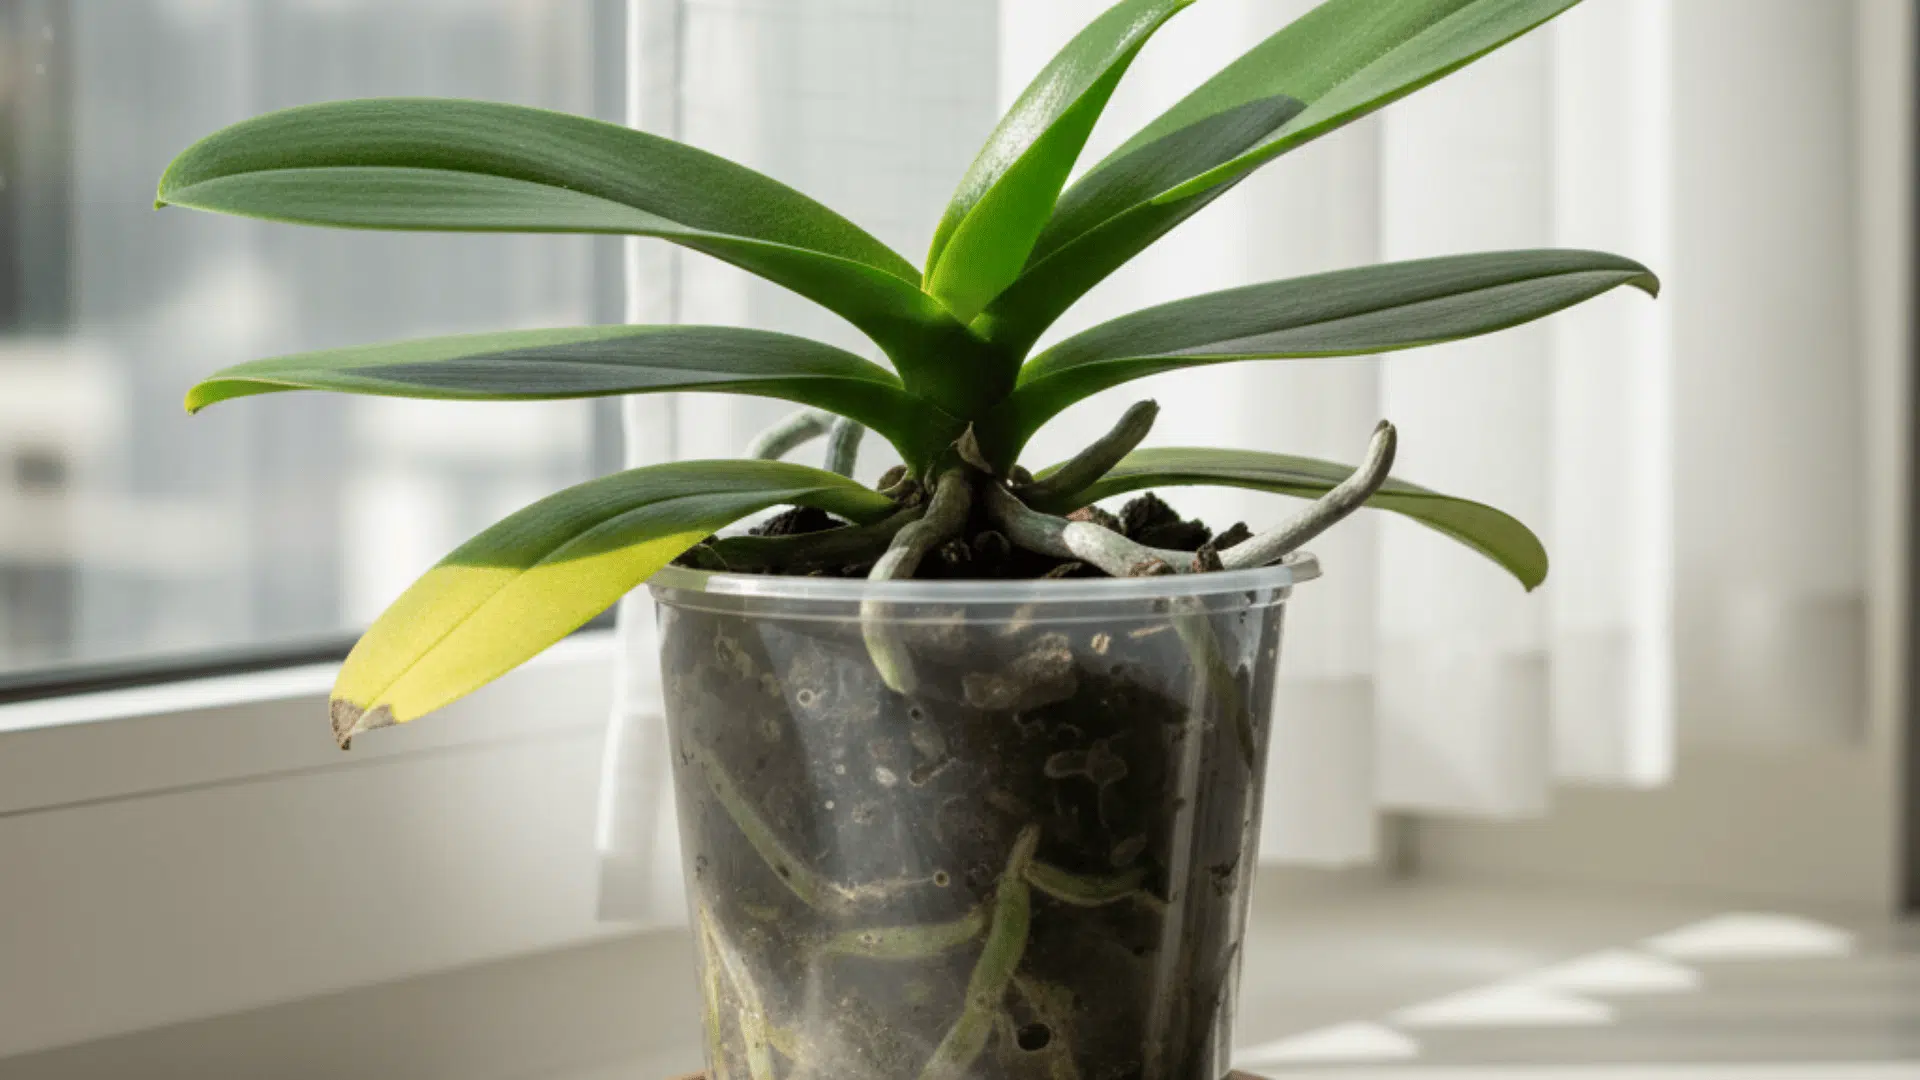
Yellow leaves on orchids alarm many plant owners, but this common symptom doesn’t always signal disaster.
Sometimes yellowing happens naturally as part of the plant’s growth cycle, while other times it indicates an issue with watering, light, nutrients, or environmental conditions.
The key is learning to read what your orchid is telling you through its foliage.
This guide breaks down the most common causes of yellow orchid leaves, from normal aging to care-related problems, and provides practical solutions you can apply right away to restore your plant’s health.
Why Are Orchid Leaves Turning Yellow?
Yellowing is a common issue, but it never has a single cause. It’s a symptom of something affecting plant health.
The discoloration can range from normal aging to overwatering, environmental stress, or nutrient problems.
Identifying the specific cause requires looking at the whole picture: which leaves are affected, what the roots look like, and how you’ve been caring for the plant recently.
Sometimes only the oldest, lowest leaf turns yellow as part of the natural growth cycle. Other times, multiple leaves turn yellow suddenly due to watering mistakes, light issues, or pest problems.
Understanding the pattern and timing of yellowing helps you pinpoint the problem and take appropriate action to restore your orchid’s health.
Main Causes of Orchid Leaves Turning Yellow
Yellow leaves stem from several distinct issues, each with recognizable signs and straightforward fixes. Here are the most common culprits and how to address them.
1. Overwatering

Too much water suffocates orchid roots, leading to rot and yellow leaves. Signs include soft, mushy roots and consistently wet potting mix even days after watering.
Solution: Let the mix dry slightly between waterings, ensure your pot has adequate drain holes, and water less frequently during cooler months when growth slows.
2. Underwatering

Not enough moisture makes leaves yellow and brittle. Their leaves may appear wrinkled or shriveled, along with yellowing, as prolonged drought stresses the plant.
Solution: Water deeply when you do water, allowing water to run through the pot completely, but only when the growing medium is dry to the touch about an inch down.
3. Too Little Light

Insufficient light reduces chlorophyll production, causing yellowing. Leaves become pale yellow-green rather than vibrant green, and the plant may stop producing flower spikes altogether.
Solution: Move closer to a bright window, ideally an east or west-facing exposure, but avoid harsh direct sun that can burn leaves.
4. Too Much Light

Direct sun can “bleach” leaves, turning them yellow, pale, or even white in severe cases. This typically shows up as yellowing on the side facing the light source.
Solution: Reposition the plant away from direct sun exposure or use sheer curtains to filter intense midday light.
5. Nutrient Deficiencies

Lack of nitrogen or other essential nutrients shows as yellowing, especially starting at leaf tips or edges. Nitrogen deficiency causes older, lower leaves to yellow first.
Solution: Use a balanced orchid fertilizer diluted to half or quarter strength and apply on a regular schedule during the growing season (typically spring through early fall).
6. Salt Buildup

Excess salts from fertilizers or tap water damage roots and cause leaves to yellow from the tips inward. White crusty deposits on the pot rim indicate this problem.
Solution: Flush the growing medium occasionally with pure water, running water through the pot for several minutes, or switch to rain or distilled water for regular watering.
7. Temperature Extremes

Very cold or very hot conditions stress orchids, triggering leaf discoloration. Cold drafts from air conditioning or heat from radiators can cause sudden yellowing in the most common orchids.
Solution: Keep room temperatures stable between 60–80°F, avoiding drafty spots near doors or windows and keeping plants away from heating/cooling vents.
8. Humidity Fluctuations

Dry air causes leaf stress and yellowing, particularly at leaf edges and tips. Indoor humidity often drops below the 40–60% range that orchids prefer during winter heating seasons.
Solution: Use a humidifier near your orchids, place pots on pebble trays filled with water (keeping pot bottoms above water level), or group plants together.
9. Pests and Disease

Insects like mealybugs, spider mites, or scale weaken plants and cause yellow leaves by sucking plant juices. Fungal or bacterial infections also manifest with leaf discoloration and soft patches.
Solution: Inspect leaves regularly, especially undersides and leaf joints. Treat infestations with neem oil or insecticidal soap, isolate infected plants, and improve air circulation.
10. Natural Aging

Older leaves naturally turn yellow and drop off as the plant redirects energy to new growth. This is especially common for lowermost leaves and typically means one or two leaves shed per year.
Solution: If only the oldest, lowest leaf is yellowing while the rest looks healthy, and you see new growth, this is normal, no action needed.
Other Common Orchid Leaf Problems & Solutions
Beyond yellowing, orchids display other leaf symptoms that signal care issues or stress. Recognizing these problems helps you respond quickly before they worsen.
1. Leaves Turning Brown
Often a sign of sunburn or severe dehydration. Brown, crispy patches indicate sun damage, while uniformly brown, papery leaves suggest underwatering.
Move away from direct sun and adjust your watering schedule to maintain consistent moisture without overwatering.
2. Wrinkled Leaves
Usually indicates dehydration or temperature stress, though it can also signal root problems.
Check roots. If they’re healthy and firm, increase watering frequency. If roots are mushy or dead, the plant can’t take up water even when available, requiring repotting and root trimming.
3. Sticky Leaves
Could indicate pest issues, particularly aphids or scale insects that secrete honeydew (a sticky substance). This can also attract sooty mold.
Treat infested plants with insecticidal soap or neem oil, and clean affected areas with rubbing alcohol on a cotton swab.
Should You Keep the Yellow Leaves or Remove Them?
Removal timing depends on the cause and extent of yellowing. Not every yellow leaf needs immediate removal.
If only a lower leaf is yellowing due to natural aging, leave it until it is completely dead. It’s still contributing to photosynthesis and nutrient storage. The plant will eventually drop it naturally, or it will pull away easily when fully dead.
If the leaf is spotty, soggy, diseased, or pest-ridden, gently remove it to prevent problems from spreading to healthy tissue. Use clean, sterilized scissors or simply grasp the leaf at its base and pull downward firmly but gently.
Cutting healthy but yellowing leaves too early can stress the plant further by removing functional tissue. Wait until leaves are at least 75% yellow before considering removal.
How to Take Care of Your Orchids
Proper baseline care prevents most yellowing issues before they start. Focus on these key areas to keep your orchids healthy and vibrant.
| Care Aspect | What to Do | Key Points |
|---|---|---|
| Watering | Water when the top inch of media feels dry | Thorough watering every 7–10 days; less in winter; let excess drain completely |
| Light | Provide bright, indirect light | East or west windows are ideal; avoid direct midday sun; leaves should be bright green |
| Temperature | Maintain 60–80°F with stable conditions | Keep away from heating vents, AC units, and drafty windows |
| Humidity | Keep humidity around 40–60% | Use a humidifier, pebble trays, or group plants together |
| Fertilizer | Feed during active growth seasons | Orchid-specific fertilizer at half strength every 2–3 weeks, spring through summer; reduce in winter |
| Potting Medium | Use bark-based or moss mixes | Provides airflow around roots; repot every 1–2 years when the medium breaks down |
Consistency in these care basics keeps orchids thriving and minimizes the risk of yellowing leaves or other health problems.
Conclusion
Yellow leaves are your orchid’s way of communicating, either natural aging or a response to care conditions.
By observing light exposure, watering patterns, nutrient levels, temperature stability, and checking for pests, you can diagnose and treat most problems successfully.
With simple adjustments and patience, your orchid can regain vibrant green foliage and continue producing those stunning blooms that make these plants so rewarding to grow.

With a Master’s in Landscape Architecture from the University of Virginia, Sophia Stephenson has dedicated the last 20 years to creating and maintaining vibrant outdoor spaces. Her professional journey started in landscape design, where she gained a reputation for innovative and sustainable approaches. Sophia became a part of our editorial team as a freelancer in 2019, offering a fresh perspective on outdoor living. Since 2020, she has been the chief for our outdoor design content, blending aesthetic appeal with environmental stewardship. In her leisure time, Sophia is a keen photographer, capturing the beauty of natural landscapes, a hobby that complements her professional expertise.