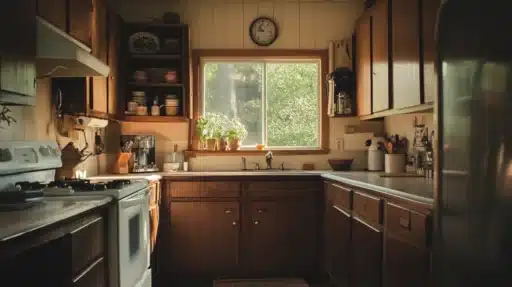
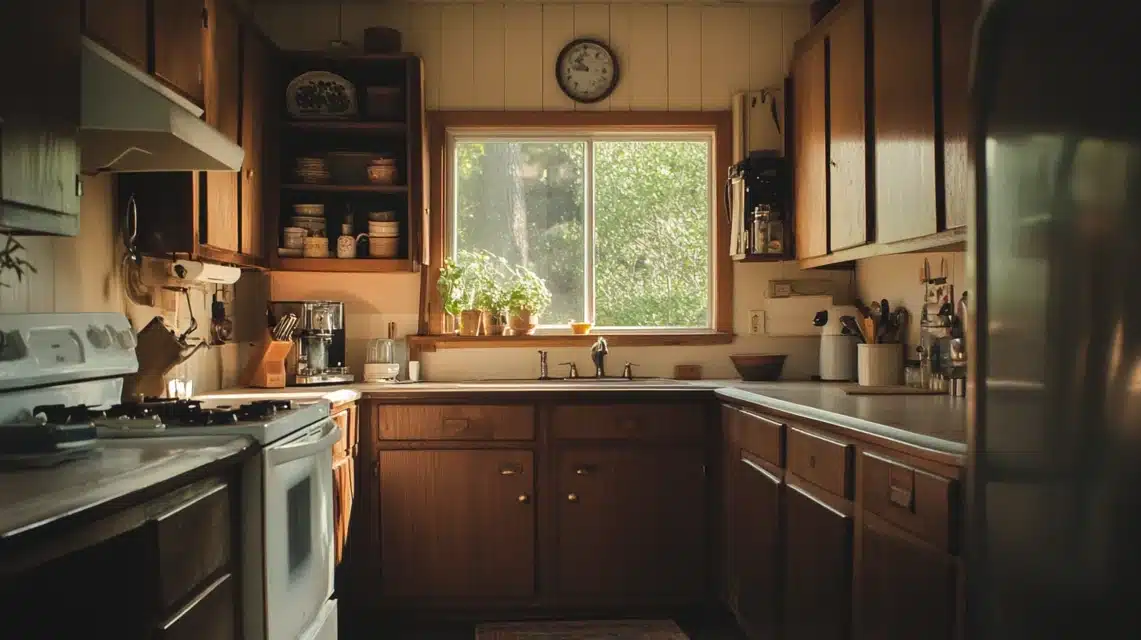
I recently came across my friend Sarah’s kitchen, with those classic dark wooden cabinets from the 1960s.
I wondered how many homeowners still have these old kitchen cabinets but want something fresh and bright.
If you’re like Sarah, you might feel stuck with dated cabinets that make your kitchen look small and dim.
But here’s the good news – you don’t need to spend a fortune on new cabinets.
I’ve put together some smart ways to update your kitchen cabinets while keeping their solid build quality.
These ideas will help you create a kitchen that’s perfect for family gatherings and daily cooking, all without breaking the bank.
Kitchen Cabinet Makeover Ideas
Looking at old kitchens has taught me that small changes can make a big impact.
I’ve helped many homeowners turn their dull kitchens into spaces they love spending time in.
Let me share some tested ideas that work well, whether you want a complete change or just a quick update.
Paint the Cabinets
I’ve found that painting cabinets is the most budget-friendly way to transform a kitchen.
When working on cabinets, I clean them well and sand the surface.
This step is key – it helps the paint stick better and last longer.
I prefer using water-based paints because they dry faster and clean up easily.
From my experience, light colors work best to make kitchens feel bigger and more open.
I always tell homeowners to pick colors they won’t get tired of seeing every day.
Antiqued
When I want to give cabinets an old-time look, I use a simple but effective method.
First, I paint the cabinets in my chosen base color. Once that’s dry, I take a brush with a lighter shade of paint.
The trick is to dab most of the paint off on a cloth until the brush is nearly dry.
Then, I lightly brush over the details, corners, and edges.
This technique creates subtle highlights that make cabinets look naturally aged.
Glossy
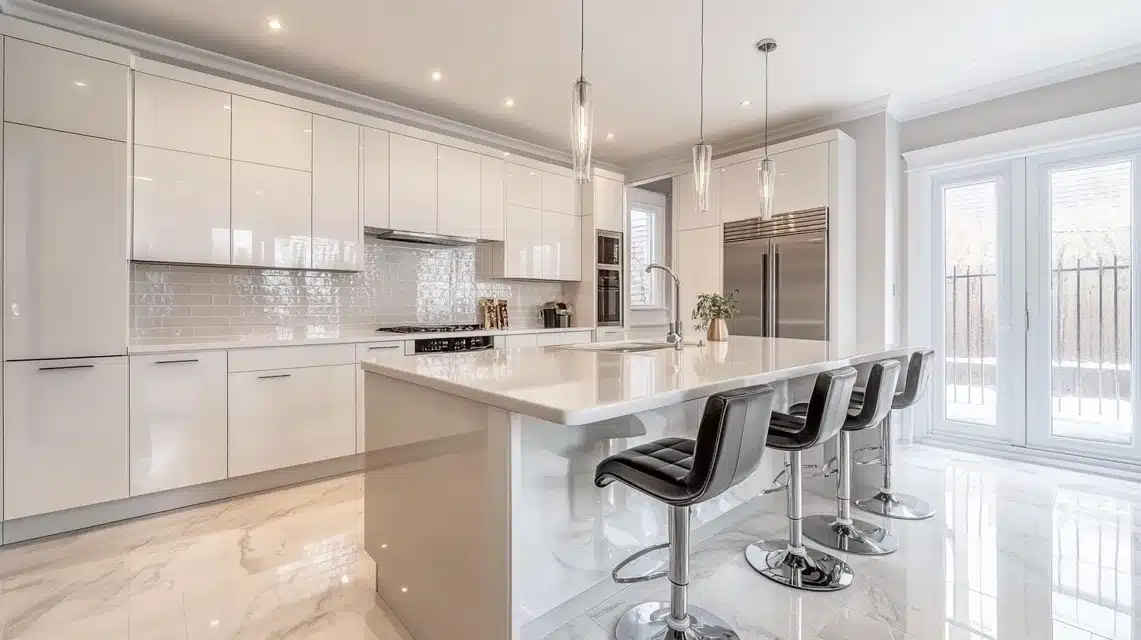
I love using high-gloss finishes in smaller kitchens.
The shine makes light bounce around the room, creating a sense of space.
When I apply a glossy finish, I make sure to sand between coats for the smoothest result.
For cleaning, I tell my clients to use a soft cloth with mild soap and water.
This keeps the shine looking fresh without damaging the surface.
Vintage Look
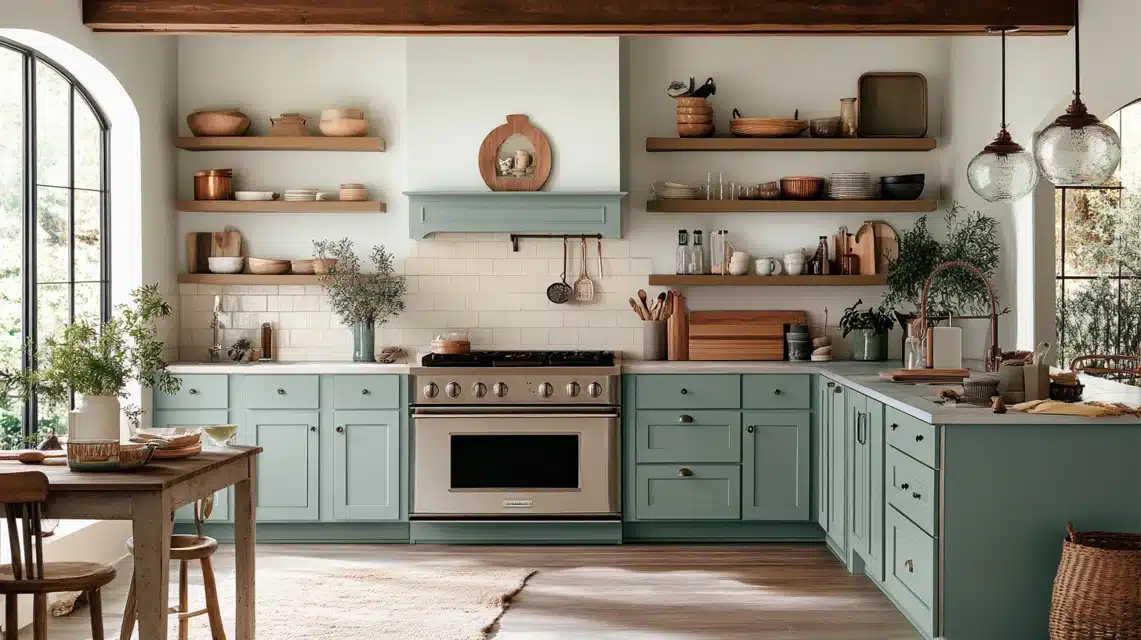
From my years of working with cabinets, I’ve learned that getting a vintage look isn’t just about the paint color – it’s about the technique. I often use flat paint as a base coat.
This creates a soft, matte finish that feels true to older styles.
I stay away from bright whites and stick to warmer, softer shades that feel more natural and timeless.
Distressed
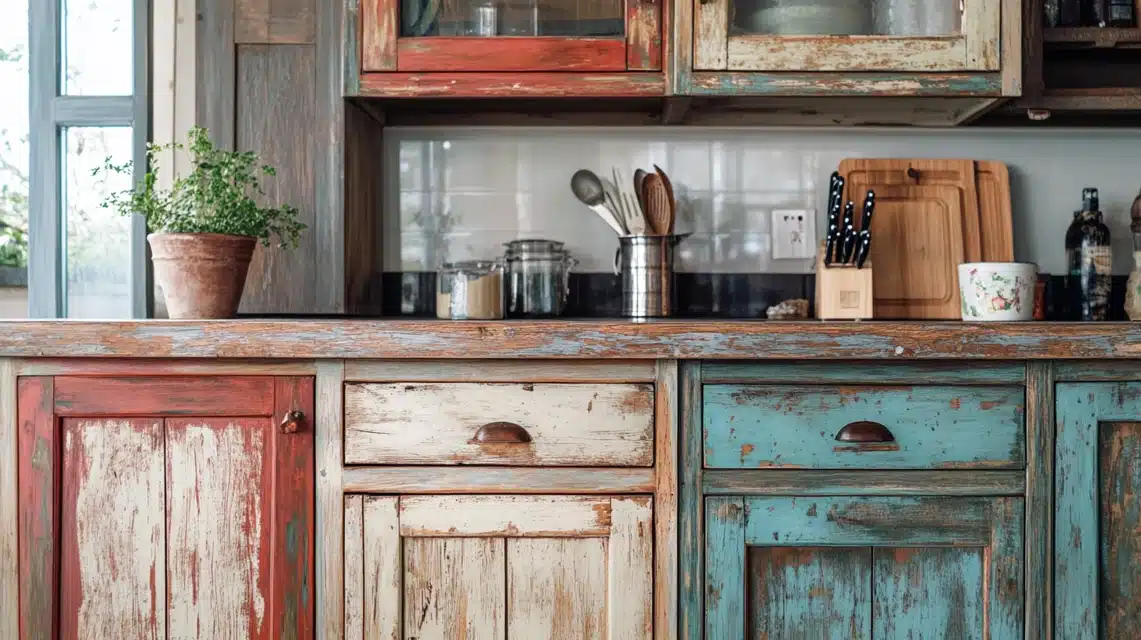
I’ve perfected a simple way to create a worn, lived-in look.
First, I paint the cabinets with multiple layers in different colors.
Then, I use sandpaper to wear down certain spots, focusing on areas that would naturally get the most use – like around handles and edges.
Sometimes, I even use a chain to add small marks that look like years of gentle wear.
Update your Cabinets
I always start cabinet updates with the simplest changes that make the biggest difference.
From my experience, changing handles and knobs can totally change how cabinets look.
I pick out hardware that fits the holes of old pieces – this saves time and money since there’s no need to drill new holes.
When I help clients pick hardware, I suggest mixing different styles but keeping the same finish.
This makes the kitchen look put together but not too matched.
Pull-Out Shelves
I’ve installed many pull-out shelves in base cabinets, and they’re game-changers for storage.
When I build these, I use a simple frame made from 1×4 pine and a plywood bottom. They work like drawers but cost less.
If you’re new to woodworking like I was, don’t worry – these shelves are straightforward to make.
I always measure twice and cut once, making sure the shelf fits perfectly in the cabinet space.
Countertop Lights
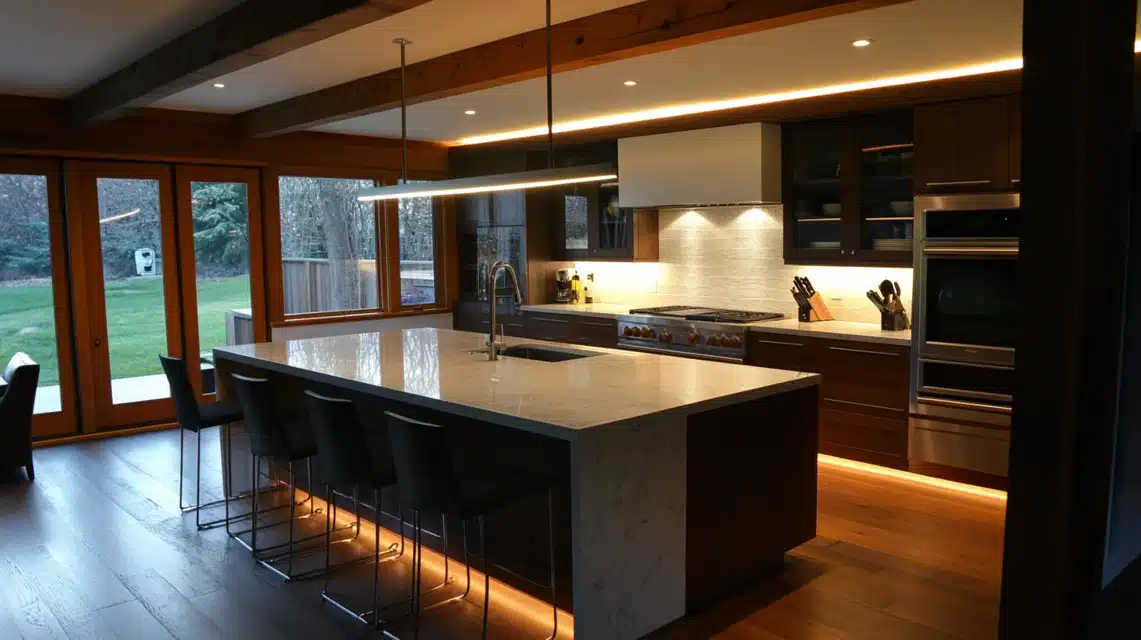
Adding lights under cabinets has been one of my favorite upgrades.
I often install them myself – it’s not as hard as you might think.
These lights make a huge difference when cooking or cleaning.
I prefer LED strips because they last long and don’t get hot.
When I install them, I make sure to hide the wiring behind the cabinets.
A dimmer switch lets you adjust the light based on what you’re doing.
Install a Built-in Window Seat
I love creating window seats using kitchen wall cabinets as the base.
It’s a smart way to add both seating and storage.
When I build these, I start with standard cabinets and top them with a comfortable seat.
I make sure to measure the window space carefully before starting.
From my experience, the best height for a window seat is about 18 inches – this makes it comfortable for most people to sit on.
I often add cushions to make the space more inviting.
Tips to Give 70s Makeover to your Cabinets
When I help people with their kitchen makeovers, I know how overwhelming it can feel.
But I’ve learned that breaking down the process into small steps makes it much easier.
Let me share my tested tips that will help you get the look you want.
Prepare Everything
I always tell my clients that good preparation is half the battle won.
Before I start any cabinet project, I gather all my tools: sanding sponges (medium, fine, and extra-fine), a quality primer, paint, brushes, and protective materials like rosin paper for floors and countertops.
I make sure to label each cabinet door with numbers and tape over the labels – this saves hours when putting everything back together.
My secret tip? I store all the hardware it came from in the cabinet to keep track of everything.
Importance of Sanding
I’ve learned that sanding is crucial for a quality finish.
When I sand cabinets, I start with medium-grit sanding sponges to break down the original finish.
This creates tiny scratches that help the primer stick better.
I always take extra time to sand edges and corners where hands touch most often.
Between coats, I use fine-grit sanders to smooth everything out. It might seem like extra work, but trust me – this step makes all the difference.
Use Grain Filler
I mix my own grain filler using three parts drywall mud to one part water.
This formula works better than store-bought options and costs less.
When I apply it, I use a brush to work it into the wood grain, especially on oak cabinets.
Then I take a knife and push the filler deep into the grain, scraping off any excess.
I’ve found this method gives the smoothest finish and fills those deep grain pores that would otherwise show through the paint.
Keep Your Surroundings Clean
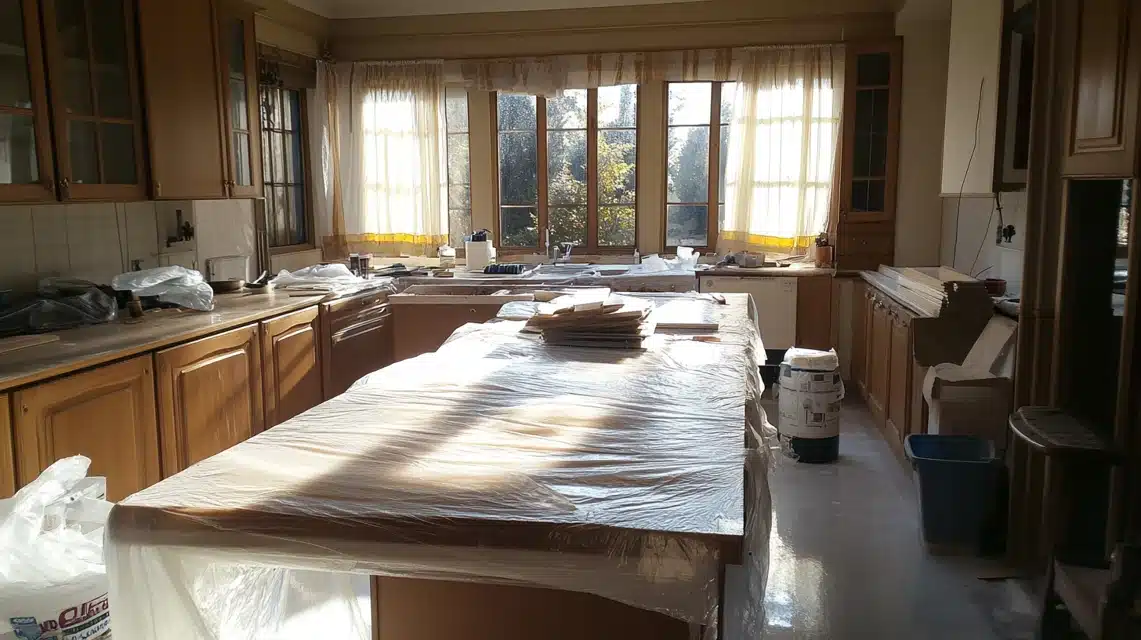
I always start by protecting my work area.
First, I lay brown rosin paper on the floors and countertops. This gives me two layers of protection.
Then I use plastic and tape to cover everything I don’t want paint on.
When I’m working, I keep a vacuum handy to clean up dust right after sanding.
Clean surroundings mean no dust gets trapped in the paint, which would ruin the smooth finish I’m aiming for.
Pick the Good Quality of Paint and Primer
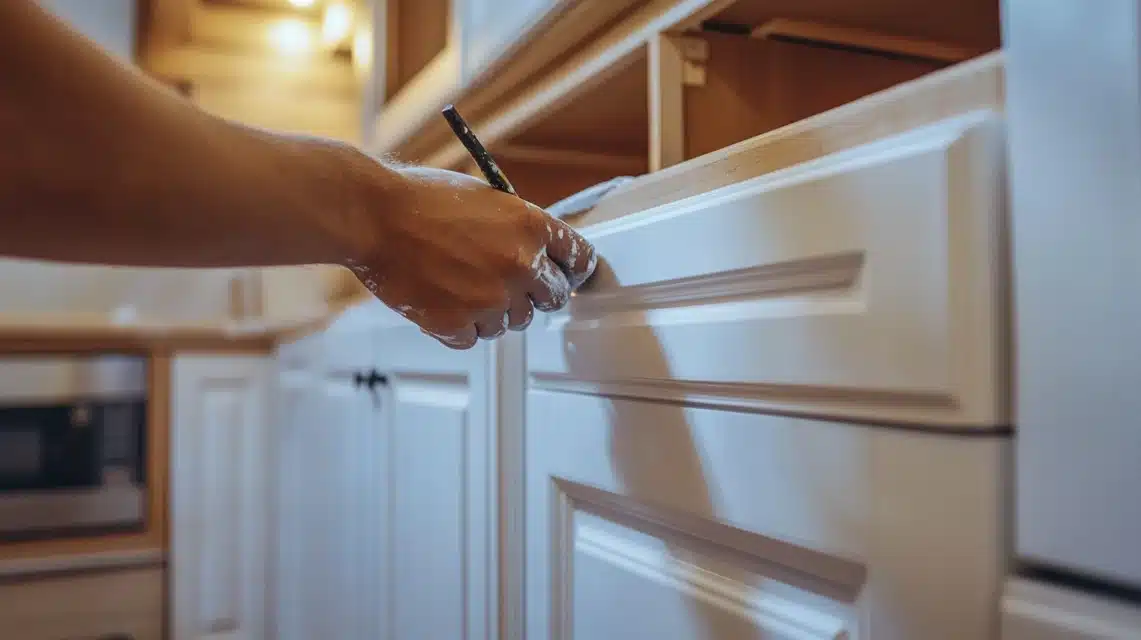
I prefer using acrylic paint for kitchen cabinets.
When I thin it down by 20% with water, it sprays perfectly and gives a smooth finish.
For the best results, I use satin finishes – they’re not too shiny but still easy to clean.
I always tell my clients that spending a bit more on quality paint saves money in the long run because it lasts longer and looks better.
A good primer is just as important – it helps the paint stick and gives better coverage.
Do not Rush with the Details
I take my time, especially around edges and corners.
When I paint cabinet frames, I go slower because they’re vertical and more likely to develop runs.
For doors, I lay them flat to paint – this makes it almost impossible to get runs.
I always apply thin coats instead of one thick one. Yes, it takes longer, but the results are worth it.
Between coats, I sand lightly with an extra-fine sponge to get that glass-smooth finish.
Patience is the Key
I learned this the hard way – rushing never gives good results.
When I paint cabinets, I wait at least 24 hours between coats.
I’ve found that if you try to speed up this process, you’ll end up with paint that peels or chips easily.
Even after the final coat, I tell homeowners to wait a full day before handling the cabinets.
In my experience, proper drying time is especially important around hinges and handles where people touch most often.
Don’t Forget to Give the Finishing Touch
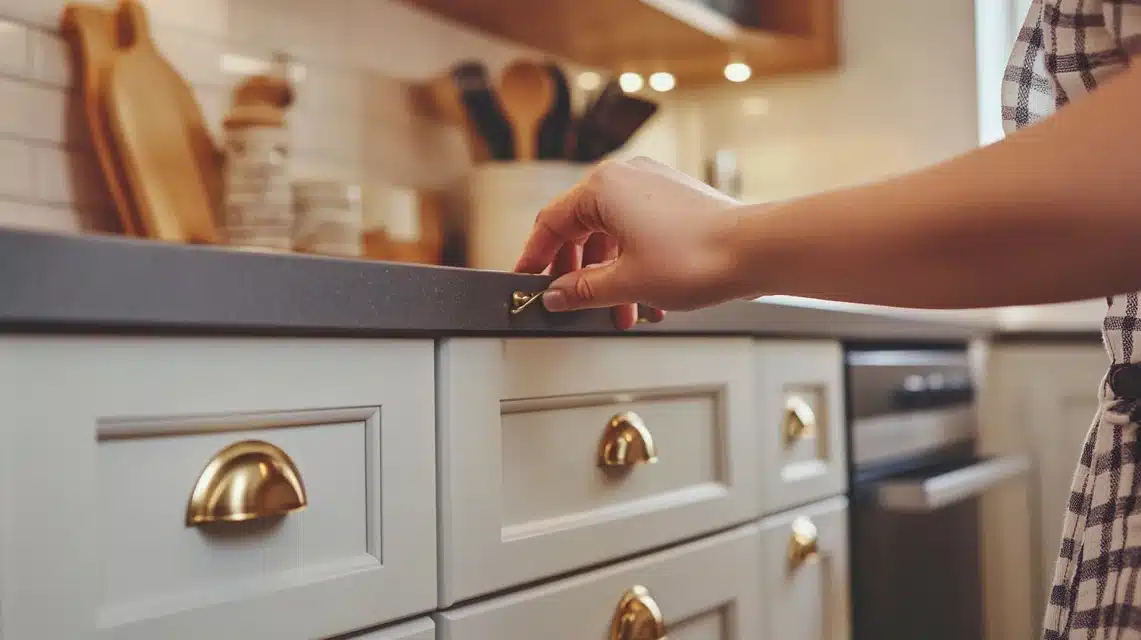
I always save the final details for last.
When putting hardware back on, I make sure everything lines up perfectly. If I’m adding new handles, I use a template to get the holes just right.
Sometimes I add small touches like rubber bumpers on the doors – they make closing smoother and quieter.
I also help clients arrange their kitchen items in a way that shows off their newly painted cabinets.
These small details make the kitchen feel complete.
Conclusion
I hope these tips help you feel confident about giving your kitchen cabinets a makeover.
From my years of experience, I know that taking time with preparation and being patient with the process leads to results you’ll love.
Remember, you don’t need to spend a fortune to get a fresh and welcoming kitchen.
Start with one change – maybe just painting your cabinets – and see how it transforms your space.
The most rewarding part for me is seeing how these simple updates can make your kitchen the heart of your home again.
Frequently Asked Questions
What were kitchen cabinets made of in the 1970s?
Kitchen cabinets in the 1970s were typically made of solid wood or wood veneer, with oak and pine being the most common materials used.
What were the colors of kitchens in the 1970s?
1970s kitchens featured bold colors like harvest gold, avocado green, and burnt orange, often paired with wood tones and earth-colored appliances.

