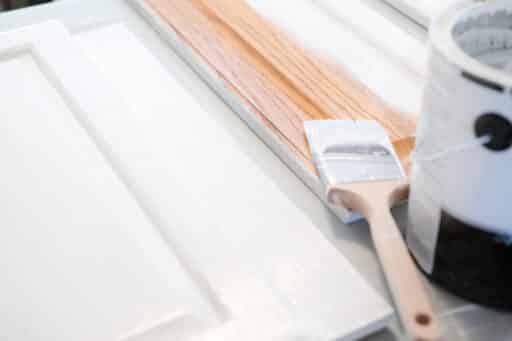
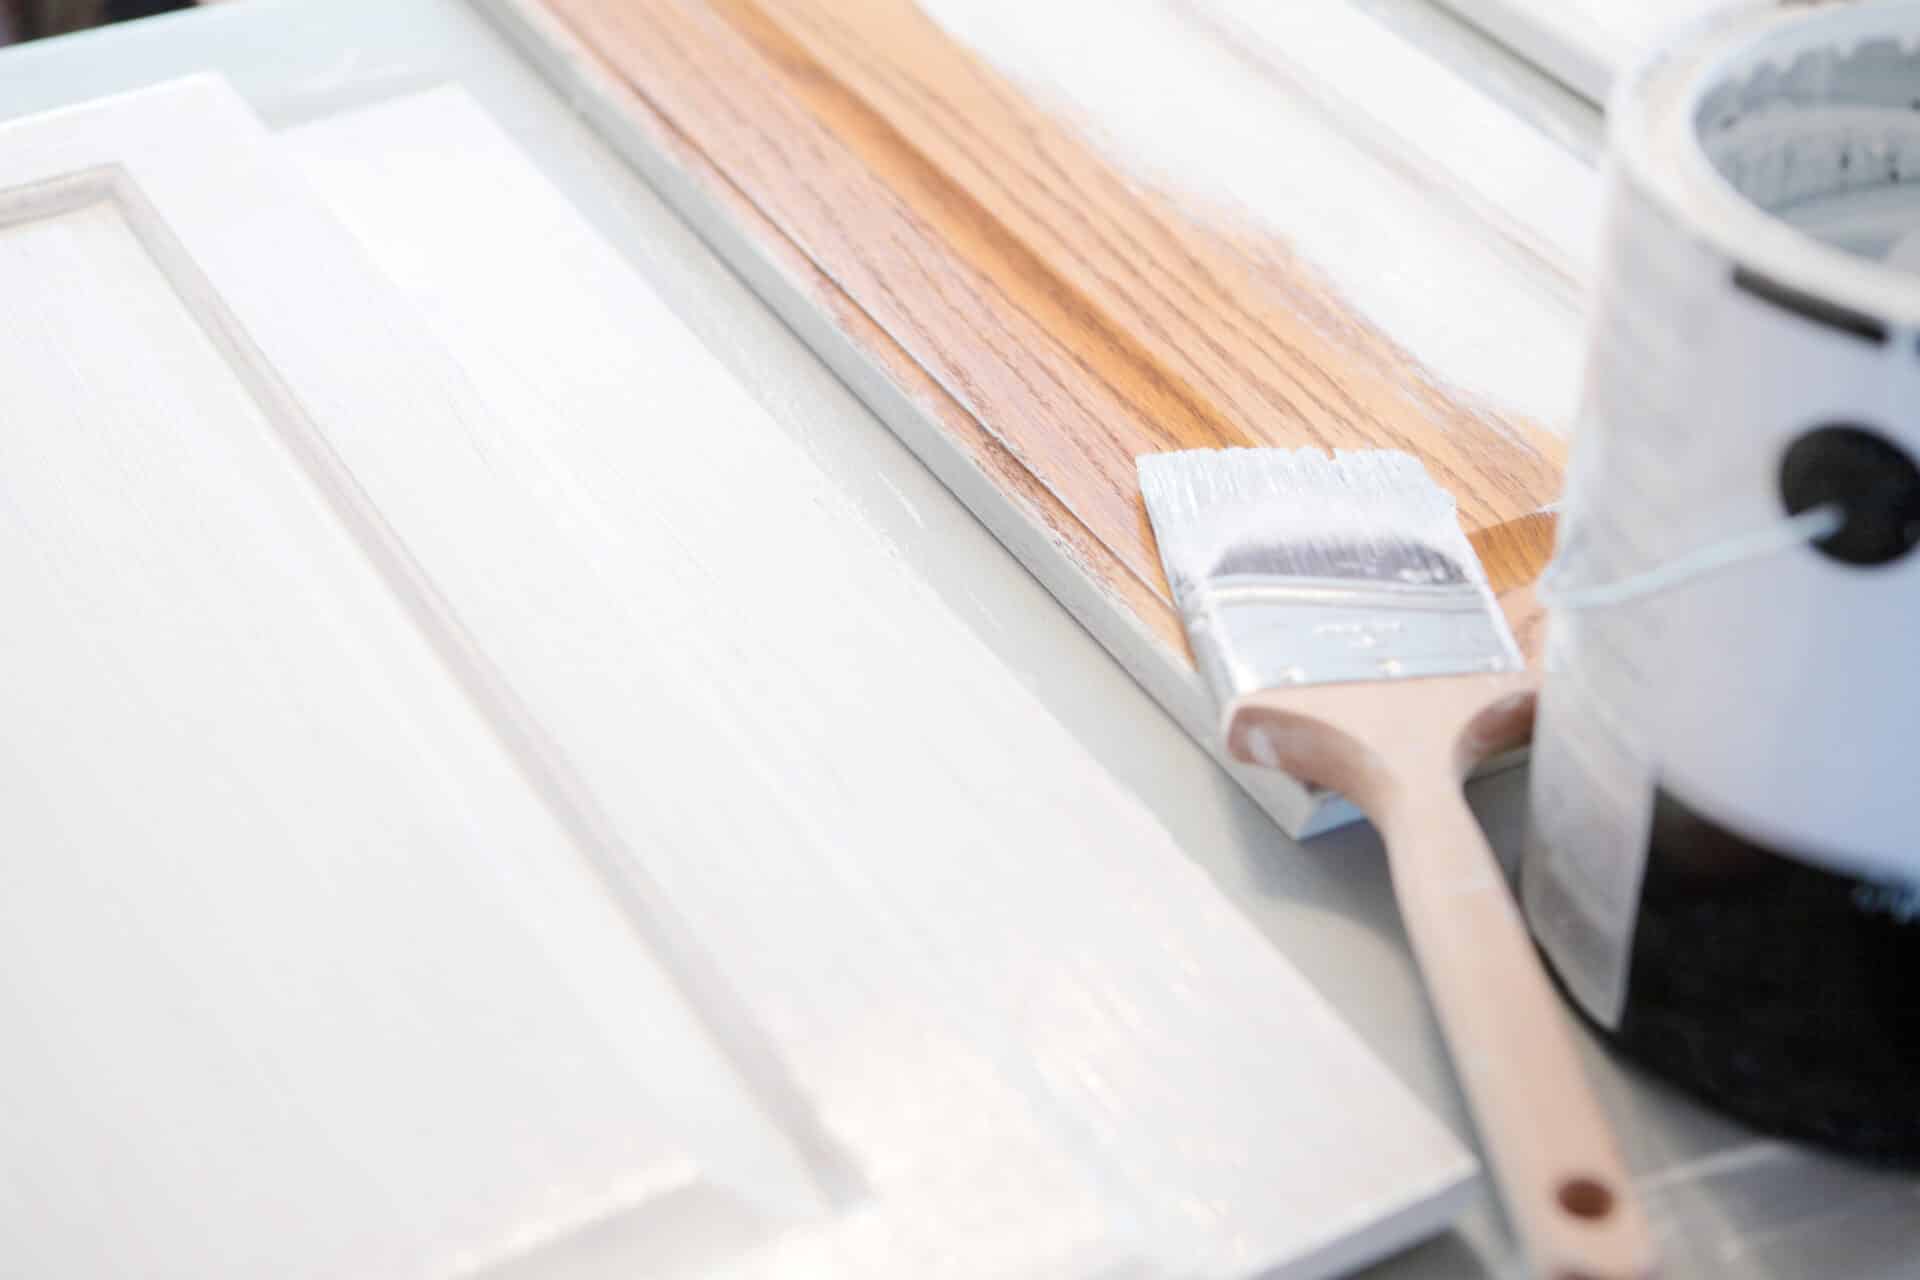
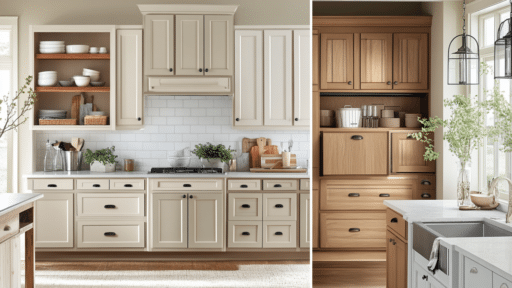
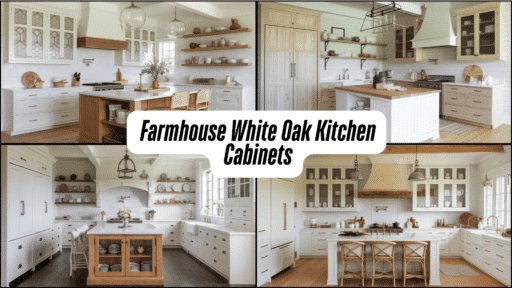
Do you want to transform your Cabinets ?
I spent weeks looking at my old kitchen cabinets, wishing to make them look better without spending too much money. Then I found cabinet paint kits, and they changed everything.
I have used these kits in my kitchen and bathroom and want to share what I learned.
Many people think painting cabinets is hard work that only experts can do. But with the right paint kit and steps, you can do it. Trust me—if I could do it, so can you!
In this guide, I’ll walk you through each step of using cabinet paint kits, sharing my real experience and tips.
Cabinet Paint Kits
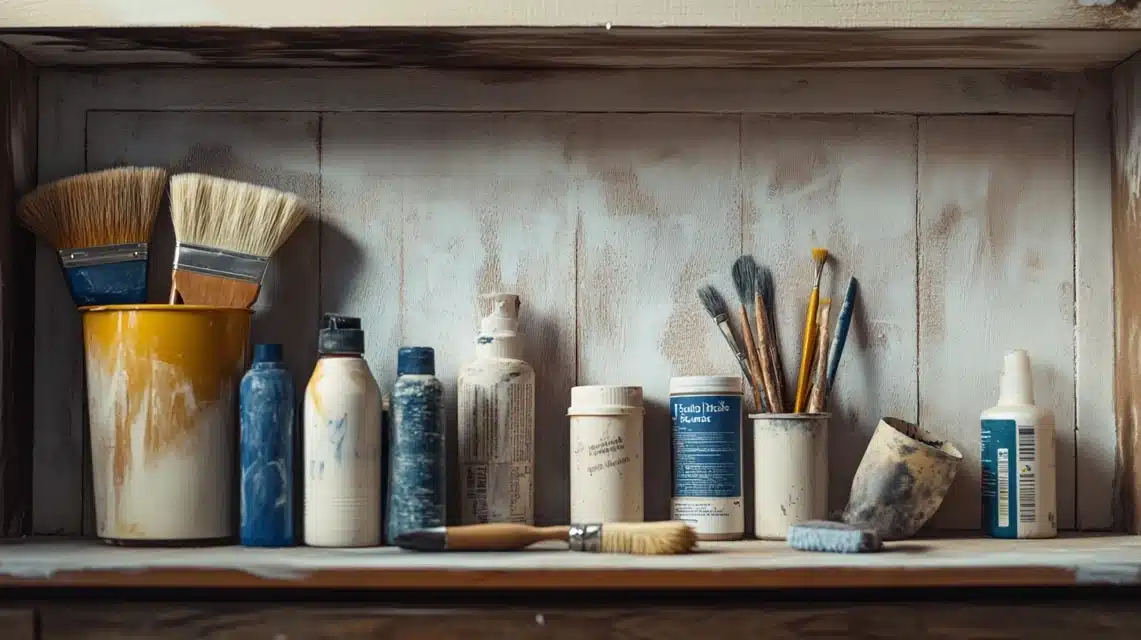
I remember feeling lost when I first started looking at cabinet paint kits.
Let me break down what these kits actually are – they’re all-in-one packages that come with everything you need to paint your cabinets properly.
What Makes These Kits Different from Regular Paint?
I learned that they’re specially made for cabinets and include paint that sticks better to wood and laminate surfaces. You don’t need to buy lots of different items separately, which saves me both time and money.
In my kit, I found several useful items: cabinet-specific paint, a surface cleaner, paint brushes, rollers, and sandpaper.
Some kits even include wood filler for fixing small holes or scratches. I like that everything matches and works together – no more guessing if I bought the right supplies!
Step-by-Step Guidance to Using Cabinet Paint Kits
Tools & Materials Required
- Paint kit with cabinet-specific paint
- TSP cleaner or general-purpose cleaner
- Sandpaper (medium to fine grit)
- Paint brushes
- Mini foam rollers
- Drop cloths
- Painter’s tape
- Wood filler and putty knife
- Vacuum cleaner
- Tack cloth
- Manual screwdriver
- Painting tripods
- Small bags for hardware storage
Stepwise Process for Painting
1. Setup and Organization
- Empty all cabinets
- Take off doors, drawers, hardware
- Put hardware in labeled bags
- Label doors with letters/numbers
- Place doors in work area (garage/basement)
2. Surface Cleaning
- Mix TSP cleaner with water
- Clean all grease and dirt
- Let surfaces dry fully
3. Repairs and Protection
- Fill holes with wood filler
- Let filler dry
- Put down drop cloths
- Tape off areas near cabinets
4. Surface Preparation
- Sand with grain using medium-fine grit
- Focus on corners and edges
- Vacuum up dust
- Wipe with tack cloth
5. Priming
- Use light coats – tap off extra primer
- Paint with grain
- Use brush for details
- Use foam roller for flat areas
- Let dry per instructions
6. Paint Application
- Use latex paint (satin or semi-gloss)
- Start with brushwork in detail areas
- Roll larger areas with foam roller
- Paint in thin coats
- Paint backs first, then fronts
- Only paint drawer fronts, not sides
7. Final Steps
- Let paint cure fully
- Use manual screwdriver for hardware
- Put doors back using labels
- Add shelf liner if wanted
Best Cabinet Paint Kits
I’ve used several paint kits on different projects, and here’s what I learned about each one:
1. Rust-Oleum Cabinet Transformations
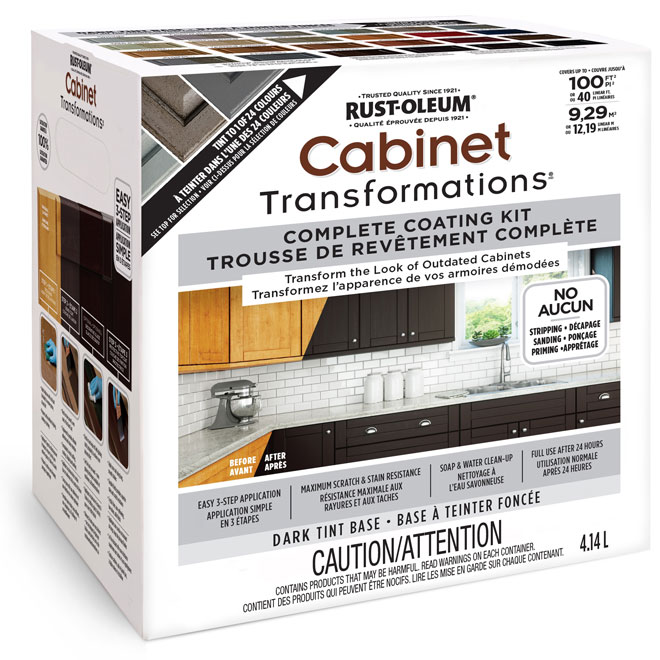
- What I liked: Comes with a good deglosser that really helps with prep
- Color options: Wide range of light to dark shades
- Coverage: One kit typically handles about 100 square feet
- Special features: Includes protective top coat
- Good for: Large kitchen projects
You can purchase this by visiting : Rust-Oleum Cabinet Transformations
2. Giani Nuvo Cabinet Paint Kit
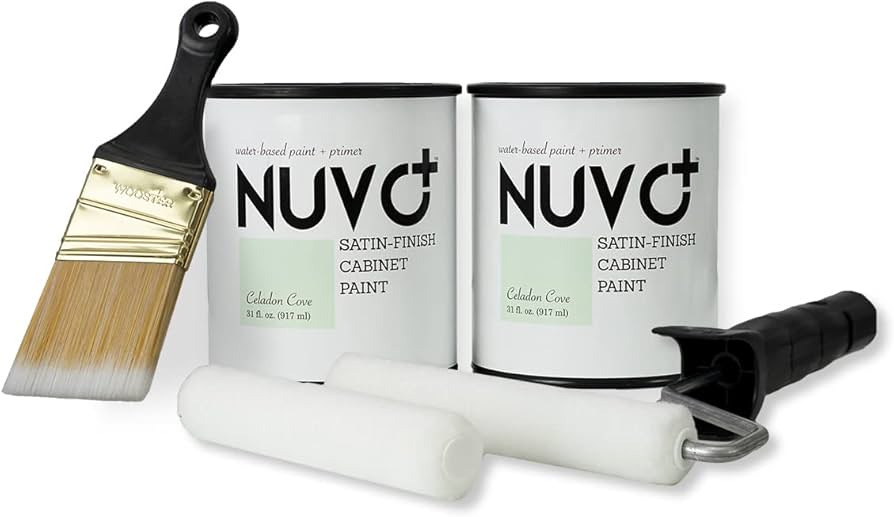
- What I liked: Paint sticks well to many surfaces
- Coverage: Works for about 20 cabinet doors
- Special features: Built-in primer saves time
- Good for: First-time painters
- Notable: Water-based formula with low odor
Click the link to get this kit : Giani Nuvo Cabinet Paint Kit
3. Beyond Paint All-in-One Kit
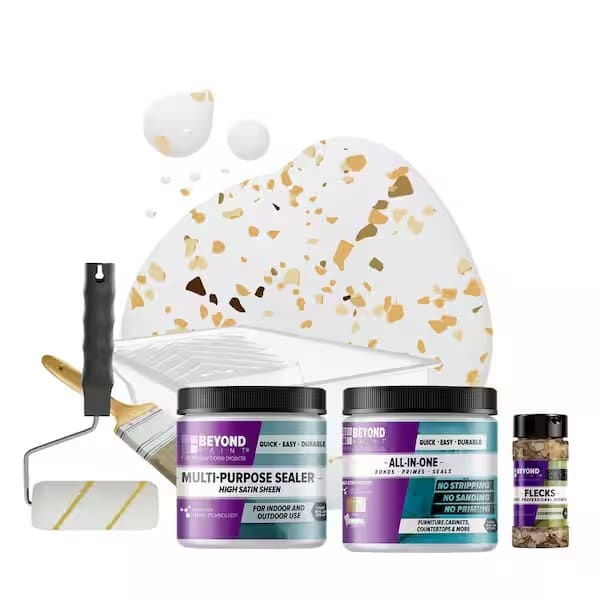
- What I liked: No need for separate primer
- Coverage: Handles standard-sized kitchen
- Special features: Quick-drying formula
- Good for: Quick makeover projects
- Notable: Easy clean-up with soap and water
Visit the brand’s website : Beyond Paint All-in-One Kit
4. Retique It Liquid Wood Kit
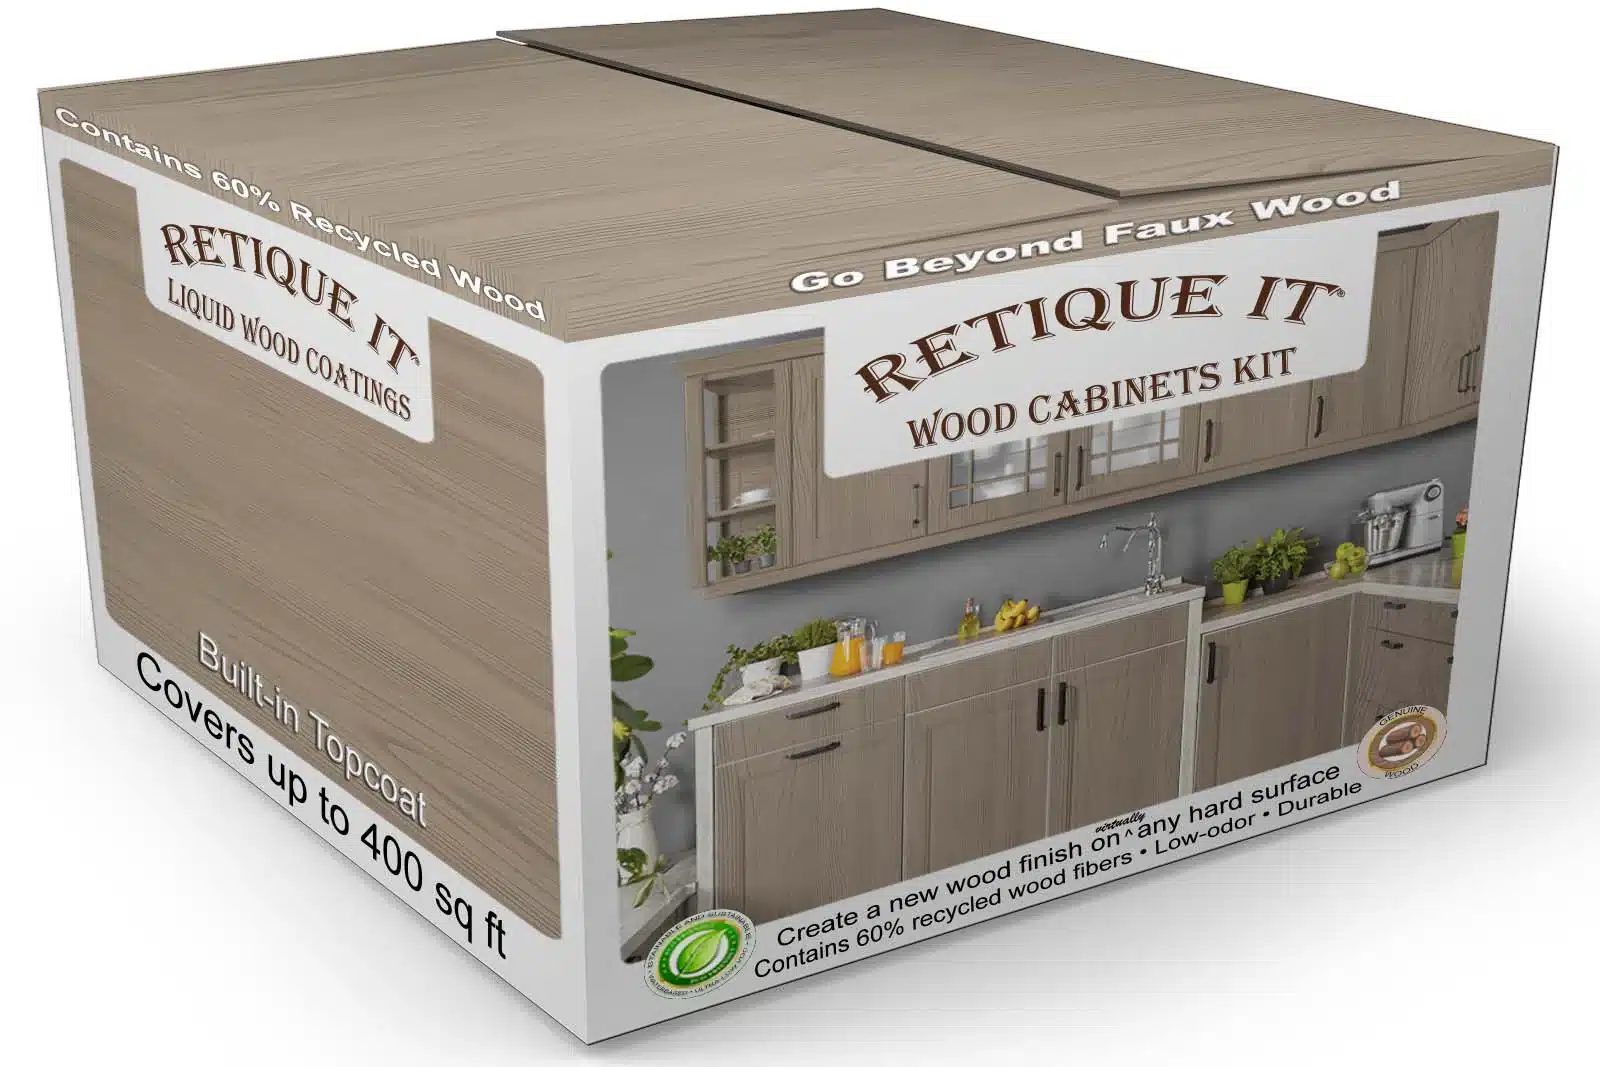
- What I liked: Creates wood-like finish
- Coverage: Good for smaller projects
- Special features: Can make laminate look like wood
- Good for: Getting a natural wood look
- Notable: Multiple steps but worth the effort
Explore kit by click the link : Retique It Liquid Wood Kit
5. Nuvo Cabinet Paint Kit
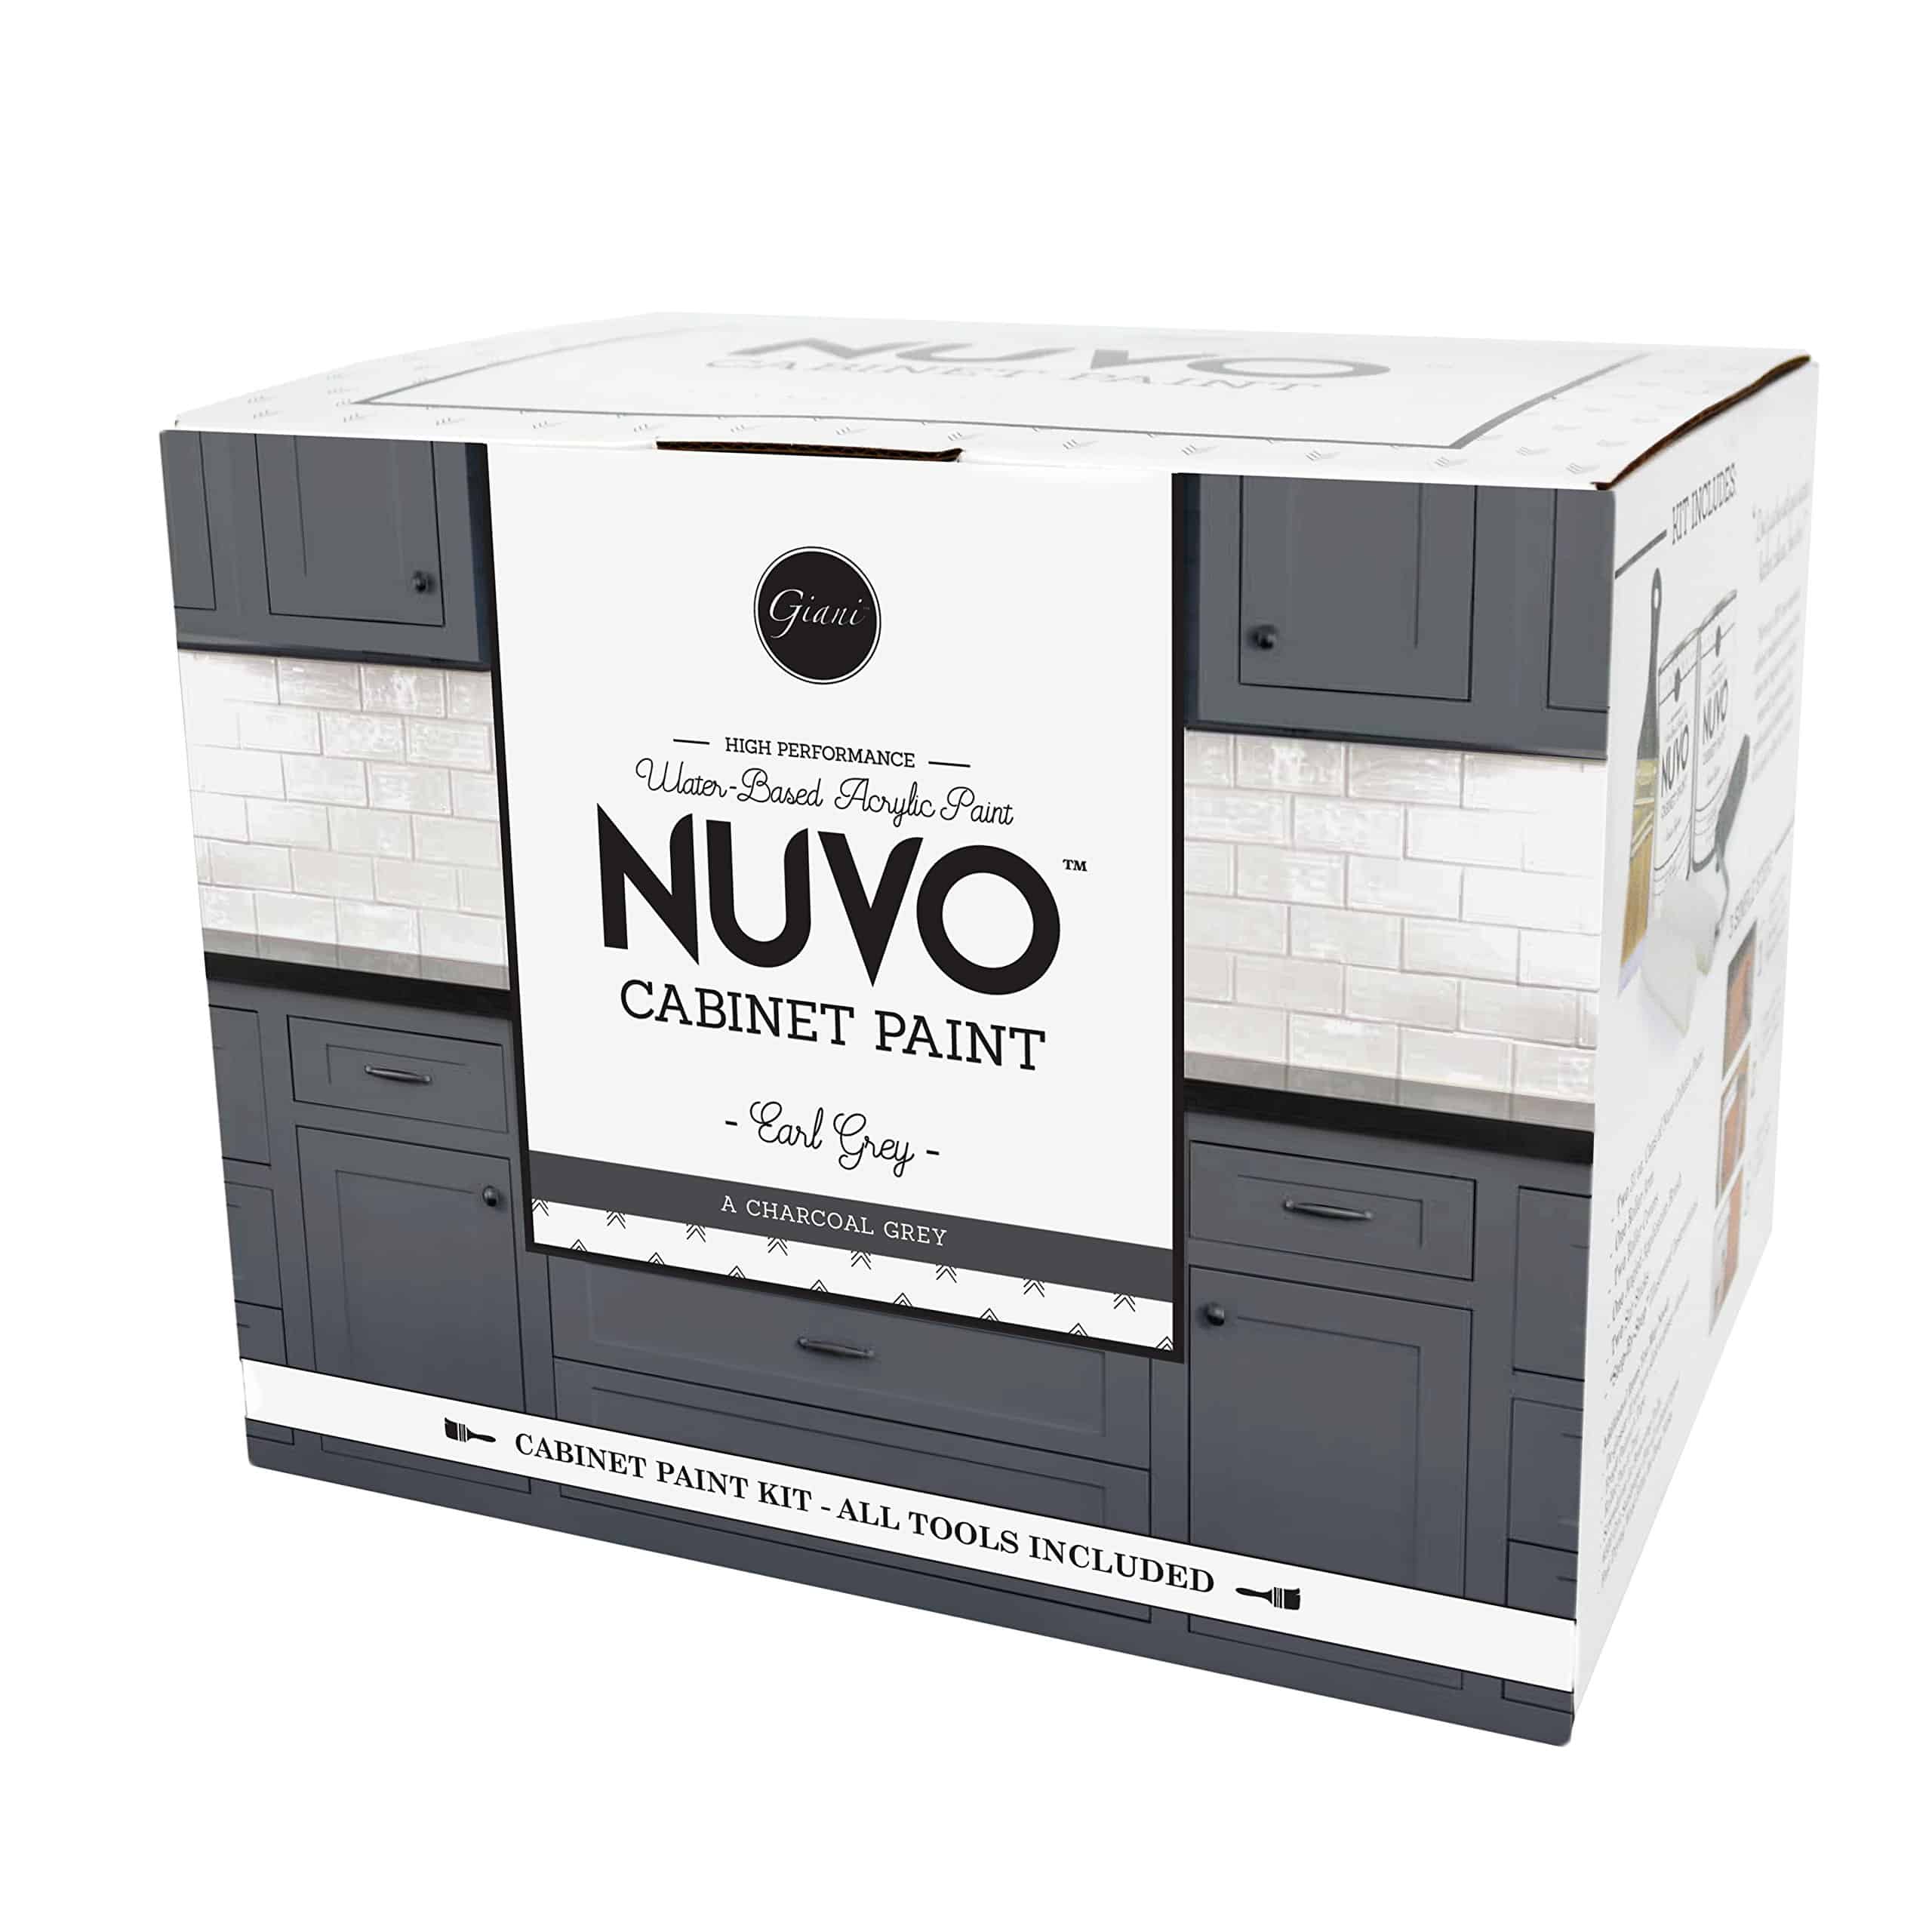
- What I liked: Single-day application process
- Coverage: Covers up to 20 cabinet doors and drawer fronts
- Special features: Low VOC formula, built-in primer
- Good for: People wanting to finish quickly
- Notable: No stripping or heavy sanding needed
You can buy this by visiting : Nuvo Cabinet Paint Kit
I suggest checking current prices at your local stores, as they can vary quite a bit. Each kit has its strong points.
How to Select Right Cabinet Paint Kit
After painting several sets of cabinets, I’ve learned what really matters when picking a paint kit. Let me share my tips to help you choose the right one:
Size of Your Project
- Count all your cabinet doors and drawer fronts
- Measure the total surface area you’ll paint
- Pick a kit that covers your space with extra to spare
- I learned this tip: Add 10% more for touch-ups
Cabinet Material
- Wood cabinets work with most kits
- Laminate needs special bonding primers
- Metal cabinets need specific paint types
- Check the kit label for material compatibility
Your Skill Level
- Some kits need more prep work
- Others come with detailed instructions
- First-time painters should pick all-in-one kits
- Look for kits with good customer support
Time and Budget
- Factor in drying time between coats
- Some kits take 2-3 days to finish
- Others offer same-day results
- Higher price often means better tools included
What’s in the Box
- Basic kits: Just paint and primer
- Complete kits: All tools included
- Check if you need extra supplies
- Make sure brushes and rollers are included
Color Options
- Think about your room’s lighting
- Consider your wall color
- Look at actual painted samples
- Remember darker colors show marks more
Durability Needs
- Kitchen cabinets need tough finishes
- Bathroom cabinets need moisture resistance
- Less-used areas can use simpler formulas
- Look for cleaning-friendly finishes
Personal Tips from My Experience
- Read reviews from real users
- Watch how-to videos for your chosen kit
- Buy extra supplies before starting
- Test paint on cabinet backs first
Questions to Ask
- Will I need special tools?
- How many coats does it need?
- Can I clean it easily?
- What if I make mistakes?
Remember: The best kit isn’t always the most expensive one – it’s the one that matches your needs and skills.
Pros and Cons of Cabinet Paint Kits
Let me share what I found helpful and challenging when using cabinet paint kits. I want you to know both sides so you can make a good choice.
| Aspect | Pros | Cons |
|---|---|---|
| Cost Benefits | • Much cheaper than new cabinets • Saves money on hiring painters • All tools in one package • No need to buy extra supplies | |
| Time Savings | • Everything’s ready to use • No shopping for separate items • Matched components work together • Instructions are clear and simple | • Proper prep takes many hours • Multiple coats need drying time • Can’t rush between steps • Whole project needs 2-4 days |
| Easy to Use | • Step-by-step guides included • Colors are pre-mixed • No guessing about product matches • Good for beginners | |
| Quality Results | • Special cabinet-specific paint • Better stick to surfaces • Durable finish • Professional-looking results | |
| Limited Color Options | • Fewer choices than custom paint • Can’t mix custom shades • Some brands have basic colors • May not match exact vision | |
| Physical Work | • Lots of cleaning needed • Much sanding required • Standing for long periods • Can be tiring work | |
| Skill Needed | • Must follow steps exactly • Need steady hand for details • Requires patience • Some practice might help | |
| Space Requirements | • Need work area for doors • Must store during drying • Good airflow needed • Space for laying out parts |
Kitchen Style Match
- Light colors work in small kitchens
- White makes spaces feel bigger
- Dark colors suit large, bright rooms
- Natural tones blend with wood floors
Popular Color Choices
- White: Clean, bright look
- Gray: Modern, easy to match
- Black: Bold statement
- Cream: Warm, welcoming feel
Things to Think About
- Floor color matters
- Wall paint should match
- Consider counter colors
- Look at backsplash tiles
Practical Color Tips
- Light colors show less dust
- Dark colors can show fingerprints
- Mid-tones hide marks well
- Neutral colors age better
Design Styles to Consider
- Simple flat panels look modern
- Raised panels suit traditional homes
- Shaker style fits most spaces
- Beadboard adds texture
Finish Options
- Satin: Good for daily cleaning
- Semi-gloss: Shows details more
- Matte: Hides surface flaws
- Textured: Adds interest
Room Light Effects
- North-facing: Warmer colors work best
- South-facing: Any color works well
- Small spaces: Light colors help
- Big kitchens: All colors work
Expert Advice on Cabinet paint kit
- Always start with a clean surface, You can use soap and water, then wipe again.
- Don’t skip the sanding part, even if you’re tired. It’s better to do several thin coats than one thick one.
- Keep your work area dust-free, and give each coat plenty of time to dry. I found that painting flat surfaces first, then edges, works best.
- Save some paint for touch-ups later – trust me, you’ll need it.
- Take photos before you start and label all your cabinet doors. Work in good light so you can see what you’re doing.
- Want the best results? Don’t rush. Take breaks between coats, and make sure your room has good air flow.
- These simple steps will help you get a finish that looks good and lasts long.
Final Thought
Painting your cabinets with a kit is a smart way to refresh your kitchen without spending too much.
I started my cabinet project feeling nervous, but following these steps made it work out great.
The key is taking your time with prep work and letting each coat dry properly.
Ready to start your cabinet painting project?
Remember to pick the right kit for your needs, follow the steps carefully, and be patient. Trust me – if I could do it, you can too!
Have questions? Leave them in the comments below.
Frequently Asked Questions
1. What is the best paint to use on cabinets?
Acrylic latex paint in satin or semi-gloss finish works best for cabinets. Most paint kits include the right type.
2. Can I change the color of my cabinets without replacing them?
Yes, you can change cabinet color using paint kits. Clean, sand, prime, and paint your cabinets. It takes 2-4 days but saves money compared to replacement.
3. How long do painted cabinets last?
Properly painted cabinets last 5-10 years with good care. Quality paint, proper prep work, and gentle cleaning help extend their life.
4. How much does it cost to repaint kitchen cabinets?
Paint kits cost $100-300 for a standard kitchen. Add about $50 for extra supplies like brushes and sandpaper. Total cost is much lower than new cabinets.

