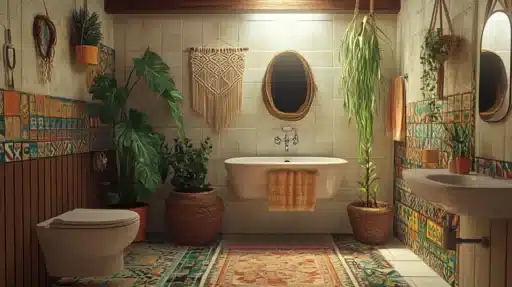
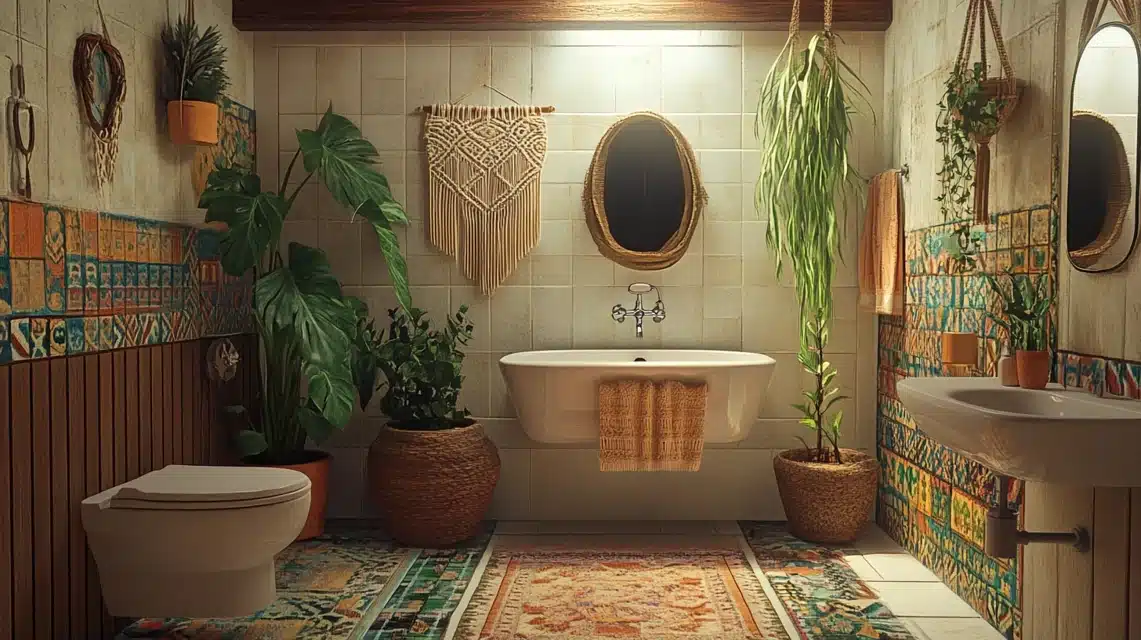
Stepping into my grandmother’s 1970s bathroom, with its warm colors and distinctive style, reminds me of when bathrooms were more than just functional spaces.
As modern homeowners move away from sterile, all-white designs, these vintage bathrooms are experiencing a renaissance.
With rich patterns, bold colors, and clever layouts, 1970s bathrooms offer personality and practicality.
It’s not just about aesthetics. It’s about creating a special space.
Let me guide you through incorporating this classic style, whether you’re planning a complete renovation or adding subtle vintage touches
Inspiration for a 70s Bathroom Look
1. Vintage Bathroom Accessories
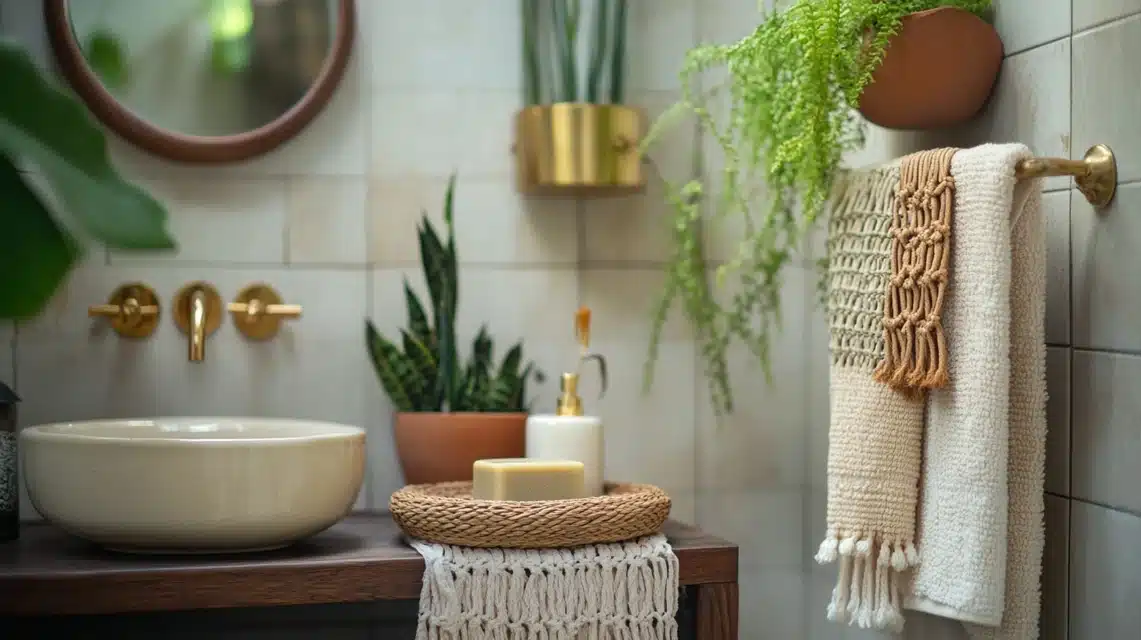
The right accessories can take your bathroom back in time without major changes.
Start with wall decorations – macramé plant holders are perfect for adding greenery and texture.
Look for soap dishes in ceramic or glass with simple patterns, and consider wooden or metal towel racks that show signs of age. These small touches create a big impact.
These items are found at local flea markets, estate sales, or online marketplaces.
When shopping, focus on materials like brass, wood, and ceramic – common in the 70s.
For authenticity, mix different textures and materials.
Look for glass shelving units, woven baskets for storage, and metal tissue holders. Local antique shops often have these pieces at good prices.
2. Add a Vintage Rug
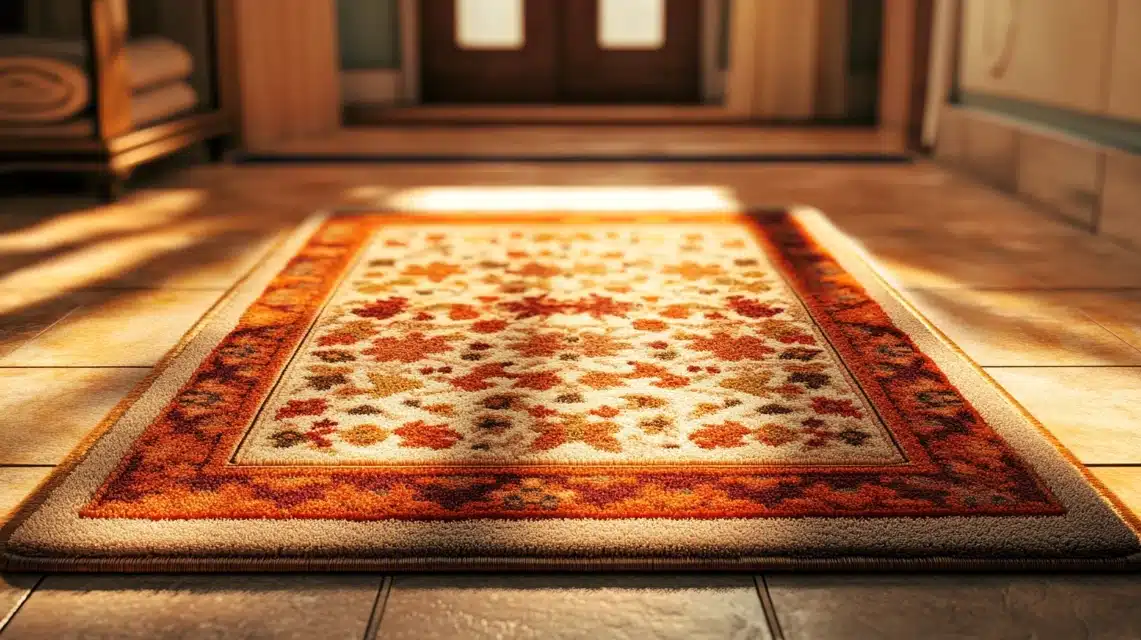
A well-chosen rug can change the mood of your bathroom. In the 1970s, bathrooms often had plush, textured rugs that added warmth to tile floors.
Look for rugs with geometric shapes or floral designs in brown, orange, or deep red.
When picking a rug, choose one that’s sturdy enough for bathroom use.
Natural fibers work well and look better with age.
To keep your vintage rug in good shape, shake it out weekly and clean spills right away.
Place it away from direct water to prevent mold. A good spot is in front of the sink or beside the tub.
3. Layering Antique Mirrors
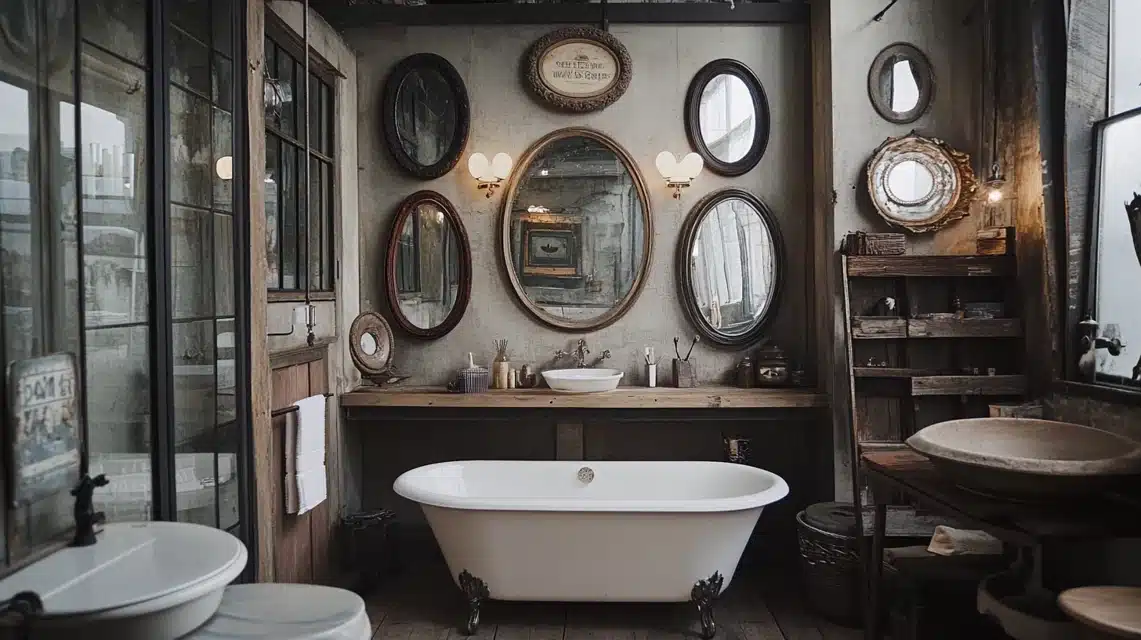
Multiple mirrors can make your bathroom more interesting and brighter.
Start with a main mirror above the sink, choosing one with a metal frame that’s worn with time.
Add smaller mirrors in different shapes – round, oval, or square – on nearby walls. The key is to mix sizes and styles while keeping the frames similar.
When hanging mirrors, try different heights and angles.
Some can be for daily use, while others can be just for style.
Look for mirrors with slight spots or cloudiness – these marks show age and add character. Keep safety in mind by making sure all mirrors are secured well to the wall.
Group them in odd numbers for the best look.
4. Add a Touch of Salvaged Materials
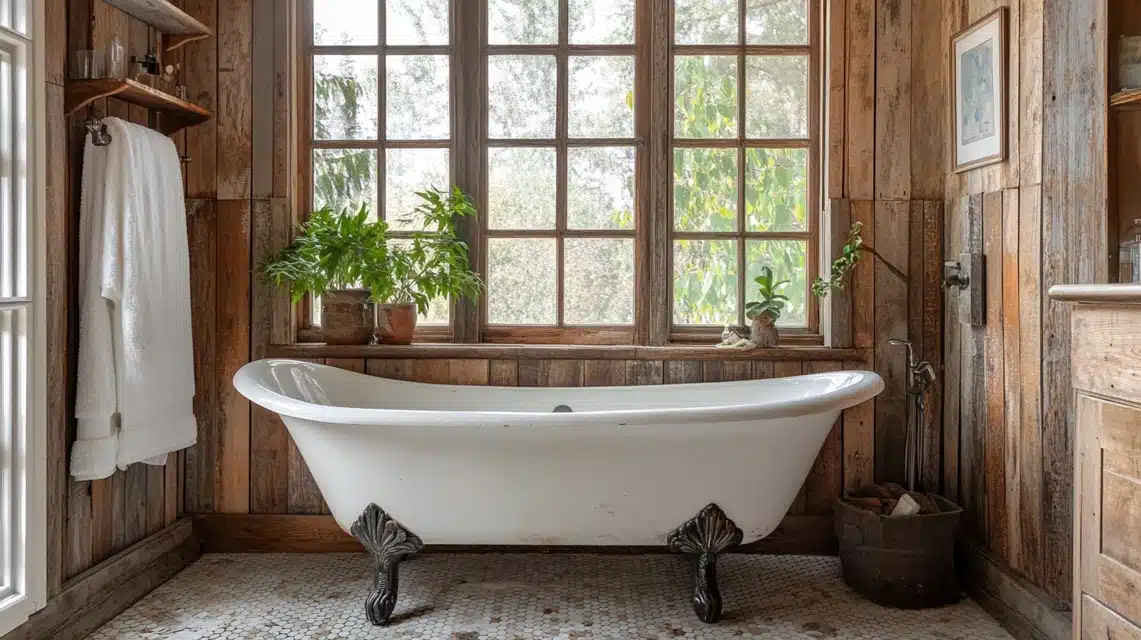
Old materials bring real history to your bathroom. A cast iron tub with claw feet can be the main focus.
Wood panels from old buildings work well on walls or as shelving. Old tiles, even if slightly worn, add genuine character to floors.
To find these items, check building salvage yards, estate sales, and local restoration shops.
Make sure wood is treated for bathroom moisture.
For tubs, look for ones that are still in good shape – fixing them can be costly.
Test all salvaged pieces for safety and stability before using them.
Small items like old hooks or door handles are good starting points.
5. Repurpose Retro Furniture
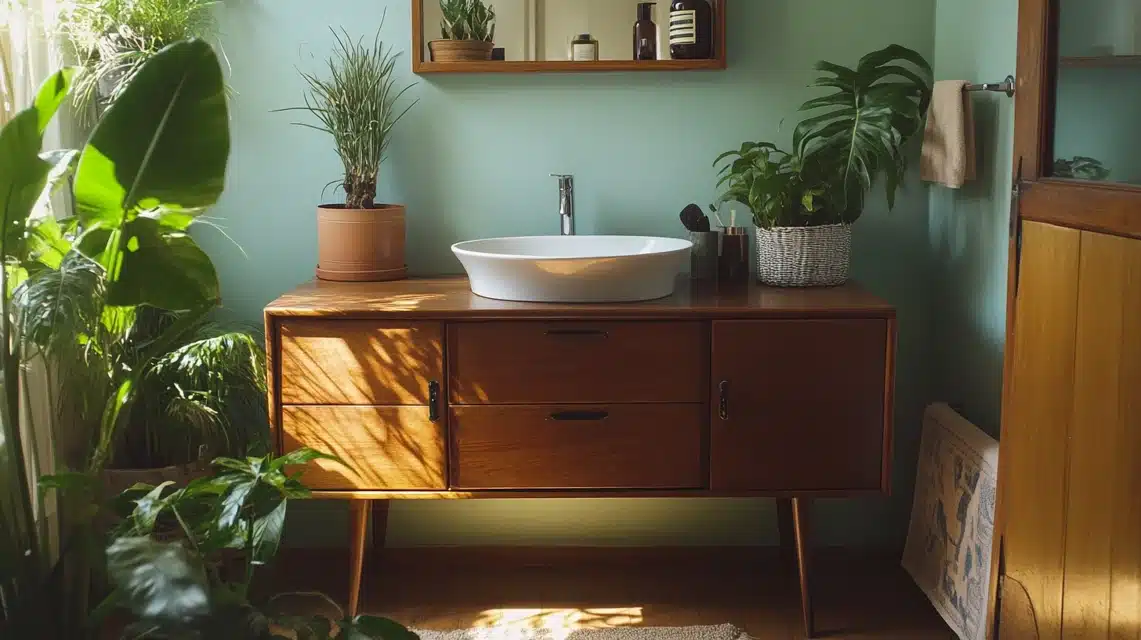
Old furniture can give your bathroom a unique look.
Turn a wooden dresser into a sink base – just cut holes for pipes and add a water-safe top. Small tables work well next to tubs for holding soaps and towels.
Look for pieces from the 70s with clean lines and solid wood construction.
When choosing furniture, make sure it’s sturdy and can handle moisture.
Check drawers and legs for any weak spots.
Wood pieces should have good finish to protect against water.
Good choices include old nightstands, low dressers, or small cabinets. Metal pieces like magazine racks or towel stands also work well and don’t need much care.
6. Timeless Appeal
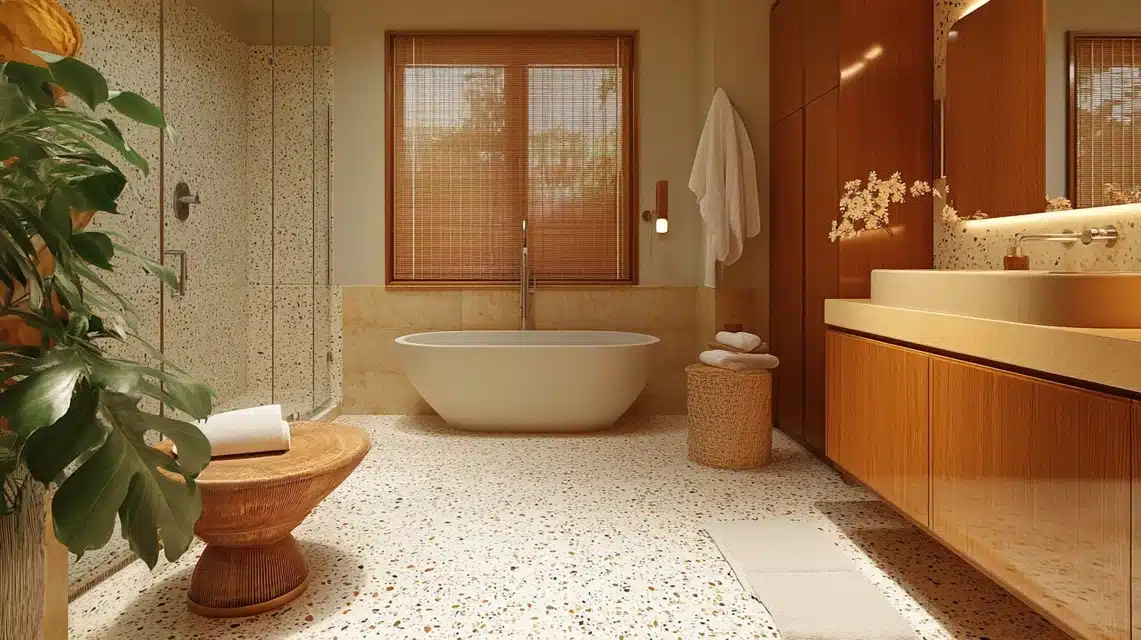
The charm of 70s bathrooms stays strong today because they mix good looks with practicality.
Terrazzo floors still work well and last long.
Pedestal sinks save space while looking classic. These bathrooms show us that good design doesn’t go out of style.
What makes these bathrooms special is their mix of colors and textures.
The choices made back then – like easy-to-clean surfaces and smart storage – still make sense now.
Modern bathrooms often copy ideas from this time, like built-in storage and natural light.
People keep coming back to this style because it makes bathrooms feel welcoming and real.
7. Contemporary Bathroom Trends
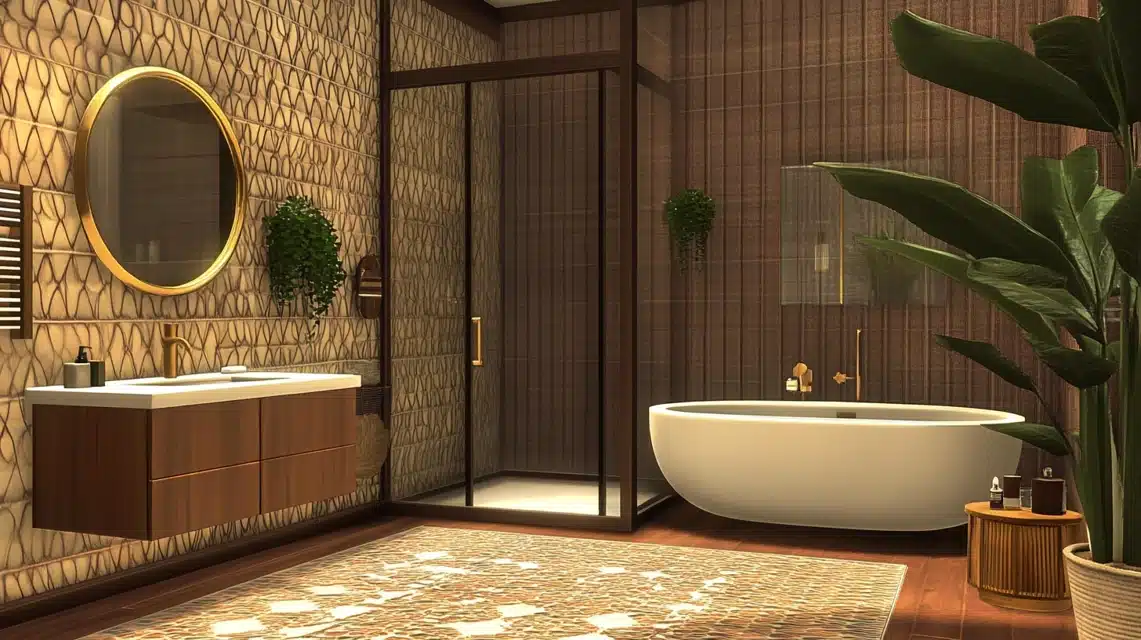
Modern bathrooms often borrow ideas from the 1970s while giving them a fresh look.
Today’s designers take the best parts of 70s style – like bold patterns and warm colors – and mix them with new materials and technology.
You’ll see bathrooms with colorful tiles that remind you of the 70s, but in simpler patterns that fit today’s taste.
Many new bathrooms feature brass fixtures and terrazzo floors, just like in the 70s, but with cleaner lines.
Designers now use earth-tone tiles in modern shapes and add wooden elements that make spaces feel warm.
The old idea of making bathrooms feel like living spaces still works today – you’ll notice plants, artwork, and comfortable seating in many new designs.
8. The Legacy of the 70s
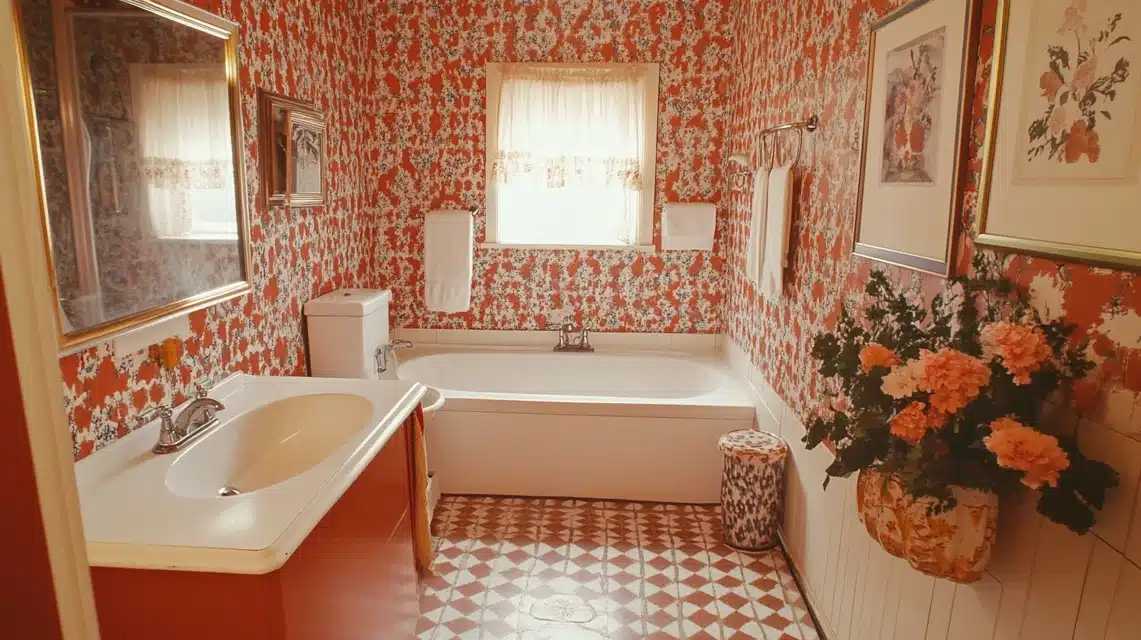
The 1970s changed how we think about bathrooms. Before this time, bathrooms were plain and all about function.
The 70s brought in new ideas about making these spaces personal and fun.
People started using bold colors, adding art to their walls, and mixing different patterns.
This was when bathrooms became more than just a place to wash—they became spaces where people could express themselves.
Homeowners tried new things with tiles, colors, and layouts.
They added plants, used natural materials, and made bathrooms feel like an extension of their living space.
These changes shaped how we design bathrooms today, showing us that practical spaces can still have personality.
9. DIY Projects
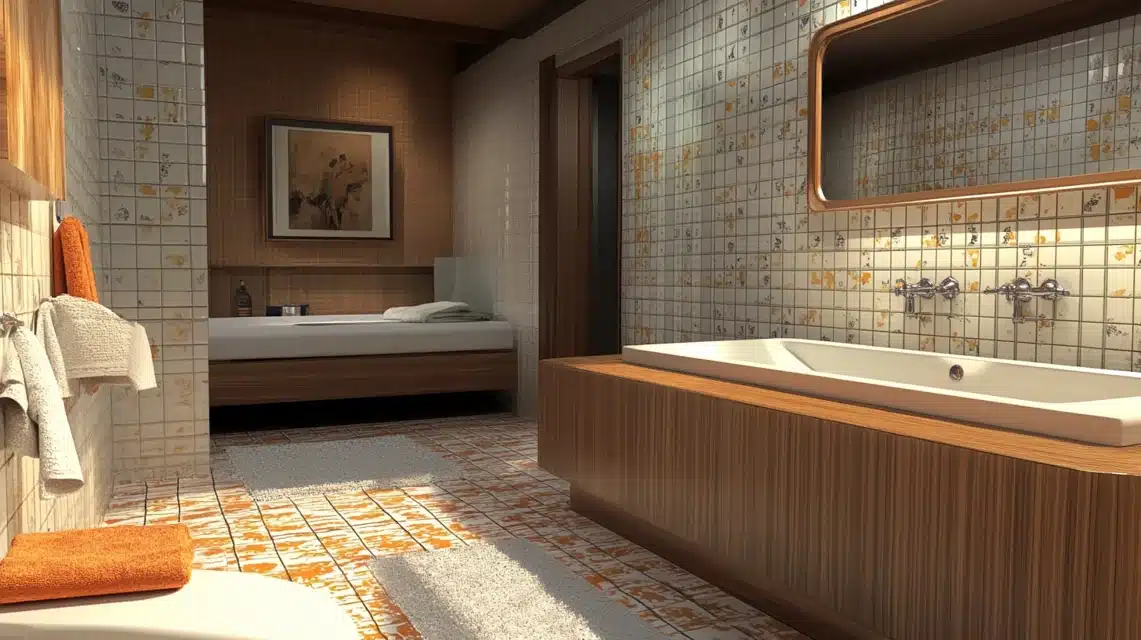
Are you looking to add some ’70s style without spending too much? Try these simple projects.
Paint one wall in a warm brown or rich orange – these colors bring an instant 70s feeling.
Make your own wall art using wooden beads and cotton rope. For a vintage look, you can also paint old picture frames in gold or brass colors.
For storage, turn old wooden crates into wall shelves.
Paint them in 70s colors or leave them natural. Add simple hooks for hanging plants or towels.
Another easy project is updating cabinet handles – look for ones in metal finishes.
You can also make simple curtains using natural cotton fabric. These projects help you add 70s touches while keeping costs low.
10. Blending 70s Elements with Present Trends
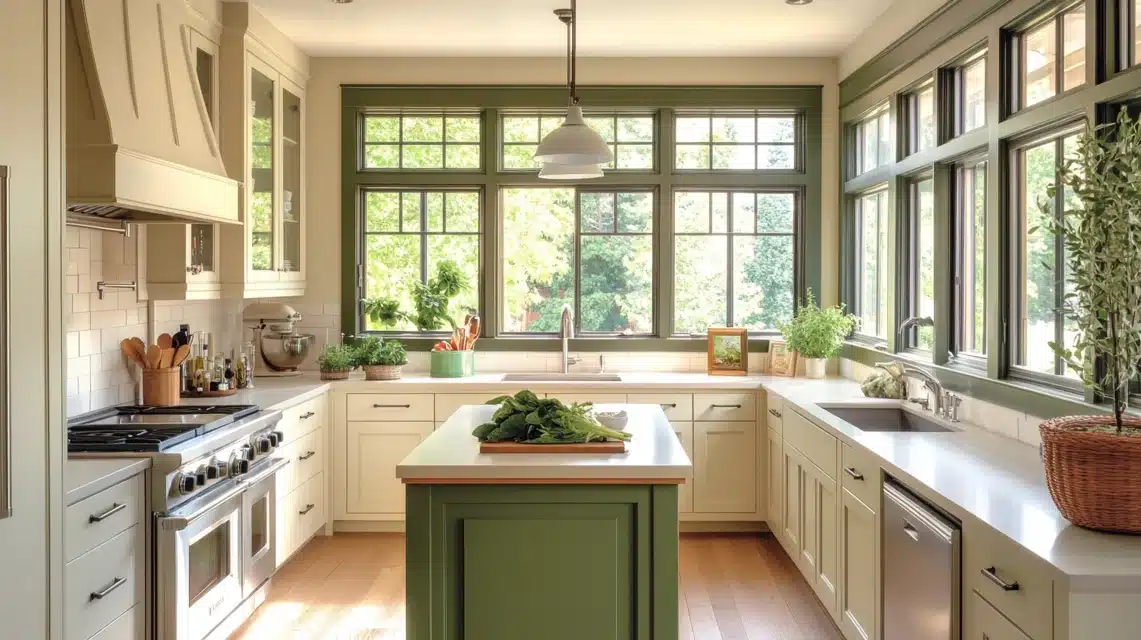
Creating a bathroom that honors the 70s while working for today takes careful planning.
Start with a base of modern fixtures – a new toilet and sink with clean lines.
Then add 70s touches like warm-colored tiles or patterned floor coverings. Keep the main pieces simple and add character through things you can easily change.
Mix old and new materials – pair a modern sink with vintage-style faucets, or put new lighting fixtures next to old mirrors. Wood elements work well with both styles.
Choose colors that bridge both times – warm browns and soft whites go with everything.
This mix gives you a bathroom that feels both classic and current.
11. Sourcing Materials That Reflect the 70s Era
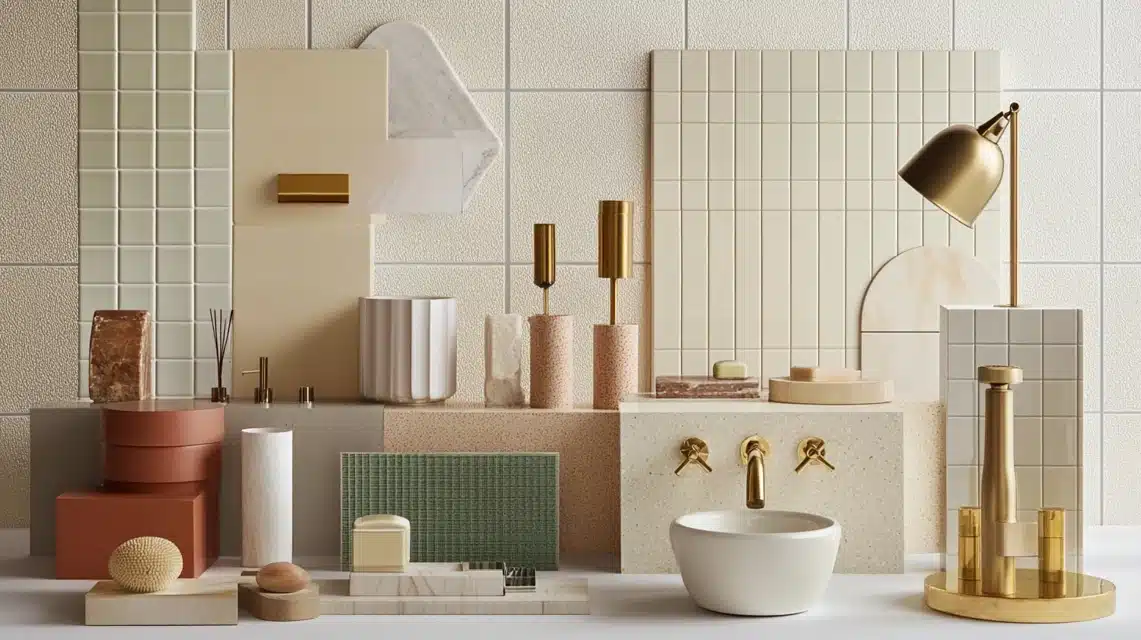
Finding the right materials makes all the difference in creating a true 70s feel.
Check local building reuse centers for original tiles, fixtures, and hardware.
Many online stores now sell new items made to look like 70s pieces.
Look at specialty flooring stores that carry terrazzo and patterned tiles for floor materials.
Shop at flea markets and estate sales for small items like light fixtures and mirrors.
Many online sellers have focused on bathroom pieces from this time.
Some companies make new versions of 70s tiles using updated materials that last longer.
For walls, look at paint stores that offer special color collections based on past decades.
Remember to check the quality of old materials – they need to hold up in a wet bathroom.
12. Renovate and Recreate
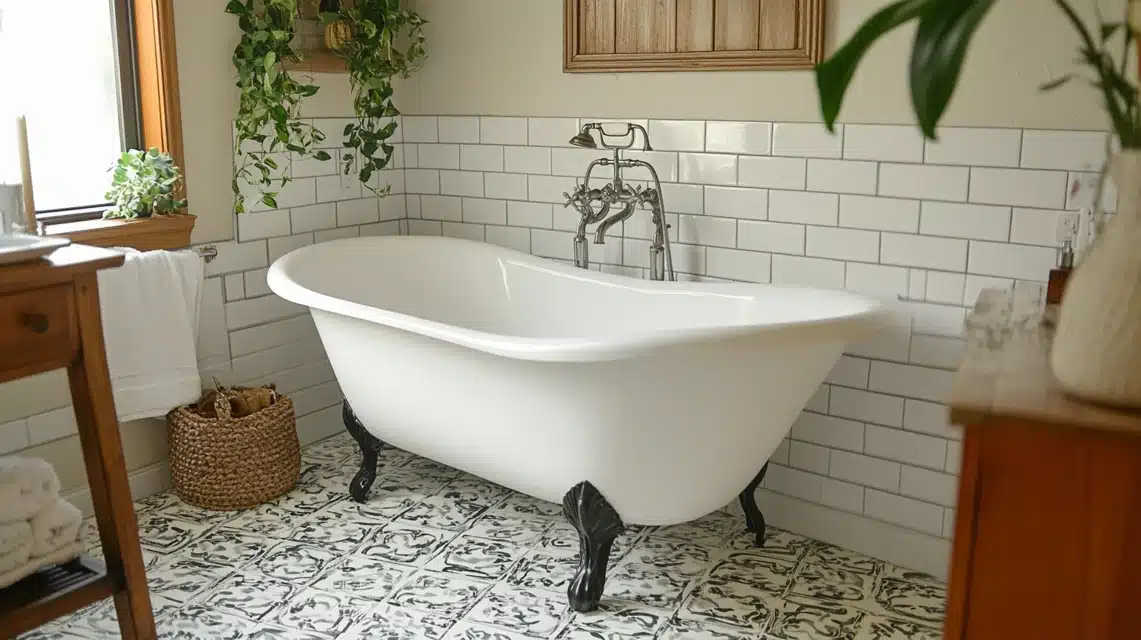
Planning a 70s-style bathroom takes careful thought about what works today.
Start by setting a clear budget for your project. Big items like tubs and tiles should come first.
Choose materials that can handle daily use and moisture – not everything old works well in today’s bathrooms.
When working with contractors, show them clear pictures of what you want.
Make sure they understand which parts need to look old and which should be new.
Keep some money aside for unexpected issues, especially when working with old pipes or walls. Think about what matters most – maybe spend more on floor tiles but save on simple light fixtures.
13. Powder Rooms
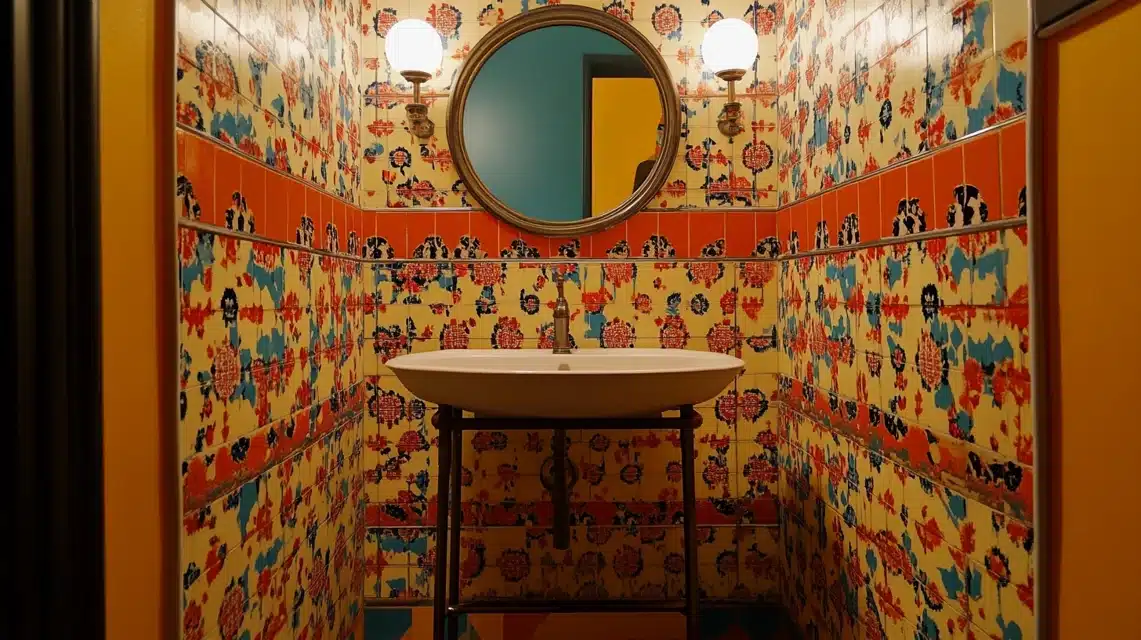
Small powder rooms offer perfect spots to try bold 70s style.
Since these spaces are smaller, you can use fun patterns without feeling too much.
Try putting interesting wallpaper on all walls, or use colorful floor tiles.
A small sink with metal legs can save space while looking just right for the time period.
For storage in these tiny rooms, look up – walls offer good spots for small shelves or cabinets.
Keep things off the floor to make the room feel bigger.
A round mirror with a metal frame works well above the sink.
Even in small spaces, you can add personality with little touches like metal tissue holders or colorful hand towels.
14. Open Plan Concept
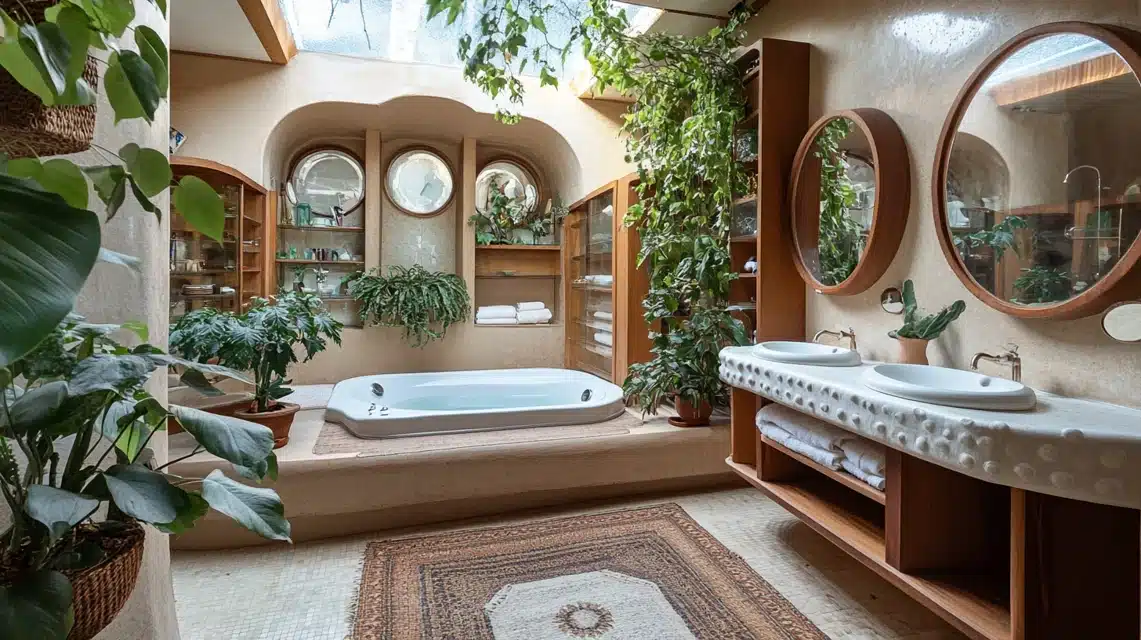
The 70s brought new ways of laying out bathrooms, including more open designs.
These spaces often put the tub in the middle of the room, with other pieces along the walls.
This style makes rooms feel bigger and brighter.
Today, you can use glass panels or half walls to keep water contained while keeping the feeling of being open.
Think about how you’ll use the space – maybe add a changing area or put in a sitting spot near the tub.
Good airflow helps with moisture in open bathrooms.
Use rugs or different floor patterns to show different areas without walls.
Plants work well in these open spaces, adding life while helping with privacy.
15. Organized Layouts
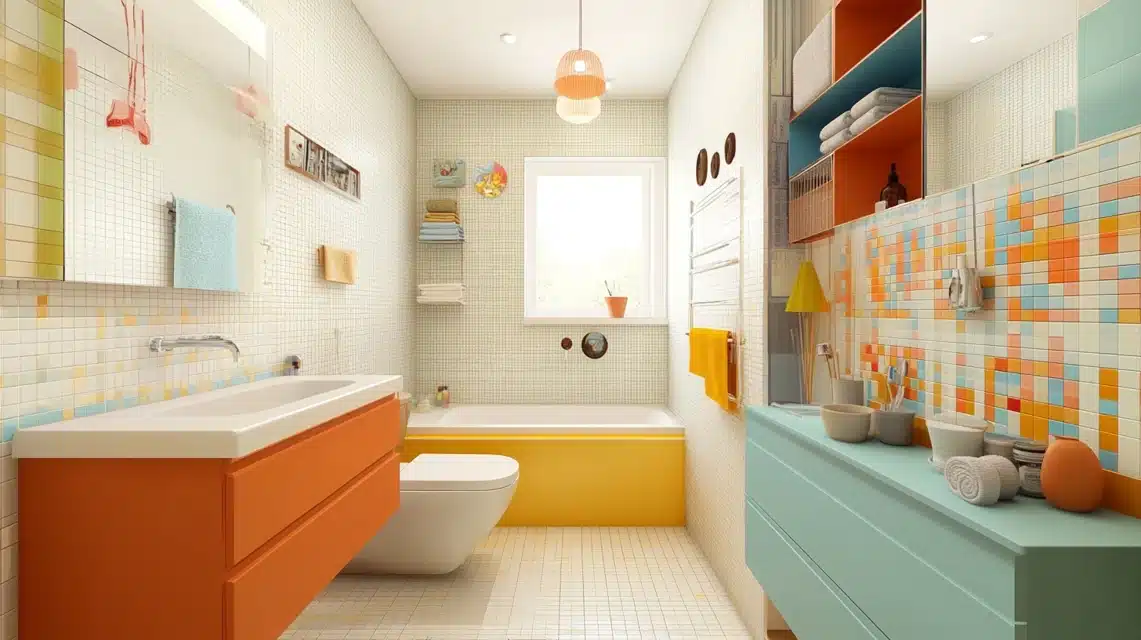
The 70s brought smart ways to arrange bathrooms.
Split areas worked well – toilet in one spot, sink in another, and bath or shower separate.
This way, family members could use different parts at the same time. Today, these ideas still make sense for busy households.
Built-in storage was big then and works now, too.
Look for ways to add cabinets between wall studs or under counters.
Put the toilet behind a half wall for privacy. Keep sink areas open with good lighting.
Think about morning routines when planning – make sure there’s enough room for people to move around easily.
16. Bathroom Layout of the 70s Era
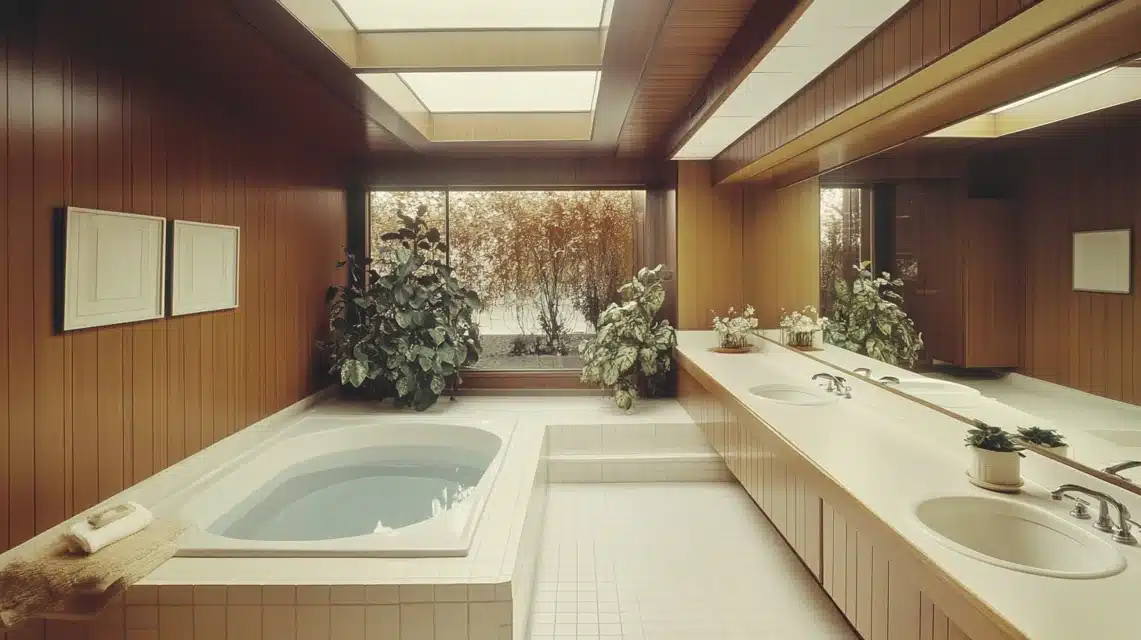
The 70s had its own way of setting up bathrooms.
Big windows let in lots of light, and tubs often sat lower than the floor.
Many bathrooms had long counters with two sinks. Storage came built into walls, not just in cabinets. These layouts made good use of space while looking nice.
Think about how these ideas fit your home. Maybe you can’t put in a sunken tub, but you can add more natural light.
Double sinks help families share space. Look at your room’s shape – long walls work well for vanities and corners for tubs.
Remember that a good layout makes a bathroom work better, no matter its size.
17. Shag Rugs
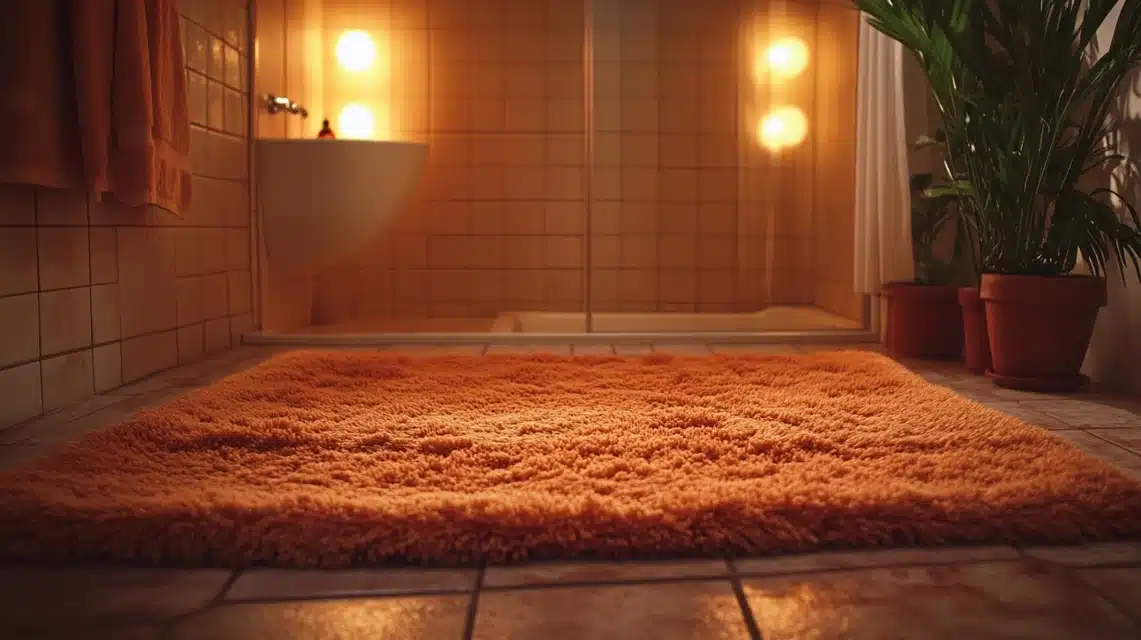
Shag rugs brought comfort and style to 70s bathrooms. These thick, soft rugs made cold floors feel cozy.
Today’s versions come in better materials that handle bathroom moisture.
Pick ones in solid colors or simple patterns that match your tiles or walls.
Put these rugs where they’ll stay fairly dry – in front of the sink or near the door works well.
Get rugs with rubber backs to prevent slipping.
To keep them clean, shake them out often and wash them when needed.
Having two lets you swap them while one is being cleaned.
Modern shag rugs use materials that dry quickly and resist mold.
18. Vanity Lighting
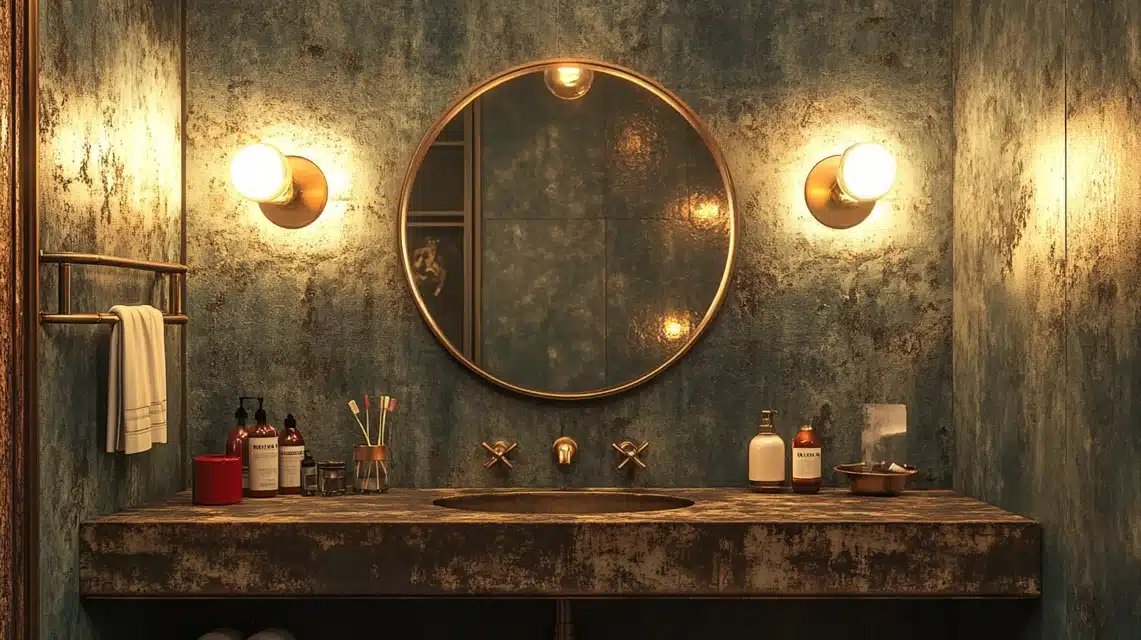
Good lighting around mirrors was important in 70s bathrooms, and it still matters today.
Light fixtures on both sides of the mirror work better than one overhead light.
Round bulbs or long light bars were common then and still look good now. Make sure the lighting helps you see clearly without making harsh shadows.
Pick fixtures that match your other bathroom metals – if you have brass faucets, get brass lights. Put them at face height for the best lighting when you’re getting ready.
Today’s LED bulbs can give you the same warm light while using less power.
19. Pendant Light
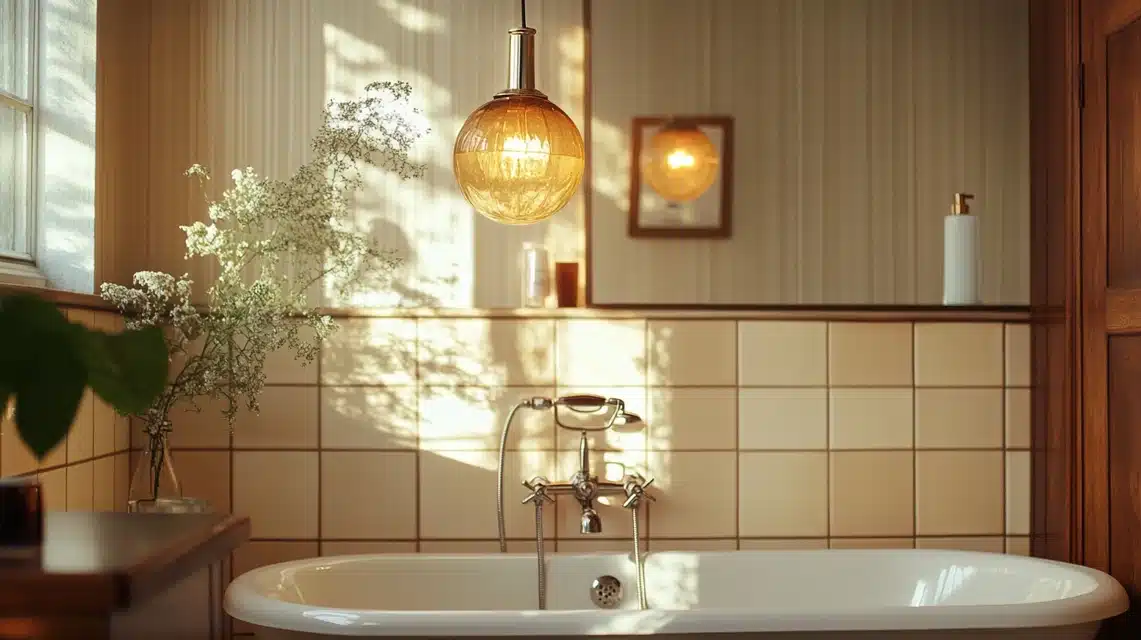
Hanging lights add style to bathrooms just like they did in the 70s.
Glass globes hanging from cords or chains catch attention right away.
Put one over the tub for soft light while bathing, or use them in pairs on either side of a big mirror.
Make sure pendant lights hang high enough that people won’t bump their heads.
In small bathrooms, one good pendant light can be enough.
Choose lights that match your bathroom’s other metals and fit the space size. Clear glass globes let out more light, while frosted ones give softer light that feels calmer.
20. Linoleum: Strong and Beautiful
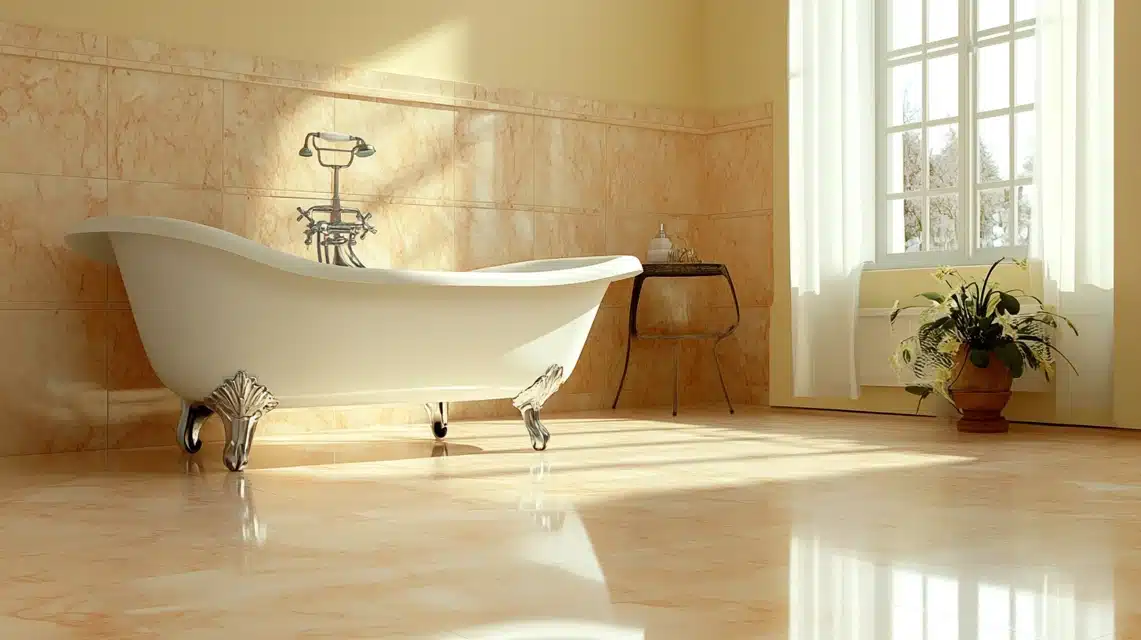
In the 1970s, linoleum stood out as a practical home flooring choice that mixed good looks with function.
This natural material, made from linseed oil, cork dust, and pigments, won over many homeowners.
It stood up well to wear and kept water from causing damage, making it a smart pick for bathrooms.
People liked that they could choose from many designs – from basic shapes to marble-style patterns.
The mix of natural parts created floors that lasted long and looked good.
For those watching their budget, linoleum offered a way to get quality flooring without spending too much.
Conclusion
Exploring the 70s bathroom design has shown me how these spaces brilliantly combine style with function.
Their warmth and personality stand in stark contrast to today’s minimal white bathrooms.
Whether you start small with colorful accessories and plants or go bold with patterned tiles and vintage fixtures, the beauty of this style is its flexibility.
The key is personalizing it to fit your lifestyle while creating a unique space.
Ready to transform your bathroom? Even a single change can start your journey back to this distinctive era.
Frequently Asked Questions
What were Bathrooms Like in the 1970s?
In the 1970s, bathrooms featured bold colors, patterned tiles, thick rugs, and built-in storage. Many had sunken tubs and double sinks for family use.
What adds the Most Value to a Bathroom?
A well-done bathroom remodel with high-quality fixtures, good lighting, ample storage, proper ventilation, and updated plumbing adds the most long-term value to your home.

