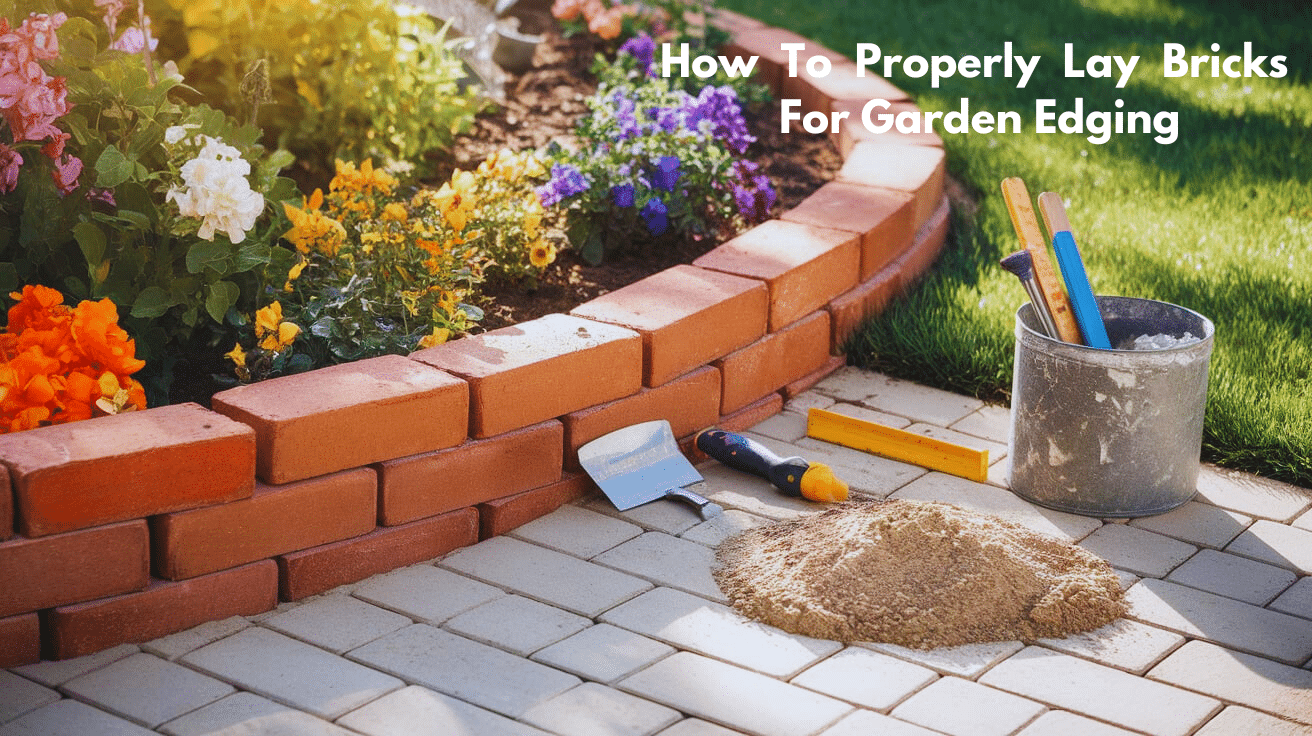
Want to make your garden look better? Brick edges are a great way to make your garden beds stand out.
They work like a line between plants and grass, keeping everything in place. Using bricks is a smart choice because they’re not expensive, last for many years, and look good in any garden.
Brick edges help keep soil and mulch in your garden beds, keeping your yard neat. They also stop grass from growing into your flower beds.
This means less time pulling out weeds and more time enjoying your garden. Plus, brick edges make it easier to mow your lawn since they create a clear line between grass and garden areas.
Making brick edges is a project you can do yourself. You’ll need basic tools, some bricks, and a weekend to complete it.
The steps are simple: mark your garden edge, dig a shallow trench, add sand, and place your bricks. When you’re done, your garden will look organized and well-kept.
Step-By-Step How to Lay Bricks for Garden Edging
Step 1: Plan and Mark the Wall Layout
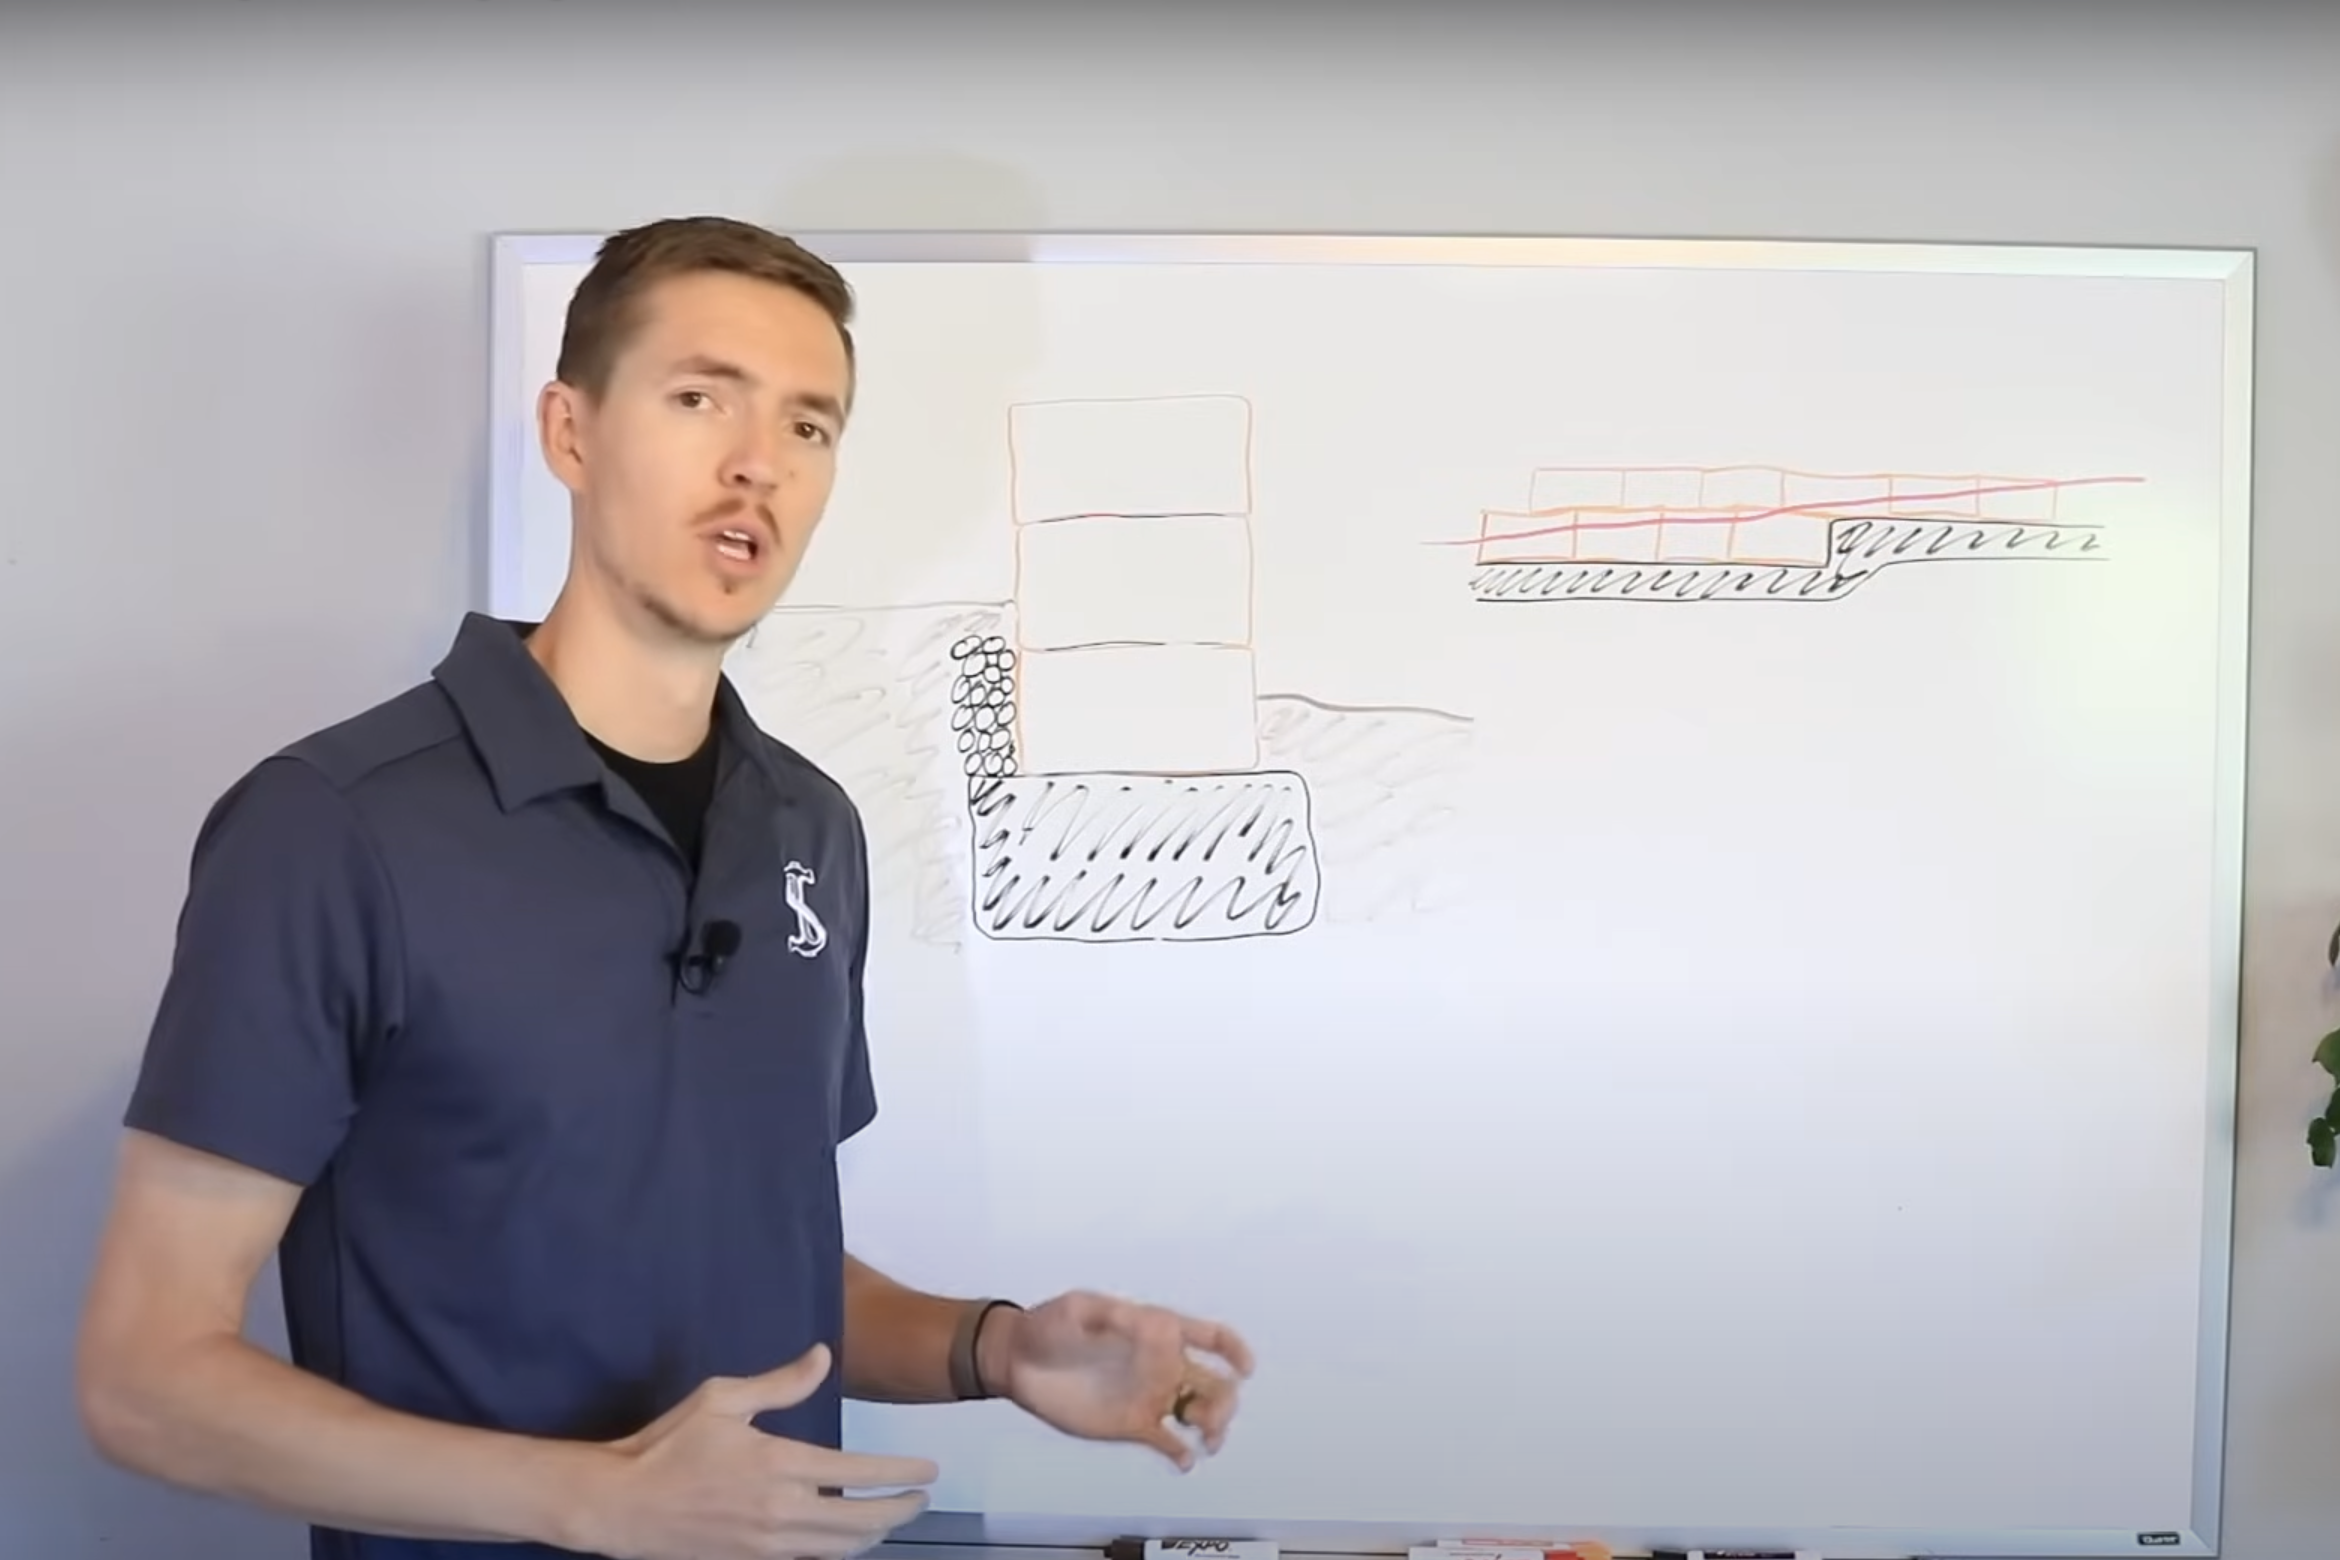
Start by deciding where you want to place your garden wall. Use stakes and a level string line to mark the area and ensure a straight and level layout.
This guide will help keep the wall aligned during installation. Place the string at the wall’s height, ensuring it’s perfectly level. This will also help determine the depth of your trench.
Step 2: Prepare the Ground and Dig a Trench
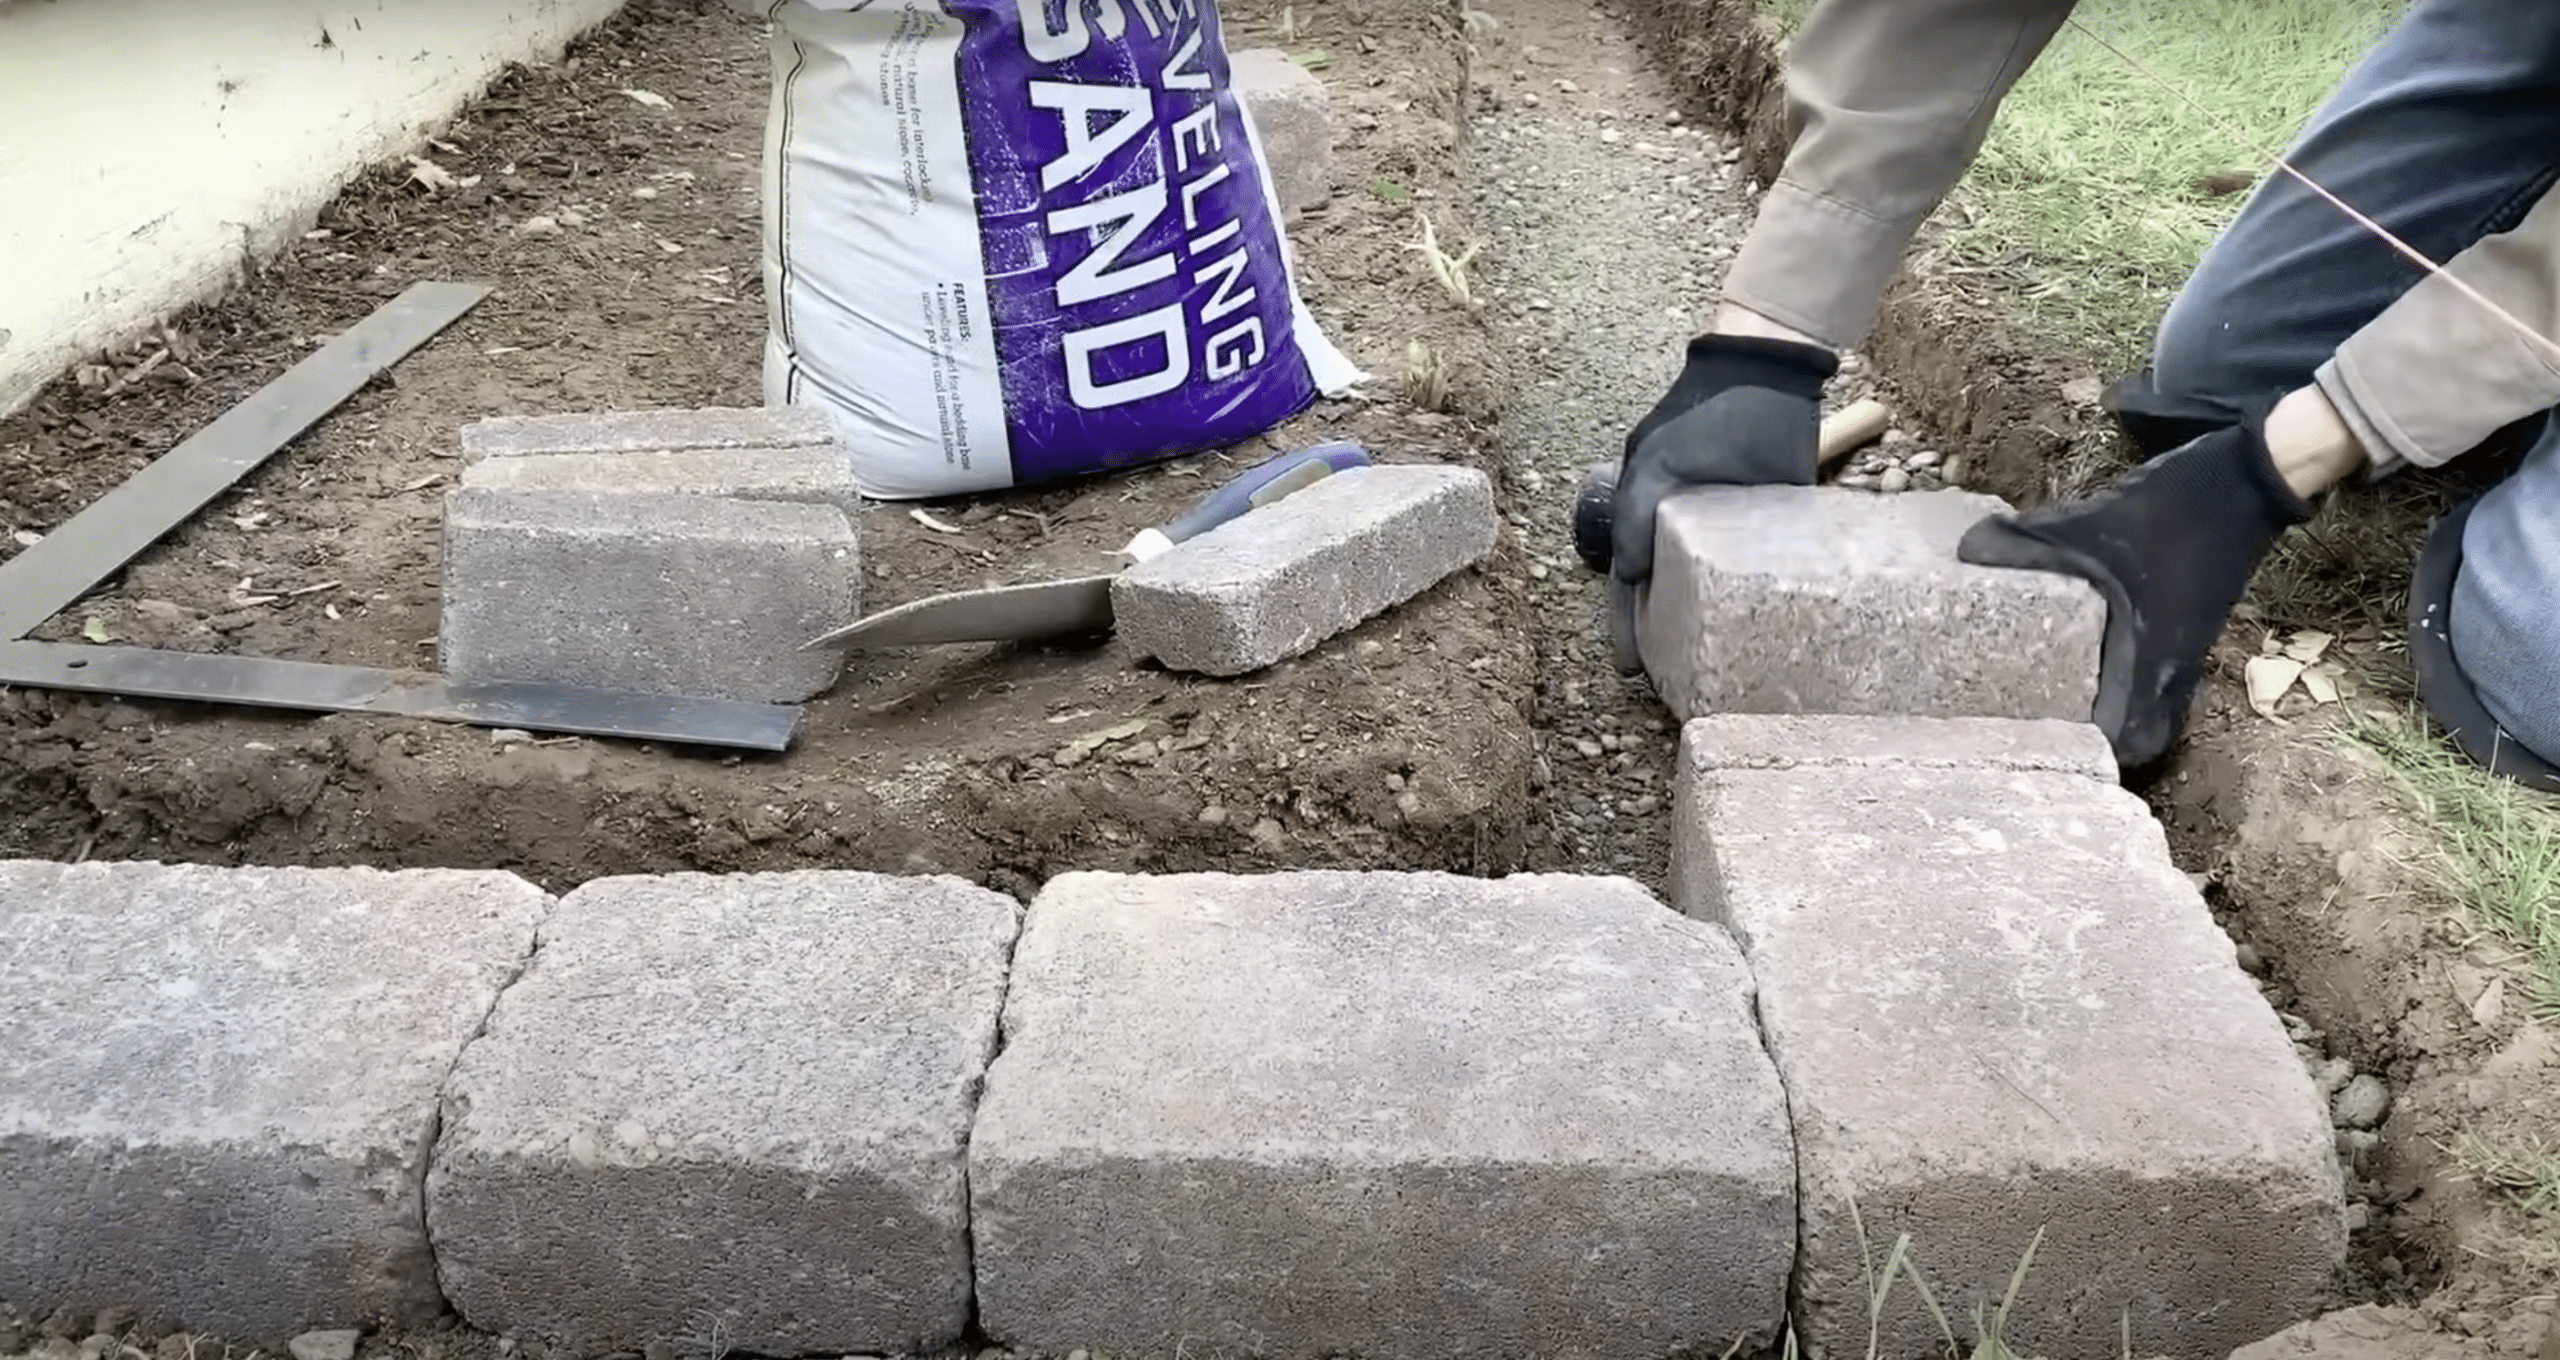
Remove any grass, weeds, or debris from the marked area. Dig a trench at least 6 inches deep and twice as wide as the blocks.
This depth allows space for a 4-inch gravel base and for burying the first layer of blocks about 2 inches below ground. Use a hand tamper to compact the soil for a solid foundation.
Step 3: Add and Compact the Gravel Base
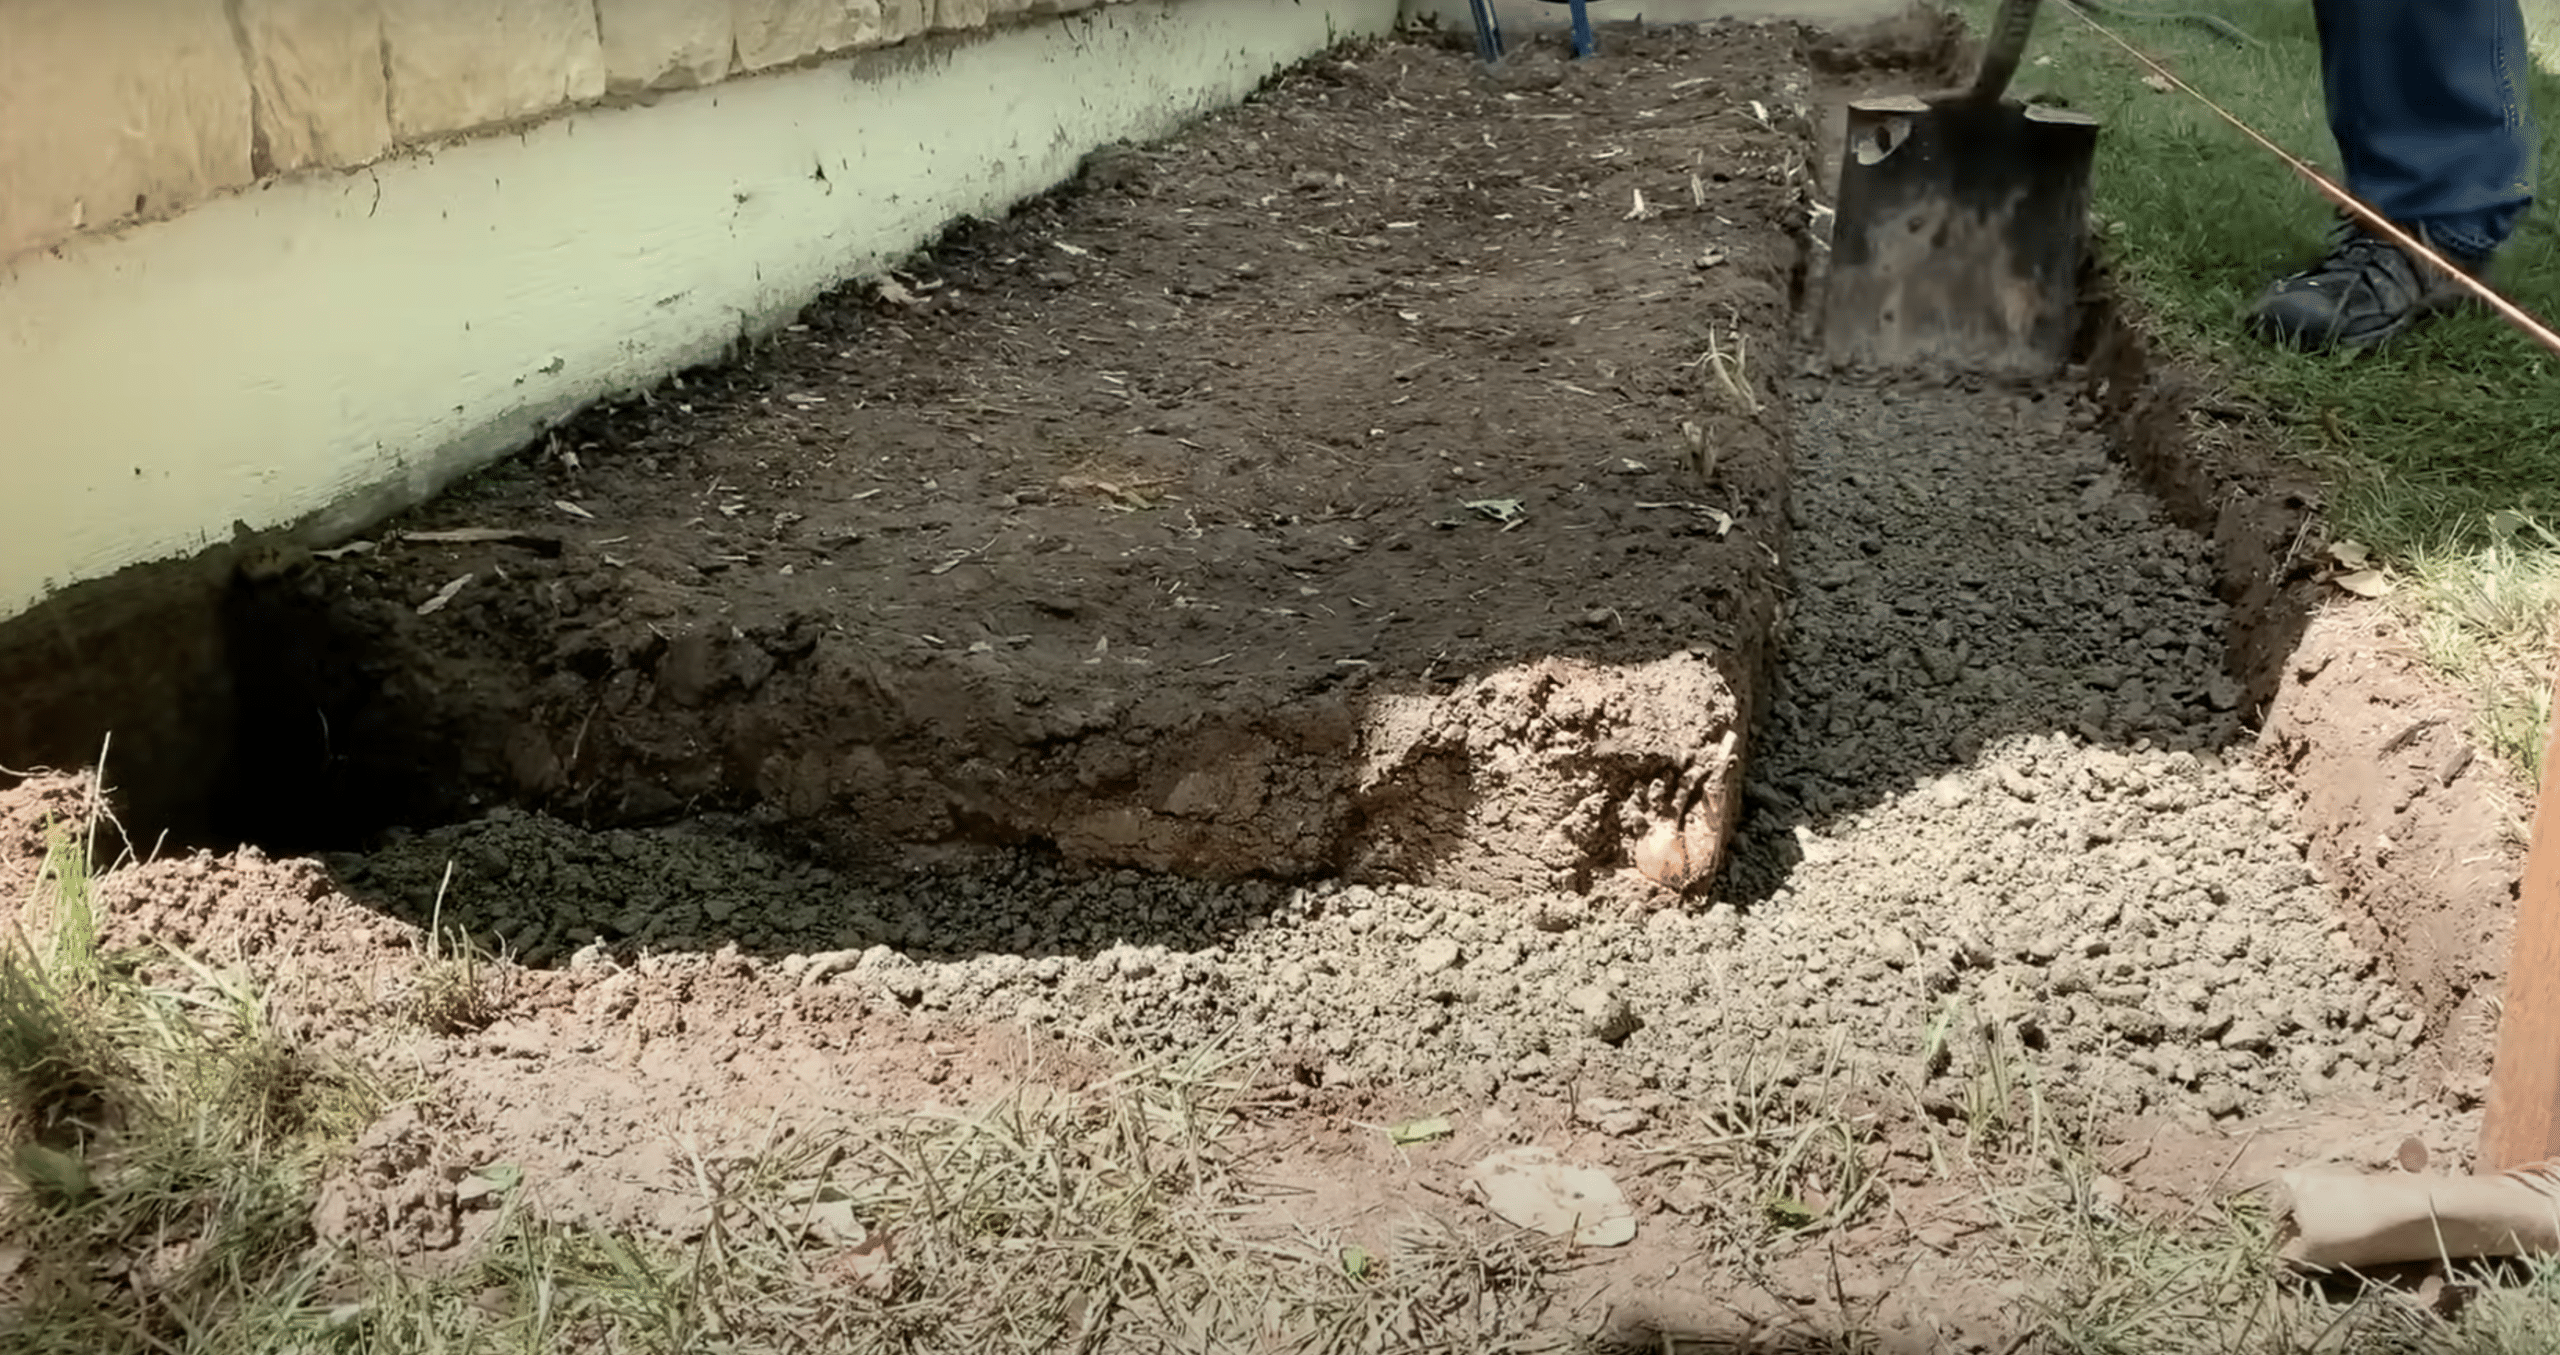
Fill the trench with gravel or paver base in 2-inch layers. Damp the gravel slightly, then compact each layer with a hand tamper.
A sturdy and level gravel base is crucial for the wall’s durability and stability. Use the level string and a 2-foot level to ensure the base is even before moving to the next step.
Step 4: Lay the First Row of Blocks
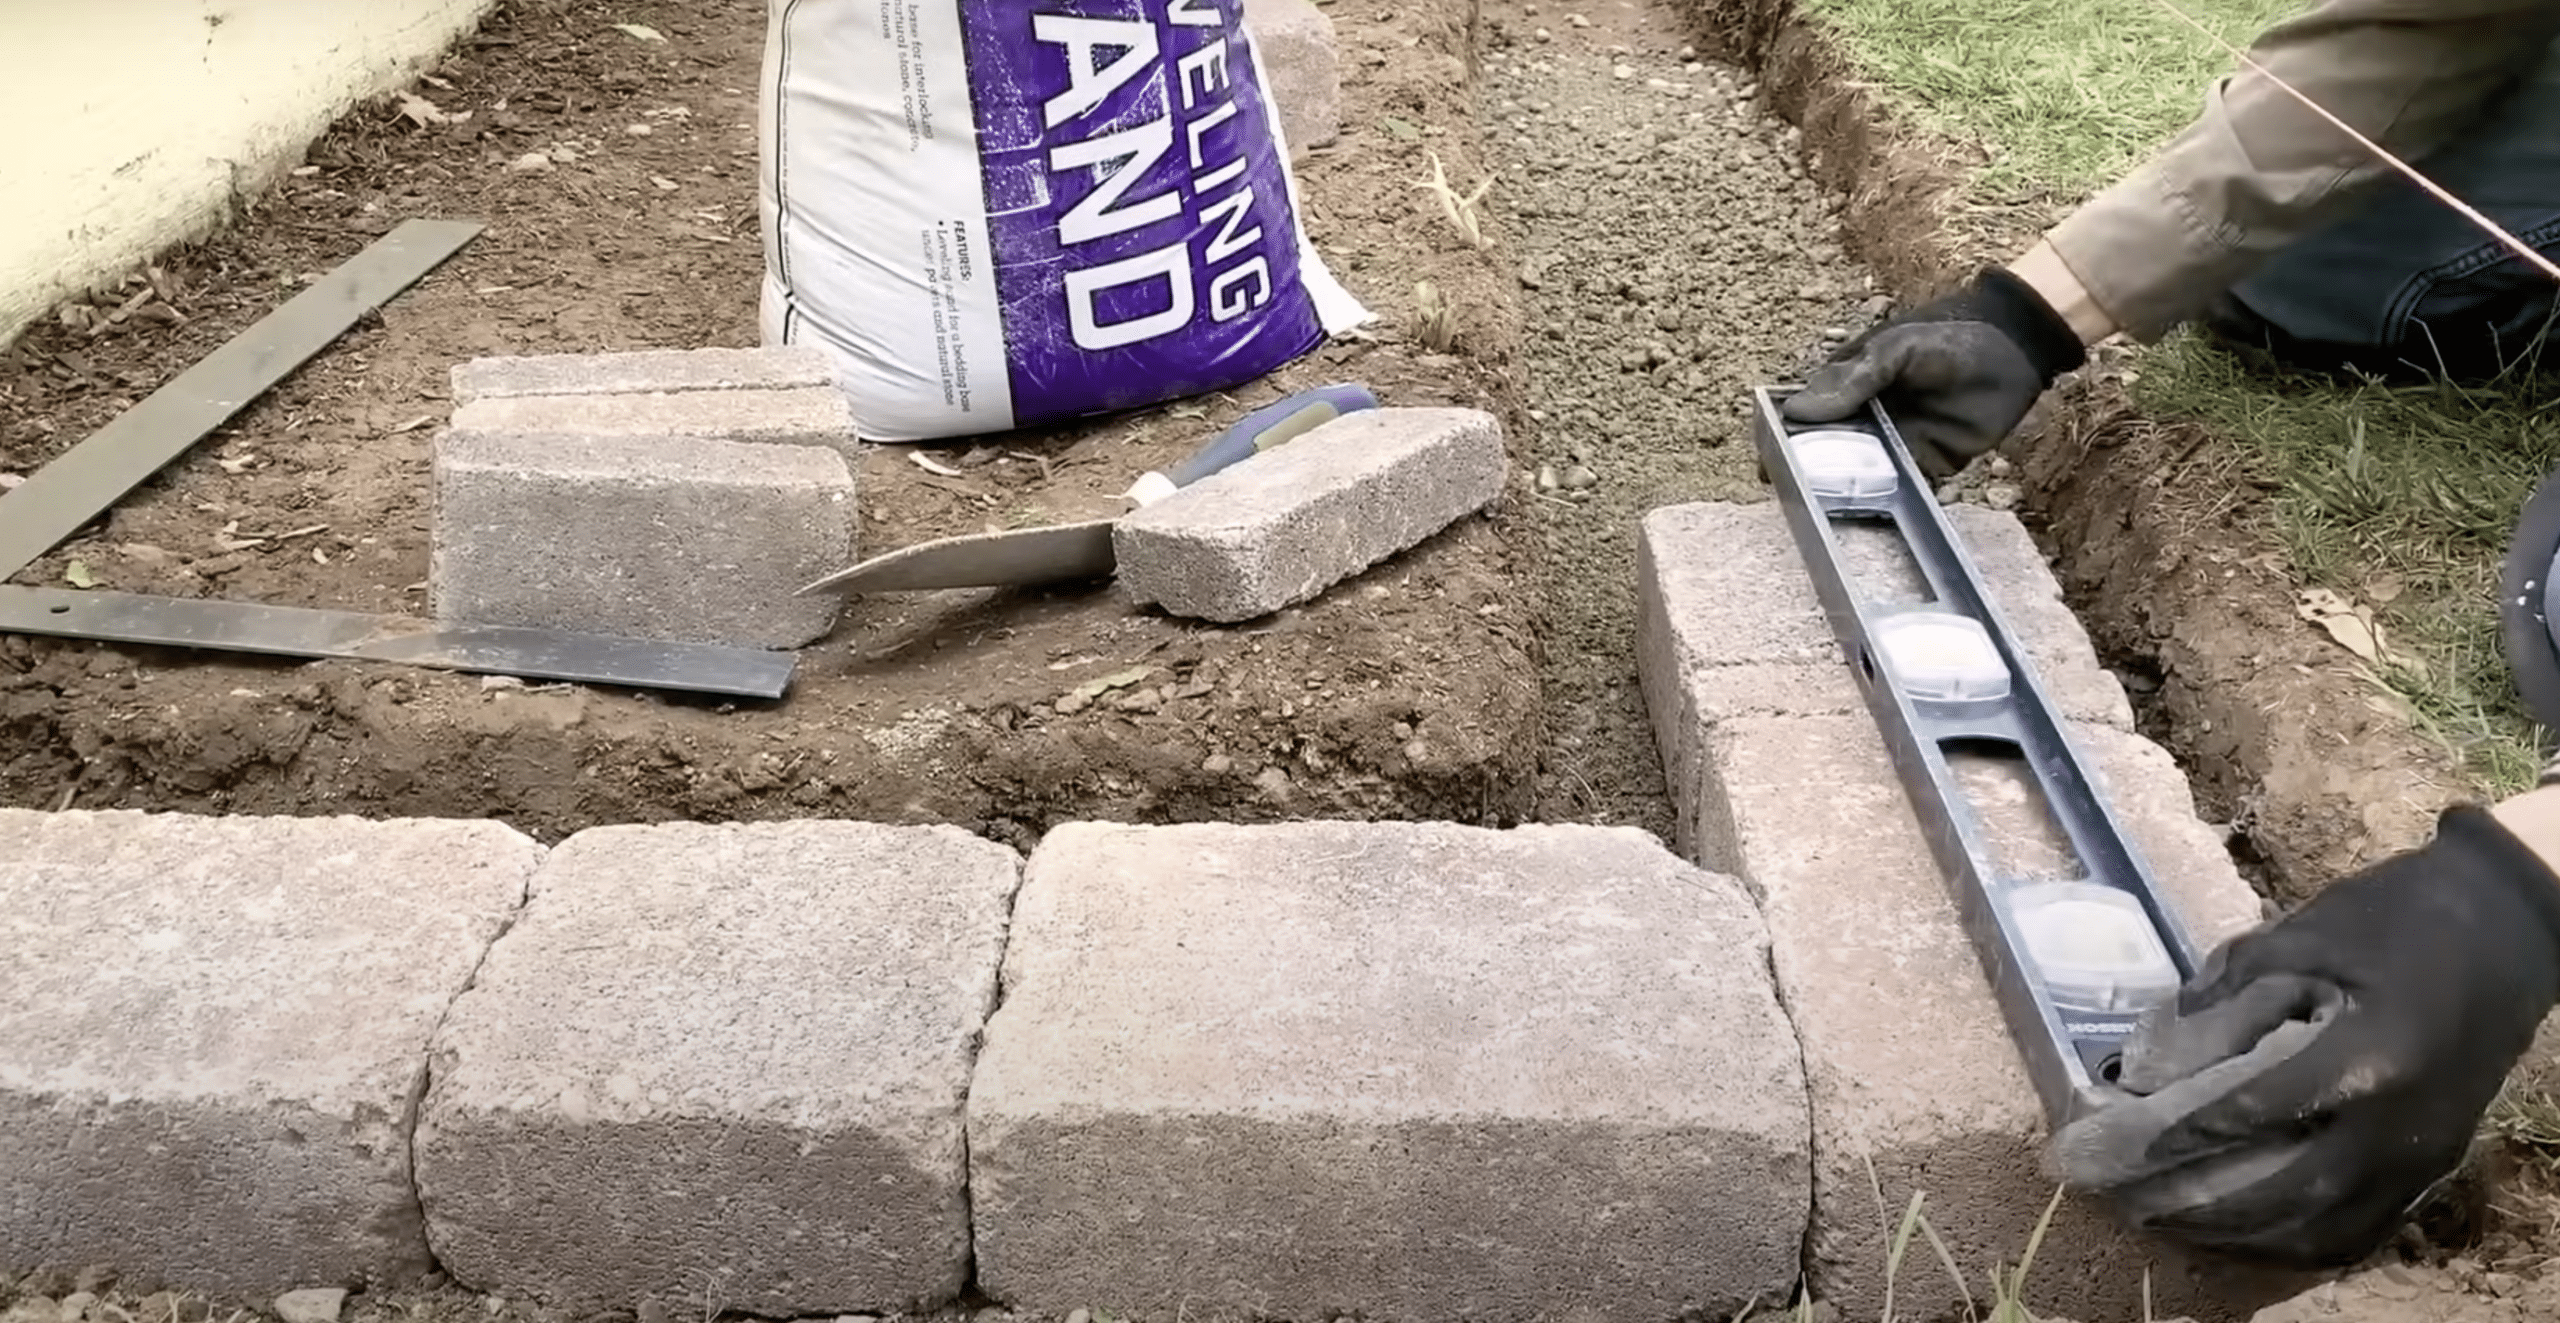
Start placing the blocks on the gravel base, following the string line for alignment. Use a rubber mallet to tap each block into place gently.
Level each block side to side and front to back, ensuring the tops are even. Use leveling sand for minor adjustments. This first layer is the most important, so take your time to get it right.
Step 5: Build Additional Rows and Add Adhesive
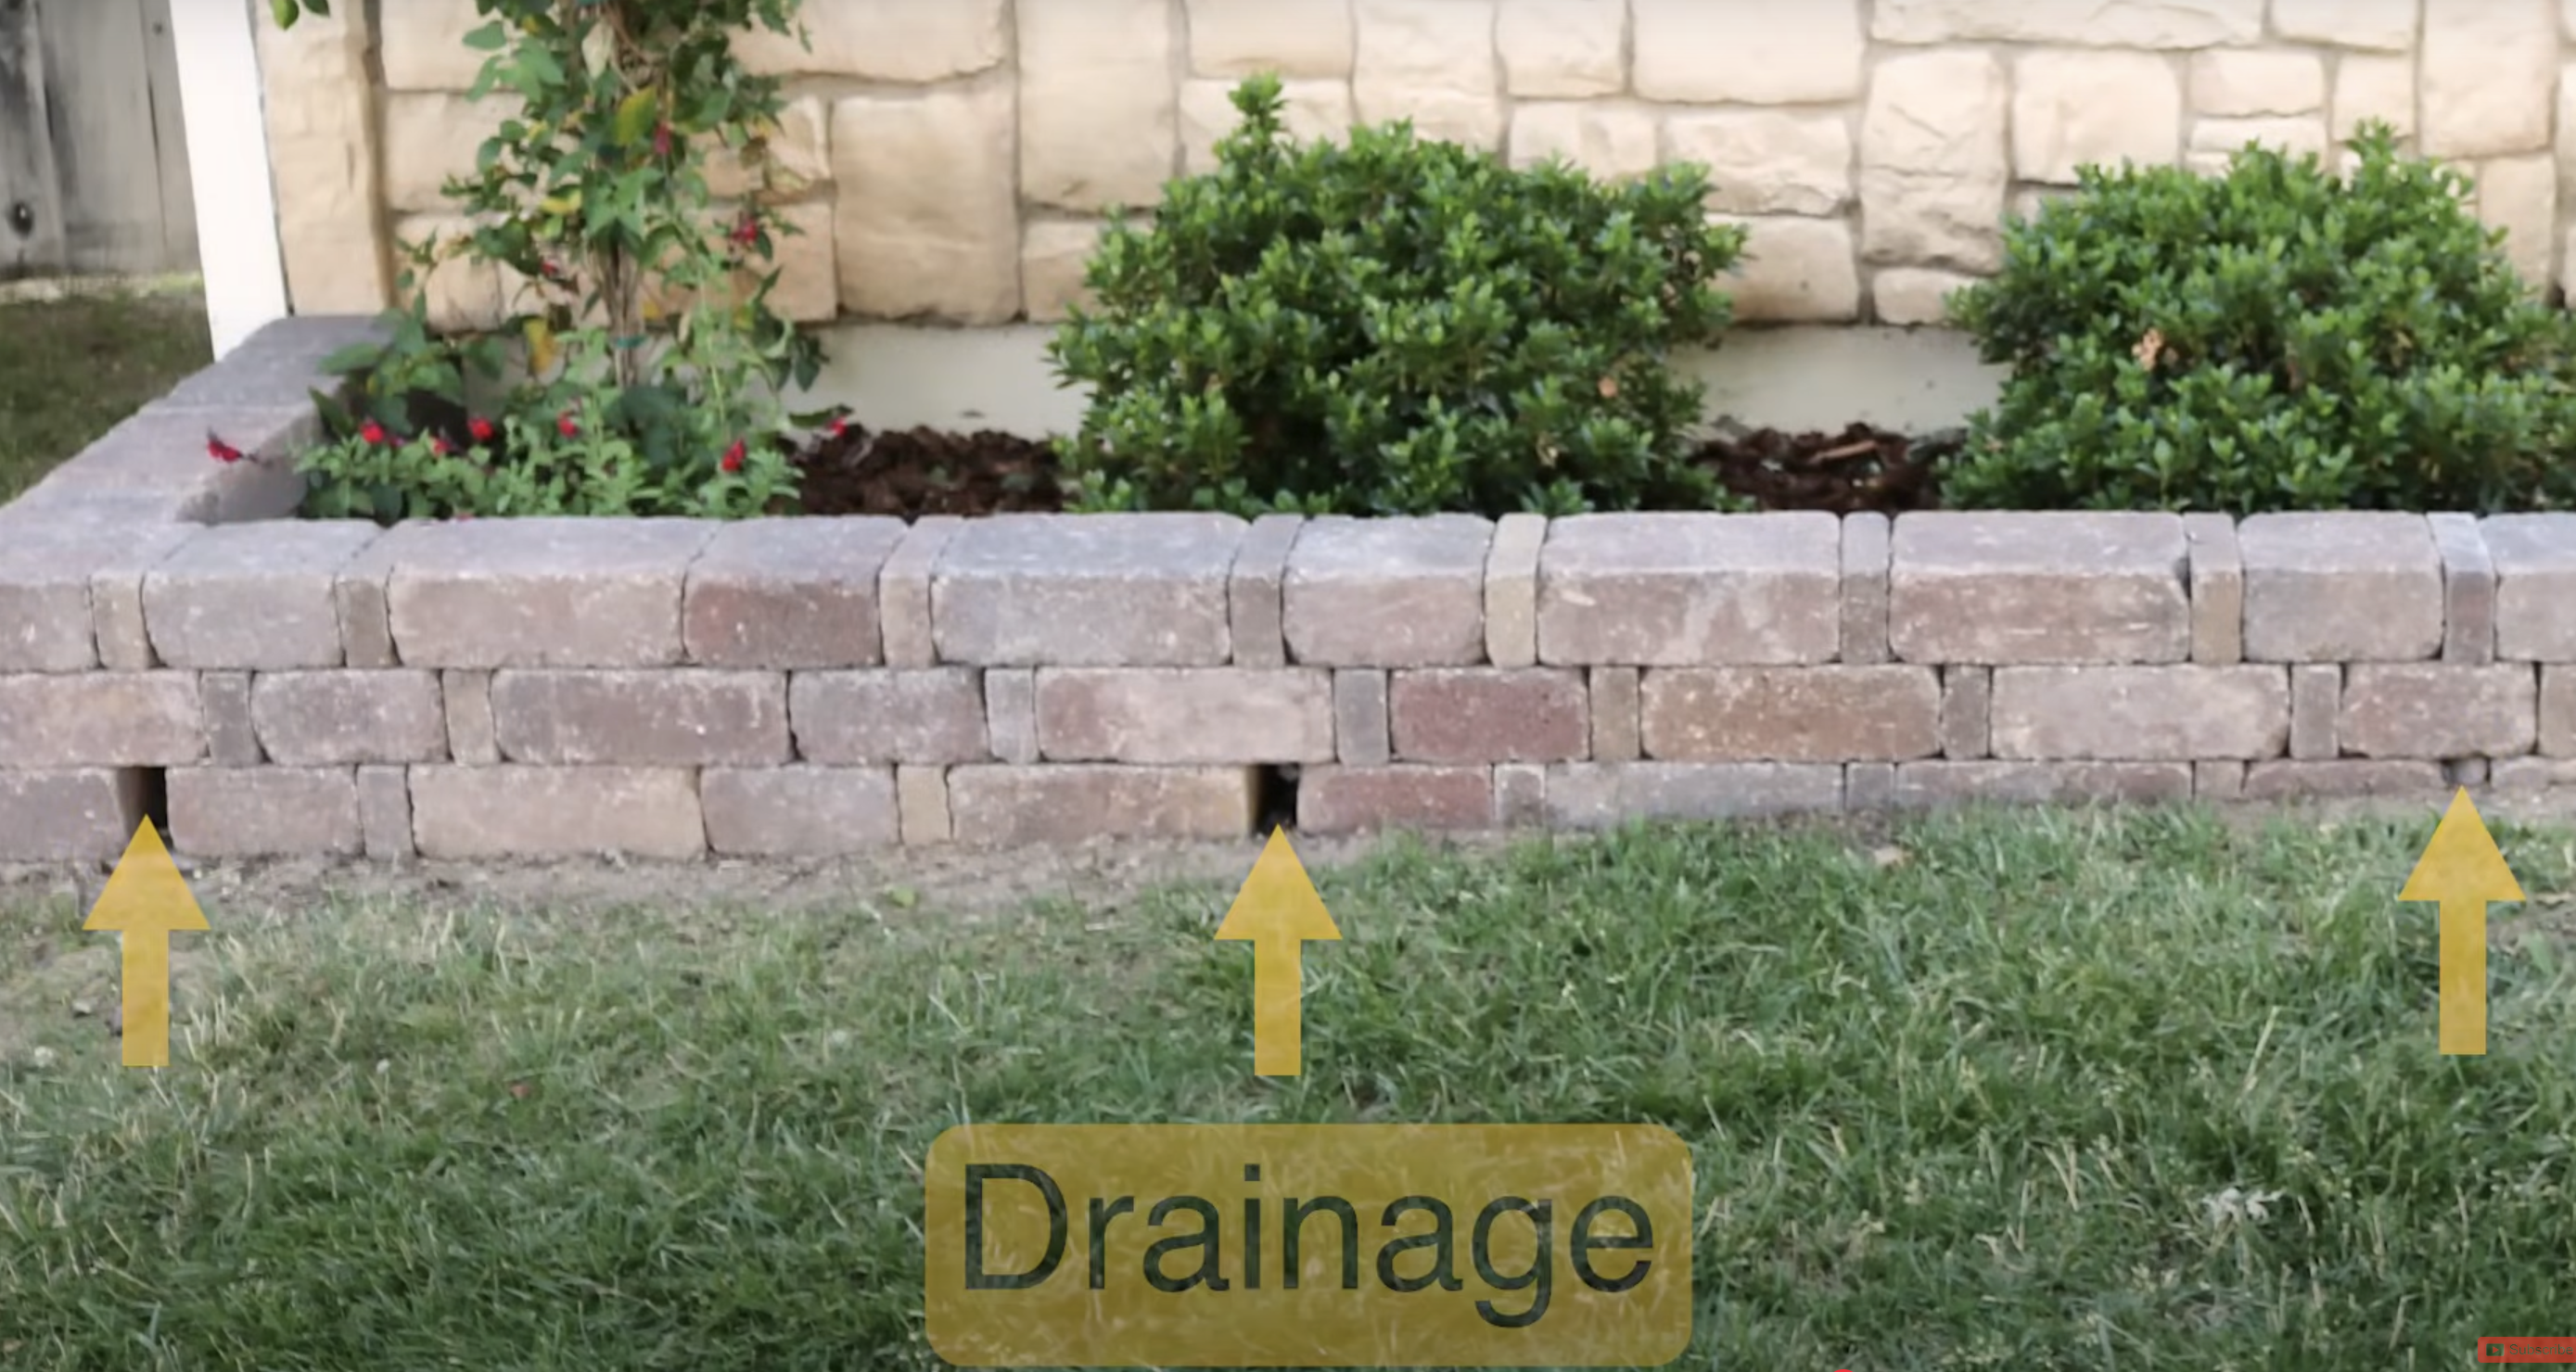
For the second and subsequent rows, stagger the joints by placing blocks so the seams don’t align.
Apply construction adhesive between the rows to lock the blocks together securely. If the ground is sloped, step the wall as needed, ensuring each level is flat before adding the next row.
Add drainage gravel behind the wall to prevent water pooling.
Step 6: Finish the Wall and Make Final Adjustments
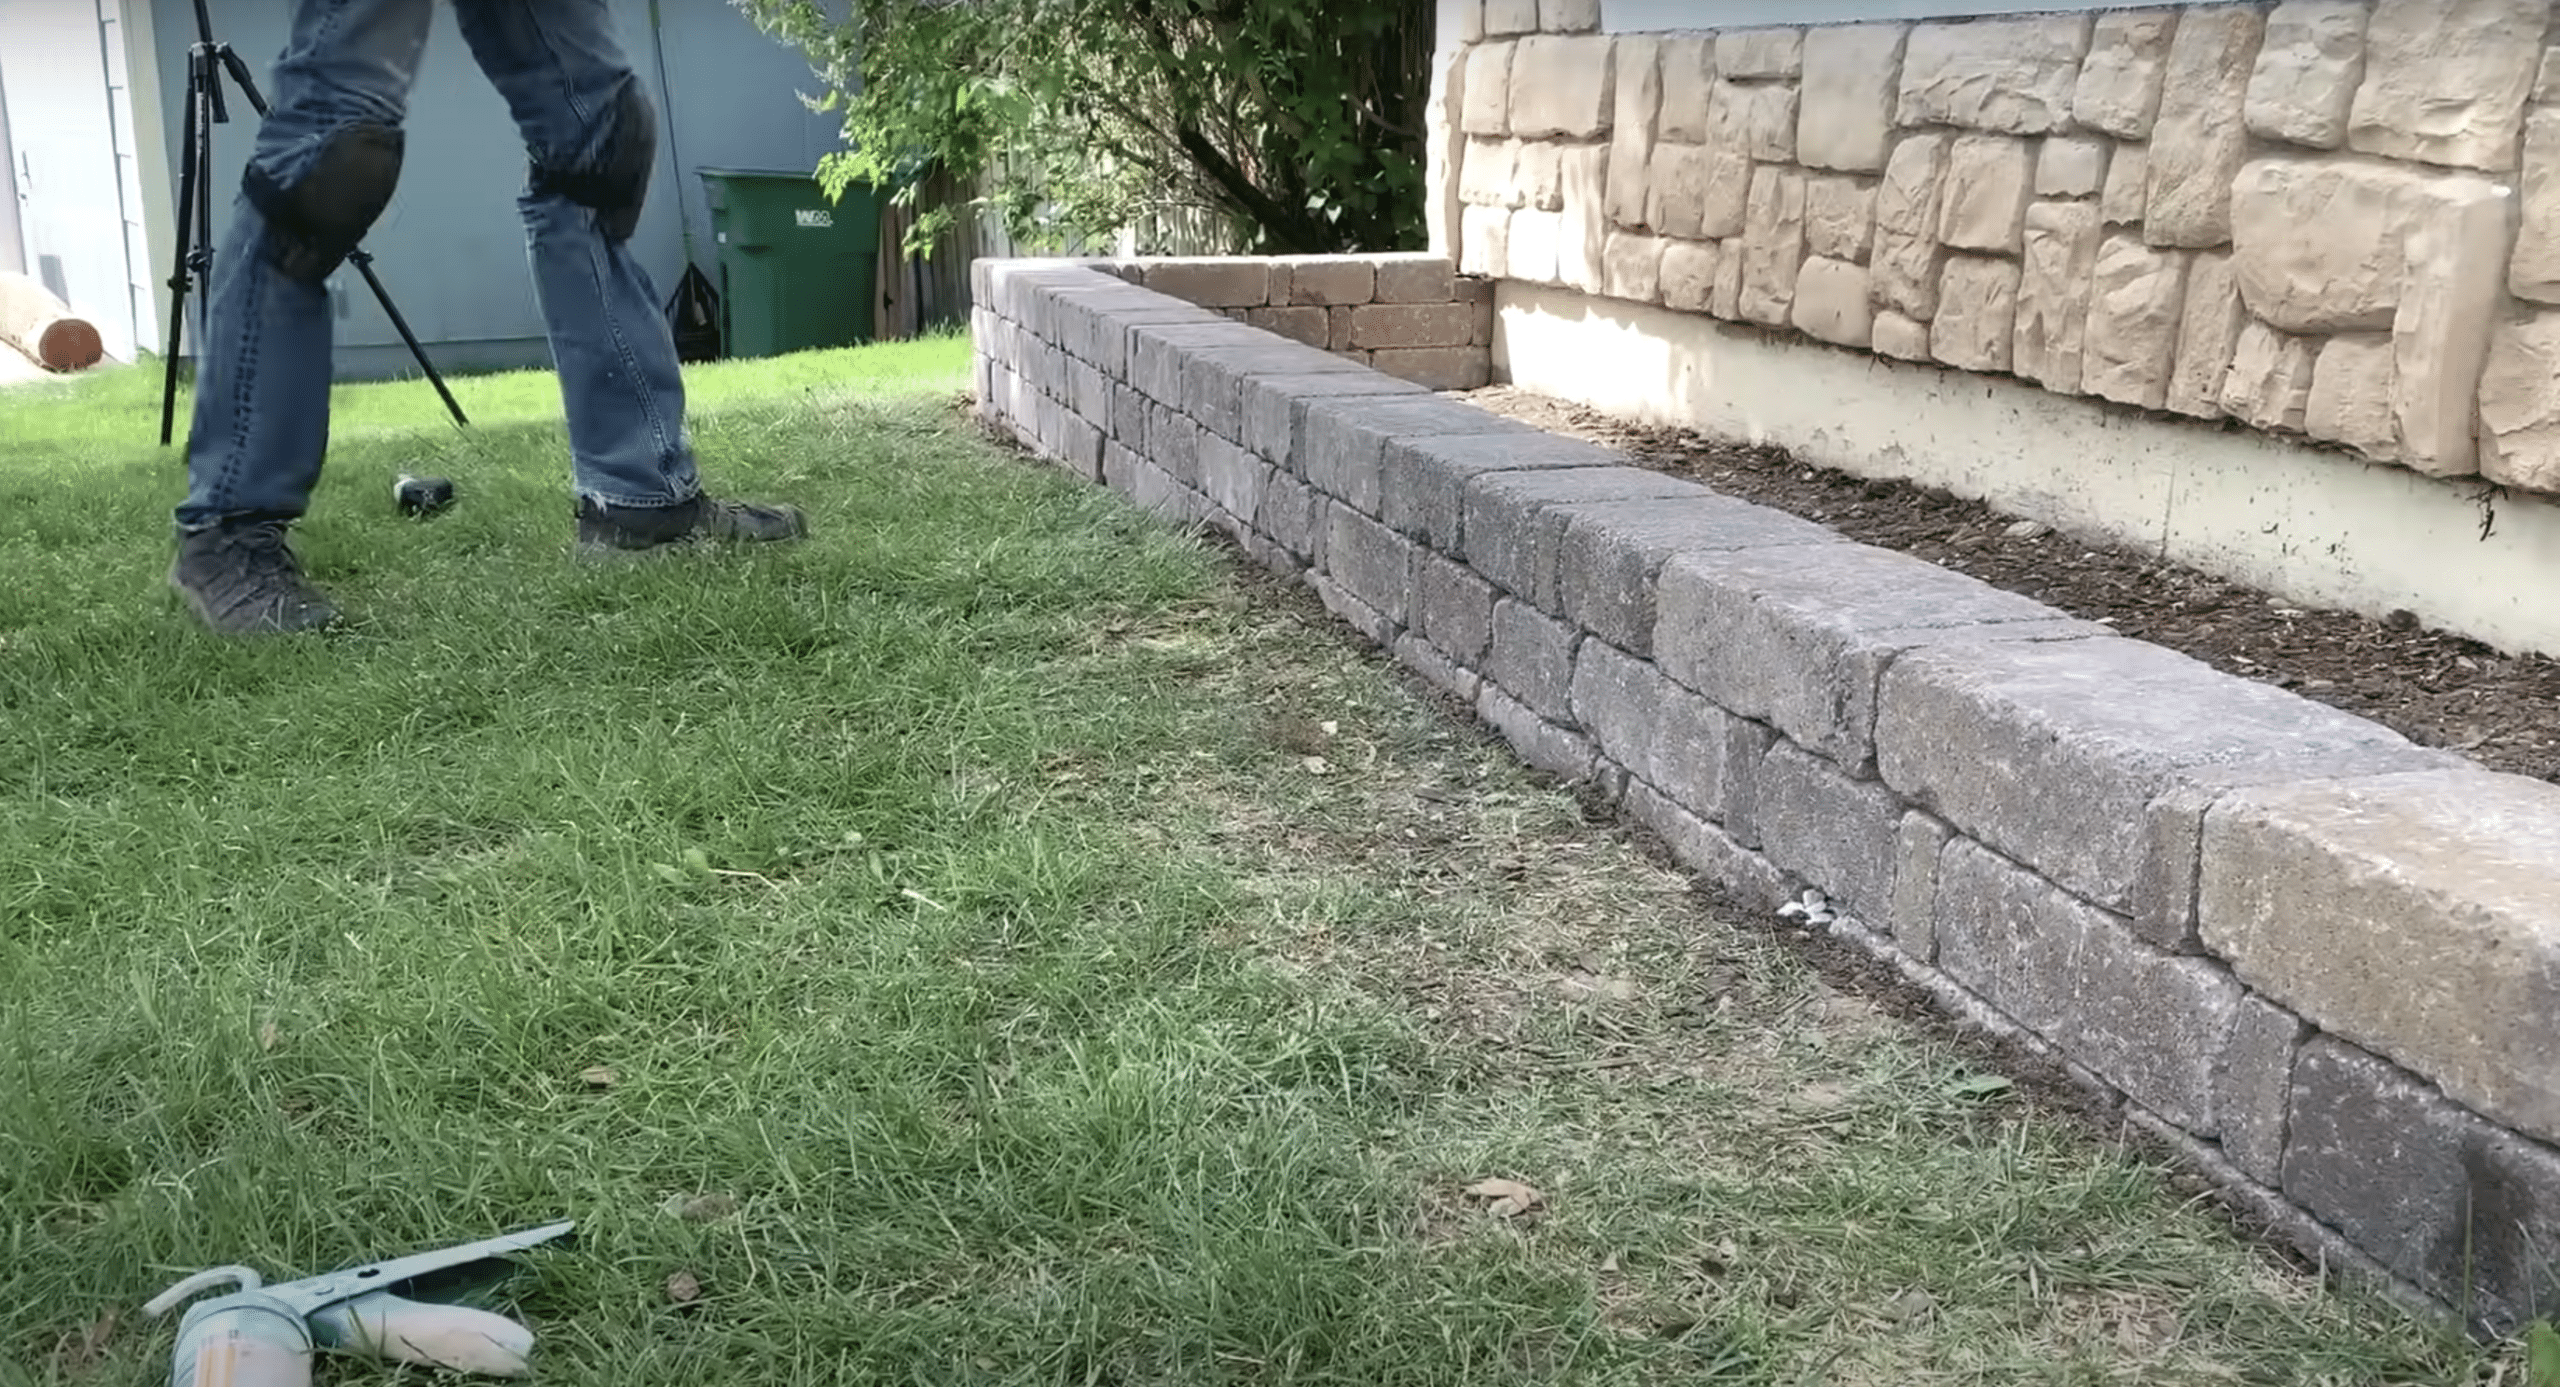
Complete the wall by adding rows until you reach the desired height. Make any necessary cuts for end pieces using a chisel or angle grinder.
For added durability, secure the top row with adhesive. Fill in any gaps with soil or mulch, and compact the area around the wall. Ensure the wall is stable and aligned before cleaning up.
Video Tutorial
Brick Garden Edges: Good and Bad Points
Advantages:
- Bricks make clear lines between garden areas and lawns, making your yard look clean and planned
- They are strong and can handle any weather (rain, sun, snow, or ice) for many years
- Bricks add a nice, finished look to any garden-style
- They stop grass from spreading into flower beds
- You can reuse old bricks, which saves money
Disadvantages:
- Setting up brick edges takes a lot of time and effort
- You need to dig trenches and level the ground before laying bricks
- The bricks can move when the ground gets very wet or cold
- You might need to fix and straighten the bricks now and then
- Heavy rain can wash away the sand between bricks
Choosing the Best Bricks for Your Garden Edge
When you want to make edges for your garden, picking the right bricks makes a big difference.
Regular red bricks work well and give your garden a clean look. Many people like these because they’re easy to find at any home store and they’re not too expensive.
If your garden looks a bit older and more natural, you can use old bricks from torn-down buildings.
These used bricks come in different shades with marks that make them look interesting.
They often cost less than new bricks, and they’re good for the earth because you’re using existing materials.
Concrete bricks might be your best choice for places that get lots of rain. They’re very strong and last longer than clay bricks when they’re always getting wet.
They come in many colors and won’t break down even after years of rain and cold weather.
Choose bricks that match your house and other things in your yard. This will help everything look like it fits together nicely.
Things You Need to Make Brick Garden Edges
1. What to Buy
• Bricks – you can get them from any home store or use old ones
• Sand or small rocks – this helps keep bricks steady
• Garden cloth – keeps weeds away (you don’t have to use this)
2. Tools You’ll Need
• A shovel – for digging the ground where bricks will go
• A rubber hammer – to tap bricks into place without breaking them
• String and sticks – to make straight lines
• A level tool – makes sure bricks are flat
• A brush – cleans bricks and sweeps sand between them
3. Cost Guide
• New bricks: $0.50 – $1 each
• Sand: about $5 per bag
• Garden cloth: $10-15 per roll
• Basic tools: $30-40 if you need to buy them all
4. Money-Saving Tips
• Ask friends if they have extra bricks
• Look for sales at home stores
• Use tools you already have
• Share tools with neighbors who garden
Conclusion
Brick edges are a simple way to make your garden look good and stay neat. As we’ve seen, you don’t need to be an expert to do this project – just some basic tools and a few hours of work.
Bricks are strong, last long, and don’t cost too much money.
You can start small by doing one flower bed first. Once you see how nice it looks, you can add more brick edges to other parts of your garden.
The best part is that brick edges help separate your plants and grass, which means less work for you later.
Give it a try! You can make your garden look well-kept and organized with some bricks, simple tools, and effort.
Your plants will stay in their space, and your yard will look great all year.
Frequently Asked Questions (FAQs)
Do I Need To Use Mortar For Brick Garden Edging?
Mortar isn’t necessary; sand works well for flexibility and drainage. Use mortar if you want a more permanent setup, but it’s harder to adjust later.
How Deep Should The Trench Be For The Bricks?
A 4-6 inch trench with 2 inches of sand at the bottom ensures stability and good drainage and prevents grass from growing underneath.
Can I Lay Bricks Directly On Soil Without a Base?
No, bricks need a 2-inch sand or gravel base to prevent sinking and unevenness and ensure durability.
What Type of Bricks Last The Longest For Garden Edging?
Solid clay or concrete bricks labeled “severe weather” best handle harsh conditions and last years without cracking.
How Do I Prevent Bricks From Shifting Over Time?
Pack the sand base firmly, fill gaps with sand, and inspect the edging regularly to fix loose bricks immediately.

