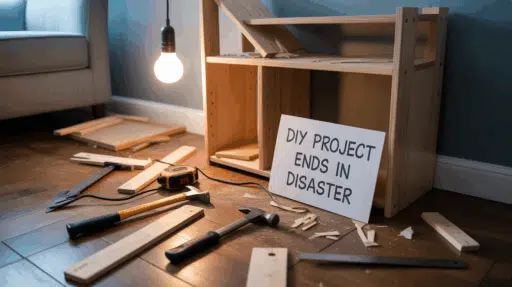

These days, it’s easier than ever to do DIY jobs around the home. There’s no shortage of DIY tutorials online. Combined with easy access to tool hire creates the impression that everyone can thrash out a DIY job in a weekend. It’s essential to point out that not all DIY projects go according to plan and may even turn into a huge disaster.
If you’re planning a DIY project, it’s important to know what you should do if your weekend job doesn’t go as planned. This post takes a quick look at five steps that help you deal with the disaster you’ve created.
Begin with Homeowners Insurance
Our experts recommend investing in quality insurance for homeowners before you attempt any DIY project, home renovation, or remodel that affects the state of your home or property. Homeowner insurance generally covers the following aspects:
- Damage to personal property
- Liability when a contractor or guest gets hurt on your property
- Loss of personal property
Once you have the right insurance in place, the next aspect involves knowing what to do when your project doesn’t turn out the way you had anticipated. Our guidelines will help get you started.
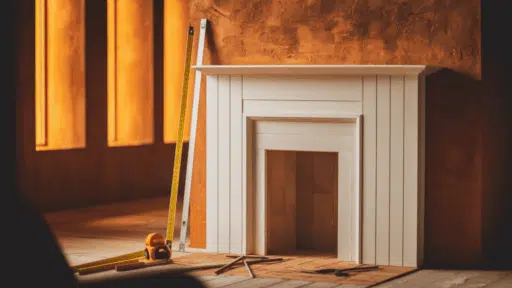
Step 1: Assess the Damage
When you first suspect that your DIY project isn’t going as planned, it’s essential to stop working on the project. There’s no need to make a bad situation worse by trying to finish a failing job. The best course of action is to take a step back and thoroughly evaluate the overall extent of the problem.
Whether the glue on your flooring isn’t sticking or your plan to prep walls for painting isn’t looking right, start by taking a step back and reviewing what you’ve done. Review what aspects of the job have gone well and which have broken down. You will also need to check what is salvageable and what will need to be redone or replaced.
Step 2: Seek Professional Help
It’s crucial to point out that not every DIY mishap is a total disaster. Many projects can be salvaged, repaired, or tweaked to work the way you need them to. If you feel that you don’t have the skill set to repair the mistake you have made, it’s a good idea to call a professional.
An expert will be able to offer insights into what can be done to salvage the issue. They will either guide you on how to repair the issue or do a complete redo. Many contractors will attempt to salvage what you’ve already started to minimize costs. Keep in mind that mistakes happen and most can be fixed.
Step 3: Identify the Exact Cause
It’s unlikely that your project went wrong from the first minute. Analyze the whole project to assess exactly where it went wrong. With some careful review, you will usually be able to pinpoint the exact step where the mistake happened.
This type of analysis will also help you determine whether or not the error happened as a result of poor planning, inferior materials, improper technique or external factors such as high humidity or poor ventilation. When doing this, you may discover that the issue wasn’t your fault but something out of your control.
Step 4: Create a Plan to Fix the Issue

Once you have assessed the whole situation and established the root cause, your next step is to create a detailed plan of how the issue can be corrected. Here you should write down the steps you’re going to follow to reverse and rectify the problem. Writing the steps down will help you follow a plan without trying to remember a list of potential steps in your head. Remember that you will already be stressed, and trying to plan your next steps can add to the frustration.
Step 5: Implement Your Plan
Use the list that you’ve made and be sure to follow your plan as meticulously as possible to minimize the risk of making the same mistake. Make a note of the outcome of each step as you go along, as this will help you assess how your Plan B is working. This may also need to be tweaked as you move down the list. If you’re planning future projects, you will need to keep your notes so that you can follow the right steps from the beginning.
Final Thought
Many DIY jobs can be successfully done without too much hassle. Other projects may have materials or steps incorrectly listed, which will result in a disaster. Don’t give up on your abilities or your desire to complete tasks and projects around your home. Use our tips and guidelines to help you assess and get yourself back on track. With a bit of determination and tweaking, you’ll soon be an avid DIY’er.

James McLaren, with a rich background in architecture from the University of Manchester, has been contributing his expertise to the world of creative construction and home innovation for over 20 years. His journey began as a project manager for a leading construction firm, where he honed his skills in bringing complex designs to life. James joined our platform as a freelancer in 2019, quickly becoming a favorite for his insightful and practical advice. He has been a pivotal force to our wing ever since, bringing our readers a blend of technical know-how and creative flair. Beyond his professional life, James is an avid woodworker and enjoys restoring vintage furniture, a hobby that complements his professional insights beautifully.