Laundry rooms help keep your home neat and your clothes clean.
A good laundry space can make daily chores easier.
IKEA has many cabinet choices that fit big or small laundry rooms.
These cabinets are easy to install and help you stay organized.
With good planning, your laundry room can go from messy to neat.
You can sort, wash, dry, and fold all in one area.
Cabinets let you choose the layout and style that works best for your home.
A simple space can become smart and stylish.
You don’t need a huge budget.
Even with a small space, you can design a laundry room that looks great and works well.
Learn to plan, choose cabinets, install, organize your space, and add features like pet wash stations or smart tech.
Planning Your IKEA Laundry Room
Designing a laundry room can turn a busy chore zone into a neat and helpful space.
Planning helps you fit everything you need without crowding the room.
With clear zones and smart storage, even small areas can work well. Here’s how to get started easily.
- Define four zones: Sorting, washing, drying, and storage.
Keep each task in its area to make the space easy to use. - Measure your space: Measure the height of walls, doors, windows, and ceilings.
Include space for machines and clear walkways. - Check utility spots: Note where water lines, plugs, and vents are located.
These affect where you place machines and cabinets. - Sketch a layout: Use grid paper or an online tool to draw different ideas.
Try a U-shape, L-shape, or one-wall setup. - Make a list of needs: Write down things like hidden hampers, folding counters, or ironing boards.
Match them to your daily habits. - Pick the right system: Use SEKTION for larger rooms and more choices.
Choose GODMORGON for small spaces with tall cabinets. - Plan for movement: Leave enough space to open washer doors and move baskets around easily.
- Set a simple budget: Plan your total cost based on cabinets and accessories, and decide if you’ll do the work yourself or hire help.
Good planning makes laundry day smoother and less stressful.
With the right layout, systems, and tools, your setup can work for your space and lifestyle.
Stick to your plan, stay within budget, and enjoy a tidy, functional laundry room that truly fits your needs.
IKEA Cabinet Options for Laundry Rooms
It has many cabinet choices to fit different laundry room sizes and styles.
SEKTION is their most popular system, offering a wide range of cabinet sizes, shapes, and finishes.
It works well in most laundry rooms and has options for base, wall, and tall cabinets.
GODMORGON is taller and slimmer, made for bathrooms but also great in tight laundry spaces.
BOAXEL is a wall-mounted system that’s open and easy to adjust. It’s perfect for fast access to items or a flexible setup.
| CABINET LINE | BEST USE | HEIGHT | STYLE FEATURES |
|---|---|---|---|
| SEKTION | Most rooms | 30–90 in | Flexible, many styles |
| GODMORGON | Small spaces | Tall only | Slim, bathroom use |
| BOAXEL | Wall storage | Adjustable | Open and modular |
Choosing the right line depends on your space and needs.
SEKTION gives you the most choices.
GODMORGON works when space is tight.
BOAXEL is best for open and easy access storage.
Mix systems if needed.
You can use BOAXEL on one wall and SEKTION on another to get the most out of your layout.
Materials and Tools Required for Installation
Before you start installing your laundry room setup, make sure you have all the right materials and tools.
Having everything ready saves time and prevents delays.
This list covers what you’ll need for a smooth and safe installation.
| ITEM | USE / FUNCTION | ESTIMATED COST (USD) |
|---|---|---|
| Cabinet Kits | Used to store things in the kitchen, bathroom, or closet. | $700 |
| Suspension Rails | Helps hold cabinets on the wall. | $20 |
| Cover Panels | Covers the cabinet sides to look neat. | $70 |
| Hinges | Let’s cabinet doors open and close. | $3 each |
| Screws and Wall Anchors | Keeps cabinets and rails tight on the wall. | $12 per kit |
| Drill | Makes holes for screws and tools. | $65 |
| Level | Make sure the cabinets are straight. | $25 |
| Stud Finder | Finds strong wall spots for safe mounting. | $30 |
| Clamps | Holds cabinets or panels still while working. | $12 each |
| Measuring Tape | Measures space to place things right. | $12 |
Total Estimated Cost: $968
With the right tools and parts on hand, you can install your cabinets and storage systems with ease.
Take your time, double-check your measurements, and follow the instructions step by step for a solid and lasting setup.
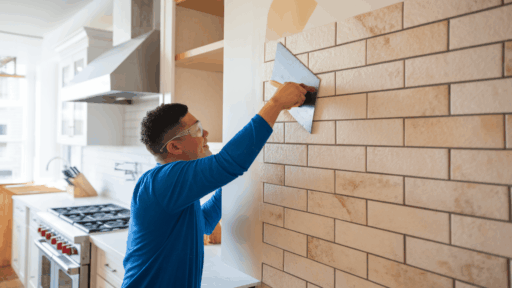
How to Install IKEA Laundry Room Cabinets – DIY Guide
You don’t need to be a pro to install IKEA laundry room cabinets, follow a step-by-step plan.
With a little time and care, you can create a setup that looks great and works well.
Here are some simple steps to walk you through the process.
- Read instructions: Start by reading the manual for your specific cabinet system.
- Assemble cabinets: Build all cabinets on the floor first, using the tools provided.
- Mark wall studs: Use a stud finder to mark where your wall studs are. This helps secure your cabinets safely.
- Install suspension rails: Attach suspension rails to the wall and make sure they are level. These rails hold the cabinets in place.
- Hang cabinets: Lift the cabinets onto the rails, align them properly, and secure them.
- Add doors and shelves: Once your cabinets are on the wall, install the shelves, doors, and hinges.
- Install cover panels and fillers: Use these to fill gaps between cabinets and walls for a finished look.
- Add crown molding (optional): This makes your cabinets look built-in and more stylish.
Taking it step by step makes the project easier and safer.
Once everything is in place, you’ll have a clean, custom-looking laundry space that’s built to last.
Just double-check each step, and enjoy the results of your hard work!
DIY vs. Professional Installation Comparison
When setting up your laundry room, you’ll face an important decision: Should you do it yourself or hire a pro?
Each option has benefits depending on your skills, budget, and time.
A DIY project can save money and give you more control.
But professional installation can be quicker and offer expert finishes.
Here’s a side-by-side look to help you decide:
| FEATURE | DIY INSTALLATION | PROFESSIONAL INSTALLATION |
| Cost | Lower | Higher due to labor |
| Time | Takes longer | Usually quicker |
| Skill Level Needed | Moderate | Not needed |
| Customization Flexibility | High | Medium |
| Satisfaction | Personal achievement | Expert finish |
| Support and Warranty | Self-managed | Often included with the service |
Use this chart to weigh your decision based on cost, time, effort, and outcome.
Consider your comfort with tools, your schedule, and how polished you want the final result to be.
Pros and Cons of IKEA Laundry Rooms
Before starting with the setup, it’s good to know the ups and downs.
These cabinets offer style, savings, and function, but they aren’t perfect for every home.
Here’s the breakdown:
| PROS | CONS |
| Budget-friendly options | May need assembly and tools |
| Flexible and modular systems | Limited color and finish range |
| Great for small and large spaces | It can be tricky for beginners to install |
| Easy to mix with other pieces | May require filler panels or custom fitting |
| A wide range of accessories is available | Not designed for heavy-duty use |
Weigh these pros and cons before making your choice.
If flexibility, affordability, and DIY appeal to you, IKEA is a solid option.
Just make sure you’re prepared for some hands-on work.
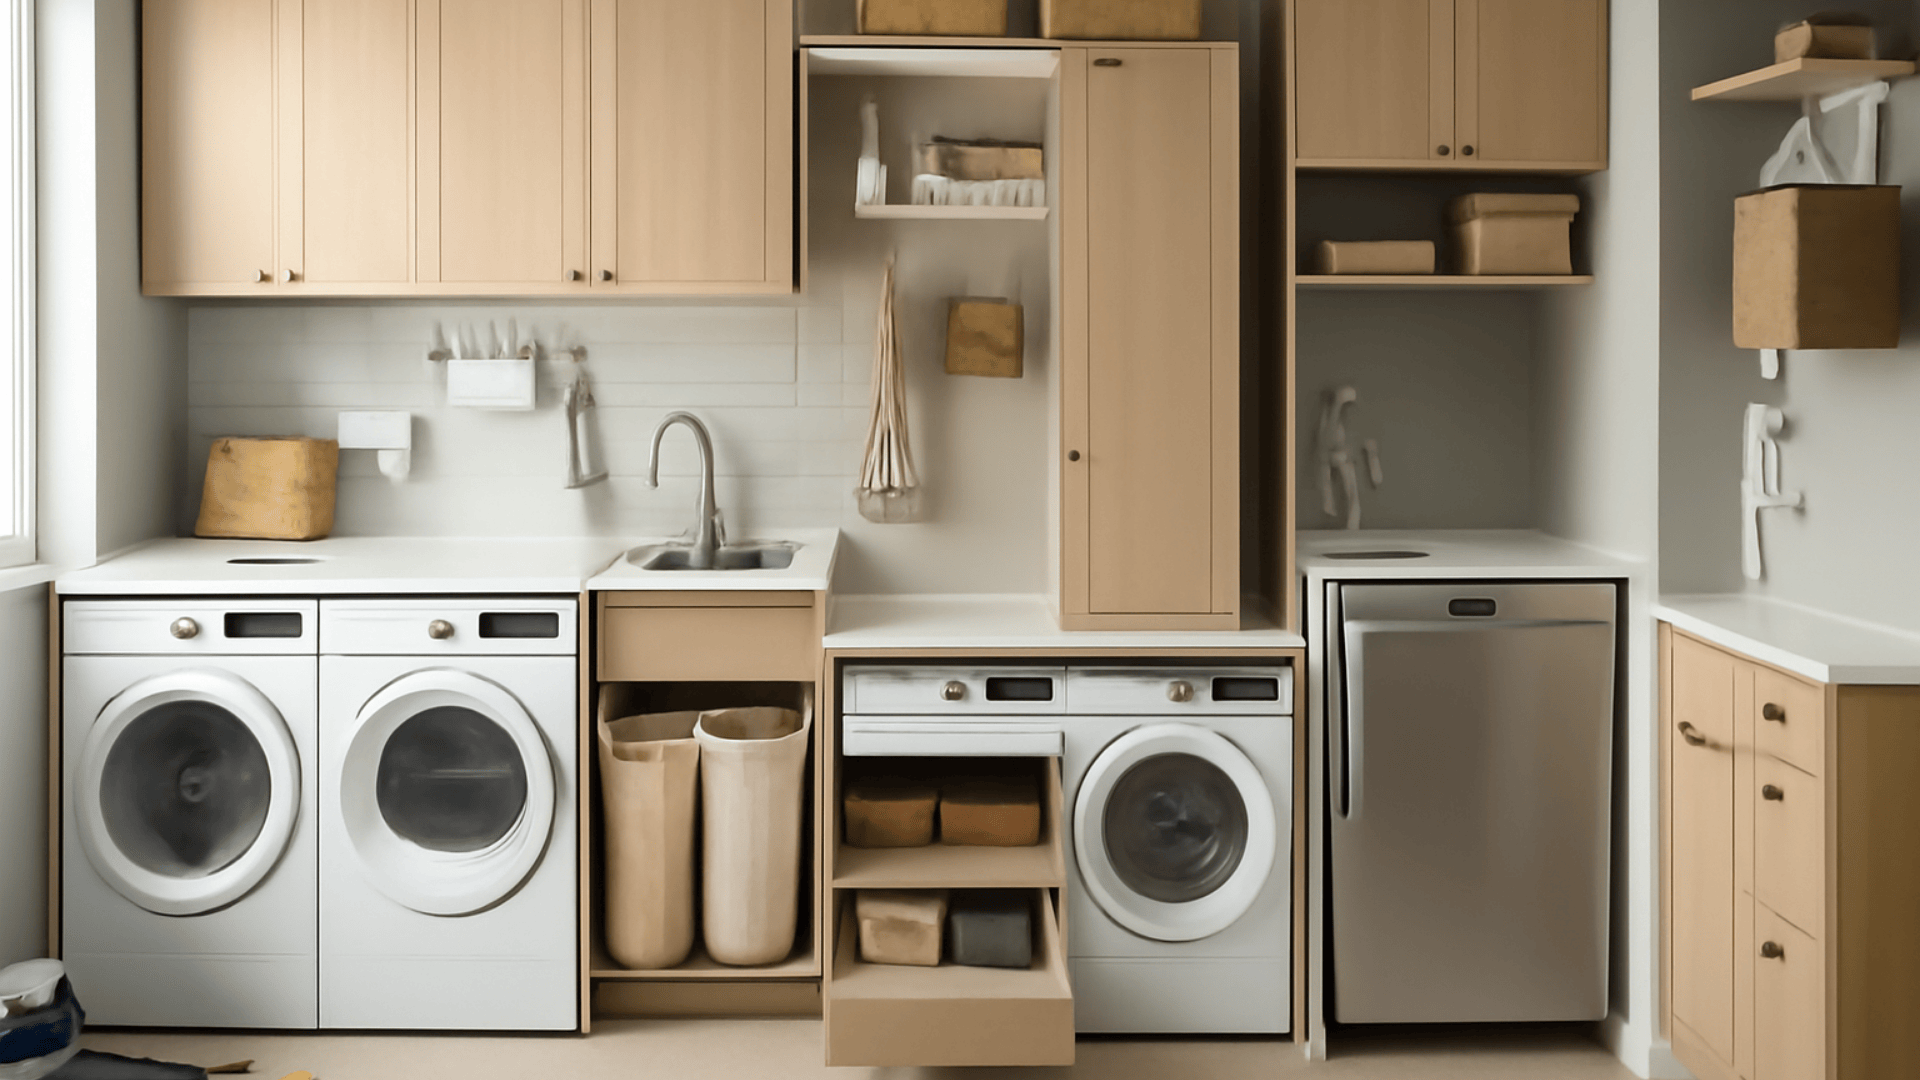
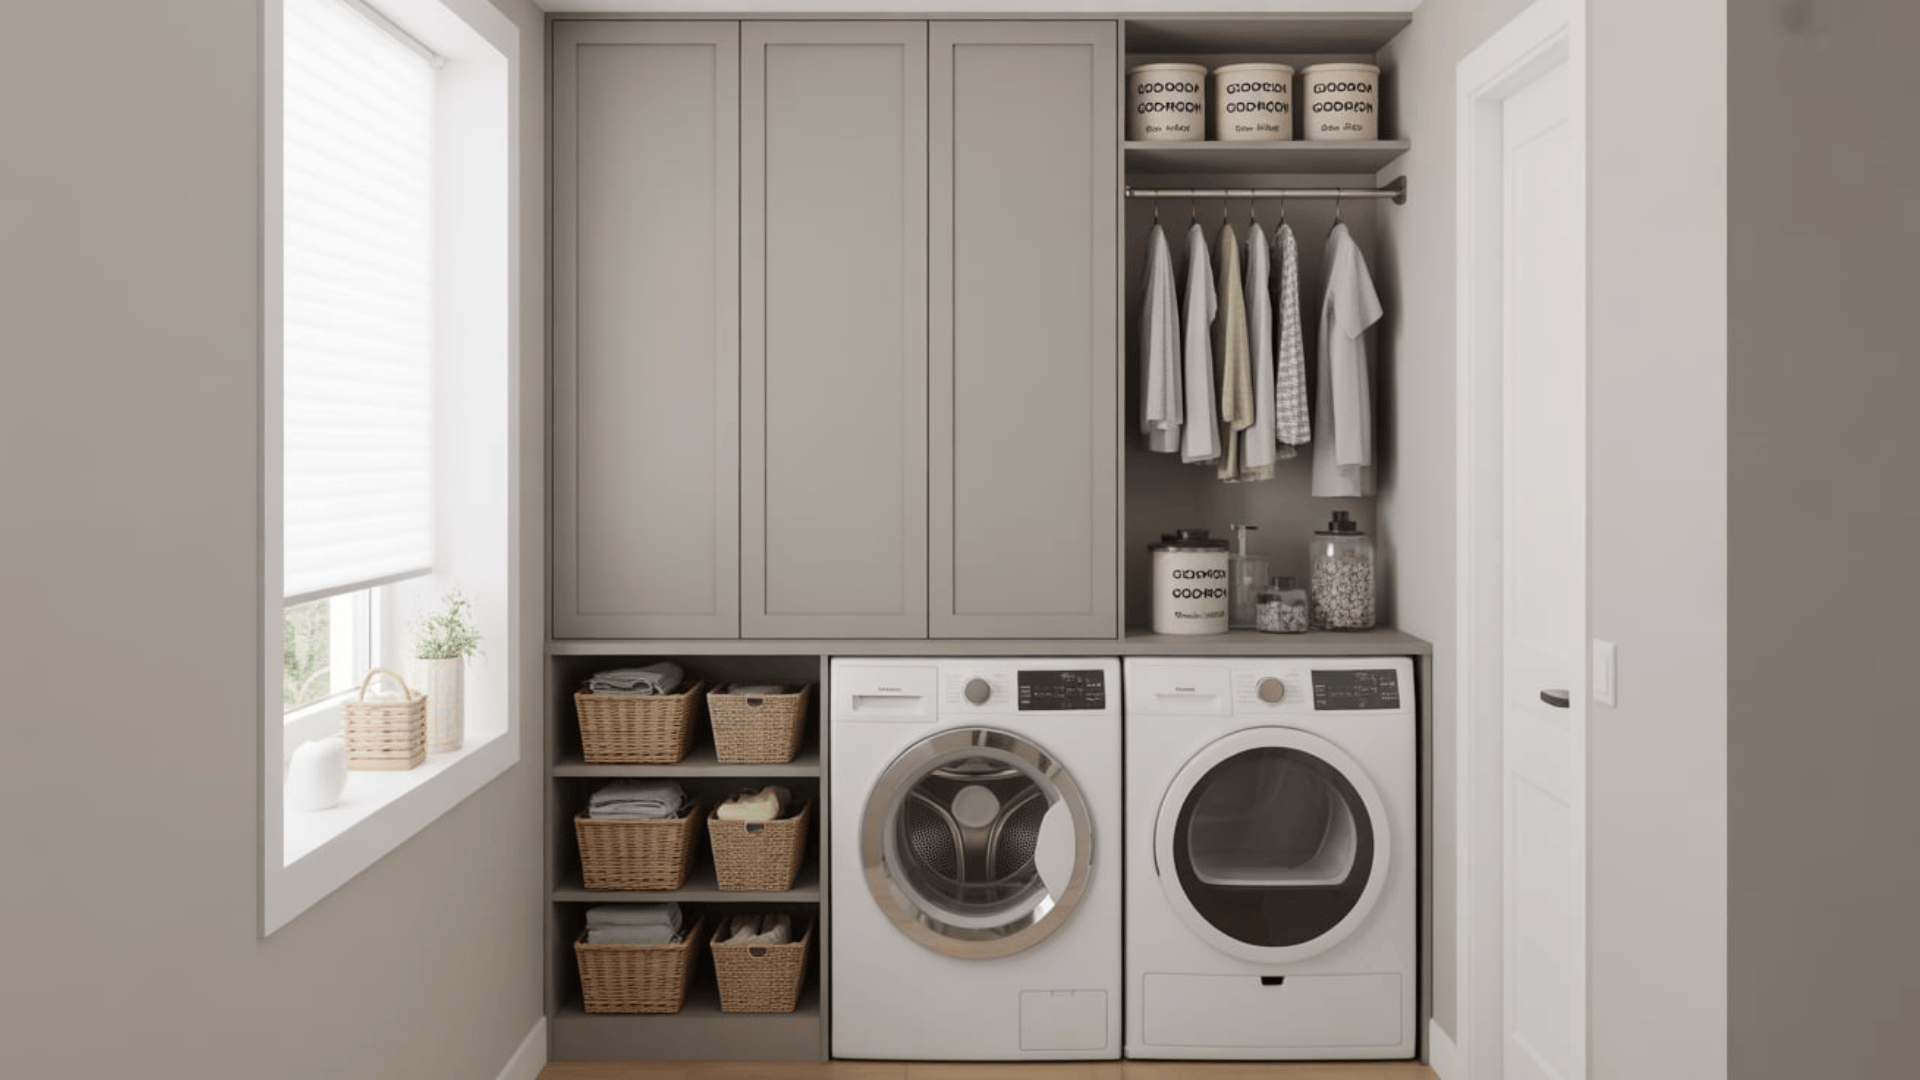
Maximizing Storage and Organization
Keeping your laundry room neat is important.
- Use tall cabinets for storing large items.
- Add wall cabinets over machines to save space.
- Use pull-out hampers and drawer dividers to keep clothes sorted.
- Its BOAXEL system is good for mixing shelves and hanging rods.
- MULIG bars help with drying clothes in the air.
- Use pegboards and baskets for small things.
- Make task zones.
- Put sorting bins in one corner.
- Have a space for folding clothes.
If you iron often, add a pull-out ironing board.
Add a folding counter over your machines, label baskets to keep socks, towels, and cleaners in order.
You can also use trolleys to move supplies.
Before and After: A Comparison
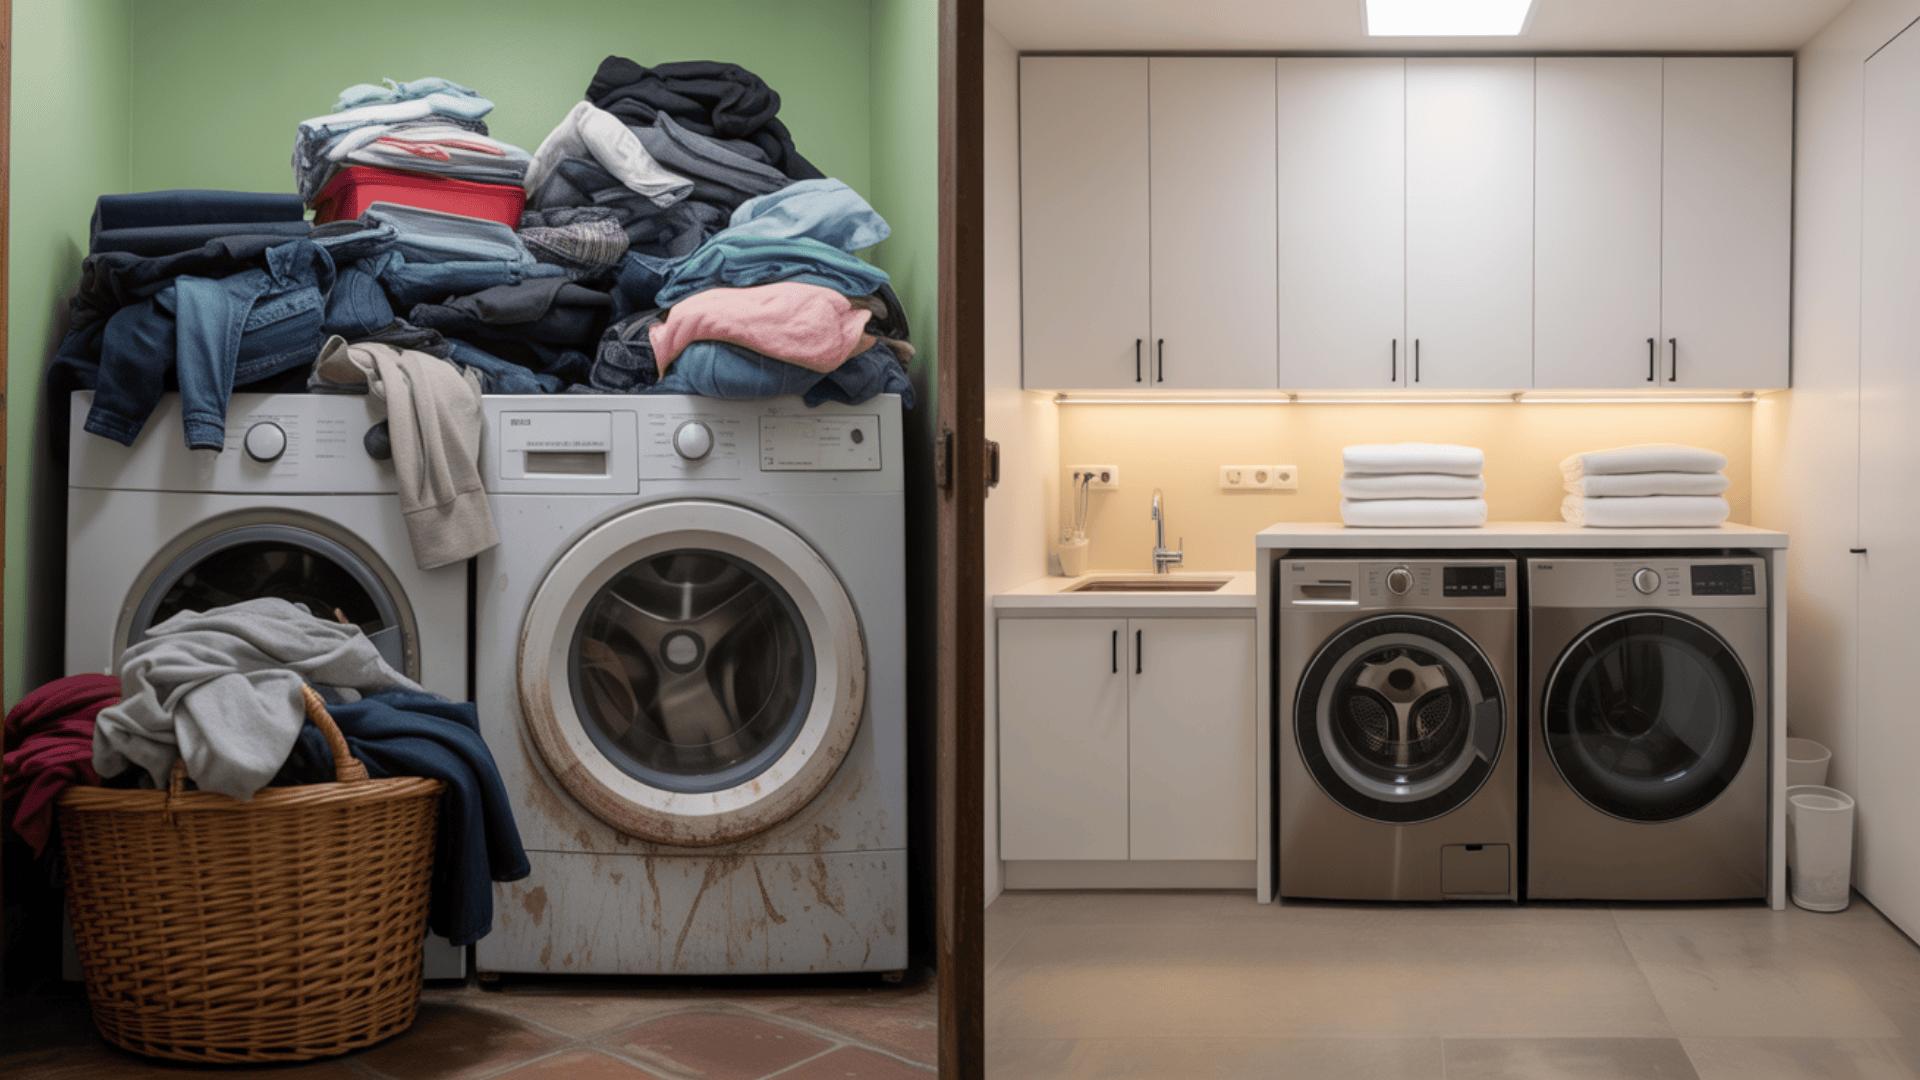
Before and after examples show how much you can improve a laundry room.
Many start with cluttered corners or hard-to-reach washers.
After changes, everything becomes easier to use and nicer to see.
You can stack machines and add storage along one wall.
Use upper cabinets and open shelves to save space.
In small rooms, tall cabinets make the best use of height.
For a custom look, you can use custom doors or add trim.
Most people spend $2,500–$7,000 on materials.
Full projects may cost up to $10,000. Many DIY jobs take a weekend, and bigger ones take longer.
Common issues include tight spaces or doors that do not open fully.
You can solve these by adjusting the cabinet size or using open shelves.
Innovative Laundry Room Ideas
Your laundry room doesn’t have to be just for washing clothes.
With a few smart upgrades, it can serve more roles in your home.
From keeping pets clean to keeping snacks stocked, this space can help with daily tasks in surprising ways.
Here are five easy ideas to boost its use without taking up extra room.
1. Pet Wash Corner
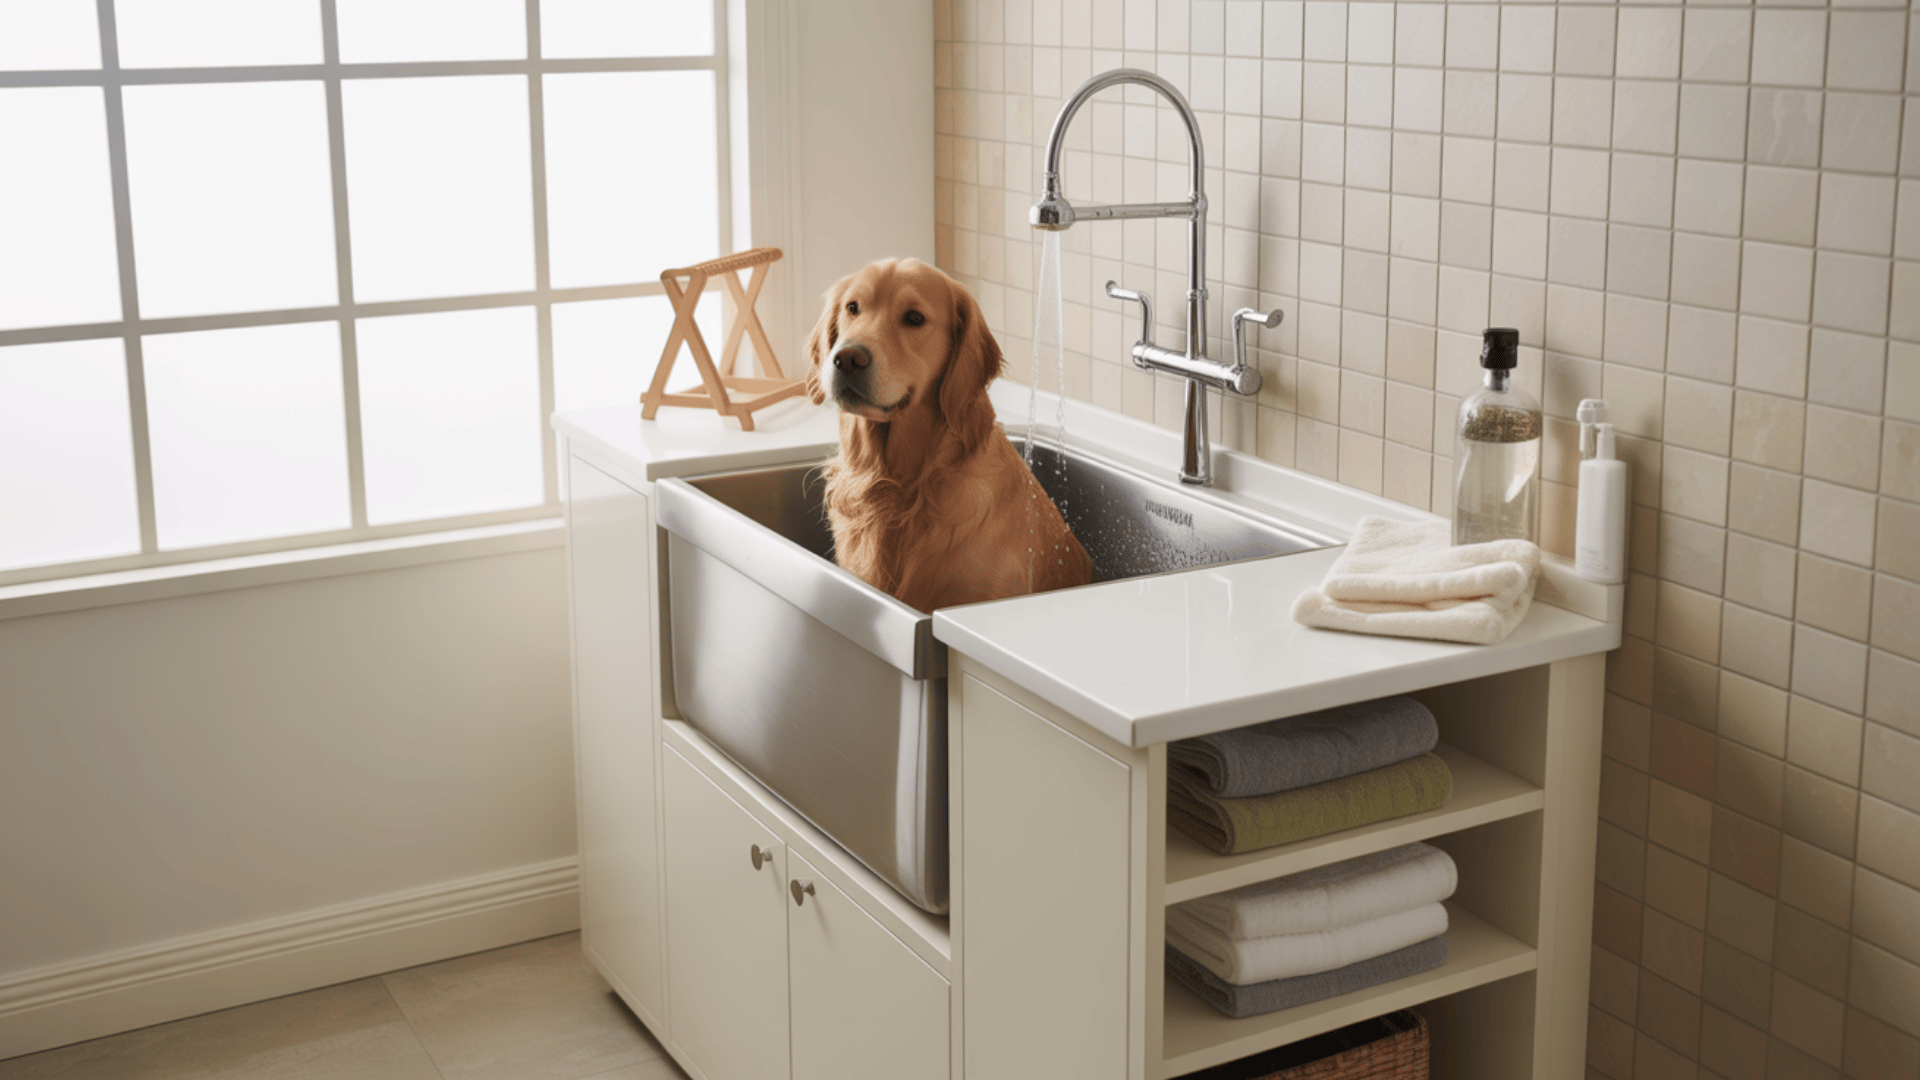
Turn one section of your laundry area into a place to rinse and groom your furry friend.
Add a tall utility sink with a pull-down hose for easy washing.
Below the sink, add a cupboard to hold pet towels, soaps, brushes, and even treats.
This helps keep messes out of your main bathroom and gives your pet a place all their own.
2. Snack and Drink Zone
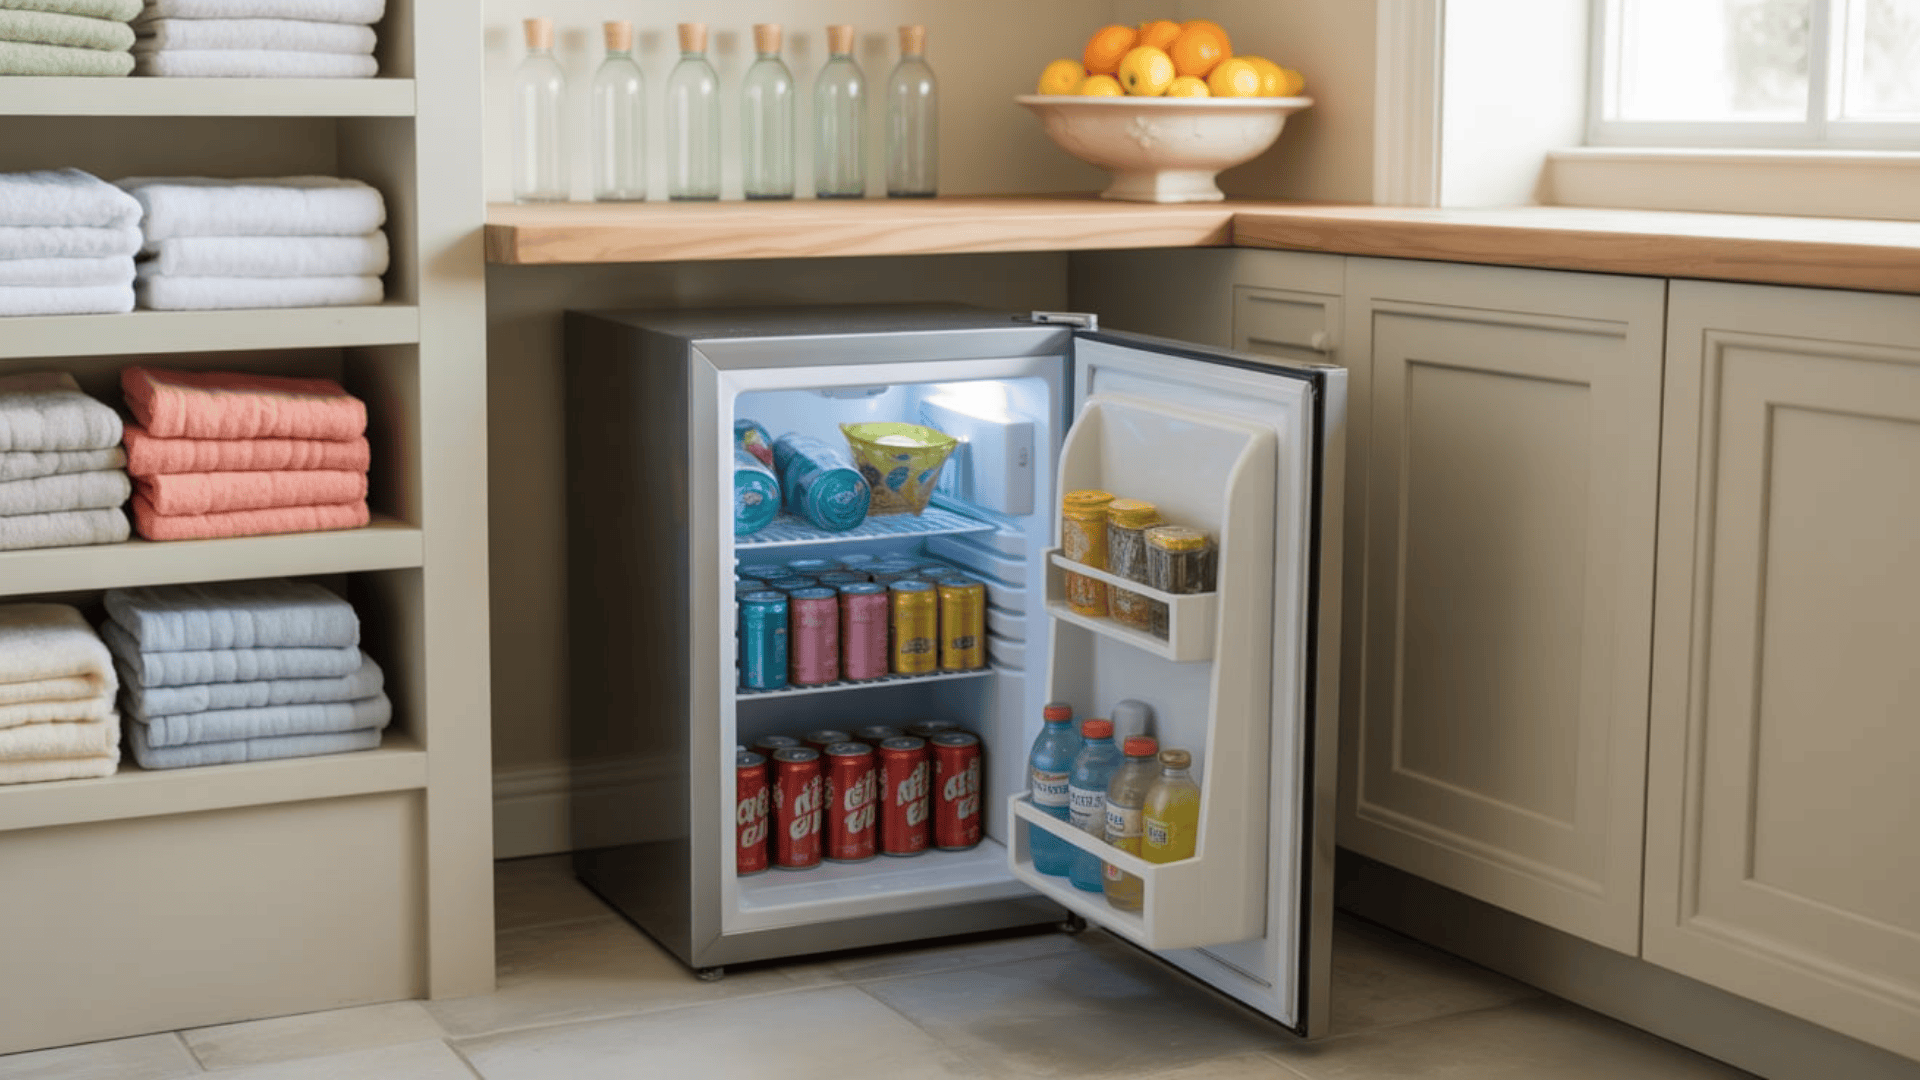
Tuck a mini fridge into one corner of the laundry room.
It’s perfect for keeping cool drinks and quick snacks nearby while folding or ironing.
If your laundry space connects to a garage or basement hangout, the fridge can also serve those areas.
You’ll save trips back and forth to the kitchen and make laundry breaks a little more fun.
3. Smart Storage
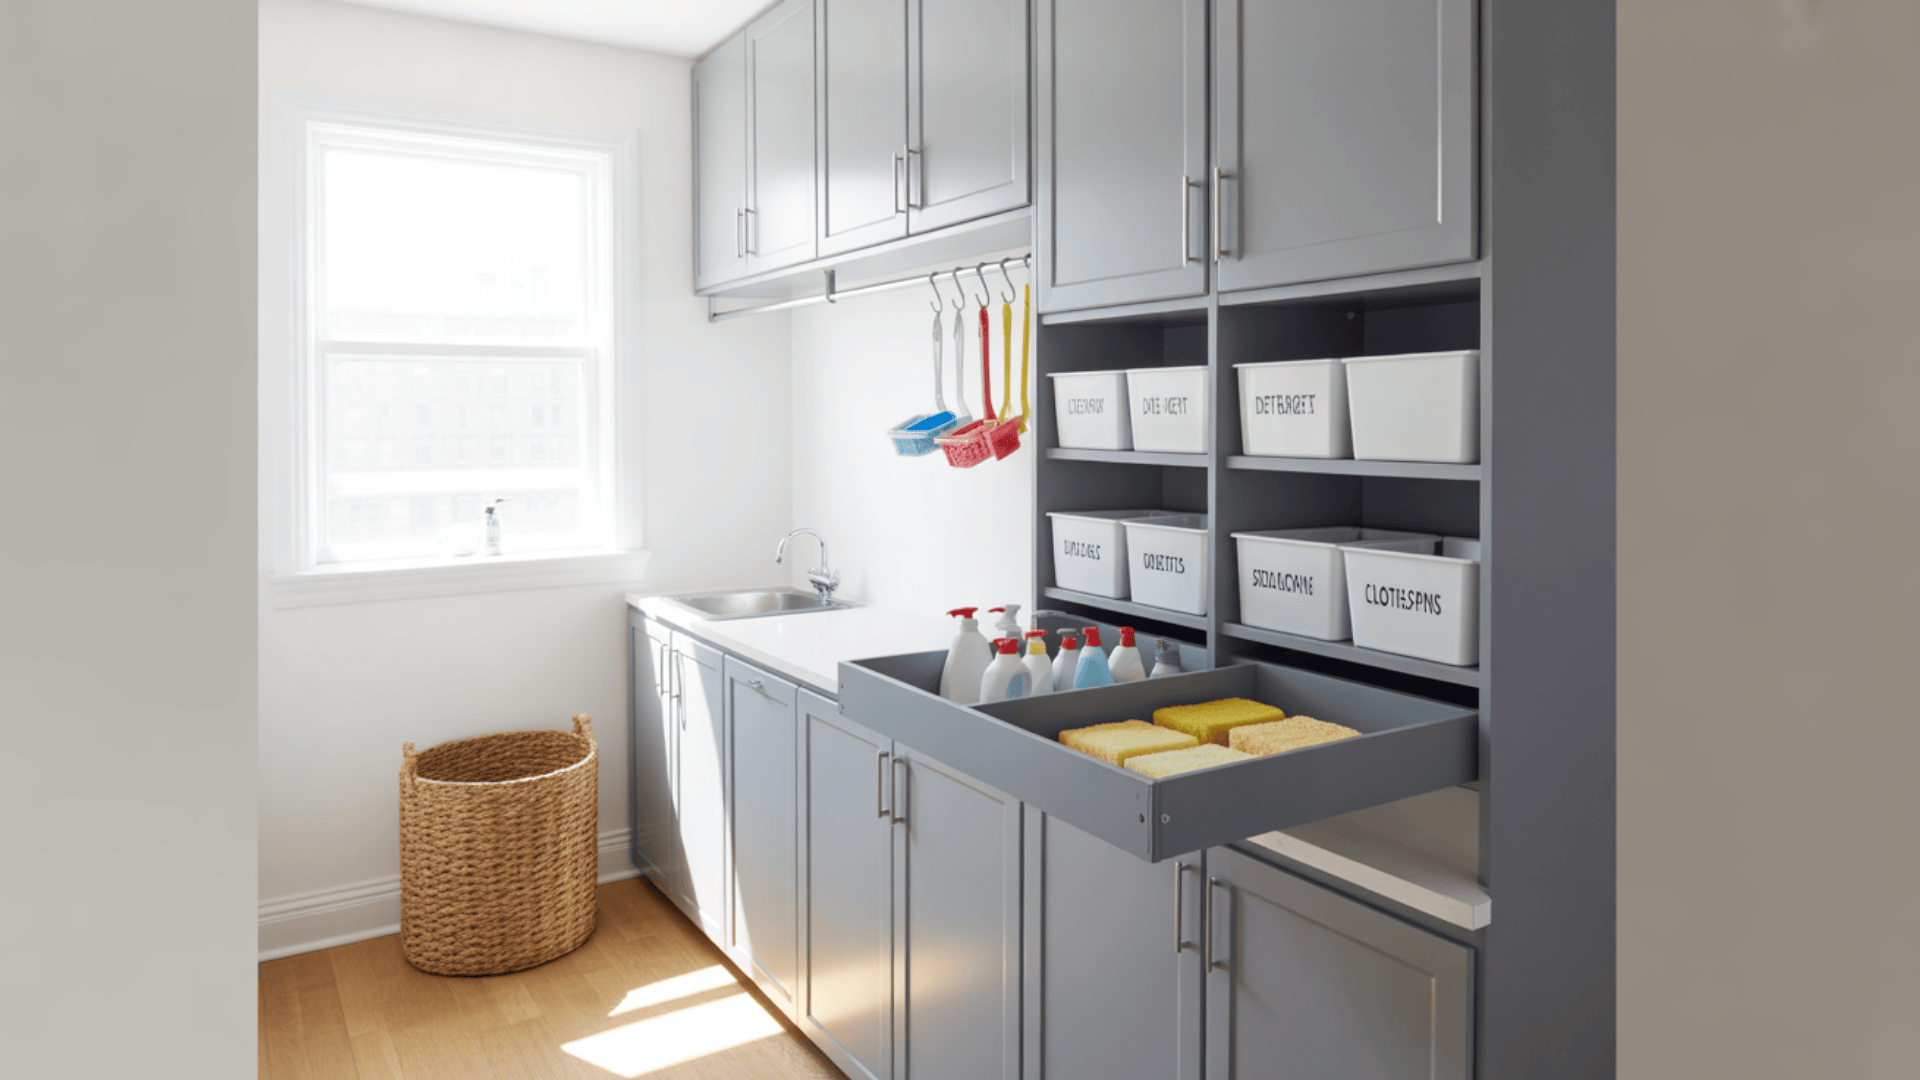
You can turn basic flat-pack cabinets into helpful organizers.
Add pull-out trays, insert bins, or attach hooks to the inside of doors.
Use clear boxes to see what’s inside or label each bin for soaps, dryer balls, stain sprays, and clothespins.
This setup keeps everything in its place and cuts down on time spent hunting for supplies.
4. Light-Up Drawers
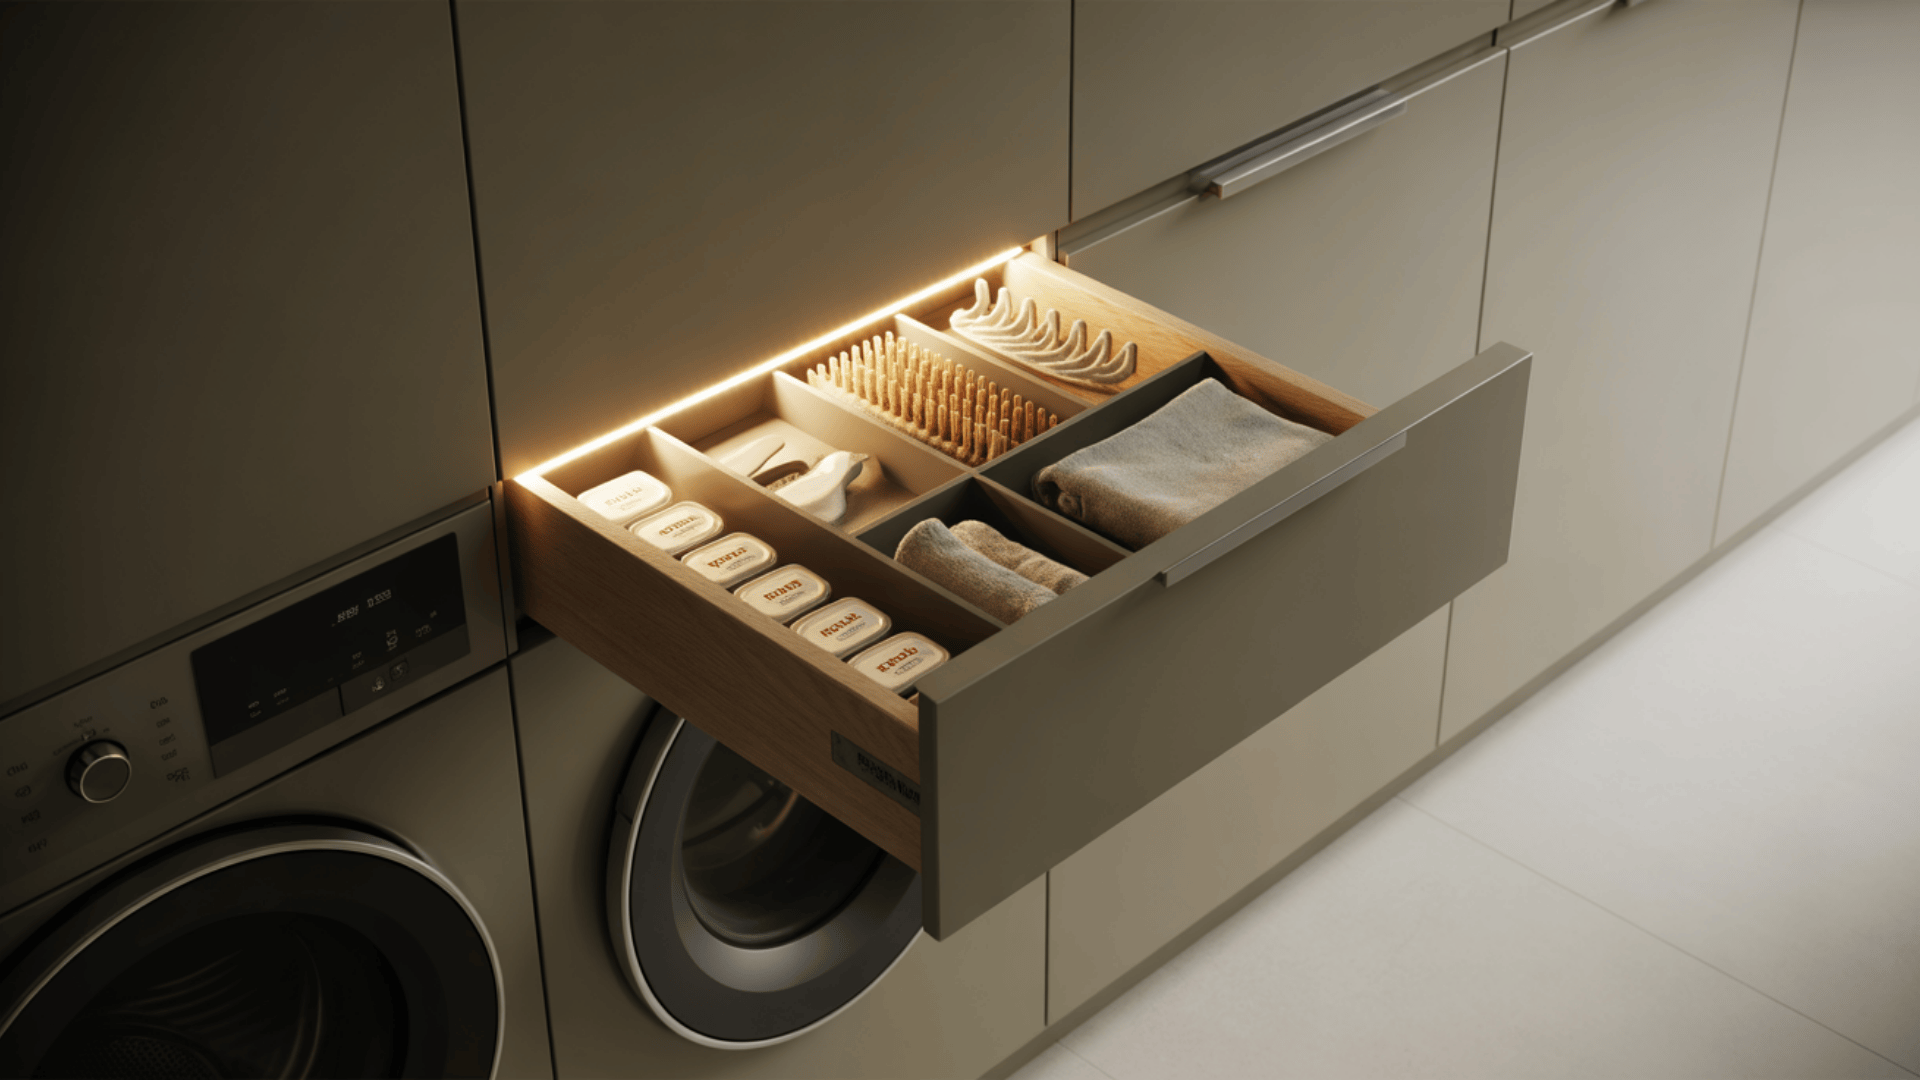
Add tiny motion-sensor lights to your drawers or inside cabinets.
These lights turn on when you open the drawer, making it simple to grab things even in the dark.
It also helps cut back on power use, since they shut off automatically when the drawer is closed.
It’s a small change that makes a big difference in how easy it is to use your space.
5. Cable Organizers
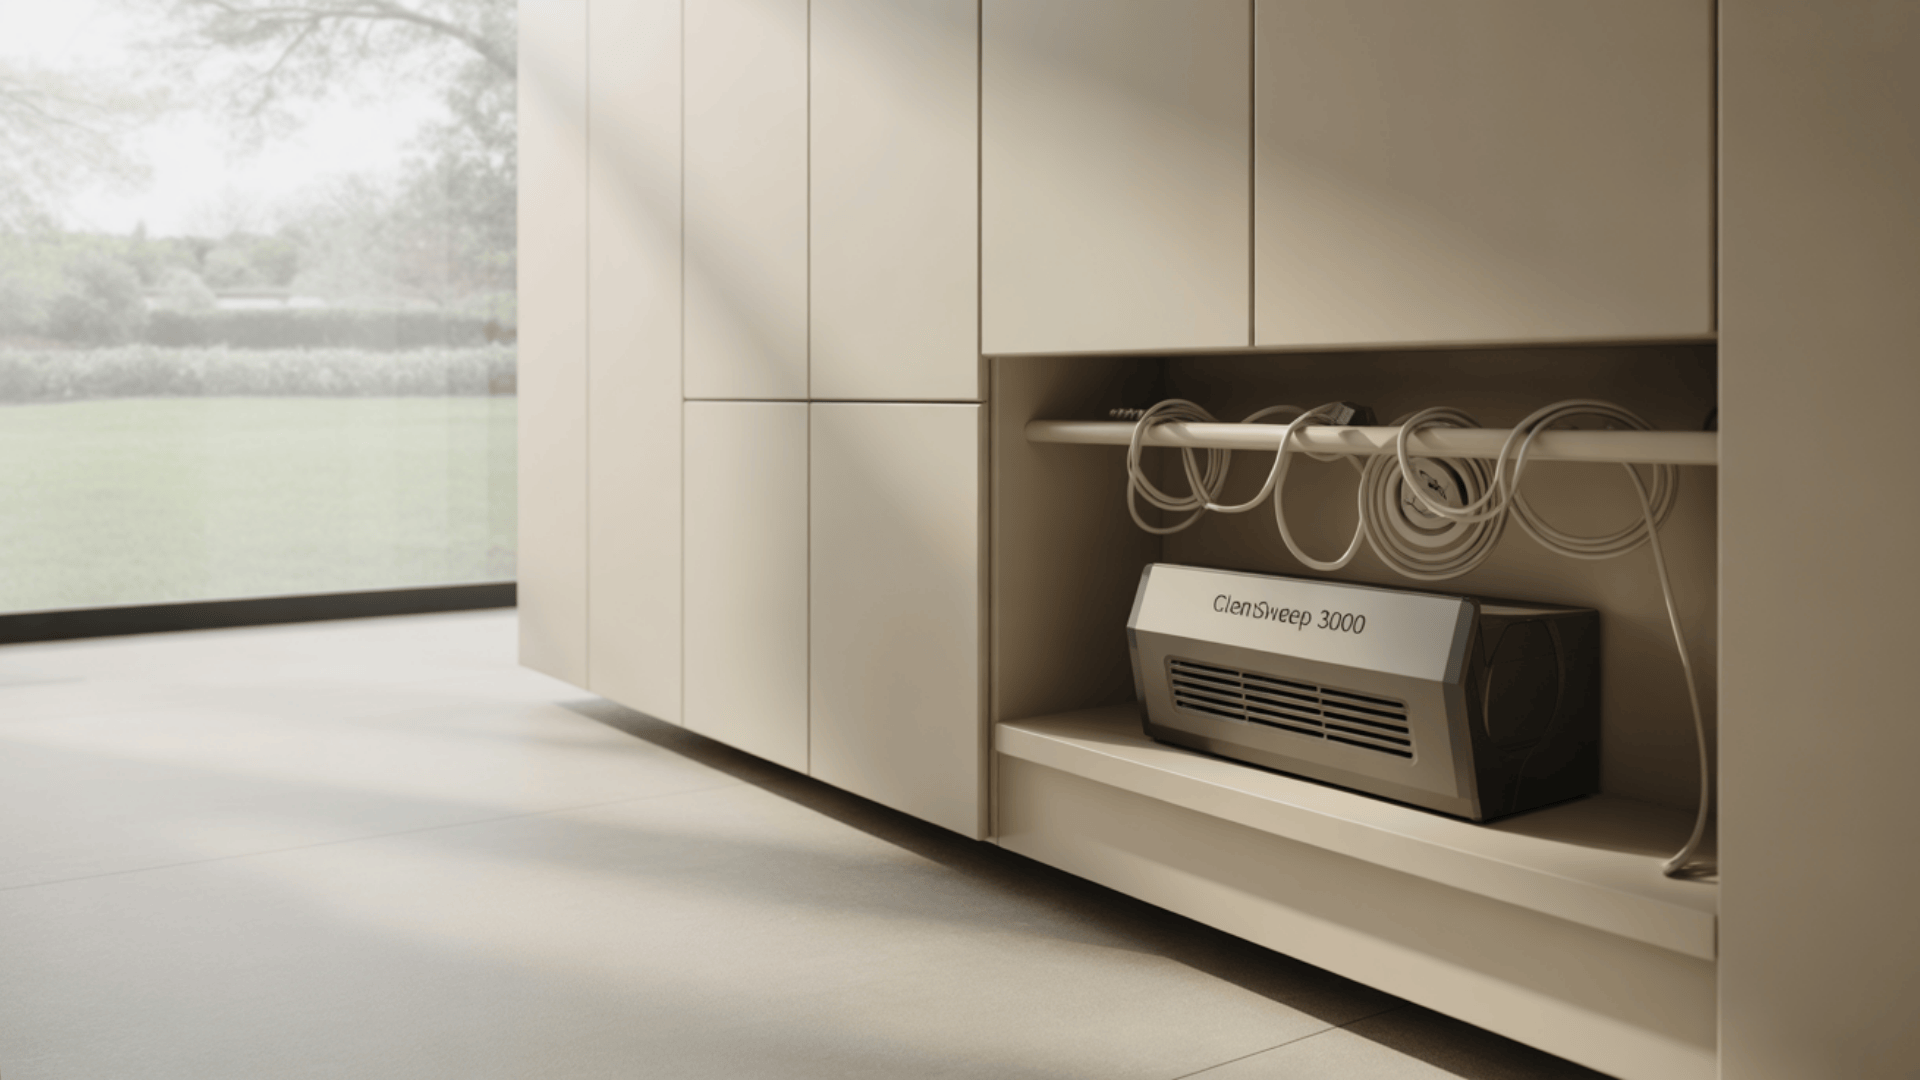
Laundry rooms often need chargers or power cords for smart devices, fans, or speakers.
Use wall clips or hidden channels to run these cables out of sight.
This keeps the space tidy and prevents tripping or tangling.
You can even mount a small power strip inside a cabinet to charge smart items like vacuums or moisture sensors without adding clutter.
A few small changes can help your laundry room handle more than just clothes.
With the right setup, it becomes a multi-use space that’s neat, practical, and built to support your day-to-day life.
Conclusion
An IKEA laundry room can make your chores easier and your space better.
Plan your space with care.
Use the four main areas: sorting, washing, drying, and storing.
Pick cabinets that fit your room.
Use smart tools like the BOAXEL system and MULIG bars.
Try fun ideas like a mini pet bath, smart lights, or eco bins.
Use your room for more than just clothes.
Laundry can be simple, clean, and even a little fun.
Start your project today and see how a small room can do big things.
For more laundry plans and cabinet guides, browse:
- 77 Organized Laundry Room Ideas You Need to Try
- Upgrade Your Laundry Room: Smart Tips for a Better Space
- Agreeable Gray Cabinets: Your Designer’s Best-Kept Secret

With a Master in Architectural Studies from University of Pennysylvania, Marwa Haydar has pioneered living spaces since 2005. Her expertise, initially honed in a prestigious architectural firm, is evident in her approach to creating environments. Marwa became part of our team in 2019 and has since been a driving force in our home improvement section, known for her practical yet stylish solutions. She’s been spearheading our design workshops since then, infusing her passion for teaching into her work. In her leisure time, Marwa enjoys exploring historic architecture and is an enthusiastic pottery hobbyist, further enriching her understanding of form and texture.