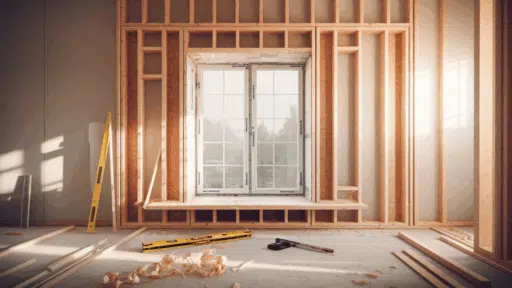

Framing matters because it gives the wall strength and keeps the window secure. It supports the weight of the wall above and helps seal out air and moisture.
In this article, I’ll show you what window framing is, why it’s important, and how to do it step by step.
I’ll show you all the parts of the frame, the tools you’ll need, and how to measure, cut, and assemble it correctly.
I know this task might seem tricky at first. But I’ve broken it down into simple steps so you can follow along without stress.
By the end of this article, you’ll understand how to build a strong frame that keeps your window and your wall safe and sturdy.
Why You Might Need to Frame a Window?
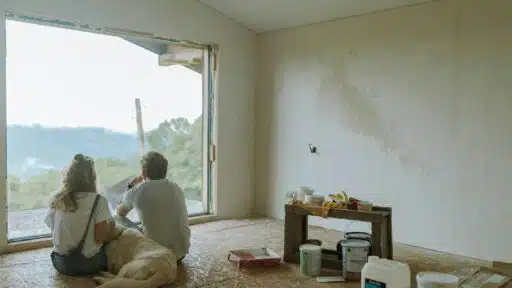
There are a few common reasons to frame a window. It’s not just for new homes; older homes often need updates, too.
If I’m adding a window where there wasn’t one, I have to cut into the wall and build a new frame.
I also reframe when replacing damaged wood or adjusting the window’s size or location. Rot, shifting, or general wear can all lead to drafts or leaks, making a new frame necessary.
Changing a small window to a larger one, or moving it, means the old frame won’t work. I need to build one that fits the new size and placement.
No matter the reason, good framing takes planning, accurate measurements, and the right materials.
A solid frame helps the window work better, last longer, and look clean and finished.
Cutting Lumber for the Window Frame
Before building the window frame, you’ll need to cut the right pieces of wood. Good planning and clean cuts make the job easier and more accurate.
List of Frame Pieces to Cut
Before building the window frame, you need to know which parts to cut. Each piece has a job, and cutting them to the right size is key to a strong and accurate frame.
- King Studs: Run from the top to the bottom plate on each side of the window.
- Jack Studs: Sit inside the king studs and support the header.
- Header: A strong beam that spans across the top of the opening.
- Cripple Studs: Short studs under the windowsill.
- Sill: Horizontal piece at the bottom of the window opening.
Best Cutting Methods
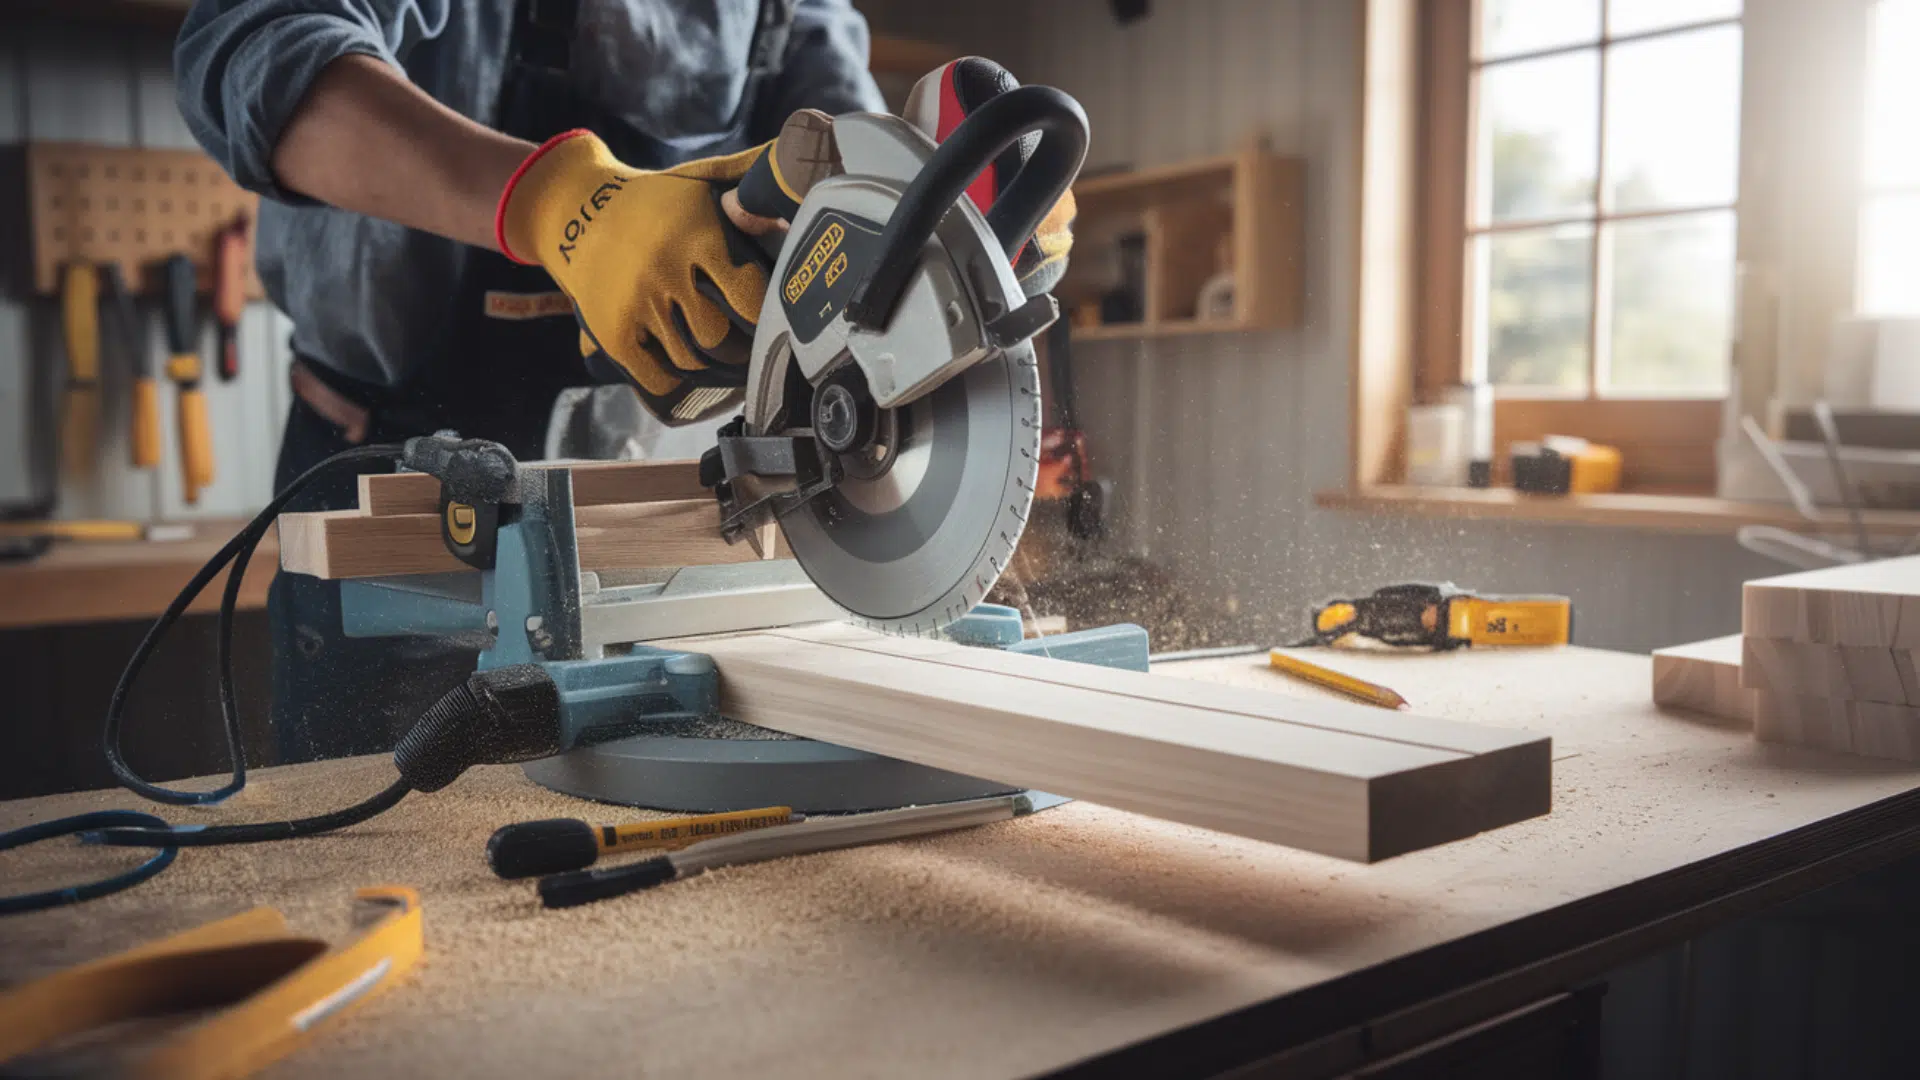
Using the right tool for the job makes cutting faster, safer, and more accurate. Whether you’re using a circular saw or a hand saw, careful cutting helps your pieces fit together well.
- Circular Saw: Fast and straight cuts. Great for cutting multiple pieces quickly. Always use safety gear.
- Hand Saw: Ideal for making small cuts or working in tight spaces. Takes more time and effort, but gives better control.
How to Label Parts Before Assembly?
Once your pieces are cut, labeling them helps keep things organized. This step may seem small, but it prevents mix-ups and saves time when you’re ready to build.
- Write the name of each part (like “Jack,” “Header,” or “Cripple”) on the board with a pencil or marker.
- Mark the top and bottom of each piece so you don’t install it upside down
- Lay out parts in order before building to stay organized and avoid confusion
Tools and Materials You’ll Need
Before you start framing your window, ensure you have all the necessary materials ready. Below is a list of the tools and materials:
- A measuring tape for marking the rough opening size.
- Pencil or Marker to label stud locations and window size.
- Speed Square for drawing straight layout lines across plates.
- Circular Saw or Miter Saw to cut studs, headers, and sill.
- Nail Gun (or Hammer and Nails) to fasten all the frame parts together.
- Level to make sure studs and headers are plumb and square.
- 2×4 or 2×6 Lumber used for jack studs, king studs, sill, cripples, and header.
- Nails for securing all pieces (used with nail gun or hammer).
- Foam Insulation Spray to fill inside the header later.
- Wall Plates, top and bottom plates, where you lay out the window frame.
Step-by-Step Guide on How to Frame a Window
The guide below outlines clear, straightforward steps to help you construct a proper window opening with confidence and accuracy.
1. Mark the Window Opening
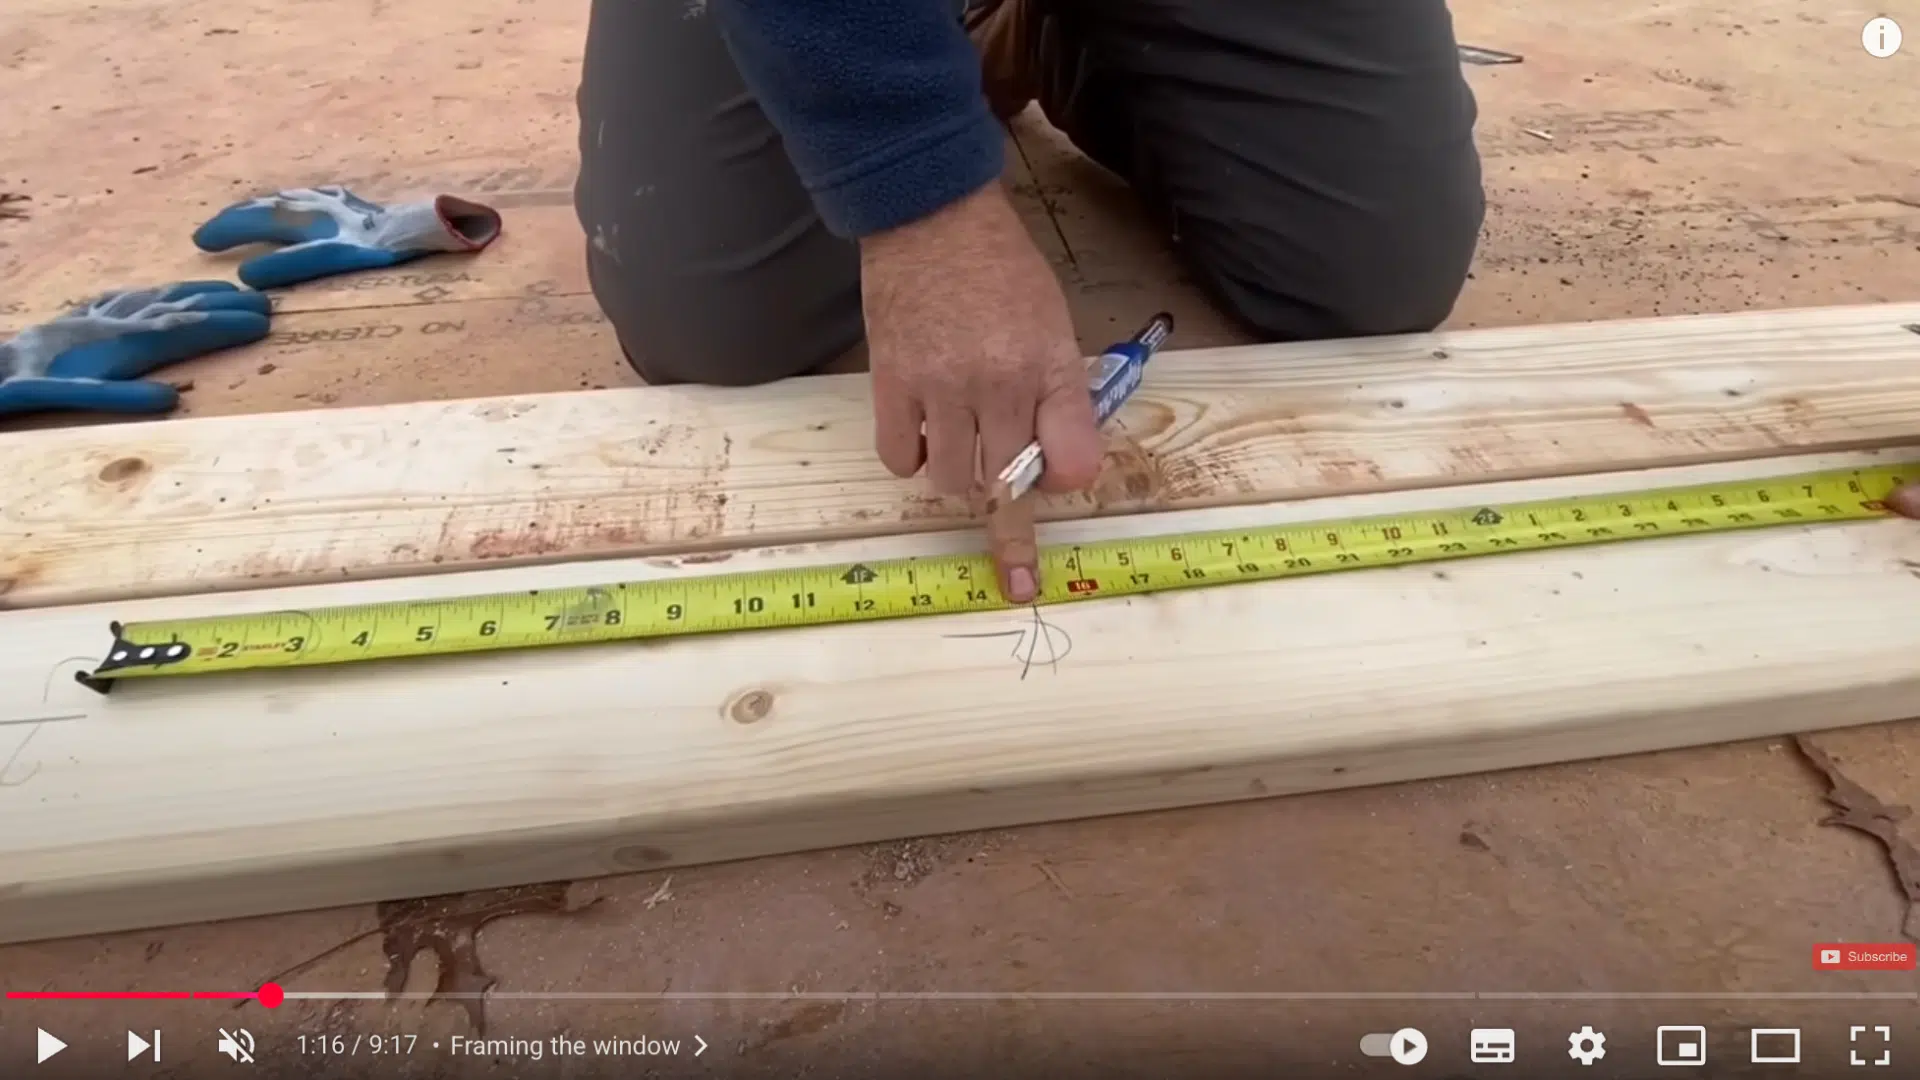
Start by choosing where you want the window to go. Mark the center of that spot on both the top and bottom plates of the wall.
From that center, measure out half the rough opening width to each side. Mark those spots for the jack studs. Then, add marks 1½ inches outside those for the king studs.
2. Transfer Marks to Both Plates

Line up the two plates, one on top of the other. Use a square to draw straight lines across both plates at every mark you made.
This ensures the layout remains accurate when setting up the wall. Ensure the ends of the plates align as well. This helps the wall stay straight and square.
3. Add Notes and Cripple Layout
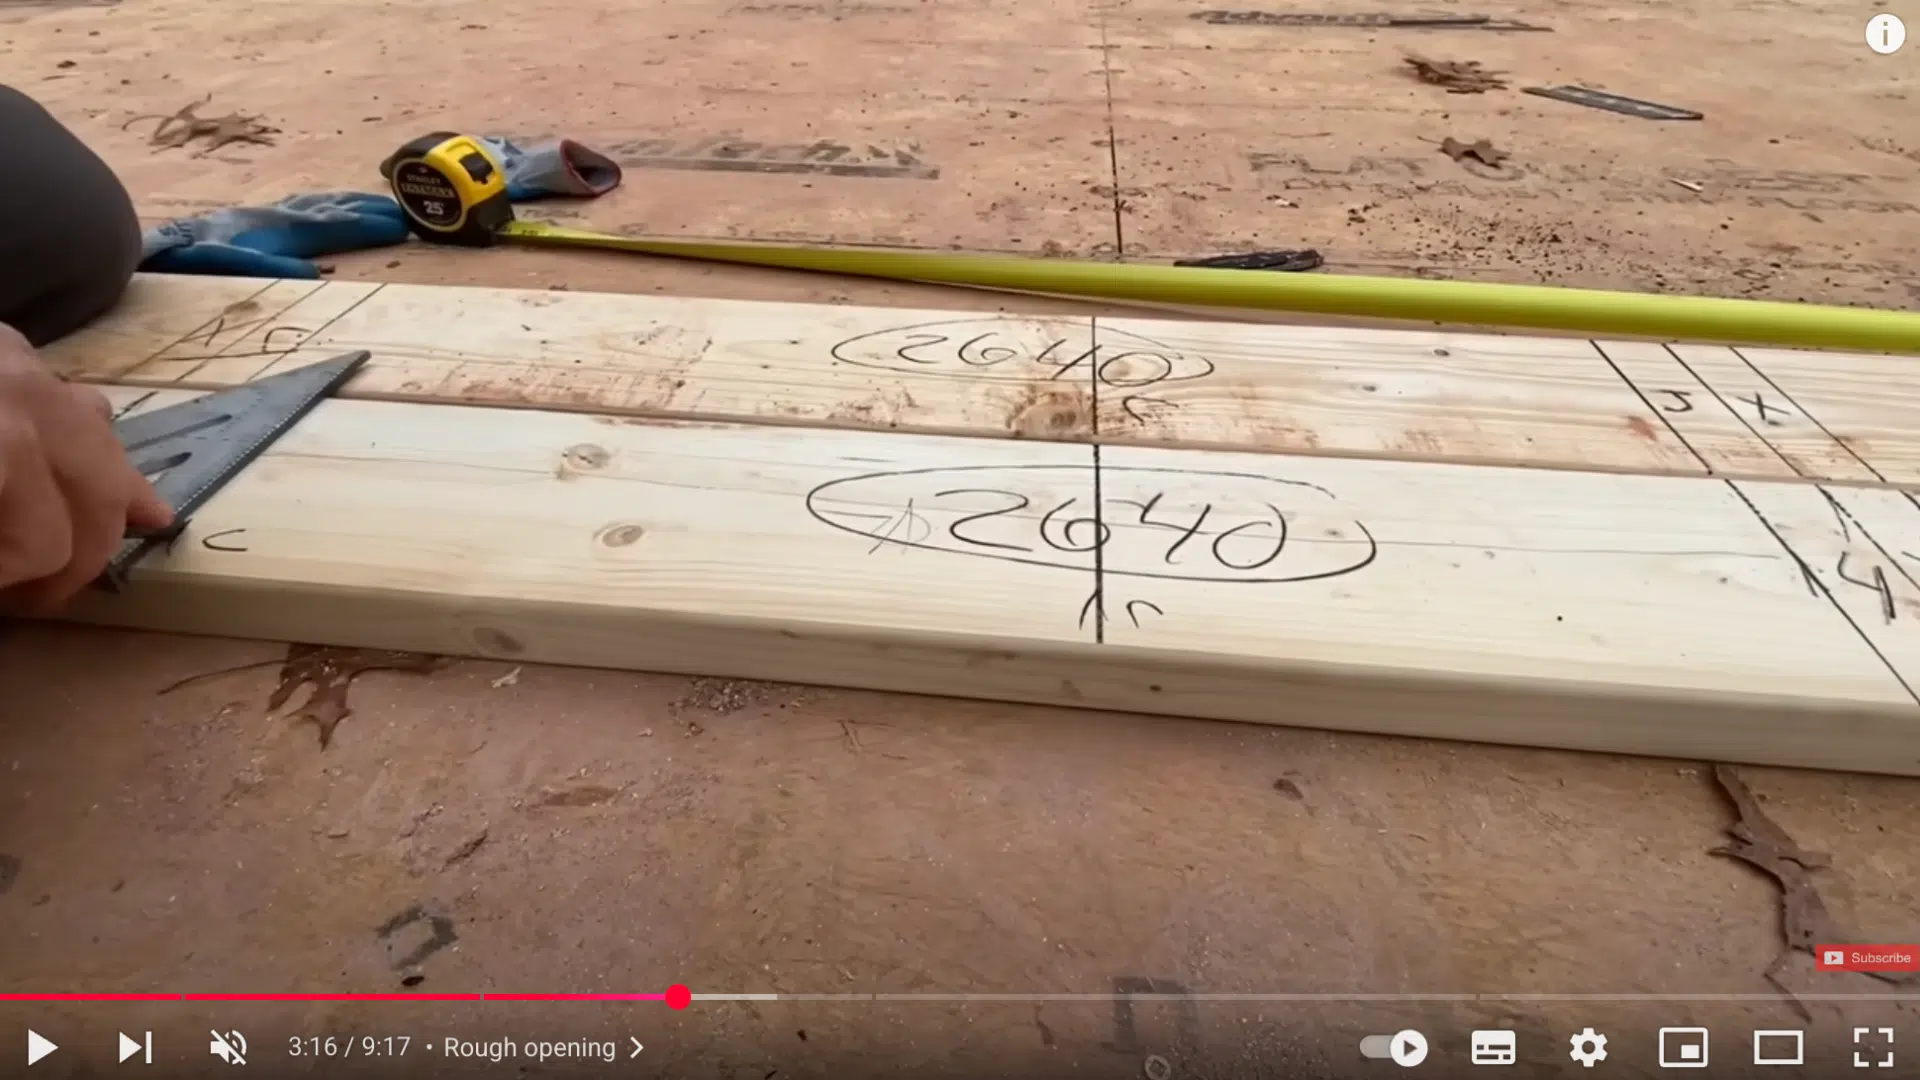
To stay organized, write the window’s rough opening size on both plates. This project uses “2-6 4-0,” which means 30 inches wide by 48 inches tall.
Now plan for the cripple studs. These go under the sill to support it.
Space them 16 inches apart, just as you would with regular wall studs. This makes it easier to attach drywall or sheathing later on.
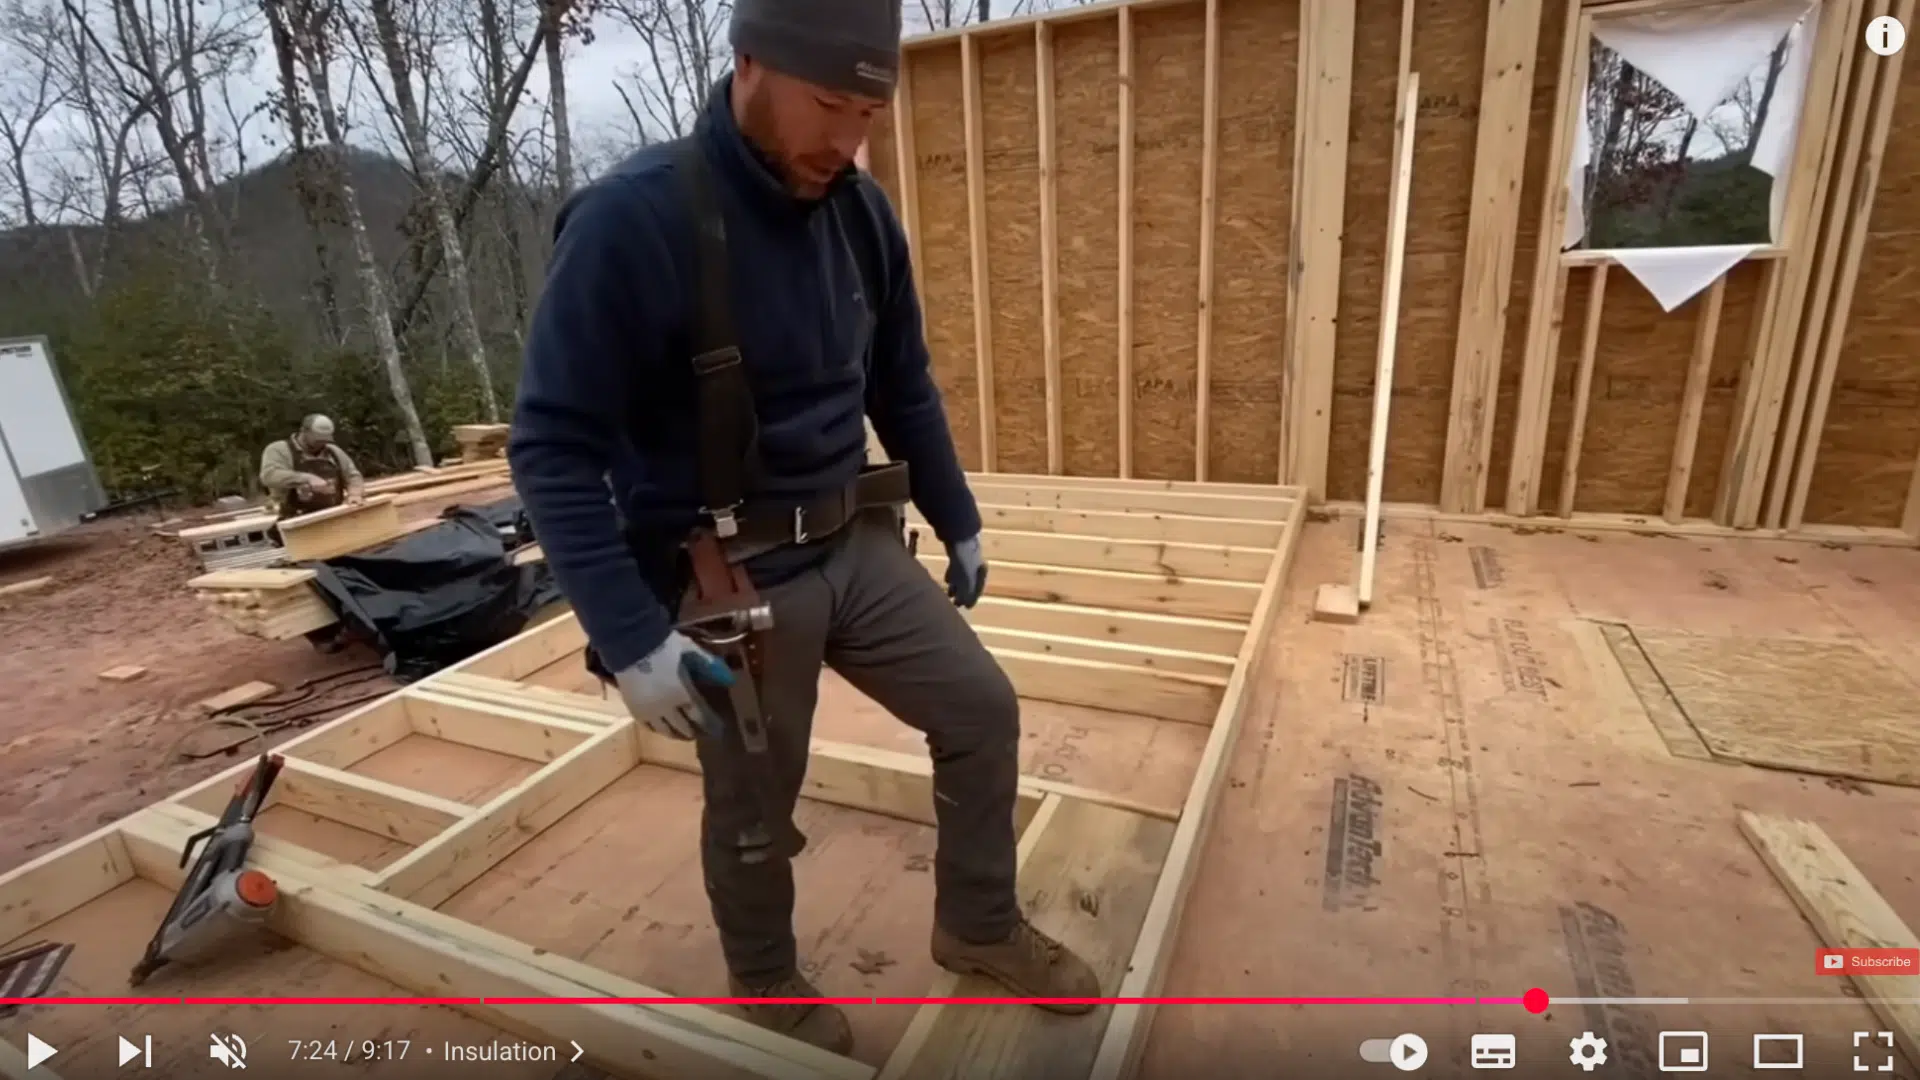
4. Install King and Jack Studs
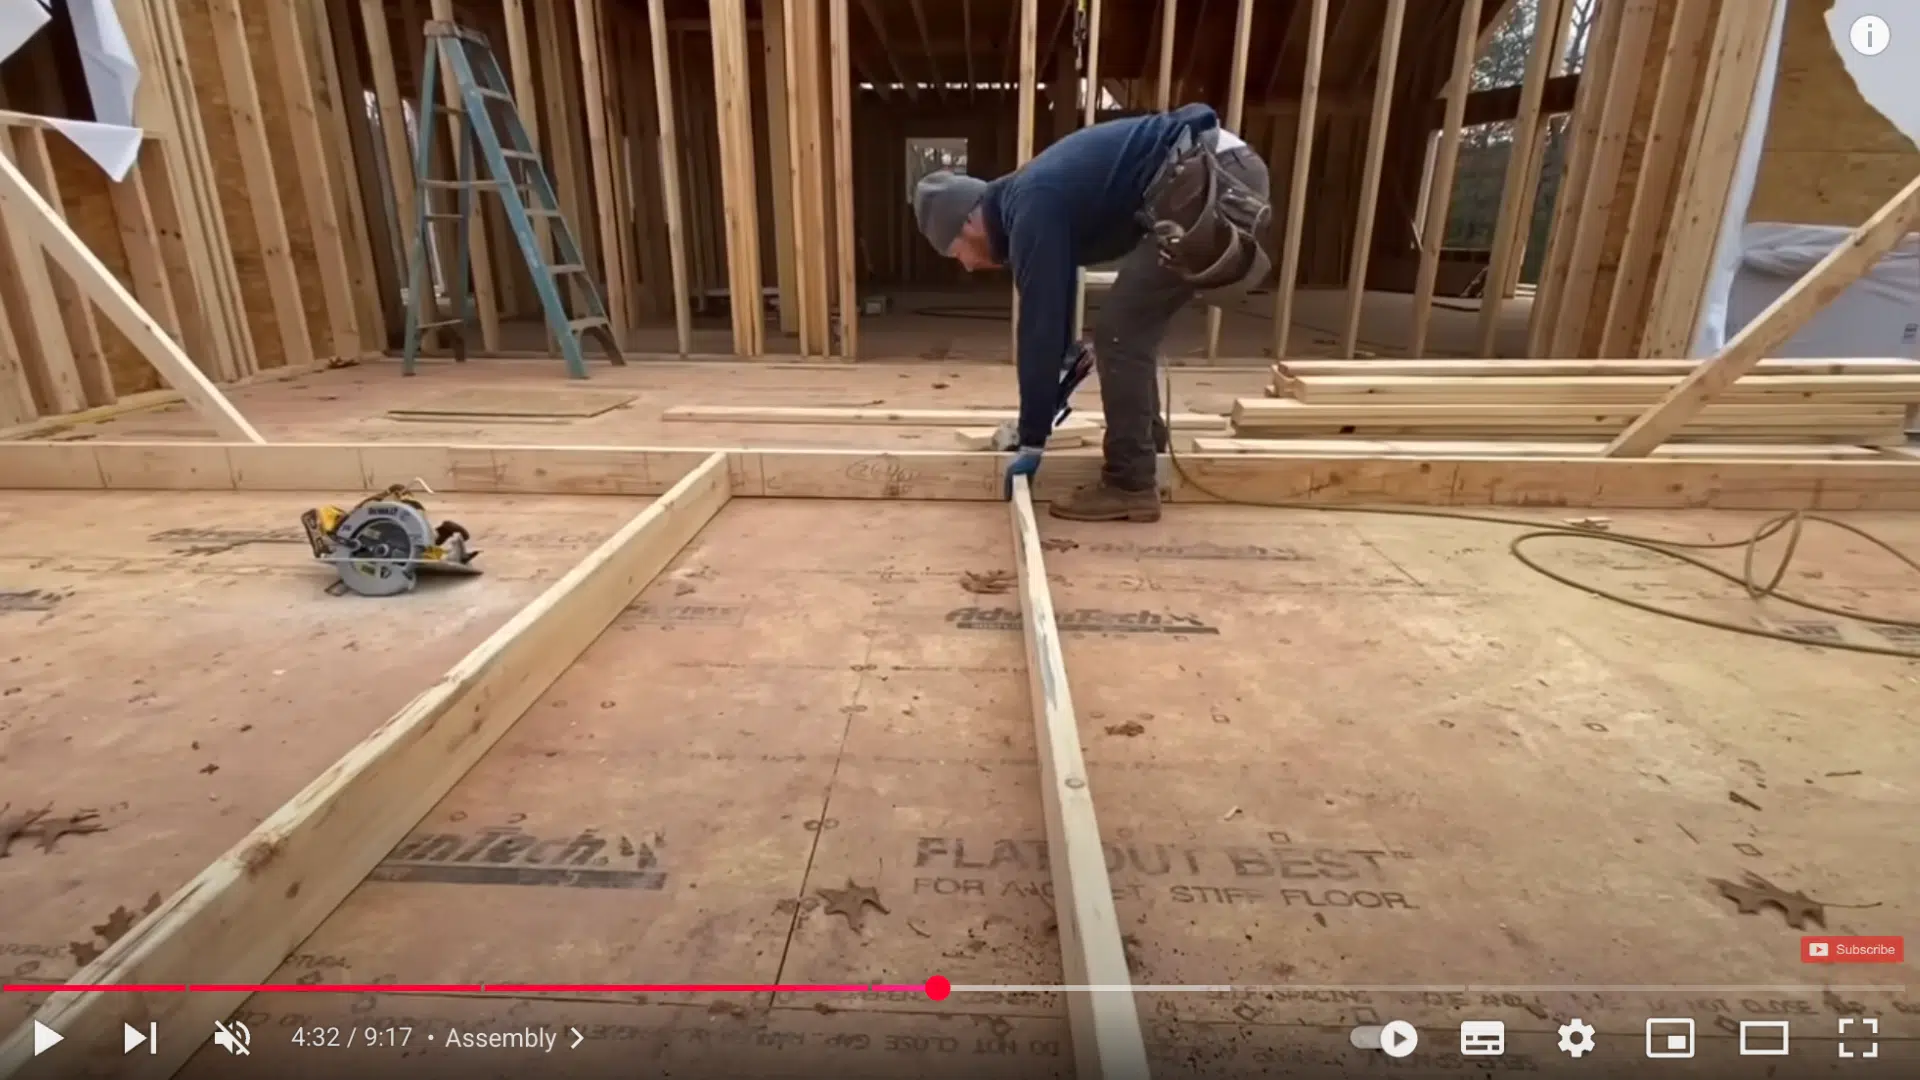
Now it’s time to start framing. First, nail the king studs into place. These go on the outside edges of the window opening and run from top to bottom.
Then install the jack studs right next to them on the inside. These support the header. Make sure both the king and jack studs are flush and straight, so the wall stays sturdy.
5. Add Cripples and Sill
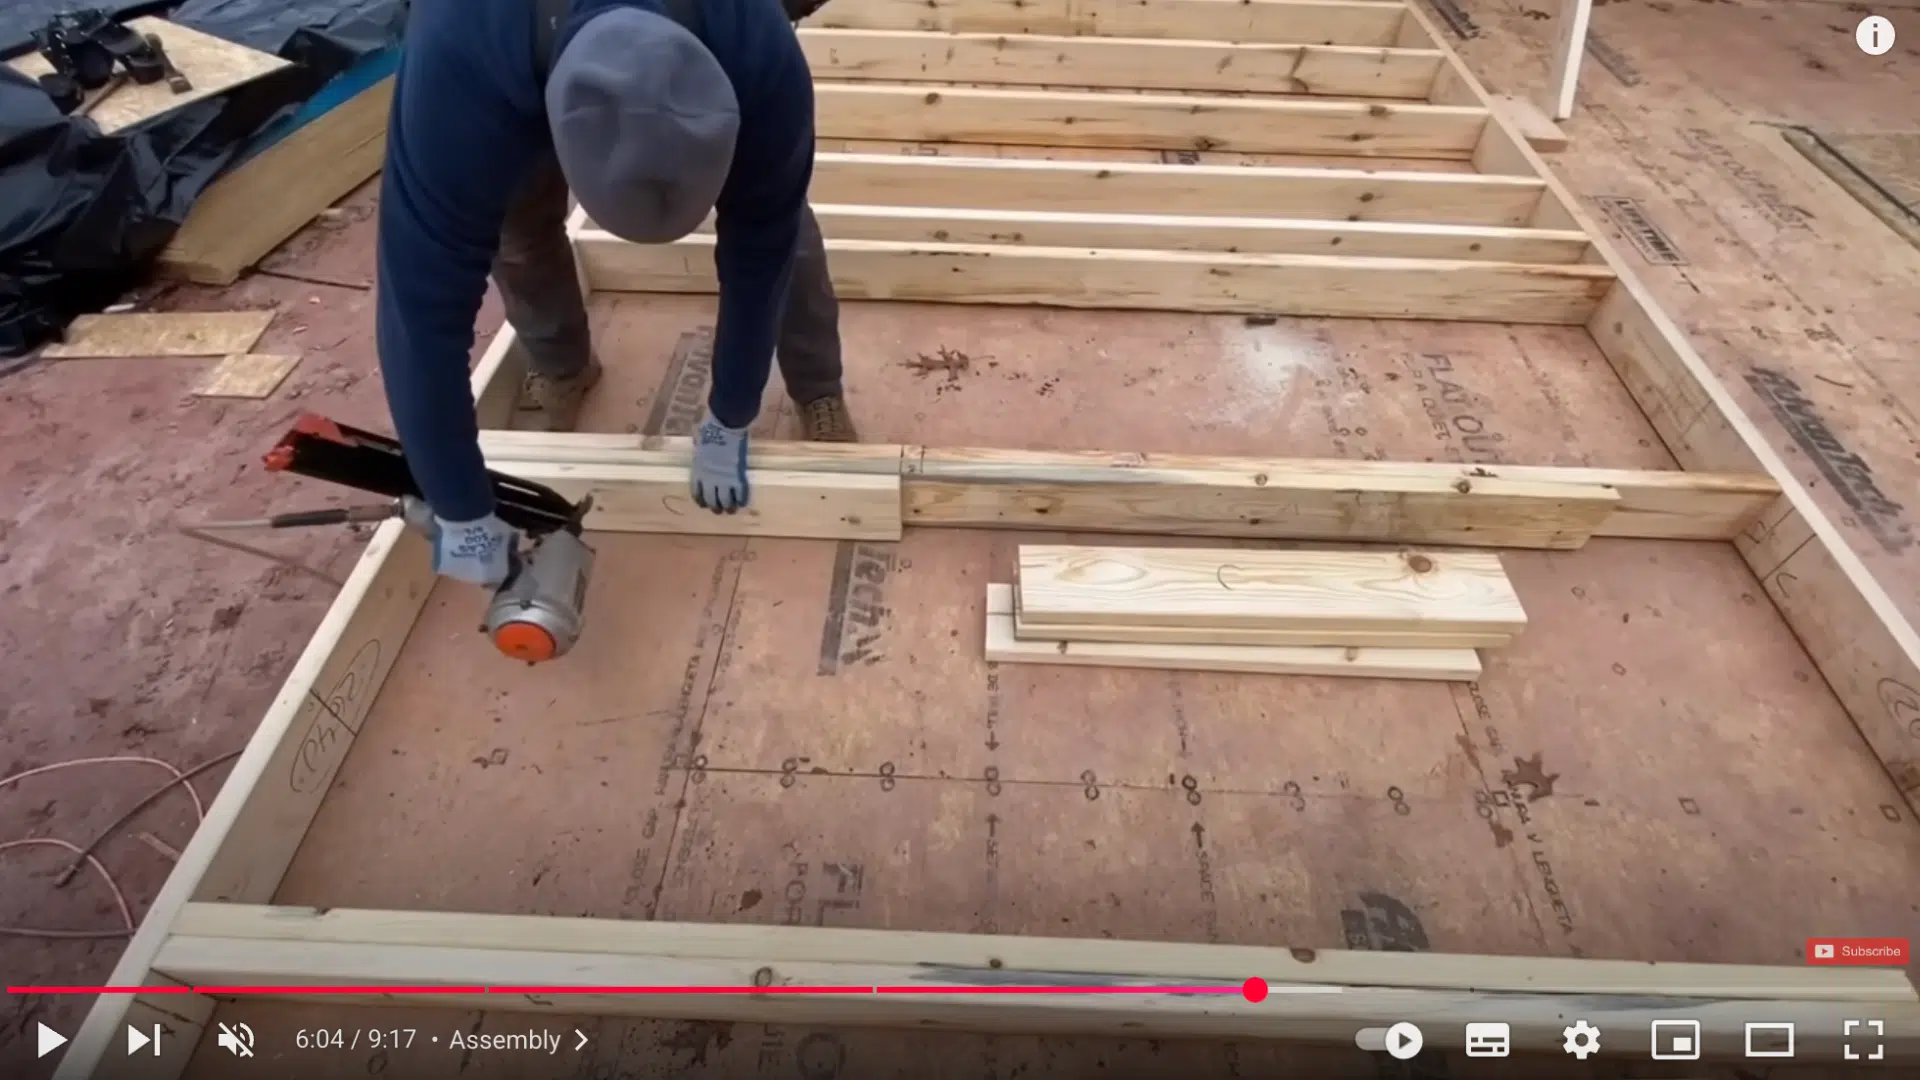
Next, measure the height of the cripple studs to ensure they reach from the bottom plate to the bottom of the windowsill.
Cut them to size and nail them in. Start with the cripples that sit right next to the jacks.
Then fill in the middle ones. Cut the sill to fit between the jacks and place it on top of the cripples.
6. Install the Header
Now install the header, which fits across the top of the jack studs. If the wall is load-bearing, use a solid header made from two boards with a spacer between them.
Tap it in tightly so it doesn’t move. The header supports the weight of the wall and roof above the window, so it needs to be strong and securely in place.
7. Check the Rough Opening
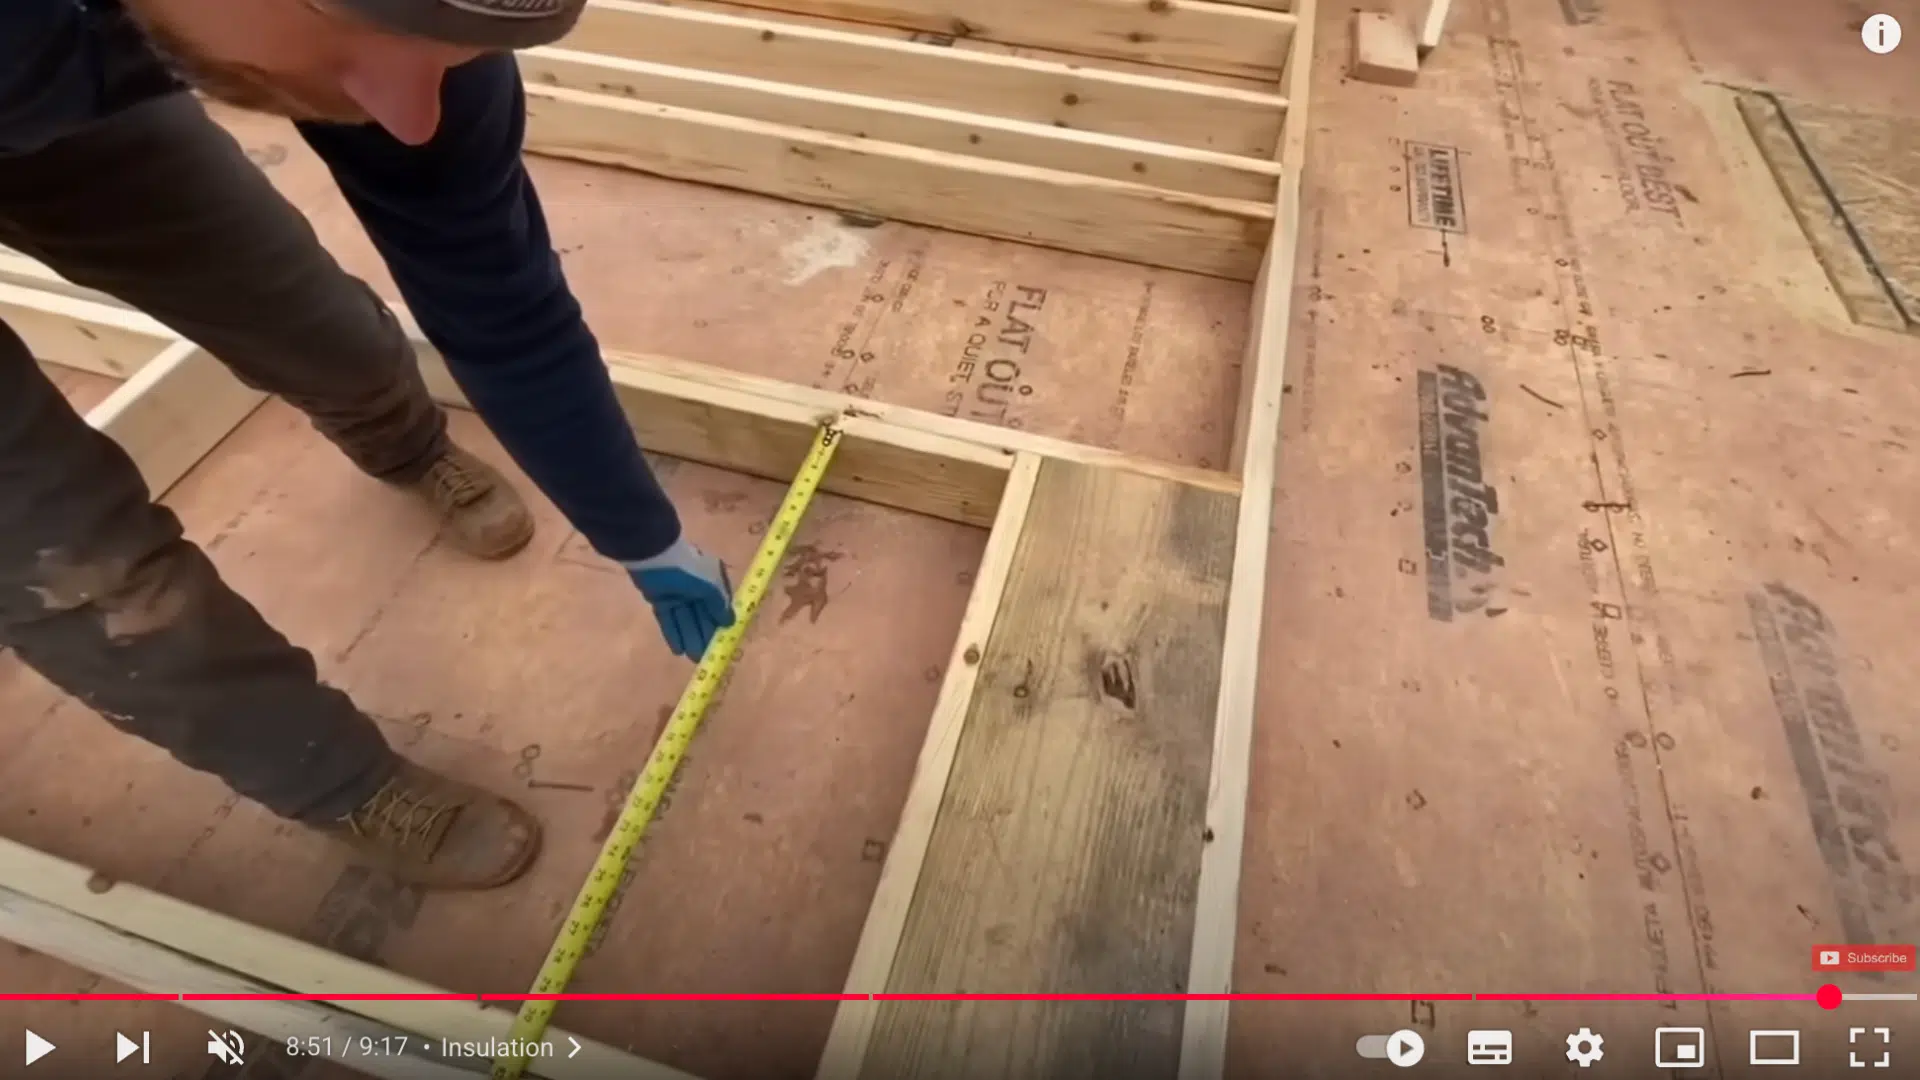
Before adding sheathing or proceeding, double-check the size of the opening to ensure it is accurate.
It should match the window’s rough opening exactly, 30 by 48 inches in this case.
It’s much easier to fix mistakes now than later, after the wall is finished. Addressing these now saves time, effort, and materials down the line.
Framing in Different Wall Types
When adding a window to a wall, it’s important to know what kind of wall you’re working with. Each wall type, whether it’s inside, outside, or load-bearing, needs a slightly different approach.
| Wall Type | What It Is | Framing Notes |
|---|---|---|
| Exterior Wall | Faces the outside of the building. Has layers like insulation and sheathing. | Be careful when cutting. Don’t damage insulation or weather barriers. Add insulation and seal around the window to keep out air and moisture. |
| Interior Wall | Inside the building. Usually doesn’t have insulation or outer layers. | Easier and faster to frame. Fewer layers to deal with. Make sure the window lines up neatly with the wall. |
| Load-Bearing Wall | Supports weight from above, like a roof or second floor. | Needs extra support, such as a double header and more jack/king studs. Must be strong and well-measured. |
Securing the Frame Safely
After cutting and labeling all your frame pieces, it’s time to put everything together. Using the right fasteners and being careful with tools helps you build a strong and safe window frame.
- Types of Fasteners to Use: Use framing nails for quick builds and wood screws for a tighter hold. For stronger support, especially in load-bearing areas, choose construction screws.
- Nailing vs. Screwing: Nails are faster and work well for basic framing. Screws take longer but hold better and are easier to remove or adjust. Use screws for extra strength.
Safety Tips When Fastening
Fastening the frame is a crucial step, but it also carries risks if not done carefully. Before you begin, ensure you understand the fundamentals of tool safety.
- Wear safety glasses to protect your eyes from dust, nails, and debris.
- Be cautious with tools, especially nail guns, saws, and drills—use them with precision and focus.
- Ask an expert for help if you’re unsure about any step or tool.
- Take your time; working safely is more important than working fast.
Final Check Before You Finish
Before wrapping up your window framing project, it’s important to do a final check. This helps catch small mistakes that could cause problems later.
Especially when installing the window or finishing the wall. Review this quick list to ensure everything is solid, square, and sealed properly.
Is everything square?
Measure from corner to corner in both directions. If the measurements match, the frame is square. This helps the window fit properly and open or close smoothly.Is the frame tight and secure?
Make sure all studs, headers, and sills are nailed or screwed in tightly. There should be no loose parts or gaps between boards.Did you insulate and seal gaps?
On exterior walls, add insulation around the window opening and seal any small gaps with foam or caulk. This keeps out drafts, water, and bugs.
Tips for Beginners
Starting your first framing project can be challenging, but a few simple tips can make the process easier.
- Begin with a small project to develop your skills before tackling something larger.
- Ask someone to help hold boards while you cut or fasten; they can keep things steady and safe.
- Watch a video before you begin to see each step in action and gain a better understanding of the process.
Common Mistakes to Avoid
Even small mistakes can cause problems when framing a window. Here are some common ones to watch out for:
- Cutting the Opening Too Small: If the opening is too tight, the window won’t fit properly. Always double-check the rough opening size before making any cuts.
- Forgetting the Header: The header supports weight above the window. If you skip it, especially in a load-bearing wall, the wall could weaken or sag.
- Not Checking for Level: A crooked frame can lead to gaps, poor sealing, or a window that doesn’t open and close smoothly. Use a level at every step.
- Overdriving Screws: Driving screws in too hard can split the wood or pull parts out of place. Tighten them just enough to hold everything securely.
Conclusion
Framing a window might seem like a big task, but with the right steps and a bit of patience, it becomes much easier.
From marking the opening to cutting and assembling the frame, every step in the process plays a crucial role in ensuring the window fits nicely and remains strong.
When working on an exterior, interior, or load-bearing wall, planning and using the right tools make a significant difference.
Always measure carefully, label your parts, and double-check your work as you go.
Safety should always be a top priority. Wear proper gear, handle tools with care, and ask for help when needed.
Take your time, stay organized, and you’ll end up with a solid, well-framed window you can be proud of.

Veronica Lee holds a Master’s degree in Landscape Architecture from Cornell University and has dedicated more than 15 years to transforming outdoor areas into artistic and sustainable spaces. Her career took off in a renowned landscape design firm, where she excelled in creating visually stunning and environmentally responsible designs. In 2019, Veronica brought her expertise to our platform, quickly becoming a key contributor to our outdoor design and sustainability sections. As the lead of our landscape innovation series ever since joining, she has inspired readers with her forward-thinking and practical approach. When not drafting designs, Veronica enjoys pottery and participates in local conservation efforts, activities that complement her professional ethos of blending art with nature.