Ready to show off your favorite photos and art without the hassle of hanging each piece?
A DIY picture ledge is your answer!
This simple weekend project lets you create a stylish display space that’s easy to change whenever you want.
Unlike store-bought options, making your own picture ledge means you control the size, color, and style.
Plus, it’s much cheaper!
If you’re a renter looking for wall-friendly options or a homeowner wanting to add character to your space, this project is perfect for any skill level.
Grab your tools and convert that blank wall into something special!
Why Choose a DIY Picture Ledge?
Making your own picture ledge at home offers several advantages over store-bought options.
The biggest benefit is customization. You can create a ledge that perfectly fits your space.
Need a long display for a hallway? No problem.
Want short ones for a narrow wall? You can do that too.
You’ll have complete control over the finish. Paint it to match your walls.
Or stain it to highlight the natural wood grain. Picture ledges are ideal for renters.
They require just a few small holes in the wall. This makes them easy to install and remove when moving.
They’re also perfect for small spaces. They take up less depth than traditional shelves.
Yet they still beautifully display your favorite photos, artwork, and small decorative items.
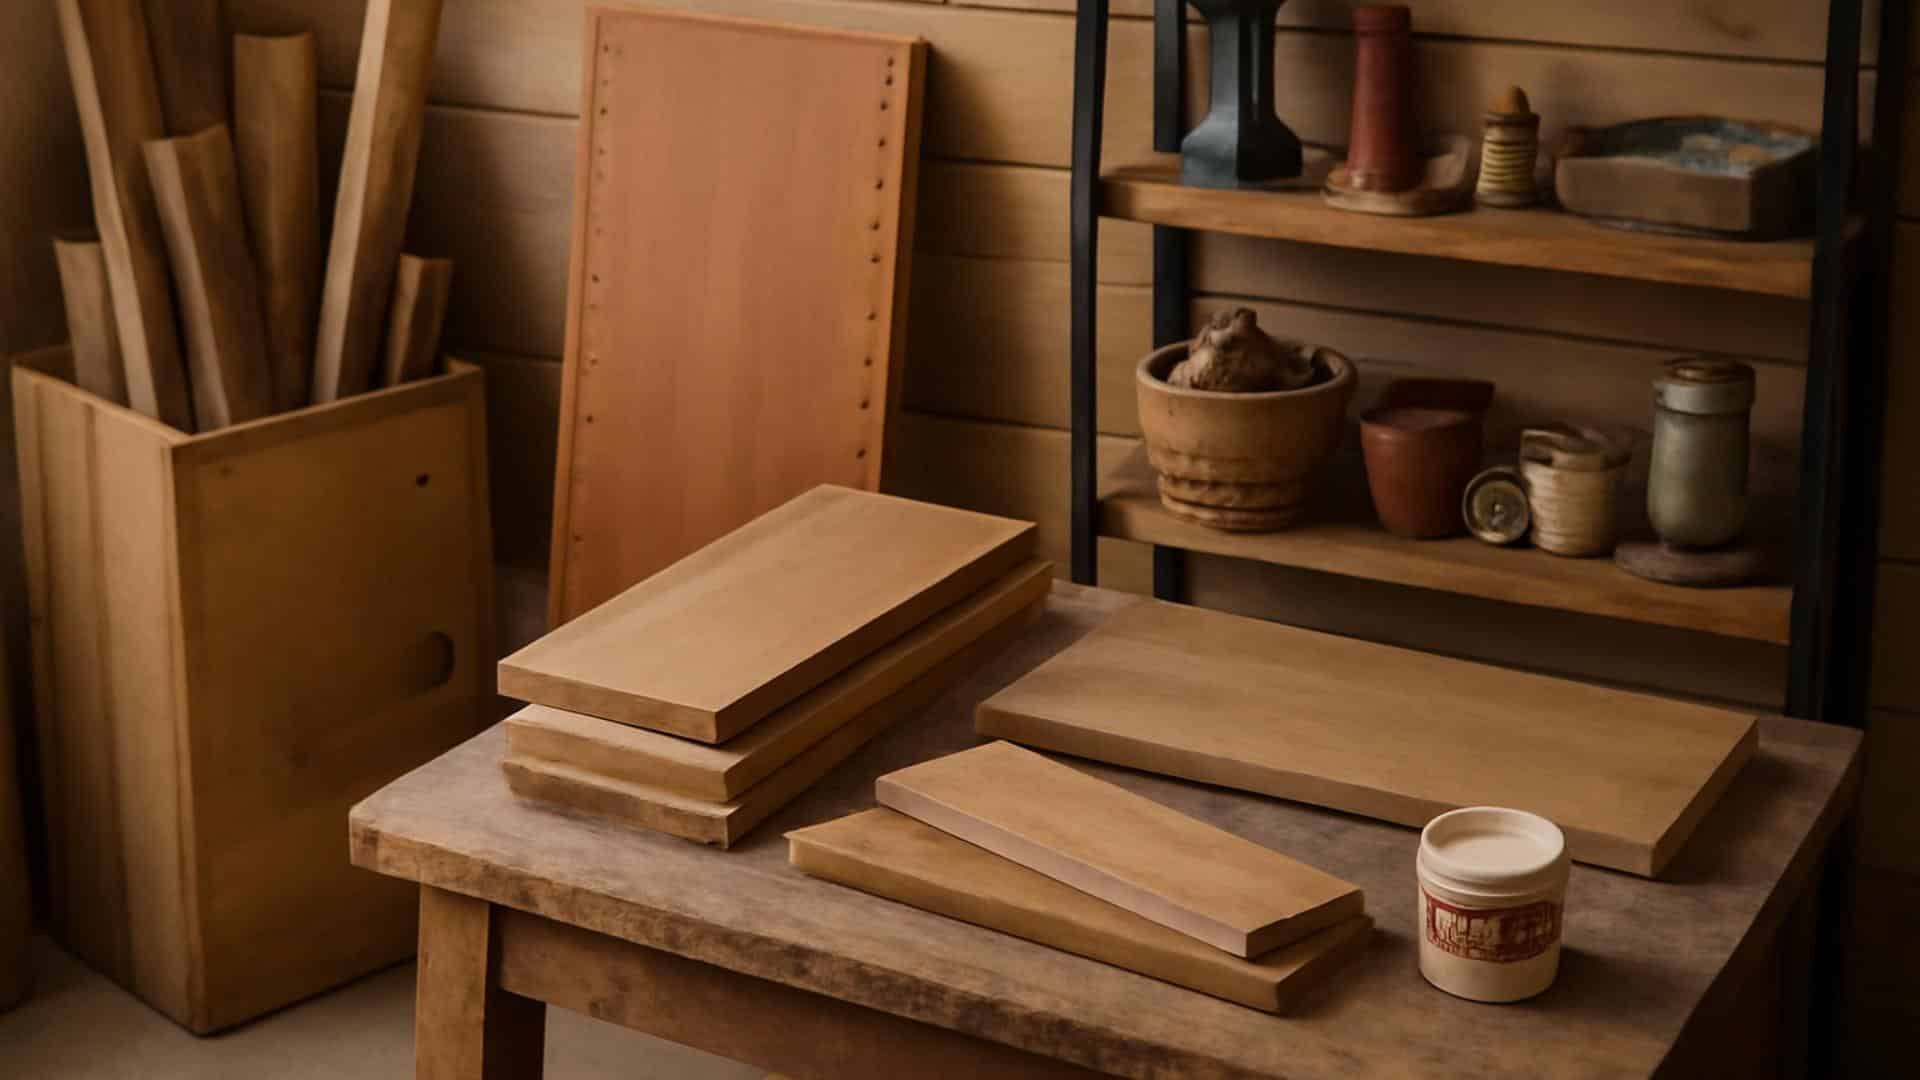
Tools and Materials You Will Need
Before starting your DIY picture ledge project, gather all the necessary supplies.
This will make the building process much smoother.
The following table lists everything you’ll need to create your custom picture ledge.
| ITEM | TYPE | COST |
|---|---|---|
| Dressed Pine (Back & Base) | Material | $8 – $12 |
| Dressed Pine (Front Lip) | Material | $4 – $7 |
| Construction Adhesive | Material | $5 – $8 |
| Wood Putty | Material | $4 – $7 |
| Water-based Clear Varnish | Material | $8 – $14 |
| Screws | Material | $3 – $5 |
| Tools (Saw, Clamps, Nail Gun or Hammer, Drill, Sander, Stud Finder, Level, Painter’s Tape) | Hardware | $130 – $461 |
Don’t worry if you don’t own all these tools.
Some hardware stores also offer tool rentals for one-time projects.
Remember to measure your wall space before purchasing materials, so you get the correct lengths of wood.
Estimated Total Cost
- Materials Only – $32 – $53
- Tools (if needed) – $130 – $500
- Combined Total – $162 – $560
Budget Tip: If you don’t already own the necessary tools, consider borrowing from friends or neighbors and renting from a hardware store.
Step-by-Step Guide for DIY Picture Ledge
Follow these simple steps to create your own picture ledge.
Each step is broken down to make the process easy, even for beginners.
Take your time and enjoy the process.
Step 1: Cut the Timber
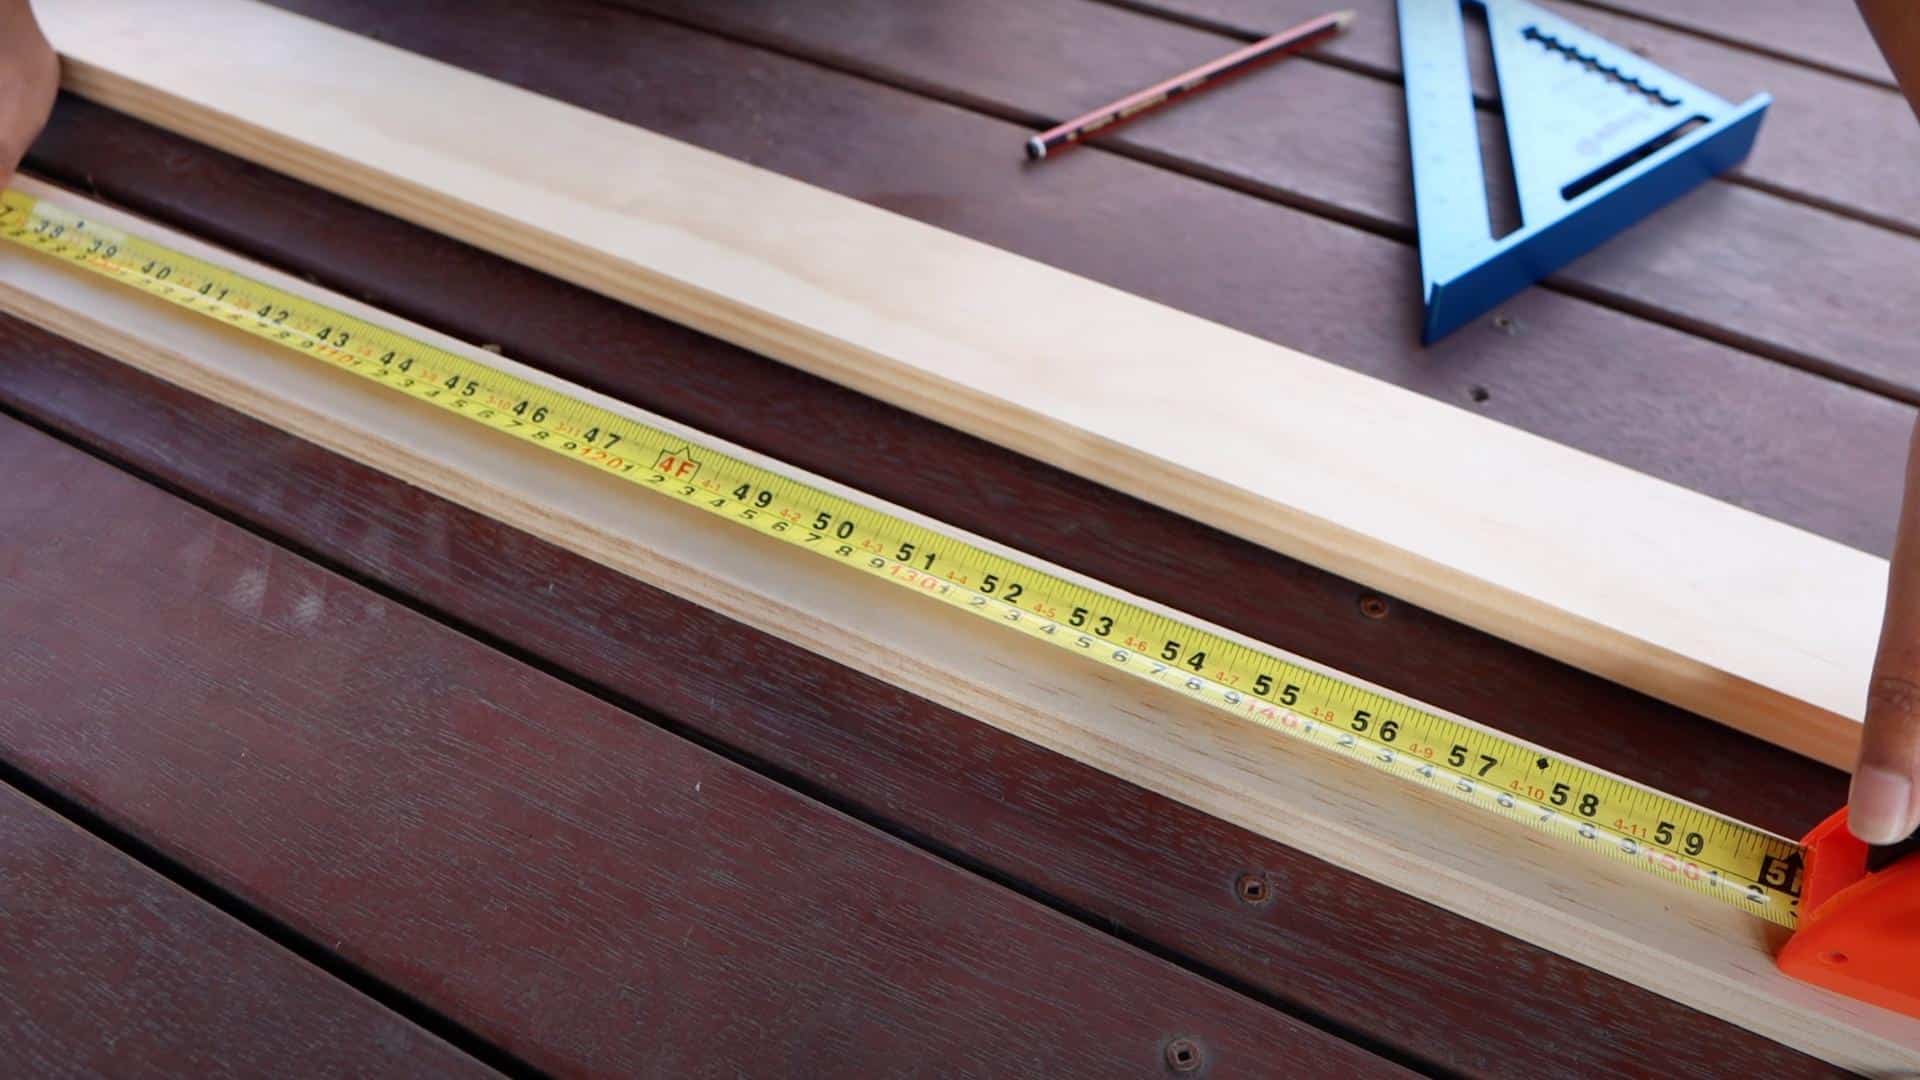
Start by measuring and marking your wood pieces.
Cut the pine plank into two equal parts for the back and base.
These will form the main structure of your ledge. Then cut the thinner plank for the front lip.
This creates the edge that holds your frames in place.
Always cut a bit longer than needed.
This gives you room to make clean, even edges later. Use a pencil to mark your cuts clearly.
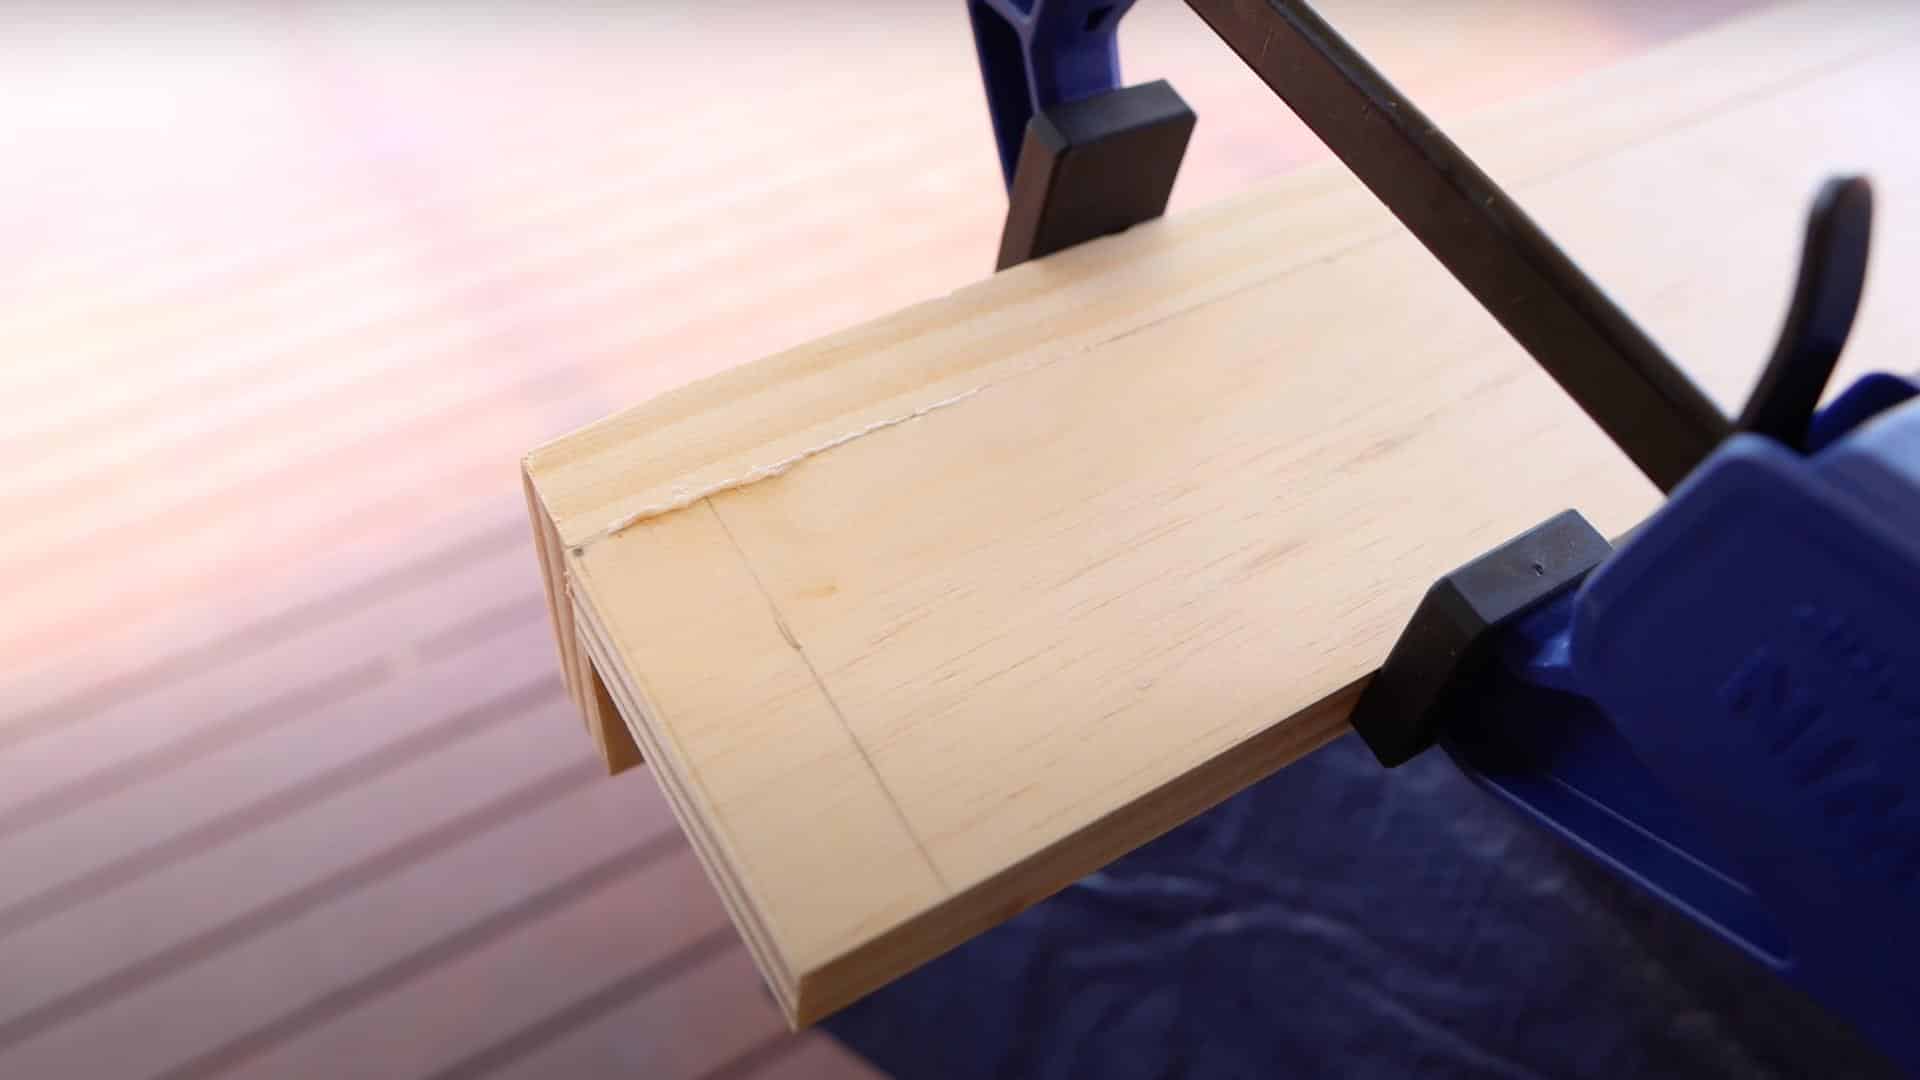
Step 2: Assemble the Ledge Frame
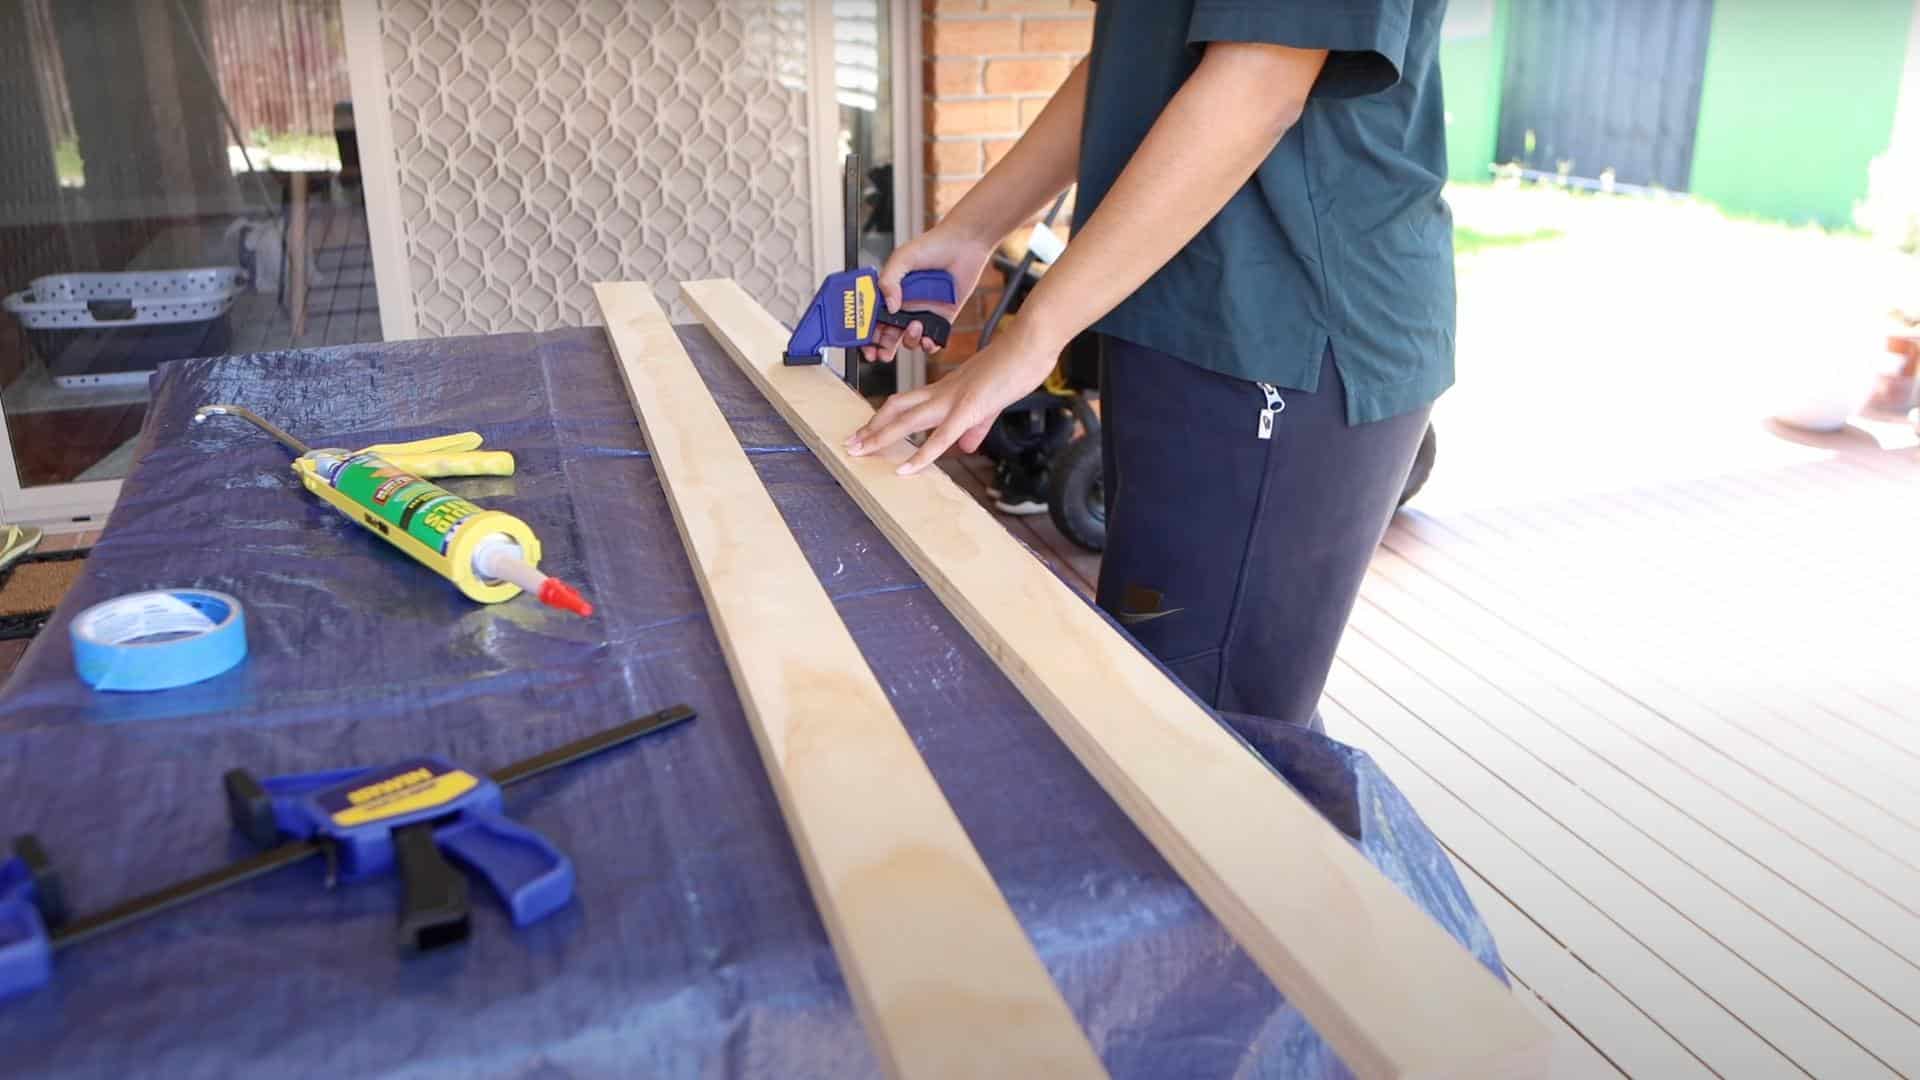
Apply a line of construction adhesive along the edge of the back piece.
Press the base piece against it to form an L-shape.
Use clamps to hold everything securely in place while the glue dries.
After about 20 minutes, add some nails or screws for extra strength.
Then attach the front lip the same way to create a U-shape.
Clean up any excess glue with a damp cloth immediately.
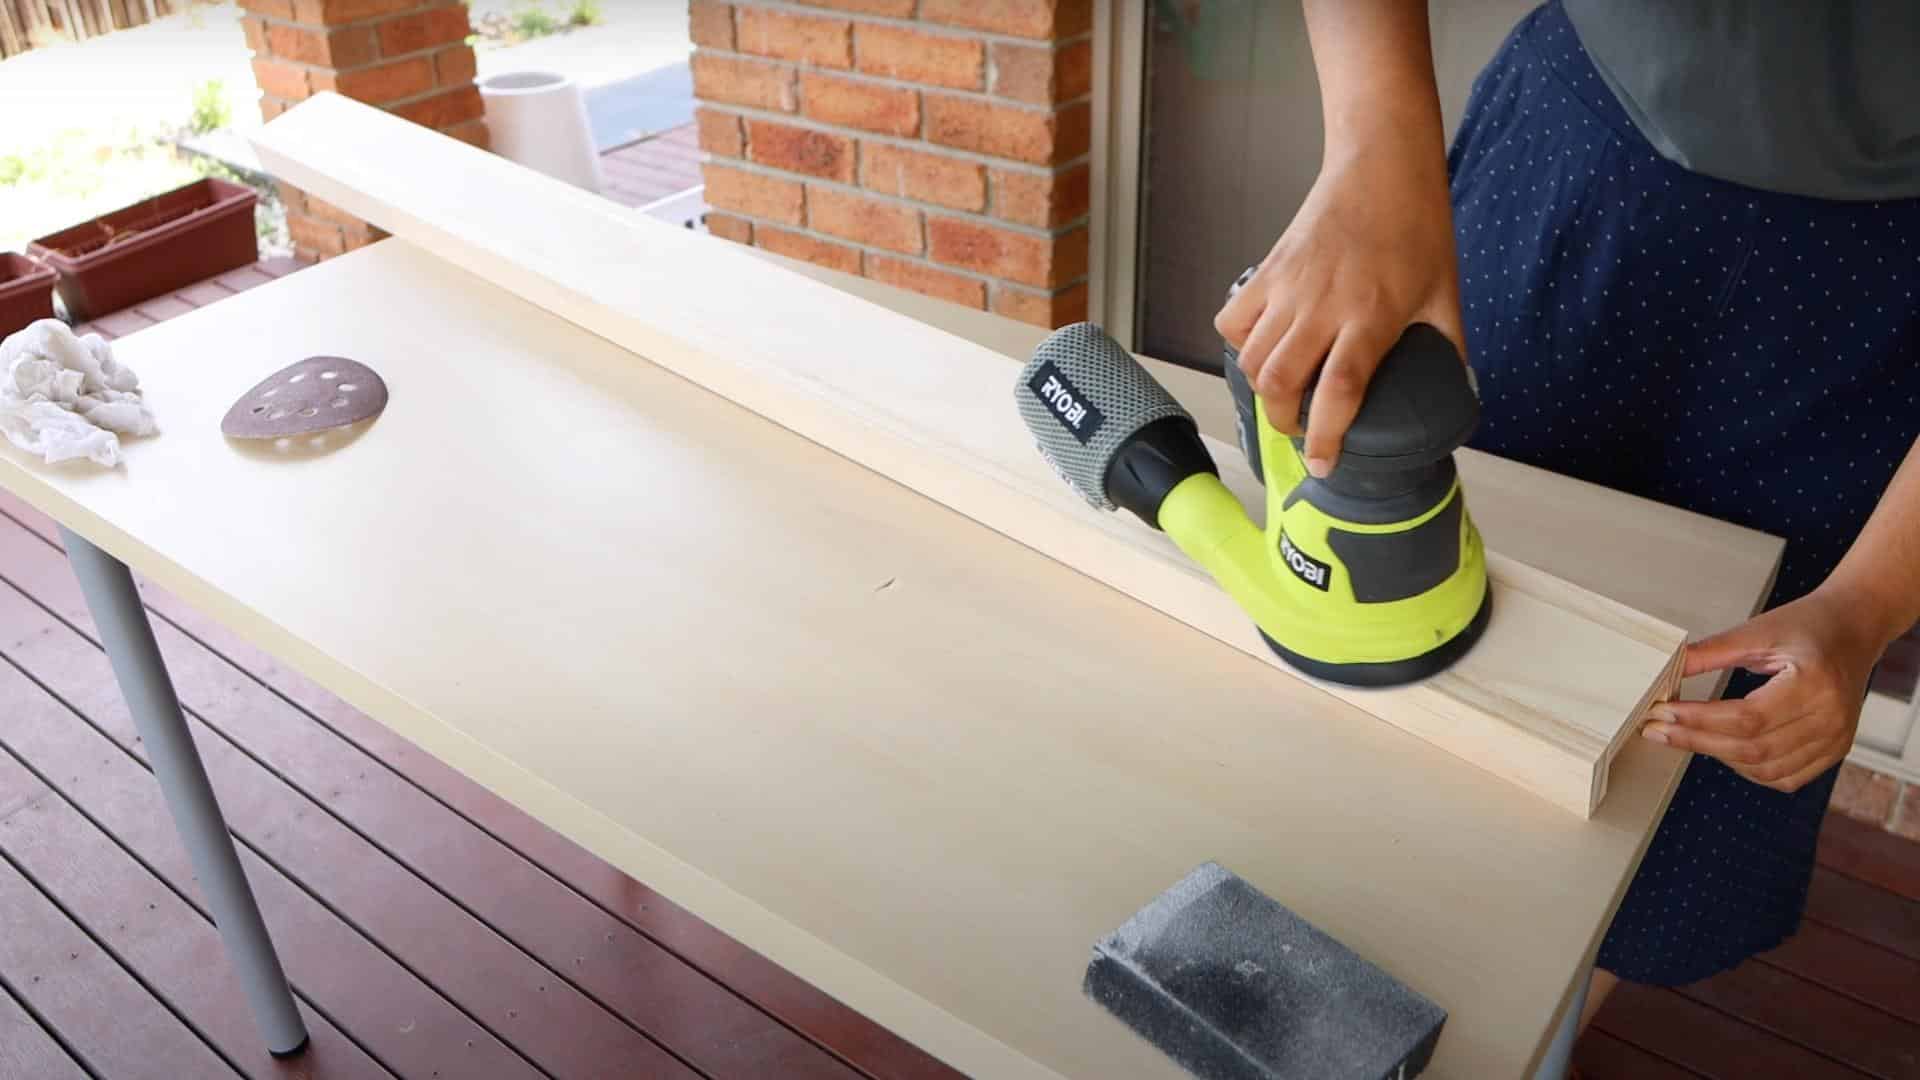
Step 3: Trim & Finish the Ledge
Now it’s time to make your ledge look neat.
Trim both ends with your saw for straight, even edges.
Fill all nail holes with wood putty that matches the color of your wood.
Let it dry completely. Sand all surfaces with coarse sandpaper first.
This makes the wood smooth and removes any rough spots.
After your first coat of finish has dried, lightly sand again with fine sandpaper for an extra-smooth result.
Step 4: Apply Protective Finish
Apply a coat of clear, water-based varnish to protect your wood.
This keeps it safe from spills and dust. Let it dry completely according to the can directions.
Lightly sand the surface with fine sandpaper. This helps the second coat stick better.
Apply another coat of varnish for extra protection and a nicer shine.
Allow the final coat to dry completely before handling the ledge.
Step 5: Mount the Ledge
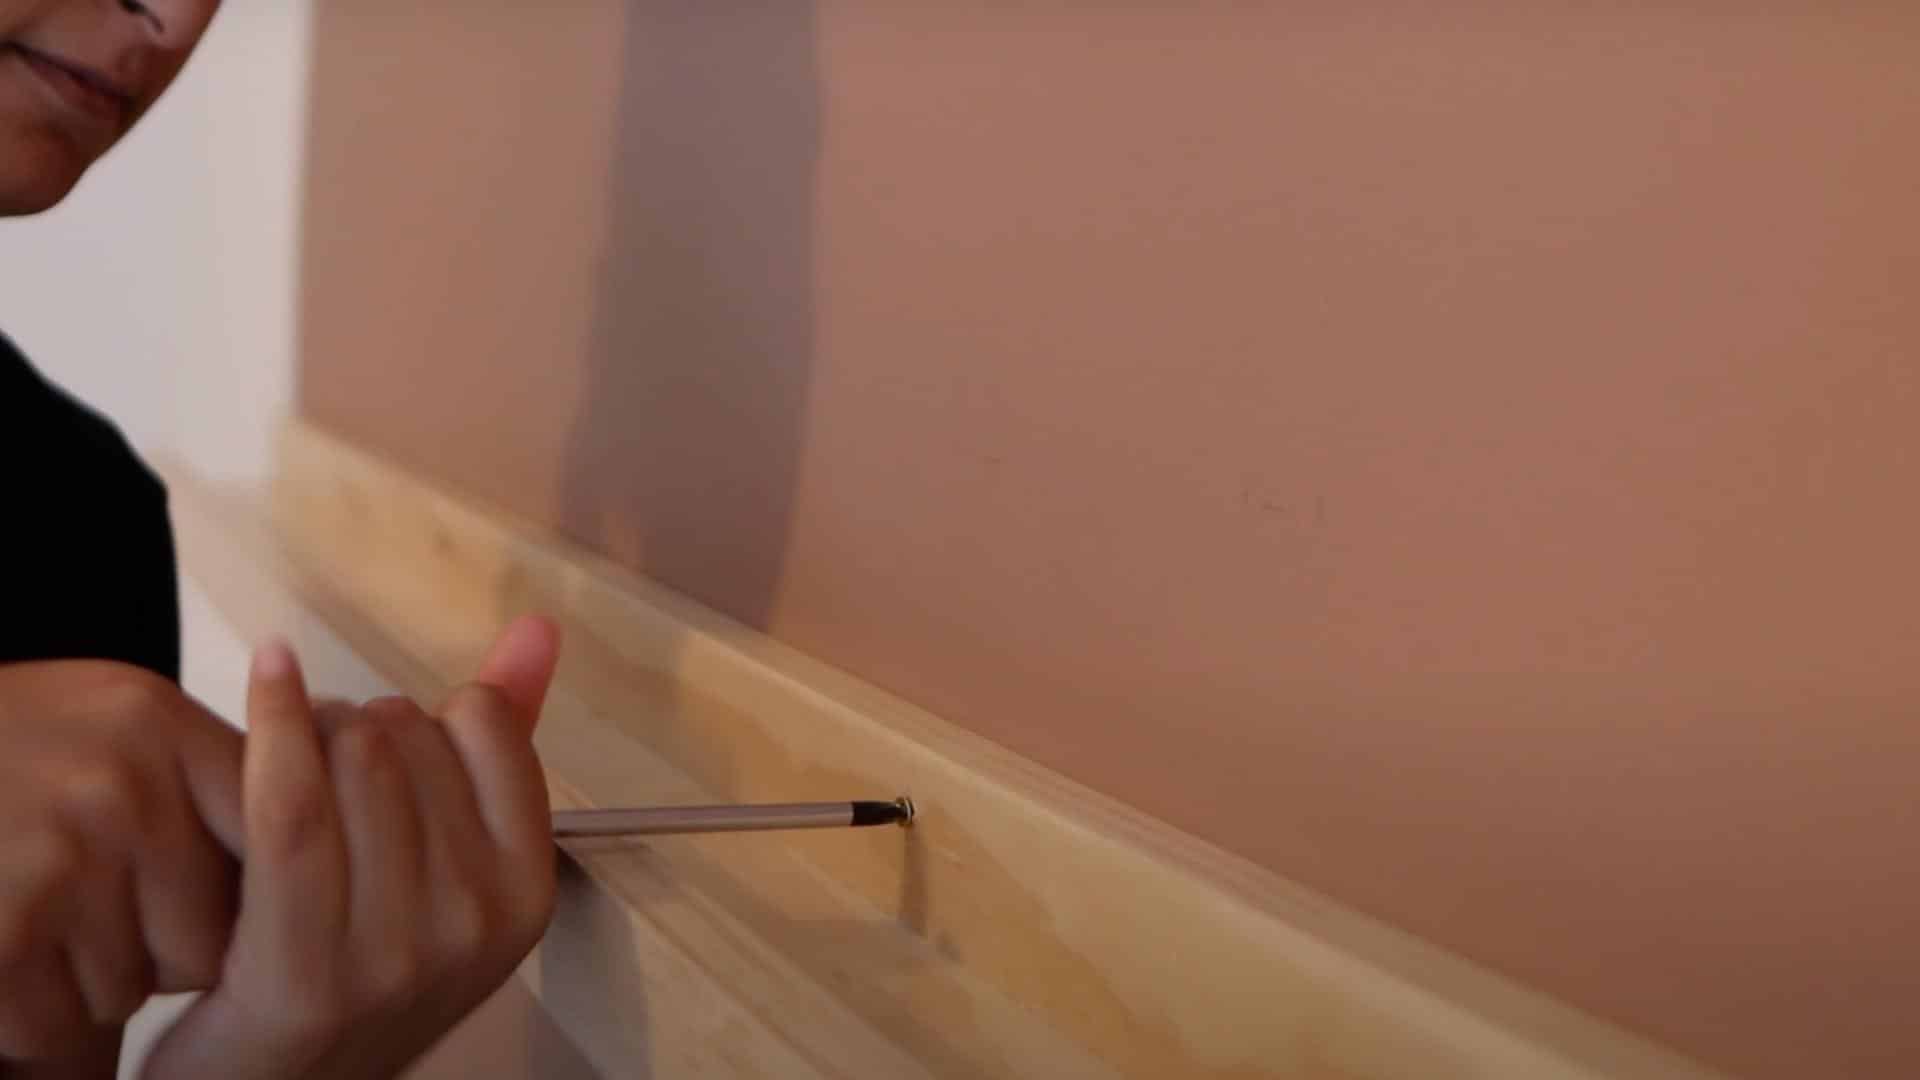
Place painter’s tape on your wall to determine the position of the ledge.
Draw a level line where the top of the ledge will sit.
Use a stud finder to locate wall studs and mark them.
Drill holes through the back of your ledge at these marks.
Get someone to help hold the ledge against the wall while you drive screws through the holes into the studs.
Check that it’s level before tightening all screws completely.
Video Tutorial
For more information, check out this video tutorial by Life of Kotts
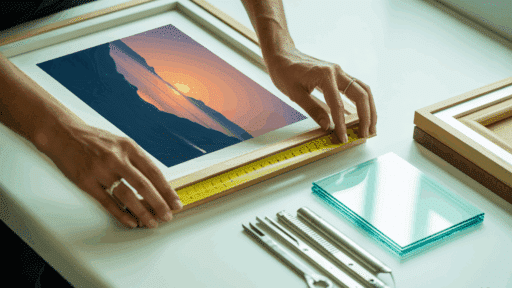
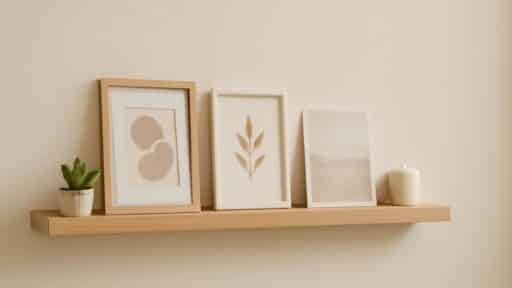
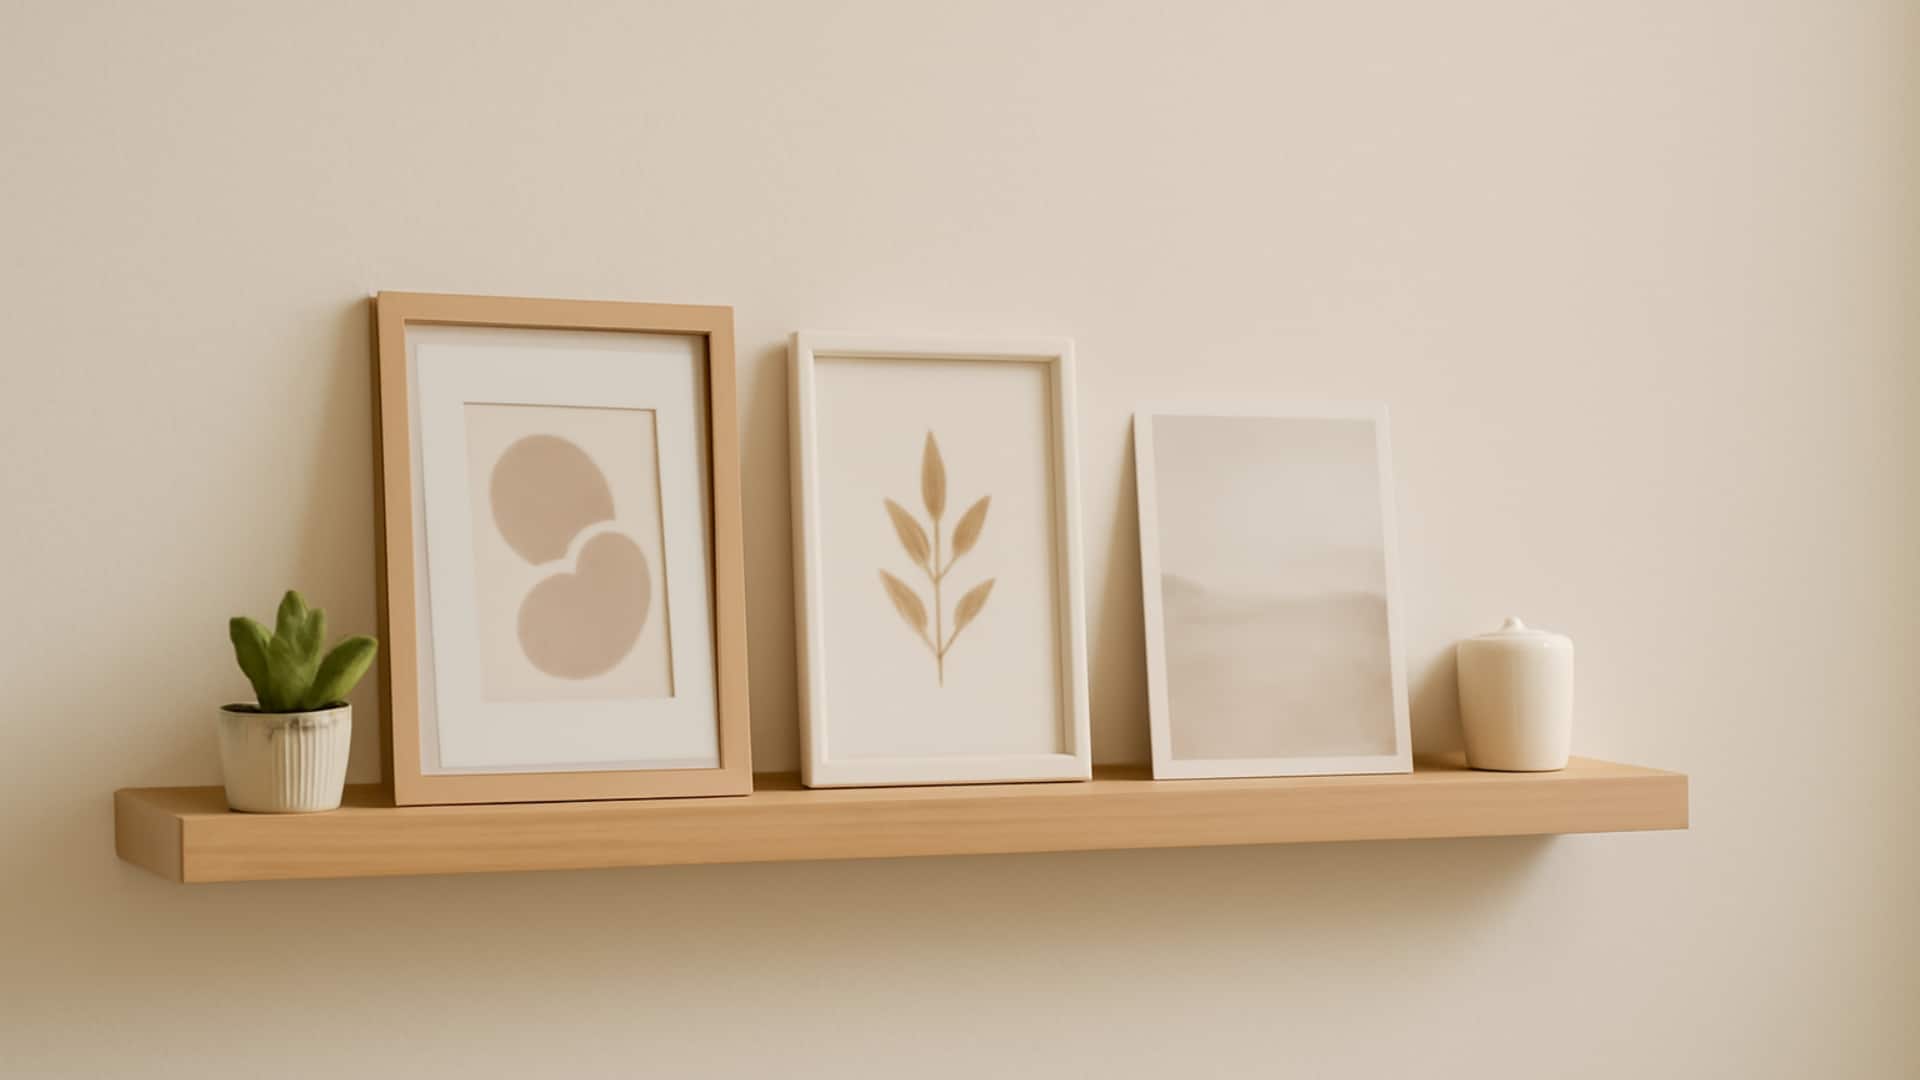
Styling Your Picture Ledge
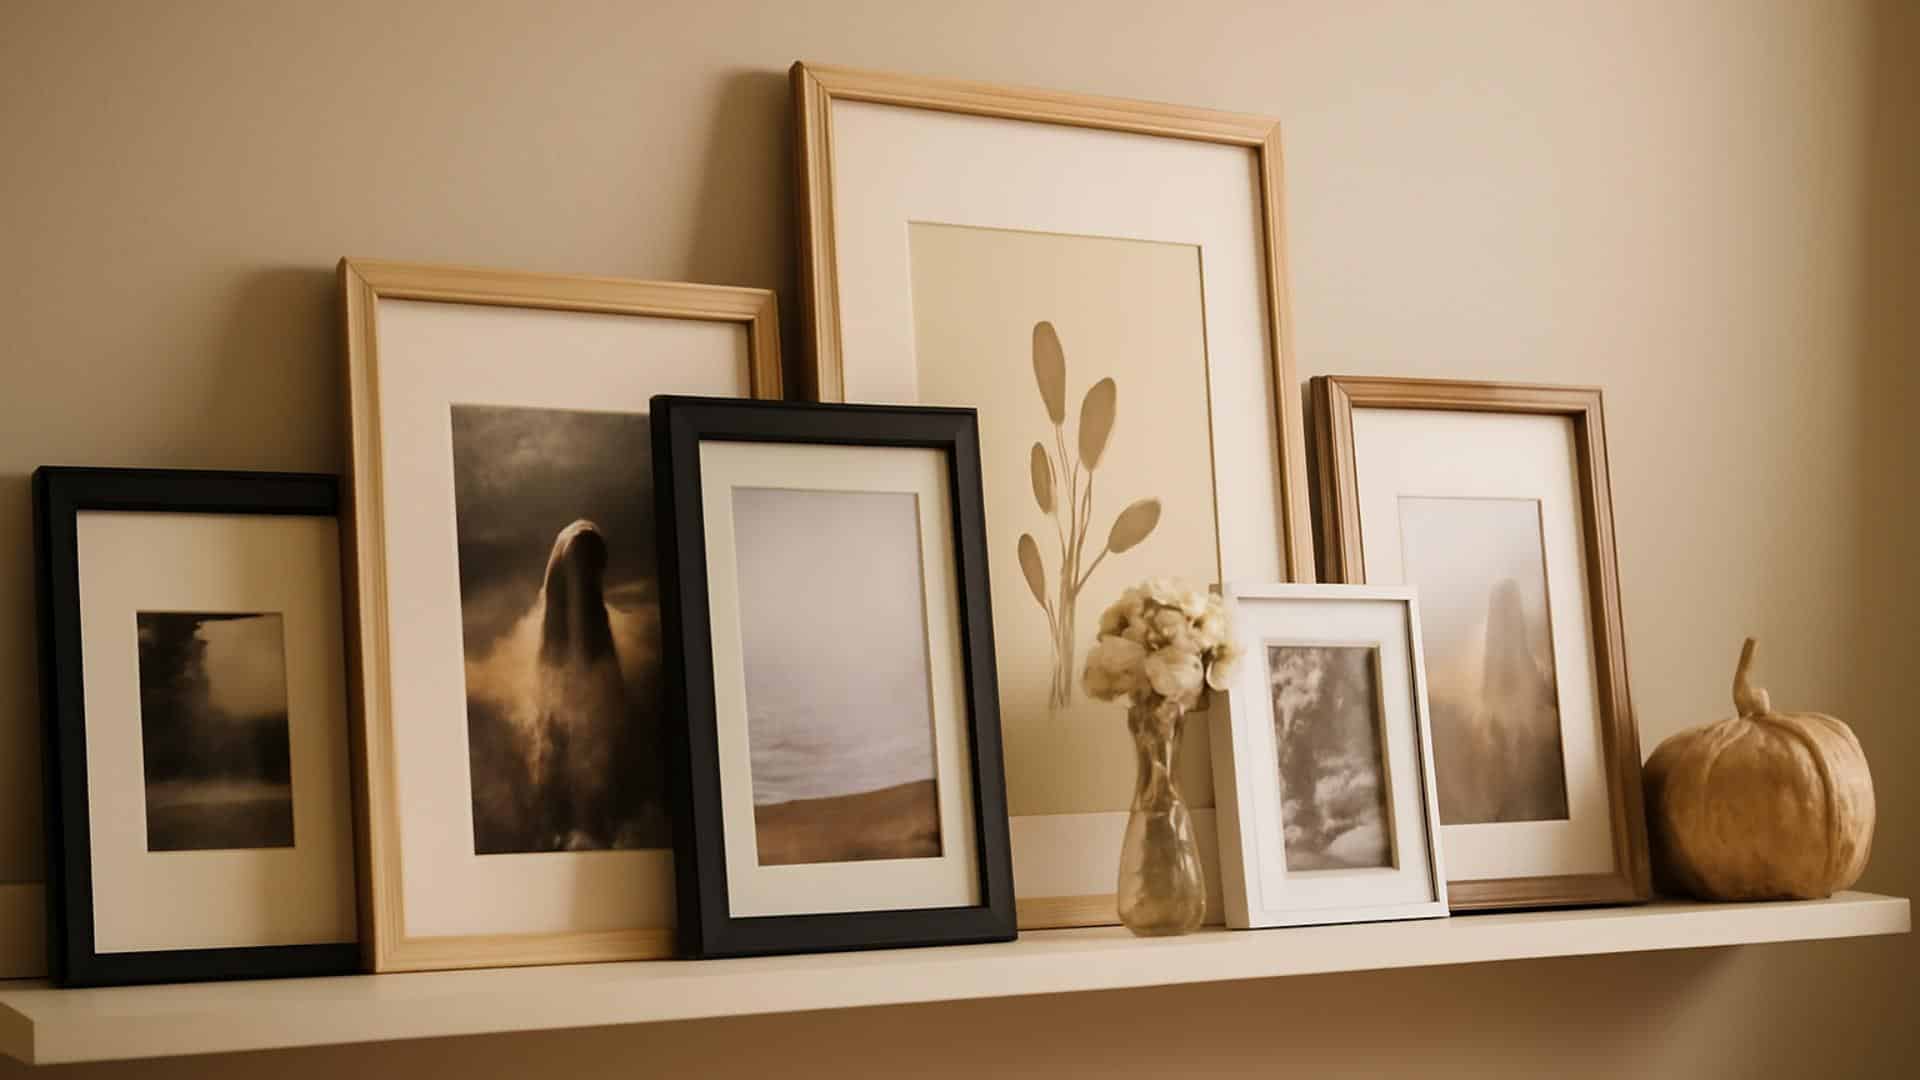
Once your picture ledge is mounted, it’s time for the fun part – decorating!
You don’t need expensive items to create a beautiful display.
Look for frames at thrift shops or dollar stores and spray paint them to match your style.
Print free art from websites or use your own photos.
To create depth, place larger frames at the back and smaller ones in front.
Mix up frame colors and sizes for visual interest. Try leaning some frames against others for a casual look.
Change your display with the seasons – spring flowers, summer beach photos, fall leaves, or winter holiday cards.
This keeps your space fresh and exciting throughout the year without buying new decor each time.
Tips to Save Even More
Enhance your DIY picture ledge project with these money-saving tips to make it even more affordable.
Here’s how to find materials without spending much:
- Check construction site dumpsters for wood scraps (always ask first).
- Visit Habitat for Humanity ReStore for low-cost building materials.
- Browse Facebook Marketplace for free leftover wood.
- Take apart old furniture, such as bookshelves, to reuse the wood.
- Buy materials for multiple ledges at once to save on supplies.
Remember, imperfections add character!
A weathered piece of wood often looks better than new after being sanded and finished.
Summing It Up
Your DIY picture ledge is now ready to showcase your personality!
Not only did you save money, but you created something unique that perfectly fits your space.
Remember to change up your display with the seasons or whenever you feel like a fresh look, that’s the beauty of a picture ledge!
The simple design makes it easy to swap photos, add small plants, or display your favorite treasures.
With just a few hours of work, you’ve created a versatile display that will enhance your home for years to come.
Enjoy your new DIY picture ledge and the endless styling possibilities it offers!
Building your own picture ledge is just the beginning!
Explore our DIY Project blogs for more creative, affordable ideas for your home.

James McLaren, with a rich background in architecture from the University of Manchester, has been contributing his expertise to the world of creative construction and home innovation for over 20 years. His journey began as a project manager for a leading construction firm, where he honed his skills in bringing complex designs to life. James joined our platform as a freelancer in 2019, quickly becoming a favorite for his insightful and practical advice. He has been a pivotal force to our wing ever since, bringing our readers a blend of technical know-how and creative flair. Beyond his professional life, James is an avid woodworker and enjoys restoring vintage furniture, a hobby that complements his professional insights beautifully.