Ever walked into your basement and noticed that musty smell that won’t go away?
You’re not alone; millions of homeowners deal with damp, uncomfortable basements that feel more like caves than livable spaces.
The secret to fixing this problem lies in understanding how a vapor barrier basement wall system works.
Consider it as giving your basement walls a waterproof jacket that keeps moisture from sneaking through tiny cracks and pores.
A proper vapor barrier stops water vapor from penetrating your foundation walls, protecting your home from mold, mildew, and costly damage.
Installing a proper vapor barrier can change your damp basement into a dry, comfortable space for your family.
What Is a Basement Vapor Barrier?
Have you ever wondered why some basements stay dry while others feel damp and musty all the time?
A basement vapor barrier is a protective layer that blocks moisture from entering your basement through walls and floors.
Think of it like a raincoat for your basement that keeps water vapor out completely.
Vapor barriers differ from vapor retarders; barriers block almost all moisture, while retarders significantly slow down its passage.
Understanding the difference between moisture and vapor intrusion helps you choose the right protection for your specific basement needs.
Permeability ratings, measured in “perms,” tell you how much moisture can pass through materials; lower numbers mean better protection for your basement.
Common Signs You Need a Vapor Barrier
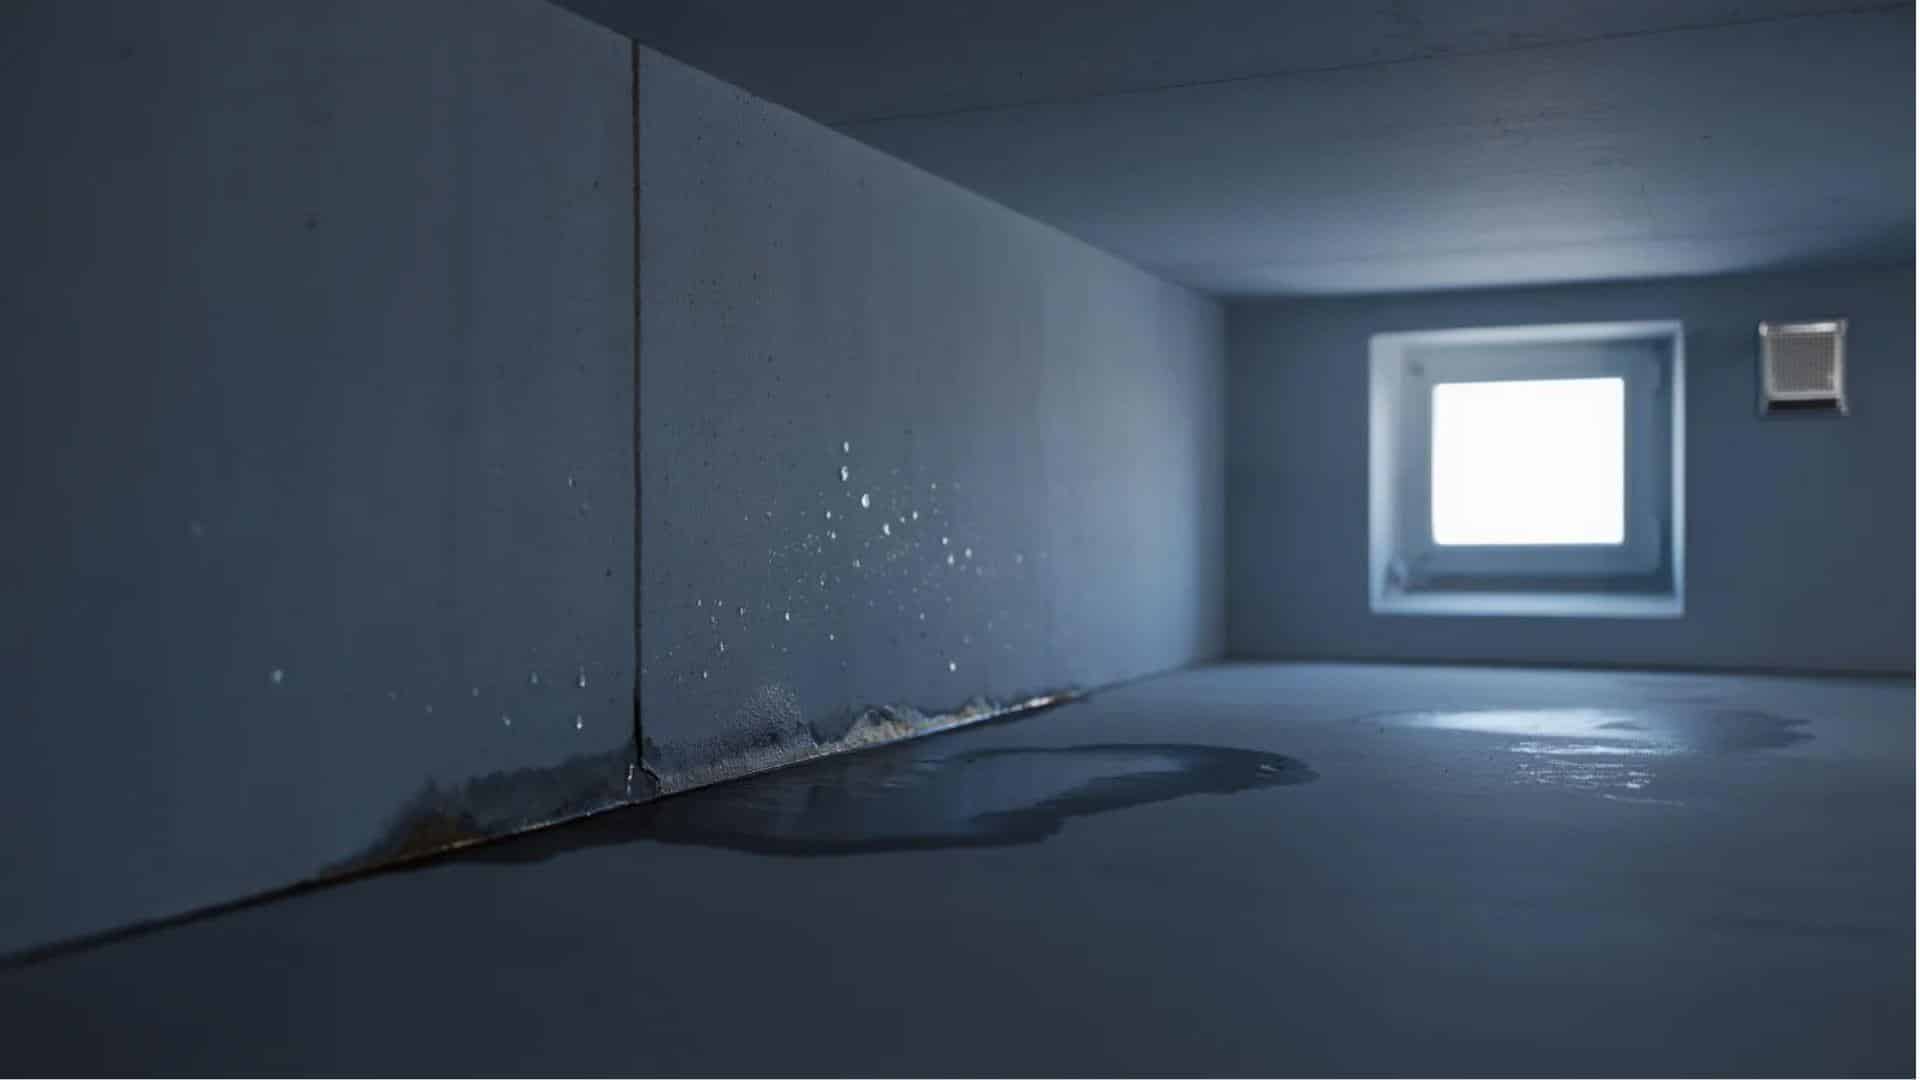
Your basement often gives clear warning signs when moisture problems start developing that need attention.
Recognizing these symptoms early helps you take action before expensive damage occurs to your home.
- Musty odors or visible mold from excessive moisture create unhealthy conditions.
- Damp walls or floors showing water vapor penetrating through your foundation.
- Peeling paint or white chalky deposits from moisture carrying minerals through the concrete.
- High basement humidity levels above fifty percent promote mold and mildew growth.
- Recurring condensation on windows occurs when warm air meets cold basement surfaces.
Don’t ignore these warning signs, as moisture problems tend to worsen without proper vapor barrier protection.
The sooner you address basement moisture issues, the less costly and complicated the solutions become.
How Do Basement Moisture Problems Develop?
Ever wonder how moisture finds its way into your basement even when you don’t see leaks?
Groundwater seepage and soil vapor work together as water moves through the ground and enters through foundation pores.
The stack effect acts like a chimney in your home, pulling moist air from your basement upward.
Poor ventilation traps this humid air in your basement, with nowhere for it to go, preventing proper circulation.
A lack of proper drainage around your foundation allows water to pool against your walls and seep inside.
Think of your basement as a magnet for moisture unless you take steps to block entry points.
Understanding these moisture sources helps you choose the right vapor barrier solution for your specific basement needs.
Types of Basement Vapor Barrier Materials
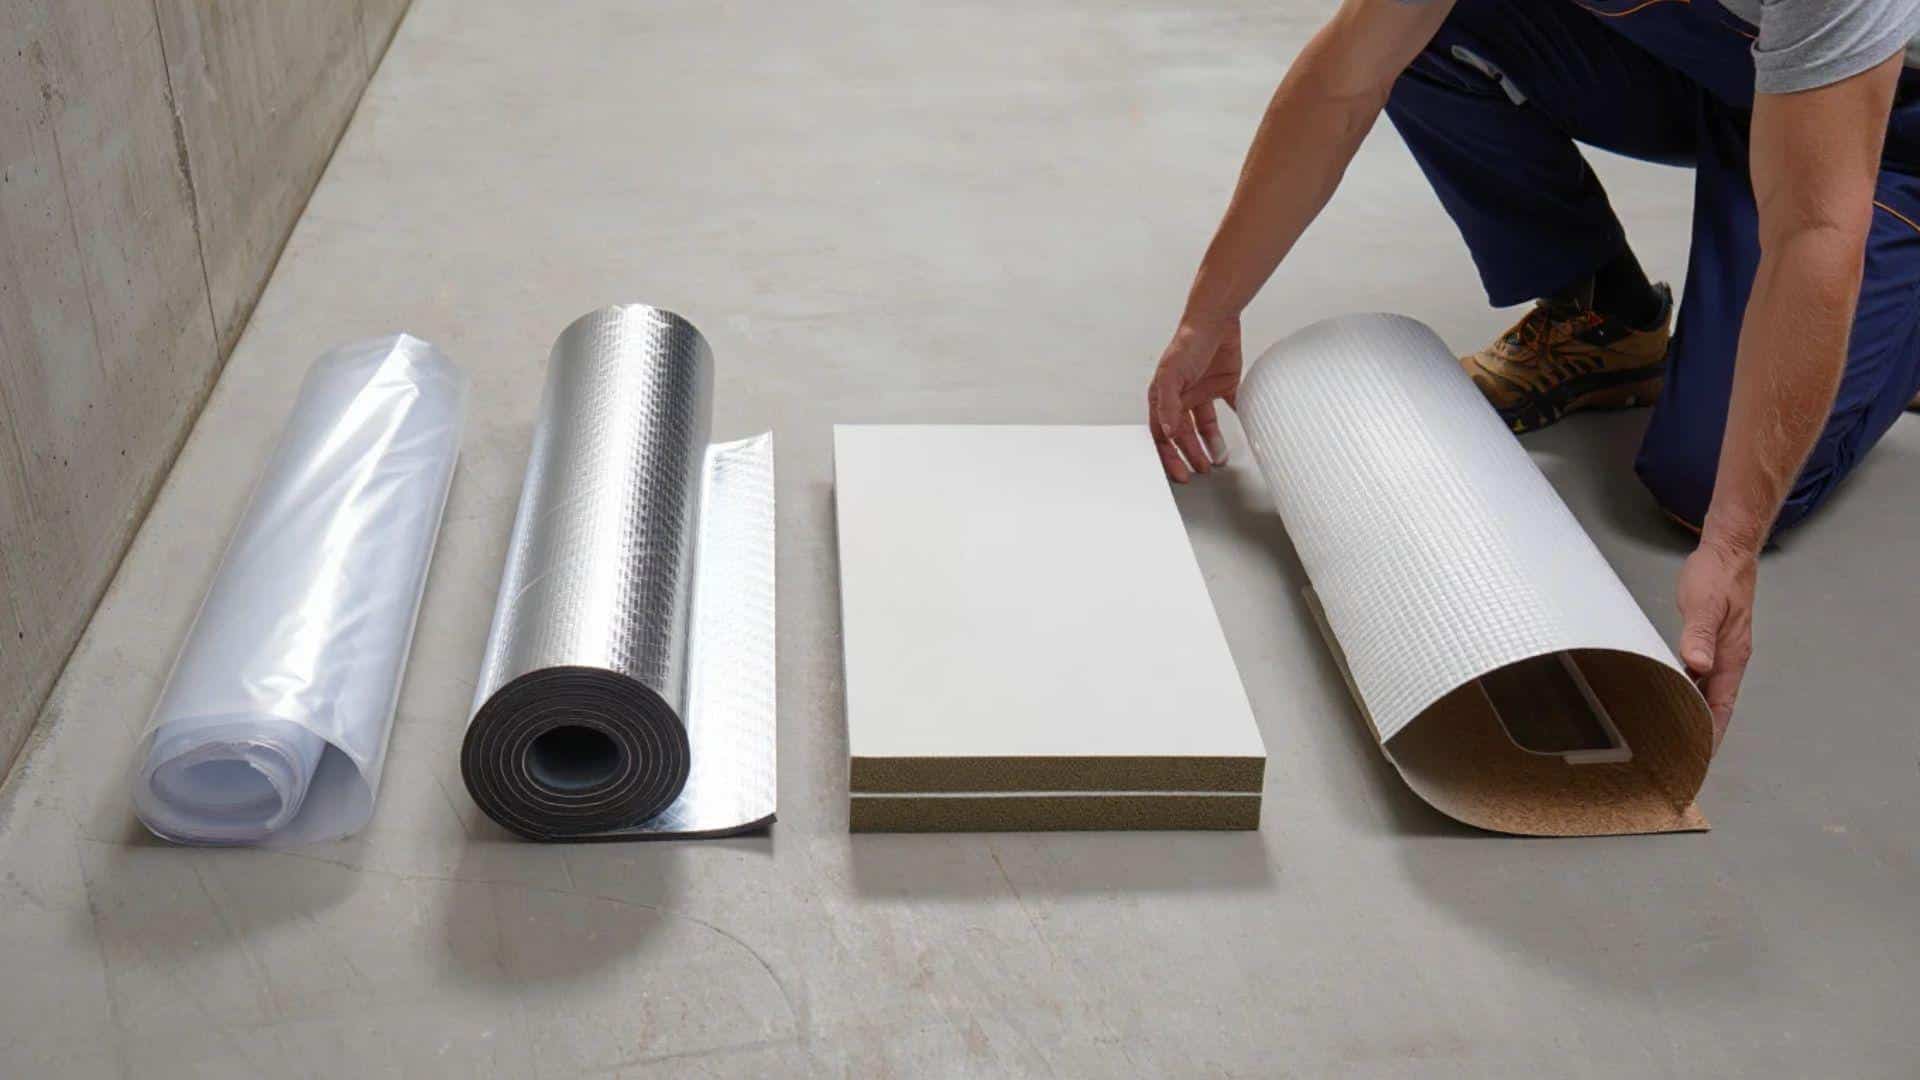
Different vapor barrier materials offer various levels of protection and installation methods for your basement moisture problems.
Understanding your options helps you choose the right material for your specific basement conditions and budget.
- Plastic/polyethylene sheeting provides the most affordable and effective moisture protection for most basement applications.
- Foil-backed insulation combines vapor barrier protection with insulation benefits, making it ideal for cold climates.
- Closed-cell spray foam creates an airtight seal that blocks both air and moisture while adding insulation value.
- Hybrid moisture and vapor barriers, such as Flexi-seal, offer advanced protection by handling both liquid water and vapor.
Each material has different installation requirements and costs that affect your overall project budget.
Consider your basement’s specific moisture issues when selecting the best vapor barrier material for long-term protection.
Permeability Ratings for Vapor Barriers
Understanding permeability ratings (in perms) helps you choose the right vapor barrier.
Lower numbers mean better moisture protection.
| MATERIAL | PERM RATING | SUMMARY |
|---|---|---|
| Polyethylene Sheeting | 0.04–0.06 | Very low permeability; budget-friendly. |
| Foil-Backed Insulation | 0.1 or less | Effective in cold climates; dual function. |
| Closed-Cell Spray Foam | ≤ 1.0 | Seals air and moisture; adds insulation. |
| Hybrid Barriers (Flexi-Seal) | Premium protection; ASTM-certified. |
Materials rated 0.1 perms or less are ideal for use as vapor barriers.
They keep moisture out and help prevent basement mold and damage.
Climate-Specific Considerations

Your local climate plays a big role in choosing the right vapor barrier for your basement.
Different weather patterns and temperatures require different approaches to keep moisture out effectively.
- Cold climates need thicker vapor barriers because freezing temperatures create more condensation problems that can damage your foundation walls.
- Warm, humid areas should focus on using breathable materials, such as house wrap, to prevent the trapping of moisture that could lead to mold growth.
- Install vapor barriers during dry seasons when humidity levels are lower, allowing materials to cure properly without interference from moisture.
- Check your climate zone requirements with local building codes, since some areas have specific vapor barrier rules for basements.
Understanding your local weather patterns helps you make smarter choices that last longer and work better.
What’s the biggest weather challenge your basement faces during different seasons?
Materials You’ll Need
If you plan to add a vapor barrier to your basement, it’s helpful to know the cost of the materials.
Below is a list of common items you’ll need, along with their estimated prices in the U.S.
| MATERIAL | ESTIMATED COST (USD) |
|---|---|
| 6 mil plastic sheeting | $100–$130 per 20×100 ft roll |
| House wrap (Tyvek, optional) | $150–$200 per 9×150 ft roll |
| 1” rigid foam panels (optional) | $35–$60 per 4×8 ft panel |
| Spray foam (canned) | $6–$10 per can |
| Seam tape (for foam board joints) | $42–$47 per roll |
| Wood furring strips | $2.84–$5 each |
| Hammer drill | $50–$150 |
| Concrete anchors or screws | $8–$15 per box of 25–50 |
| Staple gun | $10–$25 |
| Utility knife | $3–$10 |
| Measuring tape | $5–$15 |
Total Material Cost Range: $240–$350
If you already have some tools at home, your total cost might be even lower.
Note: These costs may vary depending on your location, current market conditions, time of year, and material availability in your area.
DIY Vapor Barrier Installation: Step-by-Step Guide
Installing a basement vapor barrier involves five main steps that work together to create an effective moisture protection system.
The process begins with selecting the appropriate barrier material and concludes with the construction of your finished wall system.
Following these steps in order ensures your vapor barrier works properly and lasts for years.
STEP 1: Pick the Right Type of Moisture Barrier
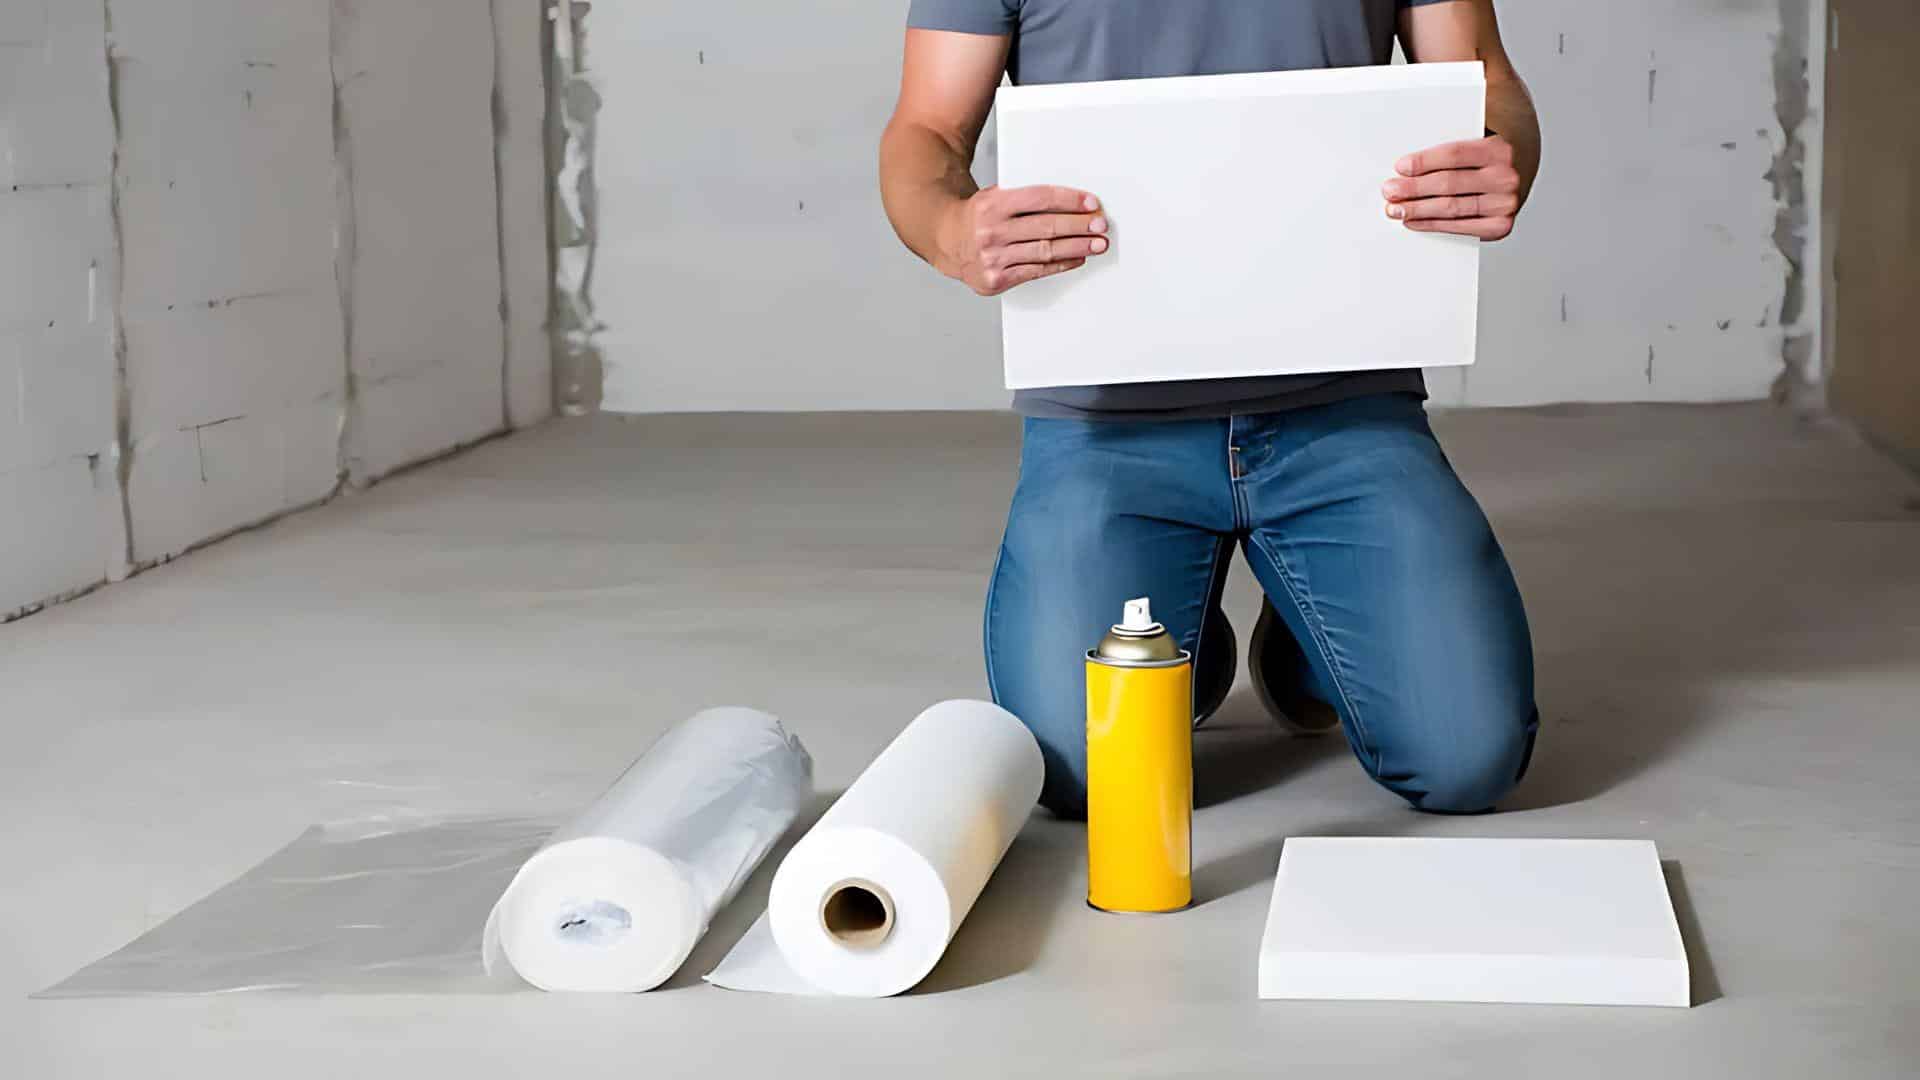
Begin by selecting the moisture barrier that best suits your project.
If you’re using batt insulation, you’ll need something behind your framed wall to stop moisture from soaking in.
Options include rigid foam, house wrap, or 6 mil poly sheeting.
Spray foam is also an excellent option, but it comes at a higher cost.
Pro Tips
- Rigid foam gives some insulation and blocks moisture.
- House wrap sheds water and breathes better than plastic.
- Poly sheeting is cheap but doesn’t allow the wall to breathe.
STEP 2: Add a Wood Strip to Hang the Barrier
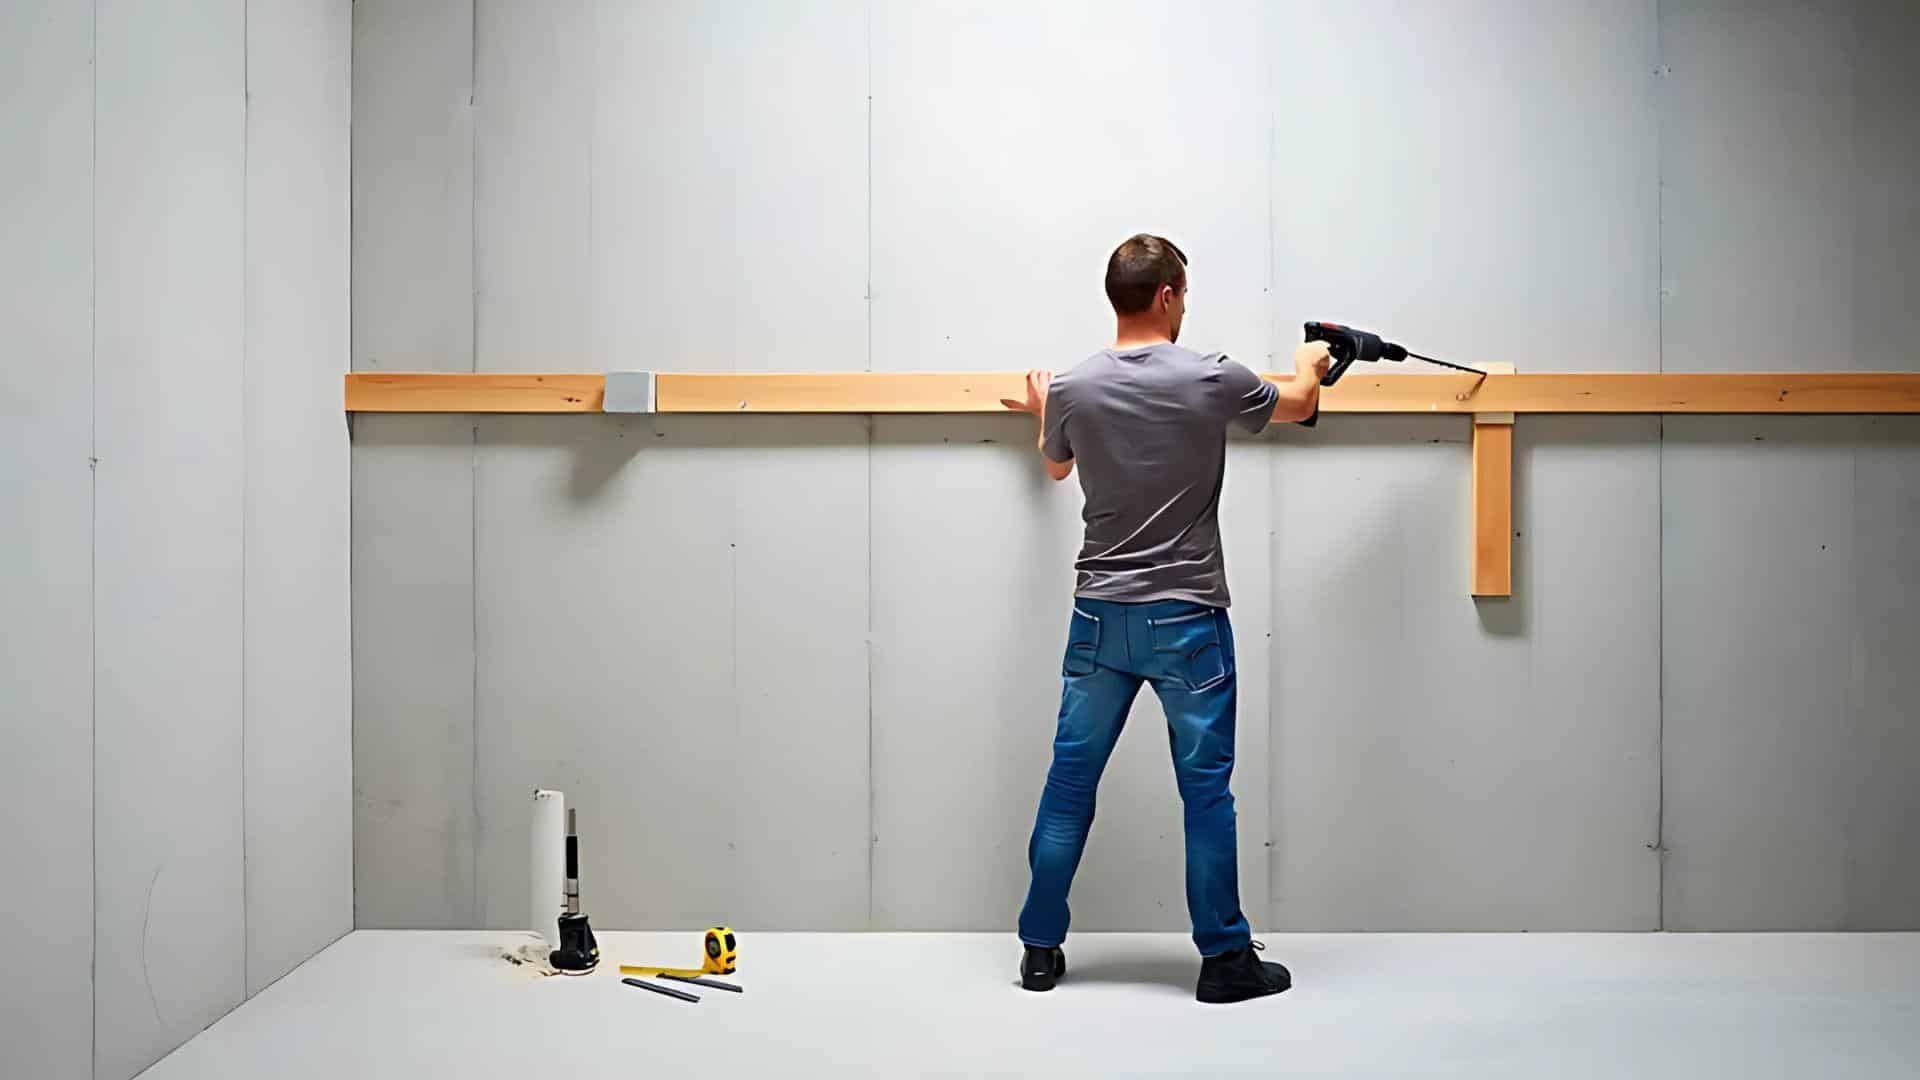
If you’re not using rigid foam or spray foam, add a wood strip to the concrete wall.
This helps you hang house wrap or poly.
Place it about 6–12 inches above the outside ground level.
Pro Tips
- Use a hammer drill and screw-in anchors to attach the strip.
- Make sure the strip is level across the wall.
- Keep it high enough to avoid ground splash-back.
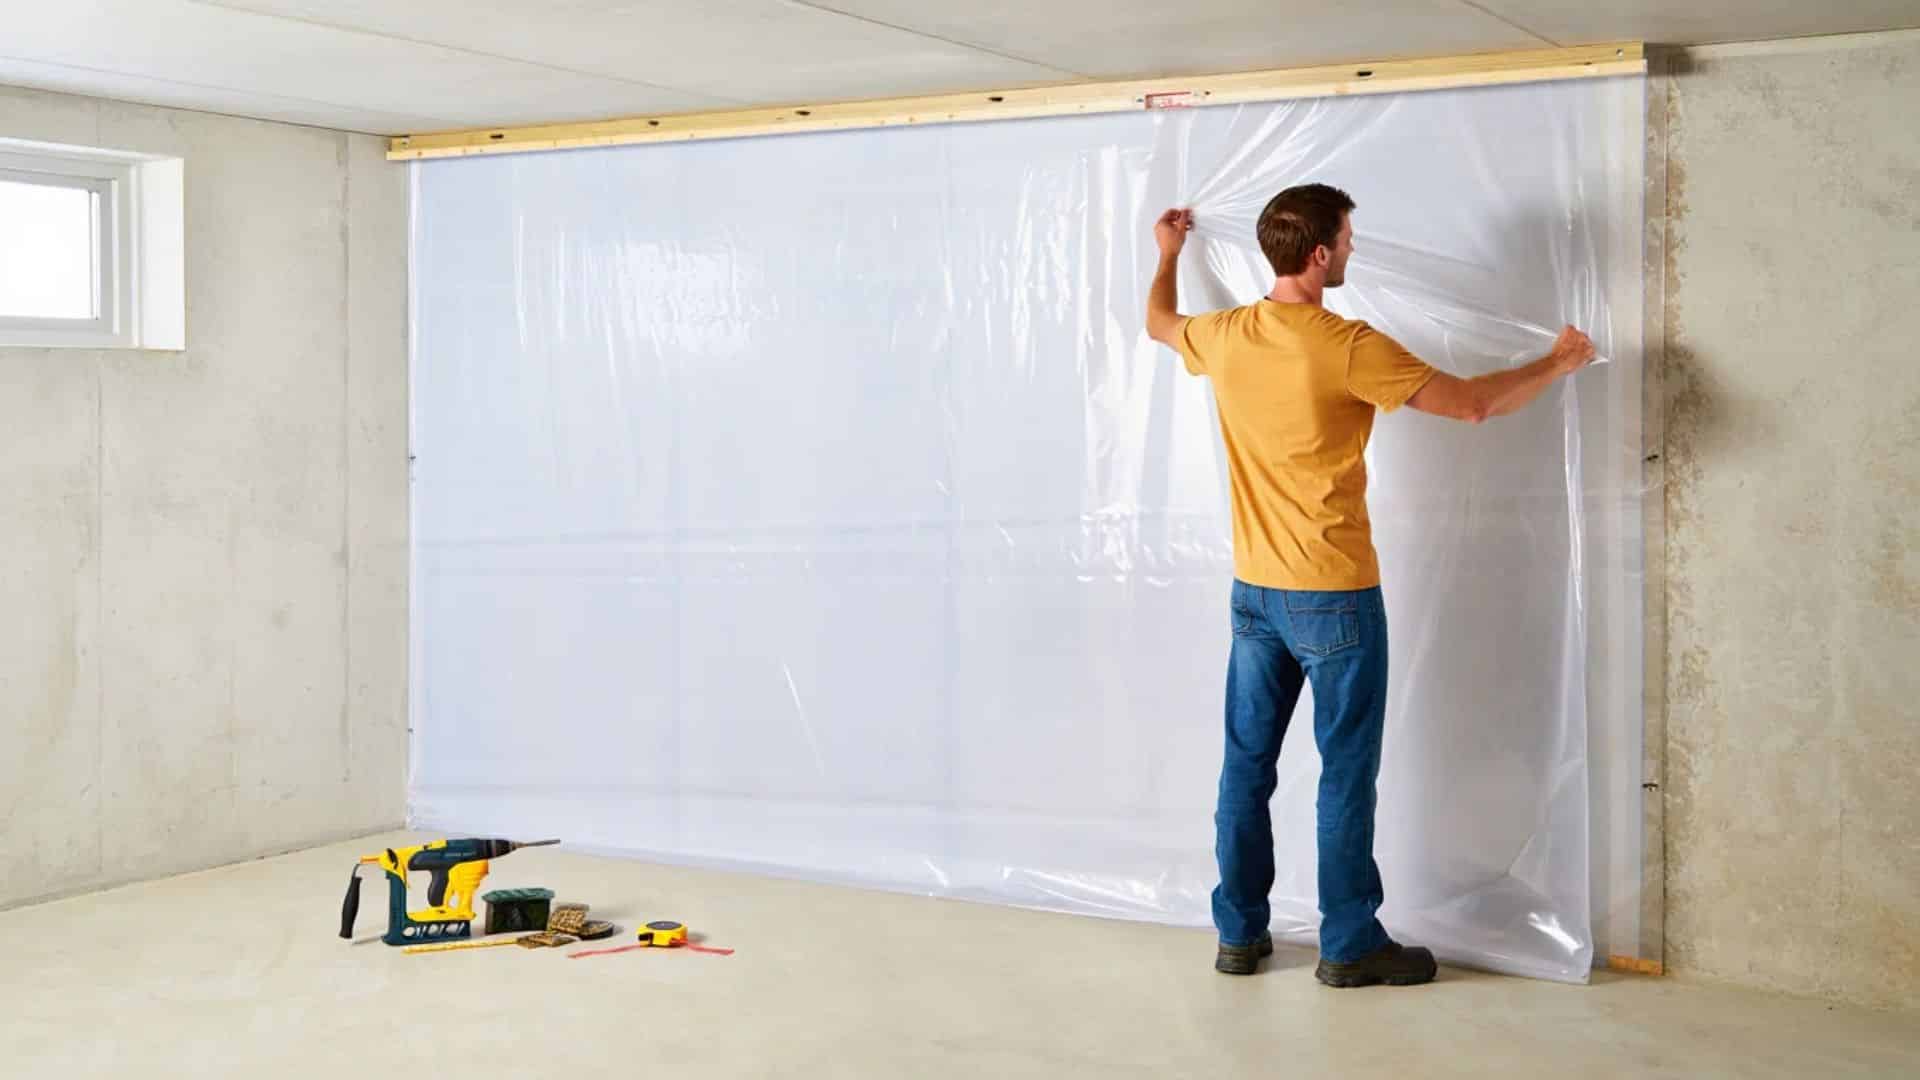
STEP 3: Hang the Moisture Barrier

Now it’s time to hang your chosen barrier.
Staple your house wrap or poly sheet to the wood strip.
Let it hang straight down to the floor. Don’t tape it, you want it to breathe a little.
Pro Tips
- Let the material drape fully to guide water down.
- Overlap sheets by at least 2 feet.
- Don’t tape the overlap, keep airflow possible.
STEP 4: Seal Rigid Foam Properly (If You Use It)
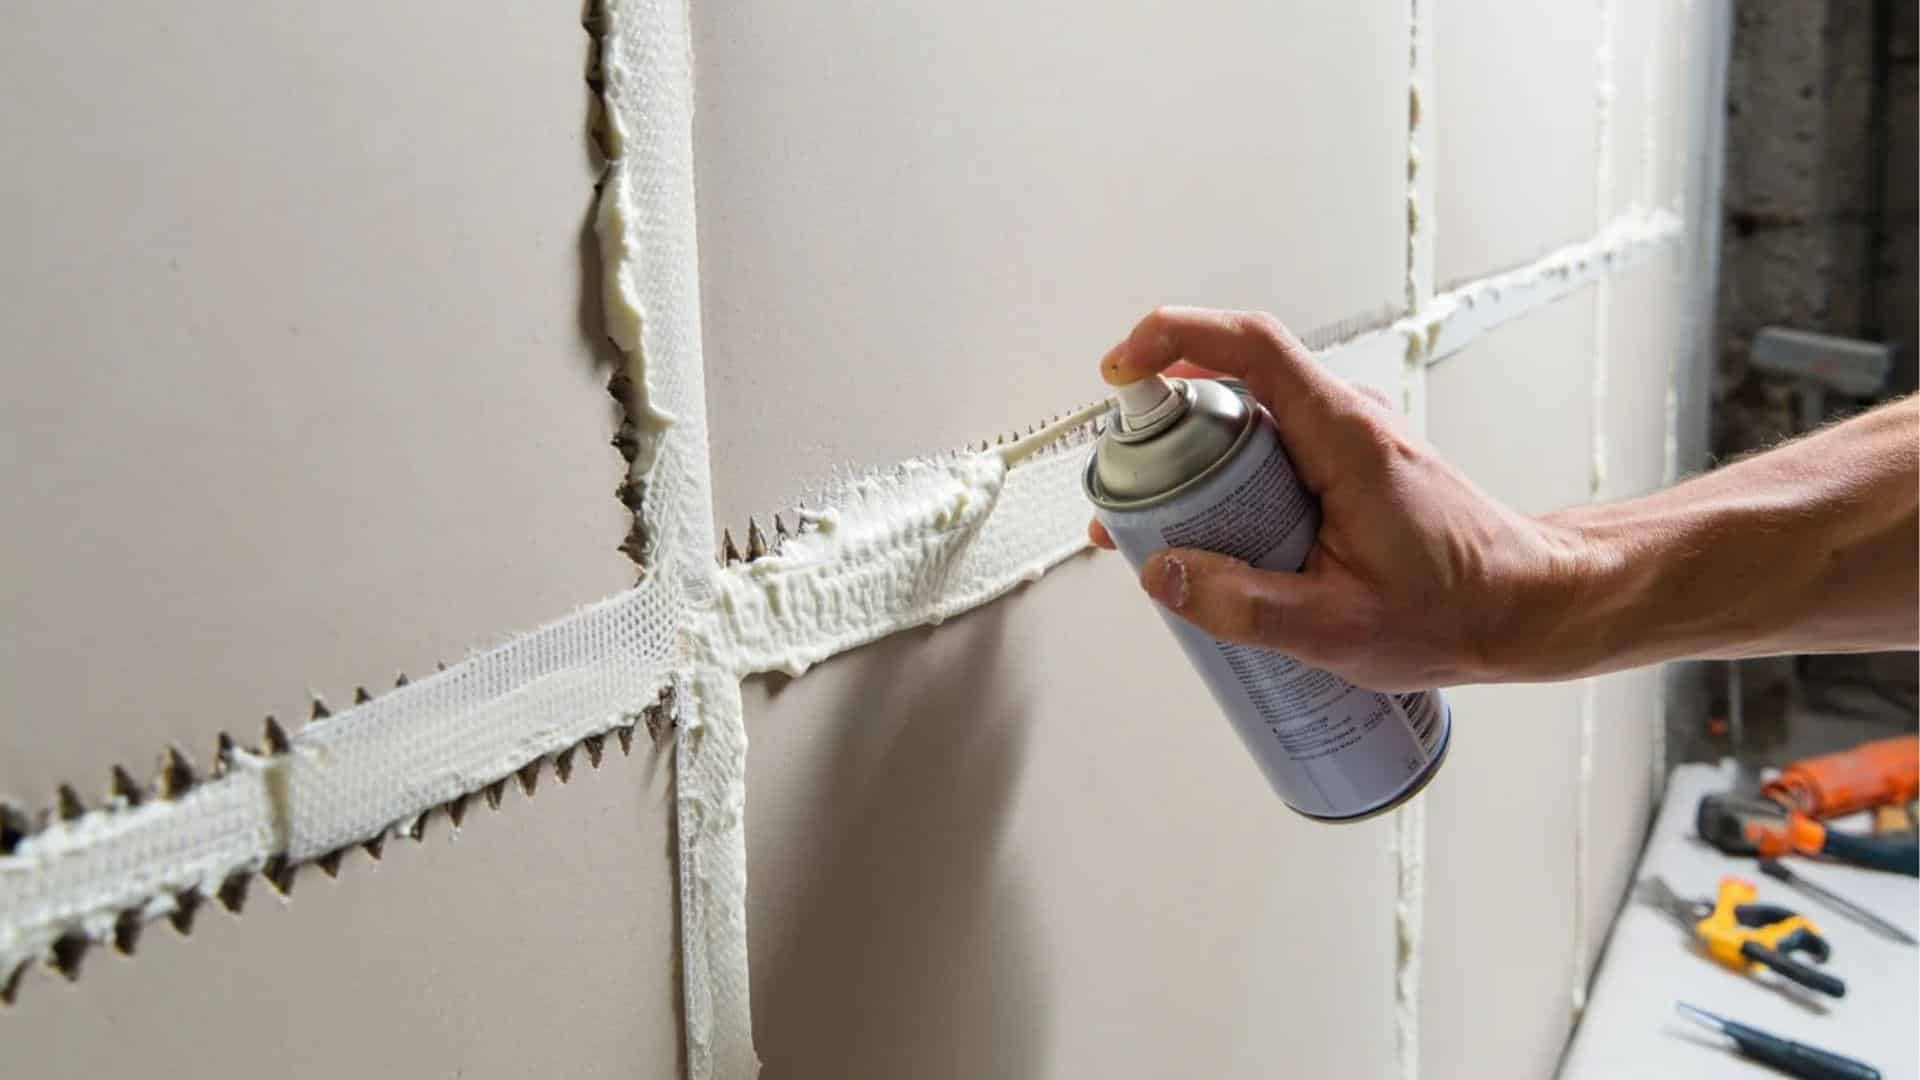
If you opt for rigid foam instead, attach it directly to the wall.
Seal all edges and gaps with spray foam.
This method adds insulation and blocks air and moisture, making sealing crucial.
Pro Tips
- Use canned spray foam in corners and seams.
- Tape foam joints for extra protection.
- Look for foam panels with tongue-and-groove edges.
STEP 5: Build the Wall in Front of the Barrier
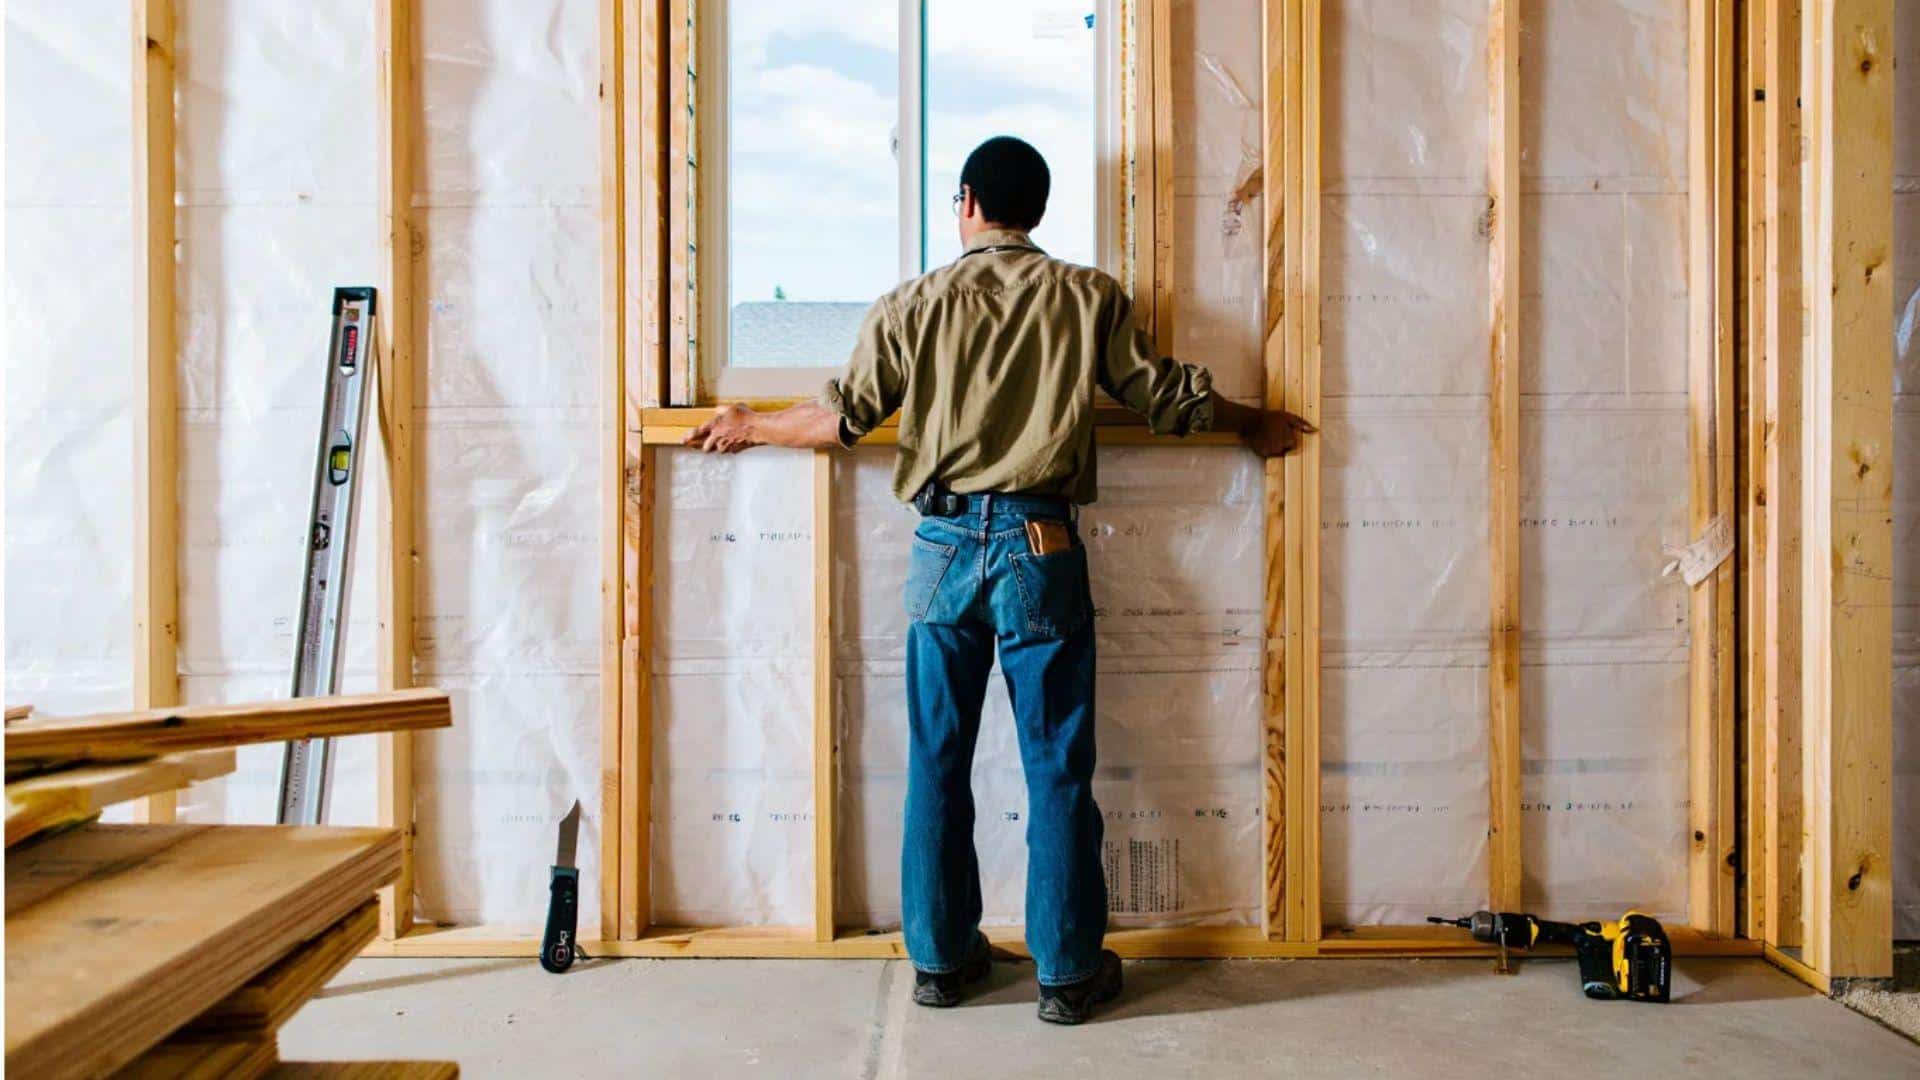
After your barrier is up, you can frame your wall in front of it.
If you used foam or spray foam, seal everything tightly.
If you used poly or house wrap, keep airflow in mind during the framing process.
Pro Tips
- Don’t press the insulation tightly against the barrier; leave room for air to circulate.
- Make cuts around outlets and pipes carefully.
- Use drywall over studs as usual once insulation is in place.
Maintenance Tips After Installation
Proper maintenance ensures your vapor barrier remains effective for decades, protecting your basement investment in the long term.
Simple routine checks help you catch small problems before they become expensive repairs that affect moisture control.
- Monitor humidity and condensation levels regularly using a hygrometer to ensure your vapor barrier continues working.
- Maintain sump pumps and drainage systems by testing them seasonally and clearing debris that blocks flow.
- Follow an annual inspection checklist to check for tears, gaps, or damage that could compromise effectiveness.
These maintenance tasks take just a few hours each year but ensure your vapor barrier continues to protect.
Remember that a well-maintained vapor barrier system prevents moisture problems that could cost thousands to fix.
Common Installation Mistakes to Avoid
Even simple vapor barrier projects can go wrong when homeowners rush through important steps.
Learning about these common mistakes helps you avoid costly problems and ensures your barrier works properly for years.
- Skipping proper wall preparation and attempting to install over dirty surfaces results in poor adhesion and early failure.
- Using the wrong materials for your basement conditions, like choosing plastic sheeting instead of breathable house wrap.
- Sealing everything too tightly without allowing air movement can trap moisture and create worse mold problems than before.
- Ignoring gaps around pipes, outlets, and corners where moisture can sneak through and defeat your vapor barrier system.
The good news is that most of these mistakes are easy to spot and fix before they cause damage.
Taking time to do the installation right the first time saves you from expensive repairs and frustration later.
When to Call a Professional
Some basement vapor barrier projects require professional expertise to ensure your family’s safety and proper installation.
Complex basement layouts with multiple rooms, utility areas, or unusual configurations often need specialized knowledge.
Existing mold or water damage requires professional assessment and remediation before installing any vapor barrier safely.
Retrofitting finished spaces involves careful removal of existing materials without damaging your current basement improvements.
Permits and code compliance issues vary by location and require knowledge of local building codes and regulations.
Professional contractors have specialized tools, materials, and warranties that most homeowners don’t possess for projects.
Summing It Up
Installing a vapor barrier basement wall system is one of the smartest investments you can make for your home’s health and value.
With the right materials and proper installation, you can bid farewell to that musty basement smell and welcome a dry, comfortable space.
Select the appropriate barrier type, follow the installation steps carefully, and perform regular maintenance checks annually.
If you tackle this as a DIY project or hire a professional, a quality vapor barrier basement wall system will protect your home for decades to come.
Have you dealt with basement moisture issues before?
Comment below and share your experiences with us!
If you’re interested in more DIY Projects content, click here and explore other blogs that you might enjoy.

James McLaren, with a rich background in architecture from the University of Manchester, has been contributing his expertise to the world of creative construction and home innovation for over 20 years. His journey began as a project manager for a leading construction firm, where he honed his skills in bringing complex designs to life. James joined our platform as a freelancer in 2019, quickly becoming a favorite for his insightful and practical advice. He has been a pivotal force to our wing ever since, bringing our readers a blend of technical know-how and creative flair. Beyond his professional life, James is an avid woodworker and enjoys restoring vintage furniture, a hobby that complements his professional insights beautifully.