Crafting has always been my go-to for relaxation and creative expression, but having no dedicated space made it hard to stay organized or inspired.
I used to spread out on the dining table or stash supplies in random drawers, until I decided to carve out a small corner just for crafting.
If you’re facing a similar challenge with limited space, there’s good news: you don’t need a huge room to build a functional and inspiring craft area.
I’ve learned that with thoughtful layout choices, smart storage solutions, and a few personal touches, even the tiniest nook can become a dream crafting space.
In this blog, I’ll share ideas that have worked for me, from vertical storage tricks to compact furniture setups.
Why a Small Craft Room Can Still Be Inspiring?
A small craft room can be just as inspiring as a large one, and sometimes even more so.
I’ve found that working in a compact space makes me more thoughtful about layout, storage, and how I use every inch.
It sparks creativity not just in my crafts, but in how I organize and decorate the space. Small rooms also feel cozy and personal. Everything’s within reach, and nothing is wasted.
A pegboard, folding desk, or rolling cart can turn even a corner into a functional studio.
You don’t need a big room to feel inspired, just one that’s designed with care and filled with things you love.
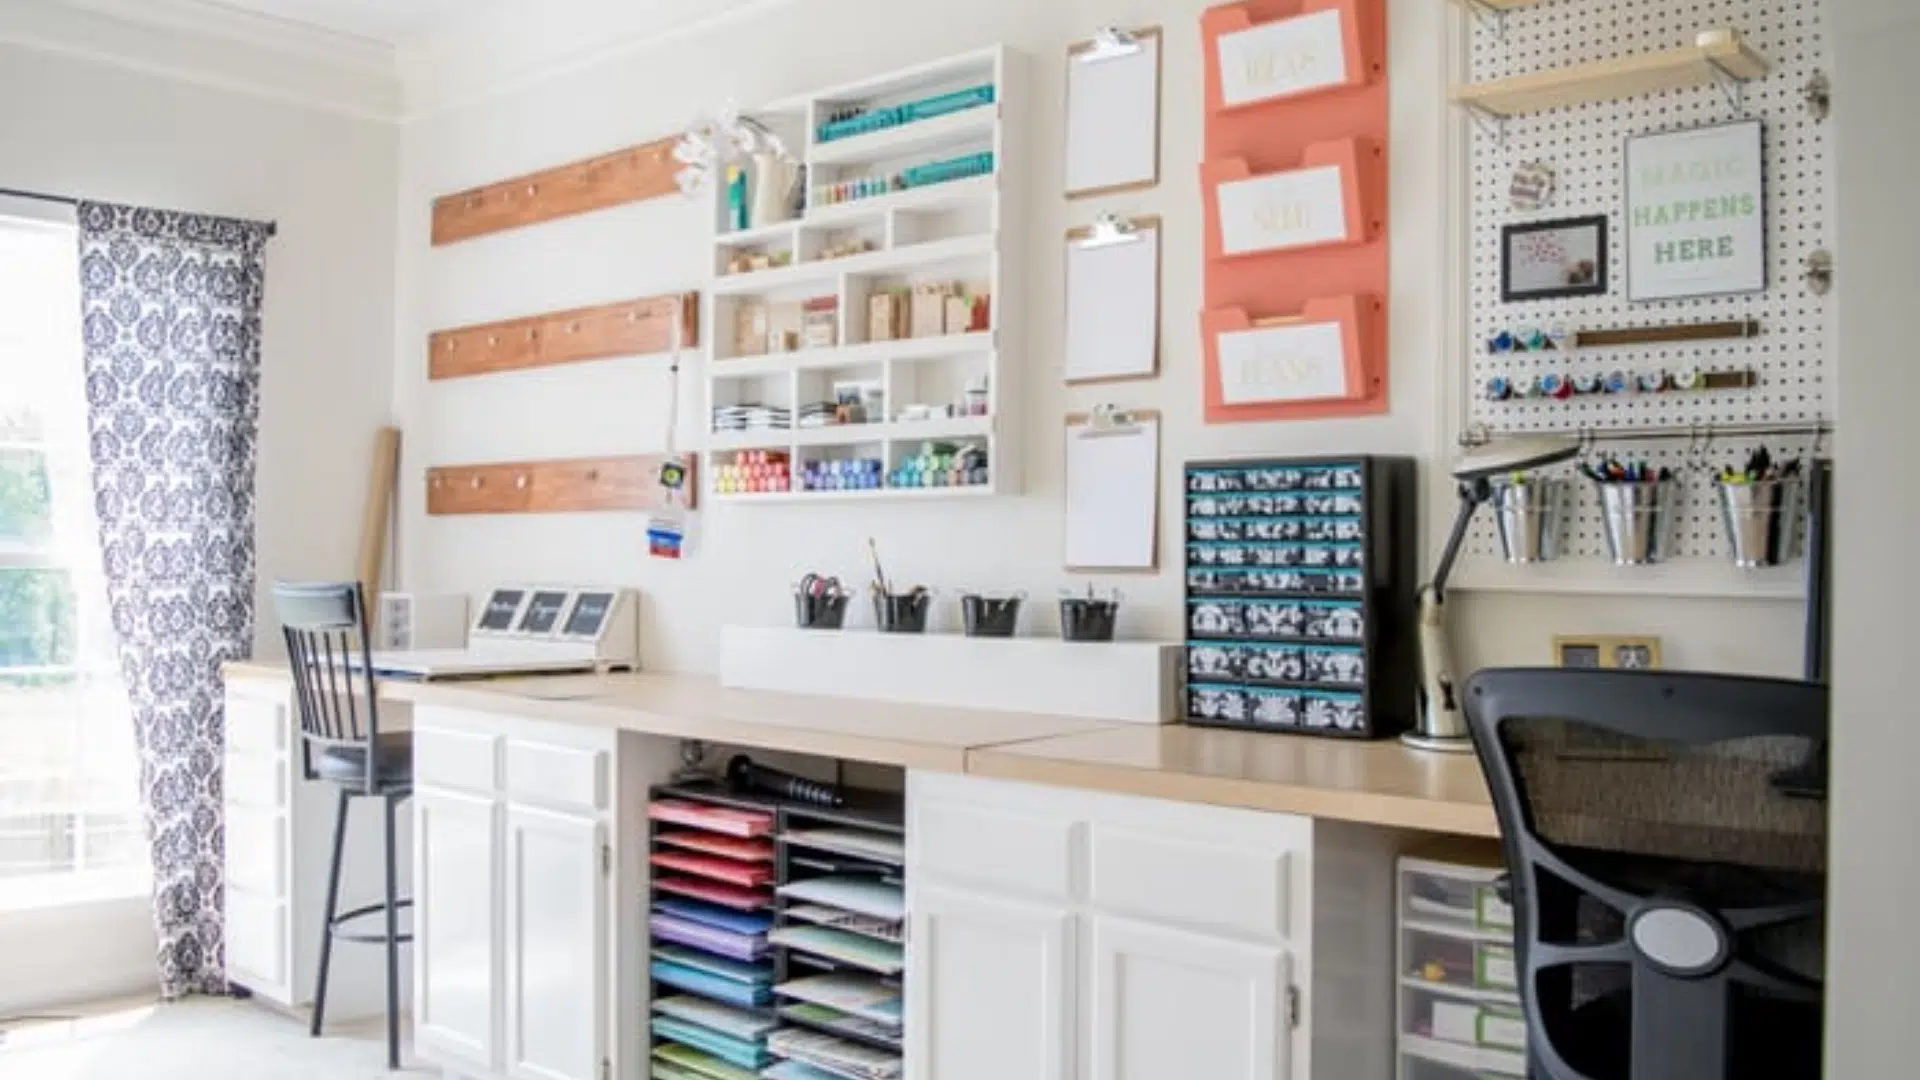
DIY Small Craft Room Ideas
Get inspired with creative and practical ways to design a small craft room that feels personal, organized, and full of charm.
1. Wall-Mounted Pegboard System
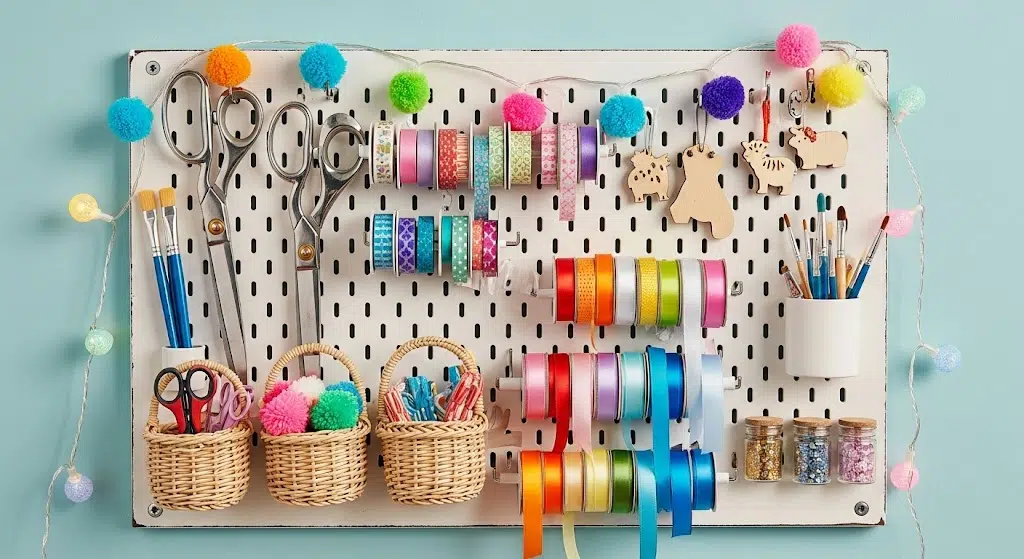
A pegboard adds instant vertical storage for scissors, washi tape, and tools.
Customize it with shelves, baskets, or hooks. Paint it to match your room or keep it neutral for a clean look.
It keeps everything in sight and within reach, making your workspace more efficient and clutter-free while adding a fun focal point to your craft area.
2. Fold-Down Craft Table
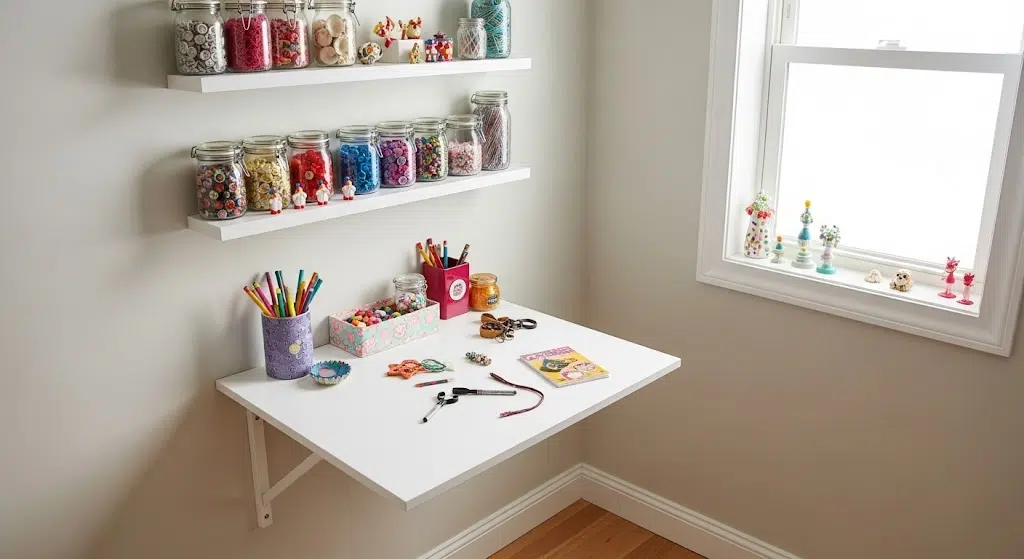
A fold-down craft table saves space and offers flexibility in a small room. Mount it to the wall and fold it away when not in use. Add a few floating shelves above it for supplies.
This solution is perfect for multipurpose rooms where your crafting space shares square footage with other daily activities.
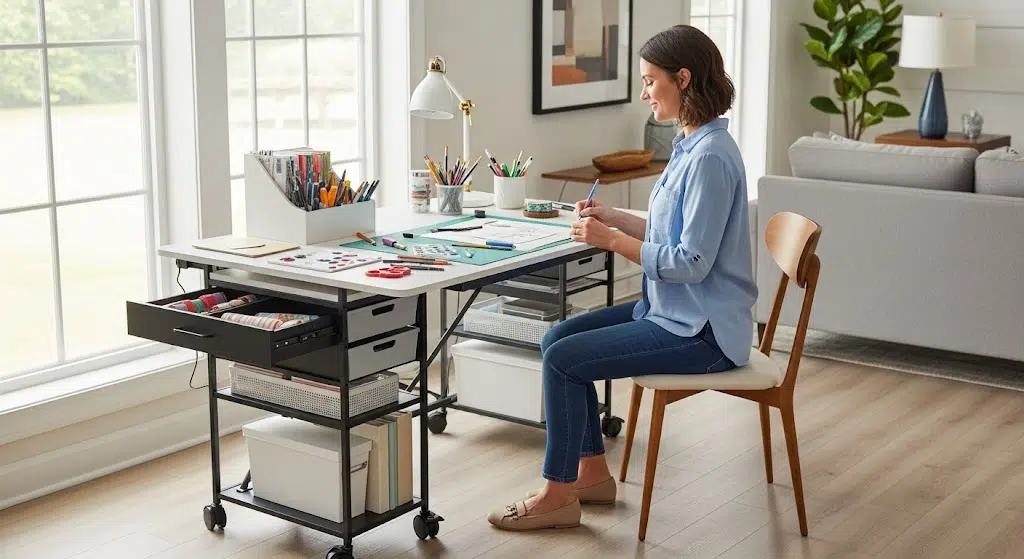
3. Rolling Storage Carts
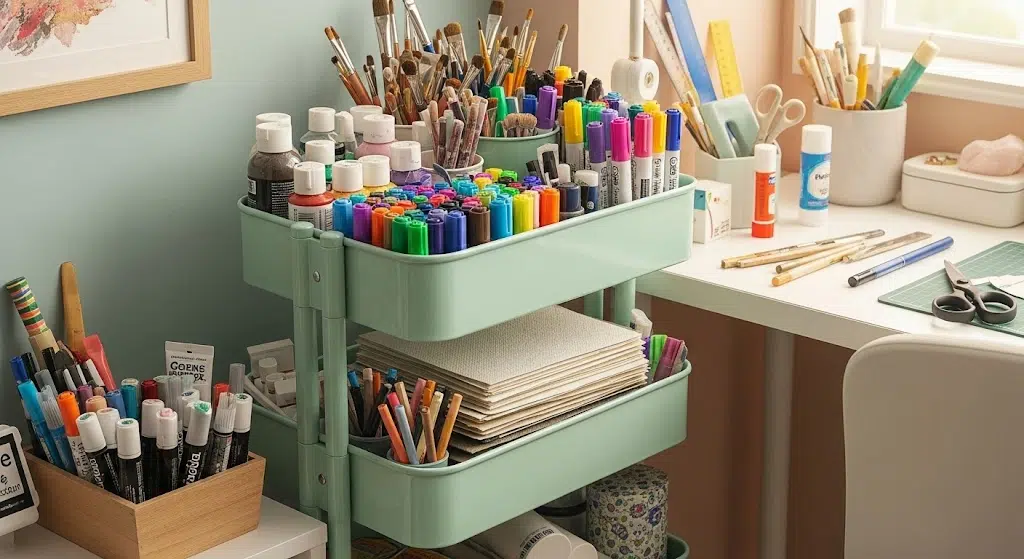
Rolling carts are mobile, compact, and ideal for organizing materials like markers, paints, and paper. Choose a tiered cart with bins or drawers for extra storage.
Move it where you need it while crafting, then tuck it away when you’re done. It’s a stylish, functional way to maximize limited floor space.
4. Over-the-Door Organizer

An over-the-door organizer makes great use of an often-wasted area. Hang one with pockets or pouches to store ribbons, glues, or even small tools.
It keeps your supplies visible and accessible without taking up wall or floor space. This is especially useful for crafters working in tight quarters like a closet or nook.
5. Floating Wall Shelves
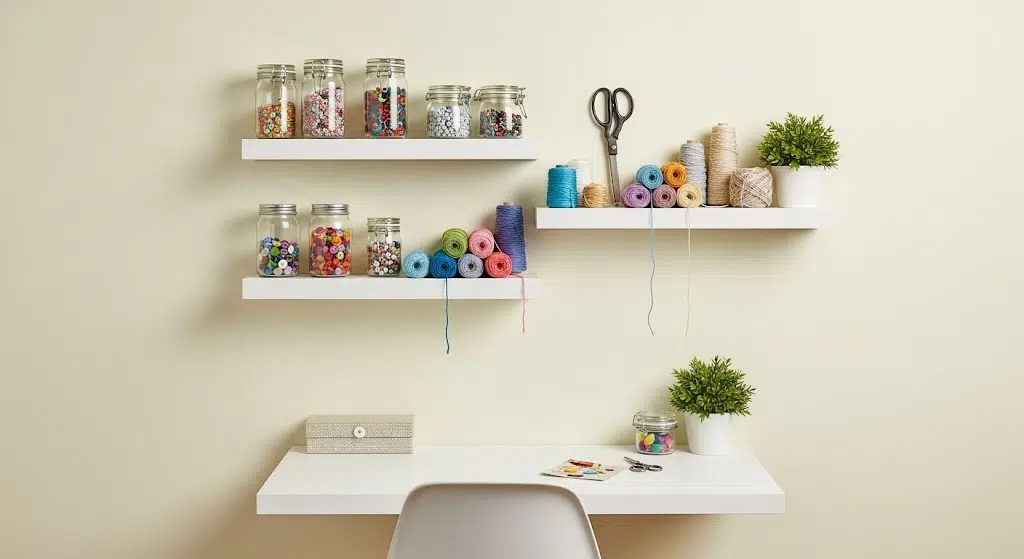
Floating shelves give you room to store or display materials, tools, and decorative items. They free up workspace and let you keep essentials at eye level.
Choose sleek, modern shelves or rustic wood to match your decor. Group similar items together to keep the space tidy and visually appealing.
6. Compact Corner Desk
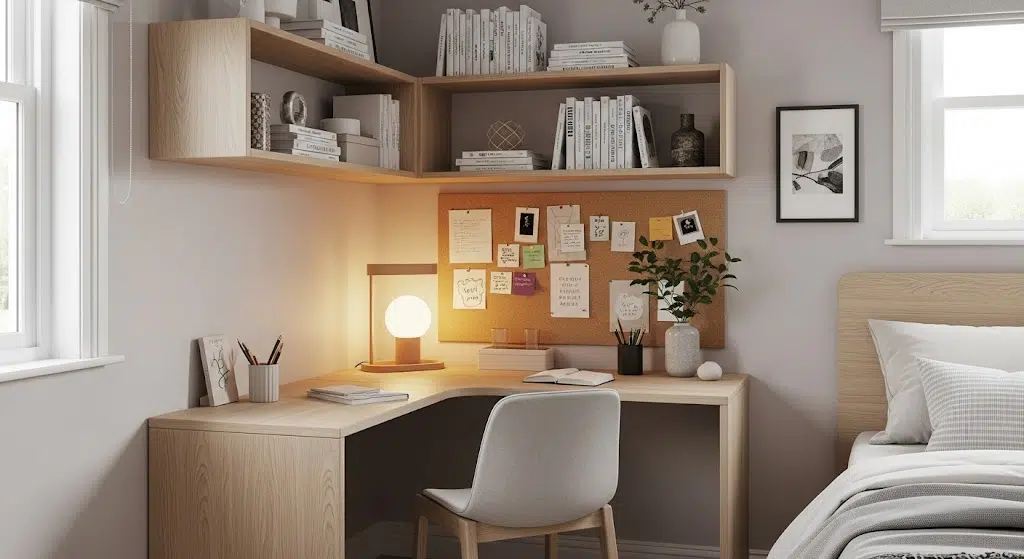
Turn an unused corner into your creative zone with a small desk that fits neatly into the space. Add upper shelving or a corkboard for extra function.
This setup is ideal for bedrooms or guest rooms where space is limited but a dedicated area is still needed for crafting.
7. Stackable Storage Bins
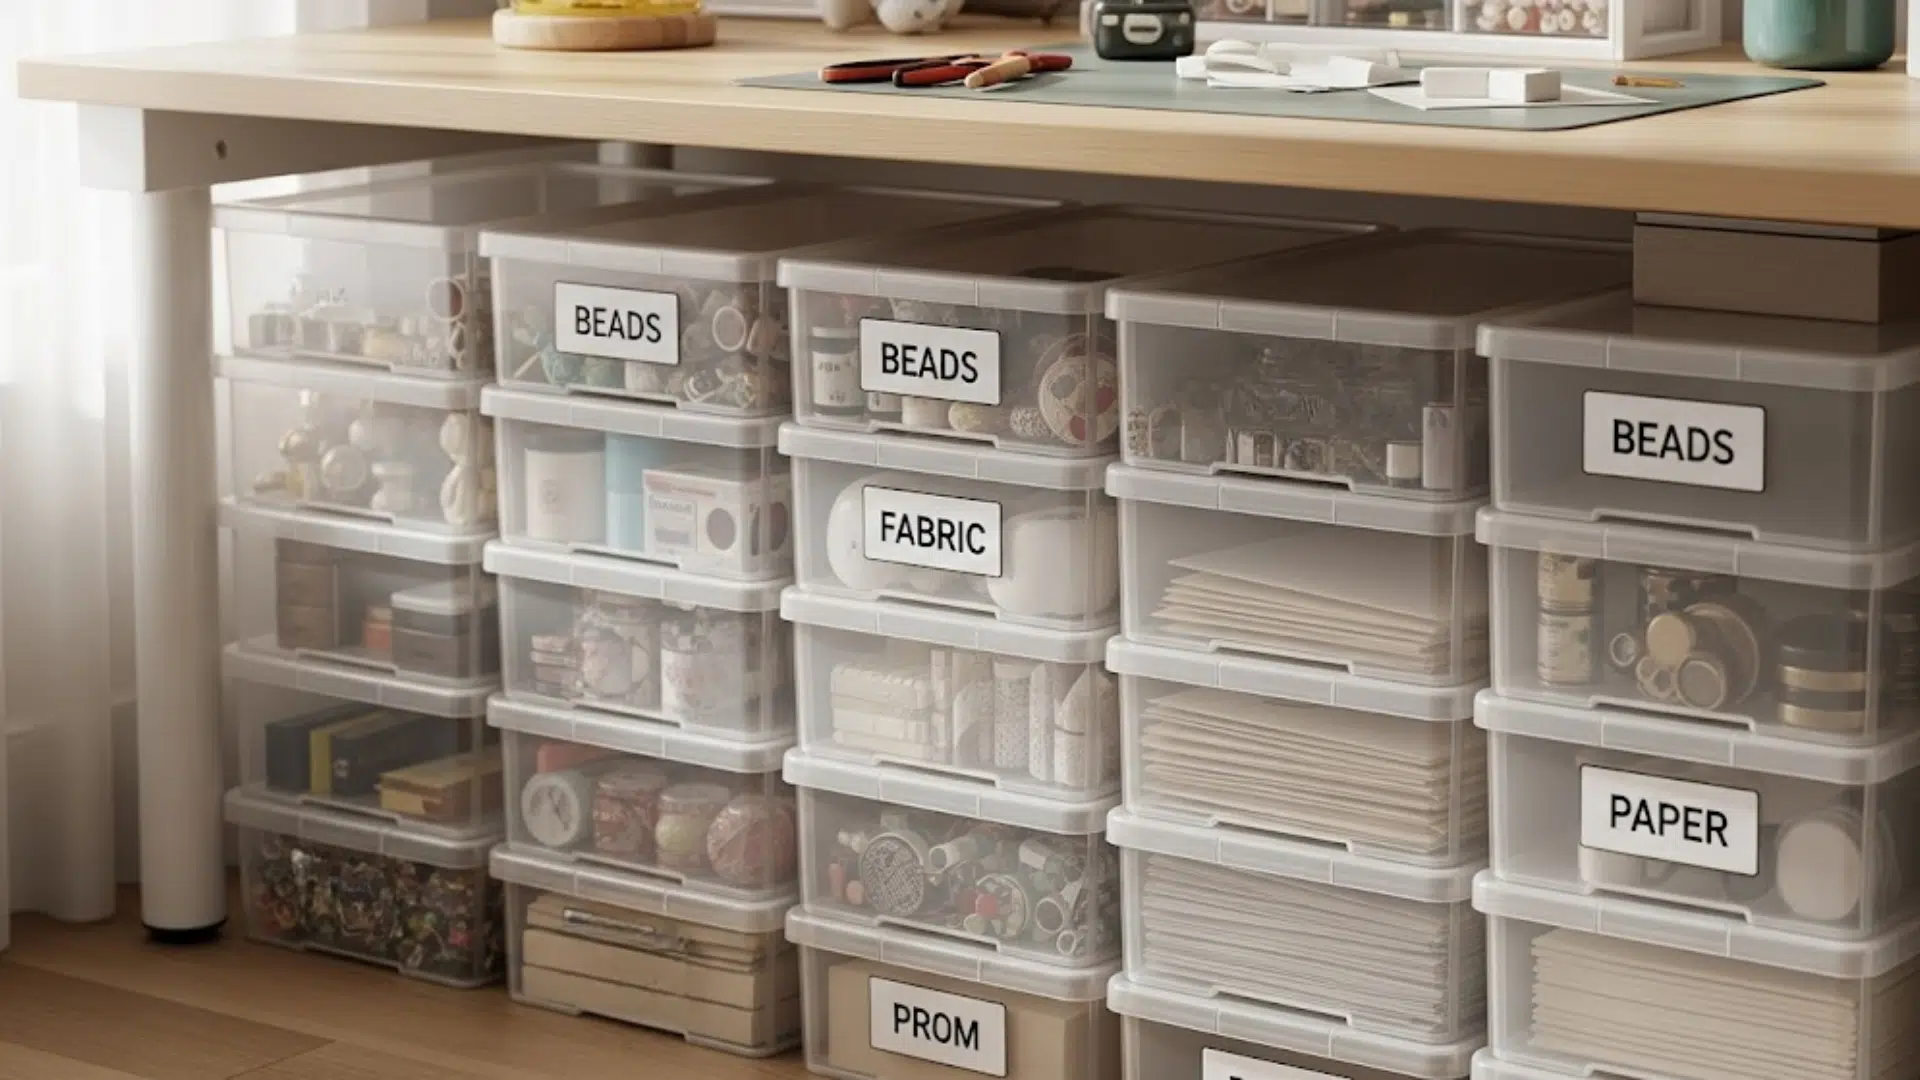
Stackable bins offer customizable, vertical storage that keeps your supplies organized by type. Use clear or labeled containers to easily spot what you need.
They’re great for fabric, beads, or seasonal items. Stack them in a closet, under a table, or on open shelves to save precious workspace.
8. Magnetic Tool Strip
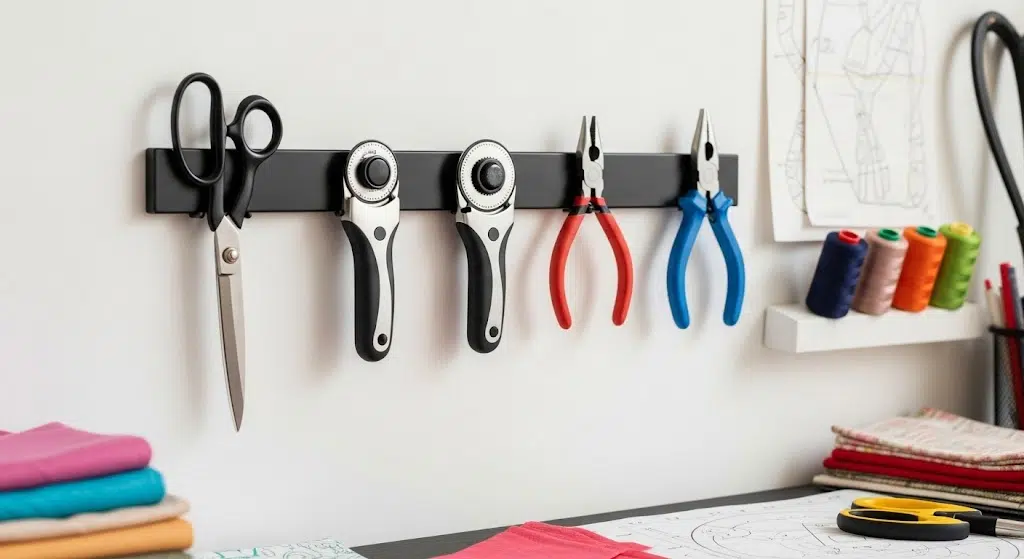
A magnetic strip on the wall provides an easy way to store metal tools like scissors, rotary cutters, or craft knives.
It keeps them visible and safe without taking up drawer space.
Install it above your desk or on a side wall for quick access. It also adds a bit of workshop flair to your room.
9. Curtain Rod for Ribbon and Tape
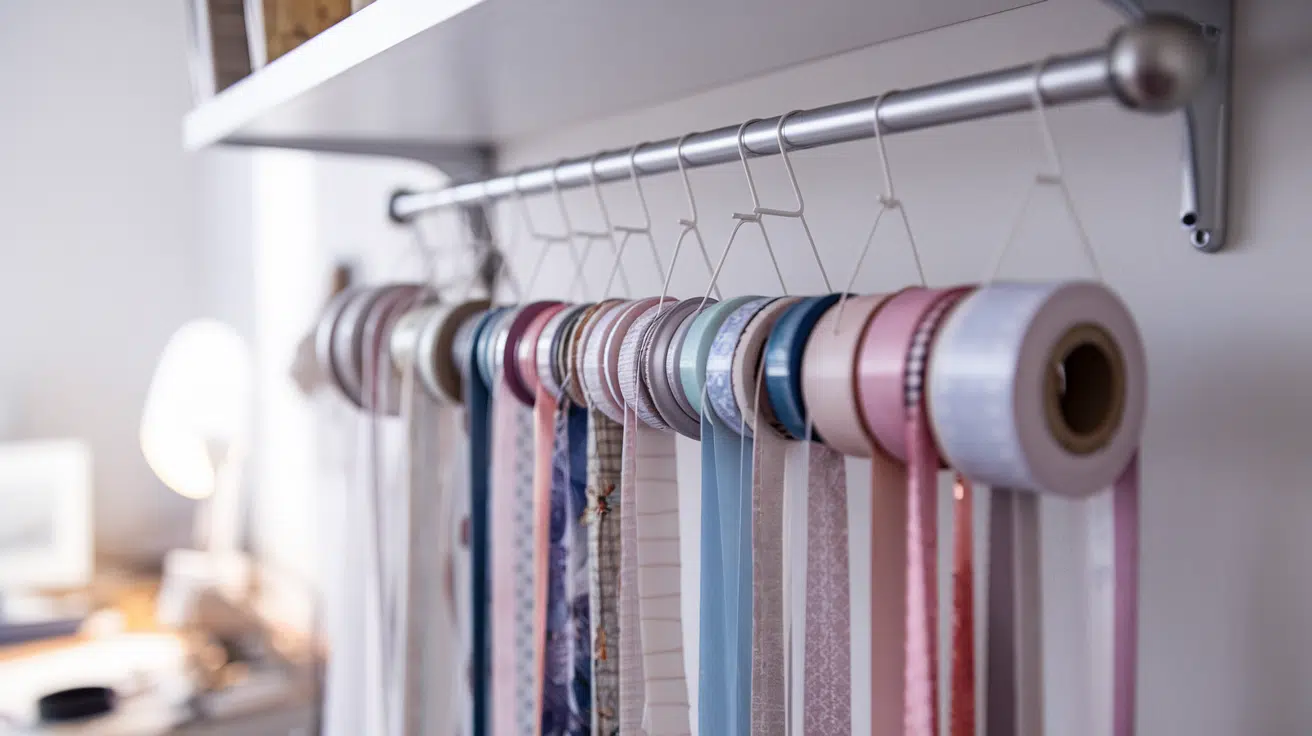
A simple curtain rod can hold ribbons, washi tapes, and spools in an easy-to-access display. Mount it under shelves or on a wall.
It prevents tangling and lets you pull just what you need. It’s an attractive and space-saving solution that doubles as colorful wall decor in your craft room.
10. Under-Desk Storage Drawers
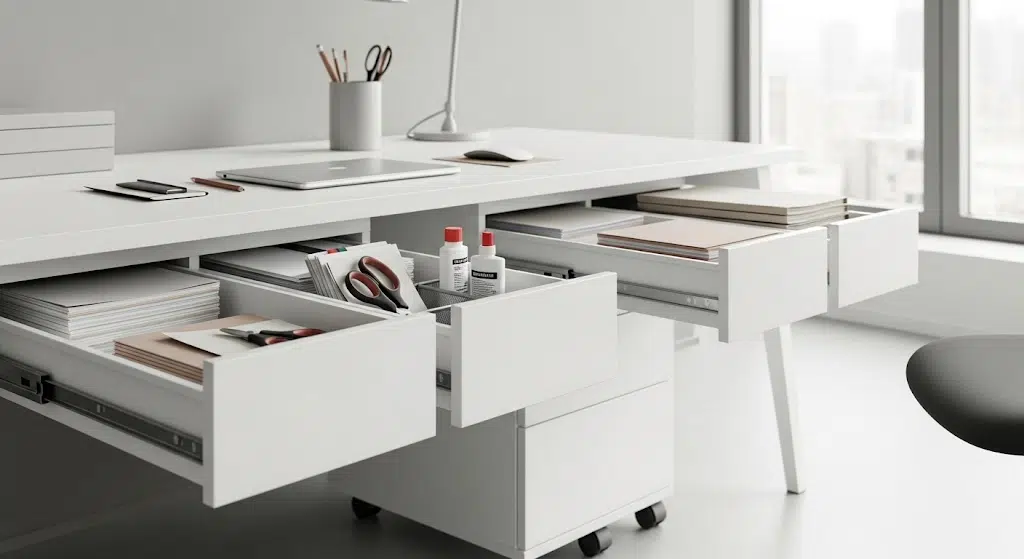
Utilize the space under your desk with rolling drawer units or small bins. They’re great for paper, scissors, adhesives, or notebooks.
Choose drawers that match your desk height and style. This keeps your tools within reach but out of sight, helping you maintain a clean and clutter-free workspace.
11. Foldable Storage Ottomans
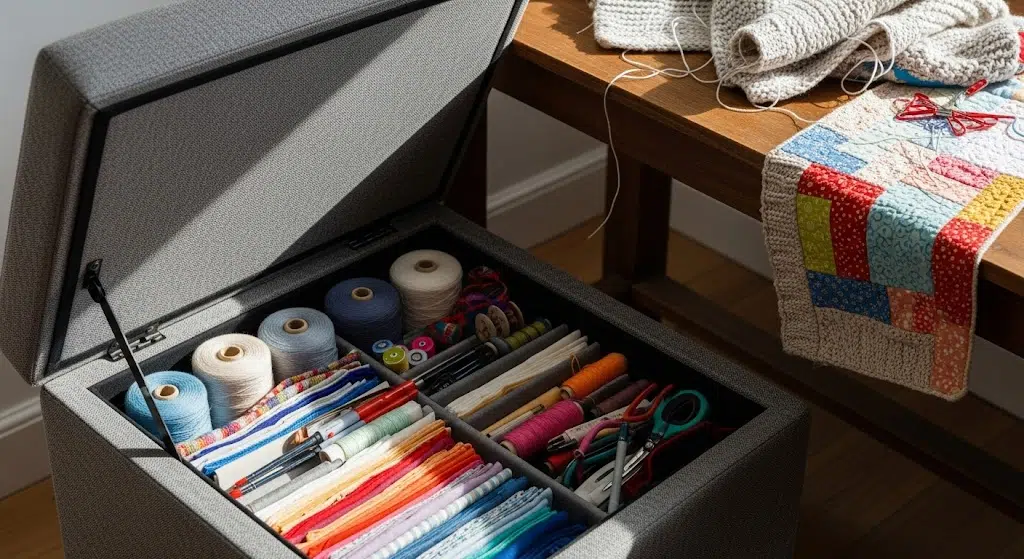
A foldable ottoman doubles as both seating and storage. Use it to hide bulky supplies like yarn or fabric, then sit comfortably while crafting.
It’s perfect for small rooms where you need flexible, multi-use furniture. Look for padded lids or ones with trays for added comfort or functionality.
12. Tension Rod Shelving
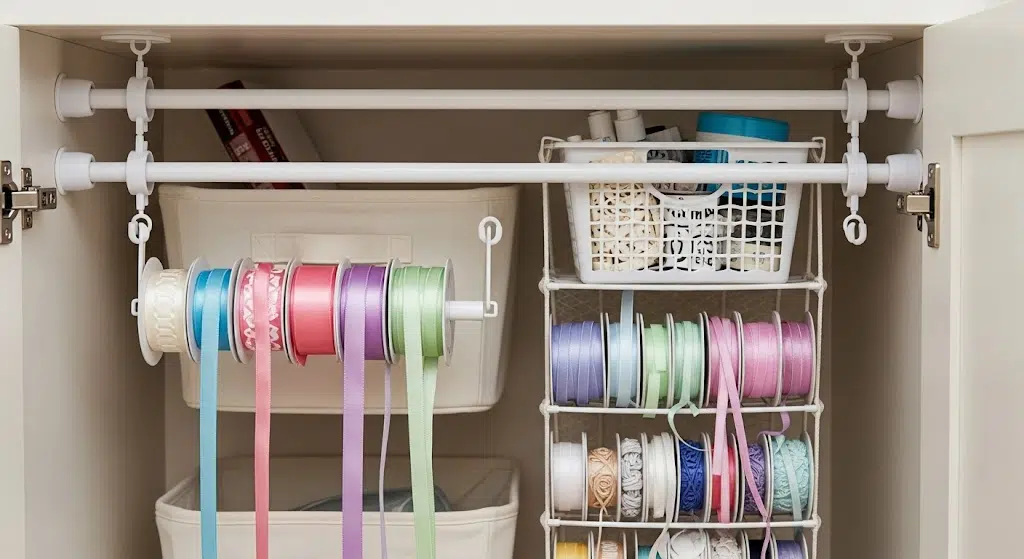
Create extra shelving inside cabinets or between furniture using tension rods. Hang baskets, bins, or ribbons for easy-to-access storage.
This is a renter-friendly option that doesn’t require drilling. It’s adjustable and ideal for customizing small areas without committing to permanent changes.
13. Use a Closet Craft Nook
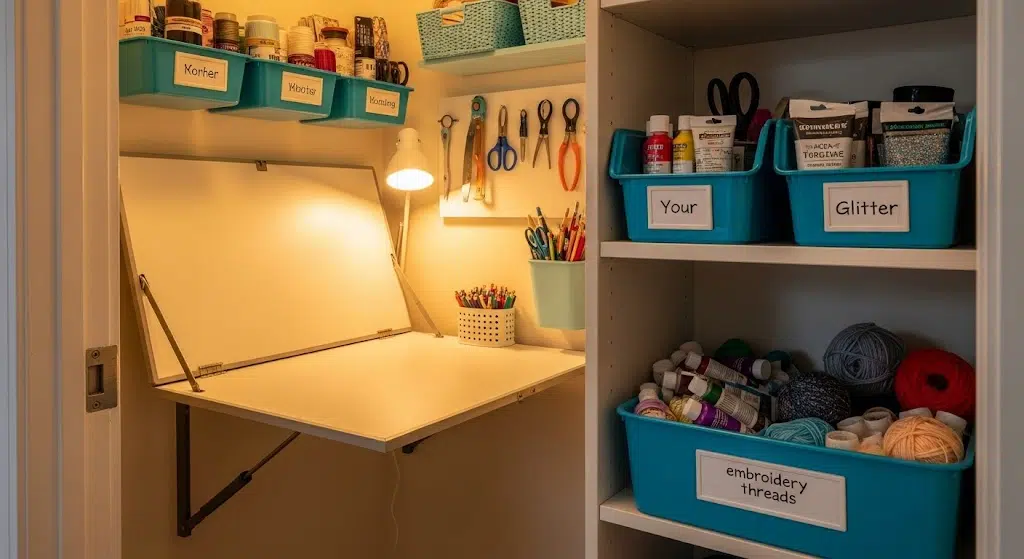
Turn a closet into your private craft studio by adding a small table, shelves, and lighting. Use bins and drawer units to organize supplies.
When you’re done, simply close the doors to hide the mess. This setup is perfect for people short on space but big on creativity.
14. Label Everything Clearly
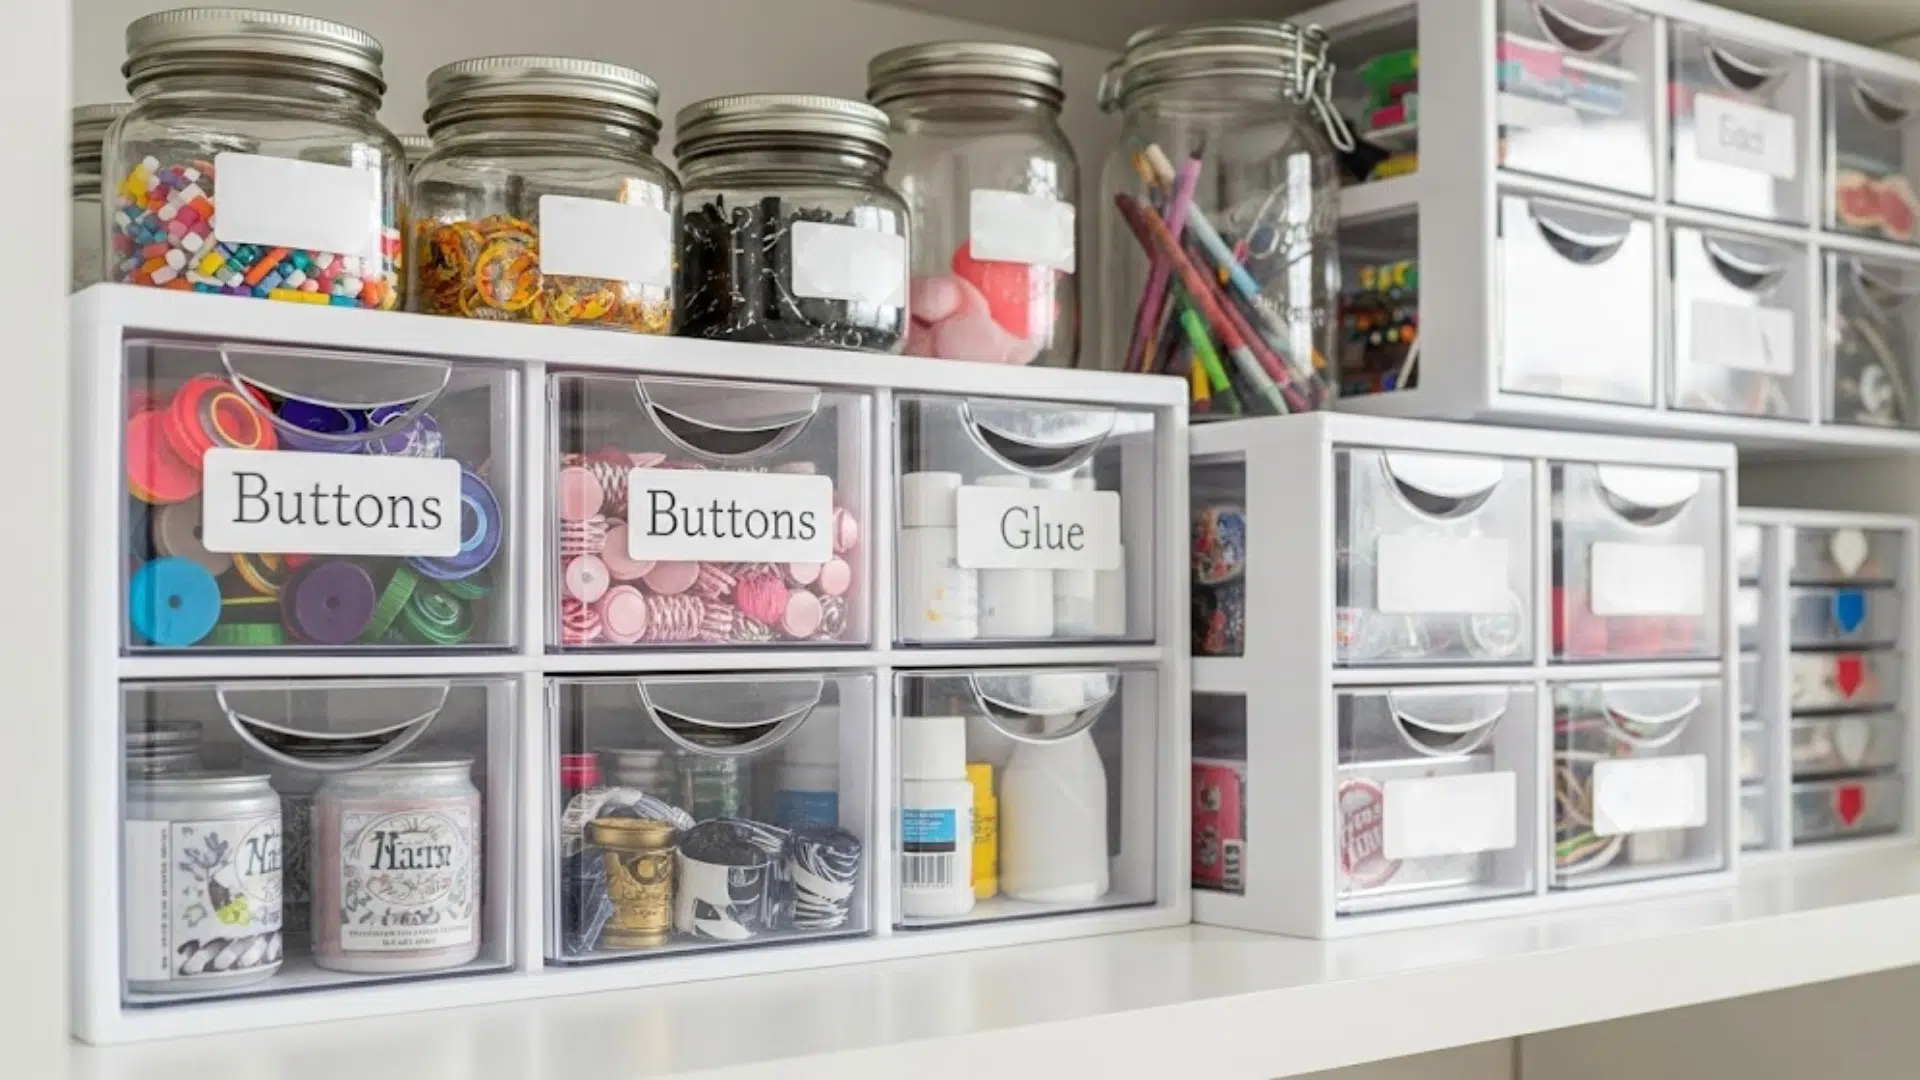
Labeling your drawers, bins, and containers keeps things organized and saves time searching. Use chalkboard stickers, label makers, or handwritten tags.
Group supplies by type, buttons, stickers, and paint, to streamline your workflow. It adds a clean, intentional feel to your space and keeps everything right where you expect it.
15. Multi-Use Bookshelves
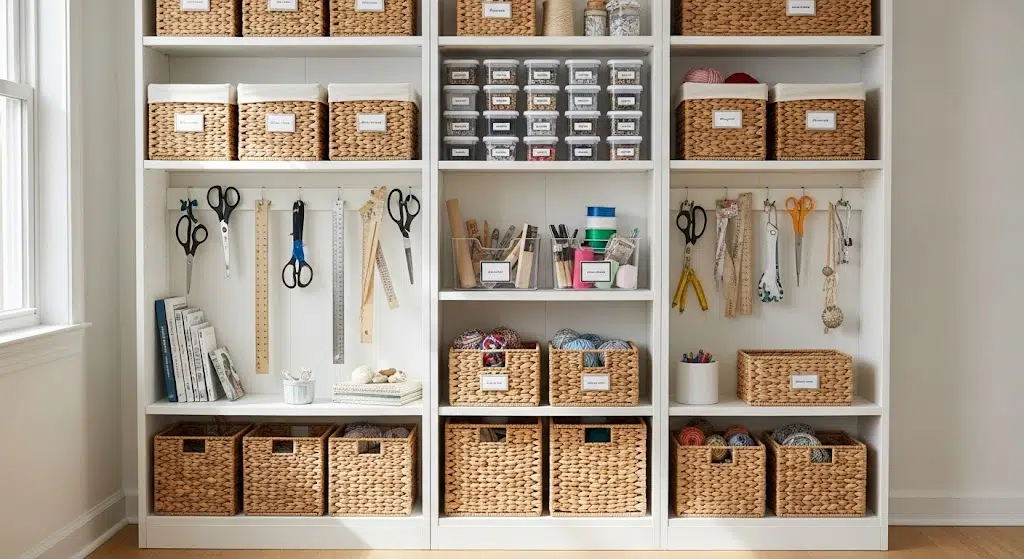
A tall bookshelf offers vertical storage for craft items and display space for decorative pieces. Use baskets to hide clutter or stack bins by category.
Add hooks or trays on the side for small tools. It’s a functional and beautiful way to keep your materials organized and your space inviting.
16. Overhead Lighting with Task Lamps
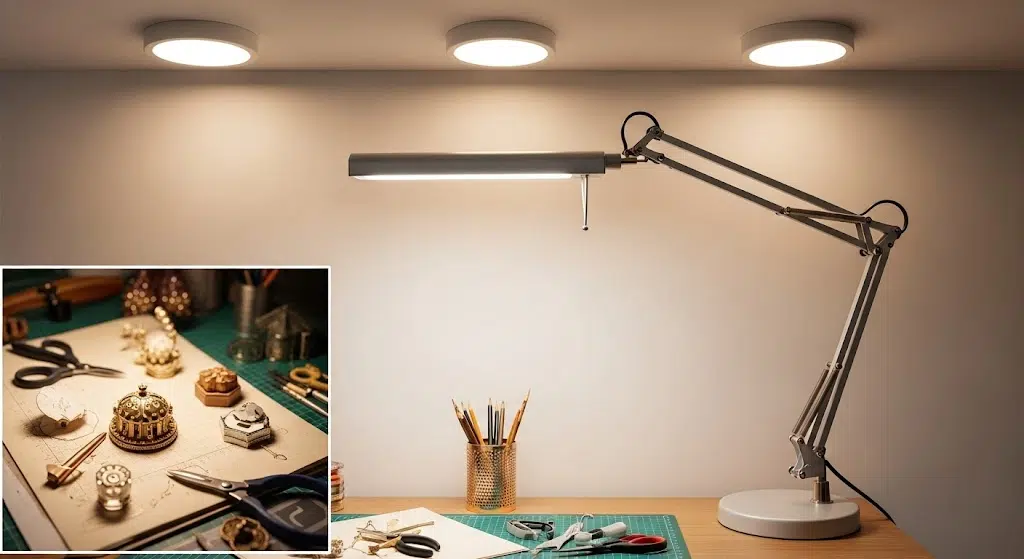
Combine ceiling lights with a dedicated task lamp for the best visibility while crafting. Bright, adjustable lighting reduces eye strain and helps you see true colors.
Position the lamp on your desk or clip it to a shelf. Good lighting boosts both accuracy and mood during long projects.
17. Peg Rail with Hanging Jars
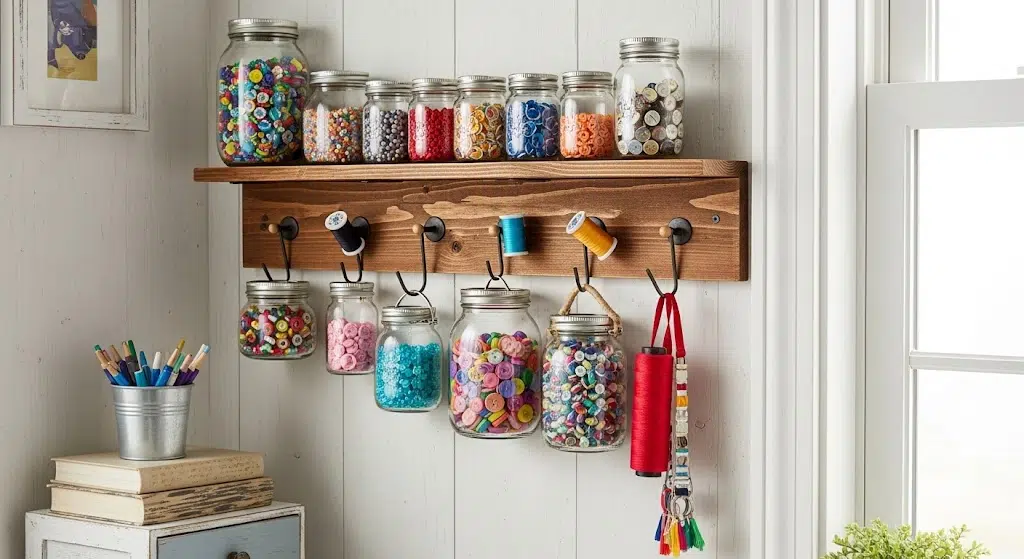
Mount a wooden peg rail on your wall and use hooks or jars to hold beads, buttons, or thread. This rustic and practical storage method adds a cozy touch.
It’s easy to rearrange as your needs change. Hanging containers also free up desk space while keeping everything visible and tidy.
18. Desk Hutch for Vertical Storage
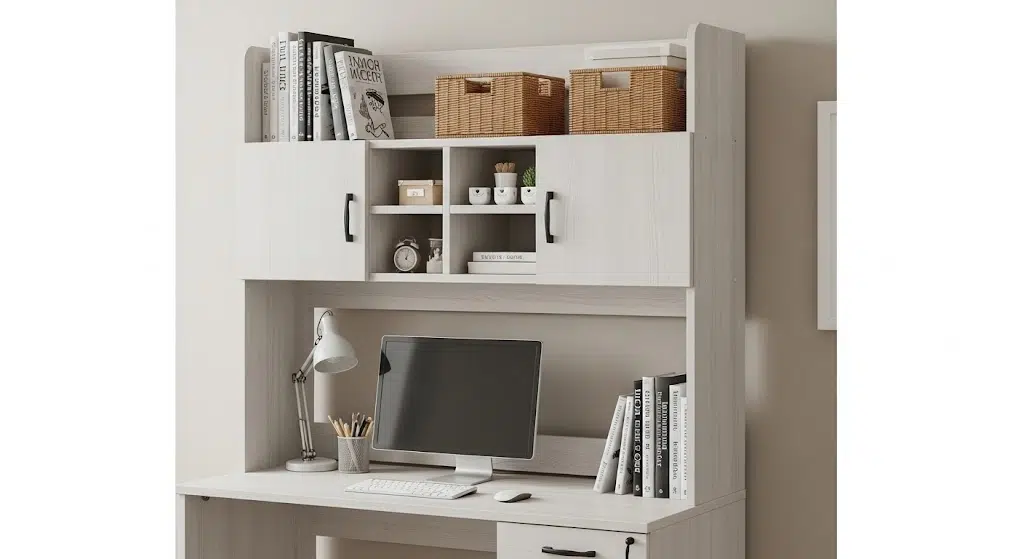
A desk hutch adds storage above your workspace without taking up more floor area. Use it to hold books, baskets, and frequently used items.
Choose one with open and closed sections for a clean look. This helps keep everything within reach while maintaining an uncluttered desktop.
19. Hanging Clipboards for Inspiration
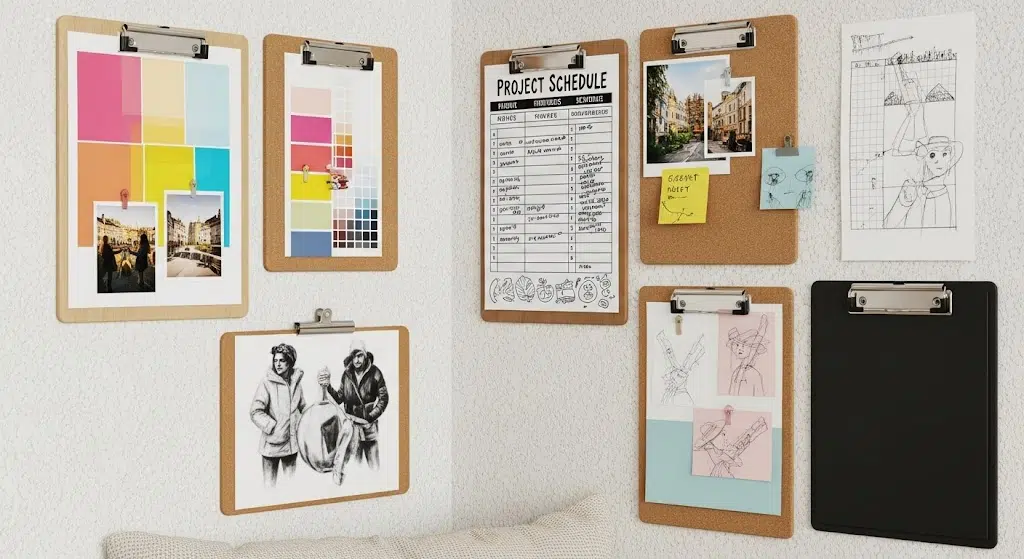
Clipboards hung on the wall display patterns, photos, and notes. You can easily swap them out as your projects evolve. It’s a decorative way to stay organized and inspired.
Use them to pin color palettes, schedules, or sketches. They add charm and creativity without using precious shelf space.
20. Repurpose Old Furniture
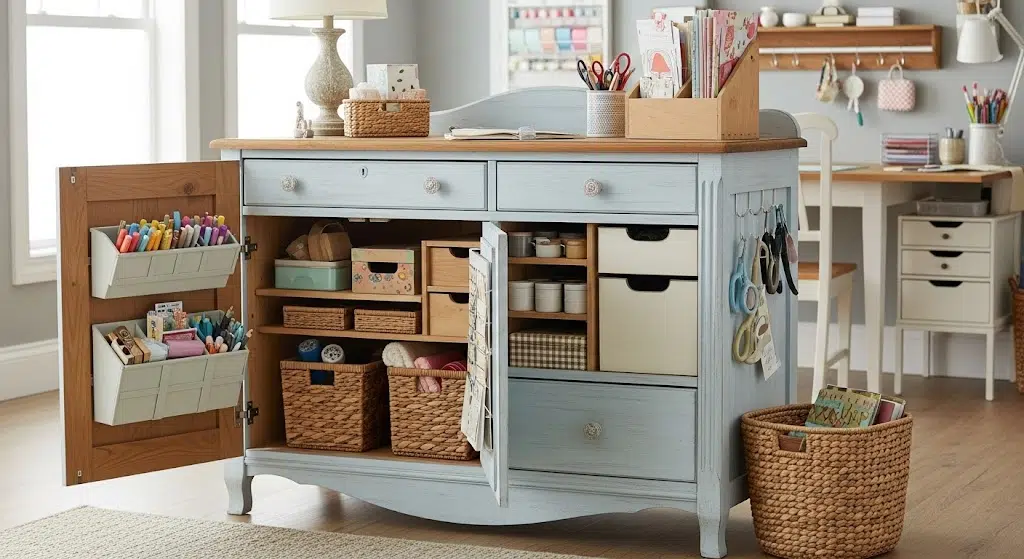
Turn an old dresser or armoire into unique craft storage. Add bins, dividers, or hooks inside for extra organization. Paint or refinish the piece to match your room.
Repurposed furniture adds character and saves money, turning practical storage into a stylish centerpiece for your crafting zone.
21. Vertical Fabric Storage
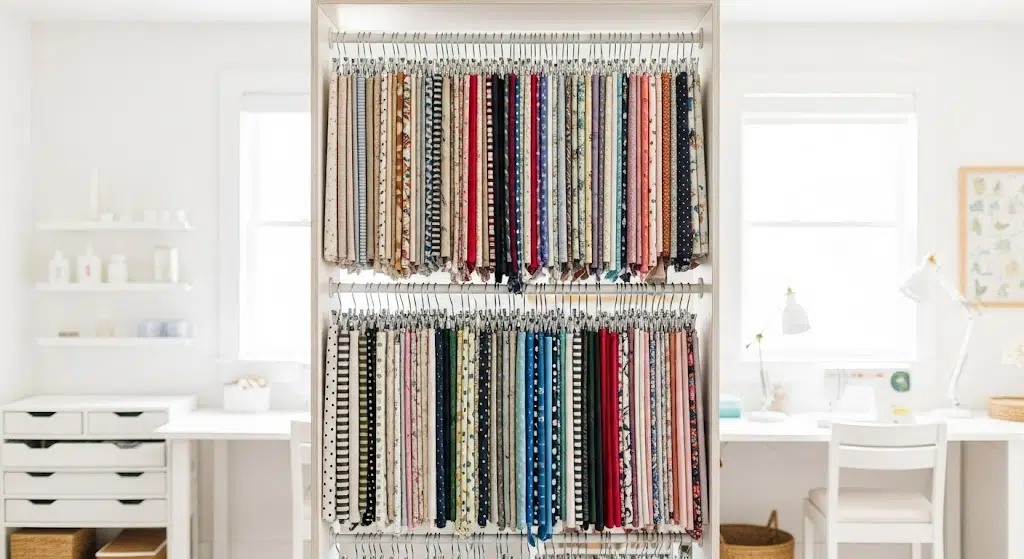
Store fabrics vertically using clip hangers or racks to avoid wrinkles and save space. This method makes it easier to view your collection and grab what you need.
It also turns your colorful fabrics into a decorative display. Great for sewists who want function and inspiration in one place.
22. Add a Mood Board
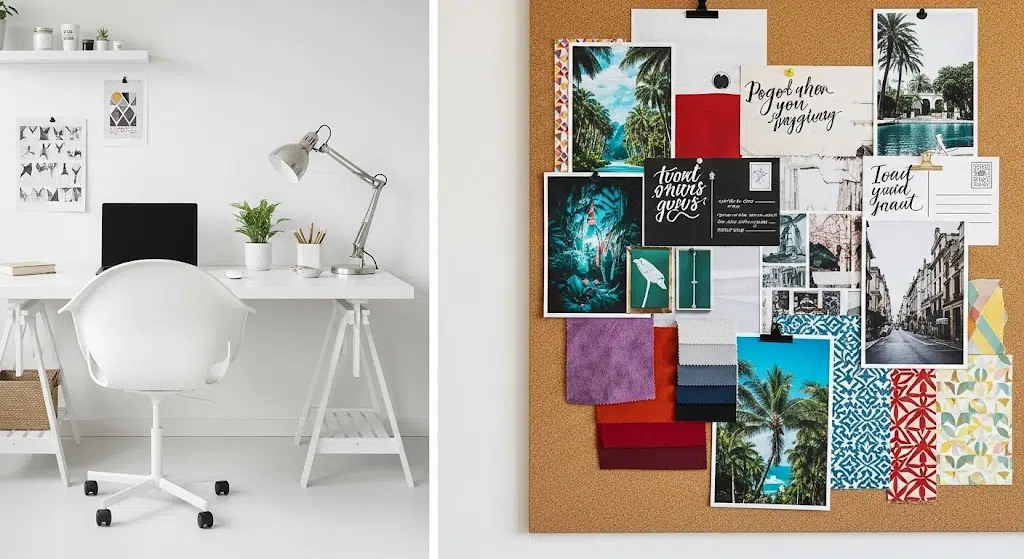
A mood board helps visualize your ideas and track inspiration. Use corkboards, pin boards, or magnetic sheets to post swatches, photos, or quotes.
Rotate them regularly to match new projects or seasons. It adds personality and purpose to your space, reminding you what excites you creatively.
23. Keep a Rolling Work Surface
A mobile craft table gives you flexibility to move your workspace where you need it. Roll it next to a window or stash it when guests come over.
Choose one with storage underneath for added convenience. It’s perfect for shared spaces and makes your crafting setup more dynamic and efficient.
Things to Consider Before Setting Up Your Craft Room
Keep these key points in mind to design a craft space that’s functional, inspiring, and tailored to your needs.
- Available Space: Measure your area to determine how much room you truly have for work zones and storage.
- Craft Type: Choose layout and tools based on what you create, sewing needs space, scrapbooking needs bins.
- Lighting Needs: Natural light is best, but add task lighting for precision work like painting or jewelry.
- Storage Solutions: Think vertical, mobile, and multifunctional to make the most of tight spaces.
- Power Sources: Place workstations near outlets if you use tools like glue guns or sewing machines.
- Comfort Level: Include a good chair and soft flooring to support long crafting sessions.
- Inspiration Source: Leave room for art, mood boards, or color swatches to keep ideas flowing.
Conclusion
Designing a small craft room has been one of the most rewarding projects I’ve done. Even a tiny corner can feel completely yours, organized, creative, and calming.
With smart storage, a good layout, and personal touches, any space can support your projects and spark joy. It’s not about size, it’s about using what you have well.
I’ve found that keeping things tidy and easy to reach makes me want to create more often.
I hope these ideas help you create your own crafting space, regardless of the available space.
Start small, plan smart, and enjoy the process. Let me know how your craft room turns out. I’d love to hear what worked for you.

James McLaren, with a rich background in architecture from the University of Manchester, has been contributing his expertise to the world of creative construction and home innovation for over 20 years. His journey began as a project manager for a leading construction firm, where he honed his skills in bringing complex designs to life. James joined our platform as a freelancer in 2019, quickly becoming a favorite for his insightful and practical advice. He has been a pivotal force to our wing ever since, bringing our readers a blend of technical know-how and creative flair. Beyond his professional life, James is an avid woodworker and enjoys restoring vintage furniture, a hobby that complements his professional insights beautifully.