Getting the right fit for your artwork shouldn’t feel like solving a puzzle. But I’ve watched too many people struggle with crooked frames and gaping spaces because they skipped the measuring step.
Learning how to measure a picture frame properly takes just a few minutes and saves you from costly mistakes.
If you’re framing a cherished family photo or that print you finally decided to hang, accurate measurements make all the difference.
I’ll walk you through the simple steps that ensure your frame fits perfectly every time. No guesswork, no returns; just frames that look exactly how you envisioned them.
Considerations Before Measuring a Picture Frame
Before you grab that measuring tape, there are several factors that’ll influence your frame choice and measurements.
I’ve learned the hard way that rushing into measuring without considering these elements often leads to frames that technically fit but don’t look quite right.
- Assess your artwork’s condition: damaged corners or irregular edges might need custom solutions or extra mat space to hide imperfections.
- Consider the viewing distance: pieces viewed up close need different proportions than artwork seen from across the room.
- Factor in your wall space: measure the available area and leave breathing room around your frame for visual balance.
- Consider lighting conditions: bright, sunny spots require UV protection, while darker areas may benefit from reflective glazing.
- Account for existing décor: your frame should complement nearby furniture, wall color, and other artwork without competing for attention.
- Budget for the complete package: note that custom matting, specialty glass, and professional mounting will add to your total cost.
How to Measure a Picture Frame?
Now comes the main event: actually measuring your frame for that perfect fit. I’ll walk you through the step-by-step process that eliminates the guesswork from frame sizing.
Once you master these techniques, you’ll never have to deal with gaps, overlaps, or returns again.
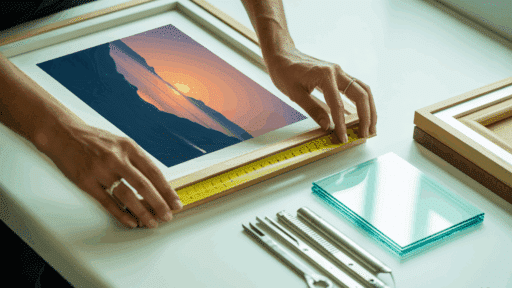
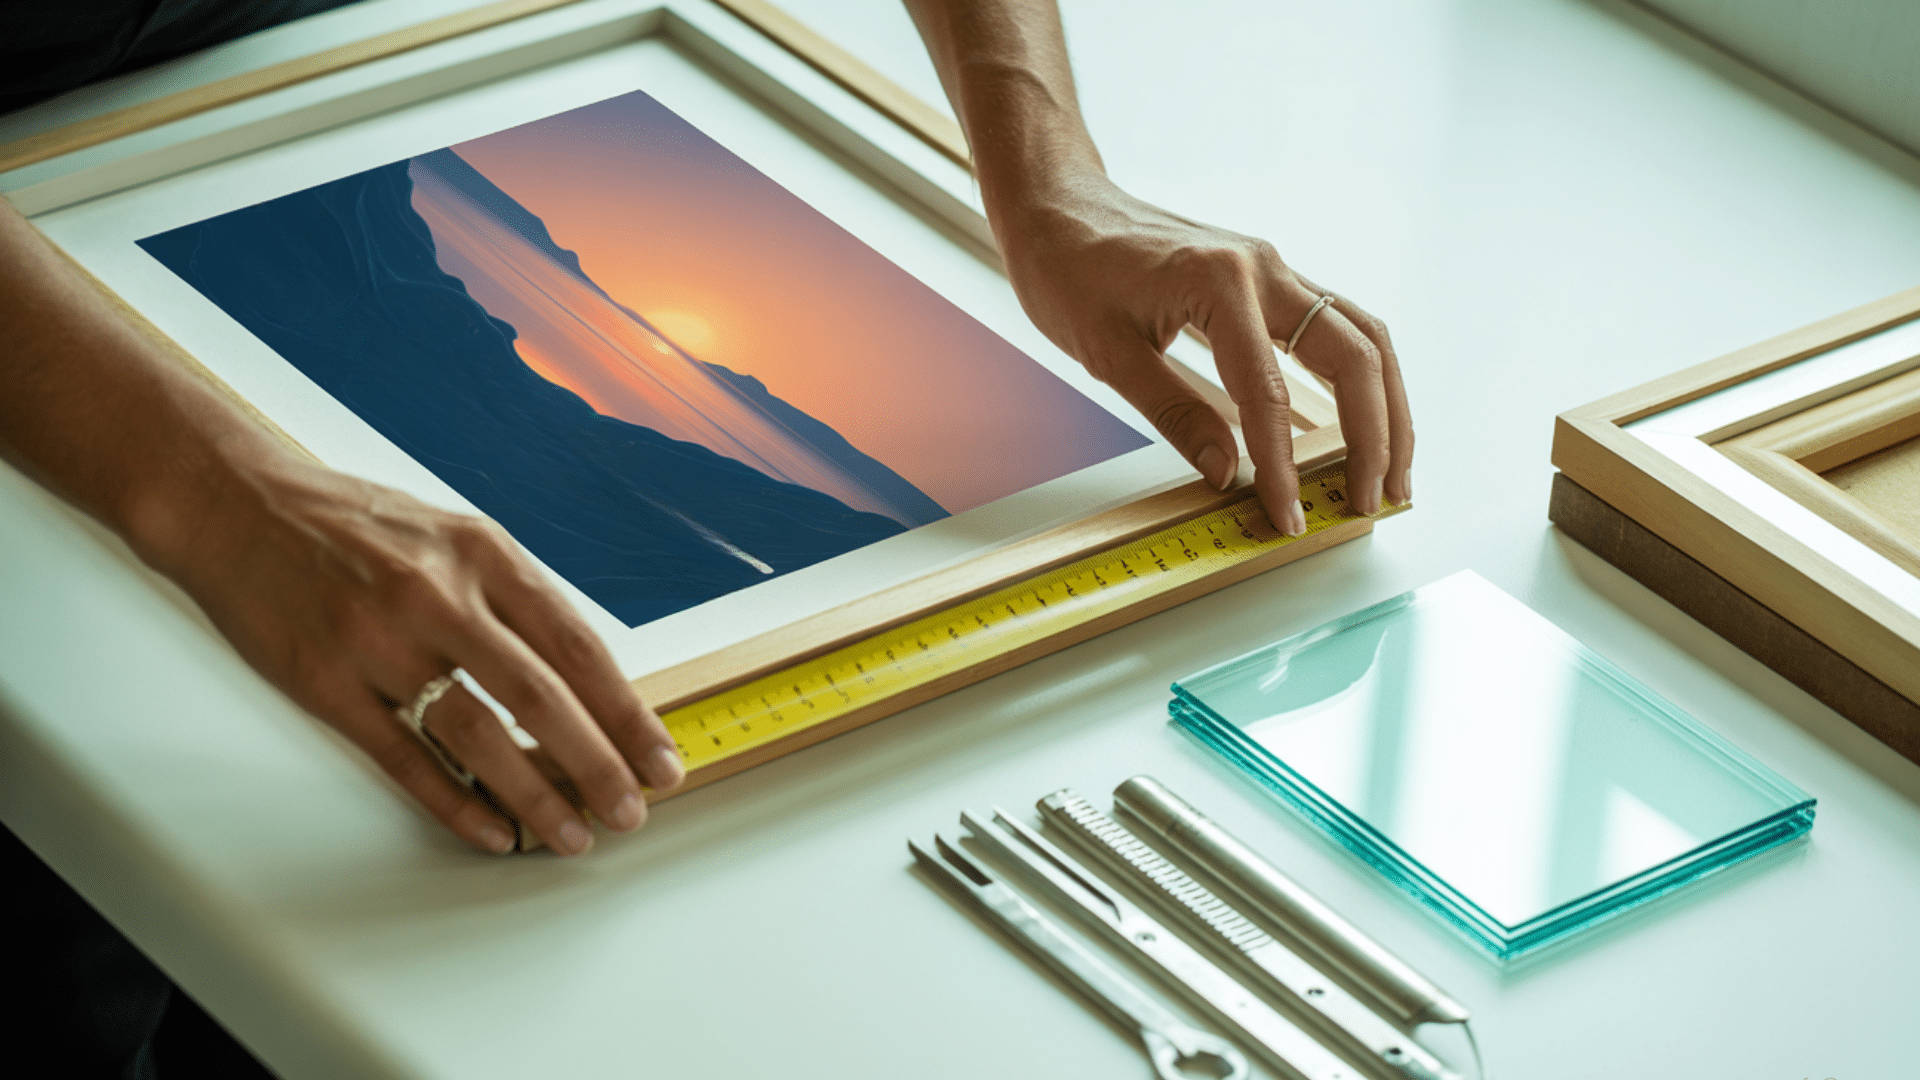
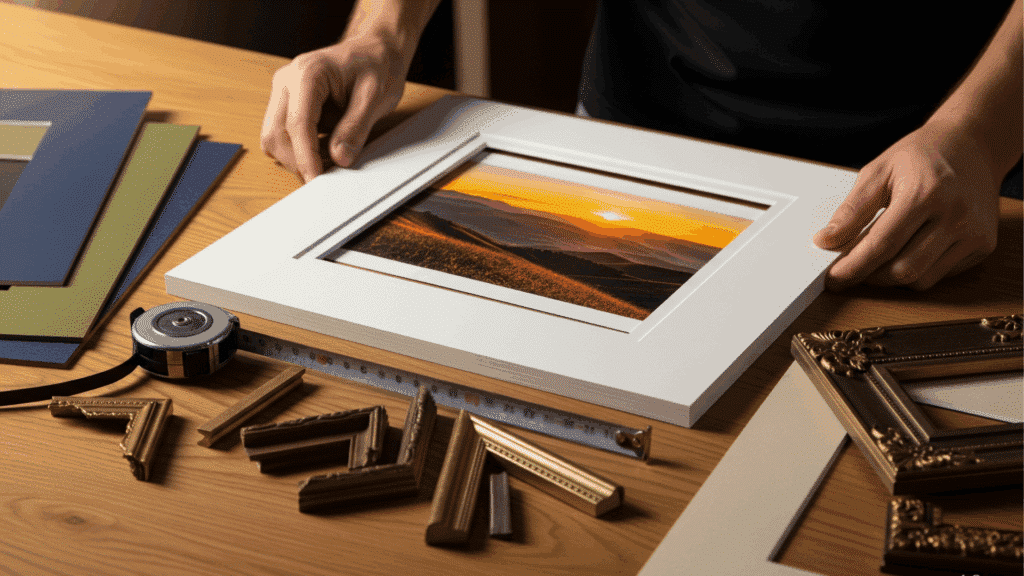
Step 1: Determine the Artwork Size
Start by measuring the width and height of your artwork or photograph, excluding any borders or mats. Use a ruler or measuring tape on a flat surface.
These dimensions represent the actual size of the image and serve as the foundation for accurately choosing or customizing your picture frame.
Step 2: Decide If You’re Using a Mat
Mats create a visual border around your artwork and require a larger frame size than the artwork itself. Choose whether to include a mat and decide its width.
This affects both the frame’s internal dimensions and overall visual presentation, especially if you’re aiming for a gallery-style or layered look.
Step 3: Measure the Desired Frame Size
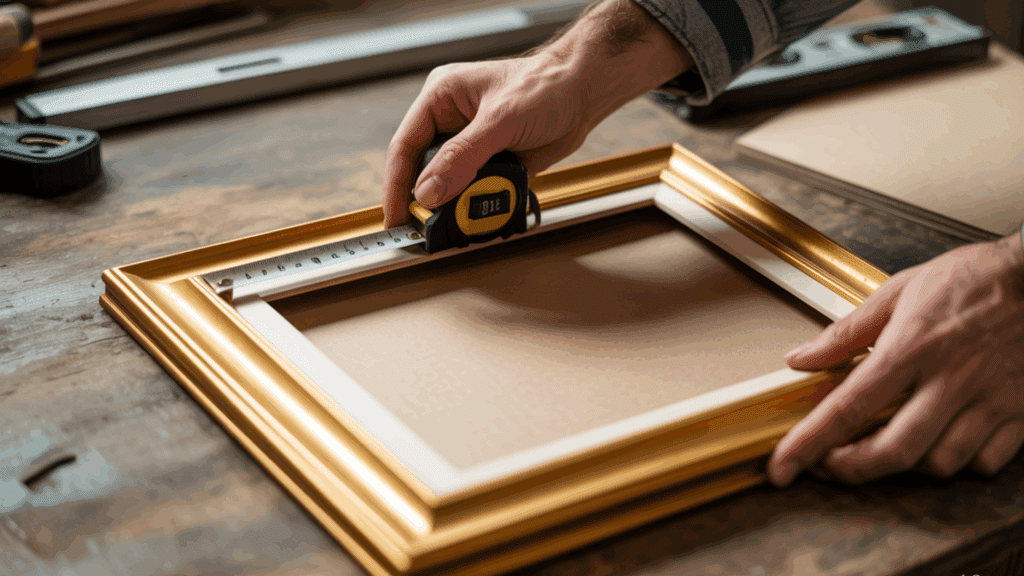
The frame size corresponds to its rabbet size, the inner lip where the artwork sits. Measure the inside edges of your existing frame or the desired dimensions you need.
Don’t confuse this with the outer edge of the frame, which includes the frame moulding and doesn’t impact the fit for the artwork.
Step 4: Factor in Depth and Thickness
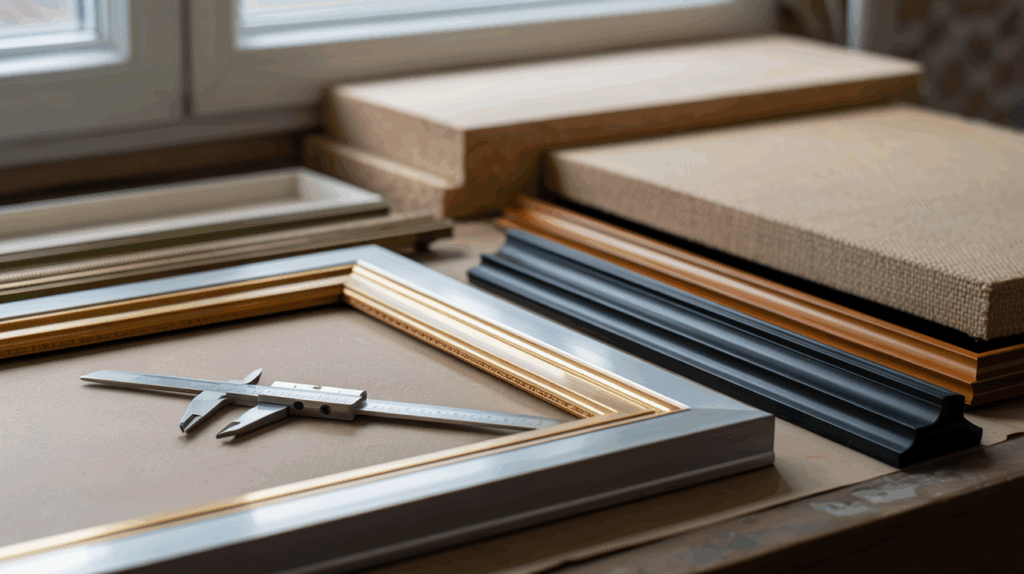
If your artwork is on canvas, foam board, or is a 3D object, you must account for depth. Measure the thickness of the item to ensure the frame’s rabbet depth can accommodate it.
Neglecting this can cause the artwork to protrude or not sit securely within the frame.
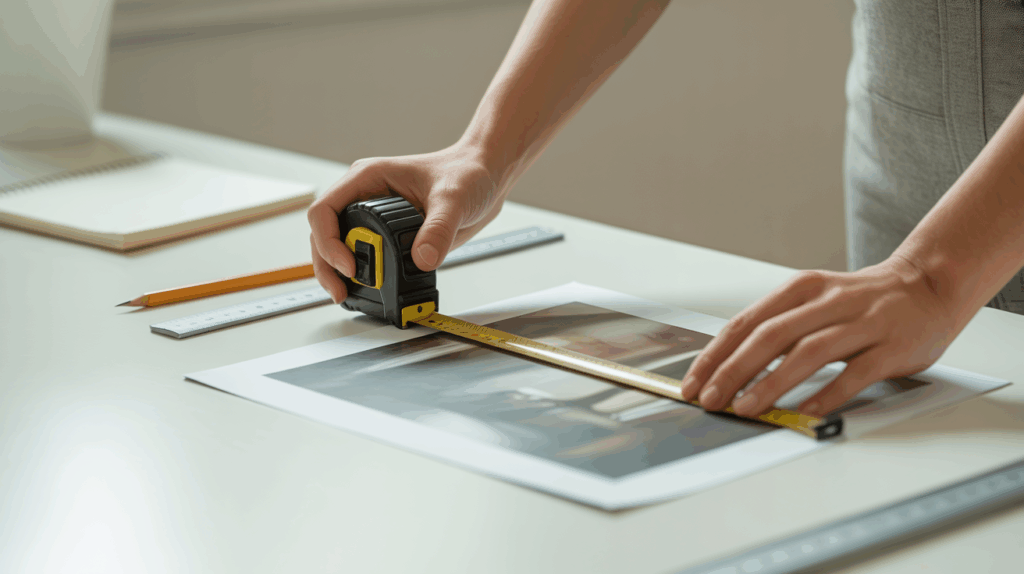
Step 5: Recheck and Note Units
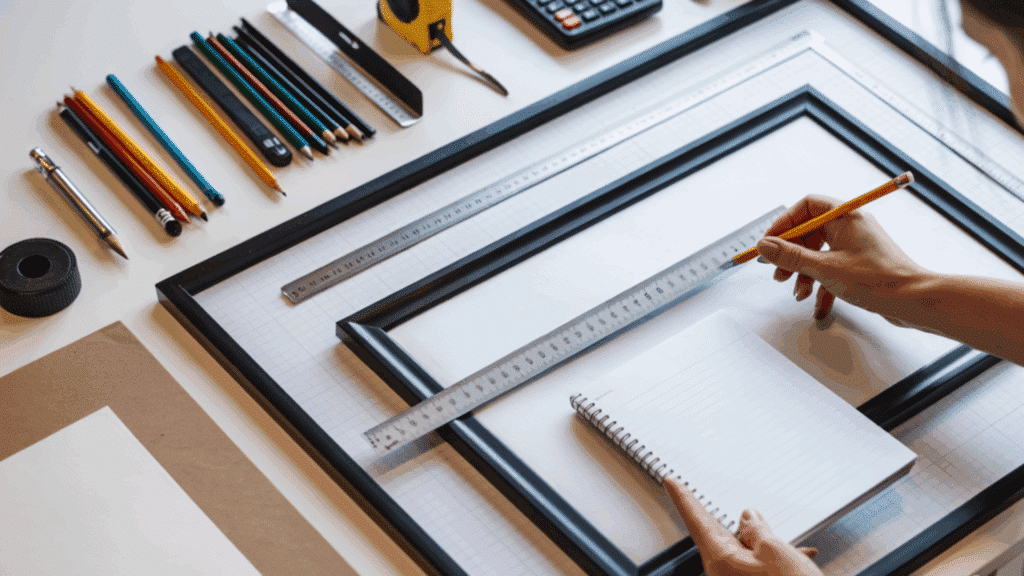
Consistency in measurement units is crucial. Stick with either inches or centimeters, and double-check each dimension before placing your order or cutting.
Even small errors can lead to mismatched fits. Accurate rechecking helps avoid costly framing mistakes and ensures your chosen frame will snugly and professionally house your piece.
All Different Picture Frame Sizes
Picture frames come in a vast variety of sizes, from tiny wallet photo holders to massive statement pieces that dominate entire walls.
I’ve found that knowing standard frame dimensions makes shopping easier and helps you plan gallery walls that actually work together.
1. Small Photo Frame Sizes
These compact sizes work beautifully for personal memories and don’t overwhelm smaller spaces.
When you’re figuring out how to measure a picture frame in these dimensions, precision matters even more since every millimeter counts.
| Frame Size (Inches) | Common Uses |
| 2″ x 3″ | Wallet-sized photos |
| 3.5″ x 5″ | Small portrait or casual snapshots |
| 4″ x 6″ | Standard photo print |
| 5″ x 7″ | Portraits or tabletop frames |
| 6″ x 8″ | Casual desk display or gift frame |
2. Medium Frame Sizes
Medium frames hit that sweet spot for most home displays – they’re large enough to make a statement without dominating your wall.
I find that medium frames are the most versatile, as they strike a balance between impact and practicality, and are usually the easiest to find in stores.
| Frame Size (Inches) | Common Uses |
| 8″ x 10″ | Certificates, portraits and small posters |
| 8.5″ x 11″ | Letter-size documents or awards |
| 9″ x 12″ | Art prints, kids’ drawings |
| 10″ x 13″ | Slightly larger prints or fine art |
| 11″ x 14″ | Art, diplomas, or photos with a mat |
3. Large Frame Sizes
Large frames make bold statements and work beautifully as centerpiece artwork or for showcasing oversized prints and posters.
When learning how to measure a picture frame in larger sizes, you’ll also need to consider wall space and whether your mounting hardware can handle the extra weight.
| Frame Size (Inches) | Common Uses |
| 12″ x 16″ | Art prints with matting |
| 14″ x 18″ | Photos or sketches with extra borders |
| 16″ x 20″ | Medium posters, fine art |
| 18″ x 24″ | Gallery walls, larger art pieces |
| 20″ x 24″ | Portraits or typography posters |
4. Extra-Large Poster & Statement Frame Sizes
Extra-large frames are showstoppers that change entire rooms and work perfectly for movie posters, large art prints, or creating dramatic gallery walls.
I always tell people to measure twice when working with these sizes; one mistake means a costly do-over, and you’ll definitely want professional installation for anything this substantial.
| Frame Size (Inches) | Common Uses |
| 20″ x 30″ | Travel posters, minimalist design prints |
| 22″ x 28″ | Advertising posters or infographics |
| 24″ x 36″ | Movie posters, large artwork |
| 27″ x 40″ | Official movie/theater poster size |
5. Square Frame Sizes
Square frames offer a clean, modern aesthetic that works brilliantly for Instagram prints, abstract art, or creating geometric gallery walls.
When learning to measure a picture frame in square formats, remember that equal sides make the math simpler; however, finding the right proportions for your wall space becomes even more crucial.
| Frame Size (Inches) | Common Uses |
| 5″ x 5″ | Small Instagram photos |
| 8″ x 8″ | Minimalist compositions |
| 10″ x 10″ | Abstract or symmetrical prints |
| 12″ x 12″ | Art prints, records, or photography |
| 16″ x 16″ | Featured square statement pieces |
6. Panoramic Frame Sizes
Panoramic frames are designed for those sweeping landscape shots, city skylines, and wide-angle photographs that capture expansive views.
When measuring a picture frame for panoramic prints, it’s essential to consider the wall space and ensure your mounting can accommodate the unique weight distribution of these elongated frames.
| Frame Size (Inches) | Common Uses |
| 10″ x 20″ | Narrow panoramic photography |
| 12″ x 24″ | Travel photos or wide-angle art |
| 12″ x 36″ | Ultra-wide landscapes or digital collages |
Recommendations for Selecting the Ideal Frame
Once you know how to measure a picture frame correctly, the next challenge is picking the right one.
I’ve learned that the best frame isn’t always the fanciest – it’s the one that complements your artwork while fitting your space and budget.
- Choose custom framing: When you’re dealing with non-standard sizes, valuable artwork, or pieces that need special conservation materials.
- Go pre-made: For standard photo sizes (4×6, 5×7, 8×10, 11×14) – it’s budget-friendly and readily available.
- Consider semi-custom options: At craft stores, you can find custom mats in standard frame sizes, offering the best of both worlds.
- Wood frames: They work beautifully with traditional art, family photos, and rustic or farmhouse décor.
- Metal frames: They complement modern artwork, black-and-white photography, and contemporary spaces.
- Consider your wall color: When choosing frame finishes, dark frames tend to pop on light walls, and vice versa.
- Regular glass: It works fine for most artwork in low-light areas, but it can break and reflect light.
- UV-protective glass: It is essential for valuable pieces or artwork in sunny rooms – it prevents fading.
- Acrylic glazing: It is lighter and safer for children’s rooms, plus it won’t shatter if knocked off the wall.
Conclusion
Measuring frames doesn’t have to be intimidating once you know the basics.
I’ve covered everything from understanding frame anatomy to choosing between custom and pre-made options, as well as all those size categories that seemed confusing before.
The key takeaway is to take your time with measurements and consider your space before making decisions. If you’re hanging a single family photo or planning an entire gallery wall, these fundamentals will serve you well.
A perfectly measured frame showcases your artwork beautifully and saves you money on returns. Now, grab that measuring tape and start creating displays that truly reflect your style. Your walls are waiting for something special.
Frequently Asked Questions (FAQs)
1. How do I Tell What Size My Picture Frame is?
A frame’s dimensions refer to the size of its opening. It is a common mistake to think that the dimensions are the width and height of the frame’s outside edges; however, the actual measurement is based on the inside edge.
2. What is the Formula for Picture Frames?
The calculation is (2 x the border measurement) + the artwork measurement. In the 12 x 12 example, your matboard would be 16-1/2 x 16-1/2. You would also use the outer dimension to determine the size of your frame.
3. What is the Picture Frame Method?
The “picture frame” method is a CNC machining technique that involves securing workpieces using a series of fasteners around the perimeter, much like a picture frame.

James McLaren, with a rich background in architecture from the University of Manchester, has been contributing his expertise to the world of creative construction and home innovation for over 20 years. His journey began as a project manager for a leading construction firm, where he honed his skills in bringing complex designs to life. James joined our platform as a freelancer in 2019, quickly becoming a favorite for his insightful and practical advice. He has been a pivotal force to our wing ever since, bringing our readers a blend of technical know-how and creative flair. Beyond his professional life, James is an avid woodworker and enjoys restoring vintage furniture, a hobby that complements his professional insights beautifully.