If you’ve ever stood in the paint aisle clutching six nearly identical swatches, you know the feeling: “What if this looks totally different on the wall?” Samples help, but they don’t show how sunlight moves through your room, or whether that gorgeous pendant will glare on movie night, or if the island will pinch your walkway.
That’s why I love a simple step before shopping: see your ideas at full scale with a 3D preview. When you can test layouts, colors, and lighting on a lifelike model of your room, decisions get calmer—and you avoid expensive do-overs.
Why Try a 3D Preview at All?
Because context changes everything. A cabinet door sample on the kitchen counter is not the same as a full wall of cabinetry at 4 p.m. A single tile won’t reveal how grout lines shift the vibe of a small bath. A preview lets you:
- Compare two complete looks side-by-side (cabinet color + countertop + backsplash + hardware).
- Check proportions and clearances (sofa size, table length, fridge and dishwasher door swings).
- See day, dusk, and night lighting—before you buy fixtures or paint.
- Catch “gotchas” early (pendant height, mirror + sconce spacing, door swings that collide).
Prefer not to build a model yourself? A seasoned 3d architectural rendering company can turn room measurements, a handful of photos, and your inspiration links into a photoreal preview so you can choose with confidence.
Build a Tiny “Design Packet” (T’s Easier Than It Sounds)
You don’t need architectural drawings—just a tidy folder:
- Measurements: length, width, ceiling height; rough window/door sizes.
- Phone photos: one from each corner, plus the view into the room from the next space.
- Fixed elements: things you’re keeping (floors, fireplace, appliances, built-ins).
- Vibe board: 3–6 images that show the feeling you want (materials, colors, textures).
This packet becomes your North Star—from visualizing to ordering to briefing contractors.
Kitchen First: Where Previews Save the Most Stress
Kitchens are choreography: doors, drawers, and hungry people in motion. A good 3D pass shows:
- Real-life clearances: a friend at the sink while someone passes behind; island seating without knee battles.
- Vertical balance: how uppers meet the hood or window trim so everything feels intentional.
- Material harmony: your quartz with your cabinet paint and your hardware—all together, not imagined.
- Lighting layers: under-cabinet task, warm evening glow, and pendants that don’t feel harsh.
Stuck between range on the wall vs. range on the island? Preview both layouts and “walk” through them. The winner usually reveals itself in minutes.
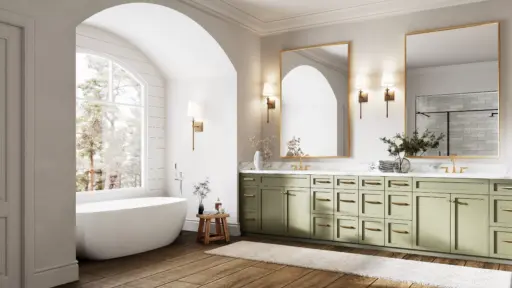
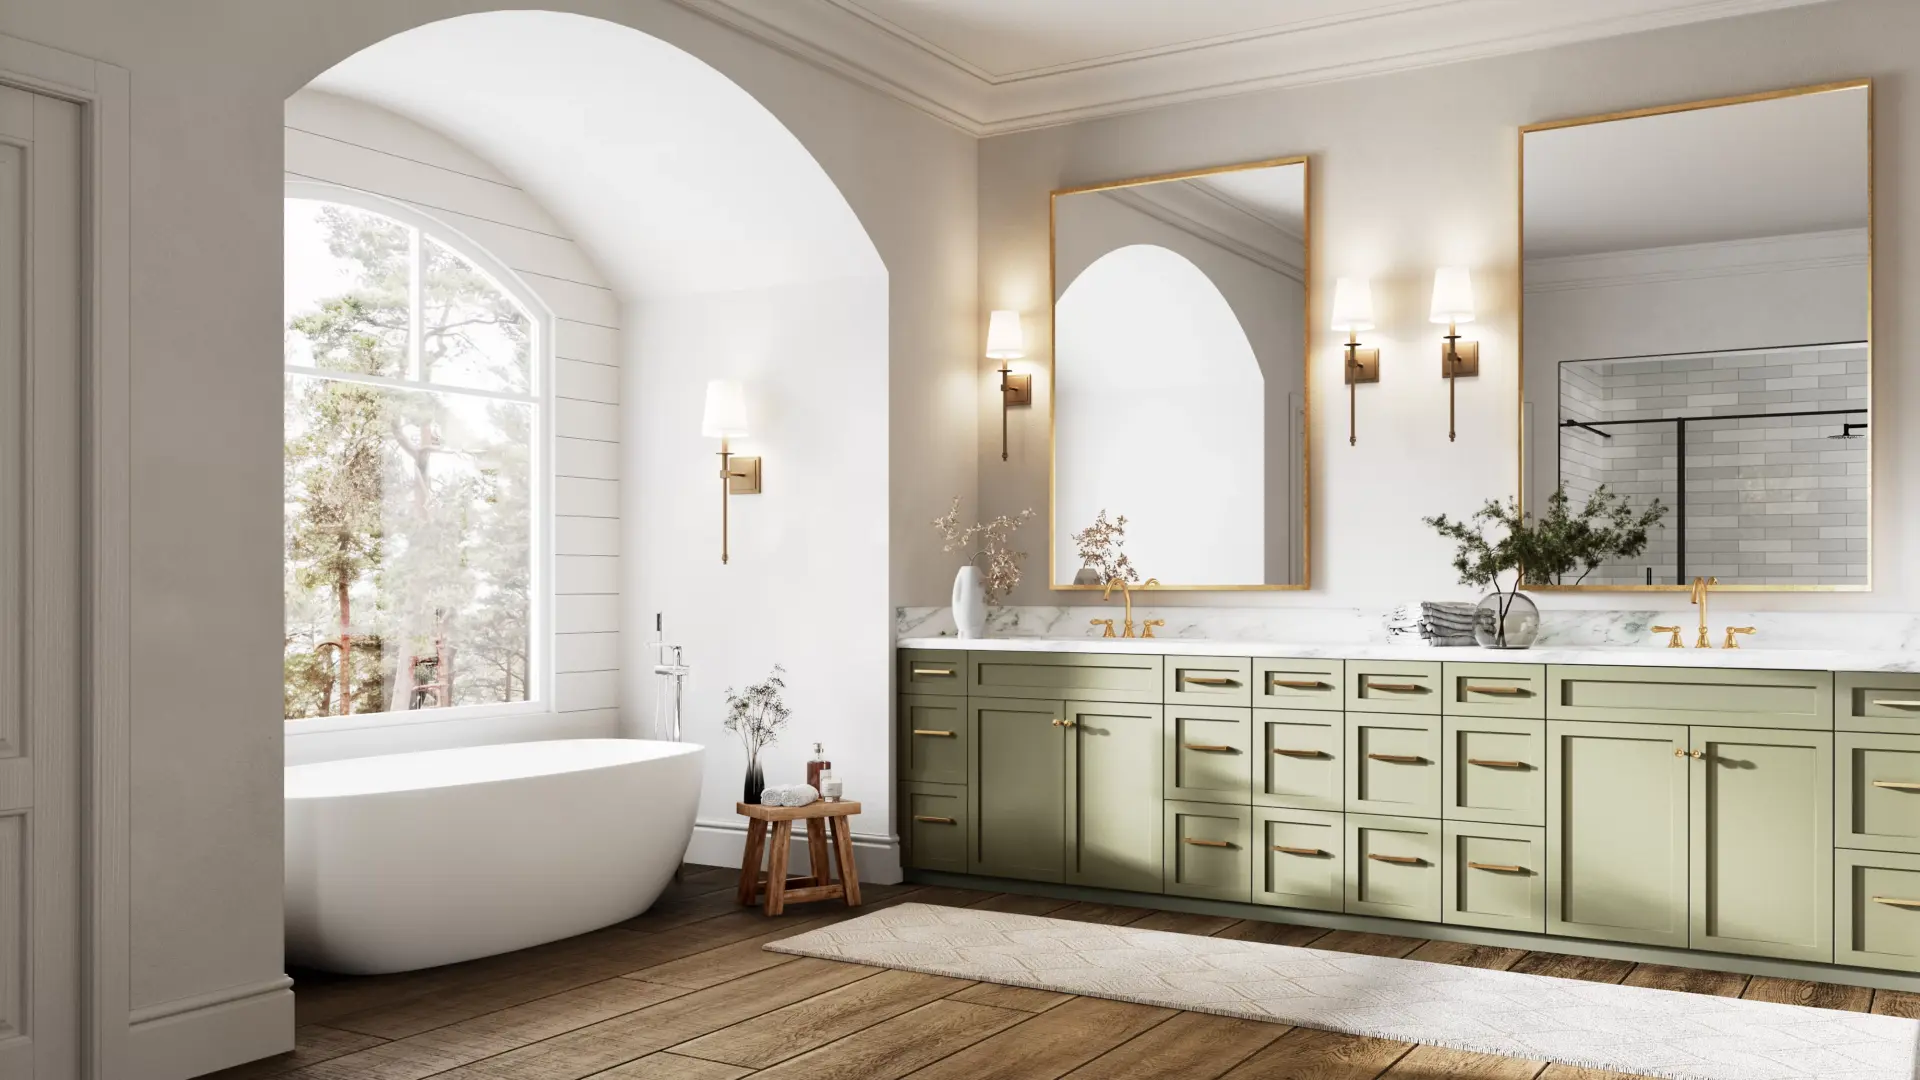
Bathrooms: small rooms, big visual wins
In tight spaces, inches matter. Use a preview to dial in:
- Sightlines: what you see when the door opens (soothing vanity wall vs. straight-to-toilet view).
- Tile scale: whether large-format tile calms a small shower (and where grout lines land).
- Mirror + sconce spacing: light that lands on faces, not above them.
- Storage: niches and towers that clear plumbing and still look clean.
Tip: ask for two moods—quiet neutral and bold statement—to see which one you’ll love long-term.
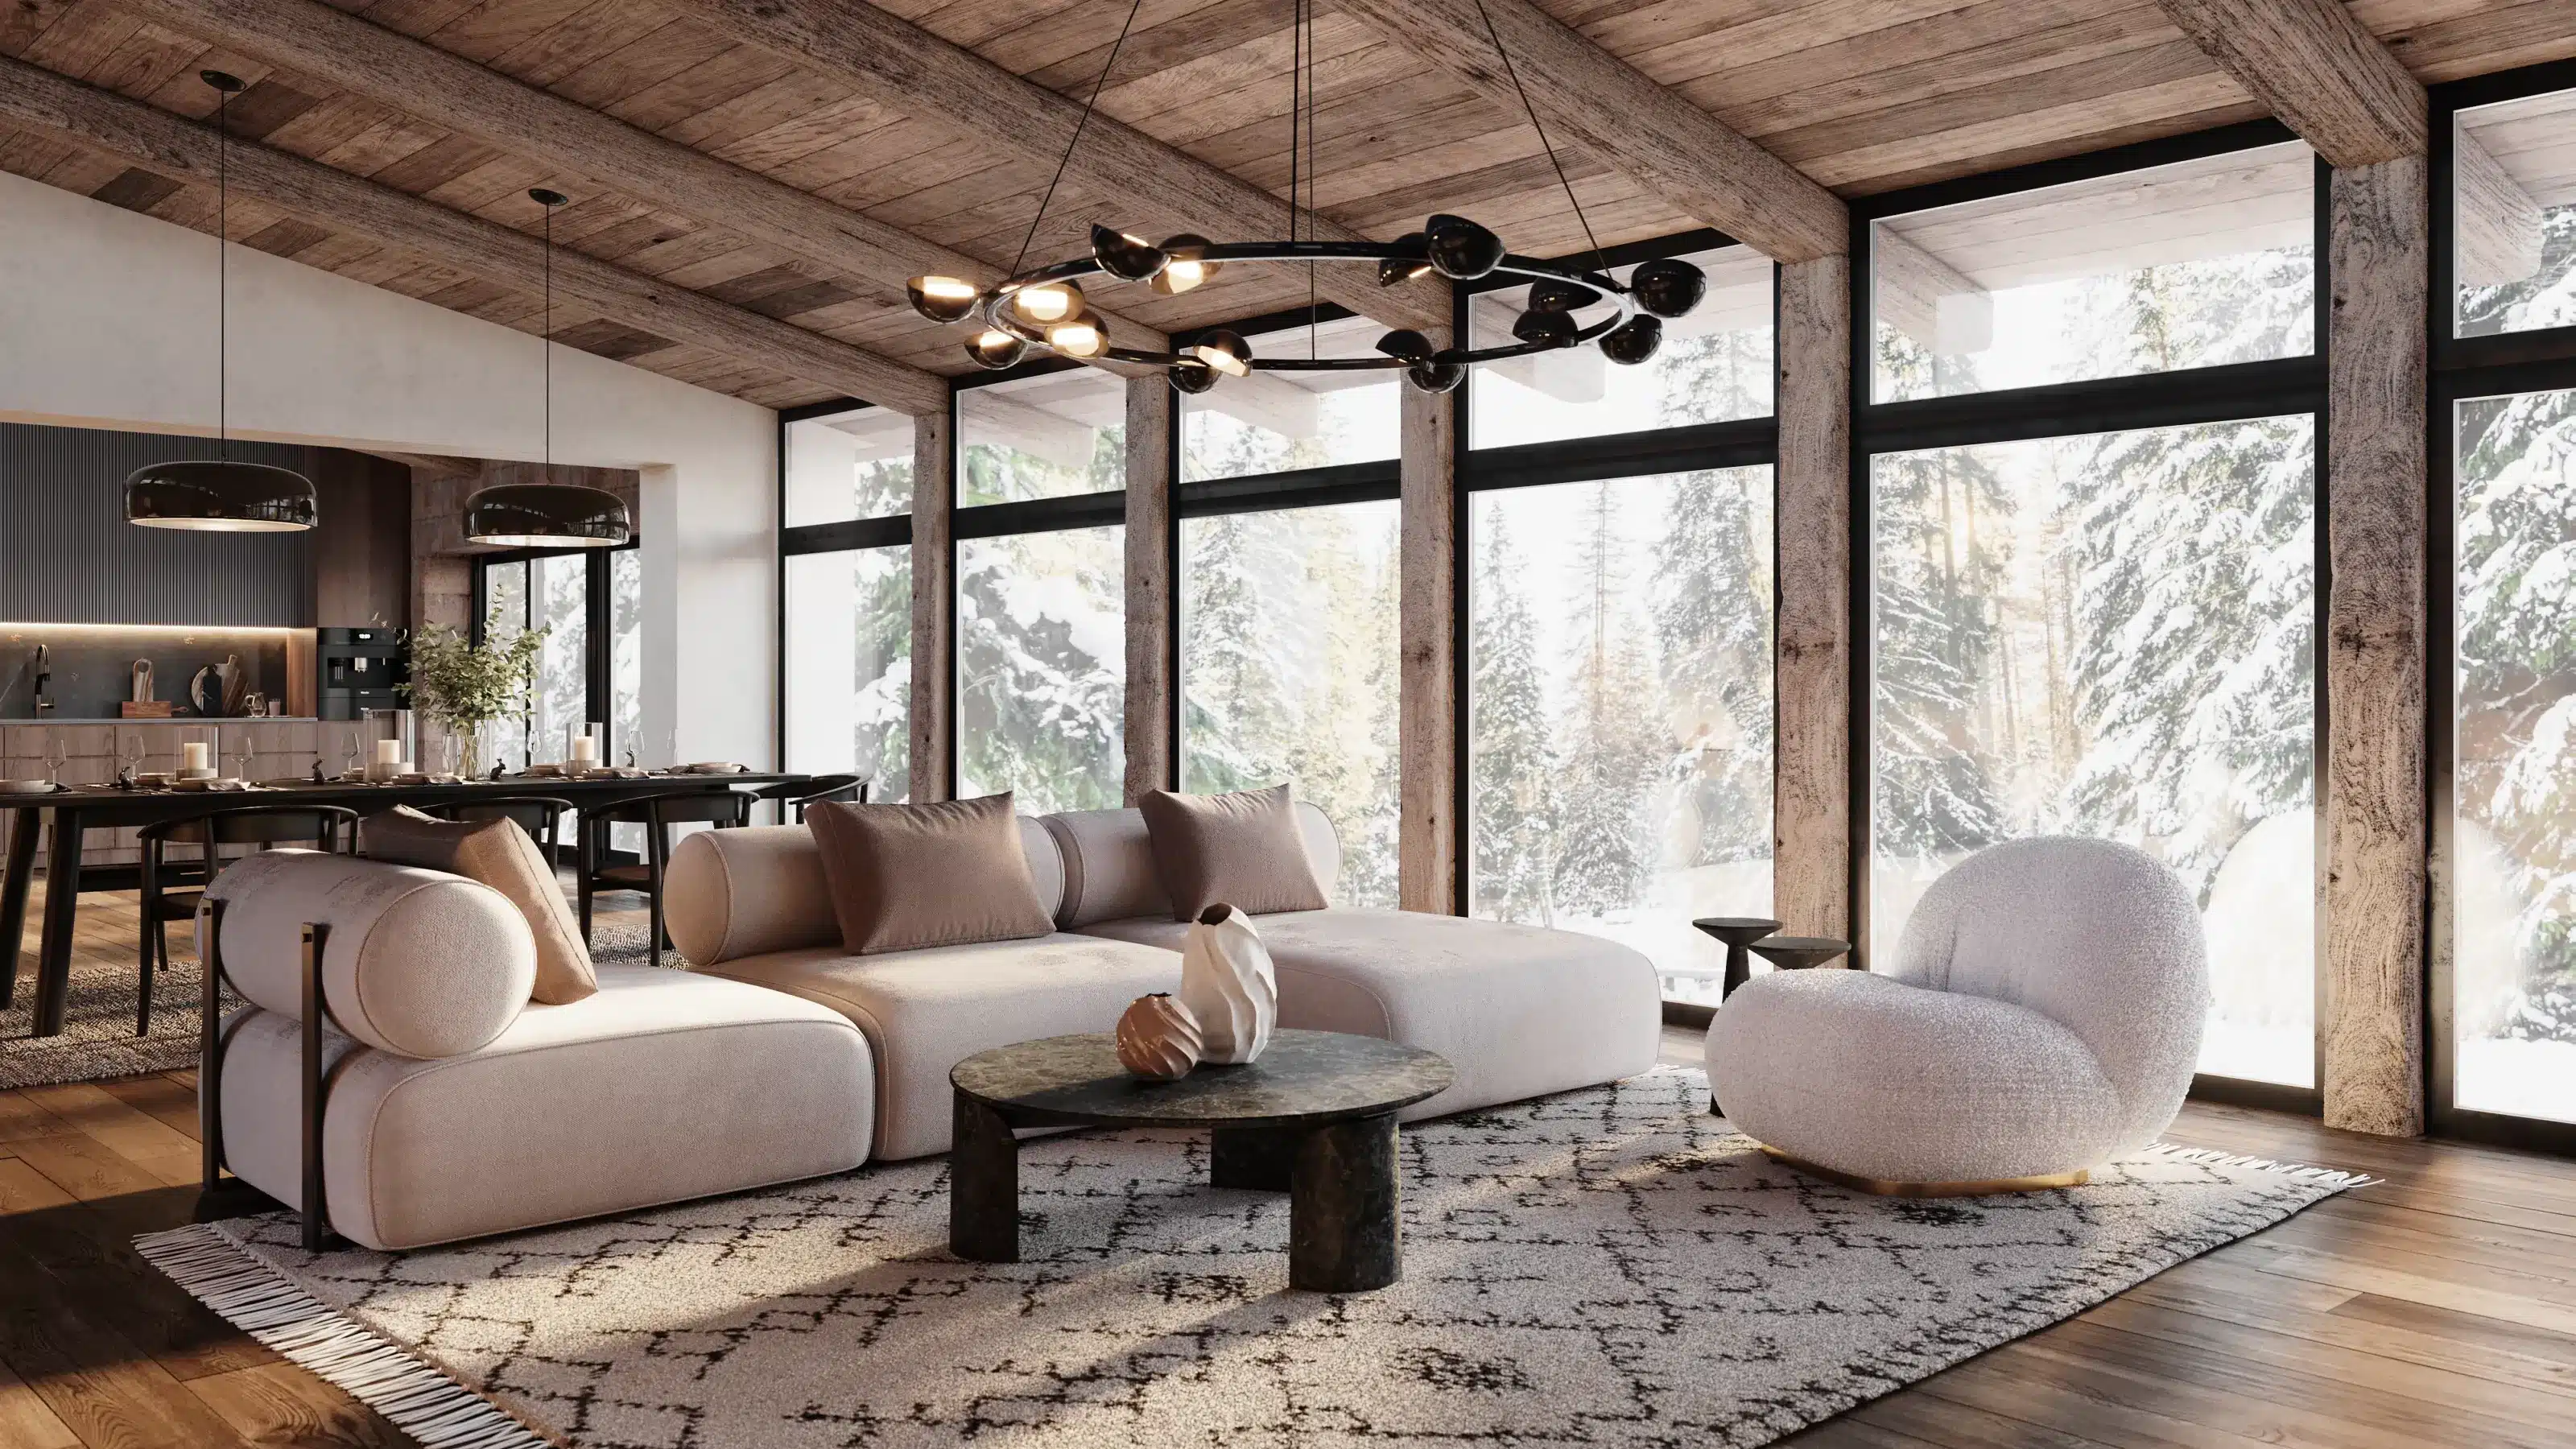
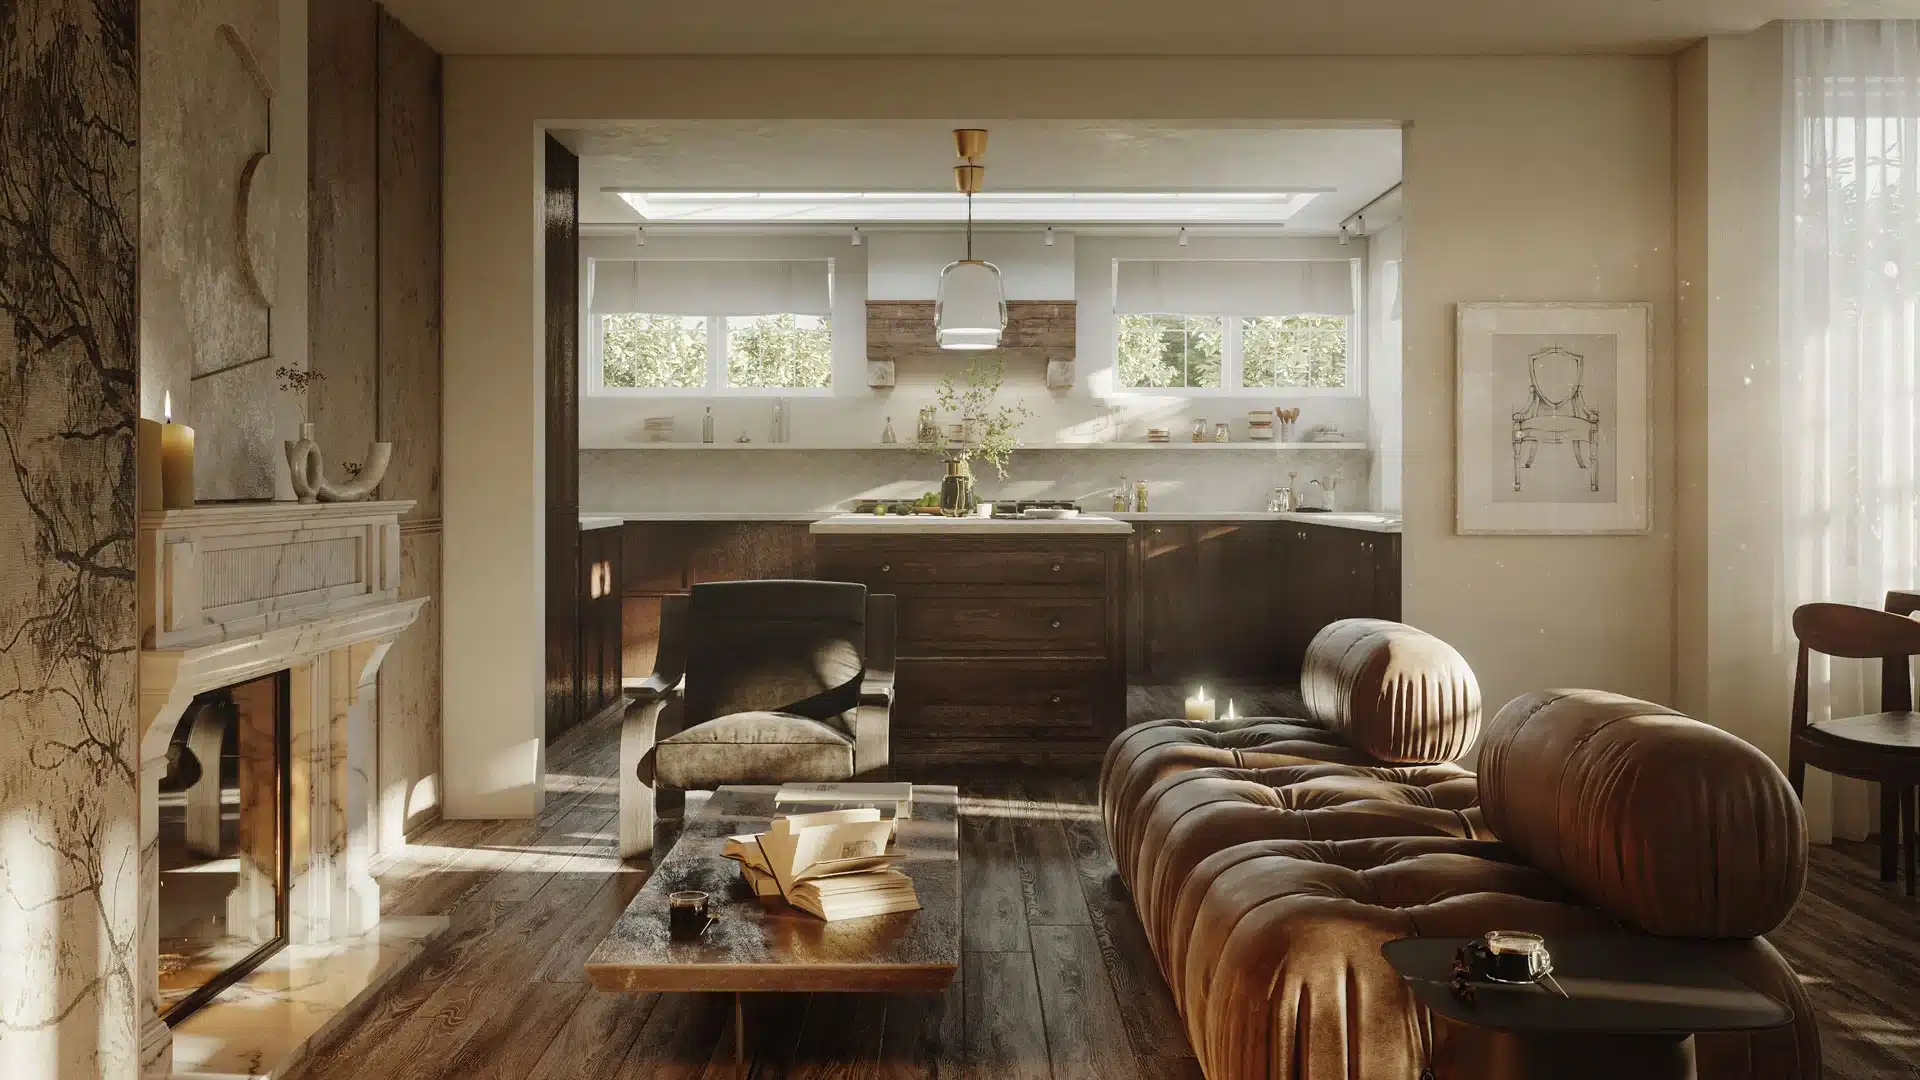
Living + Dining: Proportion Is Everything
We’ve all seen a beautiful sofa disappear in a high-ceiling room or a rug that’s a little too shy. A preview gives you permission to size up (or down):
- Rugs that actually anchor zones (front legs of seating on the rug is a great rule of thumb).
- Art + mirrors scaled to your wall (especially over mantels and consoles).
- Pendant height you can see—try 30″, 32″, and 34″ over the table and pick what feels right from every seat.
- Traffic flow that works for everyday life and hosting.
Curb Appeal: Day vs. Blue Hour
Exteriors live two lives: bright day and soft evening. Preview both:
- Front door color against your real siding/brick (sunlight can shift undertones).
- Cut-off sconces that glow warmly without shining into neighbors’ windows.
- Layered plant shapes that balance a tall facade.
- House numbers + mailbox placed to read from the street without shouting.
Ask for one daylight view and one blue-hour view—your entry should feel welcoming at both.
How To Give Feedback So Your Preview Gets Amazing, Fast
Treat it like a design chat, not a “spot the difference” game:
- Lead with feelings: “The island reads heavy—could we lighten the counter edge or add open shelves on one end?”
- Change one big thing per round: cabinet color or backsplash pattern, not both at once.
- Keep a decision log: a simple note with dates and choices helps you remember why you said “yes” to something.
Most rooms find clarity in 1–2 tight iterations when feedback is focused.
From picture to project: turning the preview into reality
A gorgeous render is step one; the magic is using it as a bridge to the build:
- Save detail crops (tile outside corners, trim terminations, mirror/sconce spacing) for installers.
- Export a plan view with centerlines and dimensions—no guessing about clearances or pendant spacing.
- Collect product links for everything visible (paint, pulls, fixtures) so the final space matches the look you chose.
If you’re hiring a contractor, bring the visuals to your kickoff. They cut down on “I thought you meant…” more than any mood board ever could.
Budget-Friendly Ways To Use 3D (Even for Small Tweaks)
- Paint + lighting refresh: Try your shortlist of colors with warm vs. cool bulbs; you’ll see why one shade wins at night.
- Rug + coffee table swap: Check rug size and table shape so the living room finally feels right.
- Entry upgrade: Test door color, hardware finish, and sconce style in one pass—instant curb-appeal boost.
- Gallery wall: Lay out frames at scale; decide spacing and heights before drilling a single hole.
Common Myths (and Gentler Truths)
- “I need to see it in person.” By then you’ve bought it, installed it, and maybe paid to remove it. Preview first—your wallet (and sanity) will thank you.
- “Renders are too perfect.” Ask for honest lighting and materials, not showroom glass. Realistic previews help you design for your home.
- “This is only for big renovations.” Even a paint + lighting + rug mini-makeover benefits from a quick 3D check—especially in small rooms where proportion does the talking.
A No-Overwhelm Way To Start (Today)
- Pick one space that’s nagging you (the kitchen corner, a tiny bath, a flat entry).
- Make your design packet (measurements, photos, inspiration).
- Ask for two versions: the safe choice and the bold one you secretly want.
- Live with both for a day—morning coffee, afternoon sun, evening lamps—and choose the version that makes you smile every time.
Design gets easier when you can try on ideas instead of guessing. Whether you DIY a simple model or collaborate with a pro, seeing the future version of your home replaces “What if…?” with “That’s it.” And that’s the most energizing place to begin any project.

Tommy Hardy, an alumnus of the Georgia Institute of Technology with a degree in Mechanical Engineering, has been a go-to figure in residential upkeep and innovation for over 18 years. His career commenced in a leading home appliance manufacturing company, where he mastered the intricacies of household systems. Joining our platform in 2020, Tommy quickly became a reader favorite for his practical and easy-to-follow guides. He took the helm of our DIY section in 2019, consistently delivering content that empowers homeowners. Beyond his professional pursuits, Tommy is a passionate gardener and enjoys woodworking, skills enhancing his hands-on approach to home care.