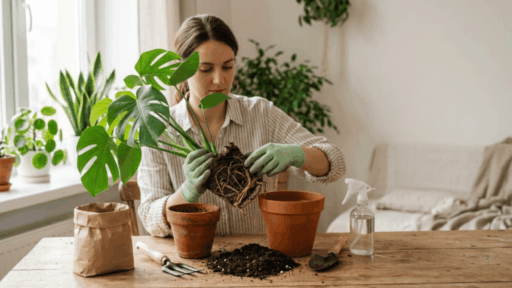
Learning how to start seeds indoors is one of the most satisfying things you can do as a gardener. It gives your plants a head start on the growing season, and honestly, it saves you a fair bit of money too.
The best part? You don’t need a fancy greenhouse or complicated setup to make it work. Just a few affordable basics, the right timing, and a little patience.
If you’re a first-timer or someone who’s tried before and hit a few bumps, this blog walks you through the whole process in simple, practical steps that actually get results.
Why Starting Seeds Indoors Early Gives Your Plants a Head Start?
Starting seeds indoors early gives you access to a much wider range of plants than what nurseries typically offer. Instead of being limited to a few common options, you can grow unique, heirloom, or hard-to-find varieties.
It also allows you to control the growing environment during the early stages. Young plants stay protected from unpredictable weather, helping them grow stronger and healthier before being moved outside.
Another major benefit is extending your growing season and saving money at the same time. Starting early ensures crops have enough time to mature, while seeds cost far less than buying multiple nursery plants.
How to Time Your Seed Starting for the Best Results?
Starting the right seeds at the right time makes a big difference in how well your plants grow. Not all seeds benefit from indoor starting, so choosing wisely is key.
- Not All Seeds Need Indoor Starting: Some crops grow better when sown directly outdoors rather than being transplanted.
- Direct Sow Crops: Cucumbers, melons, and pumpkins are best planted directly in the ground.
- Best for Indoor Start: Warm-weather crops such as tomatoes, peppers, broccoli, cauliflower, and onions benefit from an early indoor start.
- Timing Is Important: Each seed has a specific planting window based on your last frost date.
- Long Lead Crops: Onions need about 10 weeks before the last frost to grow properly.
- Moderate Timing Crops: Tomatoes and peppers typically need 4 to 8 weeks of indoor growth before transplanting.
Tools and Materials Required to Grow Seeds Indoors
Before you begin, gather everything you need so the process flows smoothly from start to finish.
| Item | Purpose |
|---|---|
| Seed trays or containers | Hold soil and seeds |
| Bottom tray (no holes) | Helps with bottom watering |
| Seed-starting mix | Light soil for proper growth |
| Seeds (vegetables, herbs, or flowers) | Plants you want to grow |
| Water | Keeps soil moist for germination |
| Pencil or stick | Makes holes for planting |
| Labels (popsicle sticks) | Identifies each plant |
| Humidity dome / plastic cover | Traps moisture for germination |
| Heat mat (optional) | Speeds up sprouting |
| Grow lights | Provides light for seedlings |
How to Start Seeds Indoors: Step-by-Step
Great, now that you know exactly what you need, let’s get our hands a little dirty and walk through the process step by step
Step 1: Prepare and Moisten the Soil Properly
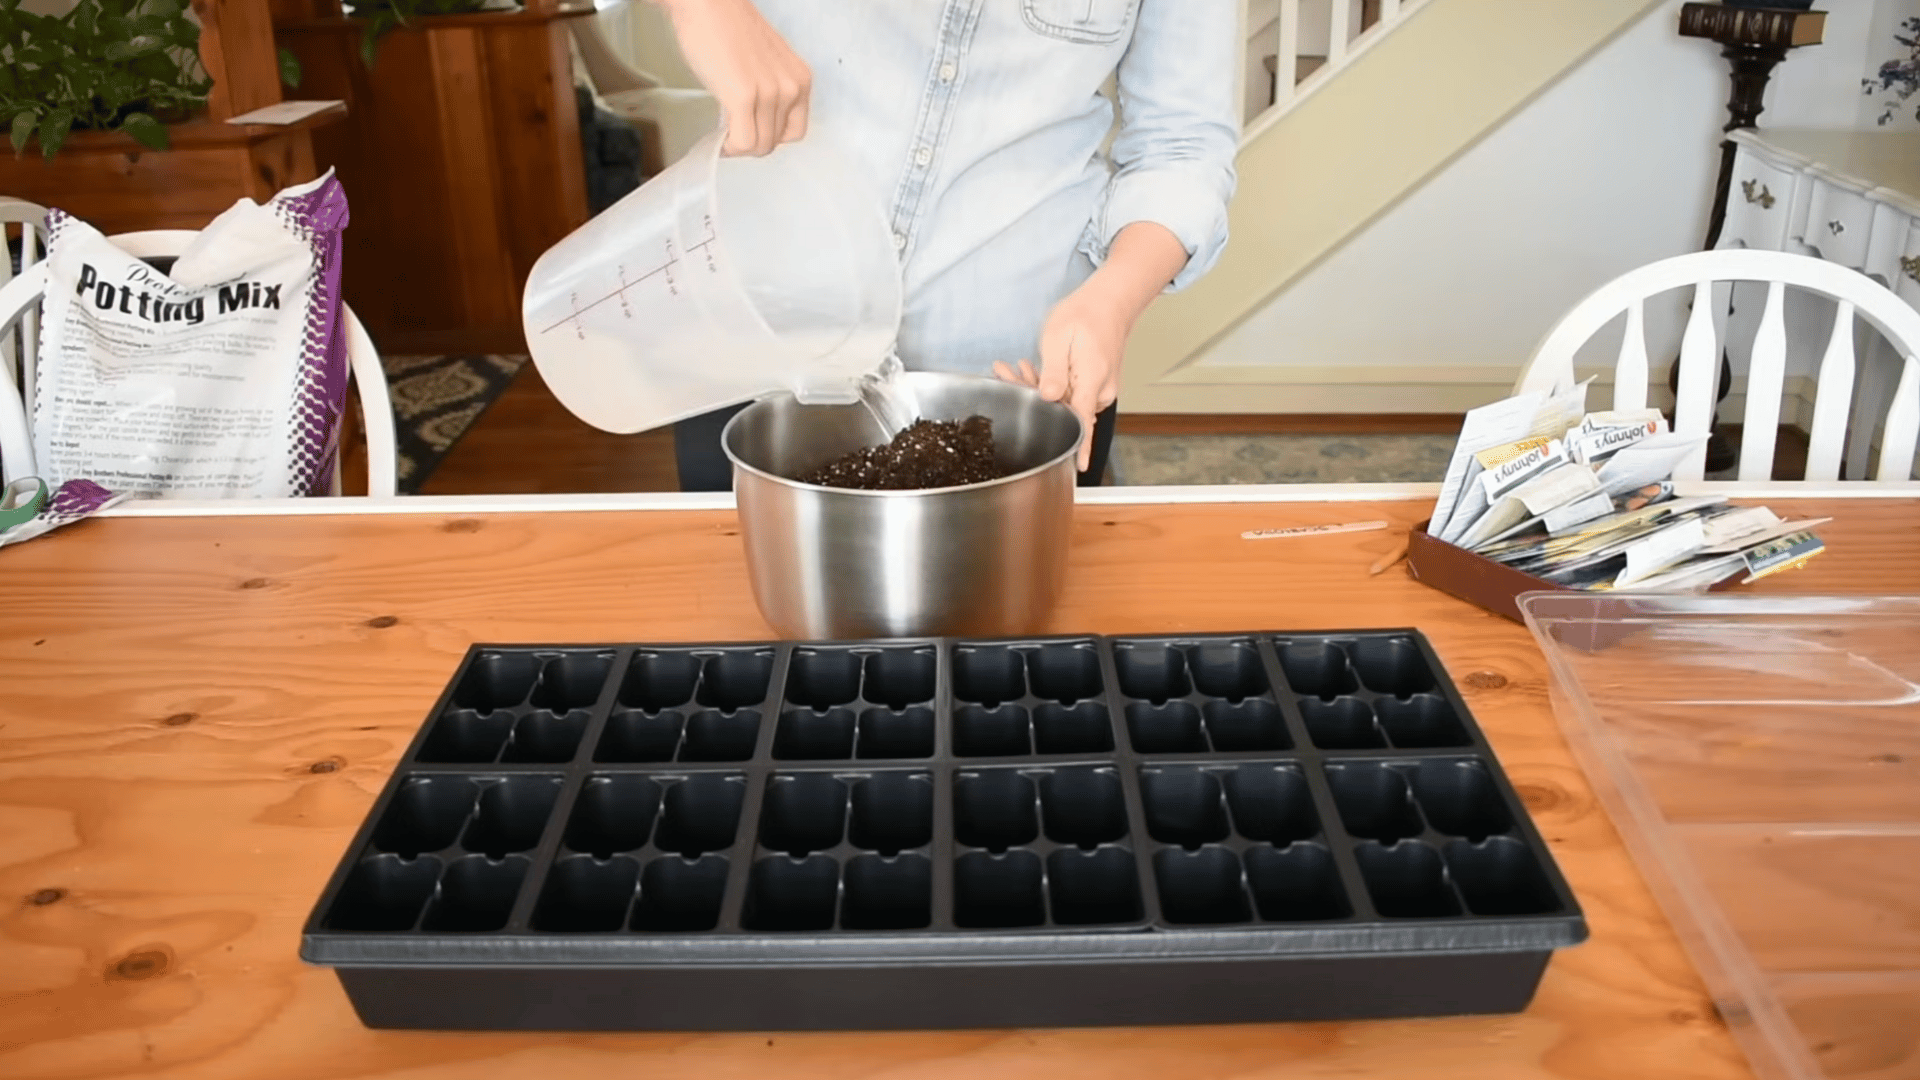
Start by placing your seed-starting mix in a bowl or bucket. Slowly add water and mix it with your hands until the texture feels evenly moist.
The soil should hold together when pressed but not release excess water. This balance is important because seeds need moisture to sprout, but too much water can lead to rot.
Taking a little extra time here creates the right base for healthy germination.
Step 2: Fill Containers and Remove Air Pockets
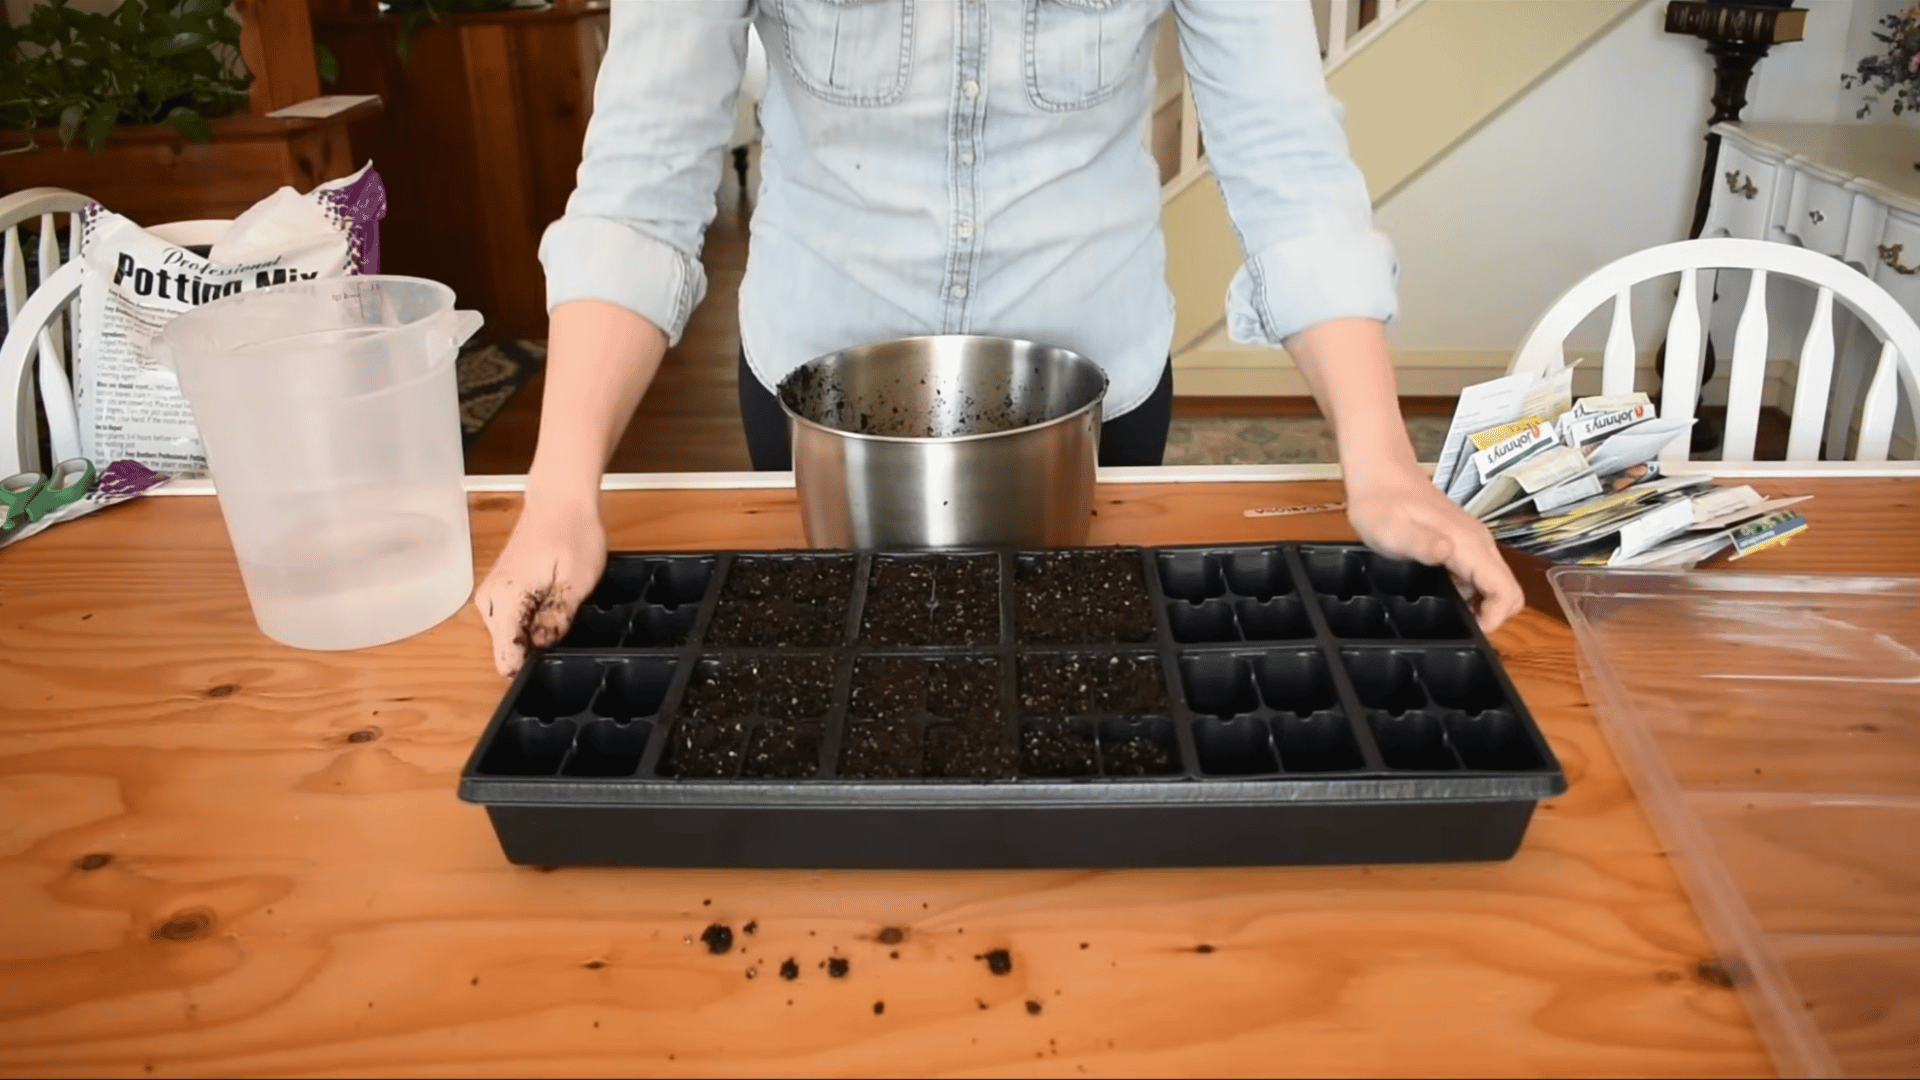
Fill your trays or containers all the way to the top with the prepared soil.
Gently tap them on a flat surface to settle the soil and remove hidden air pockets. If the soil level drops, add a bit more to keep it even.
Avoid pressing the soil too firmly, as roots need space to grow. A well-filled, well-balanced container helps maintain moisture and gives seedlings a stable start.
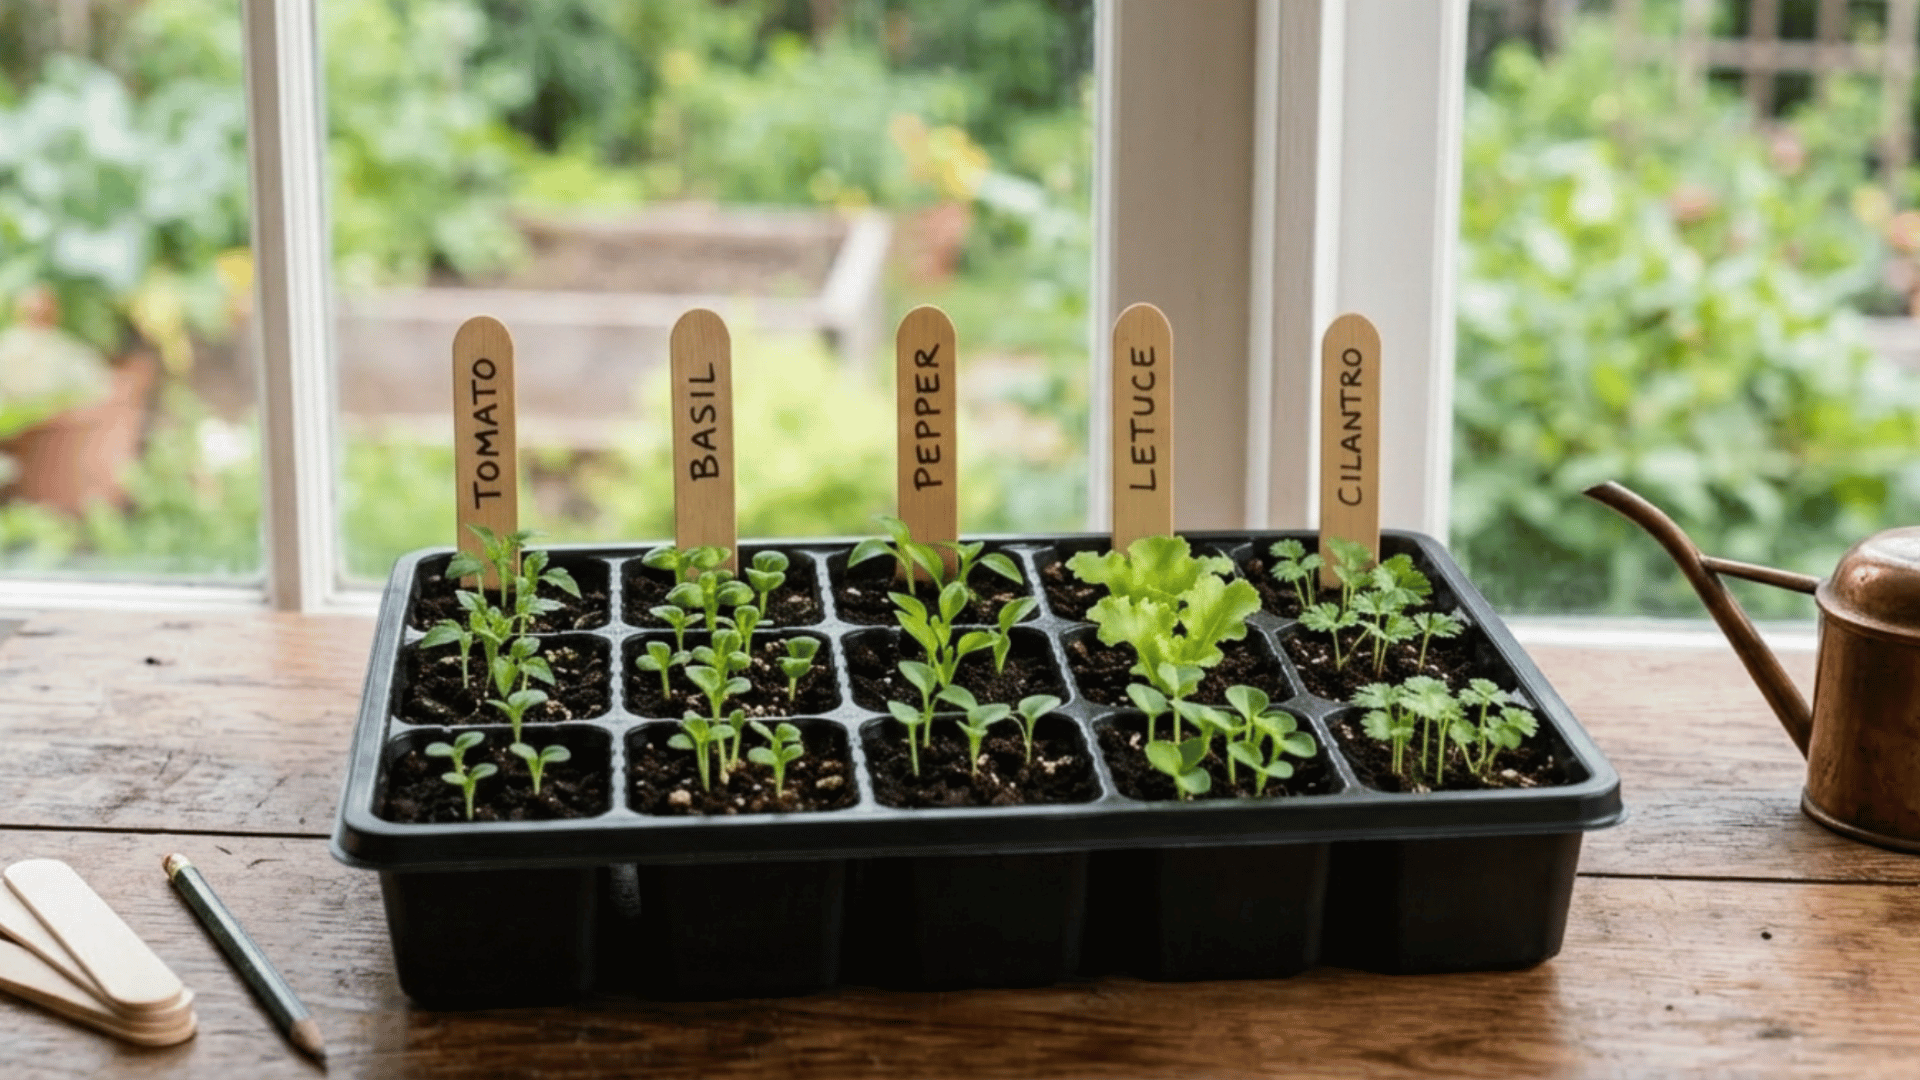
Step 3: Label Your Seeds Before Planting

Before placing any seeds, label each container clearly. This step often gets skipped, but it becomes very helpful once seedlings begin to grow.
Many plants look similar in the early stages, making it easy to mix them up. Using simple labels like popsicle sticks keeps everything organized and helps track growth.
It also saves time later when you’re caring for different types of plants.
Step 4: Plant Seeds at the Correct Depth
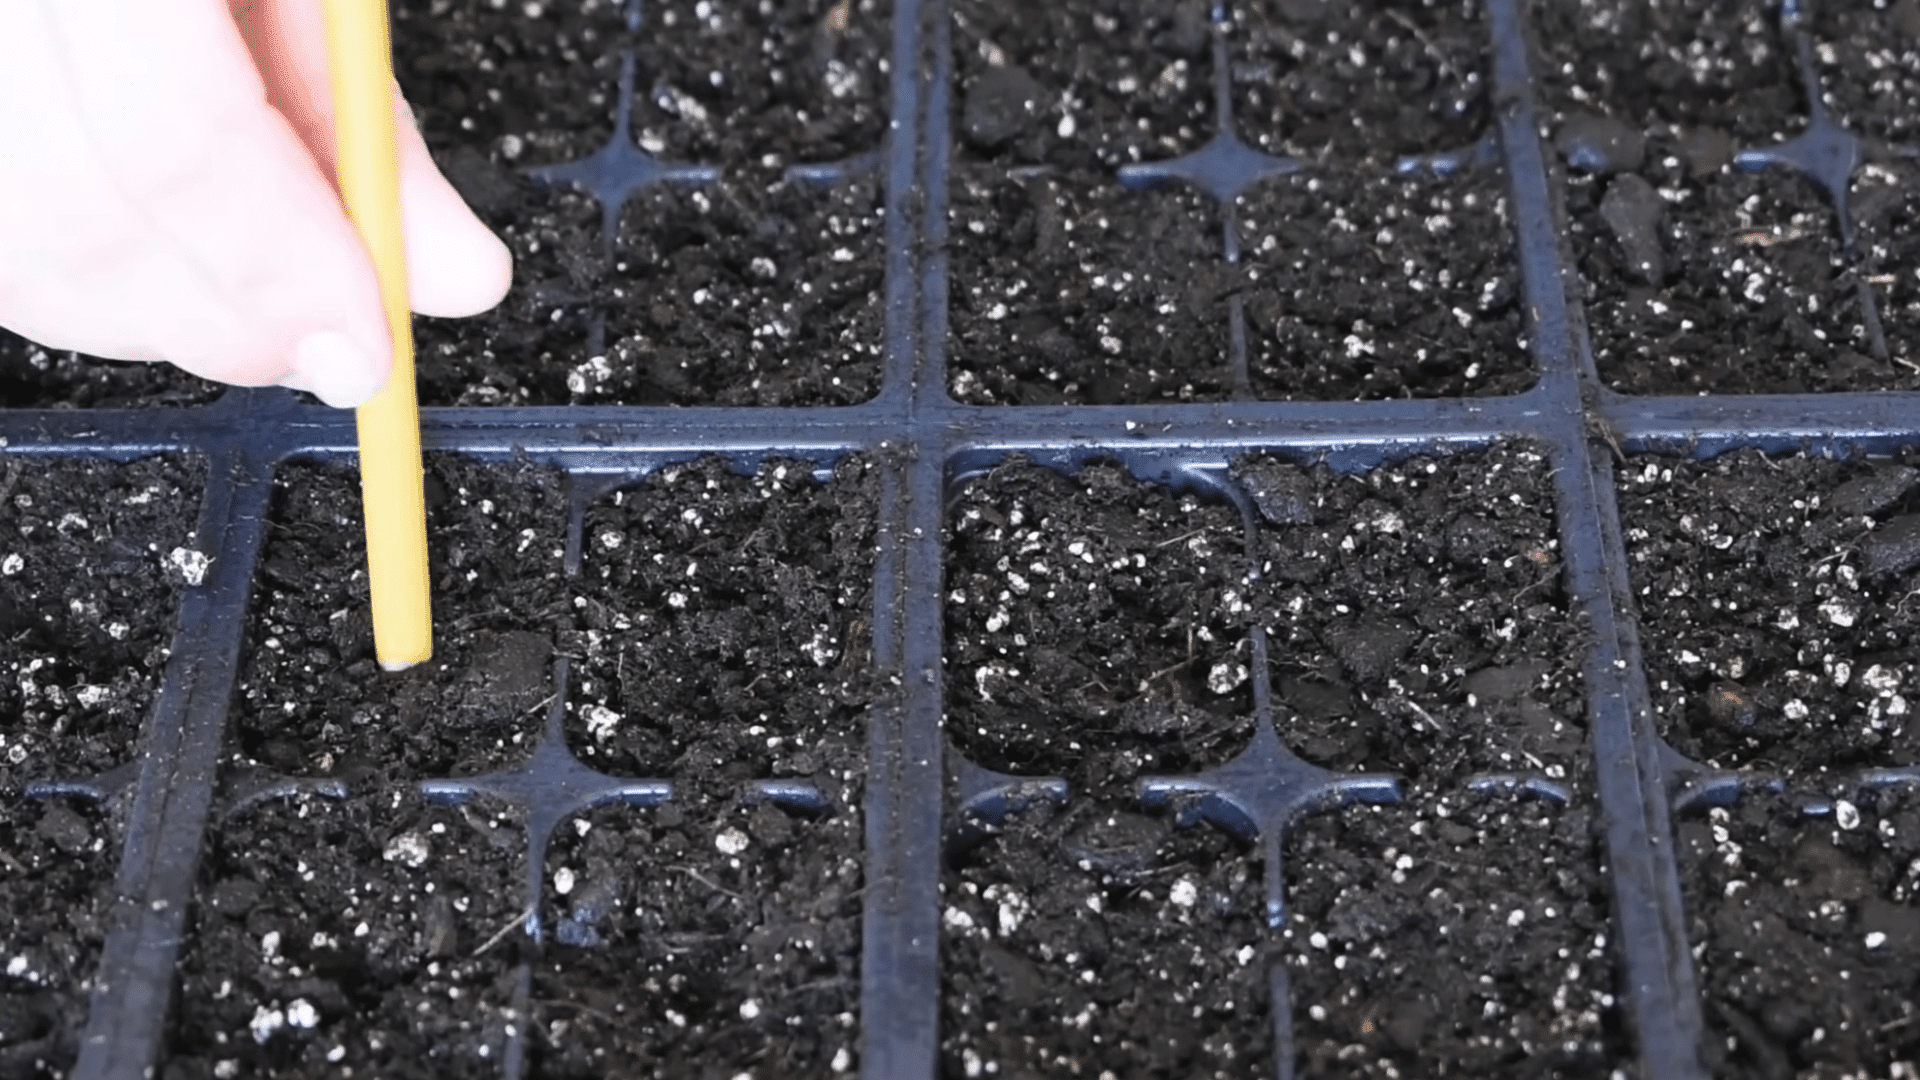
Make small holes in the soil using a pencil or similar tool, then place one or two seeds in each spot. Cover them lightly if required. Some seeds need to be buried, others should stay on the surface.
Always check the seed packet instructions, as depth plays a big role in successful germination. Planting too deep or too shallow can affect how well seeds sprout.
Step 5: Create a Warm and Humid Environment
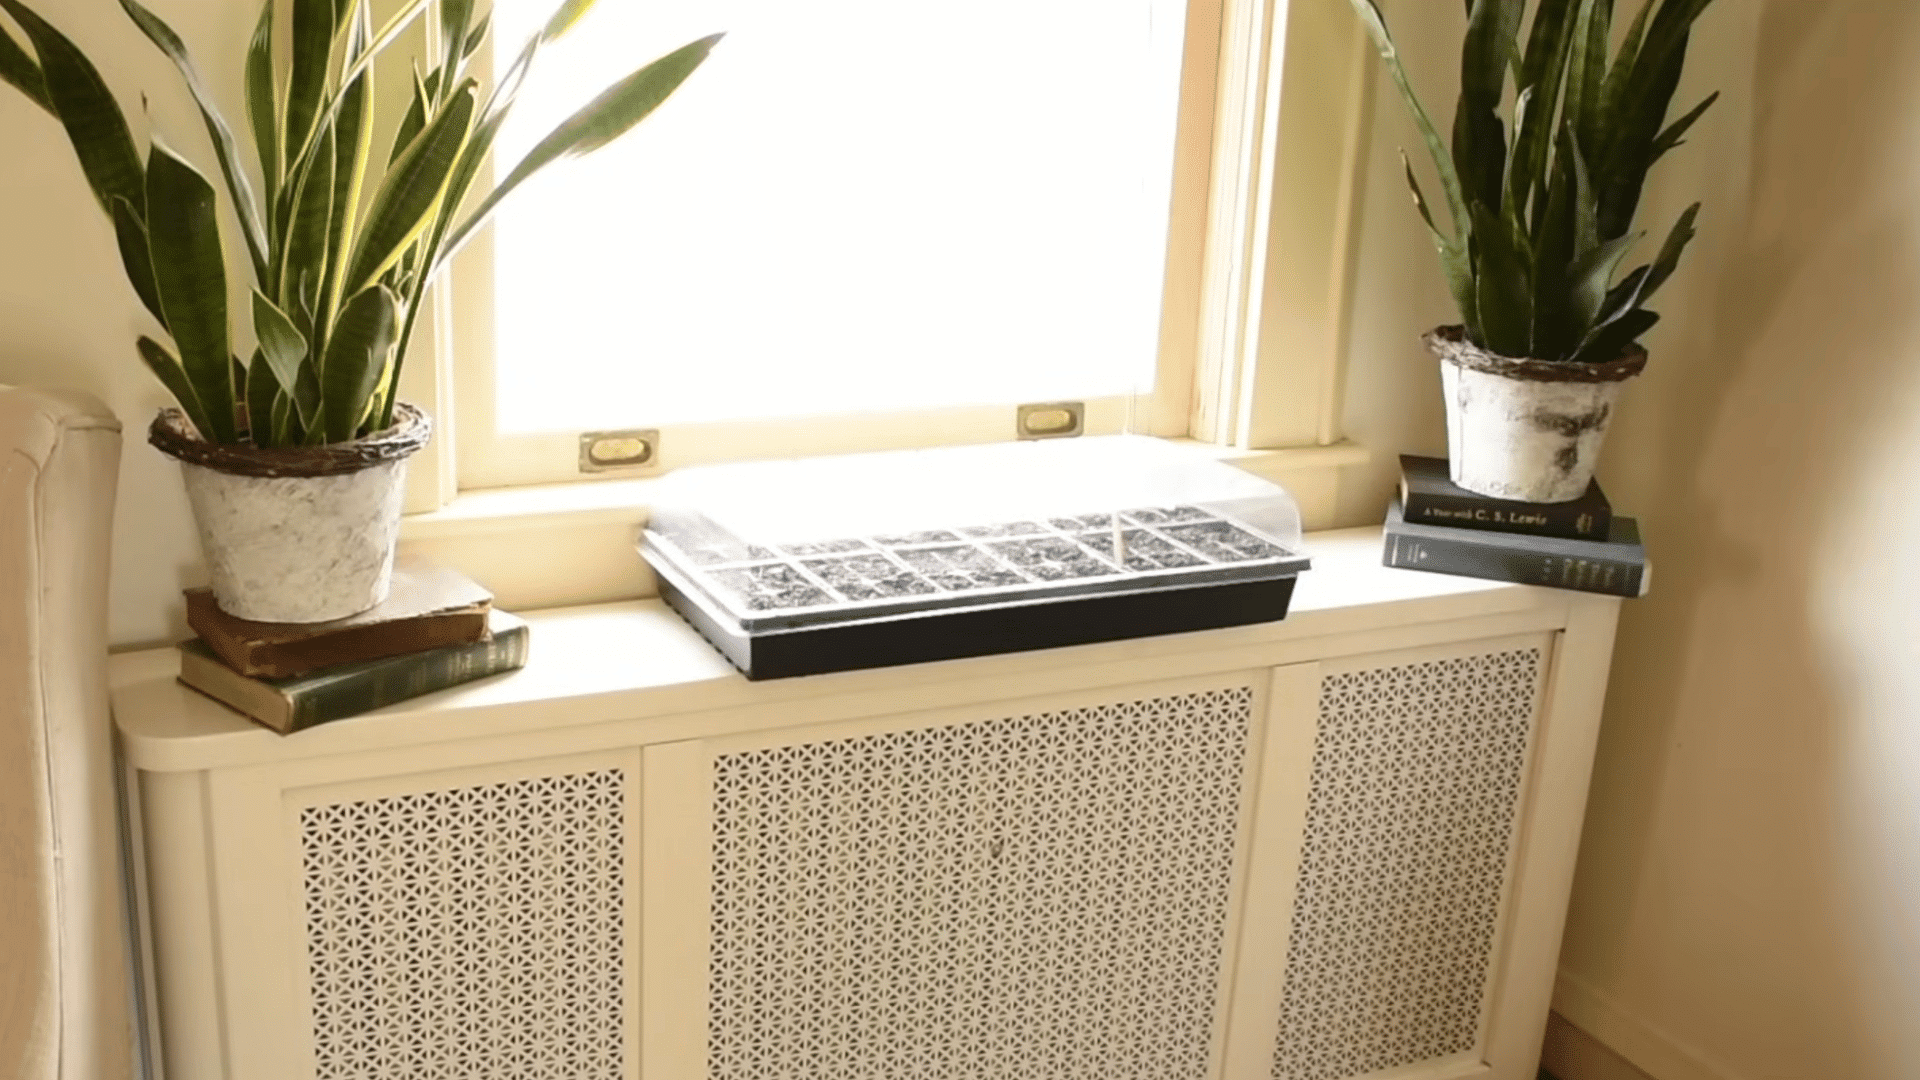
Cover your tray with a humidity dome or plastic wrap to lock in moisture.
Place it in a warm area of your home, as seeds need consistent warmth to germinate well. Around 70°F (21°C) works best for most seeds.
A warm surface or heat mat can help if your home feels cool. This step creates a stable environment that encourages faster and more even sprouting.
Step 6: Move Seedlings to Light After Sprouting

Check your trays daily. Once about half the seeds have sprouted, remove the cover and move them to a bright light source. Keep the light close to the plants so they grow strong rather than stretch.
Keep the lights 2–3 inches above the seedlings and adjust as the plants grow.
Position the lights 2–3 inches above the leaf canopy and raise them as the plants grow. Good lighting is one of the most important factors for healthy, sturdy plants.
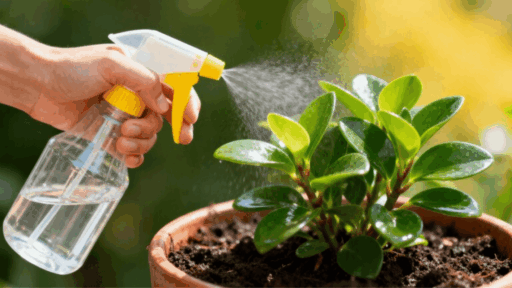
Step 7: Water Carefully
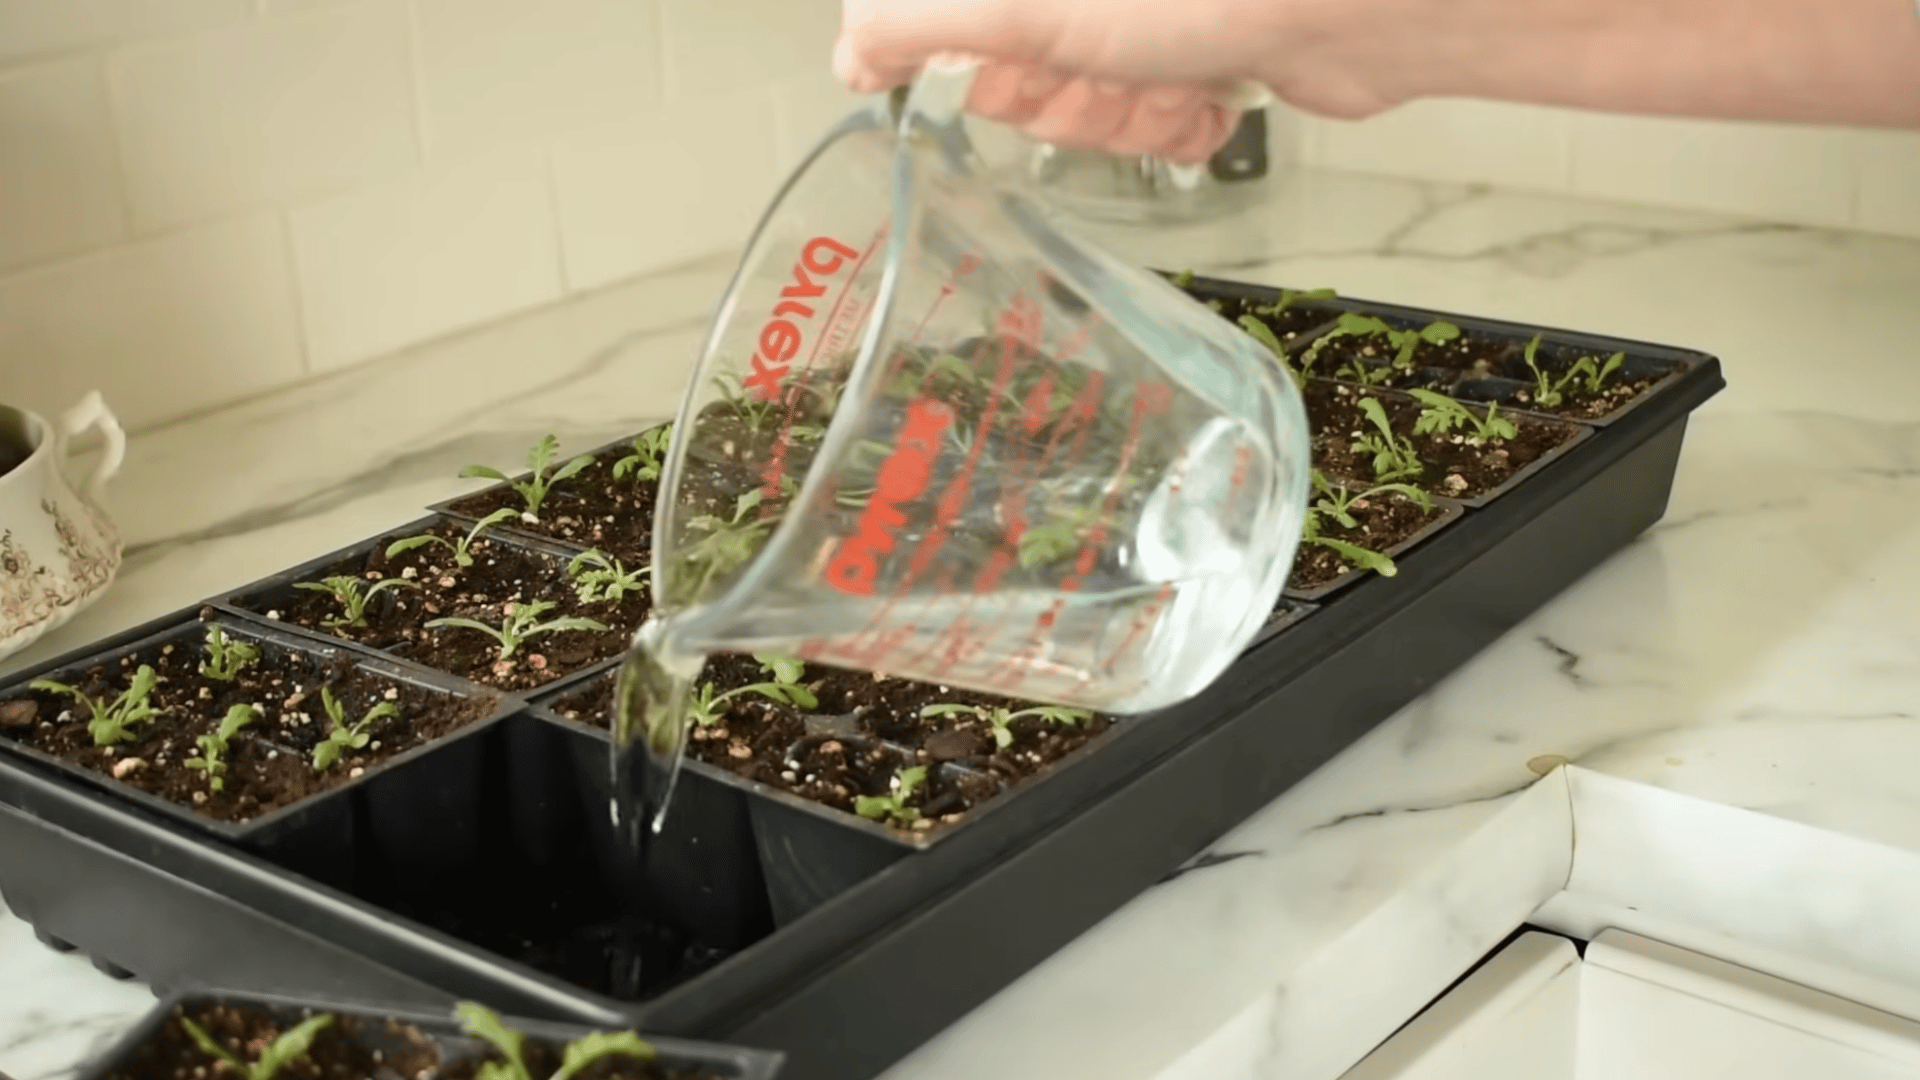
For watering, pour ½ to 1 cup of water directly into the bottom tray and allow the cells to wick it upward. After 15–20 minutes, pour out any remaining water to prevent soggy conditions.
Keep the soil consistently moist, not overly wet. Seedlings should never sit in standing water for long, as this encourages root rot and disease.
Step 8: Harden Off Before Transplanting Outdoors
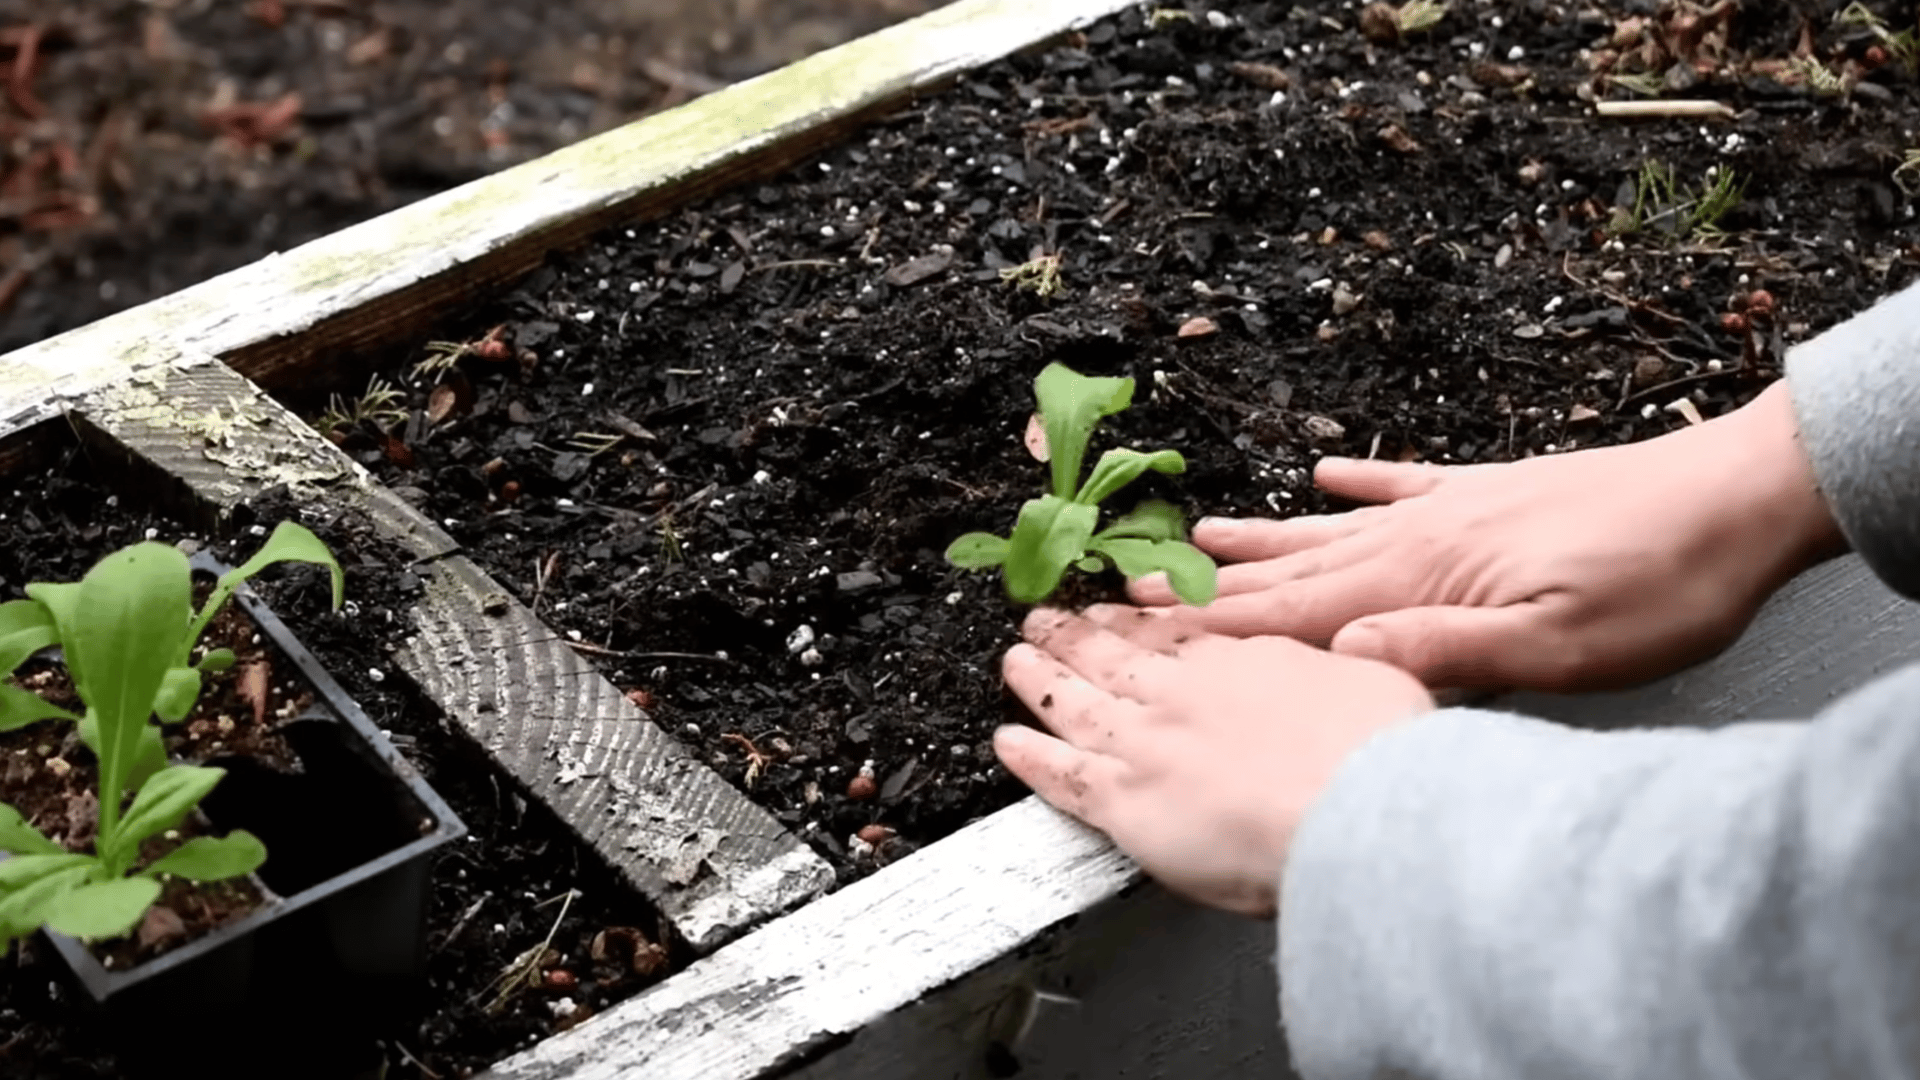
Never move seedlings from indoors straight into the garden; the shock can set them back significantly. Instead, harden them off gradually over 10–12 days:
- Days 1–2: Place on a sheltered porch for 2 hours, then bring back inside.
- Days 3–5: Increase to 3–4 hours with gentle sun exposure.
- Days 6–10: Extend daily outdoor time, introducing more sun and wind each day.
By the end, your seedlings will be strong, stocky, and truly ready for the garden.
For visual guidance, watch the video below:
Quick Tips for Starting Seeds Indoors
Starting seeds indoors becomes much easier with a few smart habits. These simple tips help improve success without adding extra cost or effort.
- Use one warm and one cool fluorescent bulb together for a balanced light spectrum without buying expensive grow lights.
- Wash and reuse old trays, but clean them first using a 10% bleach solution to remove harmful pathogens.
- No heat mat? Place trays on top of a refrigerator or near a radiator for steady warmth.
- Reuse kitchen containers, such as yogurt cups or egg cartons, as budget-friendly seed starters.
- Use basic pest prevention measures, such as netting, fleece, or simple slug traps, to protect young plants.
- Don’t leave the humidity dome on too long; once about 50% of the seeds sprout, remove it right away to prevent damping off.
Final Thoughts
Learning how to start seeds indoors is really just about building a simple routine and sticking to it. The first tray might feel uncertain, and that’s completely normal.
With every season, you’ll get a better feel for timing, watering, and what your seedlings actually need. It rewards patience more than perfection.
And there’s something genuinely satisfying about growing a plant from scratch, on your own terms, without depending on what the nursery stocks that week.
Start small, keep it simple, and let the results speak for themselves. Your garden this season could look very different from the last season.

With a Master’s in Landscape Architecture from the University of Virginia, Sophia Stephenson has dedicated the last 20 years to creating and maintaining vibrant outdoor spaces. Her professional journey started in landscape design, where she gained a reputation for innovative and sustainable approaches. Sophia became a part of our editorial team as a freelancer in 2019, offering a fresh perspective on outdoor living. Since 2020, she has been the chief for our outdoor design content, blending aesthetic appeal with environmental stewardship. In her leisure time, Sophia is a keen photographer, capturing the beauty of natural landscapes, a hobby that complements her professional expertise.