A plant that has stopped growing or looks cramped in its pot is sending a clear signal that it needs more space.
Repotting plants is the process of moving a plant into a larger container with fresh soil so the roots can spread properly.
It is one of the most effective things that can be done to keep a plant healthy over the long term. Knowing how to repot a plant correctly makes the process less stressful for both the plant and the person doing it.
This blog covers every step in a clear and beginner-friendly way so the job gets done right the first time.
Benefits of Repotting Plants
Repotting gives your plant more space, fresh nutrients, and better growing conditions. Over time, plants outgrow their pots, and the soil loses its ability to support healthy growth.
When you repot a plant, you provide fresh soil that is rich in nutrients. This helps roots absorb water and minerals more effectively, which supports stronger growth and healthier leaves.
It also prevents roots from becoming crowded or “root-bound,” which can slow down growth. Overall, repotting helps your plant grow faster, stay strong, and live longer.
Tools and Materials Required
Gathering everything before starting makes the repotting process smoother and avoids any interruptions once the plant is out of its pot.
| Item | Purpose |
|---|---|
| New Pot (2–4 inches wider) | Gives roots more space to grow |
| Fresh Potting Soil | Provides new nutrients |
| Old Plant | The plant is being repotted |
| Small Trowel or Spoon | Helps add and adjust soil |
| Water | Helps settle soil and hydrate roots |
| Gloves (optional) | Keeps hands clean |
How to Repot a Plant Properly?
Following the right steps whenrepotting plants makes the process simple and reduces the risk of damaging the plant during the move.
Step 1: Choose the Right Pot
Start by checking if the plant actually needs repotting before doing anything else.
Roots coming out of the drainage holes, tightly packed soil, and a plant that looks too large for its current container are all clear signs that a move is needed.
Pick a new pot that is 2 to 4 inches wider than the current one to give the roots enough room without overwhelming them.
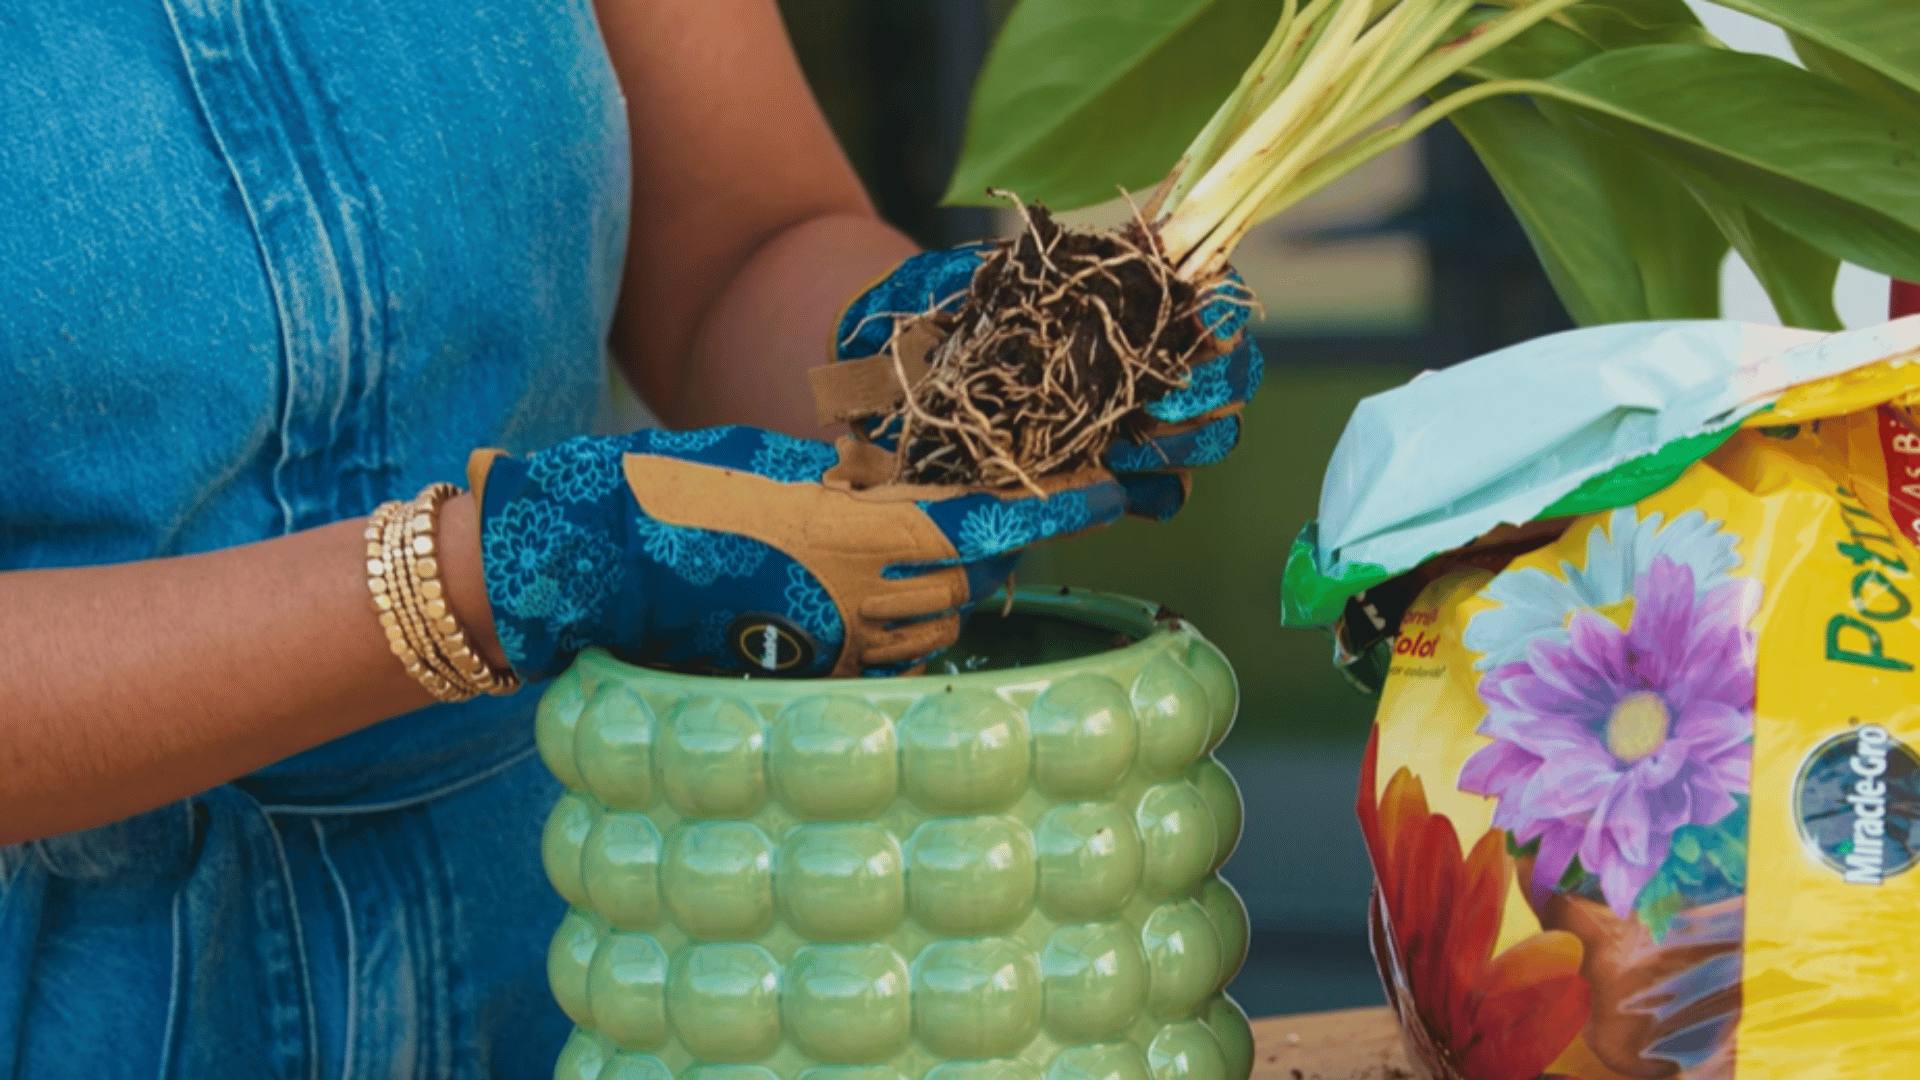
Step 2: Prepare the New Pot with Soil
Before placing the plant, add a base layer of fresh potting soil to the bottom of the new pot.
This layer helps position the plant at the correct height so the stem does not end up buried too deeply once the surrounding soil is added.
Check that the new pot has proper drainage holes before adding any soil, as a pot without drainage will cause water to collect at the bottom and damage the roots over time.
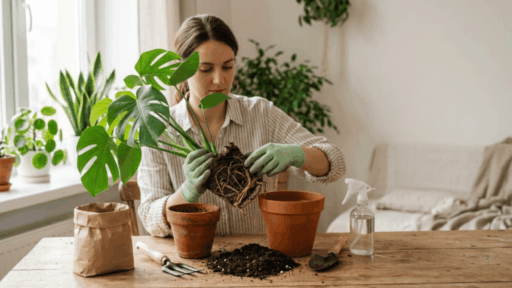
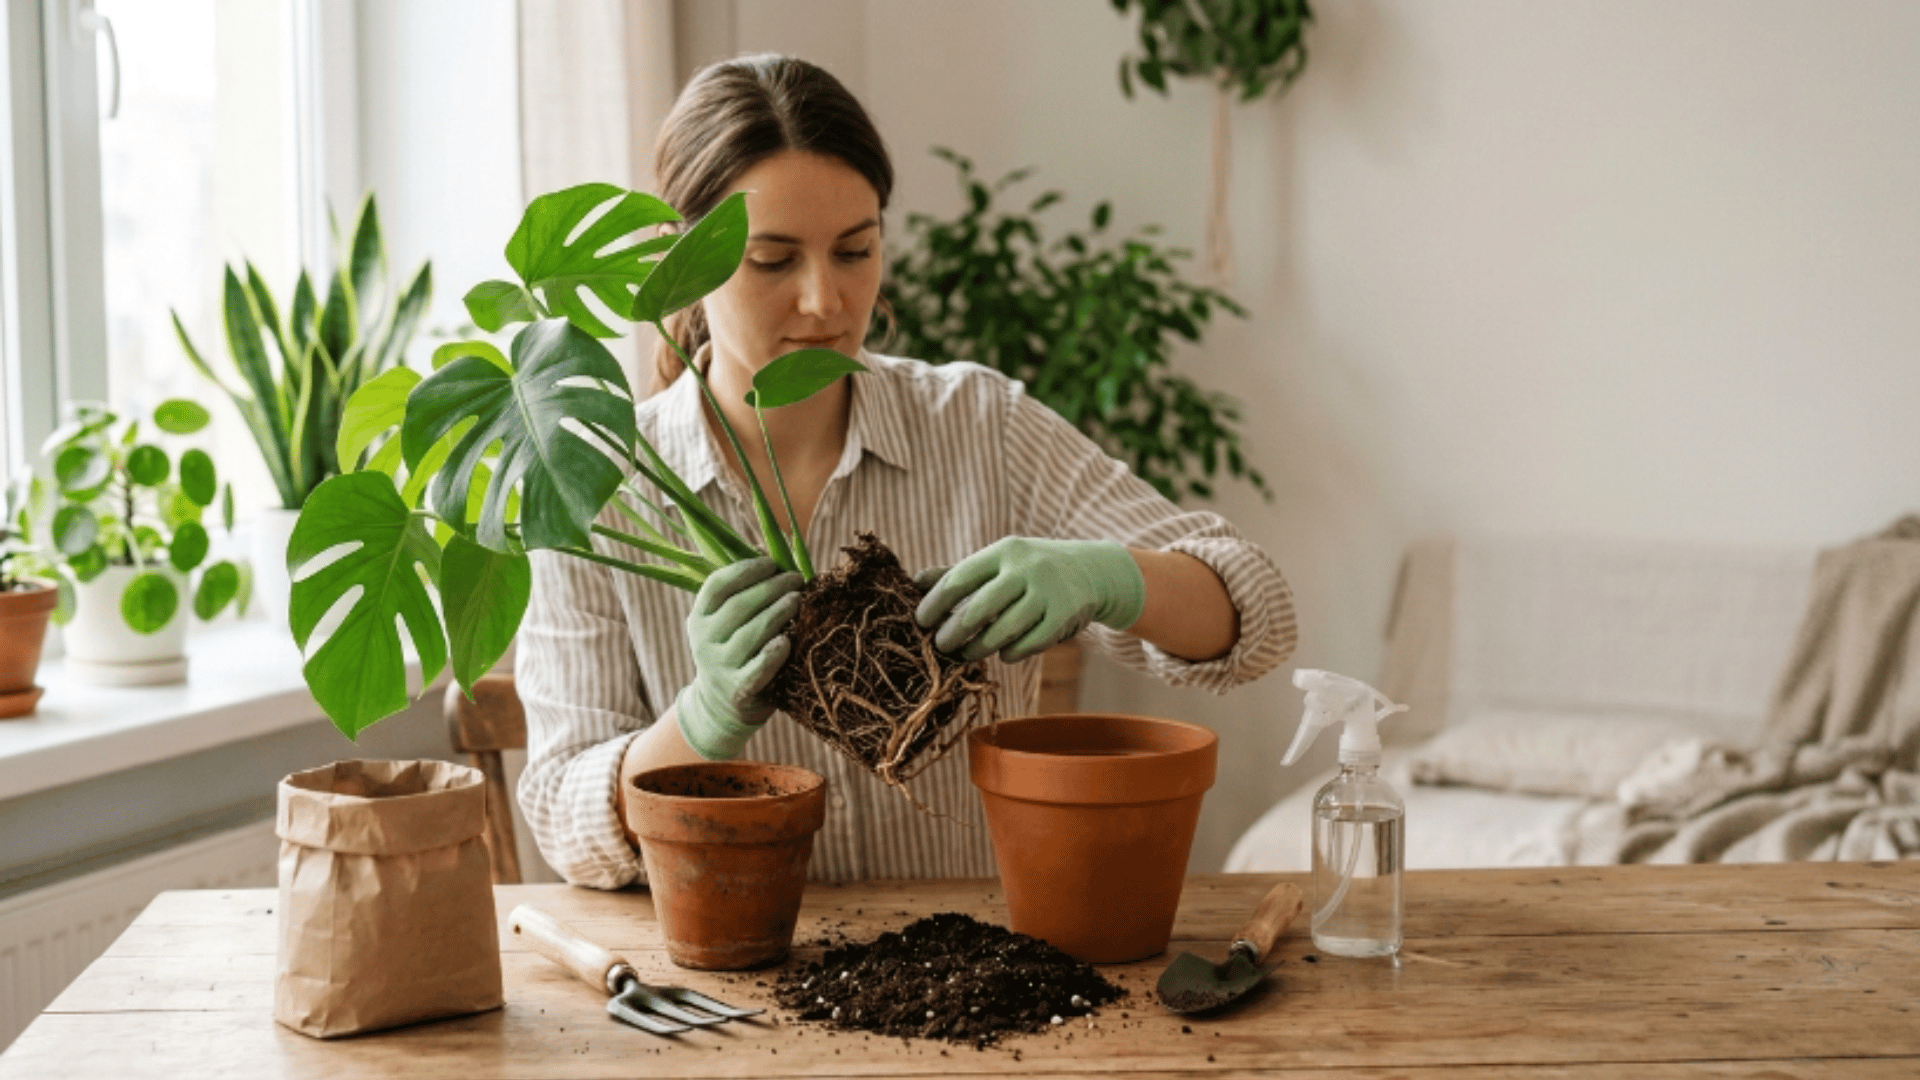
Step 3: Remove the Plant Gently
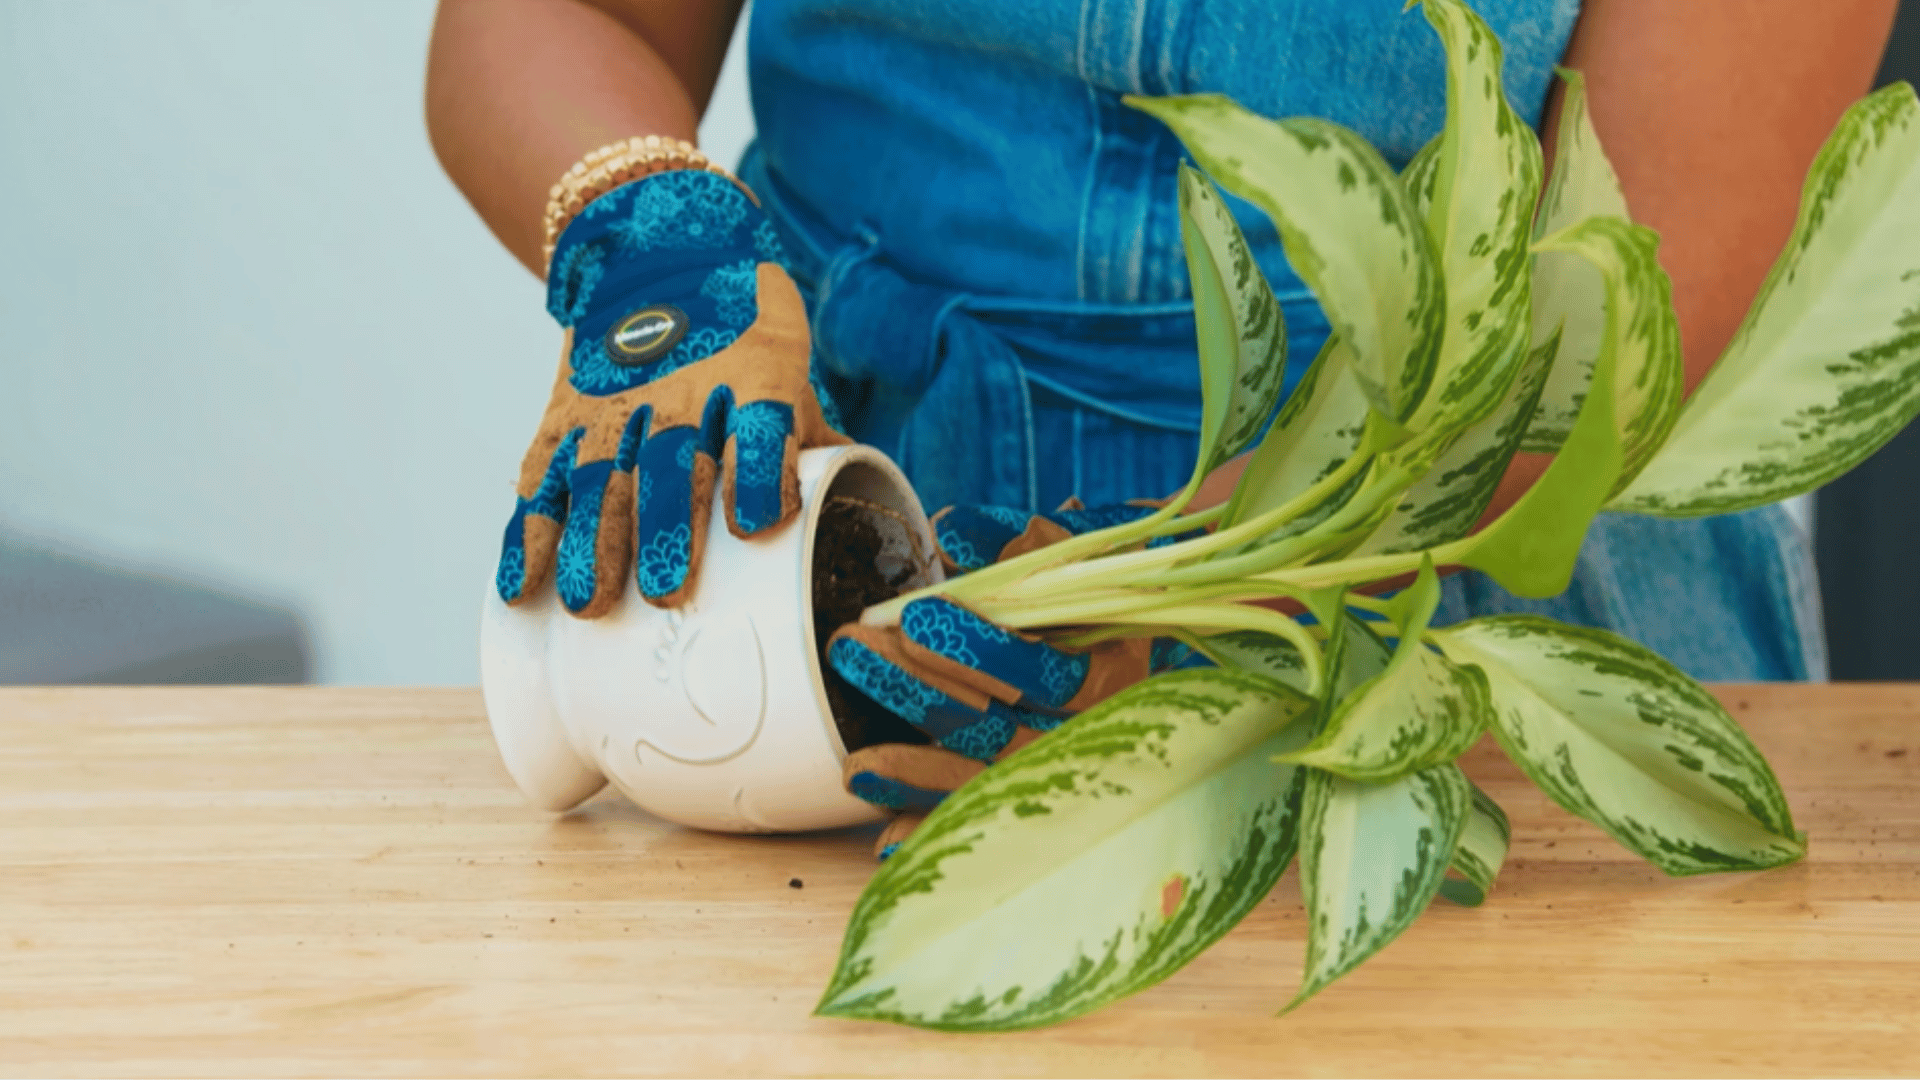
Turn the plant sideways and carefully slide it out of the existing pot without pulling at the stem. Hold the plant at the base rather than the stem to avoid putting pressure on the most fragile part of the structure.
The goal throughout this step is to remove the plant cleanly without disturbing or breaking the root system.
Step 4: Loosen the Roots
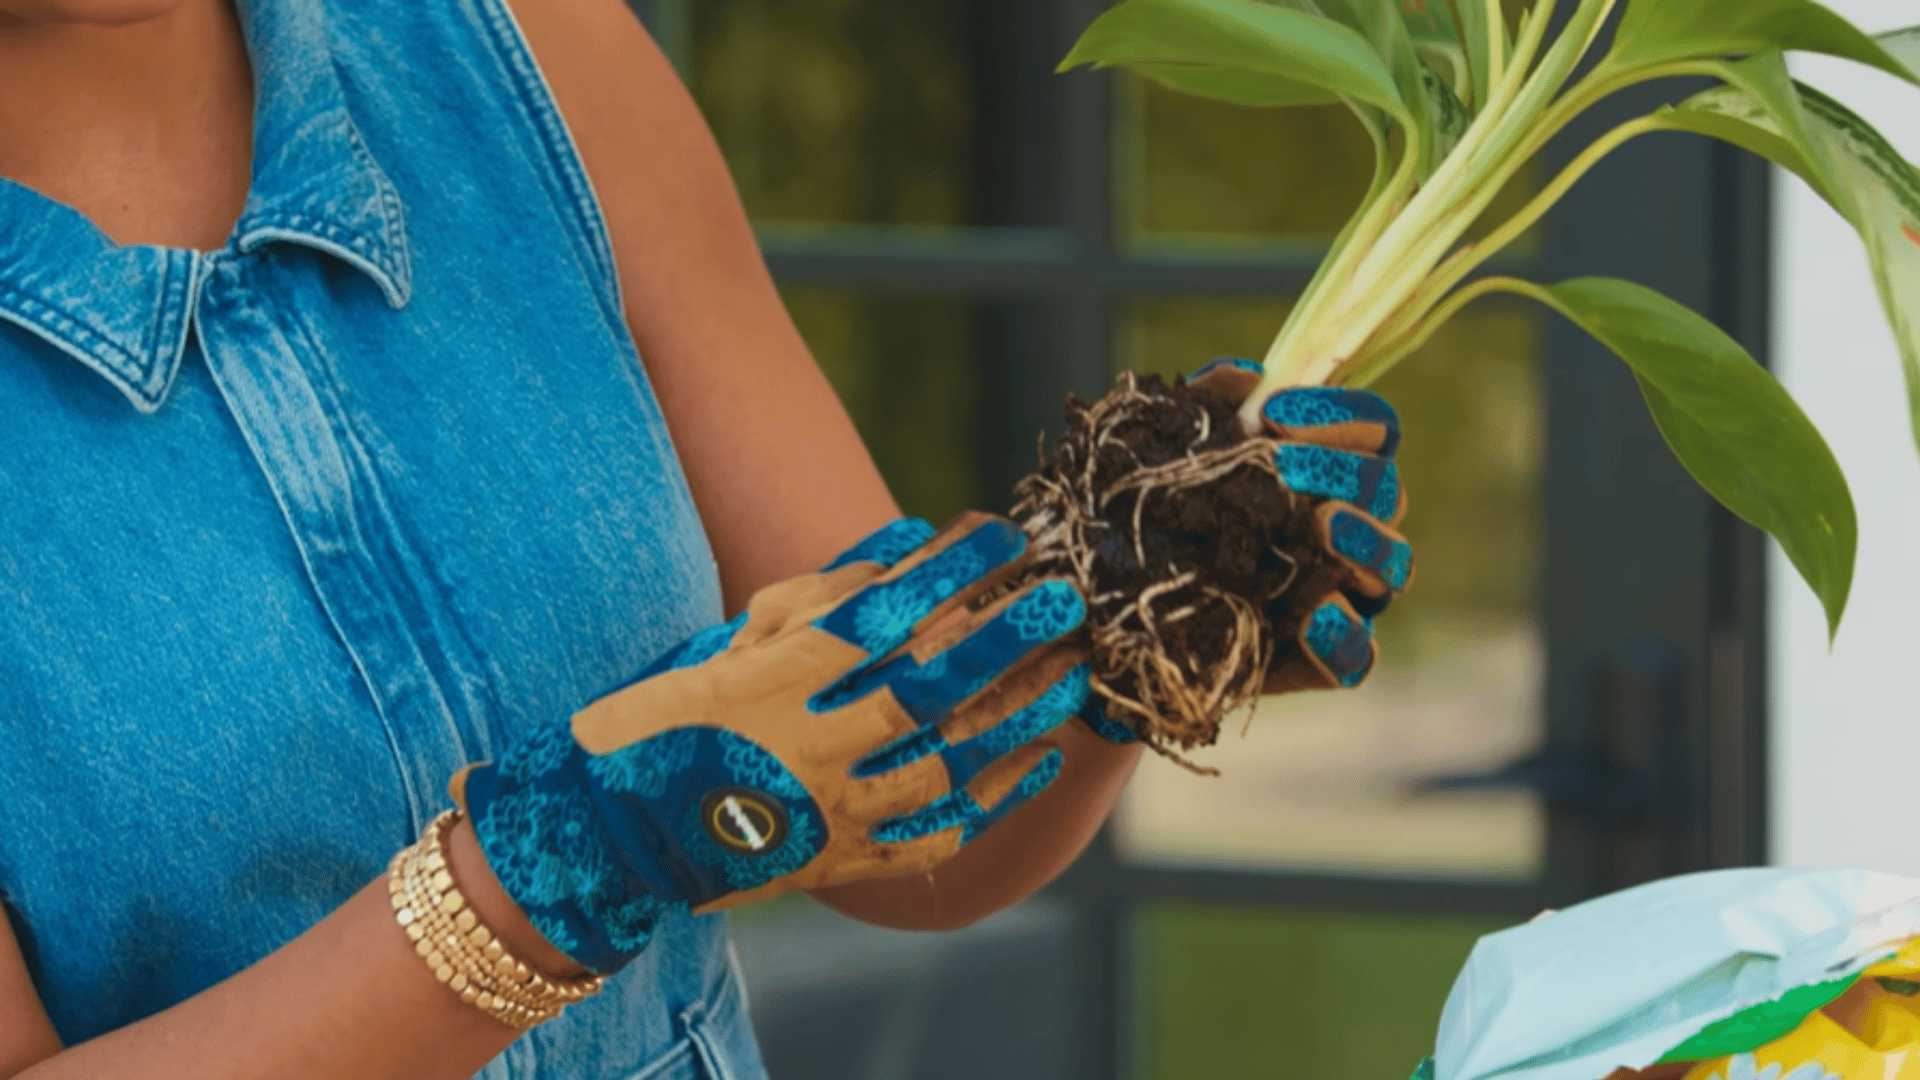
Once the plant is out, take a close look at the root ball to understand the condition of the roots.
Gently loosen any tightly packed or circling roots with the fingers so they are free to spread outward in the new pot. This step gives the root system the best possible start in the new container.
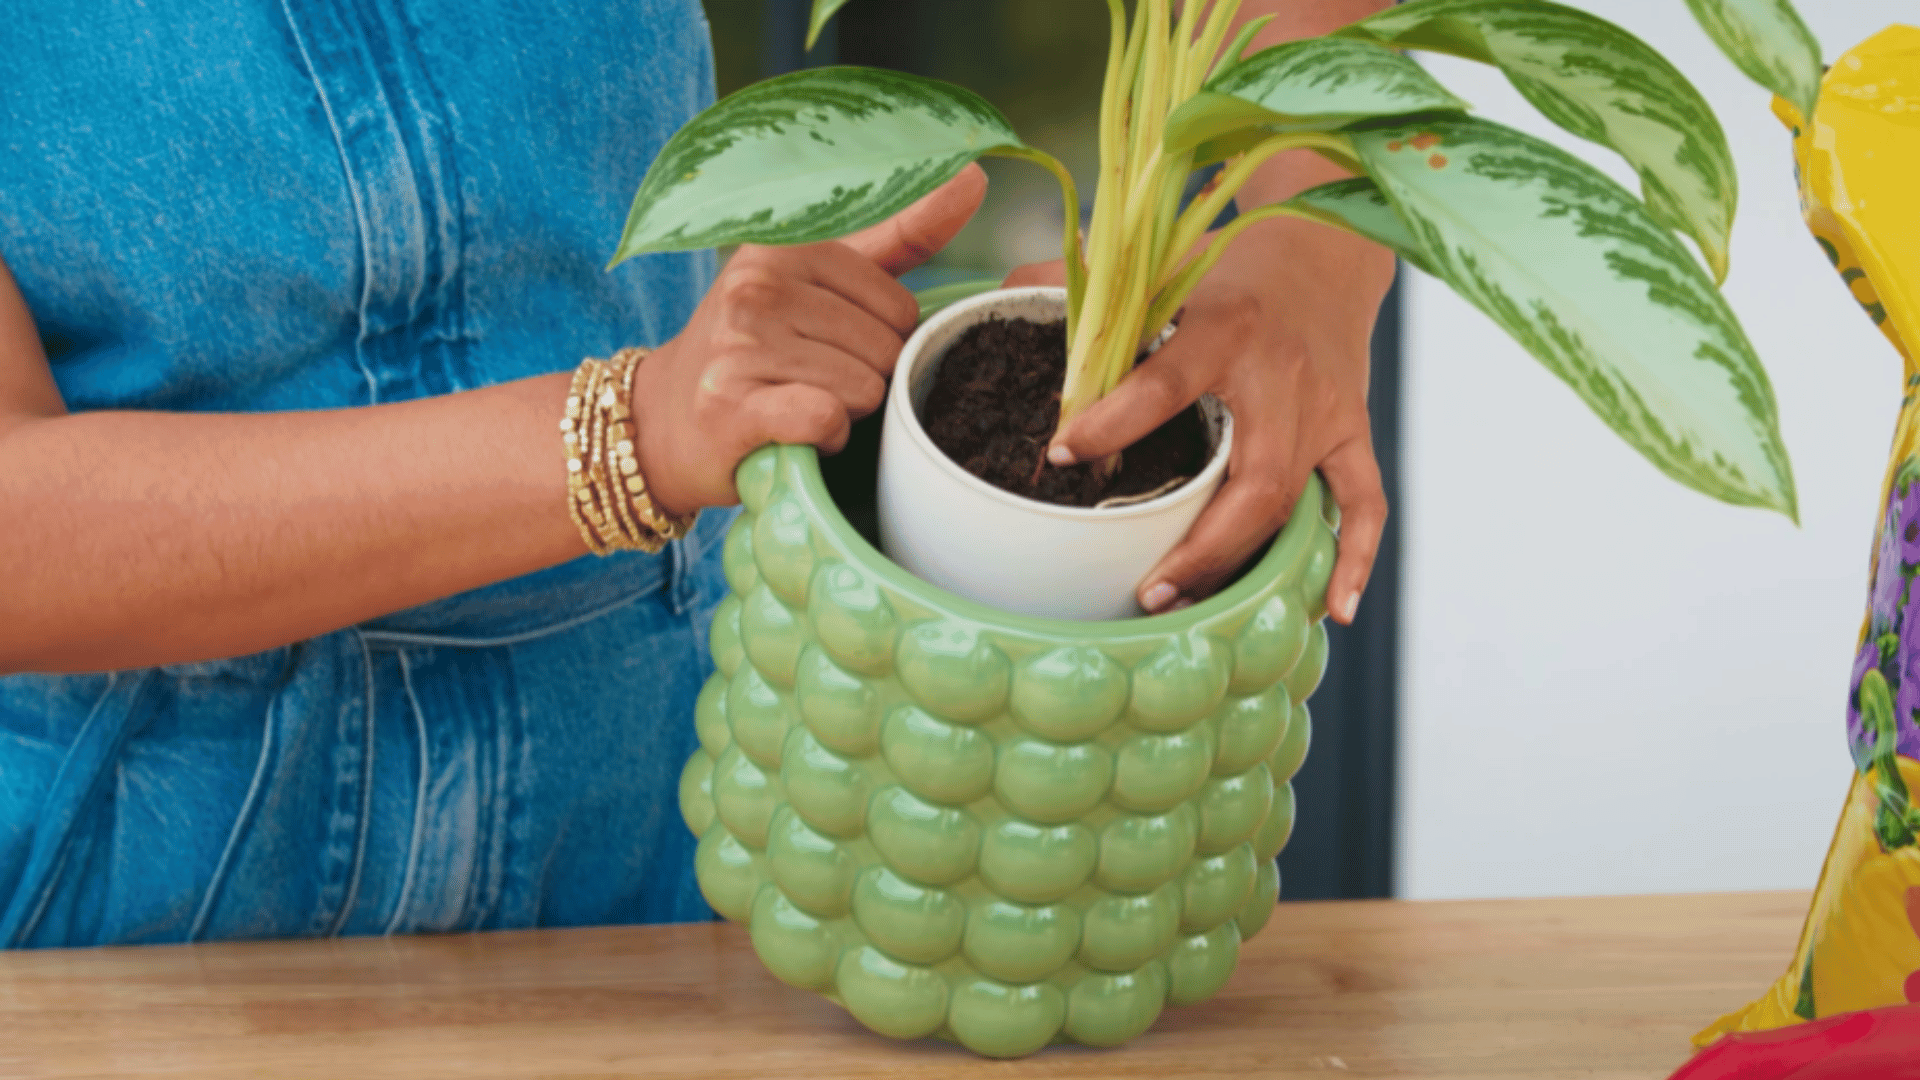
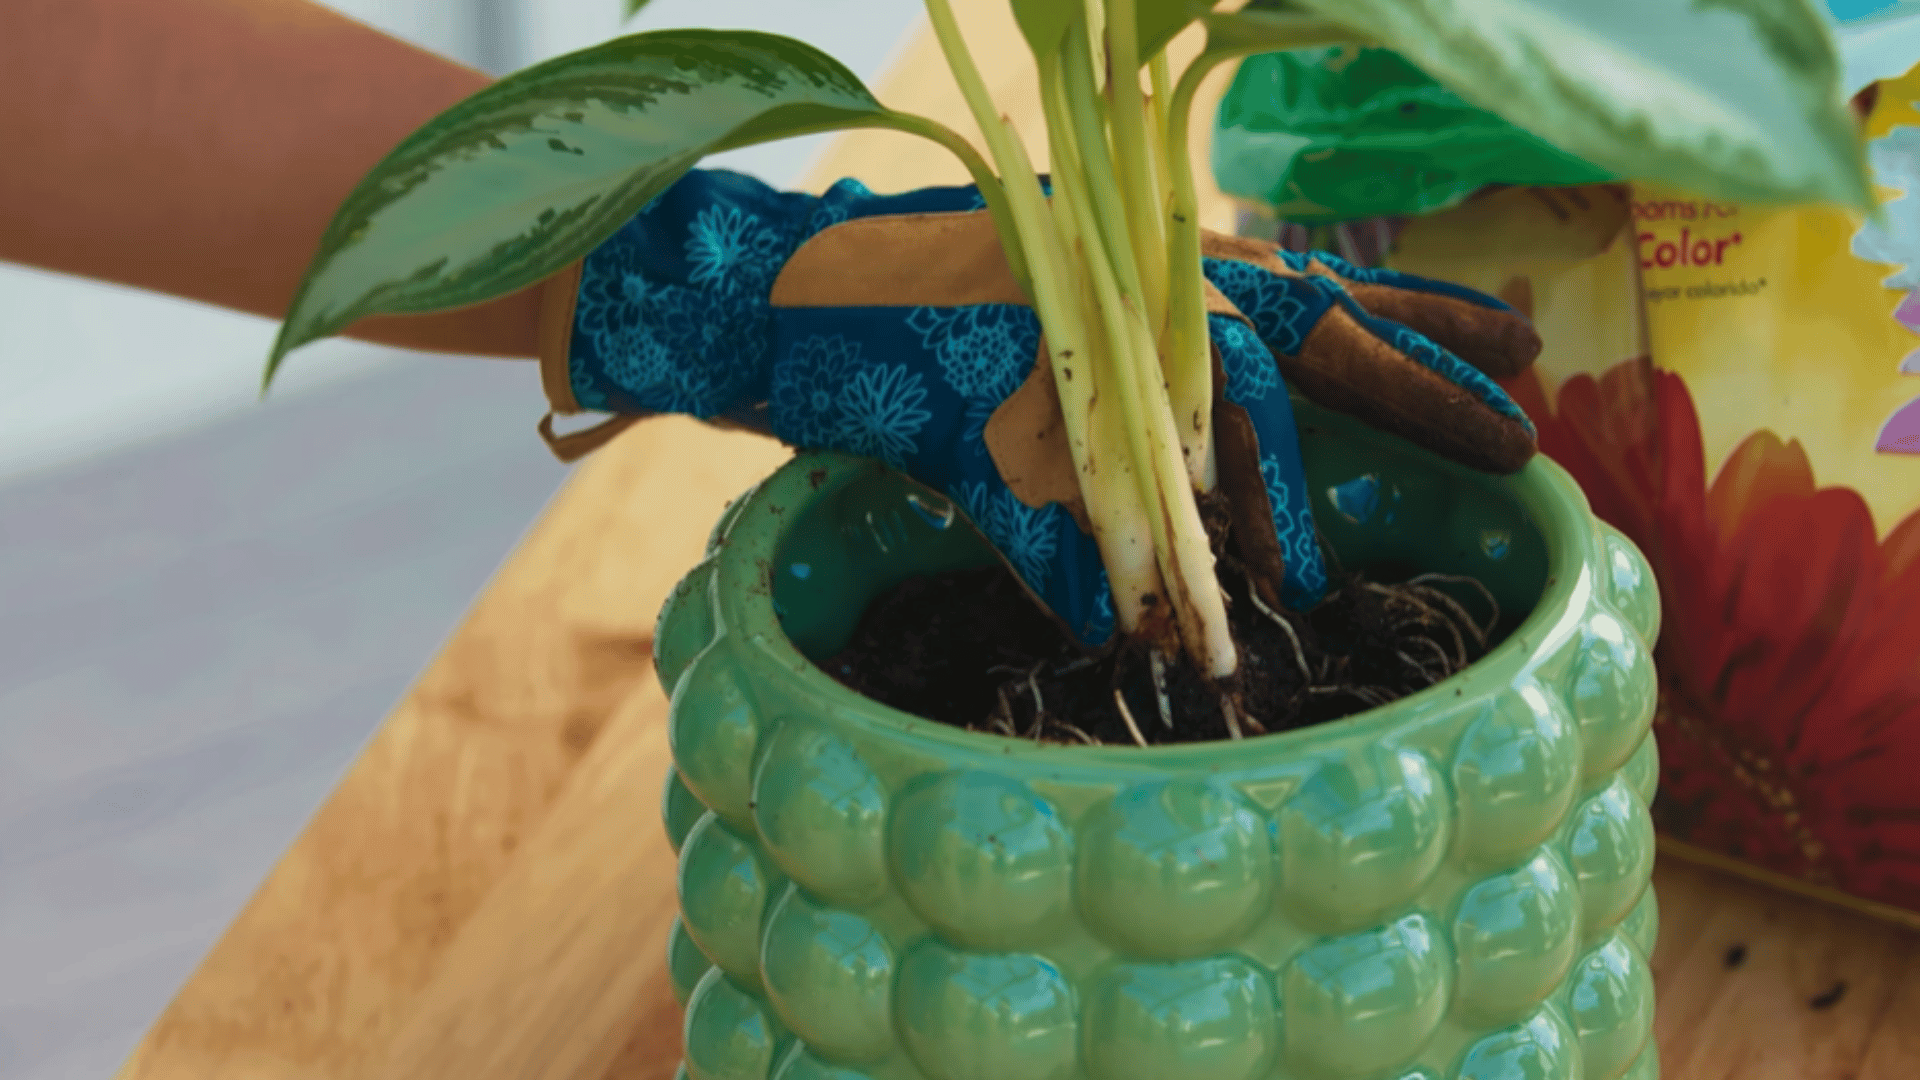
Step 5: Place the Plant in the New Pot
Set the plant in the center of the new pot and check that the base sits at the same level it did in the previous container. If the plant is sitting too low, add more soil beneath it and check the height again before moving forward.
Keeping the plant centered and at the right height from the start makes the next step easier and gives the finished result a cleaner and more balanced appearance.
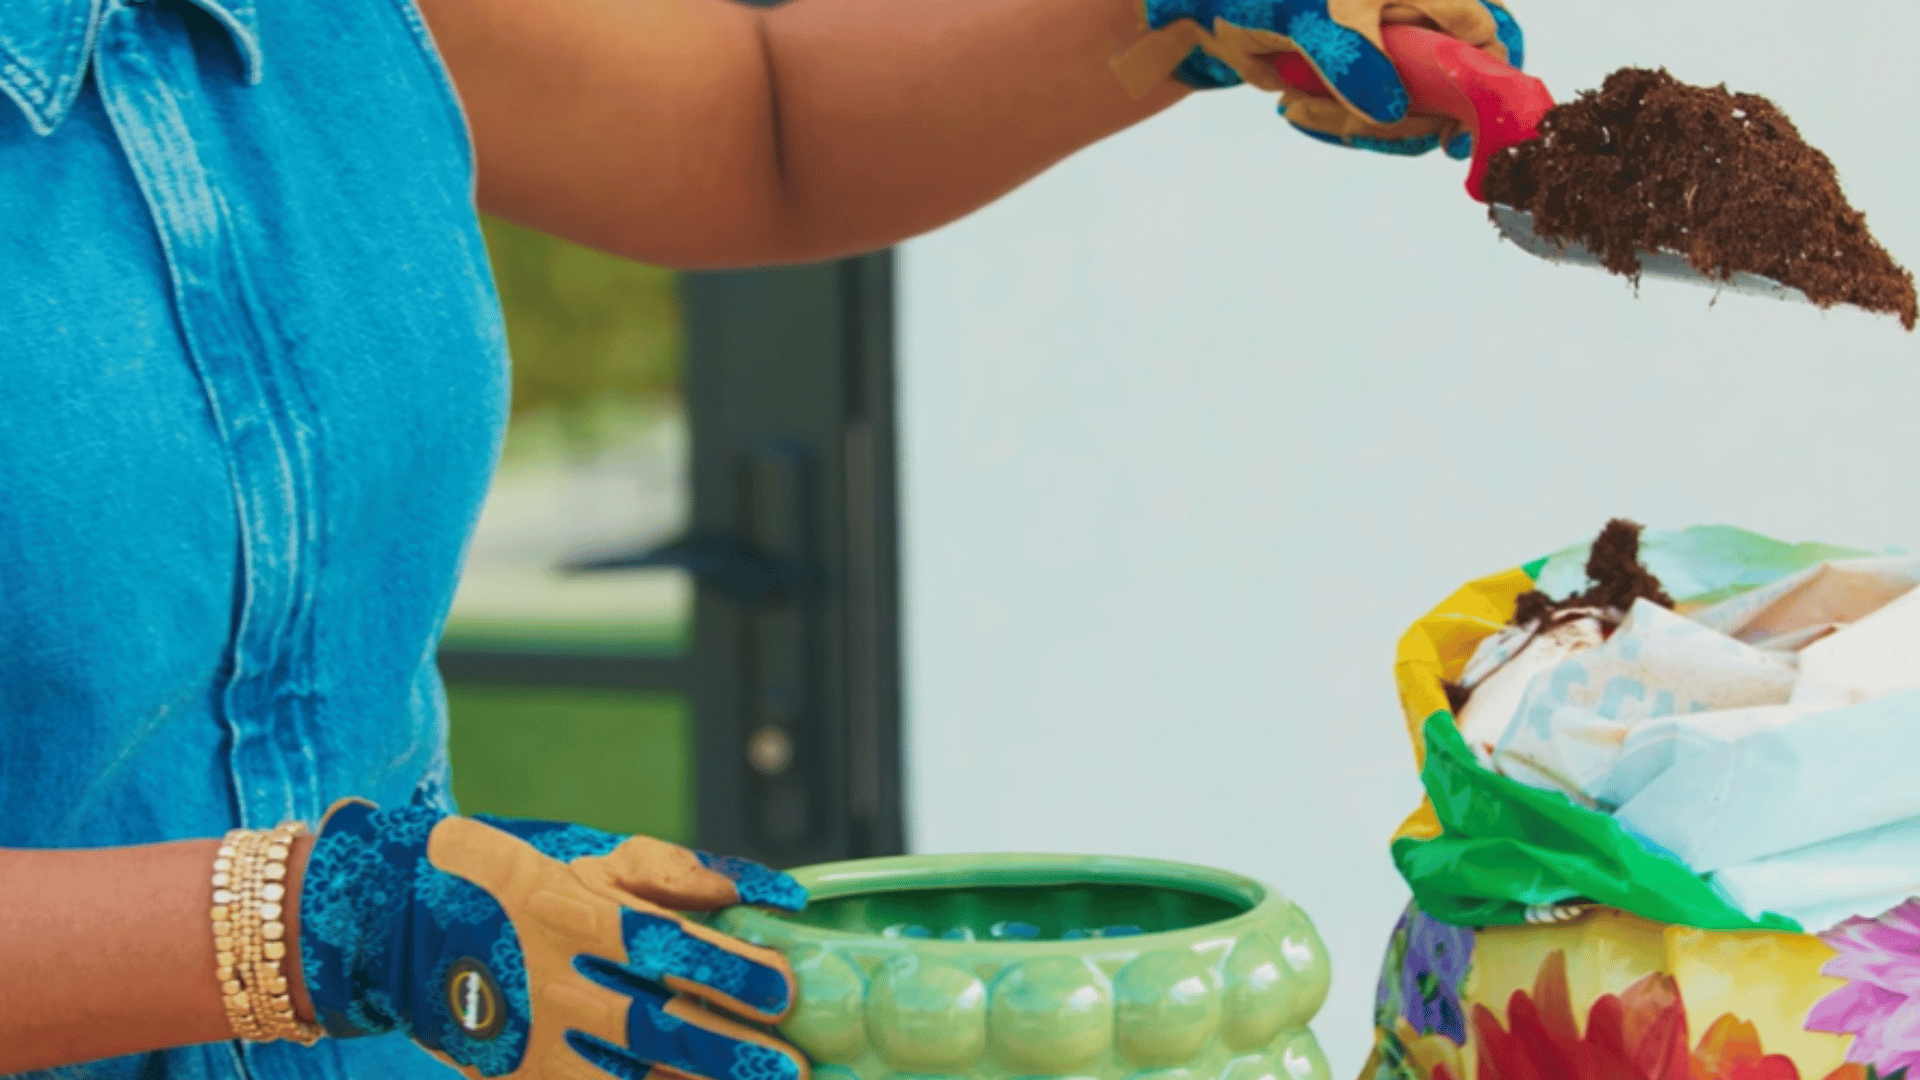
Step 6: Fill with Soil
Add fresh potting soil around the plant, filling all the empty spaces between the roots and the sides of the pot. Press the soil down lightly as you add it to hold the plant in place without compacting it too firmly around the roots.
Once the pot is filled, gently tap it on a flat surface to settle the soil and reveal any air pockets that need topping up with a little more soil.
Step 7: Water the Plant
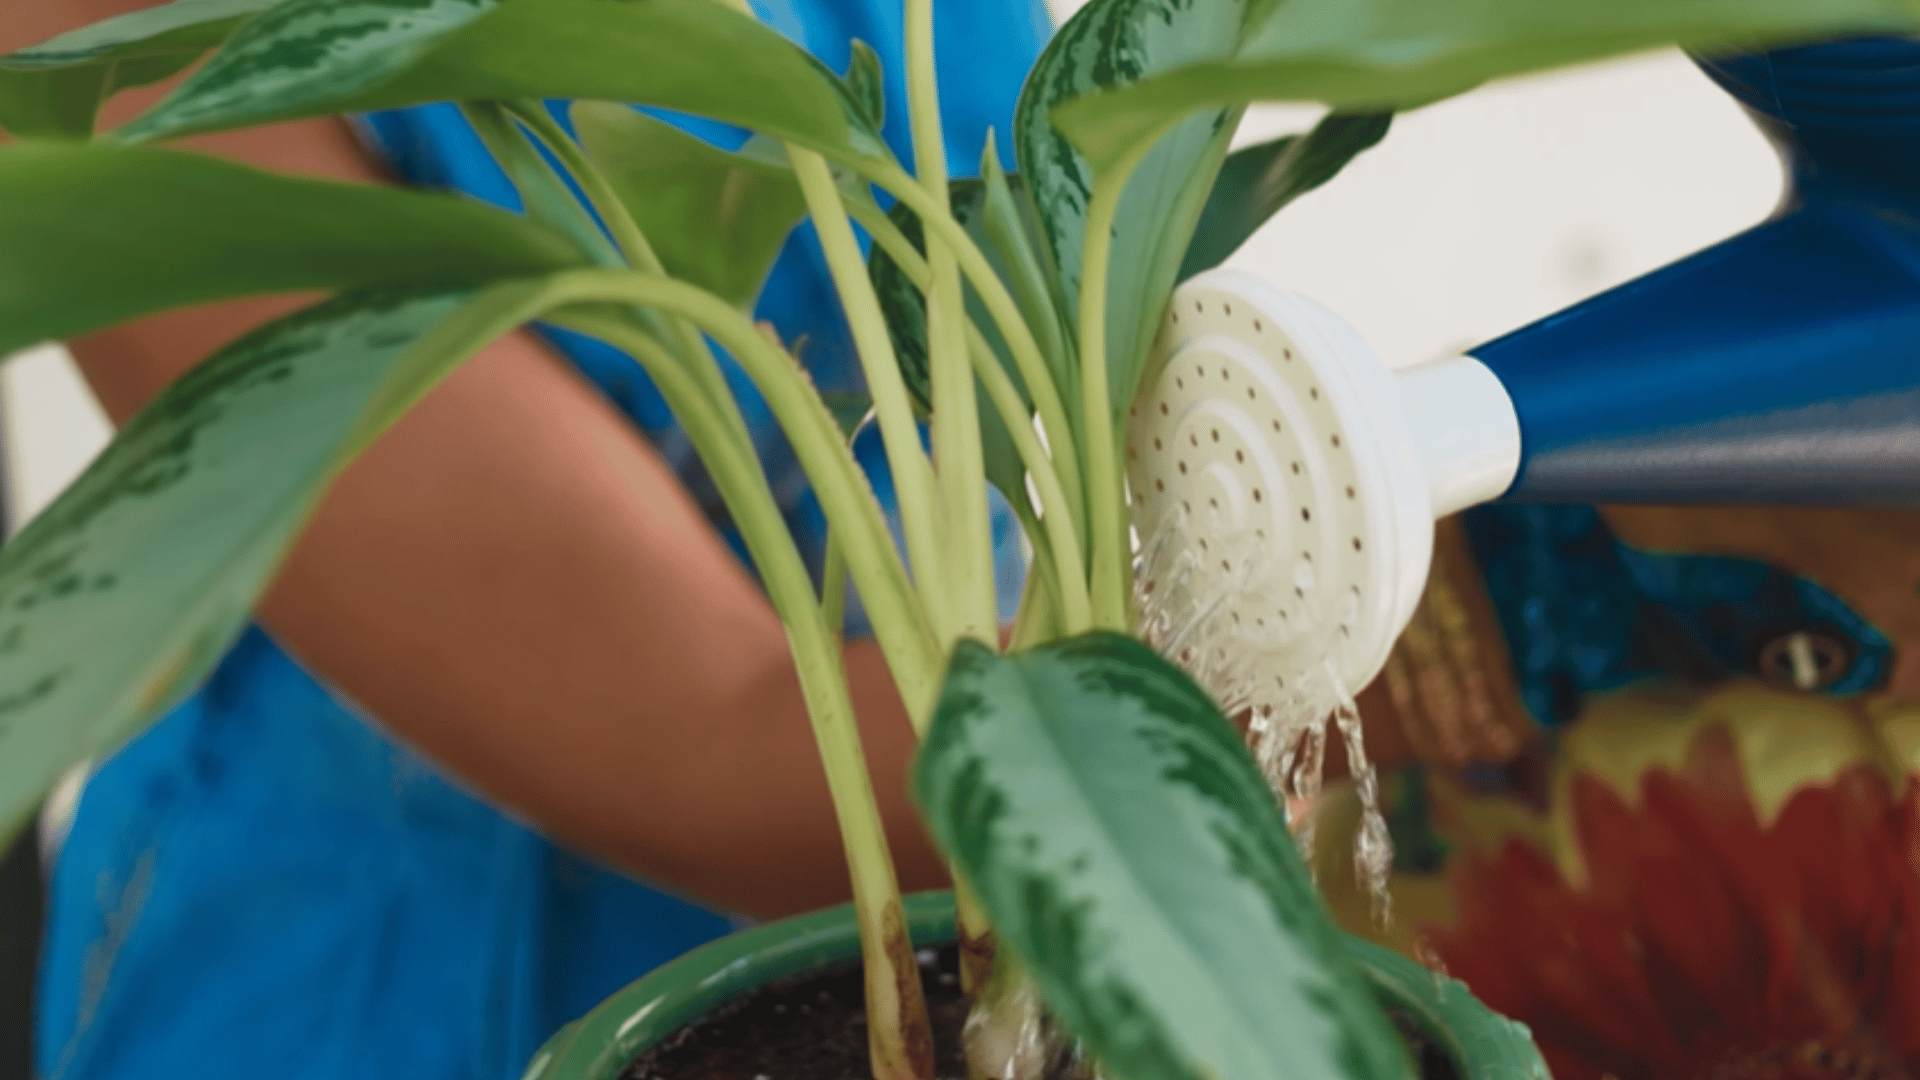
Watering the plant helps the soil settle fully into the pot and closes any remaining air gaps that were not removed during the tapping step.
Allow the water to drain out completely from the bottom of the pot before placing it back in its usual spot.
A good first watering after repotting gives the roots immediate contact with the fresh soil and helps the plant begin adjusting to its new container right away.
If you’d like a closer look, here’s the YouTube video to guide you:
How Often Should You Repot Plants?
Young and fast-growing plants generally needrepottingevery 12 to 18 months as their roots tend to fill the available space in the container relatively quickly.
Mature, slower-growing plants can go 2 to 3 years between repots without any noticeable impact on their health or growth.
If roots are circling the inside of the pot or pushing through the drainage holes, the plant is ready regardless of when it was last moved.
Common Repotting Mistakes to Avoid
Knowing what to avoid before starting makes the process much safer for the plant and far less likely to cause damage during or after the move.
- Oversized Pot: A pot that is too large holds excess moisture around the roots, increasing the risk of root rot over time.
- No Drainage: Planting in a pot without drainage holes causes water to collect at the bottom, damaging the roots over time.
- Too Frequent: Moving a plant too often stresses the root system and does not give it enough time to settle properly.
- Overwatering After: Watering plants too heavily after repotting slows the adjustment process, as roots need time to resume absorbing water at their normal rate.
- Roots Unloosened: Placing a tightly bound root ball in a new pot without loosening it first stops the roots from spreading into the fresh soil.
Wrapping It Up
A well-repotted plant shows the difference within weeks through stronger growth and healthier-looking leaves, which is why learning about repotting plants correctly is important.
The condition of the roots, the quality of the soil, and the size of the new container all affect how well the plant responds after the move.
Every plant has its own pace of recovery, and giving it time to adjust without interference is just as important as knowing how to repot a plant properly.
Get ready with your tools and share this blog with someone who also wants their plants to grow better.

With a Master’s in Landscape Architecture from the University of Virginia, Sophia Stephenson has dedicated the last 20 years to creating and maintaining vibrant outdoor spaces. Her professional journey started in landscape design, where she gained a reputation for innovative and sustainable approaches. Sophia became a part of our editorial team as a freelancer in 2019, offering a fresh perspective on outdoor living. Since 2020, she has been the chief for our outdoor design content, blending aesthetic appeal with environmental stewardship. In her leisure time, Sophia is a keen photographer, capturing the beauty of natural landscapes, a hobby that complements her professional expertise.