
A shed does not have to be complicated. No special skills. No huge budget. Just a clear plan and the right steps. Most people put it off, assuming it takes weeks or costs a fortune. It does not.
Knowing how to build a shed the right way makes the whole process surprisingly straightforward. A basic wooden structure with a solid base and a simple roof is all it takes.
This guide covers everything from ground prep to the final door install in a clear, step-by-step sequence that gets it done fast.
What is a Shed and How Can You Build It Quickly
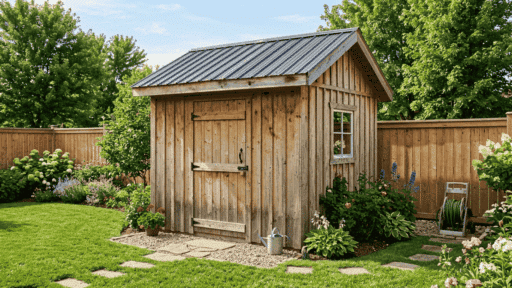
A shed is a small outdoor structure built for storage, tools, or basic workspace needs. It sits in the backyard or any open outdoor space.
Straightforward in design and practical to use, it also reduces the cost of renting external storage or setting up a separate workspace.
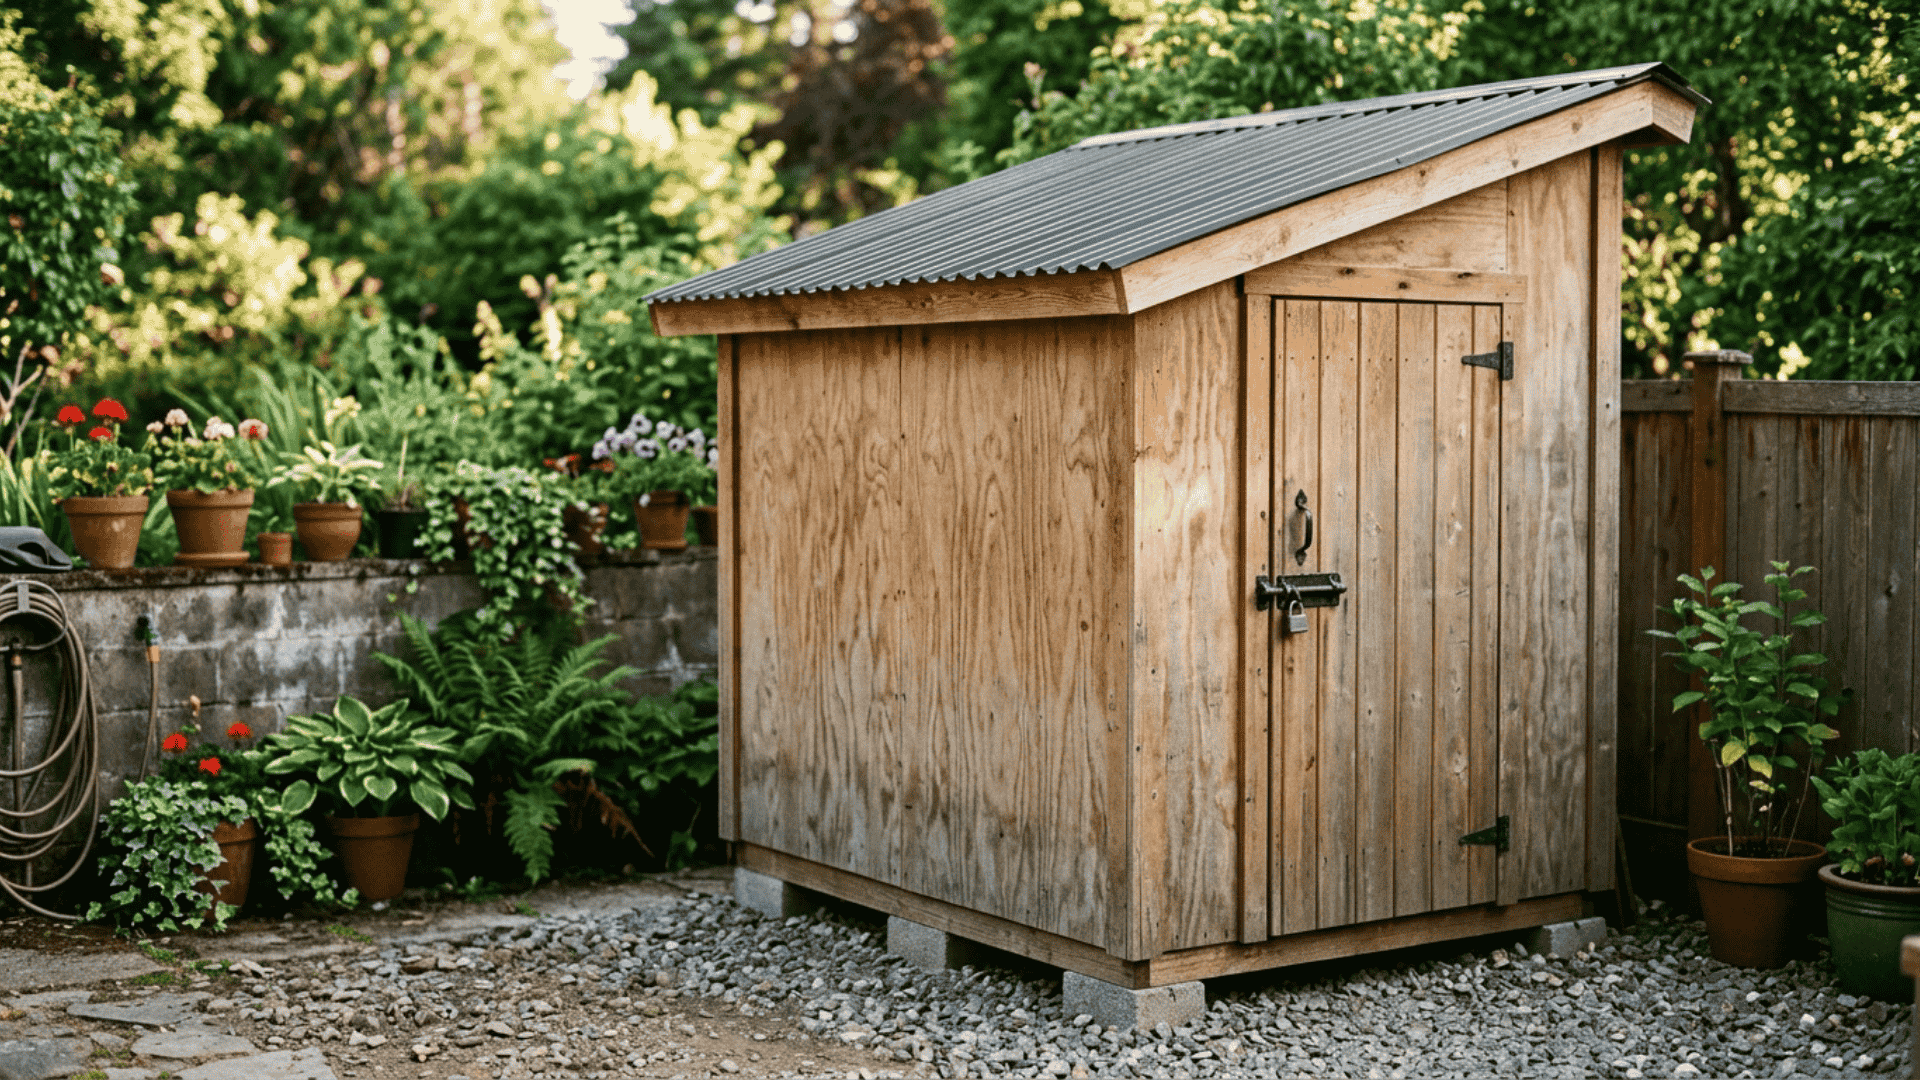
For anyone looking to build a shed quickly, the focus should remain on a compact size, such as 6×4 or 8×6. Basic framing and sheet panels are used, keeping the process fast and manageable.
A single-slope roof adds to the simplicity. Less cutting, less fitting, less time. The goal is a functional shed that serves its purpose without overcomplicating the build.
Tools and Materials Required
Before starting to build a shed, gather all tools and materials in one place to save time and keep the build moving at a steady pace.
| Category | Items | Notes |
|---|---|---|
| Tools | Hammer, drill, hand saw or circular saw, measuring tape, level | Standard tools are enough, no heavy equipment needed |
| Wood | 2×4 framing lumber, plywood sheets | Use dry, straight wood for a stronger frame |
| Base | Gravel or concrete blocks | Ensures a stable, level foundation |
| Fasteners | Nails, screws | Screws hold better for long-term durability |
| Roofing | Corrugated sheets or shingles | Overlap edges to keep water out |
| Extras | Door hinges, latch | Simple hardware works fine for a standard shed door |
Step-by-Step Process: How to Build a Shed
Following these steps in sequence is the most efficient way to complete the build without any confusion, extra cost, or unnecessary rework.
Step 1: Choose Location and Prepare Base
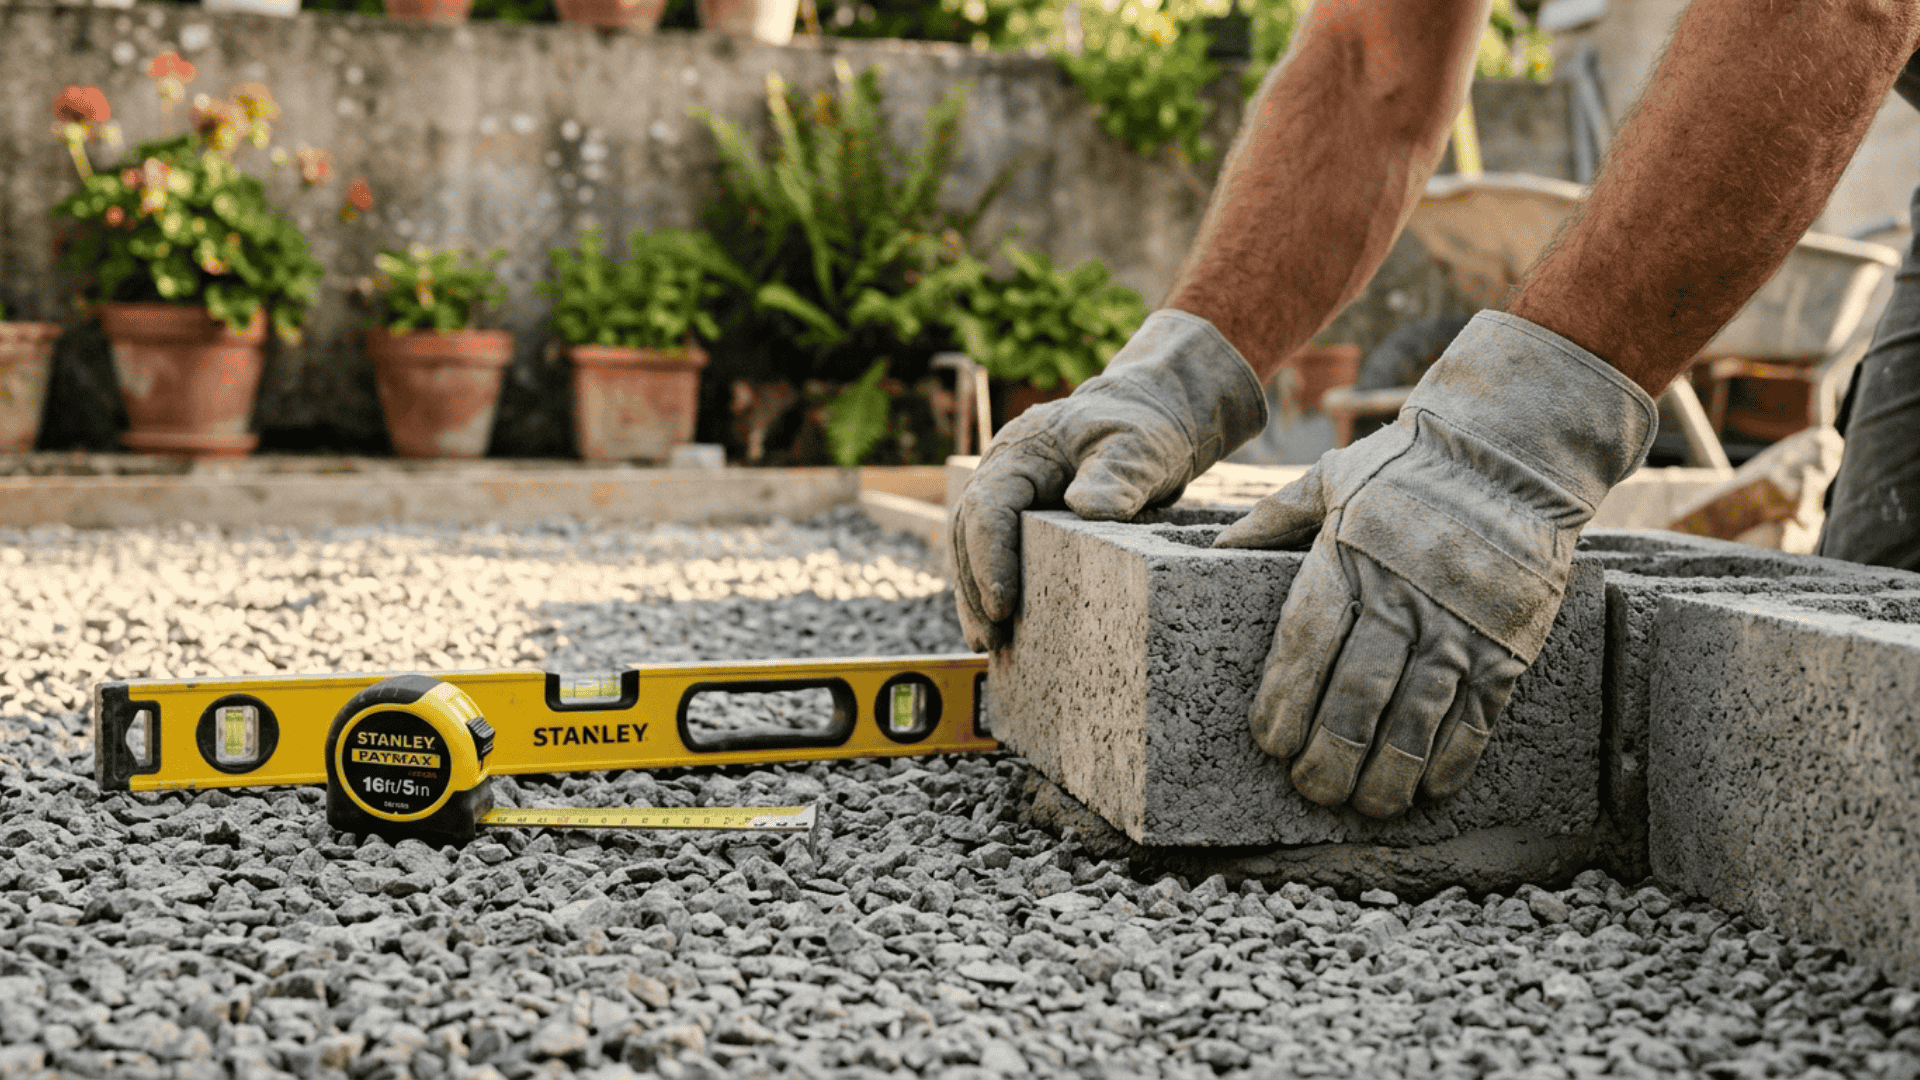
The first step in building a shed is choosing the right spot. Flat, stable ground is the ideal choice.
The area should have proper drainage so water does not collect under the structure. Once the spot is selected, remove any grass, roots, or uneven patches from the surface.
After clearing, lay down gravel or set concrete blocks to create a stable base. This keeps the shed off the ground and prevents moisture damage over time.
Use a level to confirm the surface is even before moving to the next step. A solid base is what supports everything built above it.
Step 2: Build the Floor Frame
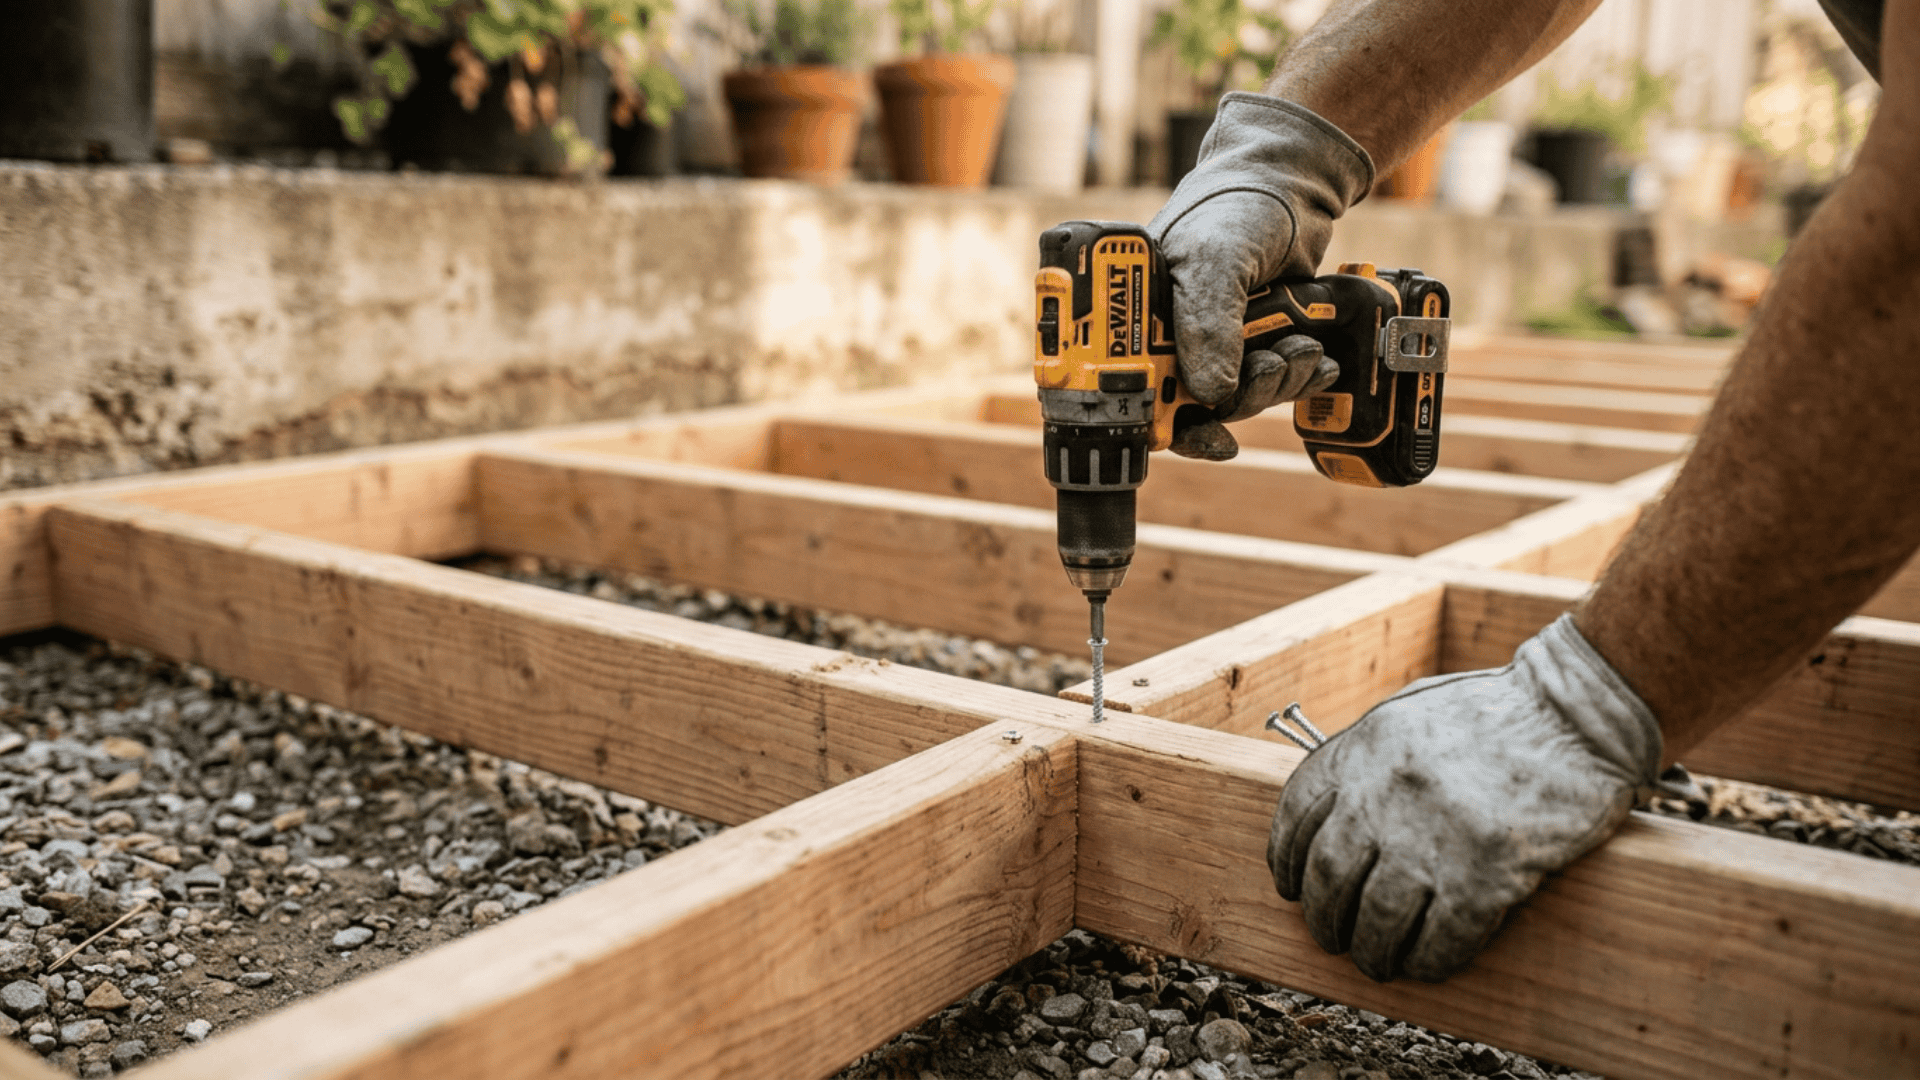
With the base ready, the next step in the build is to construct the floor frame. Start by building a rectangular frame using 2×4 lumber. A 6×4 or 8×6 size works well for a quick build. Keep the corners square and the frame tight.
Once the outer frame is set, add joists across the width for support. Space them evenly to distribute weight properly. After the joists are secured, fix a plywood sheet on top.
This creates a solid, flat floor surface that can handle tools, equipment, and regular foot traffic.
Step 3: Build and Install Wall Frames

Construct each wall frame flat on the ground before raising it, keeping one side taller for the roof slope and leaving an opening on one wall for the door.
Once all four frames are built, raise them one at a time and secure them to the floor frame.
Attach the corners together using screws for a secure connection. Check each wall with a level before fully tightening. Straight, correctly aligned walls make the rest of the build much easier.
Step 4: Install Roof Structure and Covering
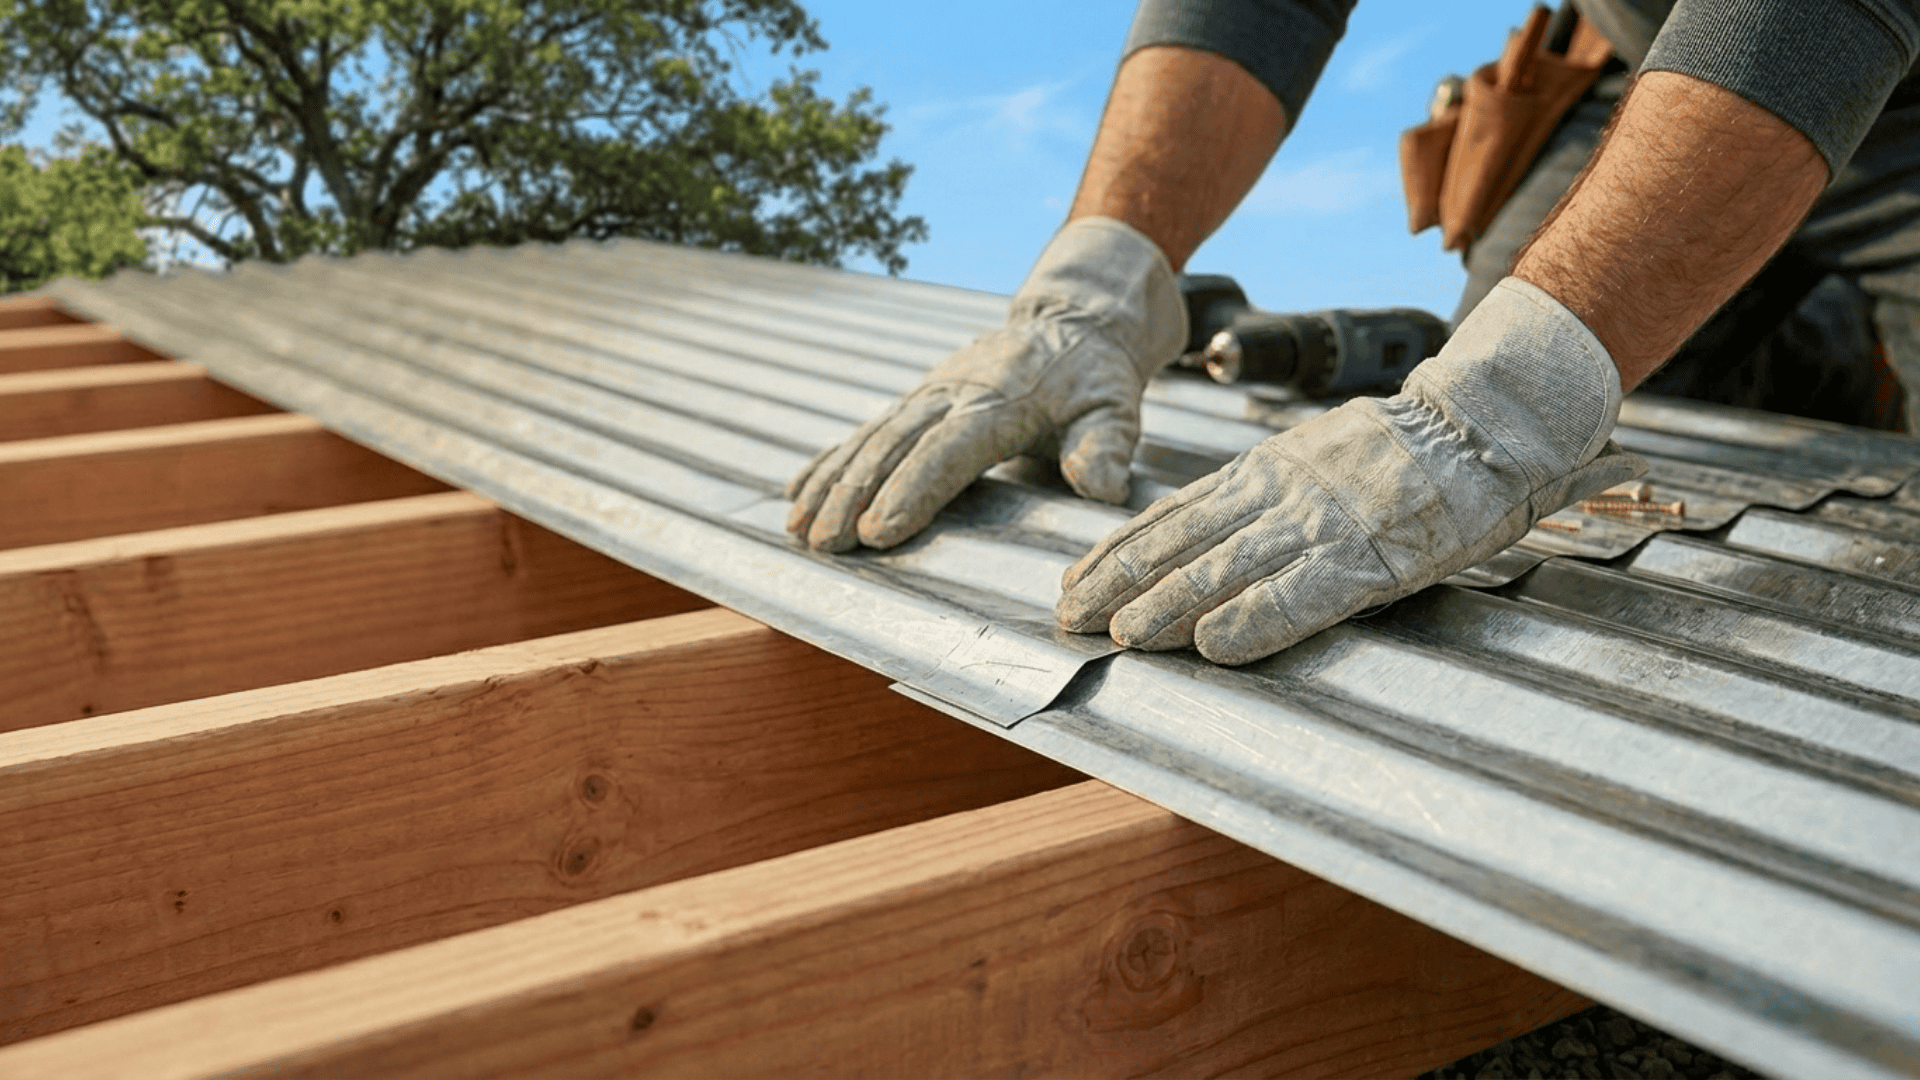
A well-built roof is a key part of a shed that lasts. Start by attaching rafters from the taller wall to the lower wall. Maintain consistent spacing across the width to keep the structure balanced.
Make sure each rafter sits flush and is fixed at both ends. Once the rafters are in place, fix the roofing sheets or shingles on top. Start from the lower edge and work upward.
Overlap each sheet by a few inches to prevent water from seeping through. A a well-covered roof keeps the interior dry and keeps the interior dry and protected from outside conditions.
Step 5: Add Wall Panels and Door
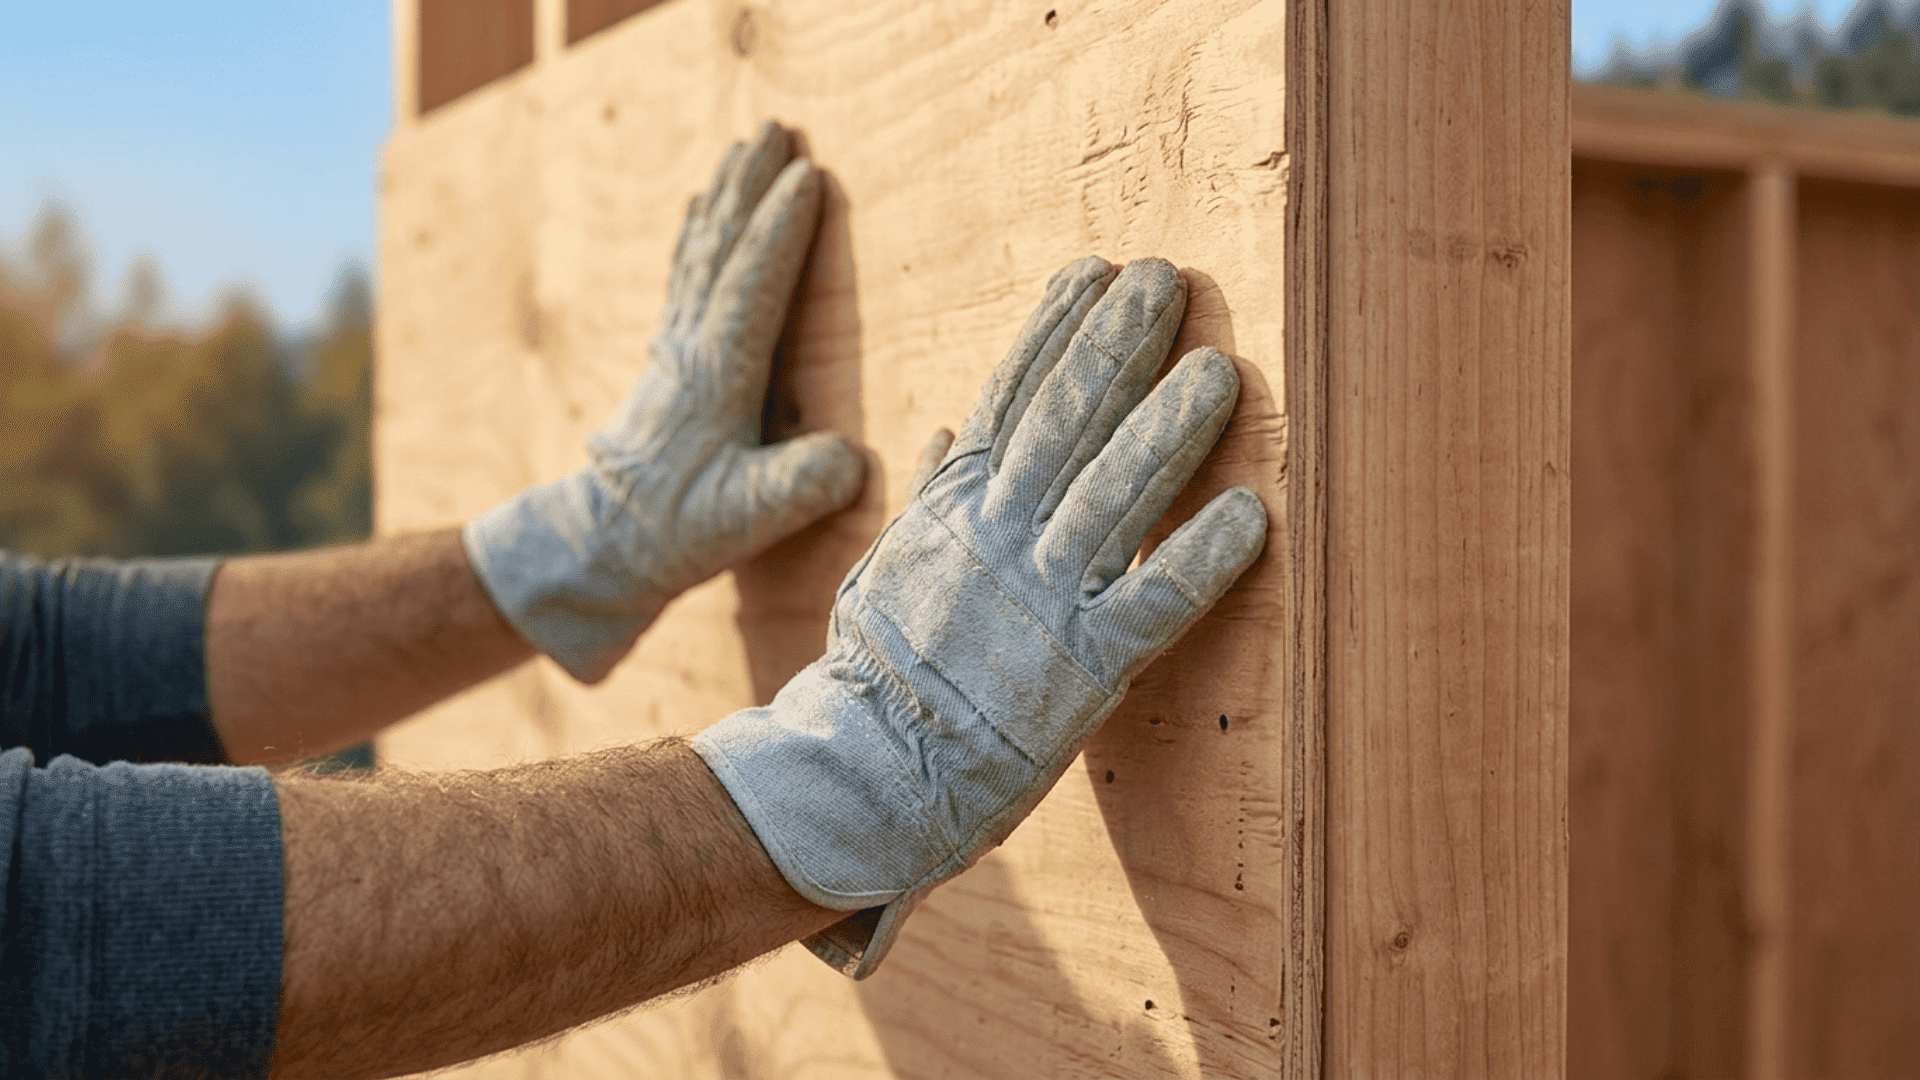
At this stage, the shed starts to take its final shape. Attach plywood sheets or boards to the wall frames on all sides. Press each panel tight against the frame to avoid gaps.
Each panel should sit flush against the frame with no uneven edges or loose corners. Next, build a simple door using plywood and a wooden frame. Keep it lightweight for easy use.
Attach it to the door opening using sturdy hinges. Fix a lightweight door on the inside for security. A properly fitted door completes the shed and keeps the interior protected.
Step 6: Final Check and Completion
The last step in building a shed is a thorough check before putting it to use. Go through every joint and tighten any loose screws or nails. Give the walls a light push to confirm nothing shifts or flexes.
A stable structure should feel steady from all sides. Check the roof for any loose sheets and ensure they are tight and properly overlapped.
Open and close the door a few times to Open and close the door a few times to confirm it moves freely and latches without resistance.
Once all points pass inspection, the shed is finished, solid, and ready for use., solid, and ready to store tools, equipment, or anything else that is needed.
Quick Tips for Building a Shed
Quick tips help simplify the shed-building process and reduce common mistakes during construction.
They ensure better planning, stronger structure, and a smoother build from start to finish.
- Choose a flat, well-drained location to avoid future structural issues.
- Use dry, straight lumber to ensure a strong, durable frame.
- Keep the design simple with standard sizes like 6×4 or 8×6 for faster building.
- Measure twice before cutting to reduce material waste and mistakes.
- Use screws instead of nails for better strength and long-term stability.
- Maintain proper spacing between joists and rafters for even support.
- Overlap roofing sheets properly to prevent water leakage.
- Check alignment with a level at every stage of the build.
Conclusion
A well-built shed starts with preparation and ends with attention to detail. Every step, from base setup to the final inspection, is designed to keep the process simple and the results reliable.
Knowing how to build a shed correctly means the structure holds up through different weather conditions and daily use. No costly repairs. No rebuilding from scratch.
The tools are basic, the steps are clear, and the size is manageable. Anyone willing to follow the sequence can complete a solid, functional shed.
Put the plan into action, work through each stage, and the finished shed will deliver long-term value with minimal effort.

With a Master’s in Architecture from the University of California, Berkeley, Alexander Martin has dedicated the last 18 years to enhancing outdoor living through thoughtful and robust structure design. His career kicked off in urban planning, giving him a unique perspective on integrating structures into diverse environments. In 2019, Alexander brought his expertise to our website, offering insights into creating versatile outdoor spaces. Since then, he has been the lead advisor for our outdoor design projects and is known for his ability to merge functionality with environmental consciousness. Alexander enjoys rock climbing outside of work and participates in community development projects, activities that reflect his passion for the outdoors and sustainable design.