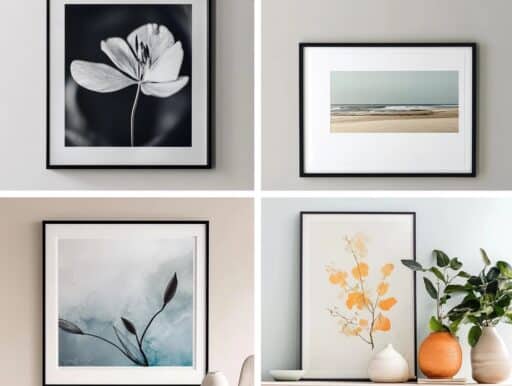
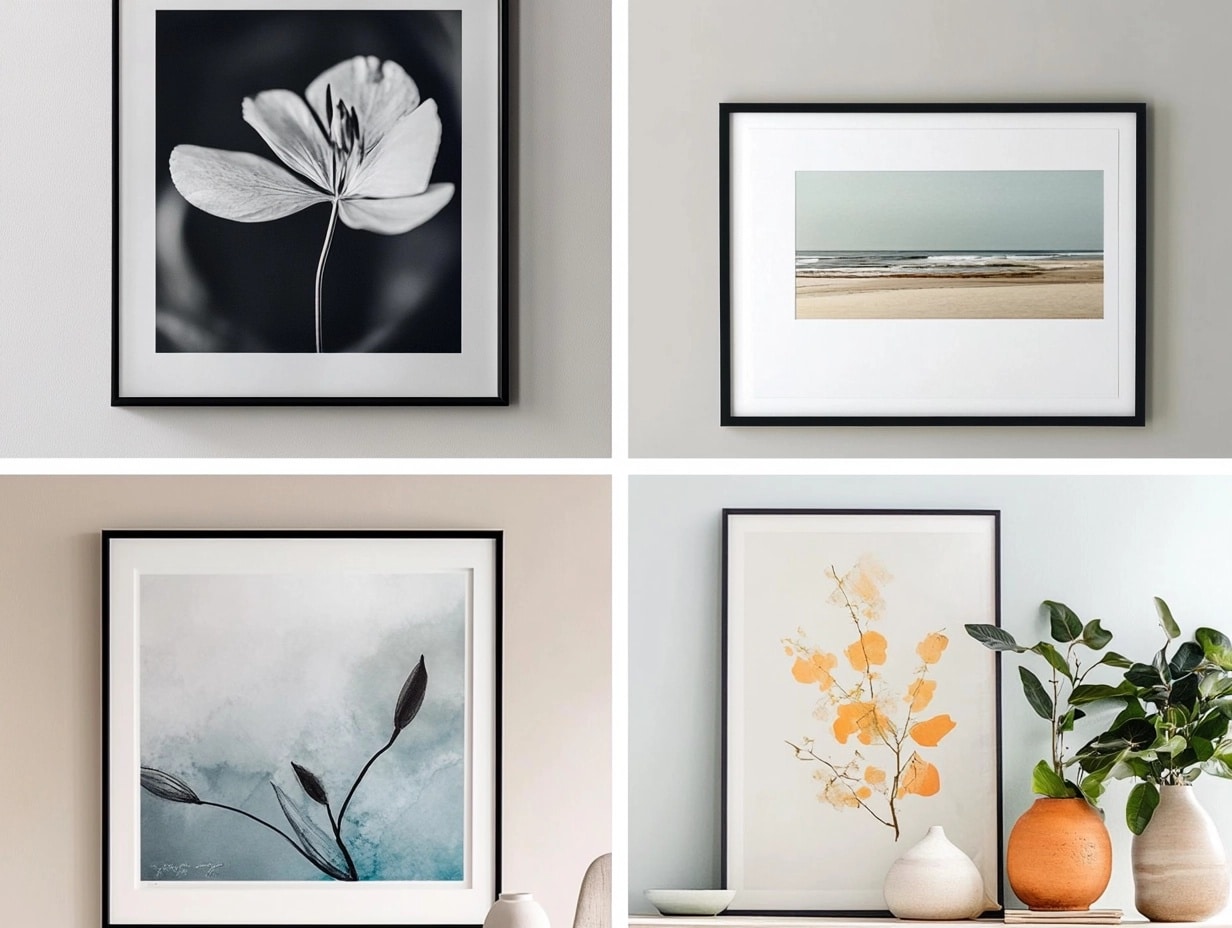
Matting your artwork or photographs is more than a finishing touch—it’s an opportunity to protect, showcase, and personalize your pieces.
Whether creating a timeless look or experimenting with bold designs, the right mat can transform your artwork into a true centerpiece.
Below, I’ve outlined some creative ideas and a comprehensive step-by-step guide to help you achieve professional-level results.
Why Matting Matters
Matting offers more than just aesthetic appeal:
- Preservation: Mats protect artwork by preventing direct contact with the glass, reducing the risk of damage or smudges.
- Focus: A well-chosen mat directs attention to the artwork, framing it beautifully.
- Style: Mats can reflect your style, from classic and understated to bold and modern.
Step-by-Step Guide to Matting
Follow these steps to mat and frame your artwork like a pro:
Step 1: Gather Your Tools and Materials
Before you start, make sure you have the following:
- Archival-quality mat board (four-ply or eight-ply, depending on your preference).
- Foam core backing (archival and acid-free).
- A mat cutter (wall-mounted or handheld).
- A straight edge and self-healing cutting mat.
- Archival tape or photo corners.
- A ruler and pencil for precise measurements.
- Glass cleaner and lint-free cloth (if framing).
- Weights to hold your materials in place.
Step 2: Measure and Trim Your Artwork
Leave a border around the artwork to easily handle and accommodate signing or captions. For example:
- For a print size of 24×9 inches, allow for a 2-2.5 inch mat border on all sides.
- Trim any excess paper from the edges using a straight edge and a sharp blade.
Step 3: Choose Your Mat Style
Decide on the matting style that best suits your artwork. Here are some ideas to consider:
- Floating Mats: Leave space around the artwork to showcase its edges.
- Layered Mats: Add depth with multiple layers of mats in complementary colors.
- Oversized Mats: Use larger mats for a gallery-like appearance.
Step 4: Cut the Mat Window
- Place your mat board on a cutting mat, with the front side facing down.
- Measure and mark the window opening, ensuring it’s slightly smaller than the artwork to hold it securely.
- Use a mat cutter to create precise cuts, starting with the blade at the corner of the window and following your marked lines.
Step 5: Attach the Artwork to the Backing
Secure your artwork to the foam core backing using photo corners or archival tape:
- Photo Corners: These allow the artwork to breathe and can be removed easily without damage.
- Archival Tape: Use tape sparingly to avoid attaching directly to the artwork.
Step 6: Align and Tape the Mat
- Place the mat on top of the artwork and adjust it until it’s perfectly aligned.
- Use weights to hold the mat in place while you secure it to the foam core with archival tape.
- Press down gently to ensure the mat adheres evenly.
Step 7: Frame the Artwork
- Place the matted artwork into your chosen frame.
- Add UV-protective or anti-reflective glass for added preservation.
- Secure the mat and backing with metal points or a similar fastening system.
- Attach a hanging wire to the frame, ensuring it’s sturdy and evenly spaced.
Creative Picture Matting Ideas
1. Layered Mats for Depth
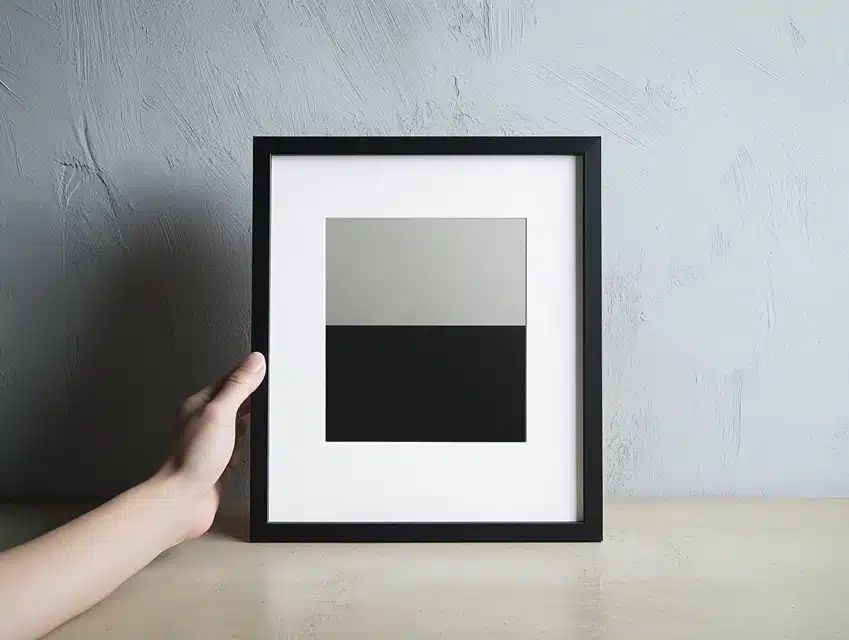
Layering multiple mats is an easy way to add depth and dimension to your artwork.
Using two or three mats in contrasting or complementary colors creates a visual frame within a frame, making the art stand out even more.
For example, a bold black base mat with a thinner white top mat can give a modern, clean look.
On the other hand, using neutral tones like beige or soft gray creates a subtle yet sophisticated aesthetic.
How to Achieve It:
- Choose mats of varying widths, such as a 3-inch bottom layer and a 2-inch top layer.
- Align the mats carefully to create even borders.
- Secure the mats together before placing them over your print for a flawless finish.
2. Floating Mat Technique
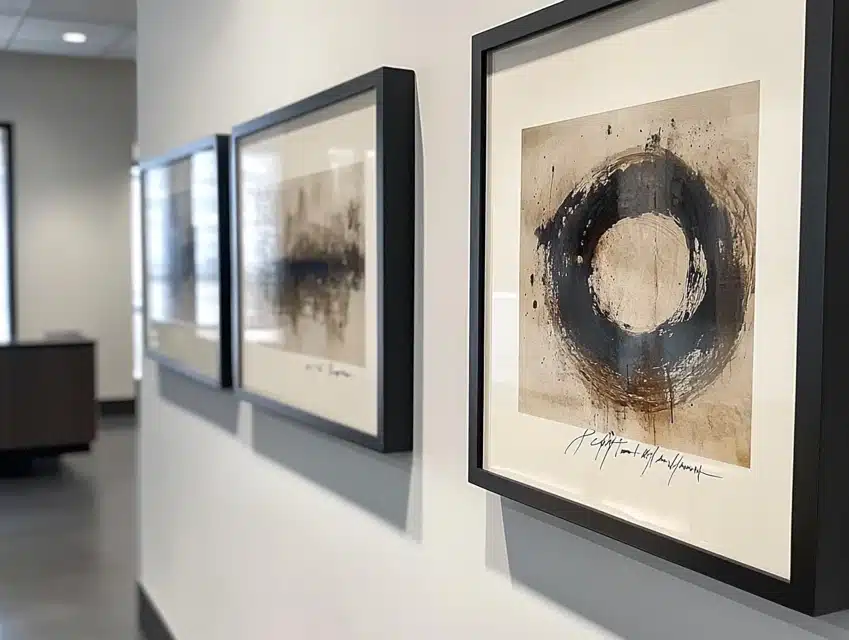
The floating mat technique showcases the edges of your artwork, including any handwritten signatures or unique borders.
This method is perfect for prints with decorative edges or fine art photographs where the entire piece deserves to be seen.
Instead of covering the edges, the mat surrounds the print with a gap, creating the illusion that the artwork is “floating” within the frame.
How to Achieve It:
- Cut a mat window slightly larger than the print’s dimensions, leaving space around the artwork.
- Use archival-quality photo corners to secure the print to a backing board, ensuring the edges remain visible.
- Place the mat over the print, leaving the desired gap for the floating effect.
3. Colored Mat Borders
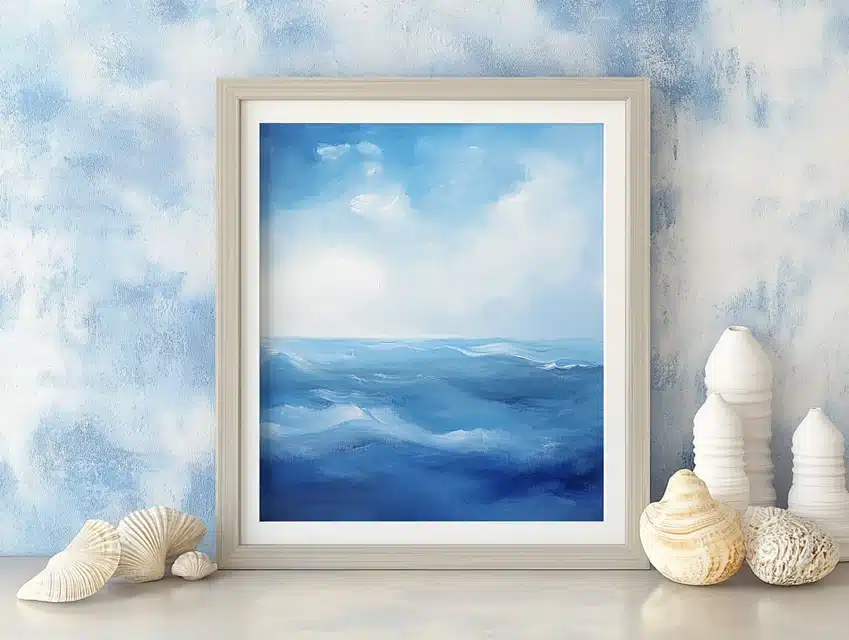
Adding a pop of color to your matting is a creative way to complement or contrast the tones in your artwork.
A colored mat can tie the piece to a room’s decor or make specific details in the artwork stand out.
For example, a soft blue mat can enhance coastal scenes, while bold red adds drama to monochrome photography.
Keep the colors subtle to avoid overpowering the art.
How to Achieve It:
- Select a mat color that complements a key hue in the artwork.
- Use a single mat for simplicity, or layer it with a neutral mat to balance the color.
- Test the mat color against the print in natural and artificial light to ensure it enhances the piece.
4. Oversized Mats for Modern Appeal
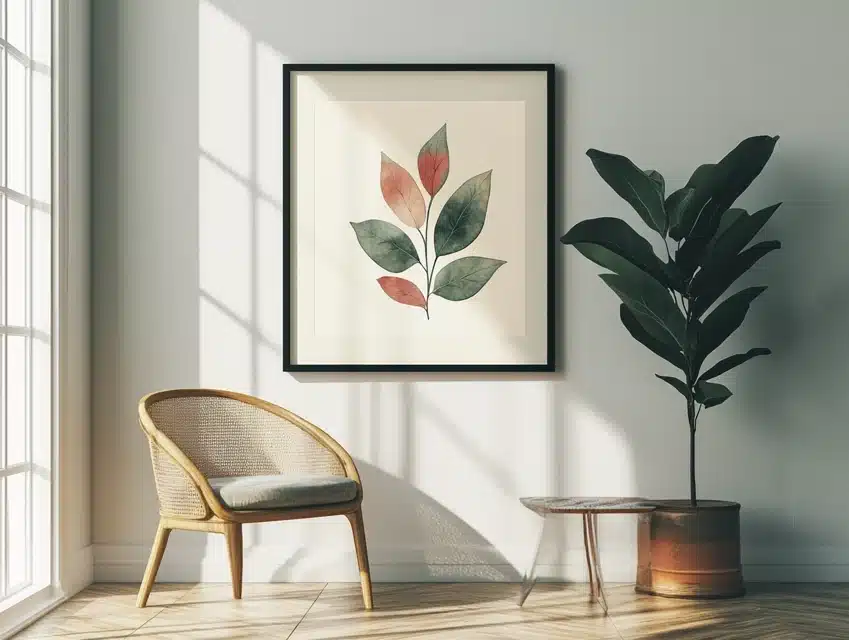
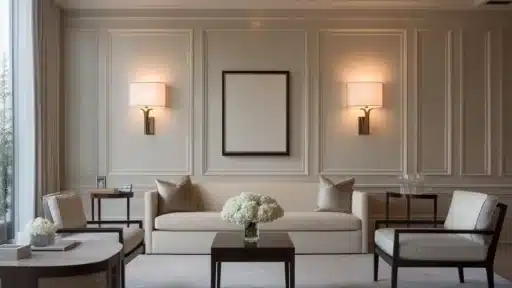
Oversized mats create a gallery-like feel, emphasizing the artwork by giving it plenty of breathing room.
This minimalist approach works well for small prints or detailed pieces, allowing the art to take center stage.
Larger mats also add sophistication and make a small print feel more substantial within a frame.
How to Achieve It:
- Choose a mat that’s 4-6 inches wider than the standard mat size for your frame.
- Center the print precisely within the mat for a balanced look.
- Pair the oversized mat with a simple, thin frame to maintain a modern aesthetic.
5. Unique Mat Shapes

Breaking away from traditional rectangular mats can add a creative flair to your display.
Oval or circular mats bring a touch of whimsy, while irregular or abstract shapes work well for contemporary art.
This idea is particularly effective for children’s artwork, family portraits, or playful prints.
How to Achieve It:
- Use a mat cutter with adjustable guides to create custom shapes.
- Experiment with symmetrical designs like circles or ovals, or create a freeform shape for a modern touch.
- Test the shape against your print to ensure it complements rather than distracts from the artwork.
Conclusion
Matting your artwork is a perfect blend of creativity and functionality. It protects your piece and enhances its presentation, giving it a gallery-worthy finish.
Whether you prefer the elegance of layered mats, the modern appeal of floating designs, or the simplicity of oversized mats, the possibilities are endless.
By following the step-by-step guide and experimenting with creative matting ideas, you can elevate the look of your prints while ensuring their longevity.
Remember, the key is to choose archival materials that match your aesthetic vision.
With the right approach and a touch of personal flair, your artwork will shine in any space.
Frequently Asked Questions
What Is the Purpose of Matting in Picture Framing?
Matting serves both aesthetic and protective purposes.
It enhances the artwork’s appearance by framing it within a decorative border while creating a barrier between the print and the glass to prevent damage.
How Do I Choose the Right Mat Color?
Select a mat color that complements the tones in your artwork.
Neutral shades like white, black, or gray are versatile, while subtle accent colors can highlight specific elements of the piece.
Always test the mat color under different lighting conditions before making a final choice.
What Is the Best Material for Mats?
Archival-quality mat boards made from acid-free materials are ideal.
They protect the artwork from discoloration and deterioration over time.
Popular options include four-ply and eight-ply boards, with brands like Bainbridge or Crescent offering excellent choices.
Can I Mat and Frame Artwork Myself?
You can mat and frame artwork at home with the right tools, such as a mat cutter, archival tape, and foam core backing.
Following a step-by-step process ensures professional results, even for beginners.
What Are Some Creative Matting Ideas for Unique Displays?
Experiment with floating mats to showcase artwork edges, layered mats for added depth, or oversized mats for a gallery-style look.
You can also use unconventional mat shapes, such as ovals or freeform designs, to make your display unique.

