Have you ever looked at your plain wooden table and wished it had more style? I faced this exact problem with my outdoor furniture.
Most people think making a concrete table requires special skills or tools. The cost of ready-made concrete furniture can hurt anyone’s wallet, and finding the right size and style can feel impossible.
But here’s the good news: I learned how to create a beautiful concrete tabletop using basic materials from the hardware store.
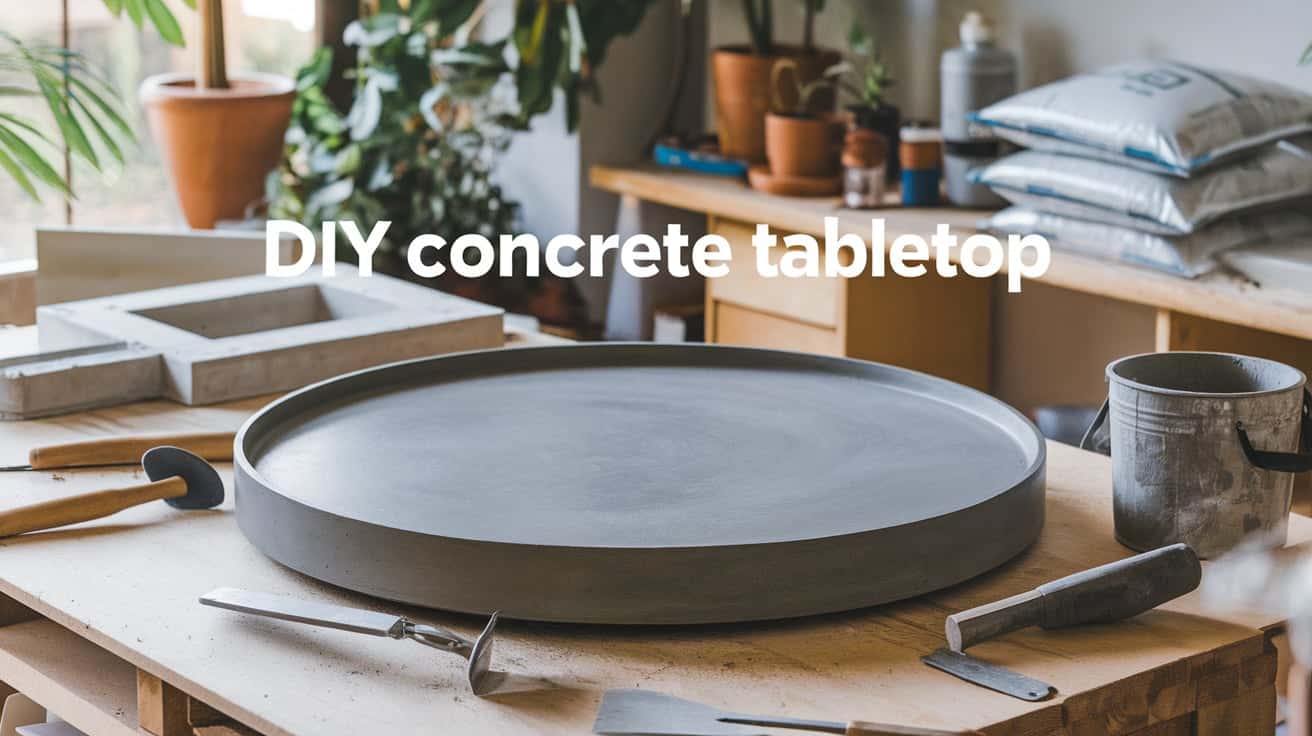
In this tutorial, I’ll share my simple method that uses a solid core door as the base. You’ll learn eight clear steps to build your own concrete tabletop, from creating the base to adding the final seal.
DIY V/S Purchase: The Real Story
Making your own concrete table saves you serious money compared to buying one from a store. While store prices start at $3,000 and can climb past $5,000, you can build one yourself for about $300-400 total.
The basic supplies cost less than you might think – concrete mix runs around $50, mold materials about $100, basic tools nearly $150, and sealer plus extras add another $100.
But the benefits go beyond saving money. You get to pick the exact size that fits your space, choose any color that matches your style, and decide on the finish you want.
You’ll learn skills you can use for other projects, and if anything ever needs fixing, you’ll know exactly how to handle it. Plus, there’s something special about telling guests, “I made this myself.”
Essential Materials for Your DIY TableTop
| Category | Items | Purpose |
|---|---|---|
| Base Construction | Solid core door, Spider legs, 2×6 lumber | Main structure and support. |
| Fastening Materials | Cabinet screws, Mesh tape, Silicone caulk | Assembly and sealing. |
| Finishing Materials | Concrete adhesive, Floor resurfacer, Pigment, Polyurethane, Sandpaper | Smoothing and finishing. |
| Miscellaneous | Plastic signboard, Water | Shaping and mixing. |
Step-by-Step Guide To Building A Concrete Tabletop
Building a concrete tabletop combines simple materials and basic techniques to create a sturdy, long-lasting piece of furniture.
This guide shows you how to turn a regular door into a concrete-topped table that’s perfect for outdoor use.
While the project takes time and patience, each step is straightforward. We’ll walk through the process from preparing the base to adding the final protective coating.
By following these steps, you’ll craft a table that adds a modern touch to your space.
1. Setting Up Your Base Structure
Start with a solid core door that’s 30 inches wide. Trim it to your desired length with a circular saw.
Fix the spider legs to the door using 1¼ inch cabinet screws. The legs come with slots instead of holes, which lets you position the screws where needed.
This creates a basic table structure, but the door material won’t last outdoors without protection.
2. Building The Concrete Form
Create a border for your concrete by cutting plastic signboards into strips. Fix these strips into 2×6 lumber pieces, then attach them under the table.
Make sure to leave a half-inch space between the signboard and the door’s edge.
This gap will hold the concrete as it sets. Use silicone caulk to seal any gaps in your form. This prevents concrete from leaking during the pour.
3. Surface Preparation Phase
Before adding concrete, you need proper surface preparation. Cover the door’s surface with mesh fiber tape – make sure it’s the alkali-resistant type made for cement board.
Mix the Quickrete concrete bonding adhesive with water according to the package directions.
Apply this mixture evenly over the entire surface with a roller. This helps the concrete stick firmly to the door.
4. Mixing Your Concrete Solution
Start by measuring the correct amount of water for one 50-pound bag of Quickrete self-leveling floor resurfacer.
Mix these together, then split the mixture into two buckets. In one bucket, add slate gray pigment.
This creates two slightly different shades of concrete that you can use for patterns. Keep the color difference subtle for best results.
5. Pouring Process
Pour both concrete mixtures onto the prepared surface.
You can make patterns by pouring the different shades in a way that creates subtle variations.
The thin consistency of the floor resurfacer helps it spread and level on its own. Let the concrete sit undisturbed for three hours after pouring.
6. Initial Curing Steps
Once the concrete starts to set, place some wooden sticks across the surface and cover everything with a plastic tarp.
This helps trap moisture and prevents the concrete from drying too quickly.
Leave it covered for 24 hours. After this time, remove the forms and spray the surface lightly with water to help the curing process.
7. Surface Refinement
Check the concrete surface for any raised spots or bubbles. Sand these areas smooth with 220-grit sandpaper.
Look for hairline cracks around the edges – these might appear as the concrete settles.
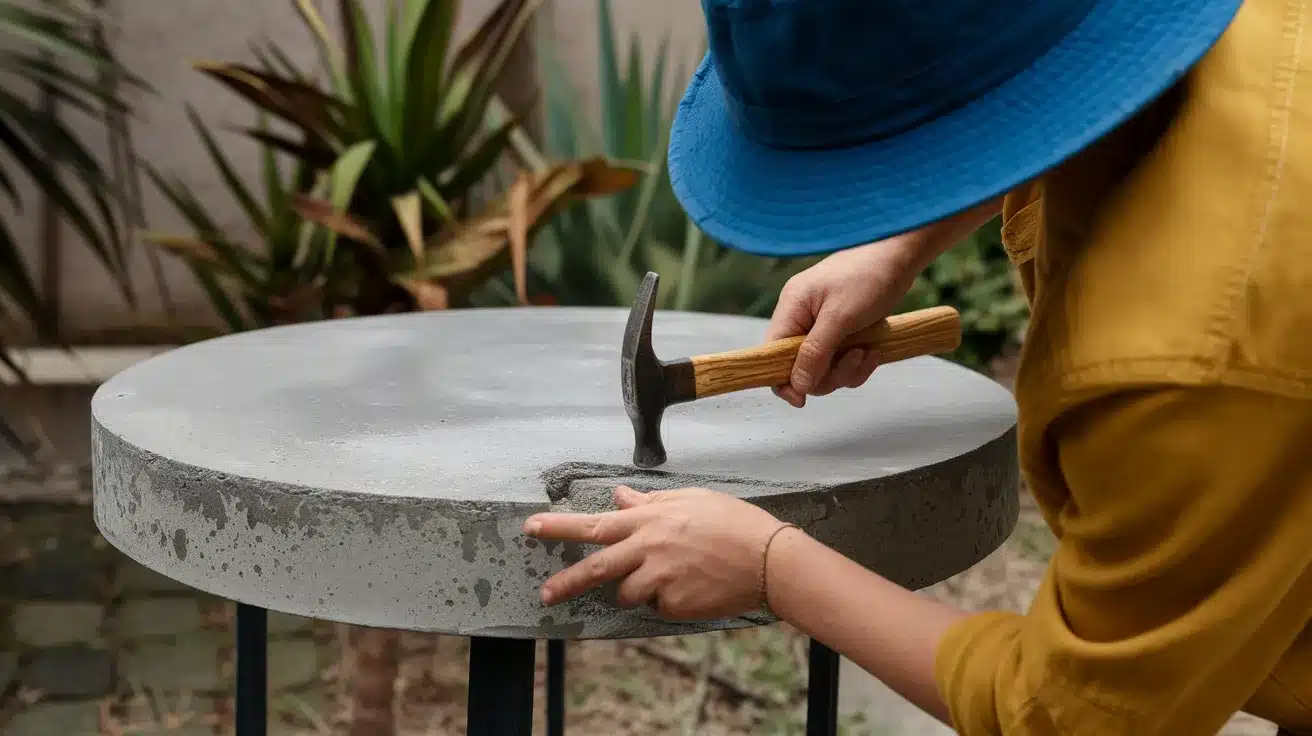
Fill any cracks with concrete repair compound and sand the filled areas once they’re fully cured. This creates a smooth, even surface.
8. Final Sealing Process
Complete your table by adding two coats of water-based polyurethane in a matte finish. Apply the first thick coat and let it cure completely.
Then, lightly sand the surface with 400-grit sandpaper before adding the second coat.
This sealing process protects your concrete from moisture and daily wear while keeping its natural look.
For a detailed visual demonstration of this concrete tabletop project, you can watch the full tutorial by visiting:-
Practical Considerations For A Durable Tabletop
Installation Tips
Let’s talk about putting your table together safely. Here’s what I learned after setting up several tables.
Base Selection: Your table top is heavy – about 12 pounds per square foot. Pick a base that can handle this weight. Steel bases work best for large tables. Wood bases need extra support bars. Make sure your base has connection points every 12 inches.
Attachment Methods: I like using silicone construction adhesive plus brackets. Here’s my system:
- Clean both surfaces
- Apply adhesive in small dots
- Add L-brackets every 18 inches
- Let it set for 24 hours before using
Maintenance Tips
Taking care of your table is simple. I’ve had mine for three years, and it still looks new.
Daily care:
- Wipe spills right away
- Use gentle soap and water
- Avoid harsh cleaners
- Use coasters under wet glasses
Every six months:
- Check the sealer by dropping water on it
- Look for small cracks
- Tighten any loose brackets
Conclusion
Making a concrete tabletop takes time and care, but the results are worth the effort.
By following these eight steps, you can turn a basic door into a durable, stylish table. Remember to focus on proper preparation, from securing the base to sealing the final surface.
Each step builds on the last, creating a piece that’s both functional and attractive. The key to success lies in patience during the curing process and attention to detail in the finishing steps.
With basic tools and materials from your local hardware store, you can create a custom table that perfectly fits your space.
This project proves that high-quality furniture doesn’t require professional help or expensive materials.
Ready to start your project?

