The traditional choice of having attractive floors or durable floors in your house has largely disappeared. The advancements in modern synthetic materials have made the gap between the two so small that, in numerous cases, you wouldn’t be able to tell the difference unless you were specifically examining them.
What “Practical” Actually Means in High-Traffic Spaces
Many people tend to believe that durability is related to hardness. But that’s not entirely true. For instance, in a busy hallway or kitchen, the most common problems are moisture and topical stains, not impacts. It means a floor can be extremely hard, but if water is left on it for twenty minutes, it can still warp or discolor.
That’s why the specifications that are the most important are not the ones that are most advertised. For example, the wear layer thickness is measured in mil and it indicates how much protective coating is on top of the decorative layer. A 12-mil wear layer works well for most residential rooms, but you should opt for 20-mil or more in high-traffic areas or areas exposed to water. Floors with rigid core construction, like the Stone Plastic Composite, are more protected since they resist indentation and remain stable even as the temperature changes.
Additionally, you should also consider VOC emissions and check if they are low. This is important because low emission floors aren’t just more sustainable, but they also significantly improve the air quality in enclosed spaces like bedrooms.
The Visual vs. Texture Rule Most People Skip
Shiny floors certainly look pretty in pictures. In practical, everyday life, though, they show every dust particle, every micro-scratch, every footprint from a pet or a child.
Matte finishes and textured grain surfaces don’t hide damage, they just don’t amplify it. A floor finished with an Embossed in Register technique aligns the physical texture of the surface with the printed grain beneath it, creating the tactile depth you’d associate with real timber or stone.
You run your hand over a good LVT flooring plank and you can feel the grain rising and falling exactly where the print suggests it should. That level of realism separates a convincing synthetic from a cheap one, and it’s also what makes the floor forgiving in everyday use.
If you’re choosing between two options at a similar price point, the one with EIR texture will look better twelve months after installation.
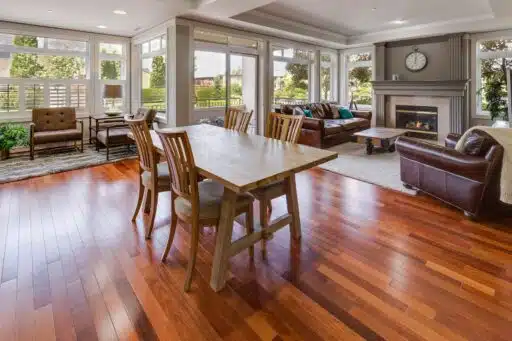
Natural Materials vs. Modern Synthetics: The Honest Comparison
Solid oak and natural stone have genuine appeal. They’re also demanding. Hardwood floors need to acclimatize to a room’s humidity before fitting, require periodic refinishing, and can’t go in rooms where moisture levels fluctuate. Stone is cold, hard underfoot, and expensive to install correctly.
The labour costs over a decade are real. Sealing, sanding, refinishing, it adds up in time even when you’re doing it yourself.
Modern synthetics shift that equation. LVT is fully waterproof, making it suitable for bathrooms and kitchens where timber would traditionally fail within a few years. It delivers the warmth and visual character of natural wood without the maintenance schedule, and a built-in underlayment layer handles sound dampening and minor subfloor irregularities at the same time.
The aesthetic parity between high-fidelity synthetics and natural materials is now close enough that the decision often comes down to practical factors alone.
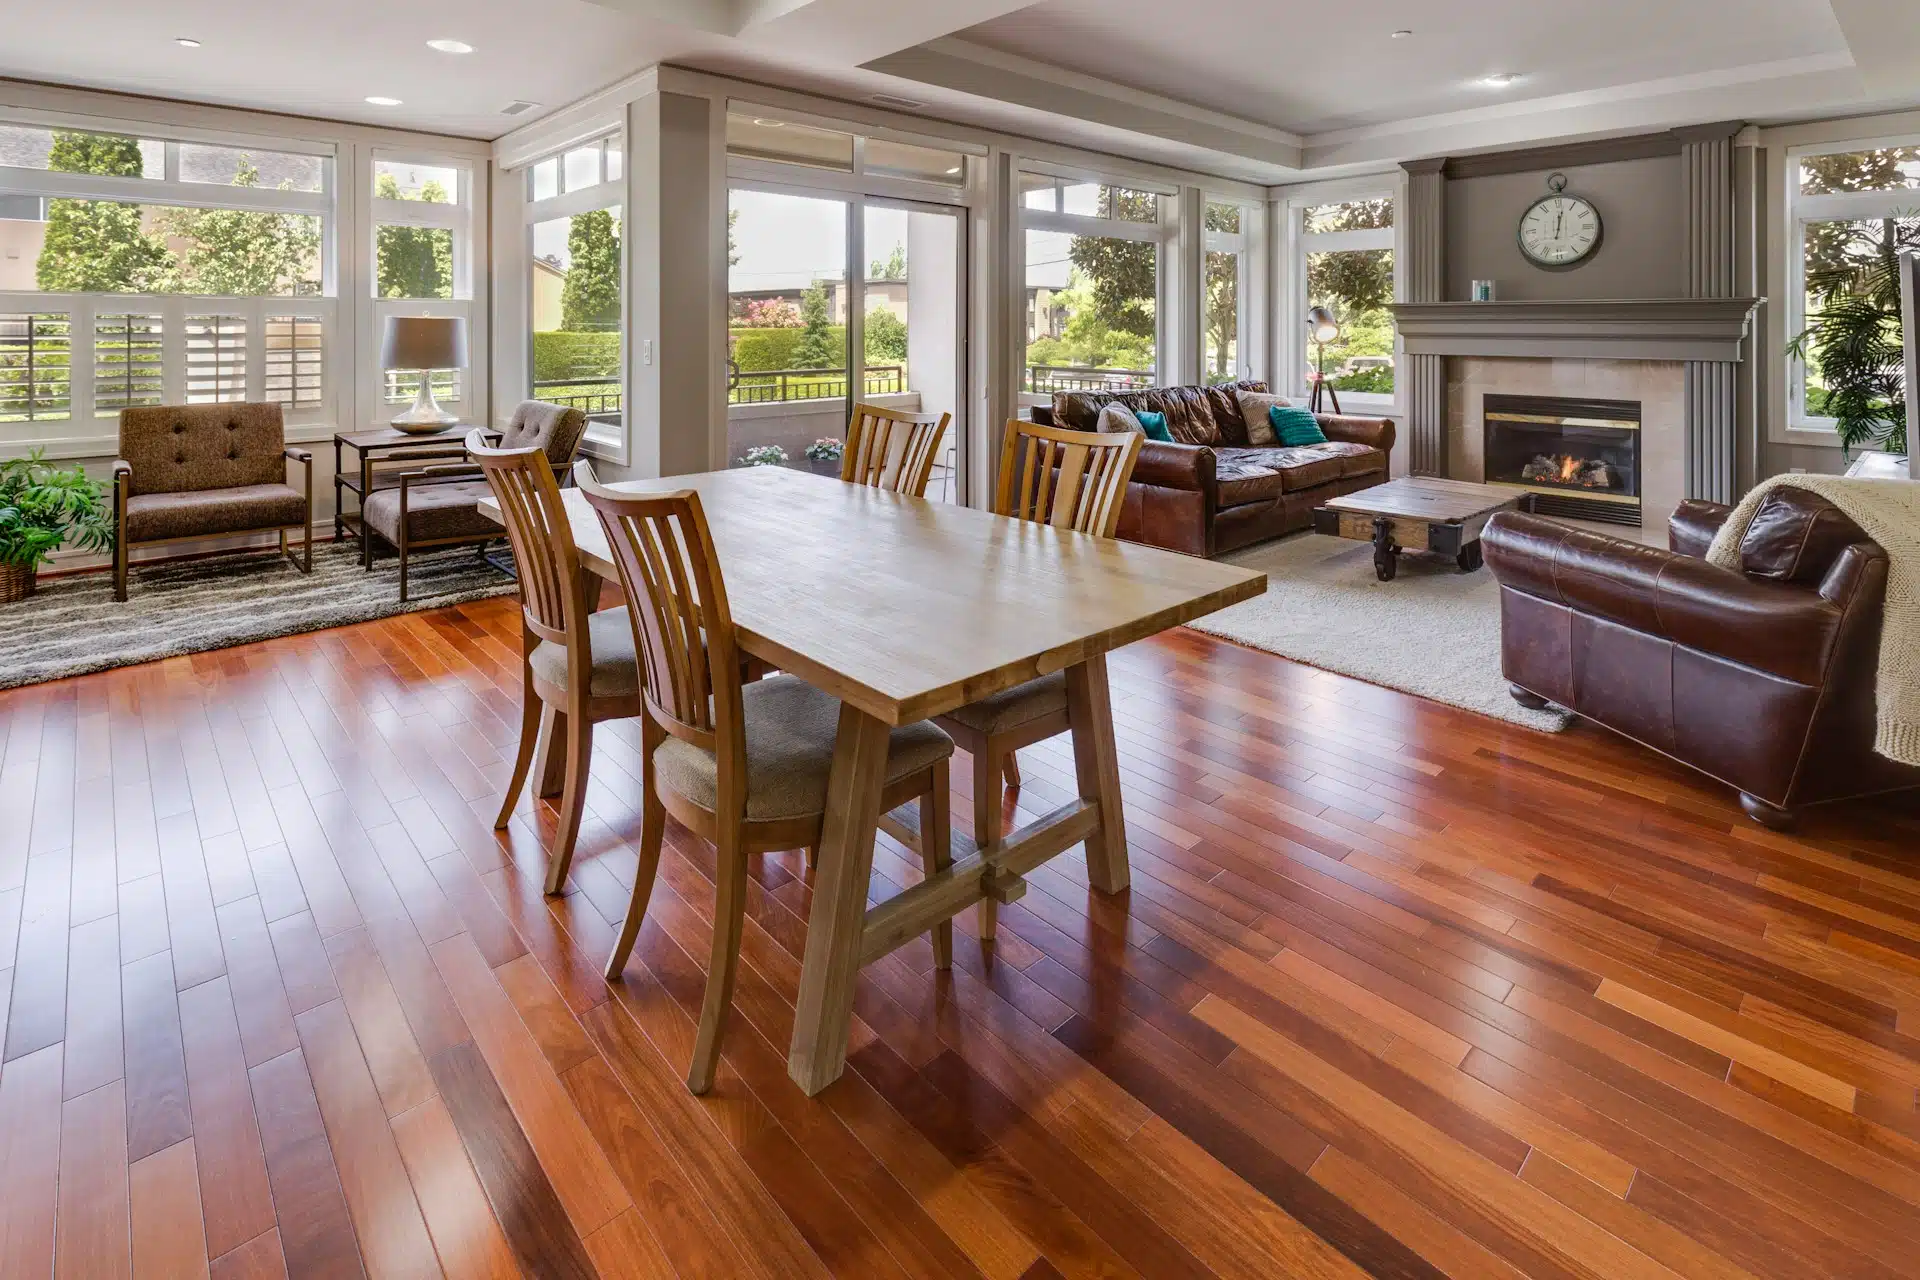
Zonal Flooring in Open-Plan Spaces
Using a single floor material throughout an open-plan home is simple but wastes an opportunity. Zonal flooring, different materials in different areas, lets you define spaces without walls while keeping the overall look coherent.
The key is color palette. A warm grey LVT in the kitchen, transitioning into a slightly lighter laminate in the living area, reads as intentional design rather than a mismatch if the undertones match. Texture contrast works similarly. A smooth finish in one zone and a wood-grain finish in another creates visual separation without a hard break.
Where this approach pays off most is in open kitchens connected to dining or living areas. The kitchen benefits from a waterproof, easy-clean surface. The adjacent space gets something softer underfoot. Same palette, different technical spec.
A Practical Subfloor Check Before You Buy Anything
Installation failures rarely happen due to poor materials but are often a result of subfloor preparation being overlooked.
Before you even buy anything, there are two checks that can save you a lot of tears and wasted money. Flatness: No more than a 3mm deviation over a 1.8m span. Any more and your planks flex, your joints separate, and the click-lock system fails over time.
Moisture: Do yourself a favour and use a moisture meter on concrete before you start covering it with anything. An underlayment doesn’t count as a moisture barrier because it isn’t one.
Leave an expansion gap around the perimeter. Most materials stipulate 8-12mm. Skip it and the floor has nowhere to move when temperature changes, it will buckle within a season.
All of these checks take 30 minutes and save you problems that take days to sort out.
The best floors out there now pretty much work as hard as they look. Most of the path from here to there is just reading specs and being real about what each room actually needs.

With a Master in Architectural Studies from University of Pennysylvania, Marwa Haydar has pioneered living spaces since 2005. Her expertise, initially honed in a prestigious architectural firm, is evident in her approach to creating environments. Marwa became part of our team in 2019 and has since been a driving force in our home improvement section, known for her practical yet stylish solutions. She’s been spearheading our design workshops since then, infusing her passion for teaching into her work. In her leisure time, Marwa enjoys exploring historic architecture and is an enthusiastic pottery hobbyist, further enriching her understanding of form and texture.