Your hosta was once full, lush, and impossible to ignore. Now it comes back smaller each spring. The center thins out. The leaves lose their rich color.
You feel like you have tried everything, but the plant still looks weaker each year.
Knowing when to divide hostas and how to do it the right way is the difference between plants that slowly fade and plants that come back bigger and better every year.
This guide will show you exactly what to look for and how to fix it.
What are Hostas and Why Should You Divide Them?
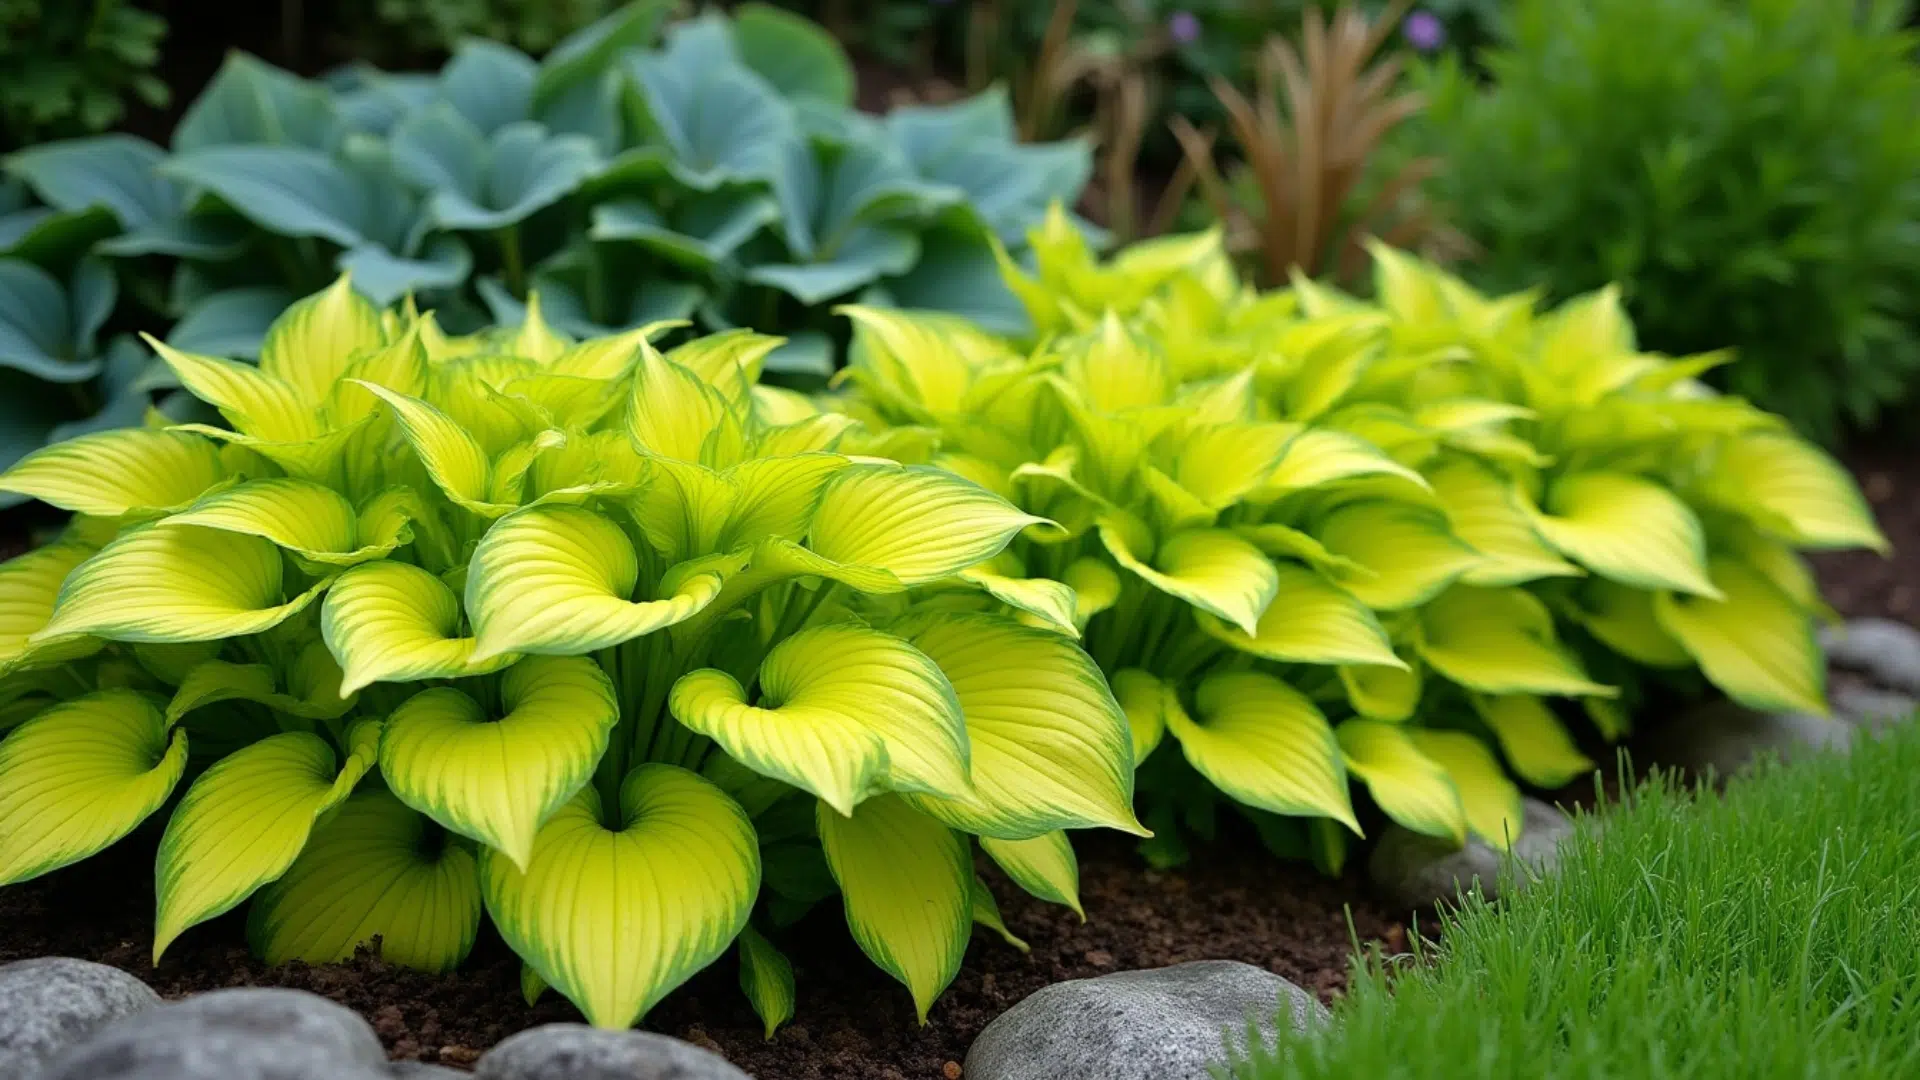
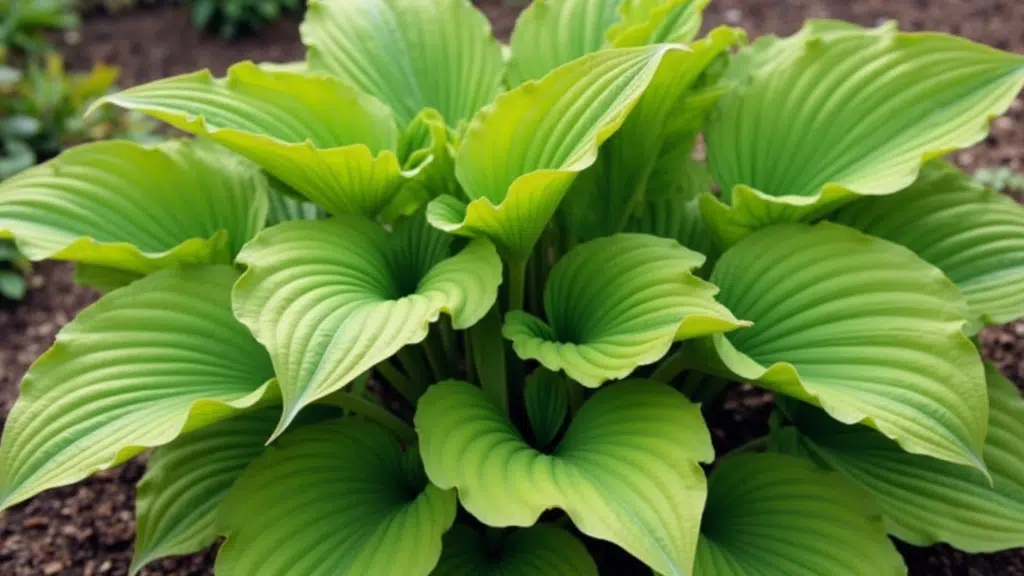
Hostas are shade-loving perennials grown mainly for their attractive foliage. They return every year and come in hundreds of varieties, from small compact plants to large clumps that can spread up to four feet wide.
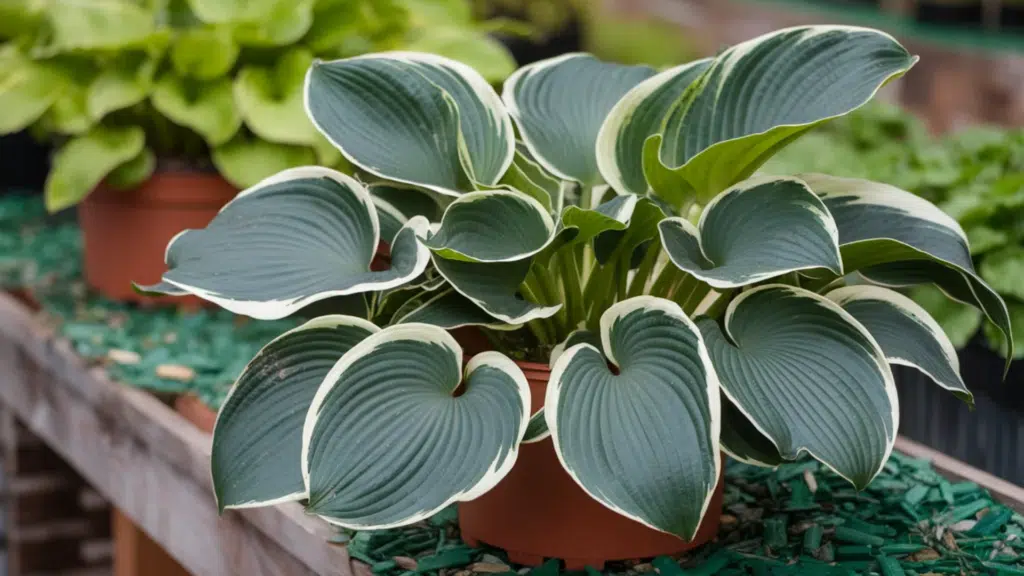
Their leaves come in many colors, including deep green, blue, gold, and variegated patterns. Hostas thrive in shady areas and grow from a central crown with growth points called eyes, which produce more growth each year and allow the plant to spread outward.
Over time, the crown becomes too crowded, forcing the plant to compete with itself for nutrients and moisture. This can lead to smaller leaves, thinning centers, and weaker growth.
Dividing hostas solves this problem by separating the plant into smaller sections, giving each one space to grow again.
Most hostas recover quickly and often return stronger within a single season, while also giving you extra plants to use elsewhere in your garden.
When is the Best Time to Divide Hostas?
Timing your division correctly makes the process easier on you and far less stressful on the plant.
Hostas are tough perennials, but choosing the right season dramatically improves how quickly they recover and how well they perform afterward.
1. Early Spring: The Ideal Window
Early spring is the best time to divide hostas. Divide just as new shoots begin to emerge from the soil, before the leaves fully open. At this stage:
- The plant’s energy is concentrated in the roots.
- The foliage is small, making the clump easier to handle.
- The plant has the entire growing season to reestablish itself.
Because temperatures are cooler and rainfall is typically more consistent, divisions experience less transplant shock. Once replanted, they can quickly produce new roots and settle in before summer heat arrives.
2. Early Fall: A Strong Second Option
Early fall is another excellent time for division. Aim for about four to six weeks before your first expected frost. This window allows:
- Roots to establish while the soil is still warm.
- Reduced stress due to cooler air temperatures.
- Less competition from aggressive summer growth.
In the fall, the plant shifts energy back to its root system, which supports healthy root development before winter dormancy. Just be sure not to divide too late. If the ground freezes before roots settle, divisions may struggle the following spring.
3. Midsummer: Possible, but Riskier
Dividing hostas in midsummer is possible, but it is not ideal. Heat and active leaf growth increase stress on the plant. If you must divide during summer:
- Choose a cool, cloudy day.
- Water the plant deeply the day before dividing.
- Replant immediately and water thoroughly afterward.
- Provide temporary shade if the plant receives afternoon sun.
Expect some wilting or leaf damage. The plant may look rough for a few weeks, but with consistent moisture, it can recover.
When Do Hostas Actually Need to Be Divided?
Your hostas will tell you when they are ready before you even check the calendar. Watch for these signs:
- The center of the clump thins out or dies back, while the outer edges continue to spread.
- Leaves are noticeably smaller than they were a couple of seasons ago despite regular care.
- The clump has crept beyond its original space and is crowding neighboring plants.
- Spring growth is slower than usual, and the plant never quite fills out the way it used to.
- The plant looks generally tired, produces fewer flowers, or seems low on energy overall.
If you spot two or more of these together, it is time to divide regardless of the season.
How Often Should You Divide Hostas?
A reliable general guideline is to divide hostas every three to five years, though this varies by variety.
Smaller and faster-growing types tend to fill their space quickly and benefit from dividing closer to the three-year mark. Large, slow-growing varieties can go five years or longer before they truly need it.
The most honest advice is not to follow a fixed schedule but to watch the plant. If it looks healthy and vigorous, leave it alone.
If the growth seems weaker than it used to be or the clump is pushing into neighboring plants, it is time, regardless of when you last divided.
How to Divide Hostas Step-by-Step
After completing these steps, your newly divided hostas will have the space and resources they need to grow strong again. With proper care, the new divisions will settle in quickly and develop into fuller, healthier plants.
Step 1: Prepare Your Tools
Start by gathering the tools you will need before digging up the plant. A sharp spade or garden fork helps lift the clump without damaging the roots.
You will also need a clean, sharp knife for cutting dense crowns. Wearing gardening gloves will protect your hands while working with soil and roots.
Step 2: Water the Day Before
Water the hosta thoroughly the day before you plan to divide it. Moist soil becomes softer and easier to dig through than dry, compact ground.
This reduces stress on the plant when lifting the roots. It also helps keep the root ball intact during the process.
Step 3: Lift the Entire Clump
Insert your spade about 6 inches away from the outer edge of the plant. Work your way around the clump, loosening the soil from all sides.
Carefully lift the entire root ball out of the ground. Set the clump on a flat surface where you can clearly see the crown and roots.
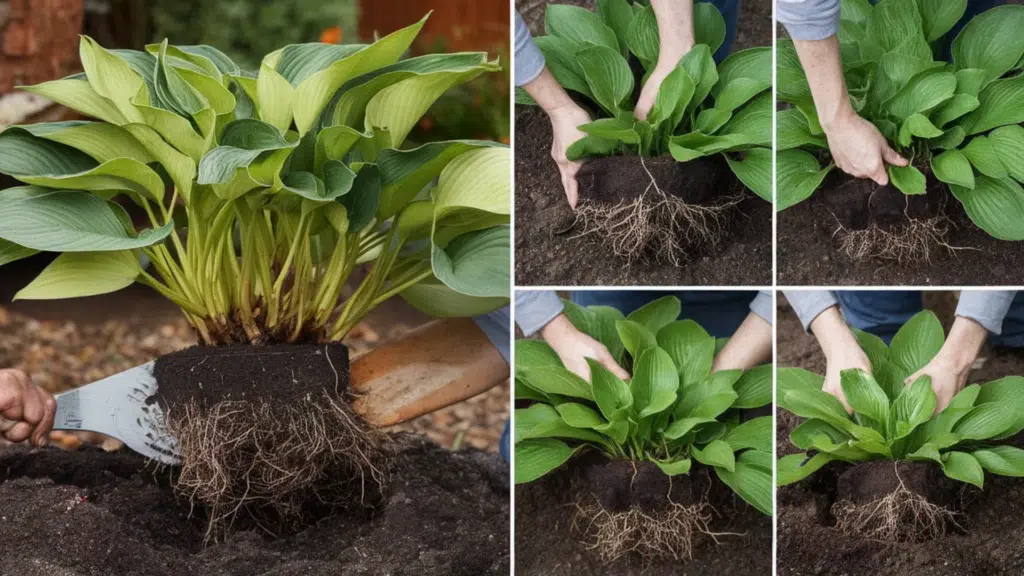
Step 4: Divide Into Sections
Smaller hosta clumps can often be pulled apart gently by hand. For tighter roots, place two garden forks back-to-back and pry the sections apart.
Very large clumps may require a sharp knife to cut through the crown. Make sure each division has at least two or three healthy eyes.
Step 5: Clean Up Each Section
Examine each divided piece before replanting it. Trim away any dead, damaged, or tangled roots with clean cuts. Healthy roots should feel firm and appear light in color.
Remove any soft or rotting crown parts to prevent future disease.
Step 6: Replant Right Away
Hosta divisions should be replanted as soon as possible. Leaving them in the sun can quickly dry out the roots.
Plant each section at the same depth it was growing before. Planting too deeply can cause crown rot and weaken the plant.
Step 7: Water and Mulch
Water each newly planted division thoroughly after planting. Keep the soil evenly moist for the first two to three weeks while the plant settles.
Add a light layer of mulch around the base to retain moisture. Make sure the mulch does not touch the crown to prevent rot.
Tips for Growing Hostas
Growing healthy hostas is simple when you give them the right conditions.
- Pick a cool, overcast day and water the plant 24 hours before dividing to reduce stress on the roots.
- Use a sharp spade so each cut is clean, and every division has at least 2-3 healthy eyes.
- Replant immediately at the same depth, and water thoroughly for the first 2 to 3 weeks.
- Skip fertilizing after a fall division and label sections when working with multiple varieties.
The Bottom Line
Hostas are forgiving plants, but even the most resilient perennials reach a point where they need help.
Overcrowding builds slowly and quietly, and by the time most gardeners notice something is wrong, the plant has already been struggling for a season or two.
Following the step-by-step method outlined here completely takes the guesswork out of the process. The effort is modest. The results are lasting.
Your hostas will reward you with stronger growth, better foliage, and more plants to spread around your garden for years to come.

Veronica Lee holds a Master’s degree in Landscape Architecture from Cornell University and has dedicated more than 15 years to transforming outdoor areas into artistic and sustainable spaces. Her career took off in a renowned landscape design firm, where she excelled in creating visually stunning and environmentally responsible designs. In 2019, Veronica brought her expertise to our platform, quickly becoming a key contributor to our outdoor design and sustainability sections. As the lead of our landscape innovation series ever since joining, she has inspired readers with her forward-thinking and practical approach. When not drafting designs, Veronica enjoys pottery and participates in local conservation efforts, activities that complement her professional ethos of blending art with nature.