Have you ever walked into a small kitchen and wished you had more space to gather with family and friends?
Banquette seating – those cozy built-in benches you often see in restaurants – can turn any small space into a welcoming spot for meals and memories.
I decided to build my own; honestly, it was one of the best home improvement choices I’ve made. Not only did I save money, but I got to make every detail exactly how I wanted it.
In this guide, I’ll walk you through the entire process of building your banquette seating.
I’ll share my mistakes and successes so you can create something that looks store-bought but fits your budget.
DIY Banquette Seating From Scratch
Building your banquette seating might seem like a big task, but with the right steps and tools, you can create a sturdy, comfortable seating area that looks like experts did it.
Let’s break down each part of the process to make it simple.
Materials Required
For your banquette project, you’ll need:
Wood & Lumber
- 2x4s for basic framing
- 2x6s for the base support
- 3/4-inch oak plywood sheets for main surfaces
- 1/2-inch plywood for backing
- 1x2s and 1x4s for trim work
Upholstery Items
- 2-inch thick furniture-grade foam
- Outdoor-grade fabric (1 yard per cushion)
- Batting or padding
- Heavy-duty staples (1/4-inch)
Tools
- Drill and drill bits
- Miter saw
- Jigsaw
- Stud finder
- Speed square
- Measuring tape
- Pencil
- Level
- Clamps
- Brad nailer
Hardware & Extras
- Wood screws (various sizes)
- Construction adhesive
- Wall anchors
- Wood putty
- Caulk
- Paint or wood finish
- Piano hinges (if adding storage)
1. Prepare and Secure the Base
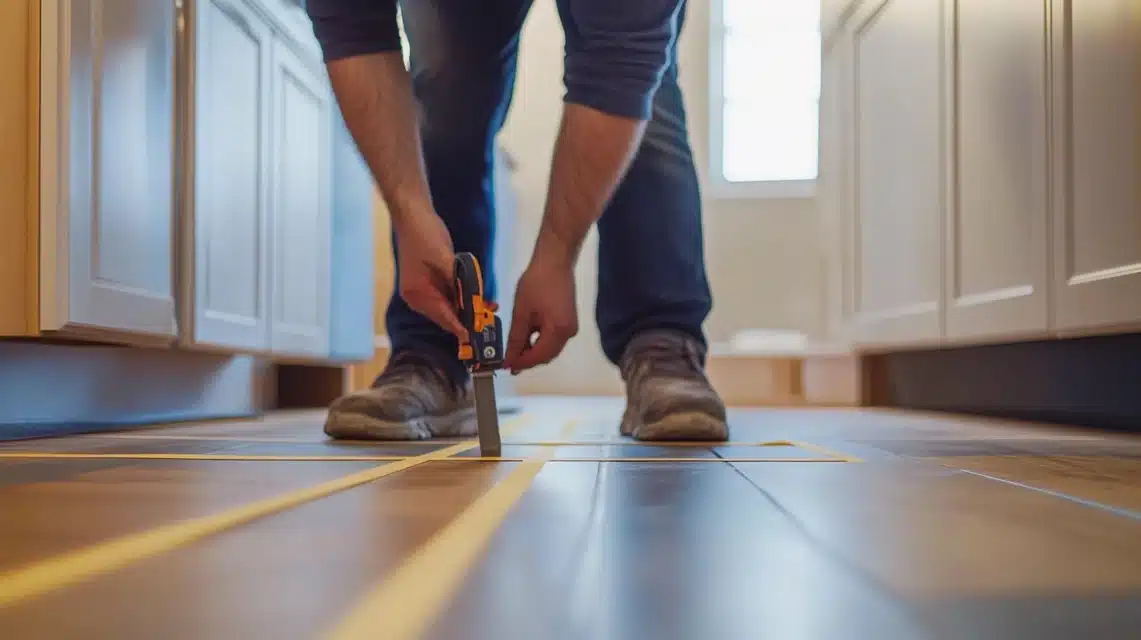
Start by marking your space with painter’s tape to outline where the banquette will sit.
Check your floor for any odd angles – old houses rarely have perfectly square corners! Use a level constantly as you work.
When securing the base frame, locate wall studs with a stud finder and mark them clearly.
Install your base frame using strong screws directly into the studs – this gives you the solid foundation needed for years of use. A wobbly bench isn’t fun for anyone.
2. Fix the Plywood
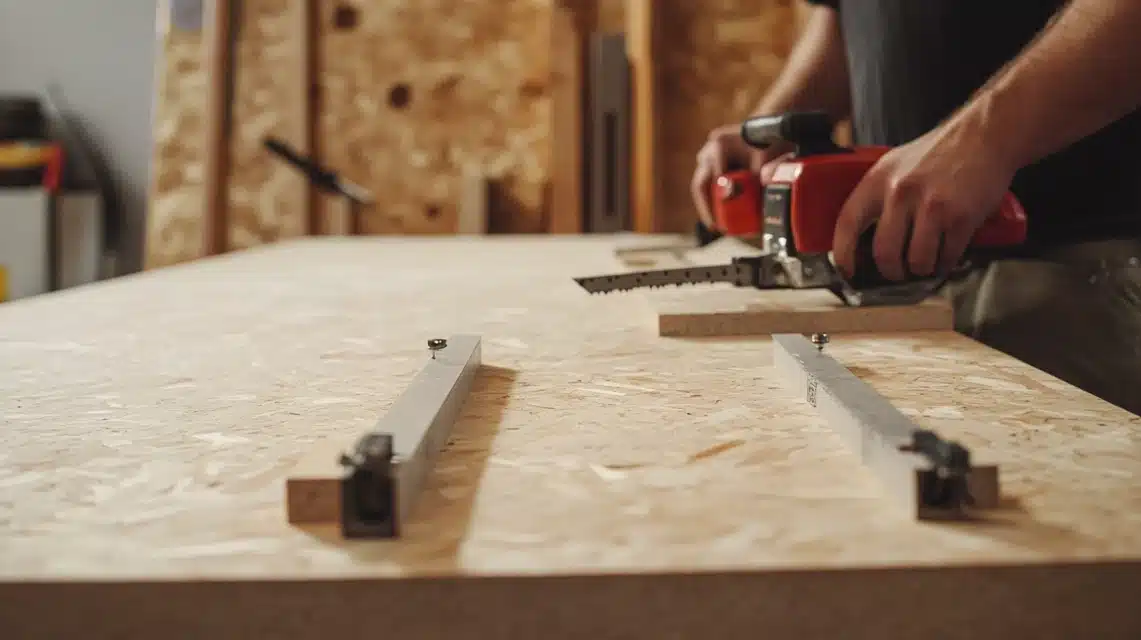
When working with plywood, measure each piece at least twice before cutting.
If you can’t transport full sheets, most stores will cut them down to manageable sizes for free.
Attach your plywood to the frame using both wood glue and screws for extra strength.
Start from one corner and work across, checking for levels as you go.
Sand any rough edges smooth – this step makes a big difference in the final look.
3. Start Building Containers
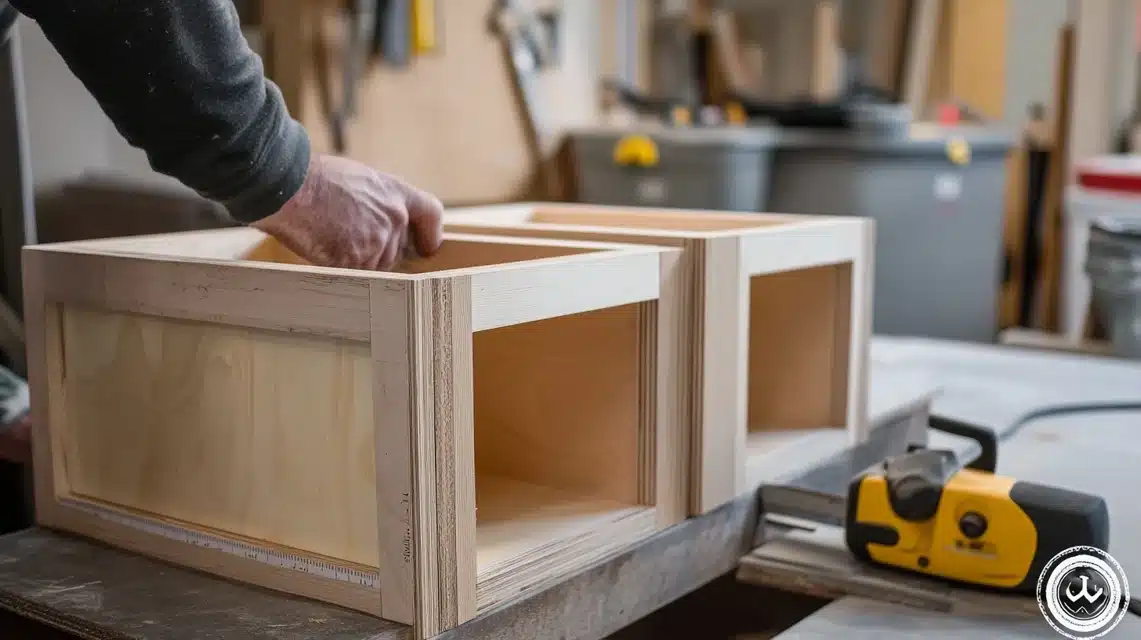
Storage space under your banquette adds real value to the project.
Build your storage boxes using 2x4s, leaving a small gap at the back for air flow.
Space your support beams about 16 inches apart to prevent any sagging over time.
When building the boxes, consider what you’ll store—larger holiday items, games, or extra linens might need different-sized areas.
Make sure to round any edges that might catch clothing or cause splinters.
Add blocks in the corners for extra support.
4. Install and Secure the Boards
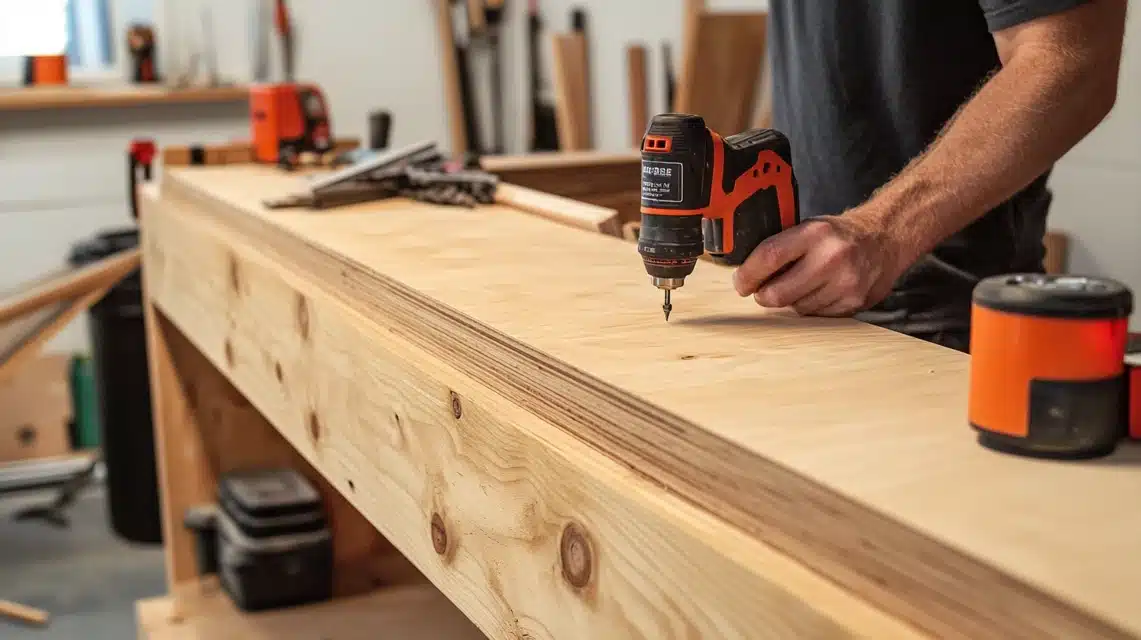
When installing your seat boards, start at the wall and work outward.
Use a 3/4-inch plywood for the seat platform – it’s strong enough to hold weight without bending.
Make your cuts precise and keep the edges straight. Check that each board sits perfectly level before securing it.
If you add hinges for storage access, mark their spots carefully and test the swing before final installation.
Leave small gaps between boards to allow natural wood movement with temperature changes.
5. Construct the Backrest
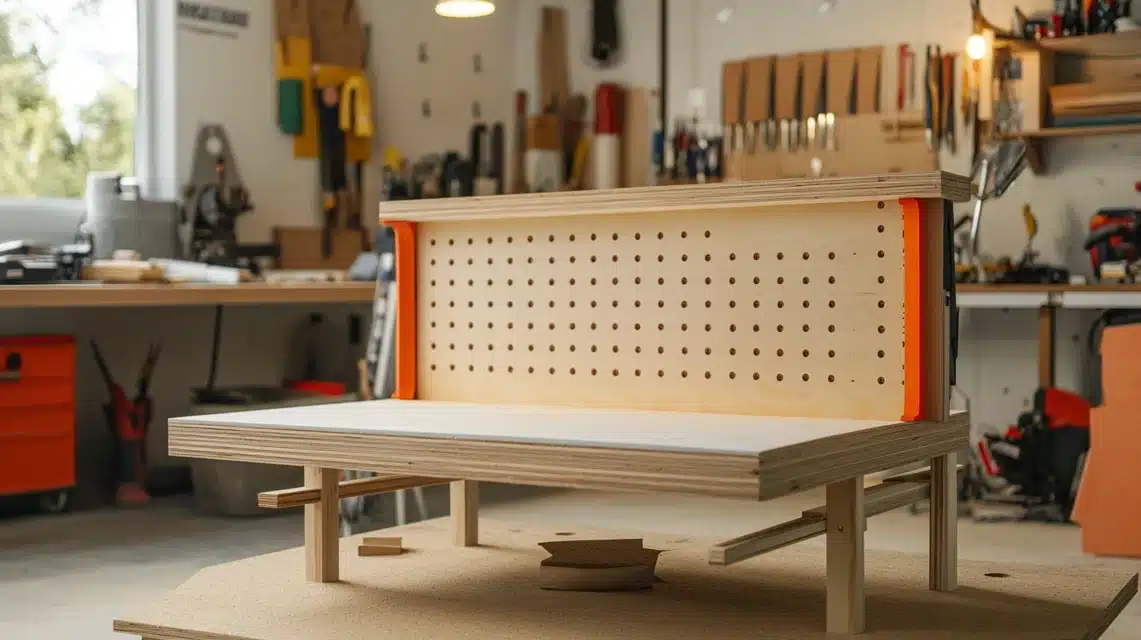
The backrest needs a slight angle for comfort – about 10 degrees works well for most people.
Build your frame using vertical supports spaced 16 inches apart, just like wall studs.
Attach a solid piece of plywood to these supports.
For comfort, wrap the entire backrest with batting before adding your main foam padding.
When you reach the corner areas, take extra care to maintain consistent support while following the wall’s angle.
6. Make the Final Touches
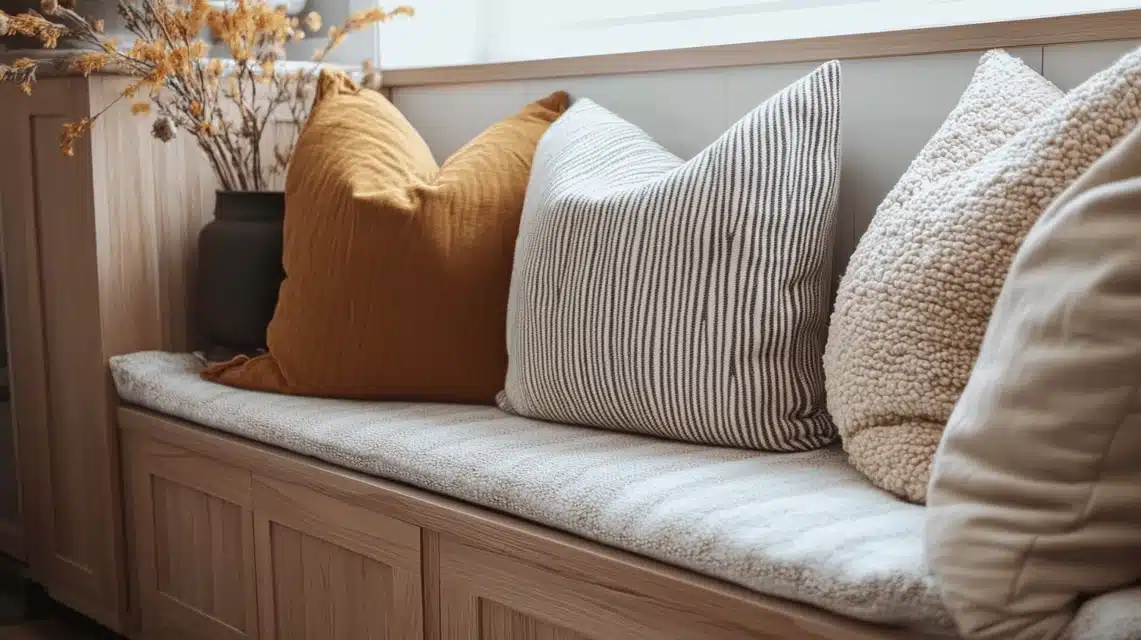
This is where your project comes together.
Sand every visible edge until smooth – no one wants to snag their clothes on rough wood.
Fill nail holes with wood putty and let it dry completely before sanding.
If you’re painting, use a good primer first, then apply at least two coats of semi-gloss paint for easy cleaning.
Cut foam slightly larger than your final size for cushions – this helps create a plump, comfortable seat.
Test all storage lids and hinges one final time to ensure smooth operation.
Some Creative Ideas for Your Banquette Seating
Let’s look at ways to make your banquette more than a seating area. These ideas will help transform your space into a focal point that adds style and function to your home.
Pair With Pendant Light
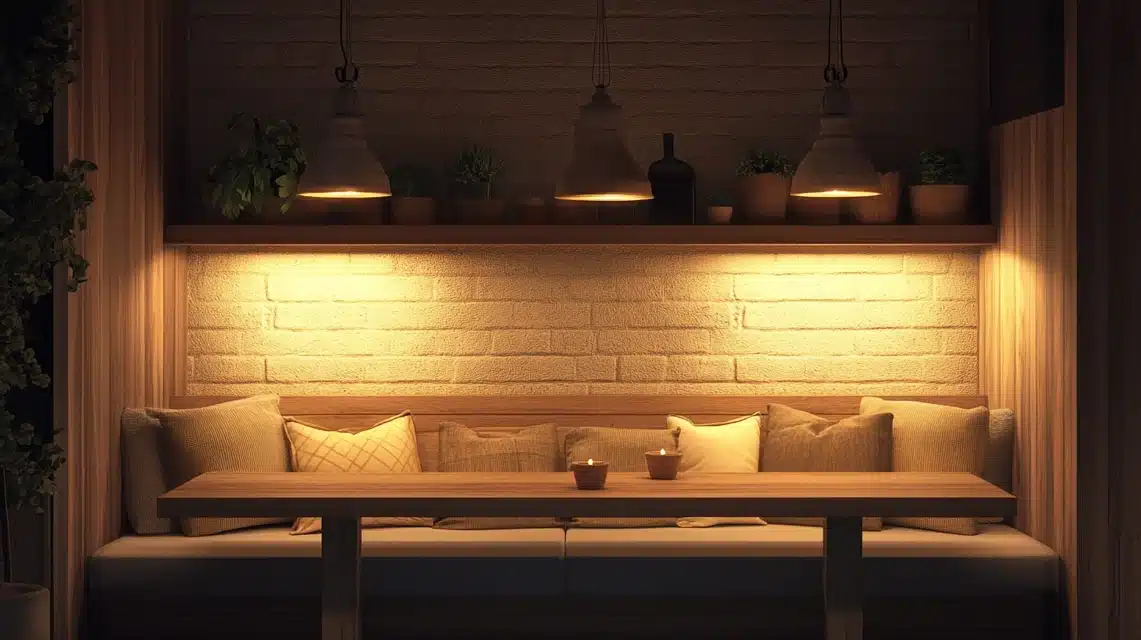
Adding the right lighting can change how your banquette space feels and works.
Consider hanging a single large pendant or multiple smaller ones above your table.
Mount lights at least 30 inches above the table surface to prevent blocking views across the table.
If you have a longer table, try spacing two or three pendants evenly along its length.
Select fixtures that match your room’s style but keep them simple – the banquette should remain the show’s star.
Decorate Background Wall
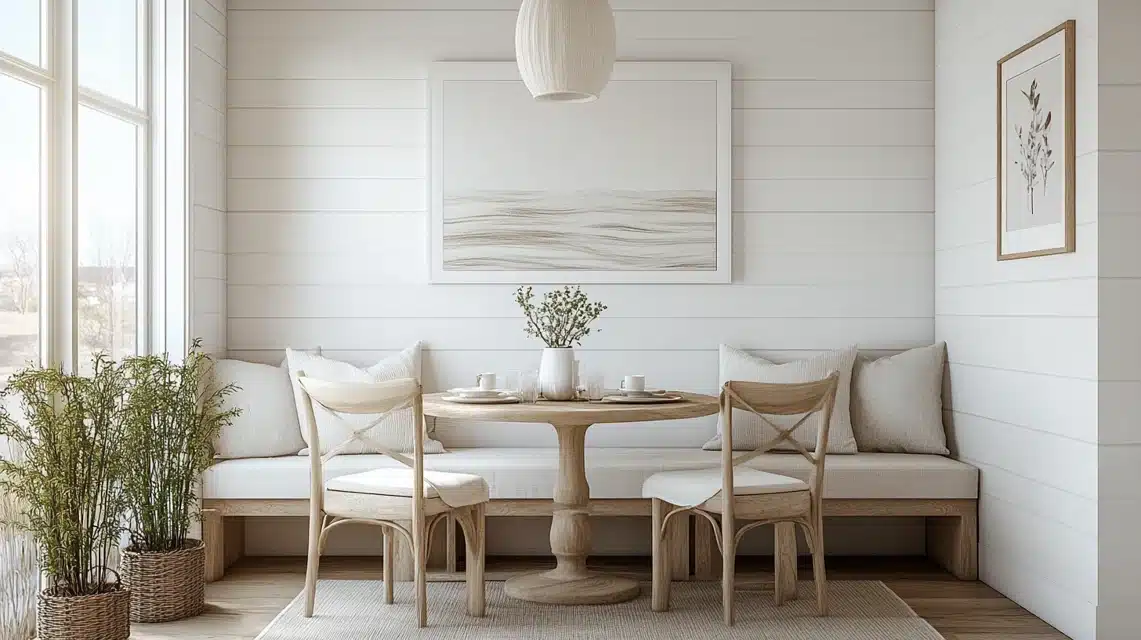
Make your banquette stand out by treating the wall behind it as a design opportunity.
Try adding shiplap panels in white for a clean look, or install a beadboard for classic appeal.
If you’re working in a kitchen, choose materials that can withstand splashes—think washable paint or wipeable wallpaper.
Add a chair rail or simple trim work above the banquette back to create visual interest without overwhelming the space.
Build a Corner Banquette
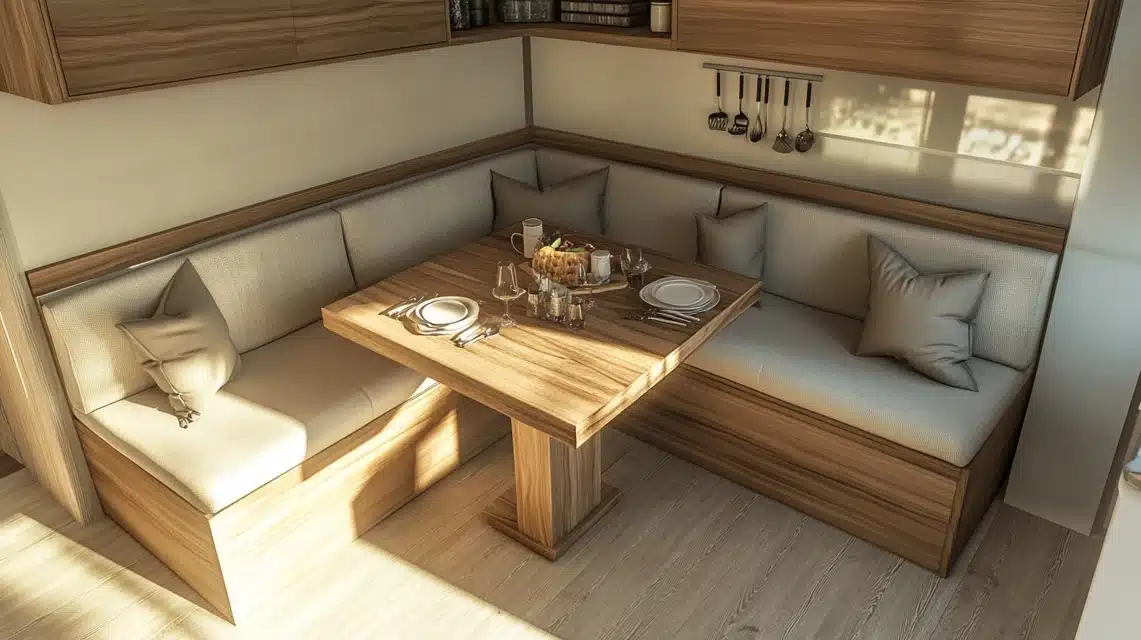
Turn an unused corner into a cozy dining spot with an L-shaped design.
This setup works well in smaller rooms where space is limited.
Make one side slightly longer than the other for better balance, and consider adding hidden storage under both sections.
When planning your corner unit, leave enough room for people to slide in and out easily – about 24 inches per person is a good rule of thumb.
Experiment With A U-Shape Banquette
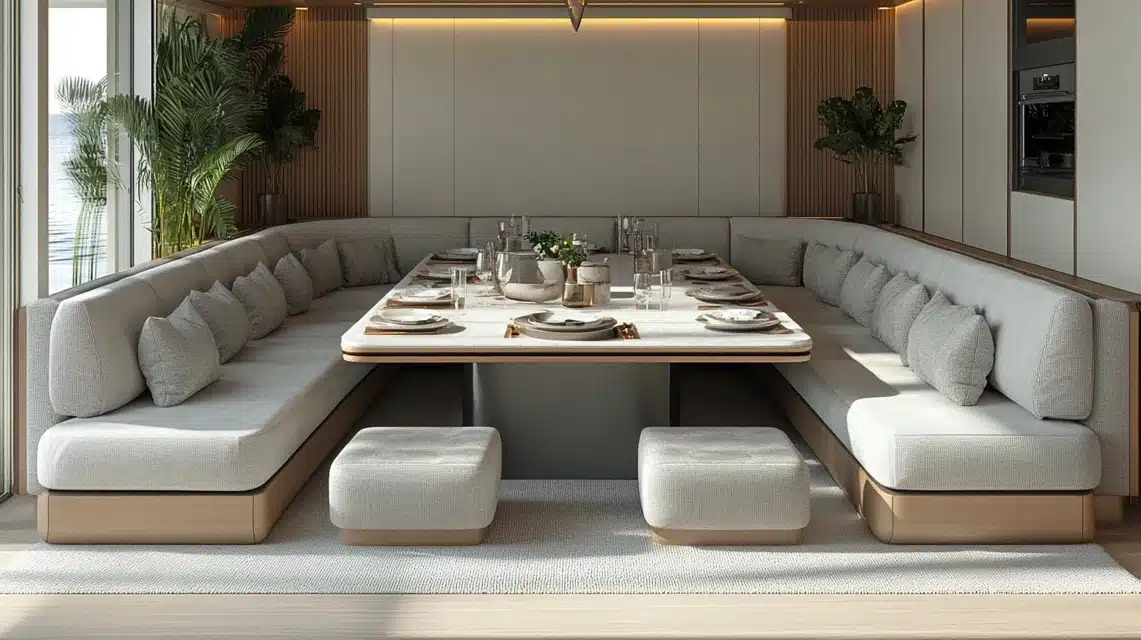
A U-shaped design creates an instant gathering spot that can seat several people.
This layout works best in larger rooms. To allow for comfortable movement, allow at least 36 inches between the table edge and the opposite wall.
Plan for about 24 inches of seating width per person.
To maximize function, add storage under all three sides, and consider making the back section slightly higher than the sides for visual interest.
Build a French Country Style
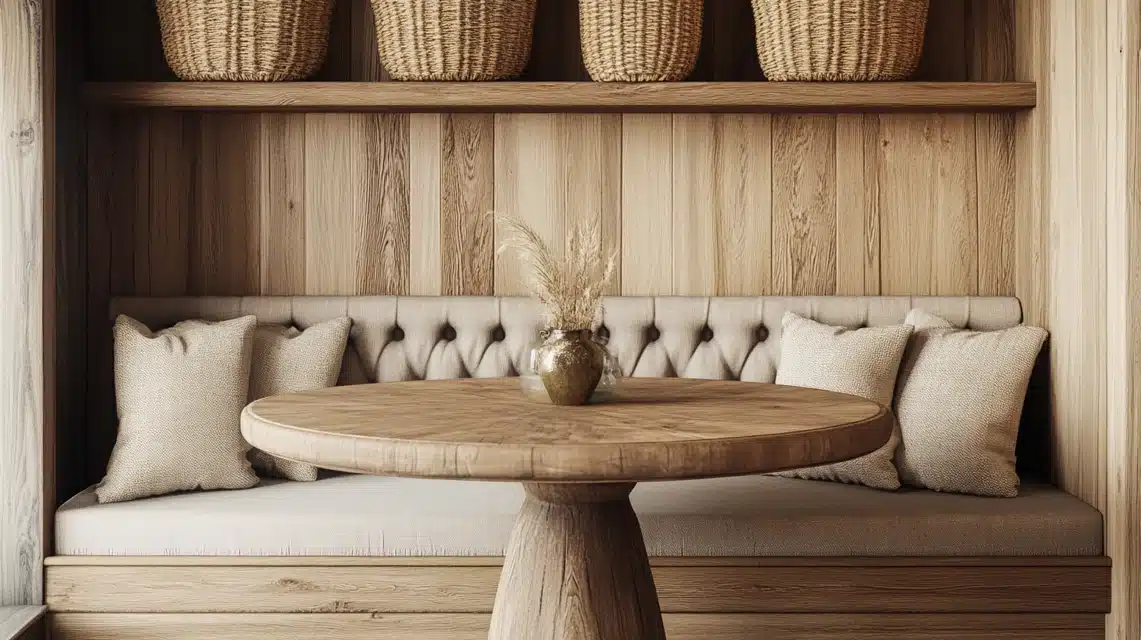
Create a warm, welcoming space by using natural wood tones and soft, muted fabrics.
Choose a round pedestal table to complement curved lines in your design.
Add classic details like button tufting on seat backs or subtle curves in the woodwork.
Keep the color palette simple with cream, beige, or soft gray upholstery.
Consider adding woven baskets under the seats for extra storage that enhances the rustic feel.
Conclusion
Remember, you don’t need to be an expert woodworker to tackle this project. Take your time with measurements, double-check everything, and don’t hesitate to ask for help when needed.
The beauty of DIY is that you can customize every detail to fit your space and style perfectly.
I hope this guide has given you the confidence to start your banquette project.
Trust me – once you’re sitting in your custom-built nook, enjoying morning coffee or family dinner, you’ll be glad you took on this challenge.
Happy building!
Frequently Asked Questions
What is The Best Depth for Banquette Seating?
The ideal depth for banquette seating is 17-20 inches for the seat and 2-3 inches for the backrest. This allows comfortable seating while maintaining good posture.
Should a table overhang a banquette?
A table should overhang a banquette by about 1-2 inches to let people slide in and out easily, but not more than that to avoid discomfort.


