Creating my own space according to my taste felt like a big hurdle. It’s also important to recognize your priorities.
For all that, I have bedroom Ideas for you in different styles and uniqueness.
Your bedroom should be a personal space that makes you feel comfortable and relaxed.
Small changes to its look don’t need to be complicated or expensive.
I’ve gathered 58 practical and budget-friendly ideas to help you create a warm sleeping space that matches your style.
From smart storage solutions to simple wall art and lighting tricks, these bedroom decoration tips will help you transform your room into a peaceful retreat.
You’ll find ideas that work for small spaces, rental homes, and various budgets.
I’ve focused on changes you can make in a single weekend with amazing ideas that are easy to implement, no matter your room size or budget.
Ready to give your bedroom a fresh new look?
Let’s explore these simple decoration ideas that can make a big difference in how your space feels.
Small Bedroom Decor Ideas
1. Wall-Mounted Floating Shelves
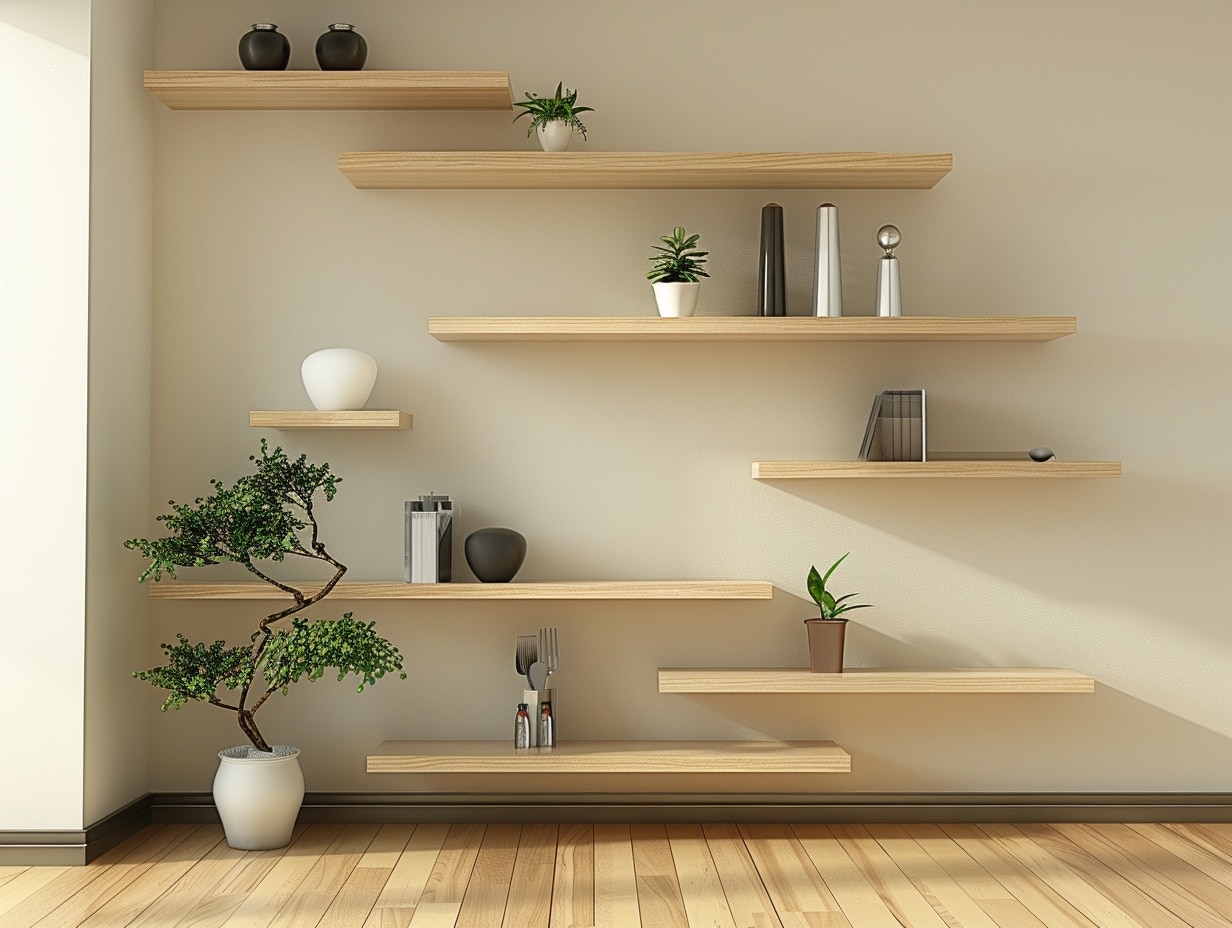
Make the most of vertical space with floating shelves.
These modern storage solutions keep your floor clear while displaying your favorite items.
Floating shelves add style to books, small plants, or decorative pieces without taking up precious square footage.
You can arrange them in various patterns to suit your room’s layout and personal style.
What You’ll Need:
- Floating shelves
- Wall anchors and screws
- Level and measuring tape
- Drill and screwdriver
- Pencil for marking
DIY Steps:
- Mark shelf positions on the wall using a level
- Install wall anchors for support
- Mount brackets according to manufacturer instructions
- Secure shelves and test stability
- Arrange items thoughtfully, keeping heavier objects near brackets
2. Multipurpose Ottoman Storage
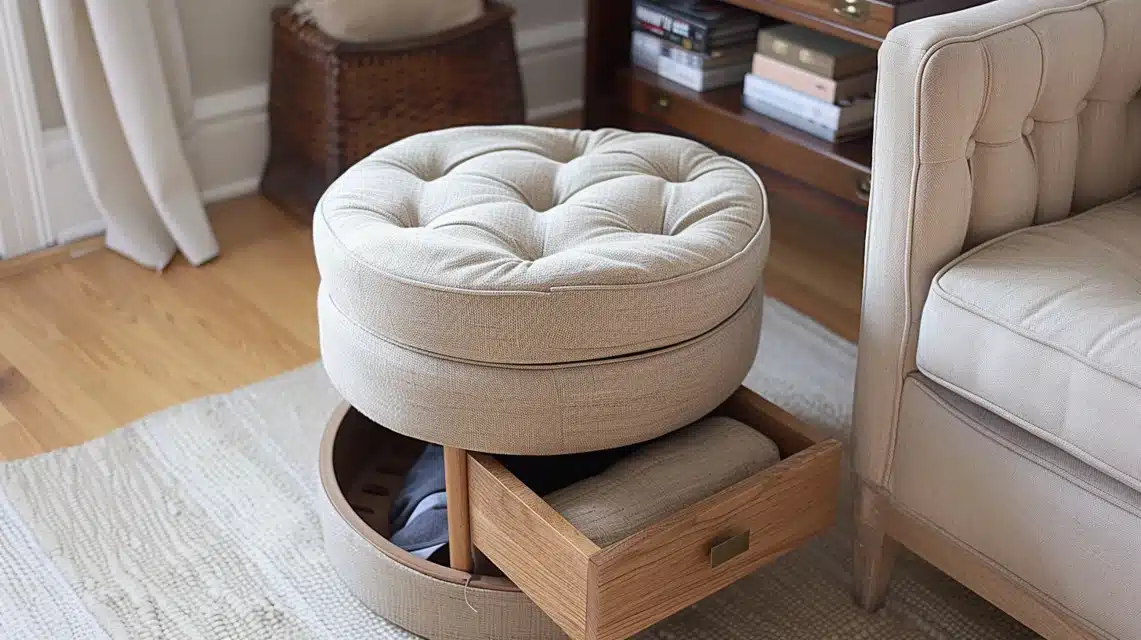
Create flexible seating and storage with a smart ottoman.
This versatile piece works as a seat, footrest, and hidden storage space.
Place it at the foot of your bed or in a corner to maximize functionality without messing up your room.
It is perfect for storing extra blankets, seasonal clothes, or books while providing an extra sitting spot.
What You’ll Need:
- Storage Ottoman
- Storage bins or organizers
- Labels (optional)
- Fabric freshener
- Drawer liners
DIY Steps:
- Choose a suitable spot for the ottoman
- Add drawer liners to protect the interior
- Organize items in categories
- Use small bins for better organization
- Label contents if storing multiple items
3. Under-Bed Rolling Storage
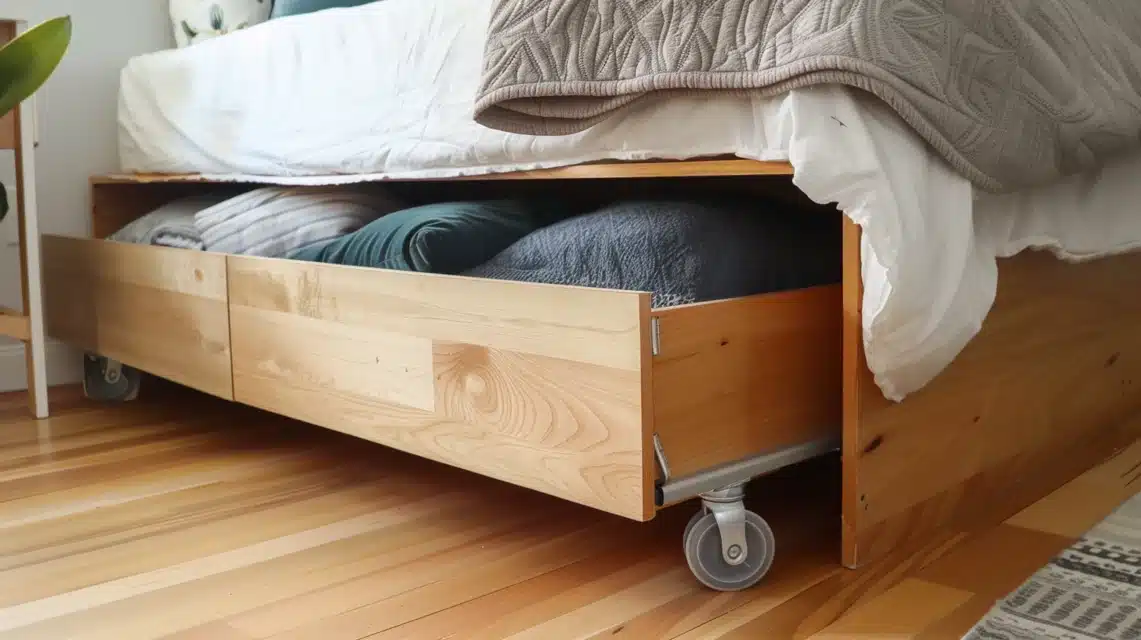
Turn unused space under your bed into valuable storage with rolling containers.
This smart solution keeps seasonal clothes, extra bedding, or shoes neatly tucked away yet easily accessible.
Clear containers allow you to see contents without pulling everything out.
The wheels make cleaning and accessing items simple while keeping your room looking organized and clutter-free.
What You’ll Need:
- Clear rolling storage containers
- Measuring tape
- Storage bags or organizers
- Labels
- Bed risers (if needed)
DIY Steps:
- Measure under-bed space height and width
- Sort items into categories
- Place items in storage bags
- Label containers clearly
- Position containers for easy access
4. Mirror Wall Feature

Attach strategically placed mirrors to create the illusion of more space.
A large mirror or collection of smaller ones can reflect light and make your room feel twice its size.
Position them opposite windows to maximize natural light and create a bright, open atmosphere in your small bedroom.
What You’ll Need:
- Full-length or decorative mirrors
- Wall anchors and hooks
- Level
- Measuring tape
- Cleaning supplies
DIY Steps:
- Plan mirror placement opposite light sources
- Mark mounting points on the wall
- Install secure wall anchors
- Hang mirrors at eye level
- Clean and maintain regularly
5. Space-Saving Bedside Solution
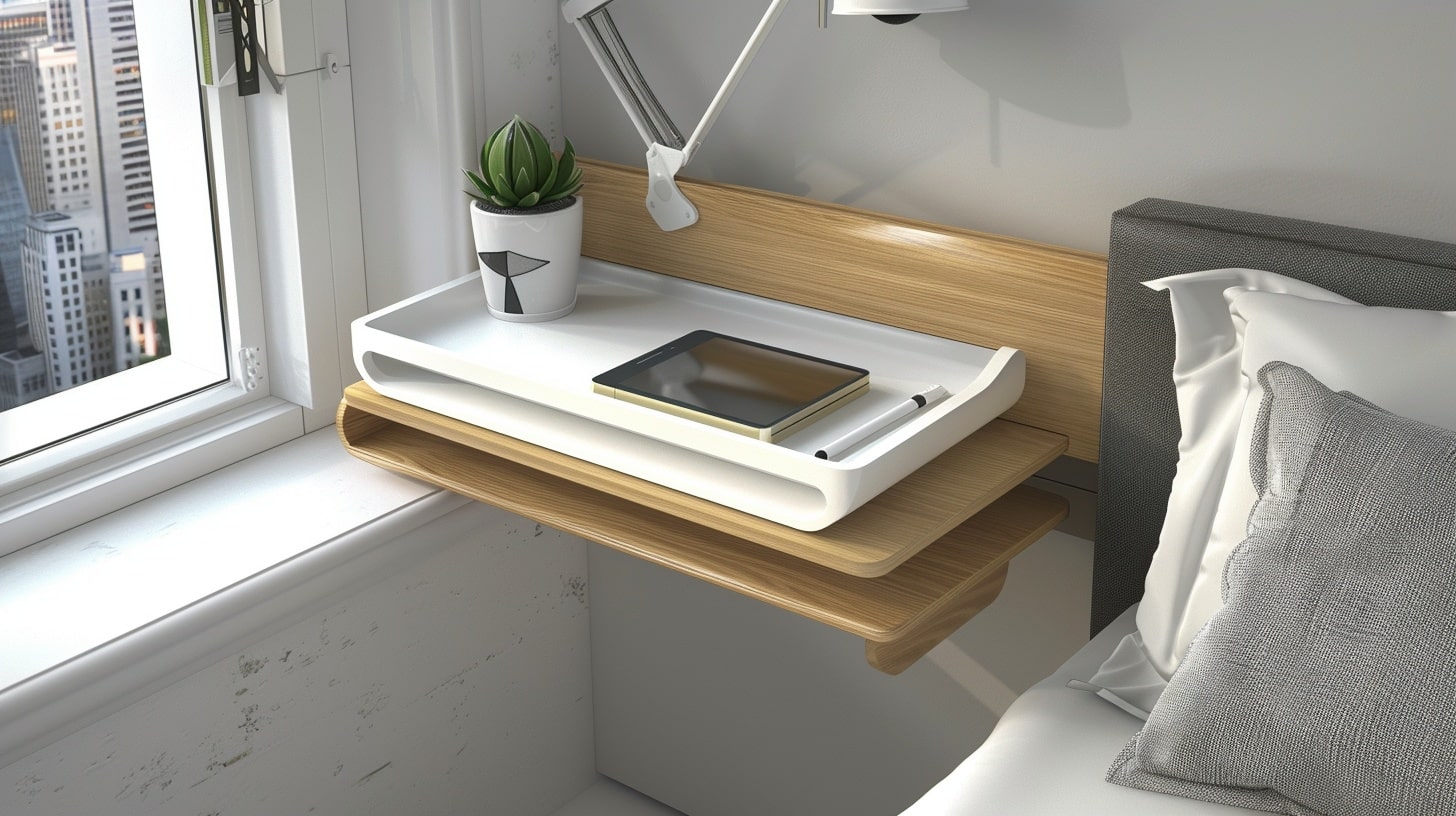
Replace traditional nightstands with wall-mounted shelves or floating tables.
These compact alternatives provide essential surface space without the bulk of regular furniture.
They are perfect for holding a lamp, phone, and other bedtime necessities while keeping floor space open.
What You’ll Need:
- Wall-mounted shelf or floating table
- Wall brackets and hardware
- Level
- Drill and screwdriver
- Wall anchors
DIY Steps:
- Choose the ideal height for bedside access
- Mark mounting points carefully
- Install wall anchors
- Attach brackets securely
- Test weight capacity before adding items
6. Over-Door Organizer System
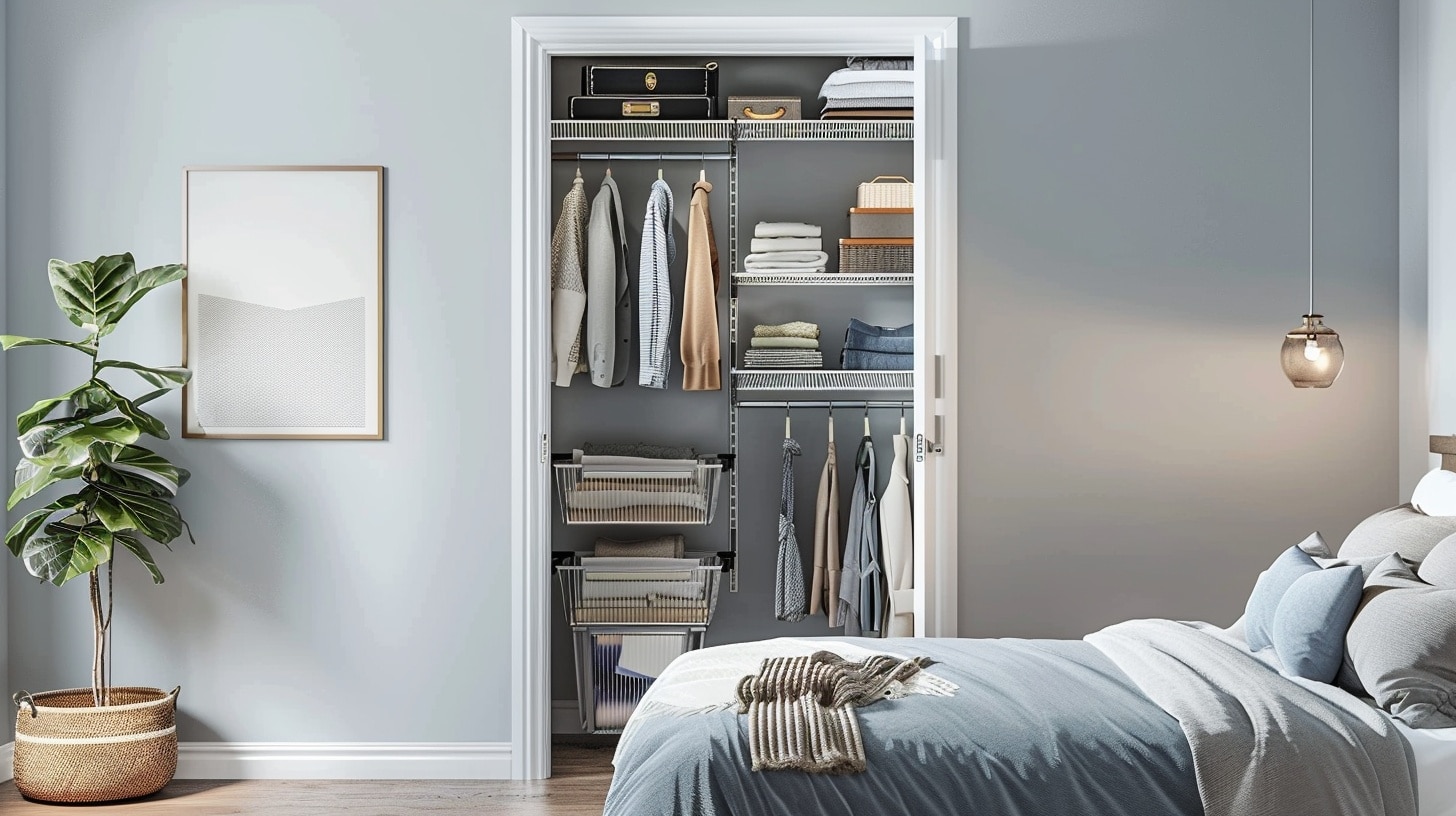
Turn your door into a storage powerhouse with an over-door organizer.
This often-forgotten space can hold shoes, accessories, or daily essentials without taking up any floor space.
It’s perfect for renters since it requires no permanent installation and can be easily removed or relocated.
What You’ll Need:
- Over-door organizer with pockets
- Command hooks (optional)
- Small storage bins
- Labels
- Door bumpers to prevent damage
DIY Steps:
- Clean door surface thoroughly
- Hang the organizer over the door
- Put on door bumpers to prevent scratches
- Sort items into categories
- Label pockets for easy finding
7. Windowsill Reading Book
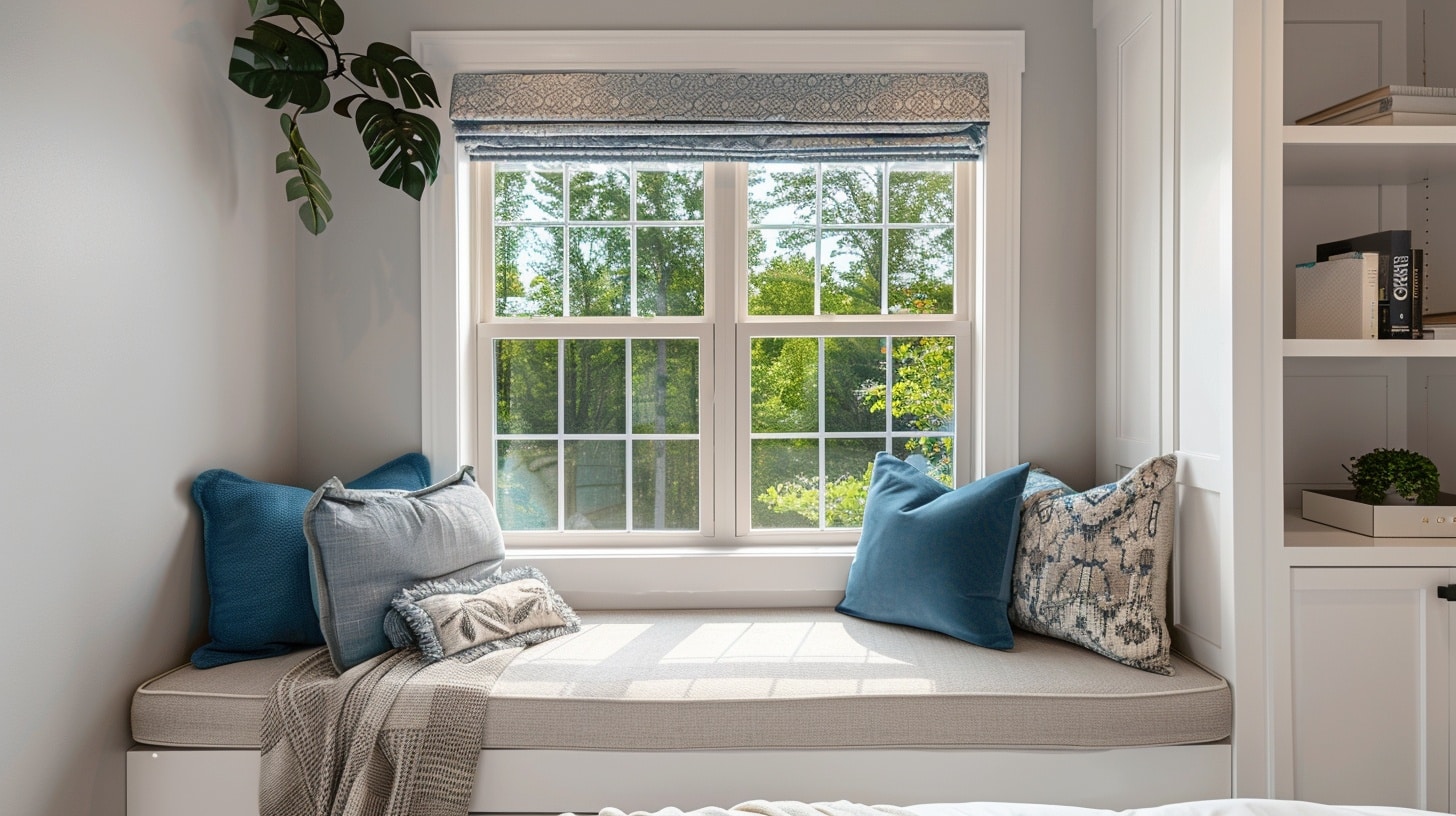
You can transform your windowsill into a warm reading spot with some simple additions.
This creates a dedicated relaxation space without requiring extra room.
The natural light makes it perfect for reading, while cushions add comfort and style to your small bedroom.
What You’ll Need:
- Custom-sized cushion
- Throw pillows
- A small shelf for books
- LED reading light
- Comfortable fabric
DIY Steps:
- Measure windowsill for cushion fit
- Add non-slip padding underneath
- Position reading light
- Arrange pillows comfortably
- Set up small book storage nearby
8. Wall-Mounted Desk Solution
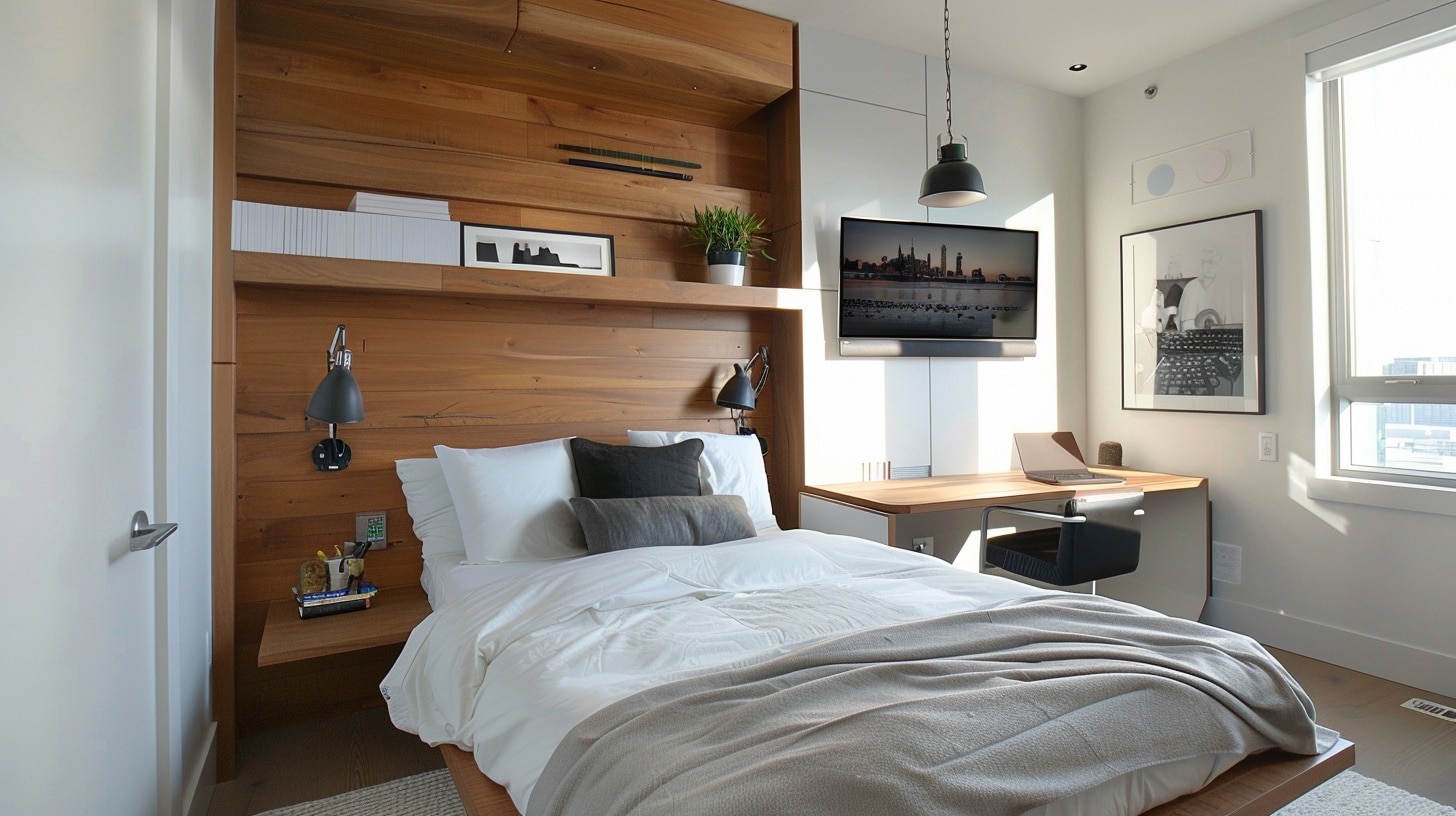
Save space with a fold-down desk that disappears when not in use.
This smart solution provides a workspace without permanently sacrificing floor space, making it perfect for small bedrooms that double as home offices.
What You’ll Need:
- Wall-mounted fold-down desk
- Strong wall brackets
- Wall anchors
- Basic tools
- A chair that can be stored easily
DIY Steps:
- Find and mark wall studs
- Install secure wall brackets
- Mount the desk at a comfortable height
- Test stability thoroughly
- Add cable management solutions
9. Vertical Garden Wall
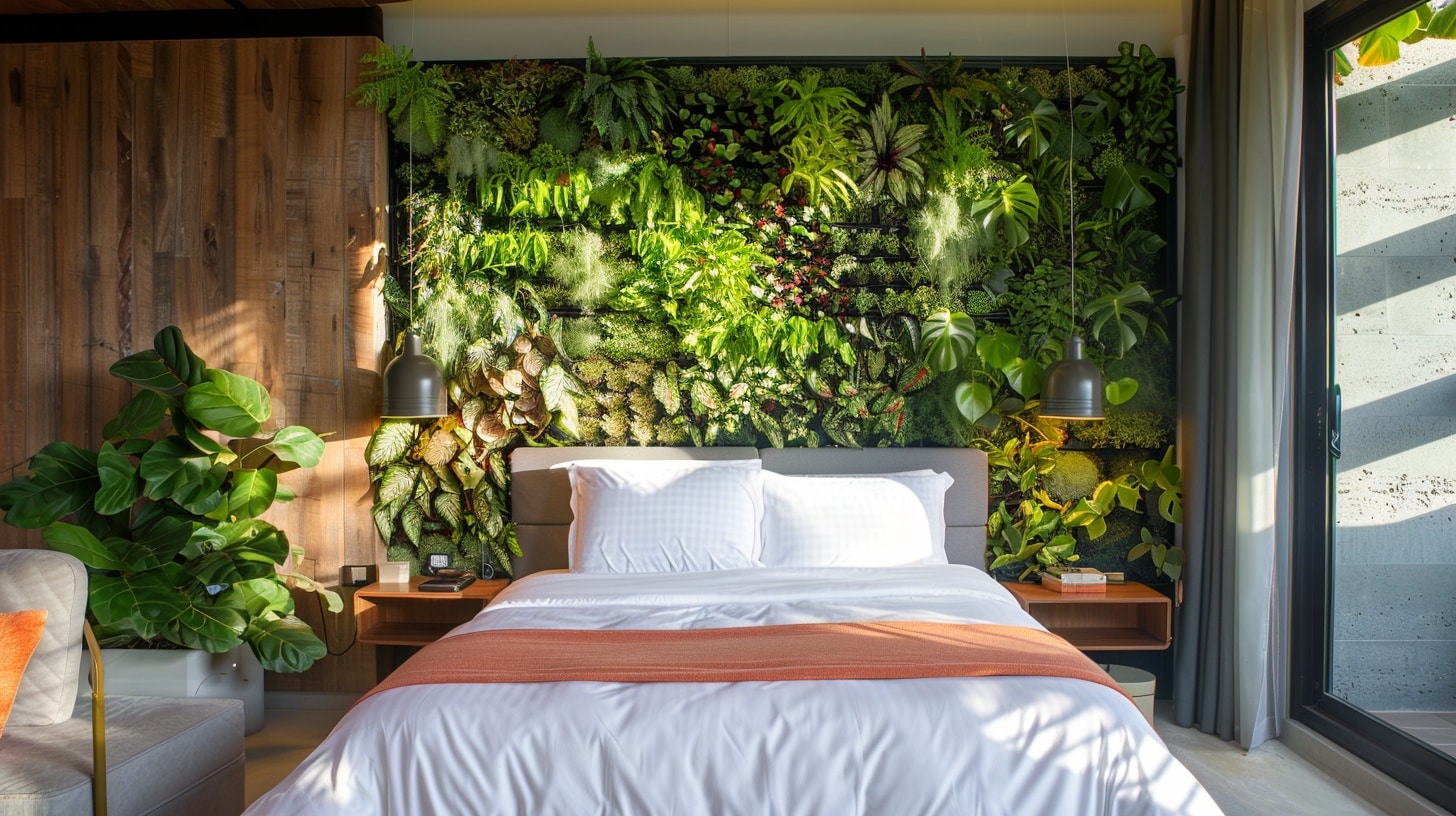
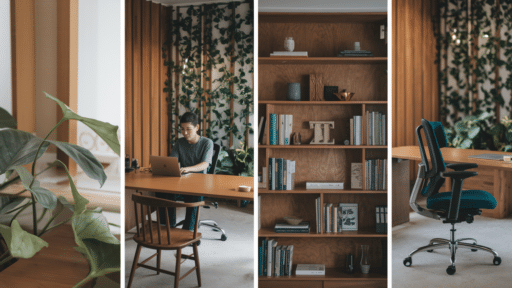
Bring nature into your space with a vertical garden wall.
Small plants add life to your room without taking up precious floor space.
Choose low-maintenance plants that thrive indoors and create a living wall feature.
What You’ll Need:
- Wall planters
- Indoor-friendly plants
- Potting soil
- Wall anchors
- Watering can
DIY Steps:
- Select the appropriate wall location
- Install planters securely
- Choose suitable plants
- Add proper soil mix
- Set up a watering schedule
10. Hidden Charging Station
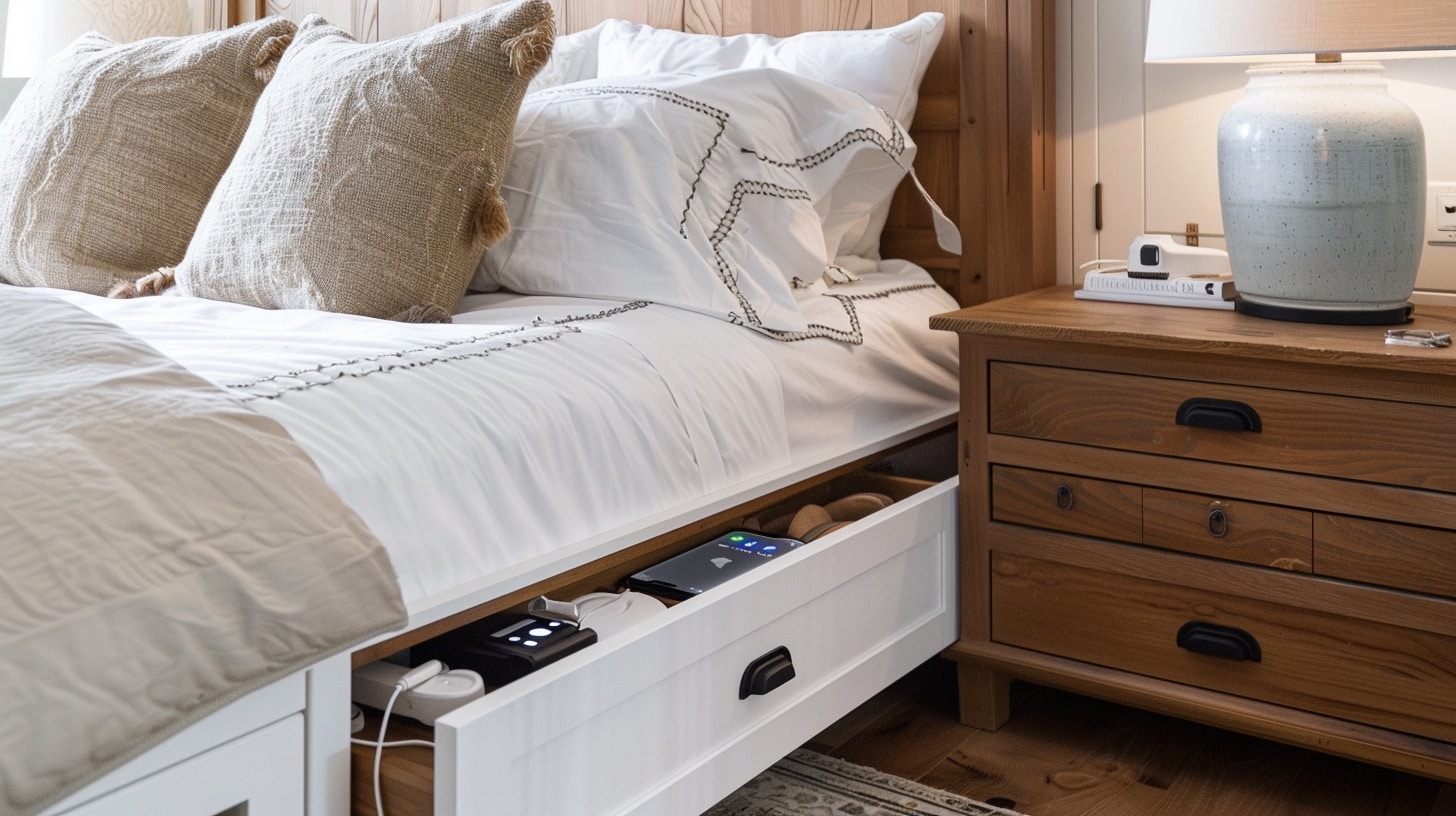
Set up a hidden charging hub for all your devices.
This keeps cords organized and out of sight while maintaining easy access to your electronics.
It’s perfect for keeping a bedroom clean and messy-free.
What You’ll Need:
- A small box or drawer organizer
- Power strip
- Cable clips
- Labels
- Drill for cord holes
DIY Steps:
- Choose a location near the power outlet
- Set up power strip inside
- Drill holes for cable access
- Organize cords with clips
- Label chargers for easy identification
Budget-Friendly Ideas
11. DIY Wall Art Gallery
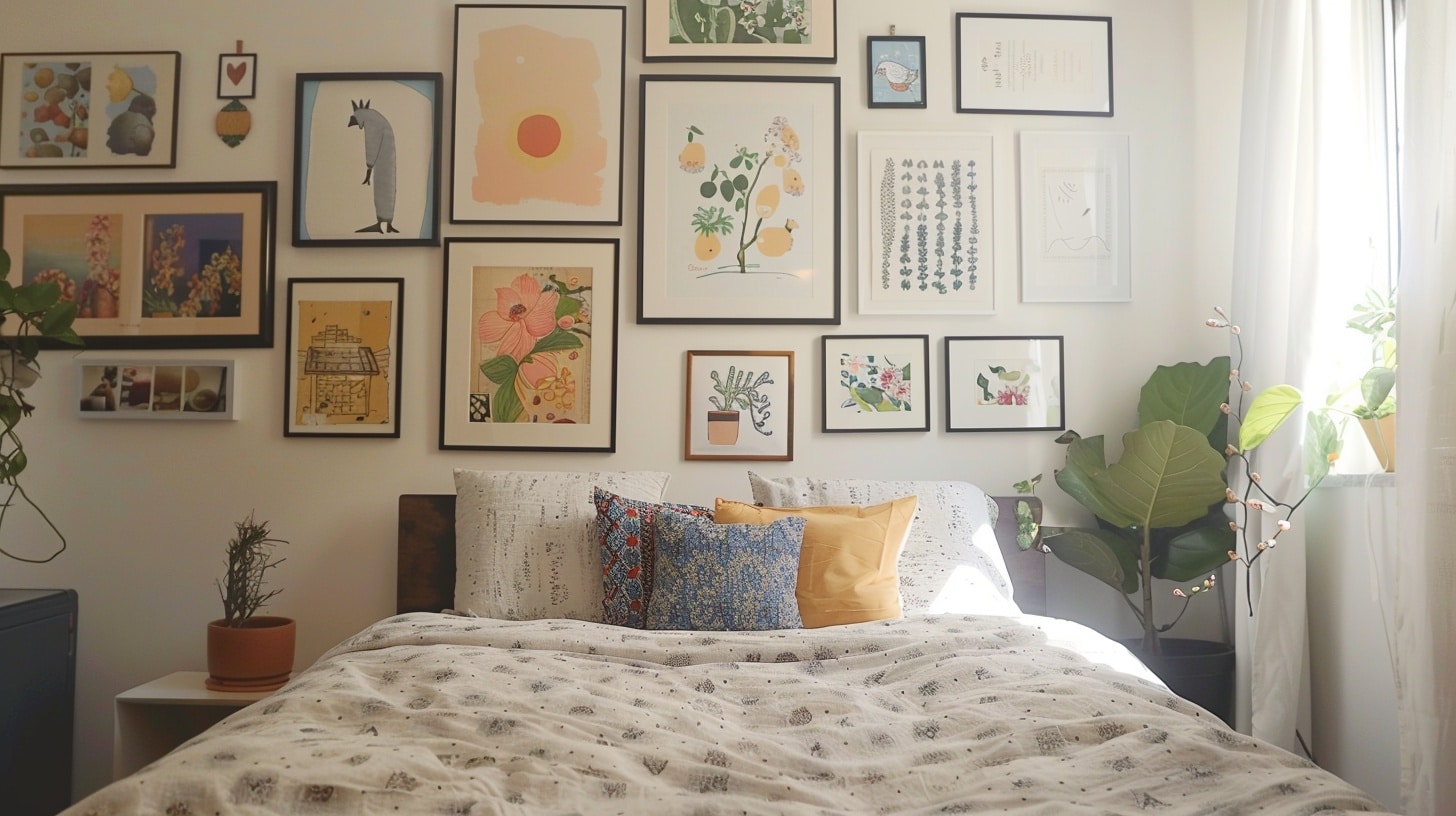
Create a personal gallery wall using your photos and artwork.
This affordable option brings character to your room while showcasing meaningful memories.
Print photos at home or use low-cost printing services, then arrange them in an eye-catching display.
Mix different frame sizes and styles found at thrift stores or discount shops for added interest.
What You’ll Need:
- Printed photos or artwork
- Assorted frames
- Command strips or nails
- Level
- Measuring tape
DIY Steps:
- Arrange frames on the floor first
- Take a photo of the arrangement
- Mark frame positions on the wall
- Hang the largest pieces first
- Add smaller frames to complete the layout
12. Painted Accent Wall
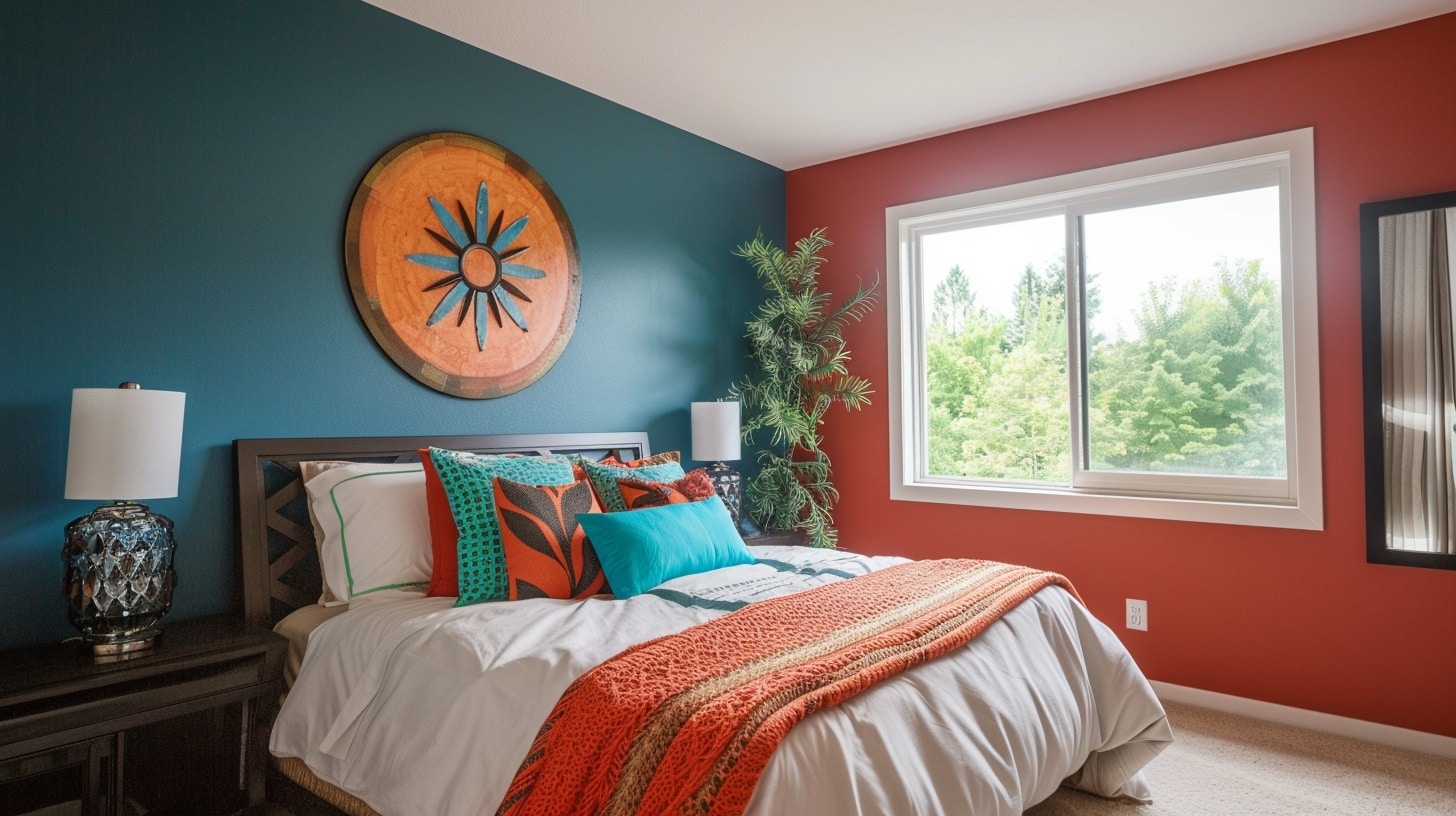
Transform your room with a single painted wall.
This simple project creates a strong visual impact while using minimal paint.
Choose a color that complements your existing decor and furniture.
One wall requires less paint and time than a full room, making it budget-friendly and manageable for beginners.
What You’ll Need:
- Paint (1 gallon usually suffices)
- Paint rollers and brushes
- Painter’s tape
- Drop cloth
- Paint tray
DIY Steps:
- Clean wall thoroughly
- Tape off edges and trim
- Apply primer if needed
- Paint in small sections
- Add a second coat after drying
13. Repurposed Furniture Makeover
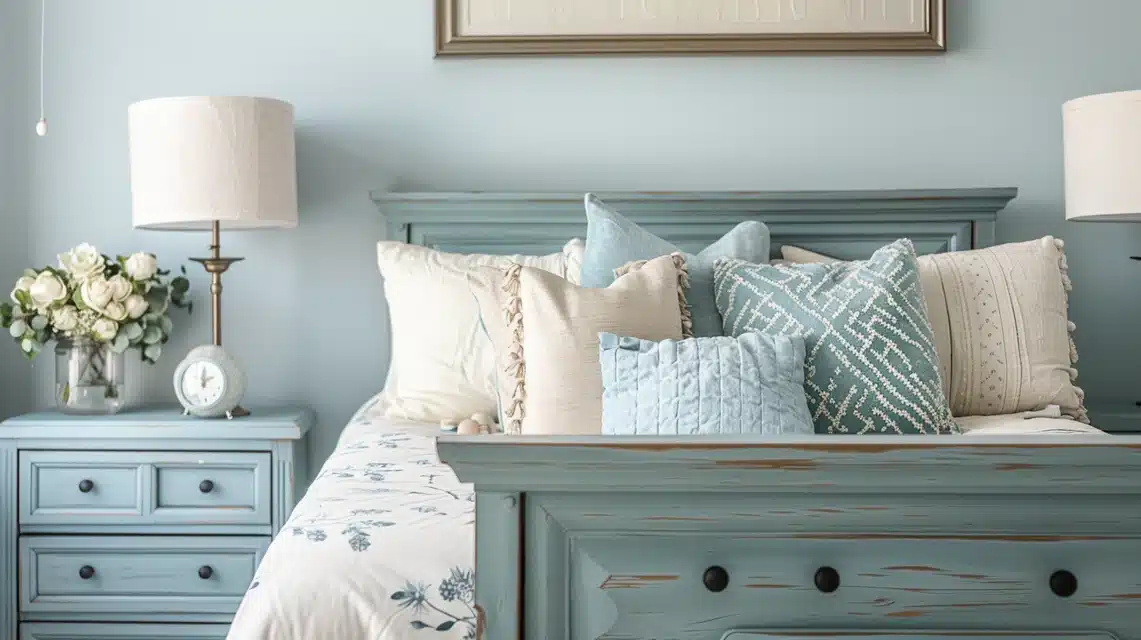
Turning old furniture into a new life with simple updates.
Paint, new hardware, or decorative touches can make dated pieces look fresh and modern.
Check thrift stores, yard sales, or online marketplaces for cheap furniture with good bones.
This approach saves money while creating unique pieces that fit your style.
What You’ll Need:
- Sandpaper
- Paint or wood stain
- New hardware
- Paintbrushes
- Protective finish
DIY Steps:
- Clean furniture thoroughly
- Sand rough surfaces
- Apply paint or stain
- Replace old hardware
- Put on a protective topcoat
14. No-Sew Fabric Updates
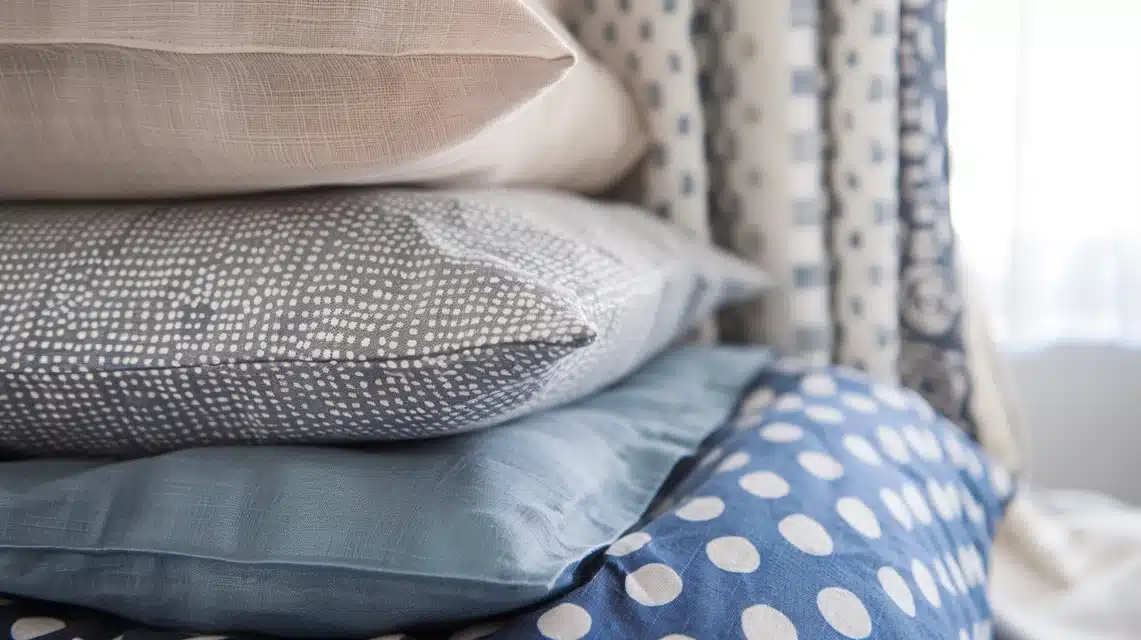
You can update your bedroom textiles without sewing skills.
Use fabric glue or iron-on tape to create new pillow covers, curtains, or bed skirts.
This method offers the look of custom pieces without the cost of ready-made items or professional sewing.
What You’ll Need:
- Fabric of choice
- Fabric glue or iron-on tape
- Iron
- Scissors
- Measuring tape
DIY Steps:
- Measure spaces correctly
- Cut fabric to size
- Apply adhesive or tape
- Press seams firmly
- Let dry completely
15. String Light Ambiance
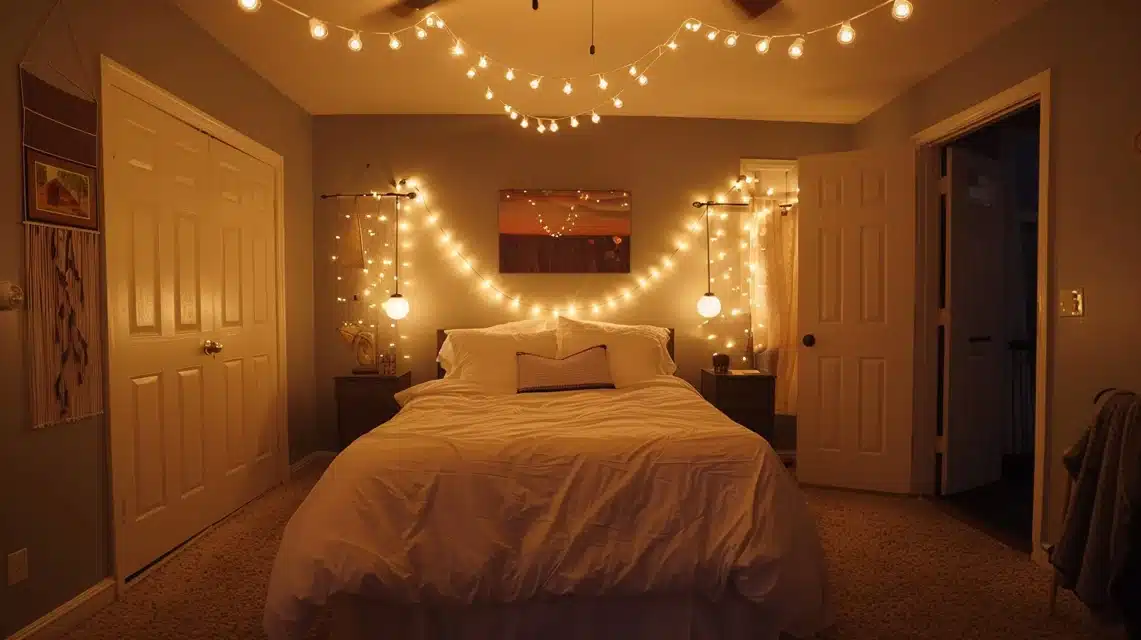
Figure up soft lighting with affordable string lights.
Try creating patterns on walls or drape them around windows for a warm atmosphere.
This lighting option uses minimal electricity while adding warmth to your space.
What You’ll Need:
- String lights
- Command hooks
- Extension cord
- Timer (optional)
- Clear clips
DIY Steps:
- Plan light placement
- Install hooks or clips
- String lights evenly
- Hide cords neatly
- Set up a timer if using
16. Washi Tape Wall Patterns
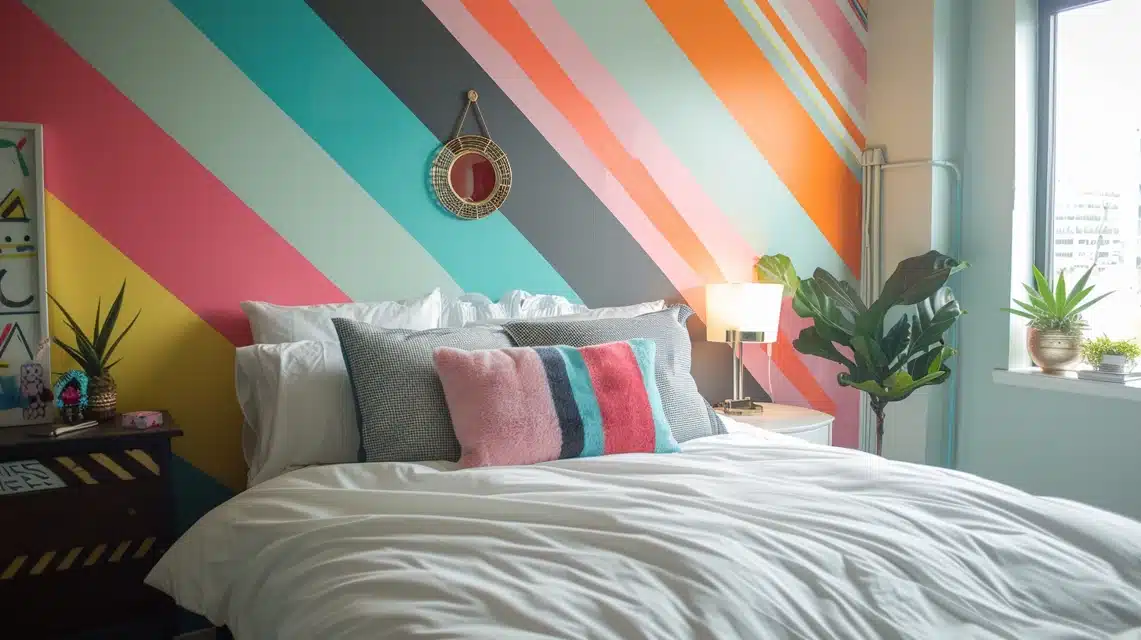
Creating decorative wall patterns with colorful washi tape can multiply your interior design possibilities.
This removable option works well for renters and allows endless design possibilities.
Make geometric shapes, borders, or simple patterns without damaging walls.
Replace or update designs easily when you want a change, making it one of the most flexible and budget-friendly decor options.
What You’ll Need:
- Various washi tape colors
- Scissors
- Ruler
- Pencil
- Level
DIY Steps:
- Sketch design on paper first
- Clean wall surface
- Measure and mark key points
- Apply tape carefully
- Smooth out air bubbles
17. Basket Wall Organisation
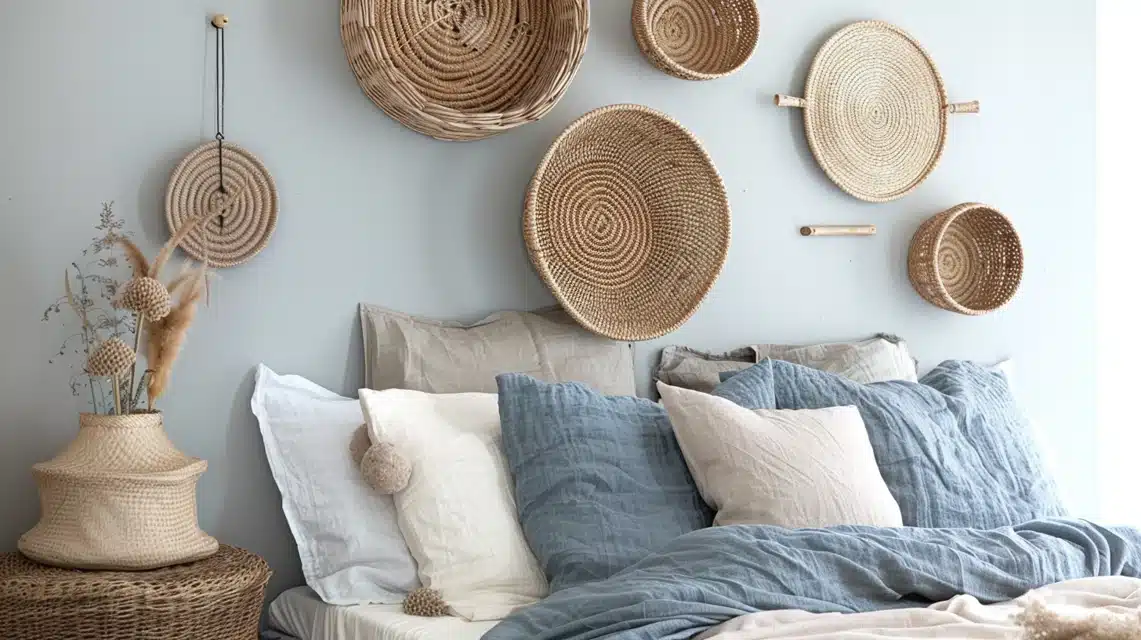
Using affordable baskets as wall storage and deco can look after your pockets.
Mount thrifted or dollar store baskets to create functional wall art. Baskets are perfect for storing small items while adding texture and interest to your walls.
This solution combines storage and style on a tight budget.
What You’ll Need:
- Flat-backed baskets
- Wall anchors
- Drill
- Level
- Command strips for lighter baskets
DIY Steps:
- Arrange basket layout on the floor
- Mark mounting points
- Install wall anchors
- Attach baskets securely
- Fill with lightweight items
18. DIY Fabric Headboard
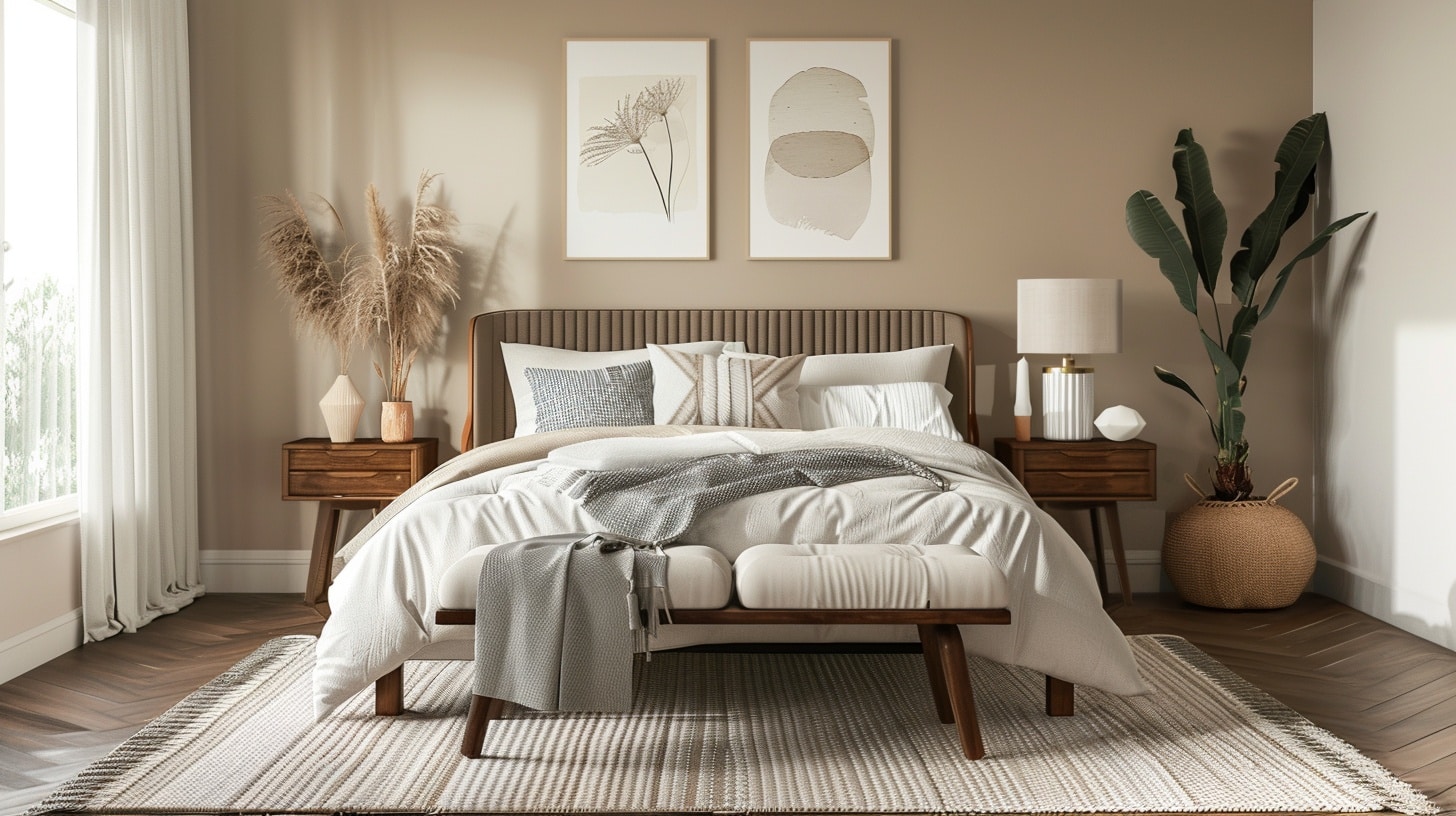
Create a custom headboard using foam board and fabric.
This lightweight alternative to traditional headboards costs a fraction of store-bought options.
Choose fabrics that match your decor for a coordinated look.
What You’ll Need:
- Large foam board
- Fabric
- Staple gun
- Scissors
- Mounting supplies
DIY Steps:
- Cut the foam board to size
- Iron fabric if needed
- Wrap and staple fabric
- Create mounting points
- Hang securely on the wall
19. Glass Jar Organizers
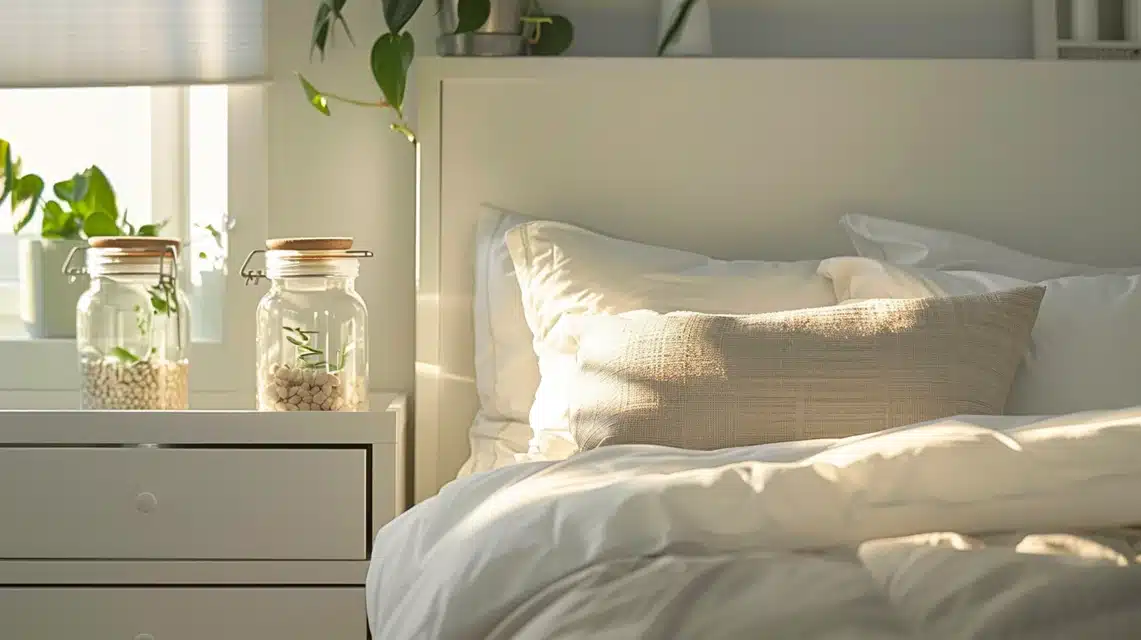
Transforming clean glass jars into stylish organizers. Paint the lids or add decorative papers for a cohesive look.
Use them on desks or shelves to store small items while adding a personal touch.
What You’ll Need:
- Clean glass jars
- Spray paint for lids
- Decorative paper
- Glue
- Labels
DIY Steps:
- Clean jars thoroughly
- Paint lids if desired
- Mix decorative elements
- Create labels
- Organize items by category
20. Book Page Wall Art
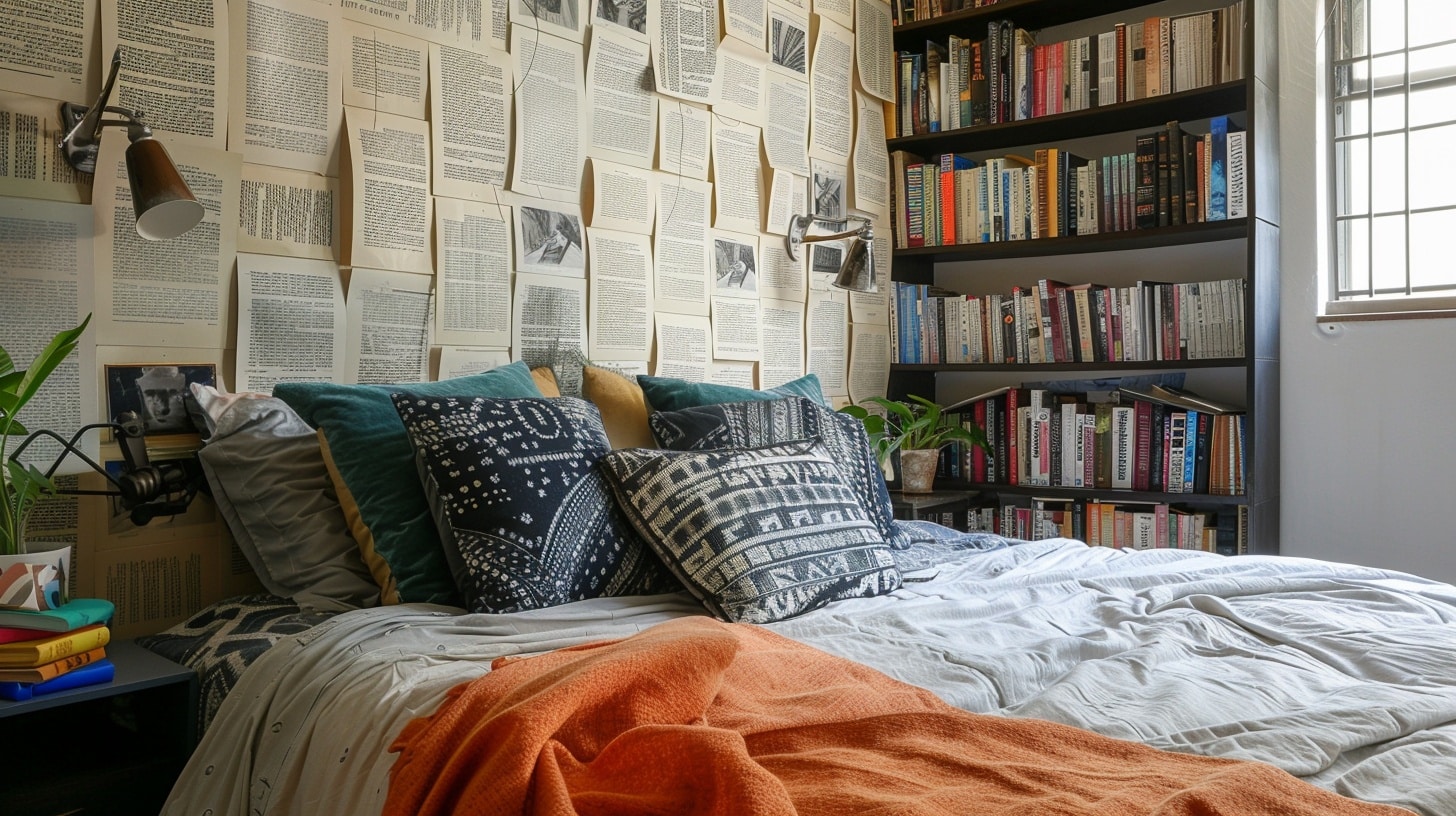
A new trend is creating unique wall art using old book pages.
Frame vintage book pages or arrange them in patterns for literary-inspired decor.
This option costs almost nothing if you use books you already own.
What You’ll Need:
- Old books
- Frames
- Glue or tape
- Scissors
- Coffee (for aging pages if desired)
DIY Steps:
- Select interesting pages
- Age pages, if desired
- Trim to fit frames
- Arrange easily
- Frame and hang
Ideas for different styles (Minimalist, Boho, Modern)
21. Minimalist Zen Retreat
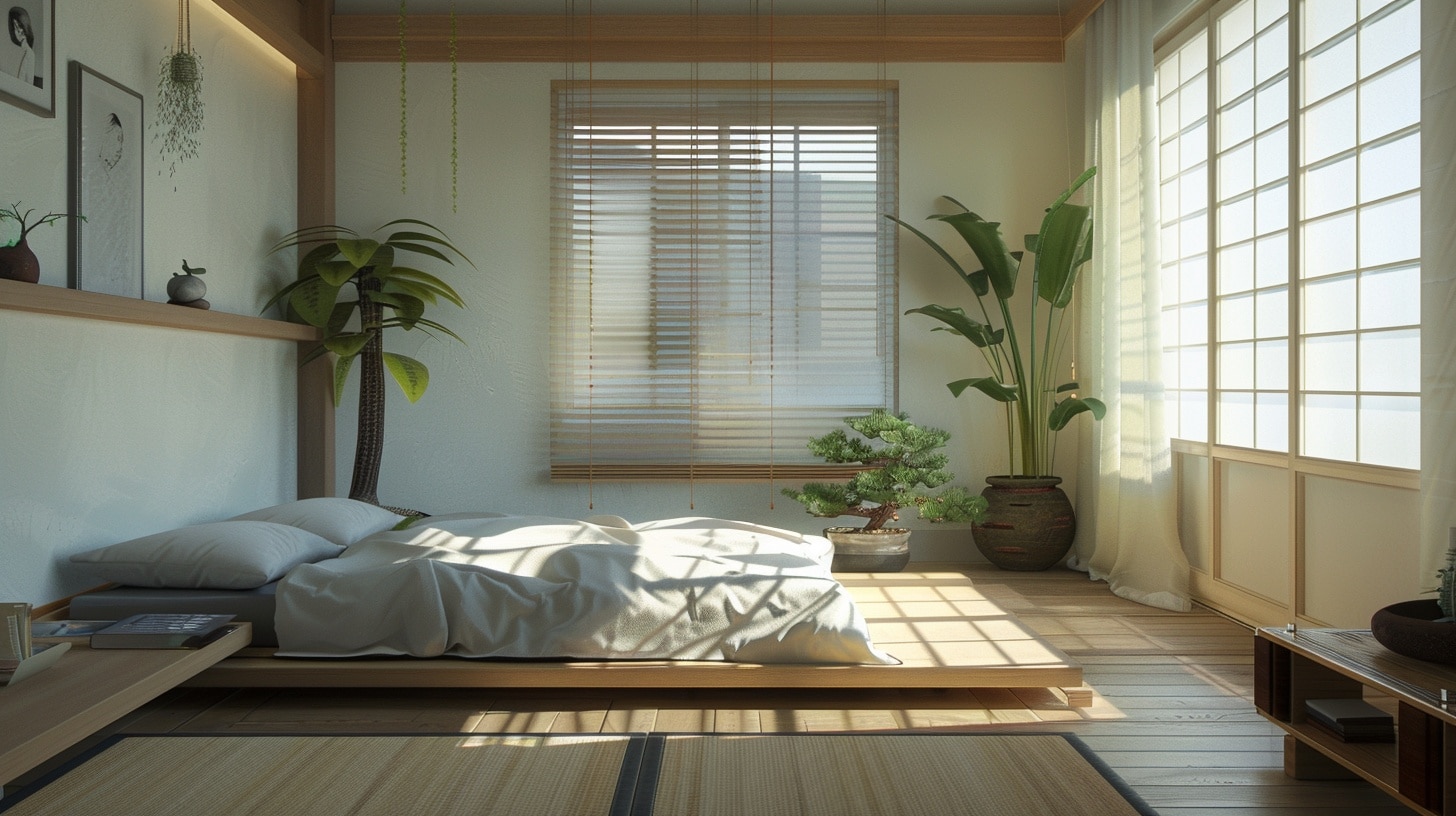
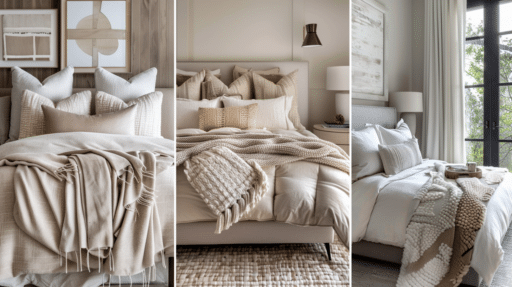
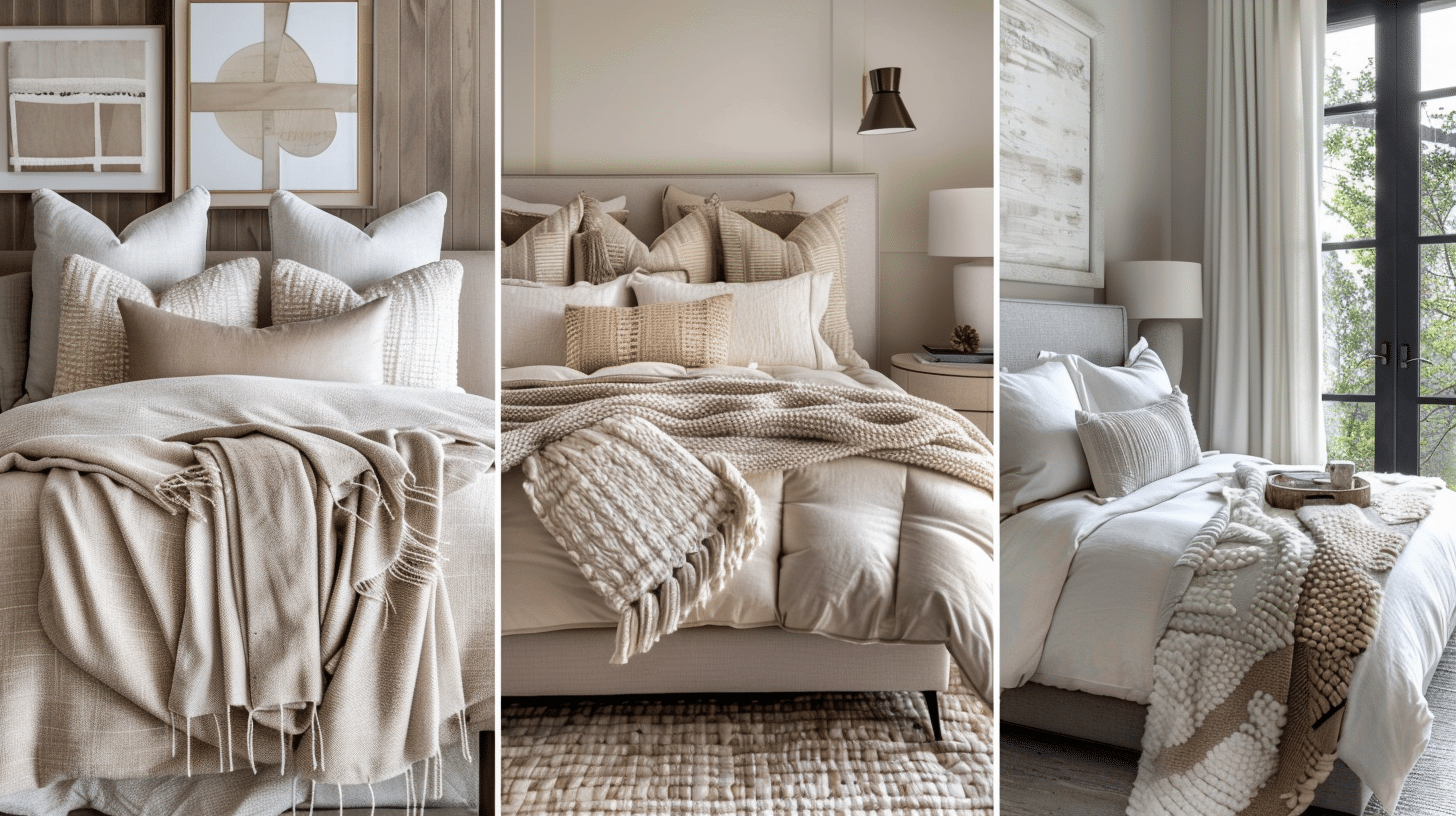
Create a peaceful minimalist bedroom focusing on clean lines and neutral colors.
Keep only essential items visible and store everything else out of sight.
Use natural materials and textures to bring warmth without clutter.
This style emphasizes quality over quantity, creating a calm space that promotes rest.
What You’ll Need:
- Neutral bedding
- Simple bed frame
- Basic storage solutions
- Natural materials
- Light window coverings
DIY Steps:
- Remove unnecessary items
- Choose a muted color palette
- Add natural textures sparingly
- Keep surfaces clear
- Organize hidden storage
22. Bohemian Plant Paradise
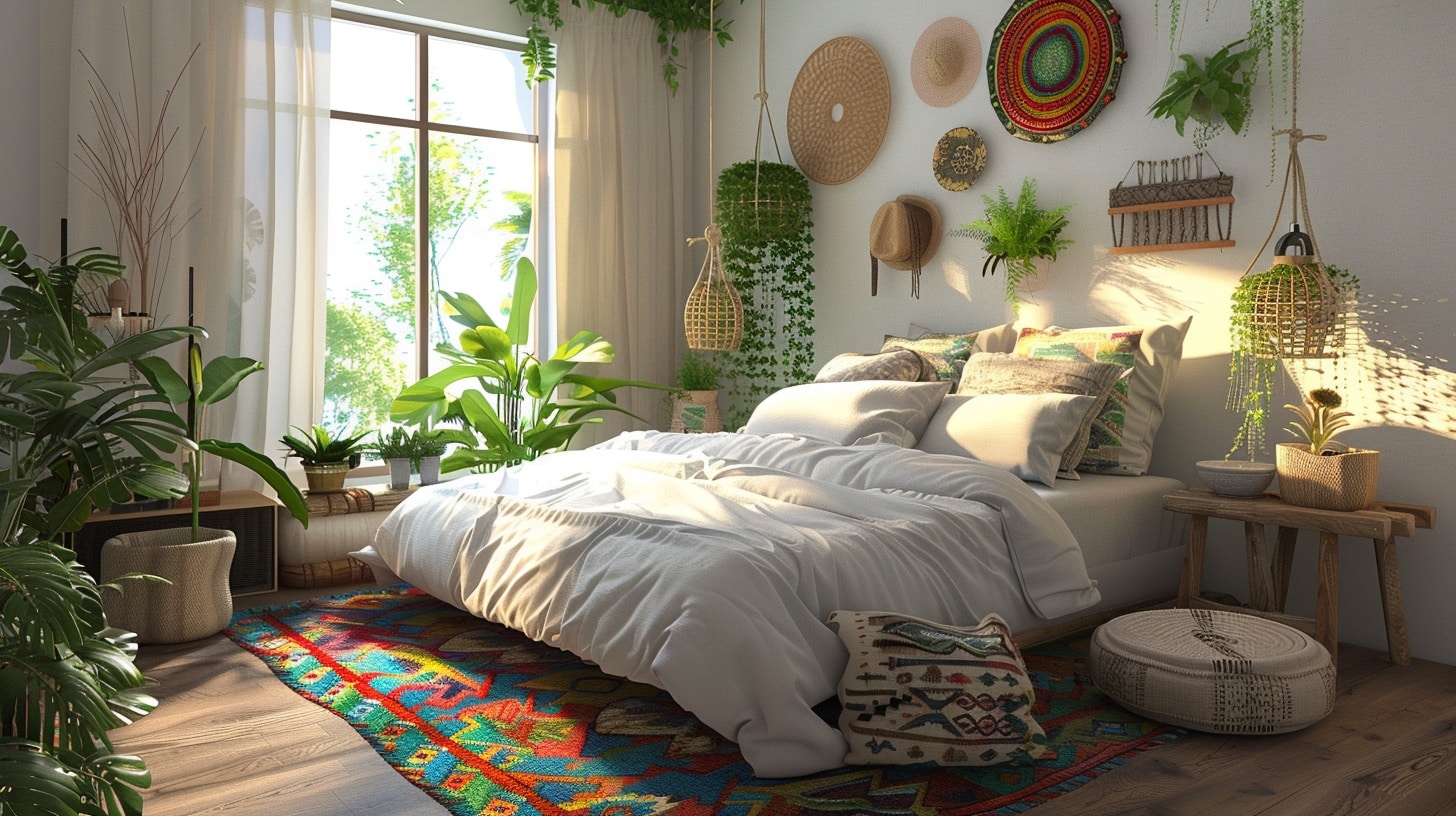
Fill your space with plants and natural elements for a true boho feel.
Mix textures and patterns while maintaining a collected over time look.
This style celebrates personal expression through layered textiles and organic materials, creating a free-spirited atmosphere.
What You’ll Need:
- Various indoor plants
- Macramé hangers
- Mixed pattern textiles
- Rattan or wicker elements
- Floor cushions
DIY Steps:
- Place larger plants in corners
- Layer different textiles
- Add hanging planters
- Mix patterns thoughtfully
- Include natural textures
23. Modern Industrial Loft Style
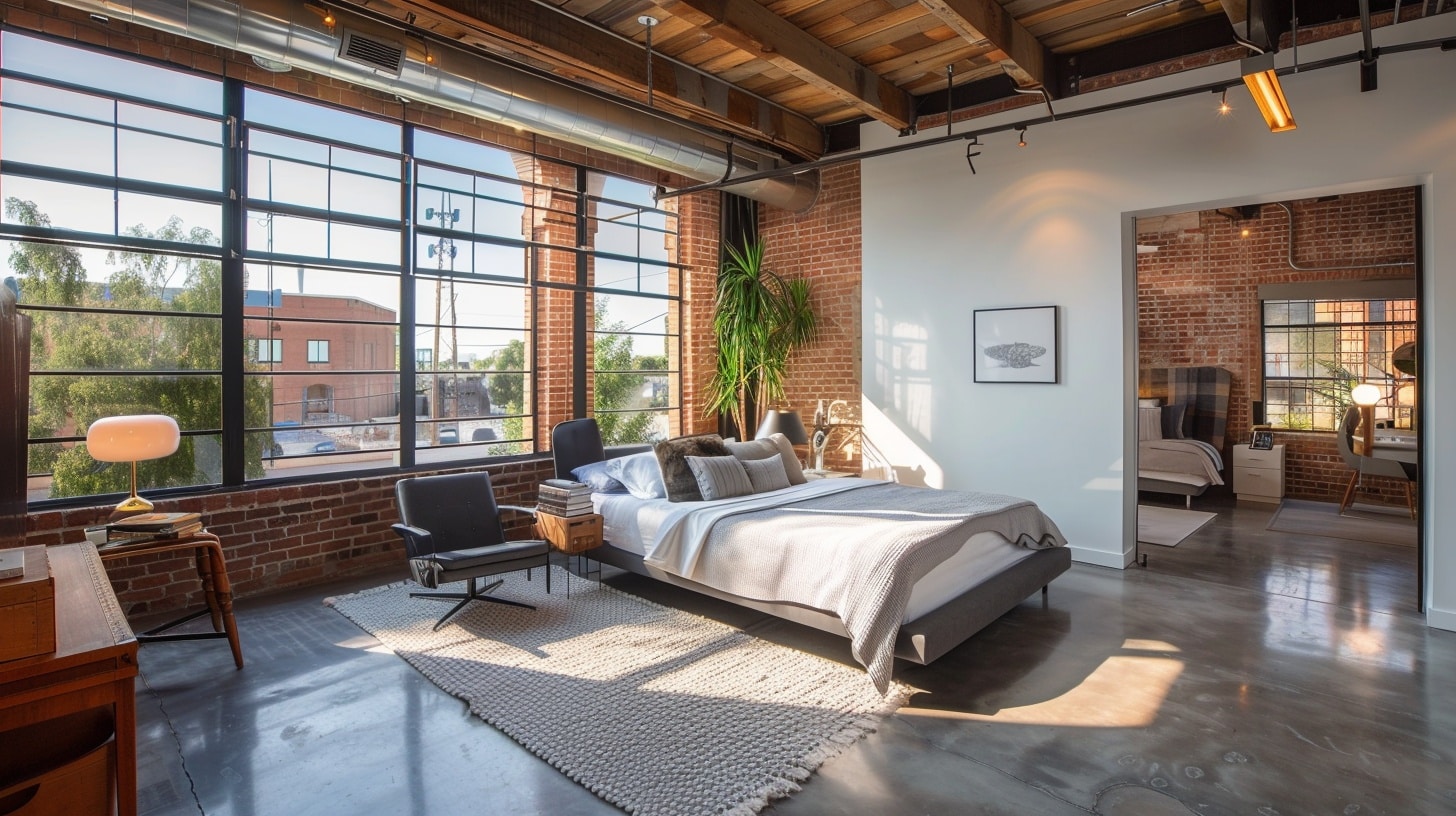
Combine clean lines with raw materials for an industrial modern look.
This style mixes metal finishes with warm wood tones to create balance.
Use exposed bulb lighting and simple geometric shapes to maintain the industrial feel while keeping the space welcoming.
What You’ll Need:
- Metal bed frame
- Edison bulb fixtures
- Concrete or metal decor
- Wood accent pieces
- Black and gray textiles
DIY Steps:
- Choose metal furniture pieces
- Install statement lighting
- Put on wooden accents
- Keep the color scheme simple
- Include geometric patterns
24. Scandinavian Simplicity
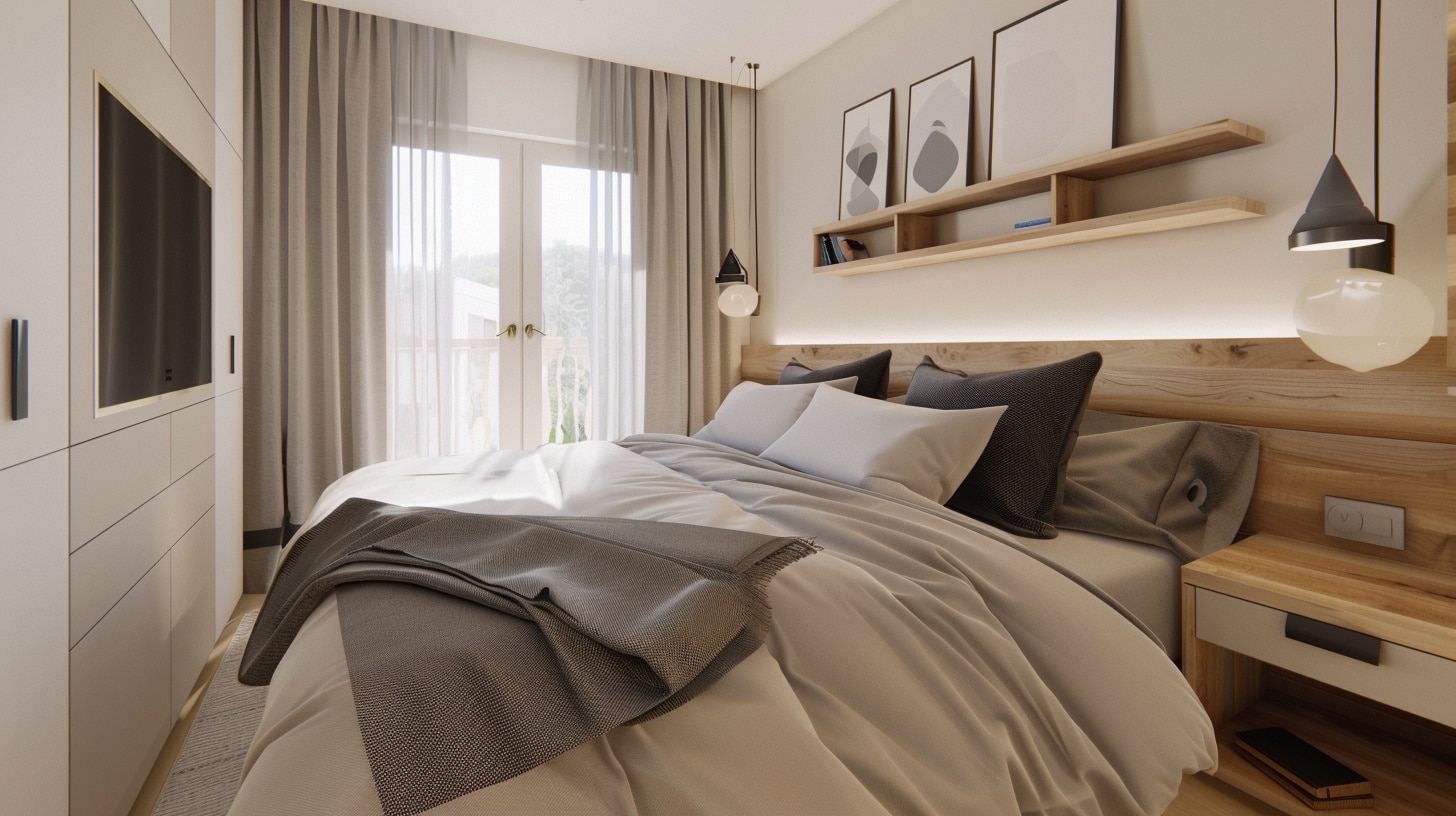
Focusing on light colors and functional design for a true Scandinavian feel.
This style combines practicality with comfort, using light woods and soft textiles.
Keep decor minimal but include cozy elements for the perfect hygge atmosphere.
What You’ll Need:
- White bedding
- Light wood furniture
- Sheepskin throws
- Simple artwork
- Natural fiber rugs
DIY Steps:
- Paint walls white or light gray
- Add light wood elements
- Layer soft textiles
- Include simple greenery
- Maintain clean lines
25. Coastal Beach Retreat
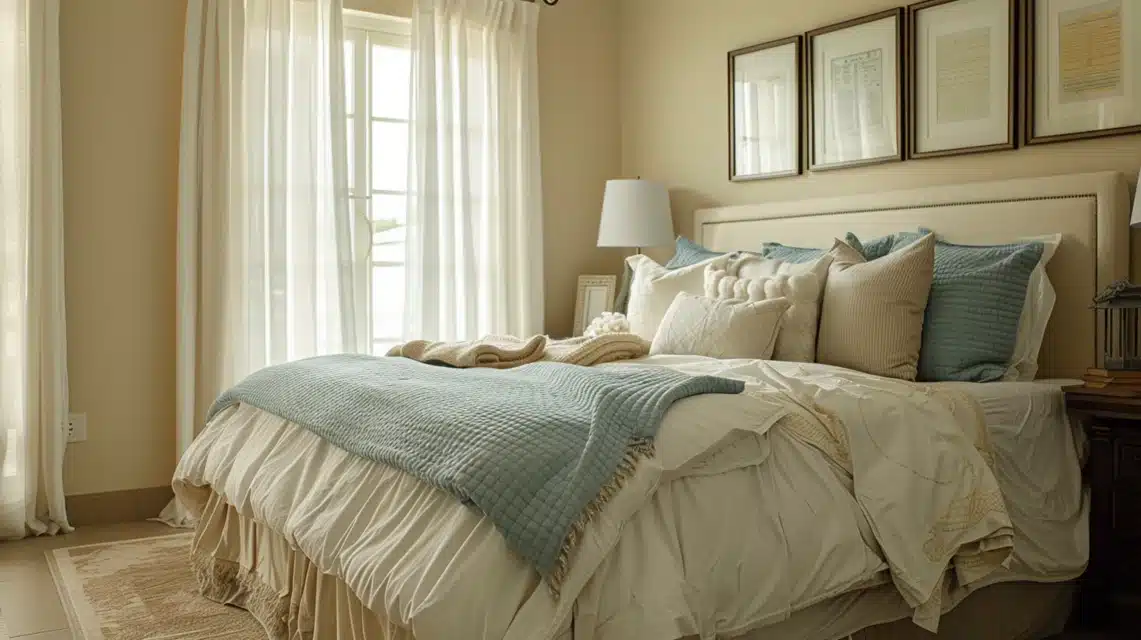
Creating a light, breezy space inspired by seaside living.
Use blues and sandy neutrals with white to capture beach vibes.
Mixing natural textures and ocean-inspired decor without becoming too themed.
What You’ll Need:
- Blue and white bedding
- Woven baskets
- Natural fiber rug
- Shell or coral decor
- Sheer curtains
DIY Steps:
- Use light wall colors
- Layer ocean-inspired tones
- Mix natural textures
- Include beach elements subtly
- Keep window treatments light
26. French Country Charm
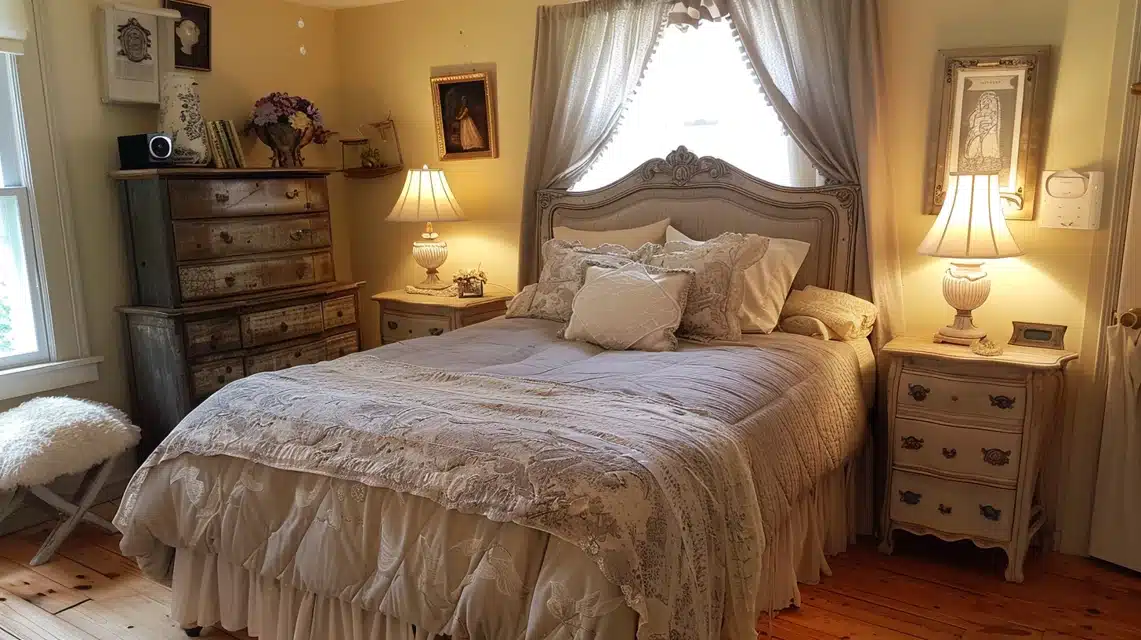
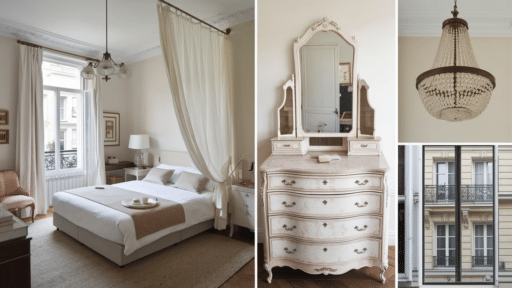
Create a warm, refined space with soft colors and vintage touches.
This style blends rustic elements with gentle curves and patterns.
Focus on weathered finishes, floral patterns, and antique-inspired pieces to achieve this timeless look.
What You’ll Need:
- Curved headboard
- Vintage-style lamp
- Floral throw pillows
- Distressed furniture
- Soft window treatments
DIY Steps:
- Create curved furniture pieces
- Layer different patterns
- Include vintage accessories
- Use soft, muted colors
- Mix textures thoughtfully
27. Contemporary Glam
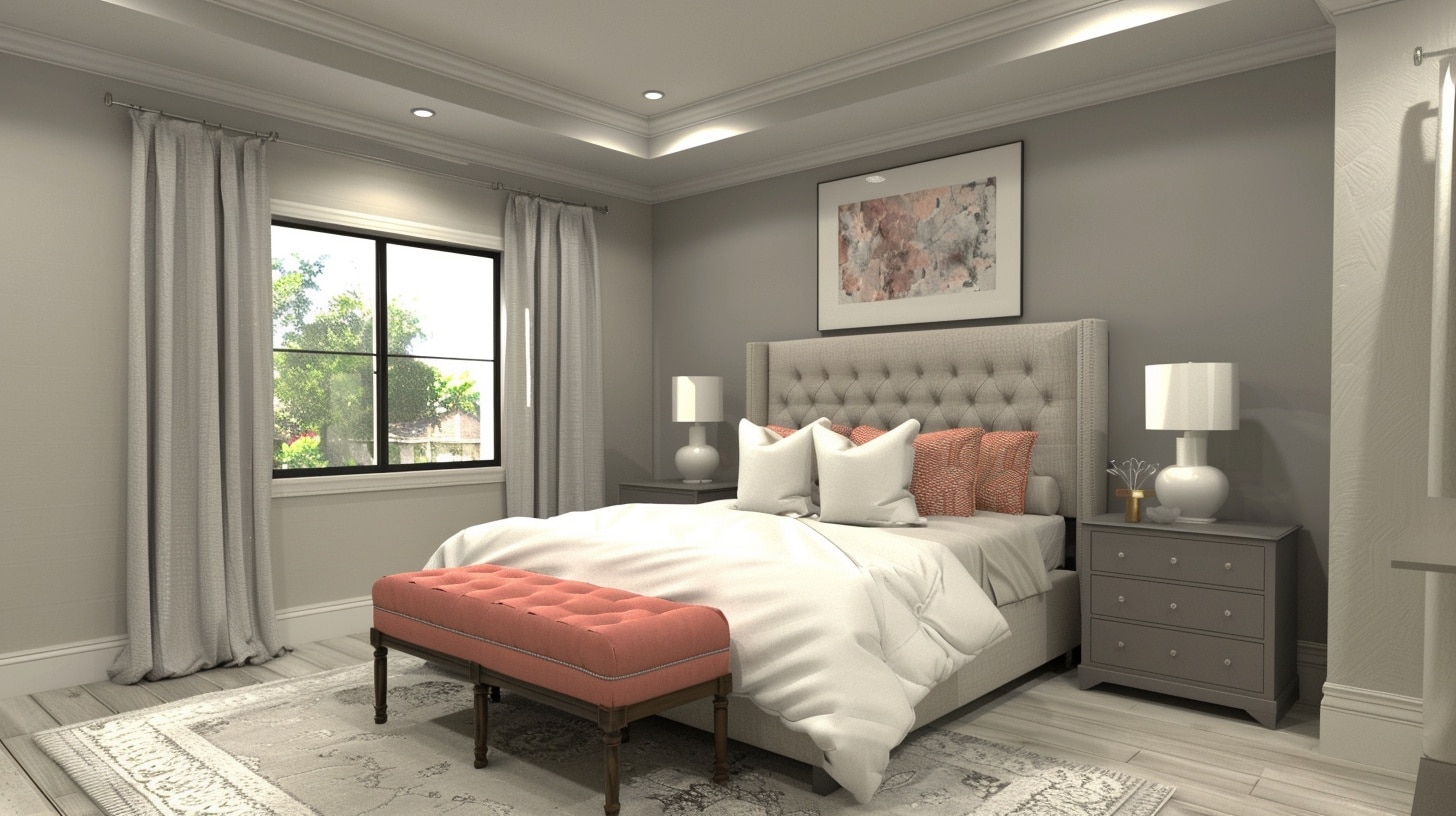
Mix sleek modern lines with luxurious textures and metallic accents for a glam look.
This style combines clean, contemporary design with glamorous touches.
Focus on creating a sophisticated space with strategic shine and plush materials.
What You’ll Need:
- Velvet headboard
- Metallic accents
- Crystal lamp
- Mirror furniture
- Plush area rug
DIY Steps:
- Start with a neutral base
- Add metallic elements
- Include mirror details
- Layer luxe textures
- Place strategic lighting
28. Mid-Century Modern
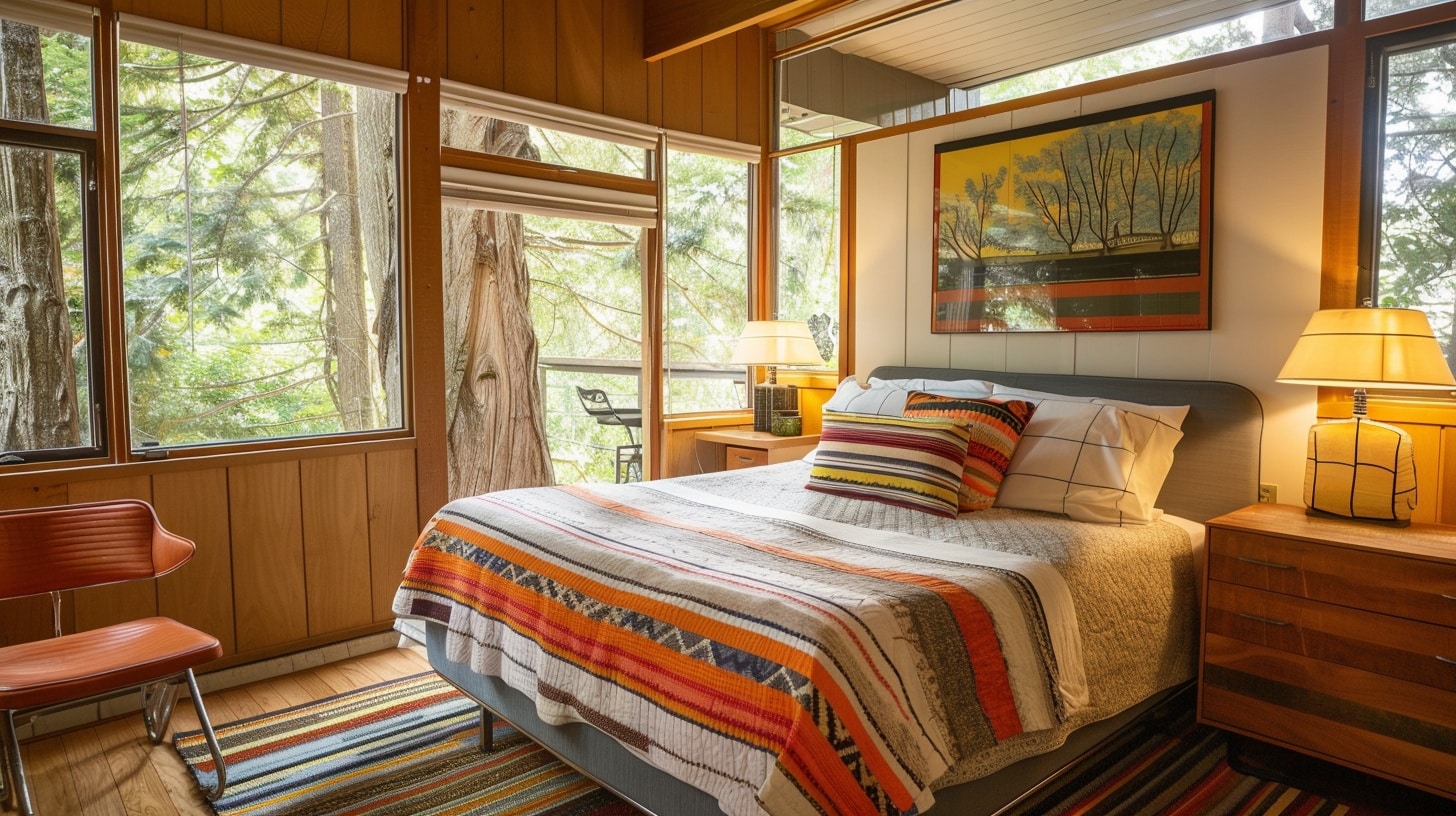
Try styling that embraces clean lines and organic curves typical of 1950s design.
It focuses on functional pieces with statement shapes. Use warm wood tones with pops of color for authentic mid-century appeal.
What You’ll Need:
- Platform bed
- Tapered leg furniture
- Geometric patterns
- Statement lamp
- Abstract art
DIY Steps:
- Choose period-inspired furniture
- Put geometric patterns
- Include warm wood tones
- Use bold accent colors
- Keep lines clean
29. Rustic Farmhouse
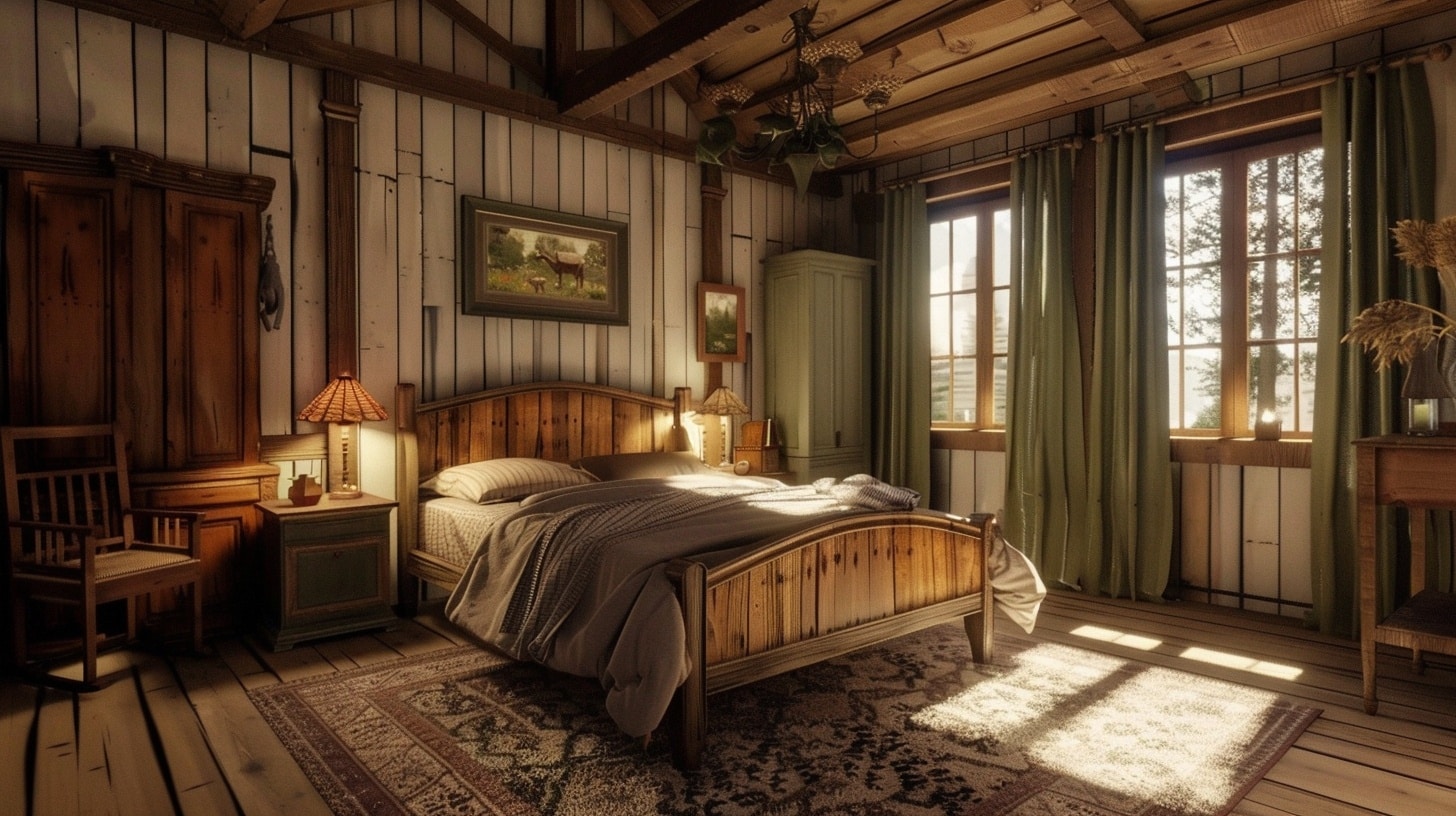
Natural materials and simple design bring a warm country feel to your space.
This style combines comfortable living with practical features.
Use wooden elements and soft textiles to achieve a welcoming atmosphere.
What You’ll Need:
- Wooden bed frame
- Cotton textiles
- Metal accents
- Woven baskets
- Natural fiber rug
DIY Steps:
- Put on wooden elements
- Mix metals and woods
- Layer soft textiles
- Include woven textures
- Keep colors neutral
30. Japandi Fusion
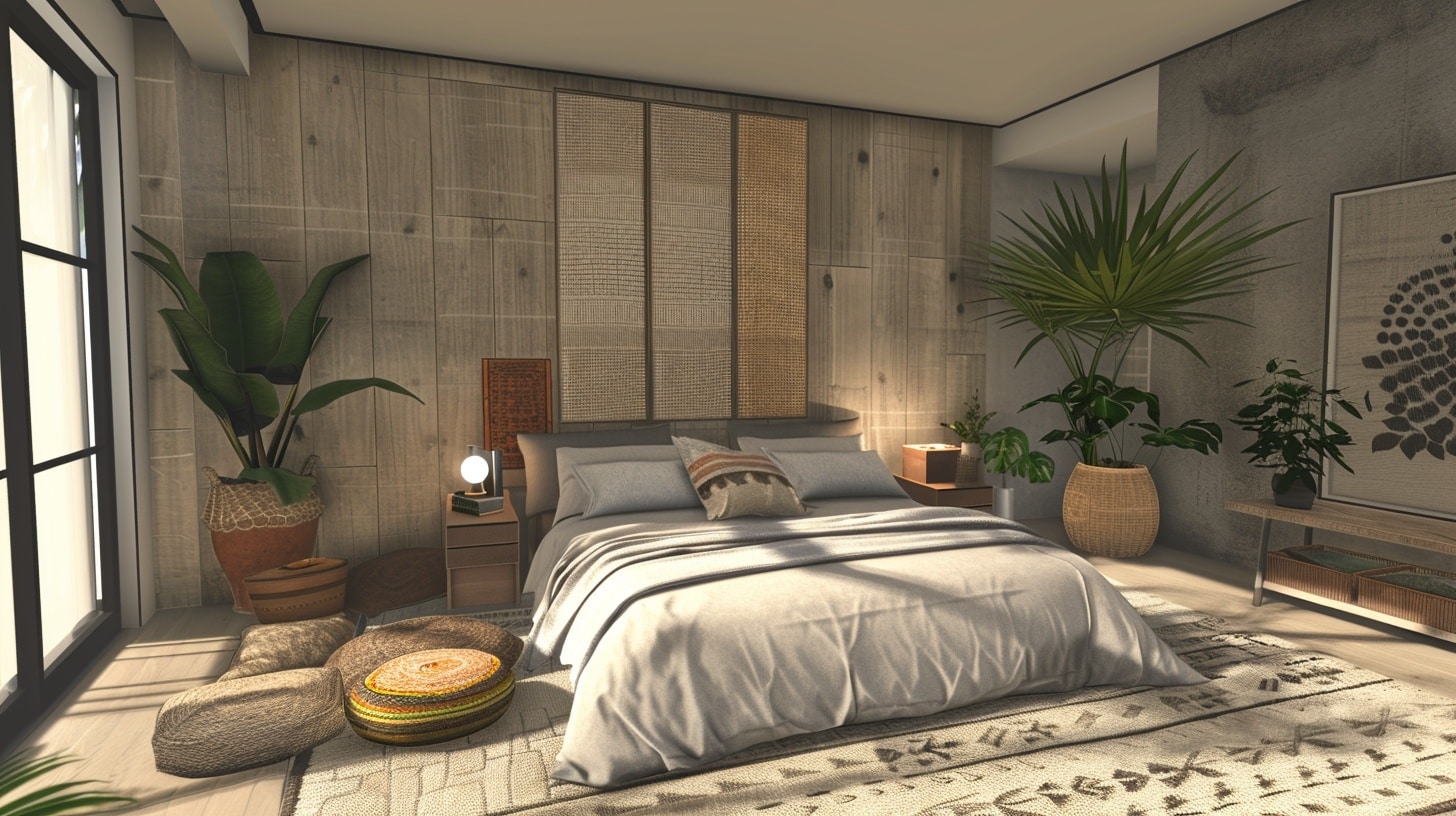
Blend Japanese minimalism with Scandinavian comfort.
This style focuses on natural materials and simple forms while maintaining warmth.
Try creating a balance between minimal design and cozy elements.
What You’ll Need:
- Low platform bed
- Natural fiber textiles
- Bamboo elements
- Paper lanterns
- Simple artwork
DIY Steps:
- Keep furniture low
- Use natural materials
- Put on subtle textures
- Maintain clean lines
- Include minimal decor
DIY Ideas to Decorate Your Cozy Space
31. Macrame Wall Hanging
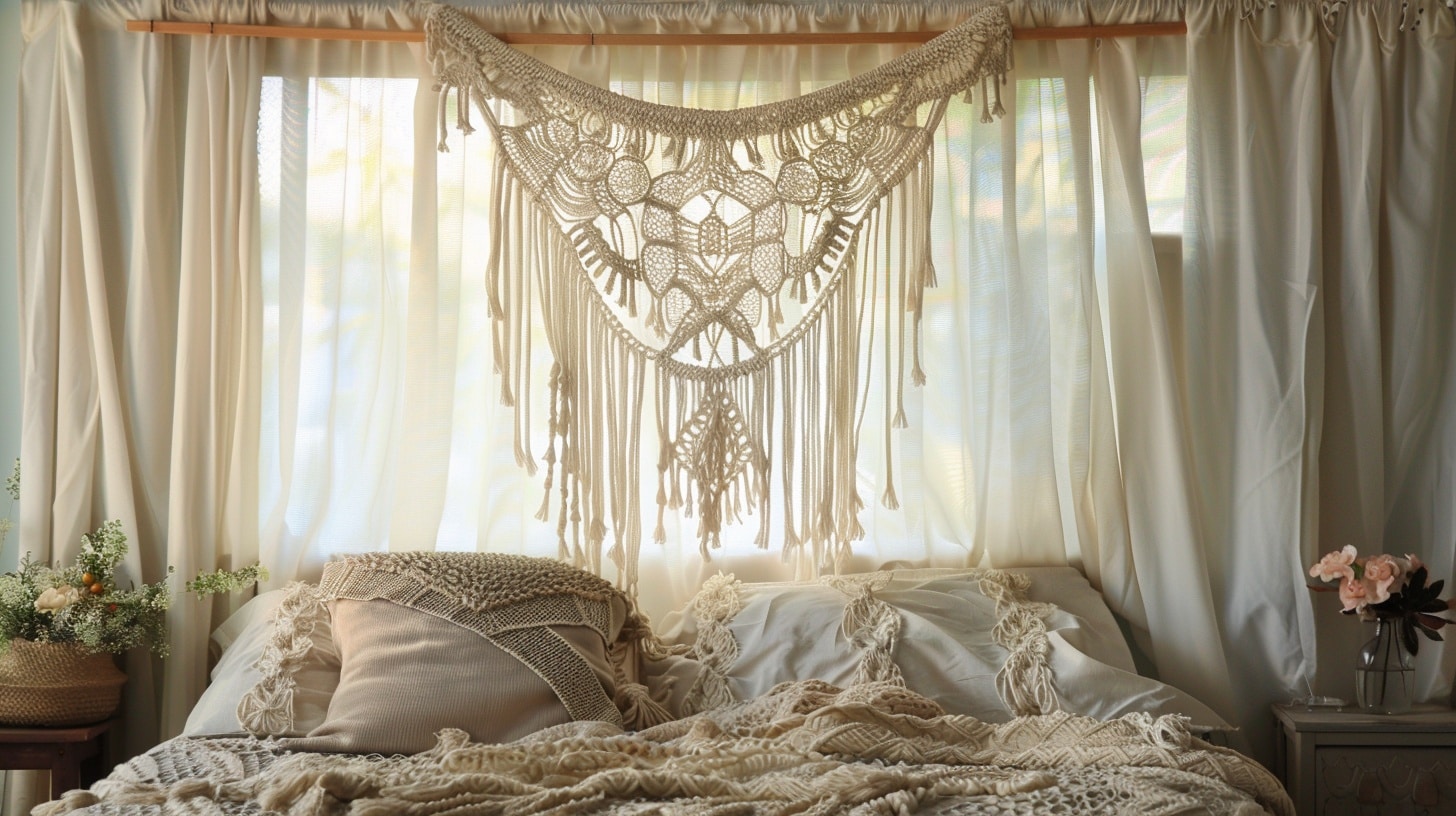
Create a handmade textile piece that adds texture and warmth to your walls.
This simple craft uses basic knots to form beautiful patterns.
Perfect for adding a personal touch above your bed or in a bare corner, macramé brings natural texture to your space without overwhelming it.
This craft dates back centuries but fits perfectly in modern spaces.
What You’ll Need:
- Cotton cord or rope
- Wooden dowel
- Scissors
- Measuring tape
- Wall hook
DIY Steps:
- Cut the cord to measured lengths
- Attach cords to dowel
- Follow basic knot patterns
- Trim ends evenly
- Hang securely on the wall
32. Photo Memory Grid
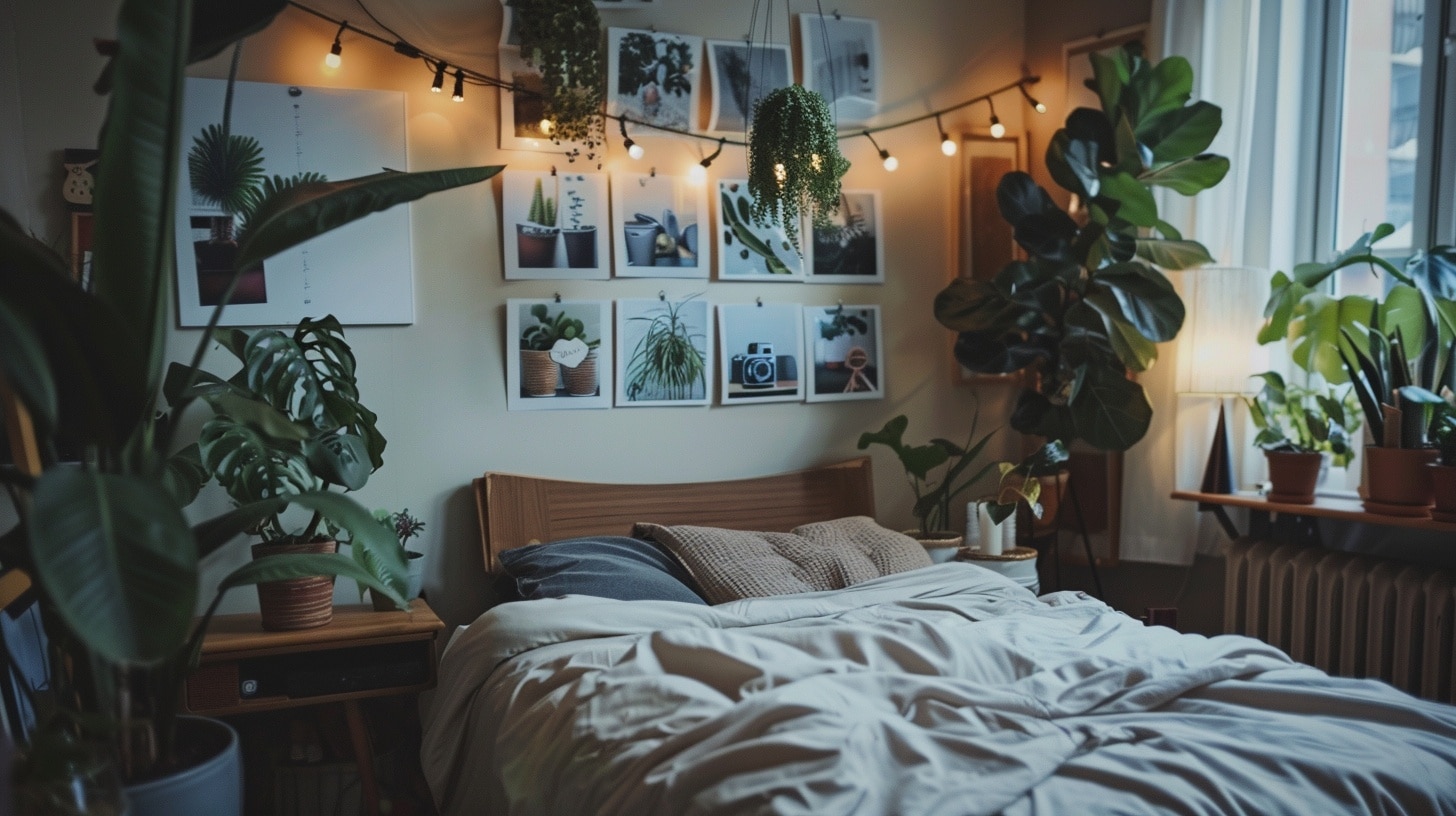
Design a personalized wall display using string and clips.
This flexible system allows you to swap photos easily while creating an organized look.
It is perfect for displaying memories, postcards, or seasonal artwork without damaging walls.
The wire grid system creates clean lines while keeping your display organized and visually appealing.
What You’ll Need:
- Thin wire or string
- Small clips or clothespins
- Command hooks
- Photos or artwork
- Level
DIY Steps:
- Plan grid layout
- Install hooks at corners
- String wire between hooks
- Clip photos in place
- Adjust spacing evenly
33. Painted Plant Pots
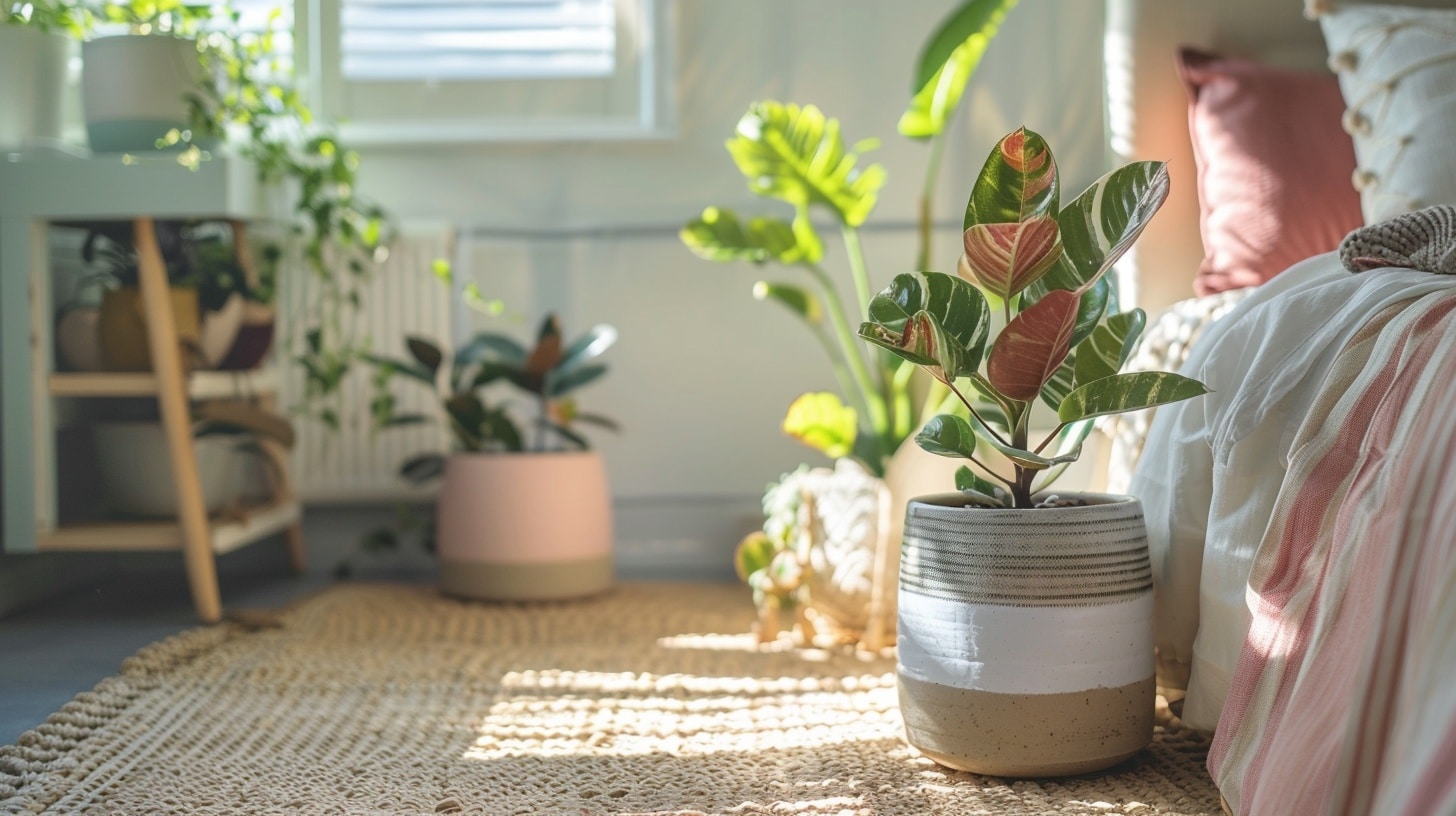
Transform your plain terracotta pots into custom decor pieces with paint patterns or solid colors to match your room’s color scheme.
These personalized planters add life to your space while serving as unique decorative elements on windowsills, shelves, or floor spaces.
What You’ll Need:
- Clean terracotta pots
- Acrylic paint
- Paintbrushes
- Sealer
- Painter’s tape for patterns
DIY Steps:
- Clean pots thoroughly
- Apply base coat
- Paint designs
- Seal finished pots
- Put on drainage rocks and plants
34. Fabric Wall Tapestry
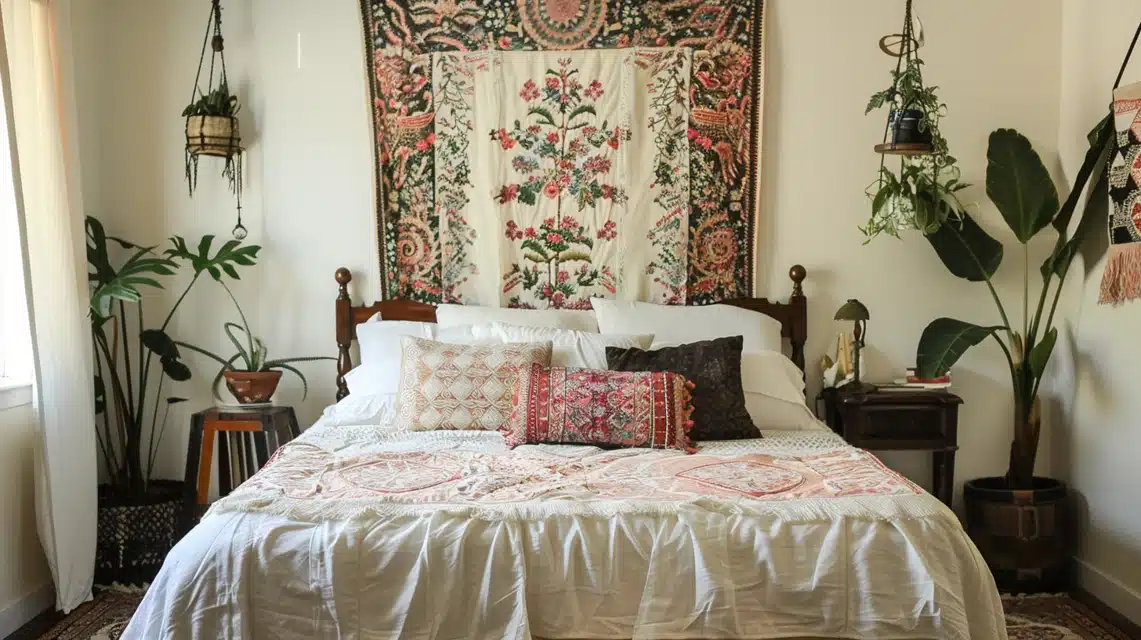
Create a large-scale wall piece using your favorite fabric.
This soft wall covering adds color and pattern while helping with room acoustics.
Makes a perfect focal point behind your bed or any large wall space. It also helps with room acoustics by softening sound reflection.
It’s ideal for rental spaces since it’s completely removable and leaves no wall damage.
What You’ll Need:
- Large fabric piece
- Wooden dowels
- Command hooks
- Iron
- Scissors
DIY Steps:
- Iron fabric flat
- Hem edges, if needed
- Create dowel pockets
- Insert dowels
- Mount on wall
35. Wooden Bedside Shelf
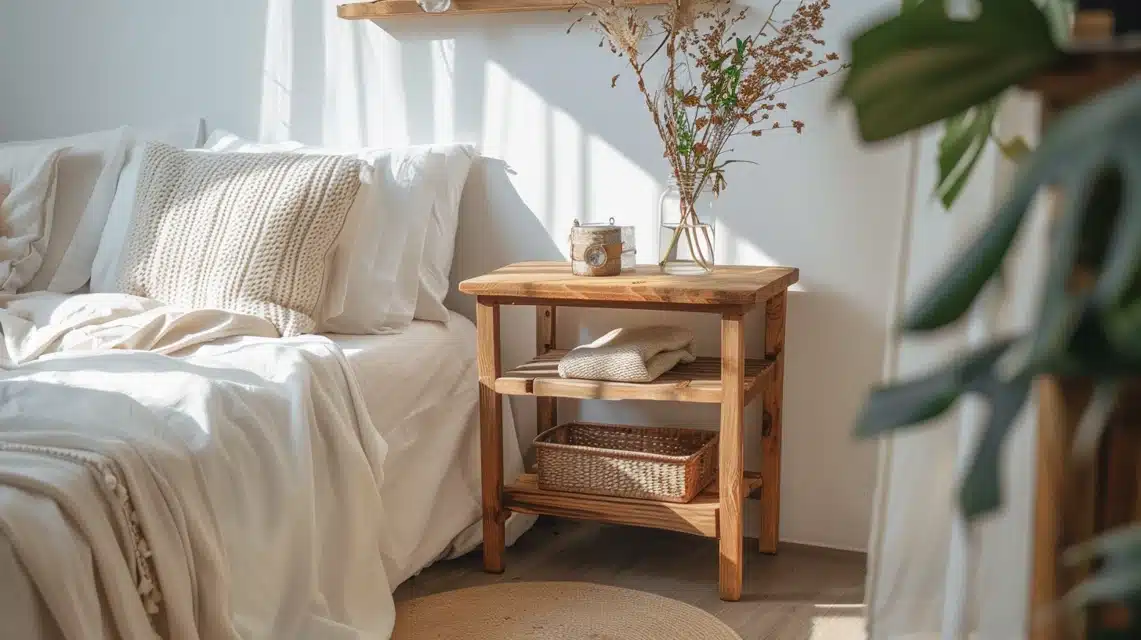
Build a simple floating shelf for bedside essentials.
This space-saving solution works well in tight spaces and adds a custom touch to your bedroom.
It is perfect for holding a small lamp, phone, or book.
The clean lines create a built-in look while providing essential surface space for nighttime necessities.
You can customize the size, finish, and height to match your needs and existing furniture.
What You’ll Need:
- Wood board
- Brackets
- Wall anchors
- Level
- Drill
DIY Steps:
- Cut wood to size
- Sand edges smooth
- Stain or paintboard
- Install wall brackets
- Mount shelf securely
36. Recycled Book Page Butterflies
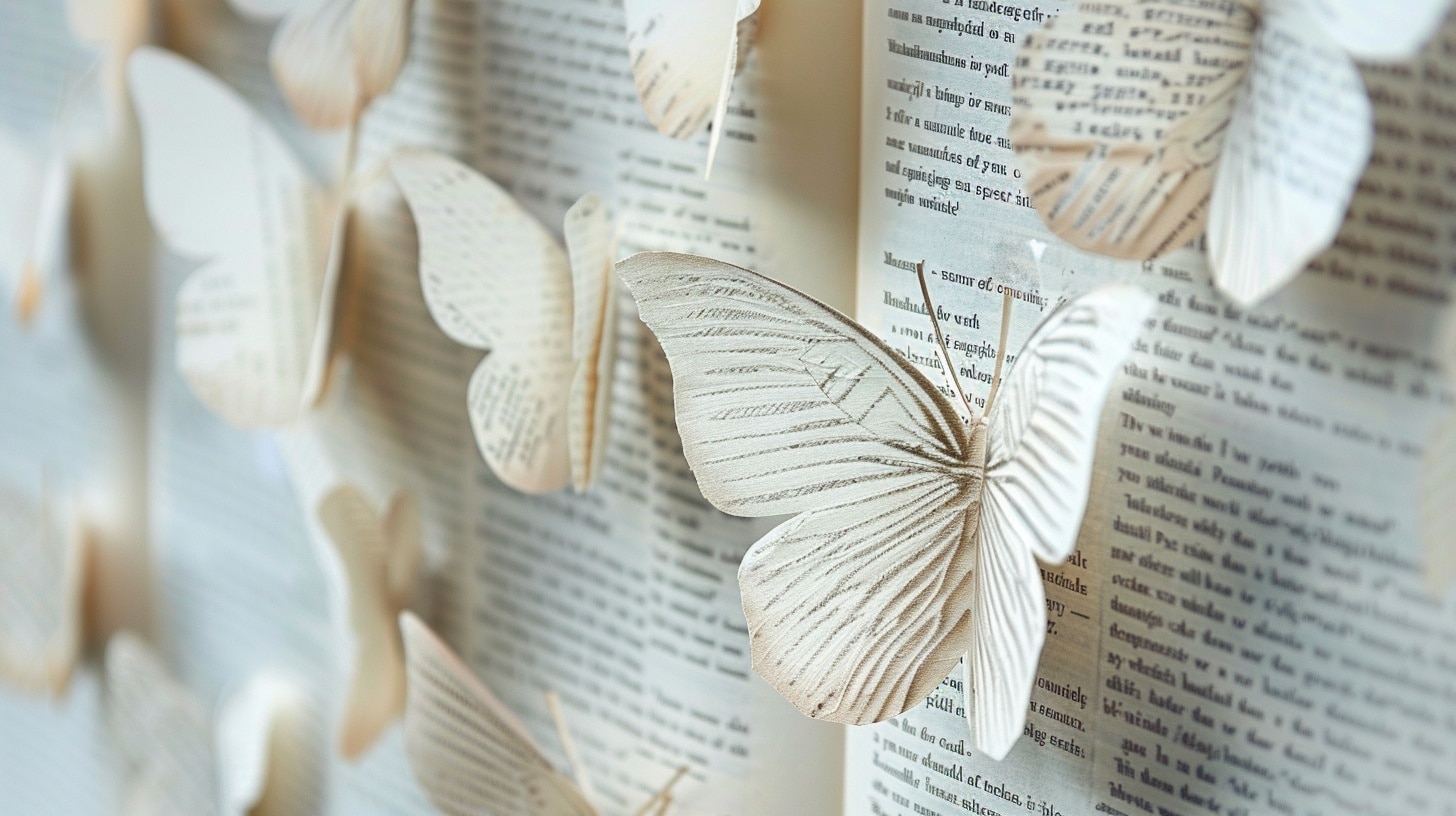
Turn old book pages into 3D butterfly wall art. This creative project gives new life to old books while creating whimsical wall decor.
Arrange butterflies in a flying pattern for a unique installation that catches the eye.
Each butterfly can be shaped differently, creating natural variation in your display.
The yellowed pages of vintage books add warmth, while modern pages offer a crisp, clean look.
What You’ll Need:
- Old book pages
- Scissors
- Wire
- Glue
- Push pins
DIY Steps:
- Cut butterfly shapes
- Fold wings for dimension
- Put on wire bodies
- Create antennae
- Arrange on wall
37. Mason Jar Light Fixtures
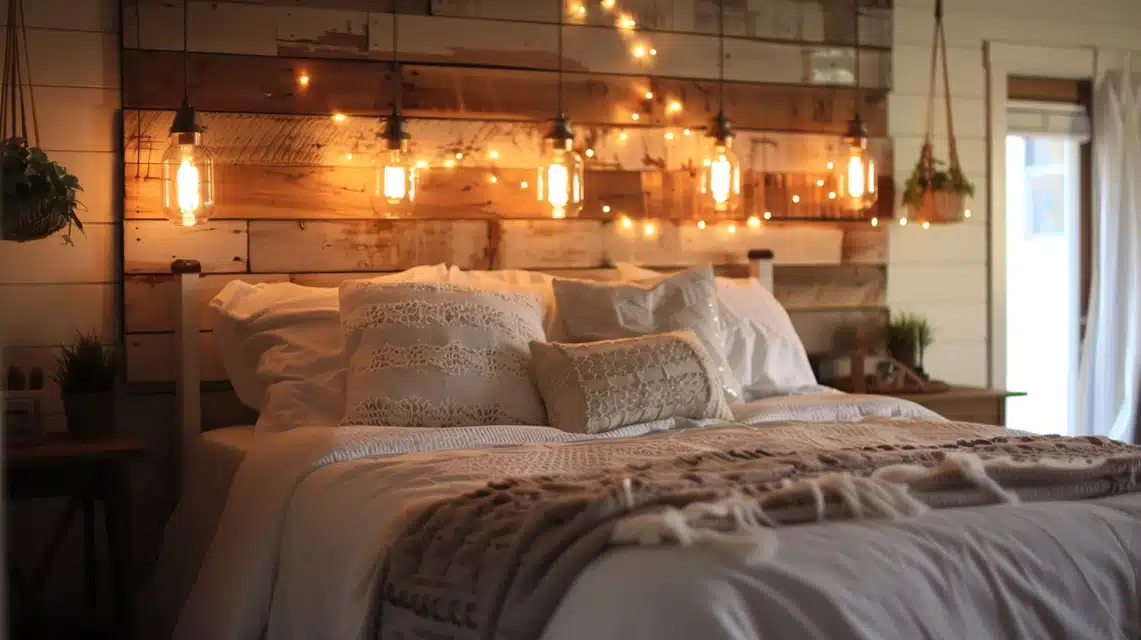
Create custom bedside lighting using mason jars.
This rustic-inspired project provides soft, ambient lighting while adding character to your space.
It is perfect for evening gentle reading light or evening ambiance.
The glass jars diffuse light beautifully, creating soft shadows and patterns.
They are ideal for creating ambiance without harsh overhead lighting.
What You’ll Need:
- Mason jars
- Light kits
- Wire for hanging
- Pliers
- Clear bulbs
DIY Steps:
- Clean jars thoroughly
- Install light fixtures
- Put some hanging wire
- Test connections
- Mount securely
38. Woven Wall Pocket
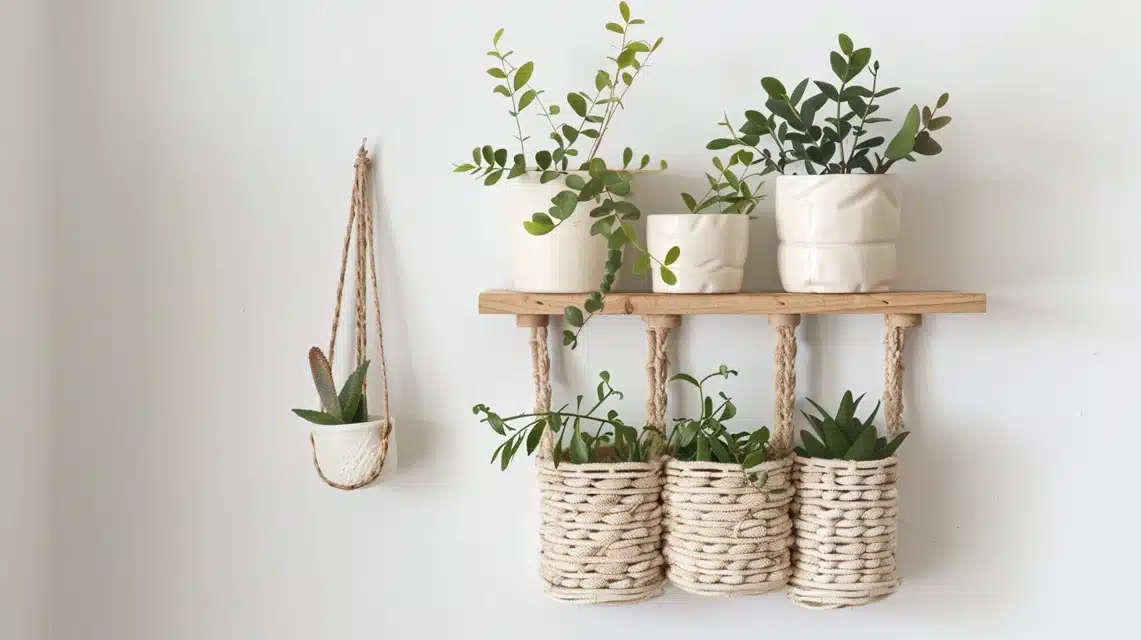
Make a decorative wall organizer using basic weaving techniques.
This functional art piece holds magazines, papers, or other light items while adding texture to your walls.
The texture adds depth to your walls while providing practical storage for magazines, letters, or light items.
Choose colors that complement your room’s palette to create a balanced look.
What You’ll Need:
- Yarn or cord
- Wooden dowel
- Weaving needle
- Scissors
- Wall hook
DIY Steps:
- Create a basic loom setup
- Weave front panel
- Put on pocket section
- Secure all edges
- Hang with proper support
39. Custom Bed Canopy
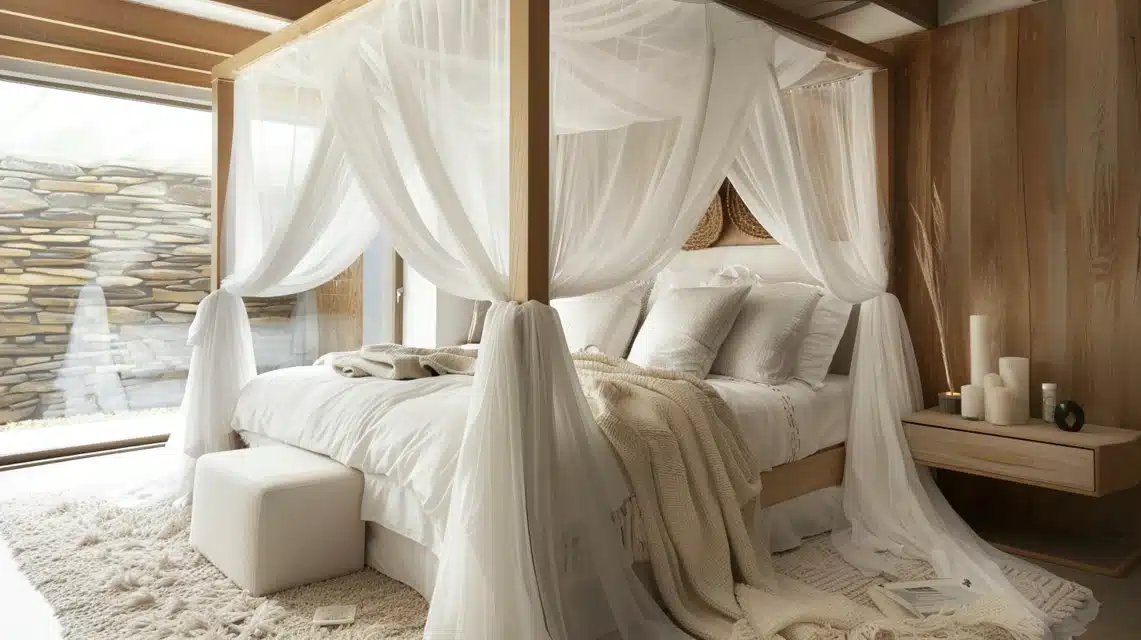
Design a dreamy overhead feature that transforms your sleeping space into a cozy retreat.
This light, airy addition creates the feel of a luxury hotel room while being completely customizable.
The floating fabric adds vertical interest and can make ceilings appear higher.
It is perfect for adding romance and style without permanent modifications to your room.
What You’ll Need:
- 4-6 sheer curtain panels
- Ceiling-mounted hooks
- Decorative chain or rope
- Fabric tape or light clips
- Command hooks for walls
- Lightweight curtain wire
- Clear push pins
DIY Steps:
- Map ceiling installation points
- Install support hooks securely
- Create fabric panel swags
- Adjust draping for an even flow
- Secure side panels properly
40. Pressed Flower Frame Art
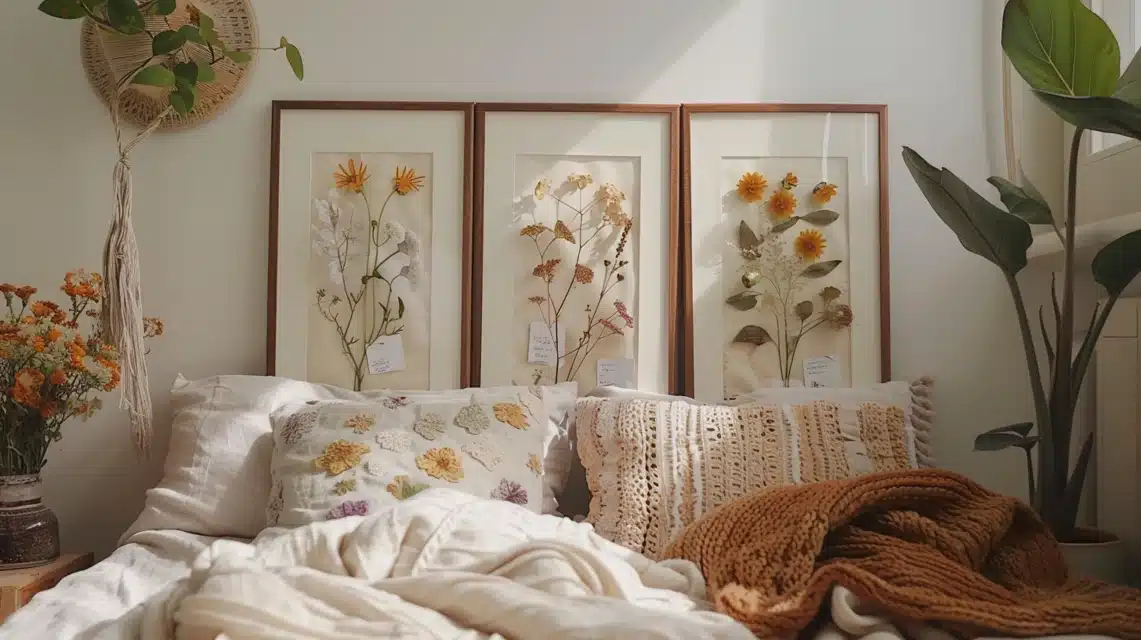
Preserve natural beauty in delicate wall hangings that bring the outdoors inside.
This project turns seasonal flowers into lasting artwork that changes the mood of your space.
The pressed flowers maintain their color and form while creating unique, one-of-a-kind pieces.
They are perfect for capturing garden memories or creating botanical-themed gallery walls.
What You’ll Need:
- Fresh flowers and leaves
- Float frames or shadow boxes
- Clear archival glue
- White background paper
- Parchment paper
DIY Steps:
- Select and press flowers for 2-3 weeks
- Plan arrangement on paper first
- Position flowers with tweezers
- Secure with minimal adhesive
- Frame immediately after arranging
Simple Bedroom Decor Ideas
41. Book Page Accent Wall
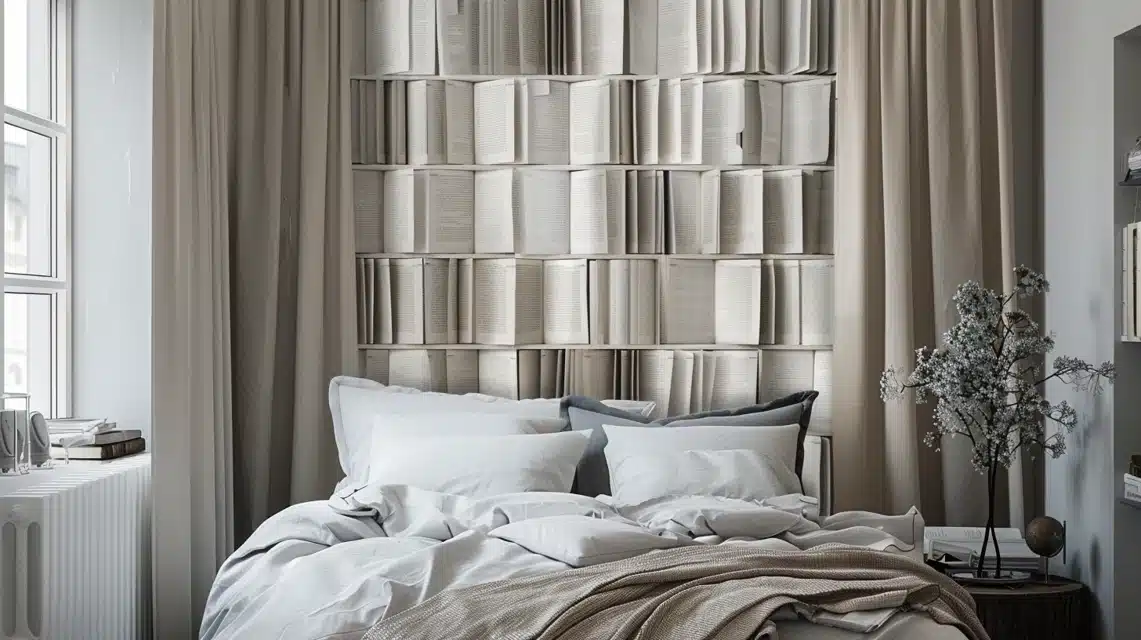
Turn your favorite book pages into an artistic wall feature that reflects your personality and love for literature.
This creative project adds character and texture while creating a unique conversation piece.
It is perfect for readers who want to showcase beloved stories in an artistic way.
What You’ll Need:
- Old book pages (or photocopies)
- Removable wallpaper paste
- Foam brush
- Paper trimmer
- Protective gloves
DIY Steps:
- Select and prepare book pages
- Create a layout pattern on the wall
- Apply the paste in small sections
- Position pages with a slight overlap
- Smooth out air bubbles carefully
42. Floating Corner Shelves
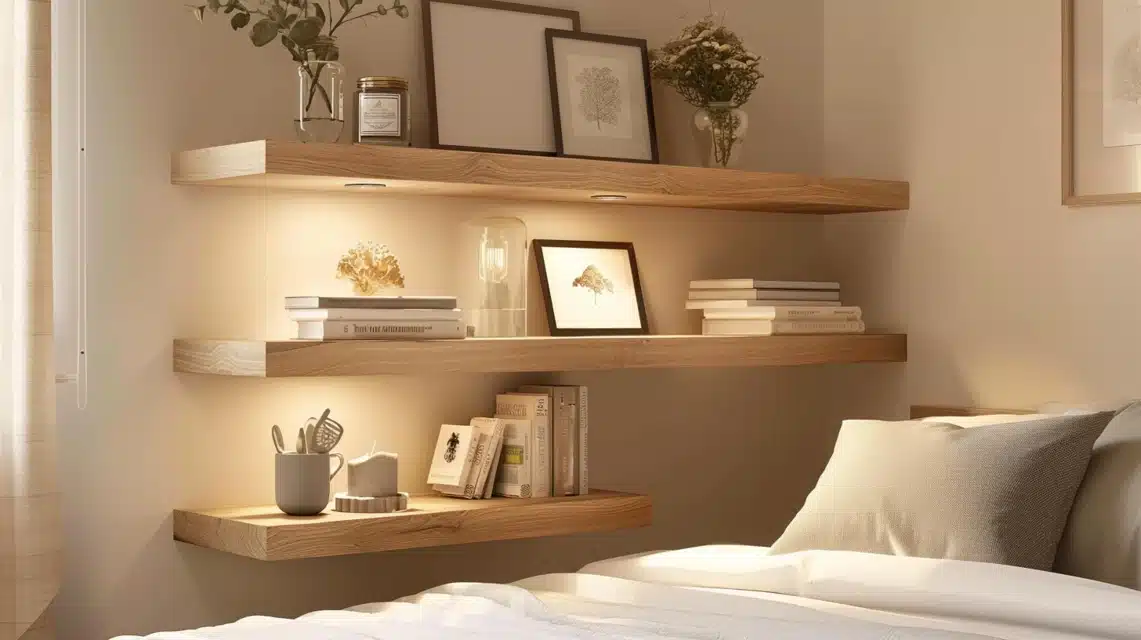
Maximize unused corner spaces with angular shelving. These space-smart shelves turn empty corners into useful storage areas.
They are perfect for displaying small items, books, or plants while keeping floor space clear.
The corner placement creates visual interest without overwhelming the room.
What You’ll Need:
- Corner shelf brackets
- Wood boards cut to size
- Wall anchors
- Drill
- Screws
- Sandpaper
DIY Steps:
- Mark corner shelf heights
- Install brackets securely
- Level each shelf
- Sand edges smooth
- Test weight capacity
43. Behind-Door Storage System
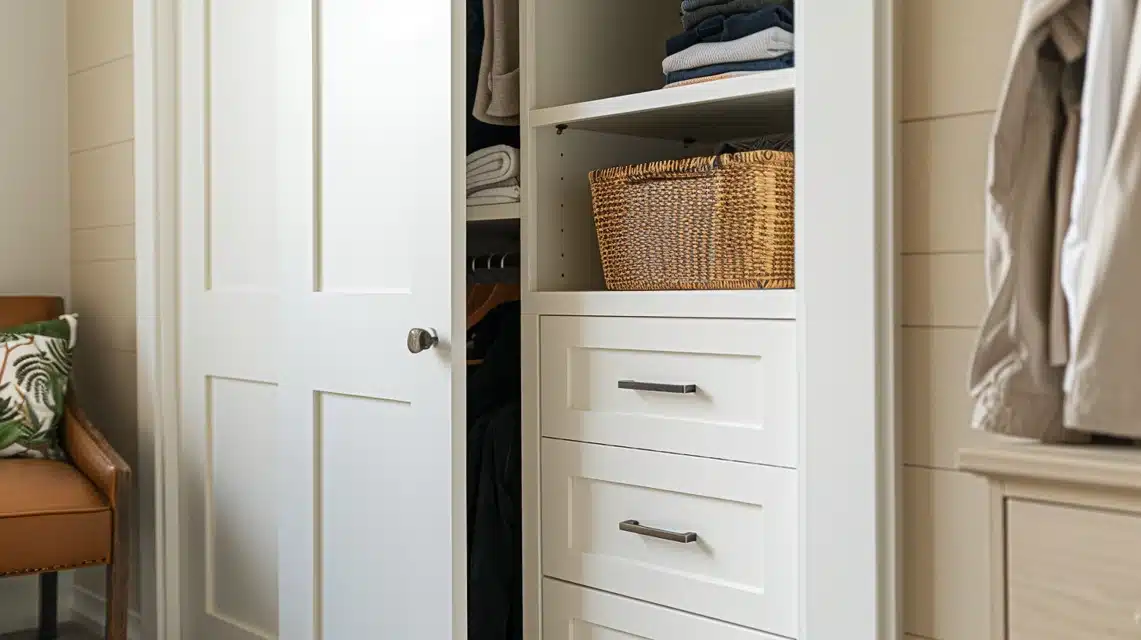
Turn the often-forgotten door space into your valuable storage. This smart solution uses vertical space that’s typically wasted.
It’s perfect for shoes, accessories, or daily essentials. It keeps items accessible while maintaining floor space.
This smart solution utilizes the full height of your door, creating storage where there was none.
What You’ll Need:
- Over-door organizer
- Command hooks
- Door bumpers
- Storage bins
- Labels
- Measuring tape
DIY Steps:
- Measure door dimensions
- Install door bumpers
- Hang organizer securely
- Sort items by use
- Label each pocket
44. Wall-Mounted Desk
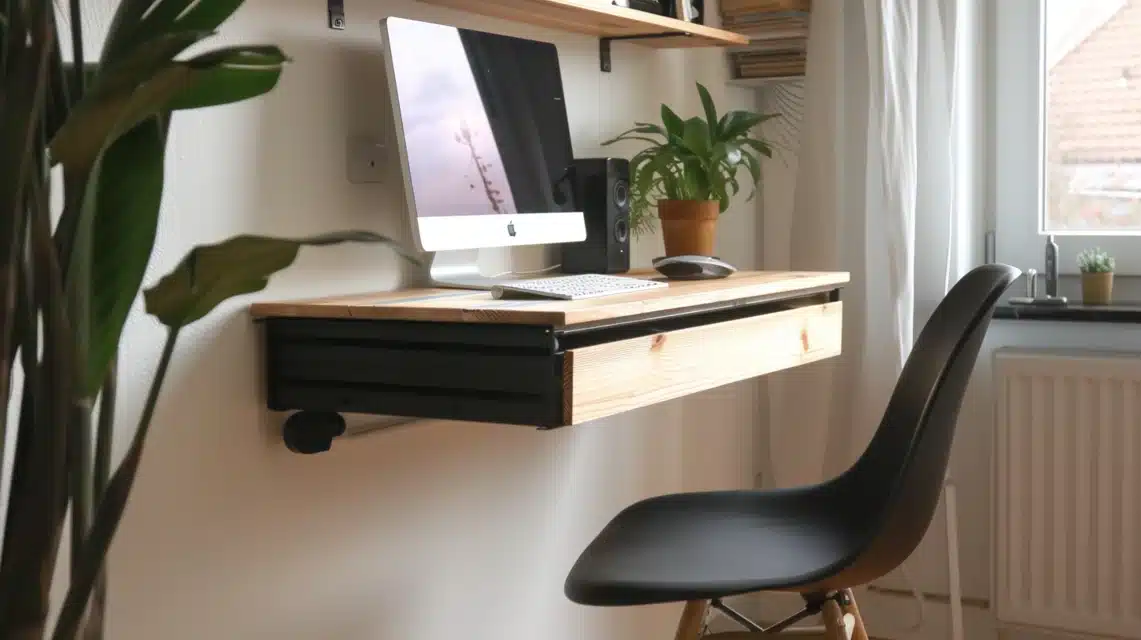
Save precious floor space with a fold-down desk that disappears when not in use.
This clever solution provides a workspace without permanently sacrificing space.
It is ideal for small bedrooms that double as home offices.
It can blend seamlessly into your wall decor or even double as an art display space when closed.
What You’ll Need:
- Wall-mounted desk
- Strong brackets
- Wall anchors
- Basic tools
- Folding chair
- Cable organizers
DIY Steps:
- Find wall studs
- Mount brackets securely
- Attach desk surface
- Put on cable management
- Test stability
44. Minimalist Floating Nightstand
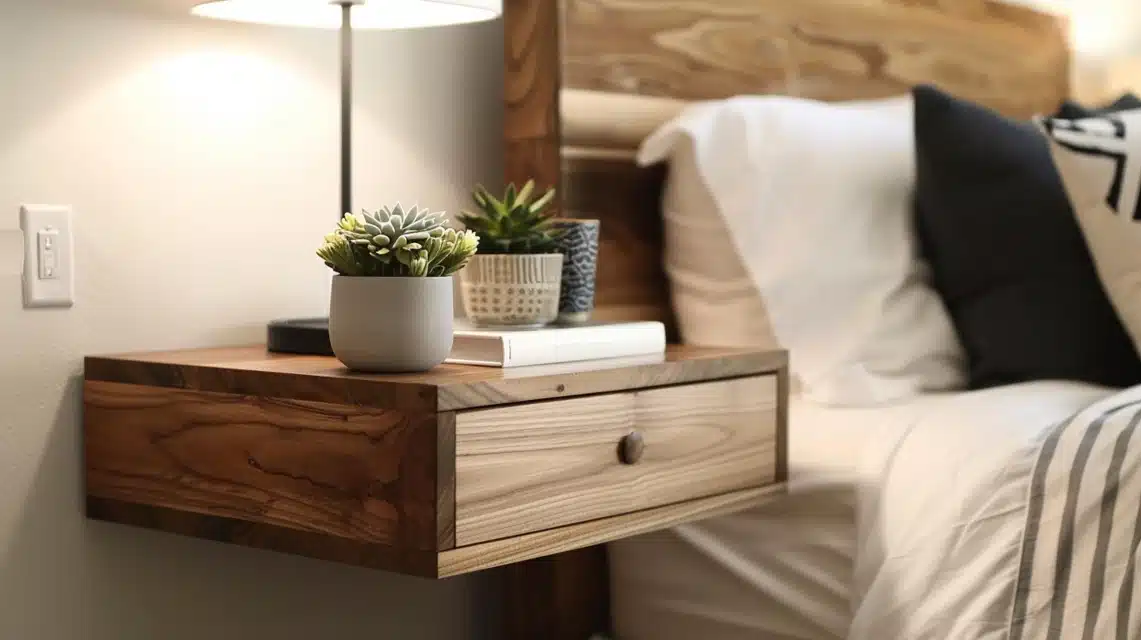
Replace traditional bulky nightstands with sleek floating shelves beside your bed.
This modern solution frees up your floor space while providing essential surface areas for bedtime necessities.
The floating design creates an airy feel and makes cleaning underneath effortless.
Perfect for tight spaces between the bed and wall, these shelves can be customized to match your exact needs.
What You’ll Need:
- Floating shelf brackets
- Wood or shelf material
- Wall anchors
- Drill and screws
- Wire hiding kit
- Task light
DIY Steps:
- Measure the ideal height for bed access
- Mark stud locations
- Install brackets with proper support
- Put on hidden wire management
- Test weight distribution
46. Wall-Mounted Reading Light
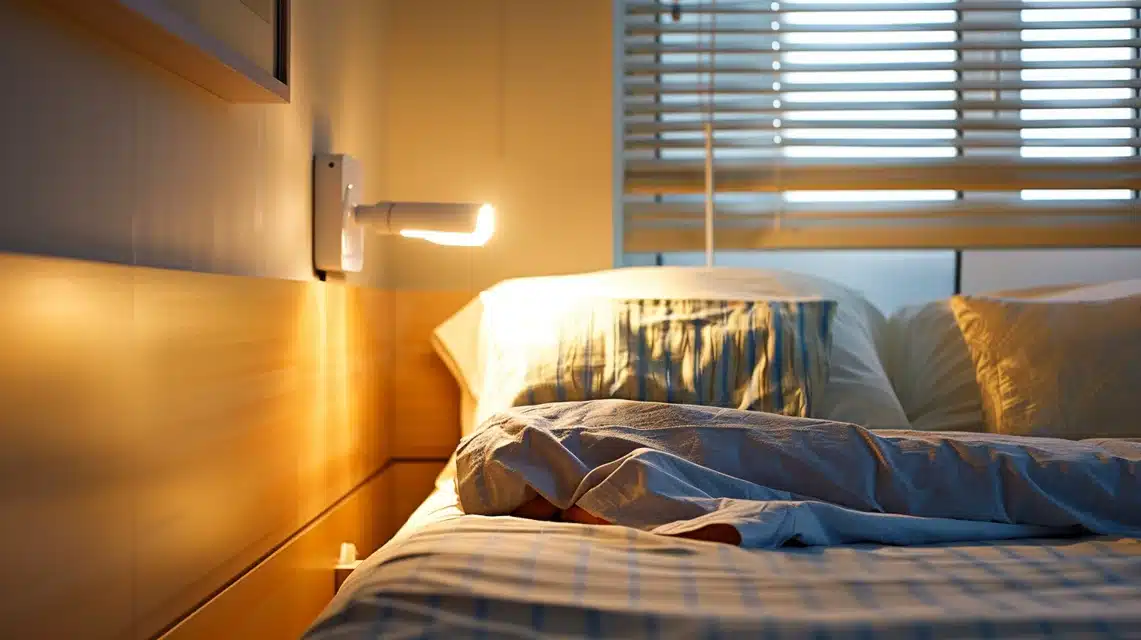
Free up nightstand space with adjustable wall-mounted lighting.
These fixtures provide perfect reading light while eliminating the need for table lamps.
Choose swing-arm models for maximum flexibility or sleek sconces for a modern look.
The mounted design keeps cords tidy and surfaces clear.
What You’ll Need:
- Wall-mounted light fixture
- Wall anchors
- Screwdriver
- LED bulbs
- Wire connectors
DIY Steps:
- Choose the ideal mounting height
- Install mounting bracket
- Connect wiring safely
- Add cord covers
- Test light positioning
47. Mirror Placement Strategy
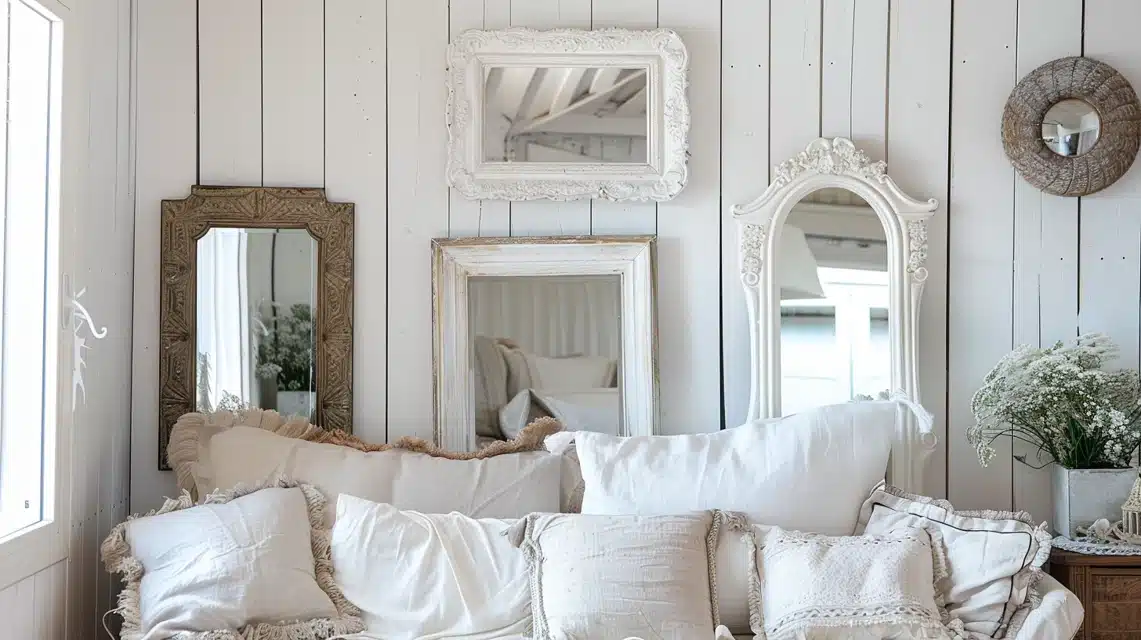
Use mirrors strategically to make your small bedroom feel larger and brighter.
Position them to reflect natural light and create the illusion of more space.
Full-length mirrors can double as dressing aids while making the room appear more spacious.
Mirrors bring big effects to your space with a classic and montage look.
What You’ll Need:
- Large mirror
- Wall anchors
- Mounting hardware
- Measuring tape
- Cleaning supplies
DIY Steps:
- Find optimal light reflection spot
- Mark mounting points
- Install secure anchors
- Hang with proper support
- Clean and position
48. Ceiling-Mounted Curtain Room Divider
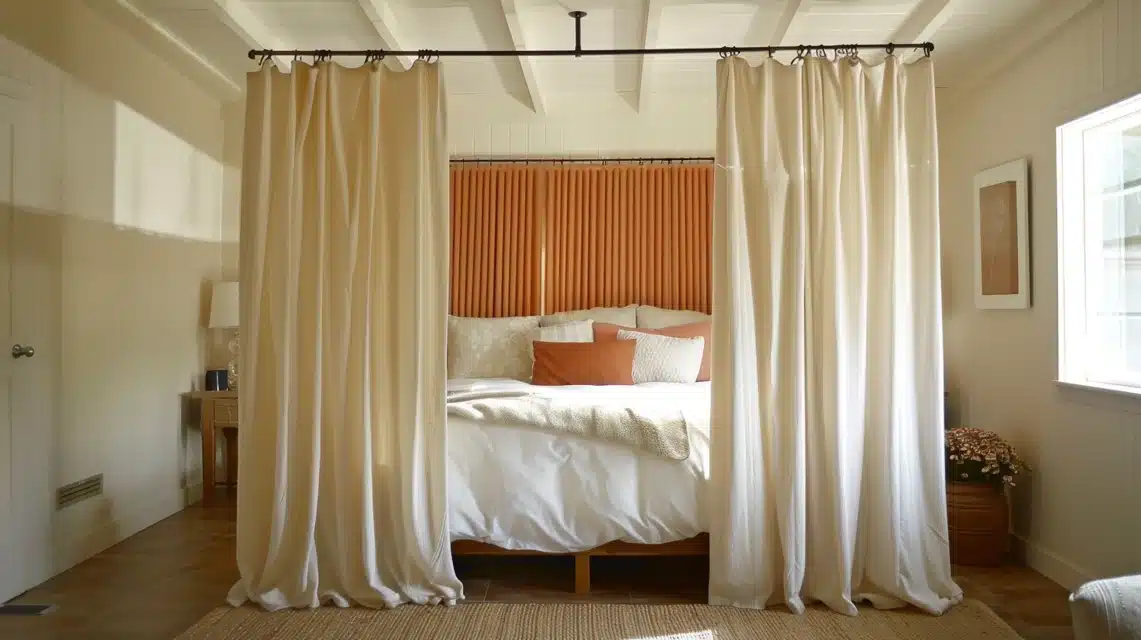
Create flexible zones in your small bedroom with ceiling-mounted curtains.
Perfect for hiding storage areas or creating a dressing space. The fabric adds softness while providing a practical division of space.
Choose light, flowing fabrics to maintain airiness.
What You’ll Need:
- Ceiling track system
- Lightweight curtains
- Ceiling anchors
- Wire cutters
- Curtain clips
DIY Steps:
- Plan track placement
- Install ceiling supports
- Mount curtain track
- Attach curtain panels
- Test smooth operation
Texture Adding Ideas
49. Woven Wall Baskets
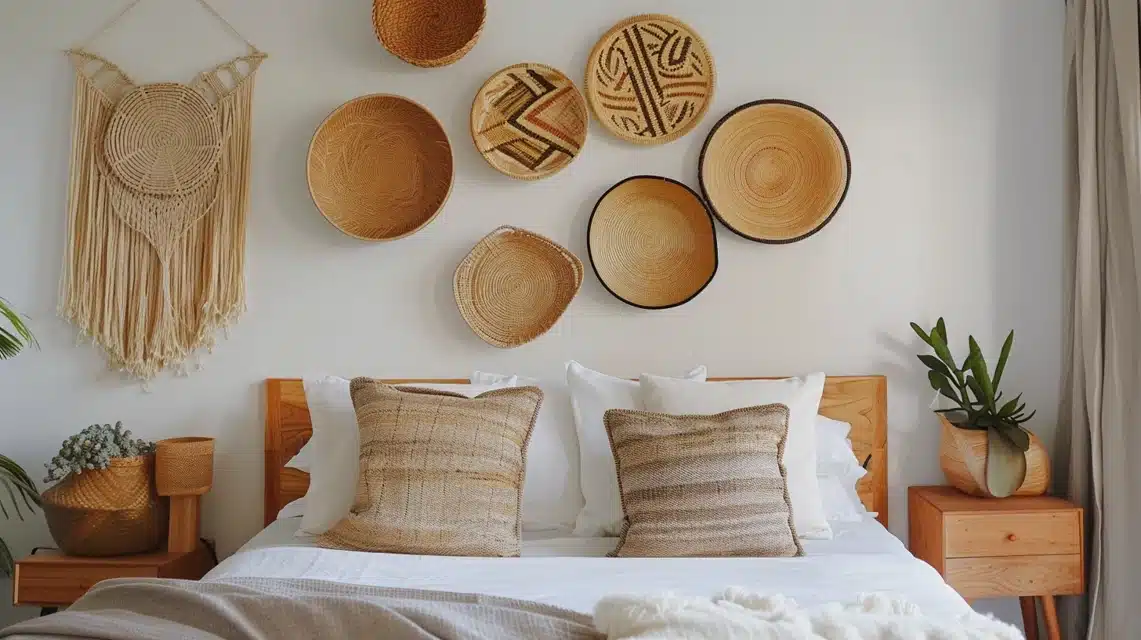
Natural woven baskets add instant warmth and organic texture to walls.
The circular shapes create visual interest while providing subtle depth variations.
The layered arrangement brings dimension without overwhelming the space.
Different sizes and weaving styles create active visual movement while maintaining a balanced natural element.
What You’ll Need:
- Flat-backed baskets
- Wall anchors
- Hammer and nails
- Command strips
- Measuring tape
DIY Steps:
- Map basket arrangement on paper first
- Transfer the pattern to the wall with a level
- Set up anchors for heavier baskets
- Secure each basket with proper support
- Adjust spacing for balance
50. Textured Throw Pillows
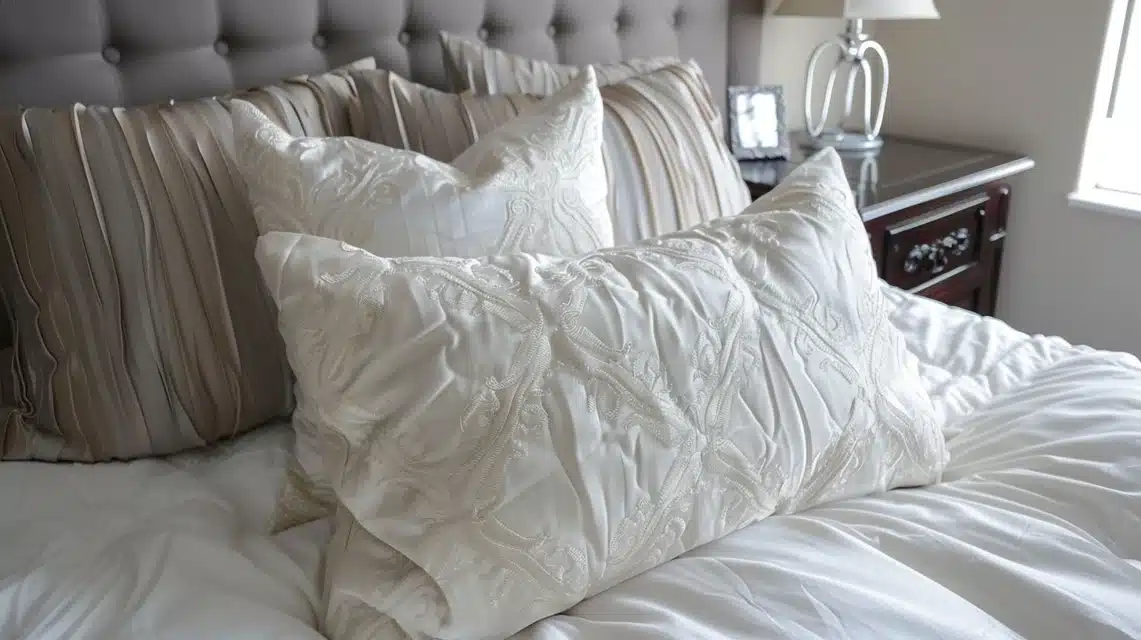
Mix different fabric textures to create depth on your bed or seating.
Combine materials like velvet, knit, and faux fur for tactile interest.
Keep colors coordinated while varying surface patterns.
Combine smooth, rough, plush, and patterned materials thoughtfully for maximum impact.
Various sizes and shapes add compelling depth to the arrangement while maintaining comfort.
What You’ll Need:
- Pillows in different textures
- Pillow covers
- Inserts
- Storage bags
- Lint roller
DIY Steps:
- Select textures that complement each other
- Arrange the largest pillows as a base layer
- Put some medium-sized pillows for depth
- Top with smallest accent pillows
- Maintain balanced distribution
51. Layered Area Rugs
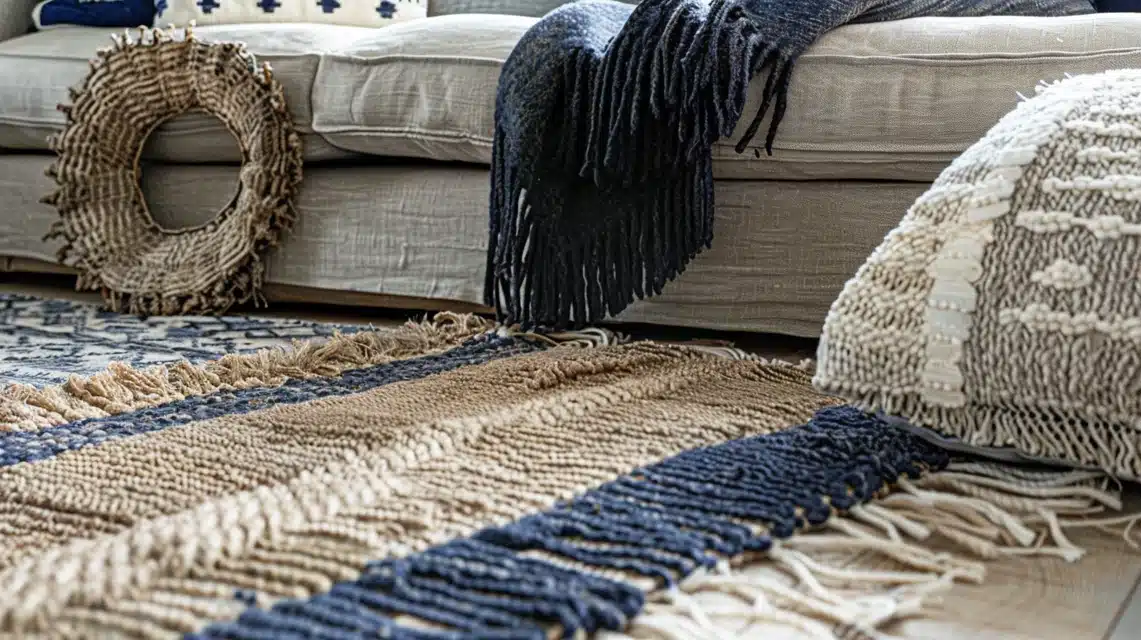
Overlapping rugs create rich depth by combining different textures and pile heights.
Strategic layering defines distinct zones while adding warmth and comfort underfoot.
Multiple rug layers allow for creative pattern mixing and color coordination.
Natural fiber combinations like jute, wool, and cotton create the most interesting textural interplay.
What You’ll Need:
- Rugs of varying sizes
- Non-slip rug pads
- Scissors for trimming
- Rug tape
- Measuring tape
DIY Steps:
- Measure floor space and plan rug layout
- Place non-slip pads in position
- Layer a larger base rug first
- Position smaller rugs at angles
- Secure edges with rug tape
52. Textured Wallpaper Panel
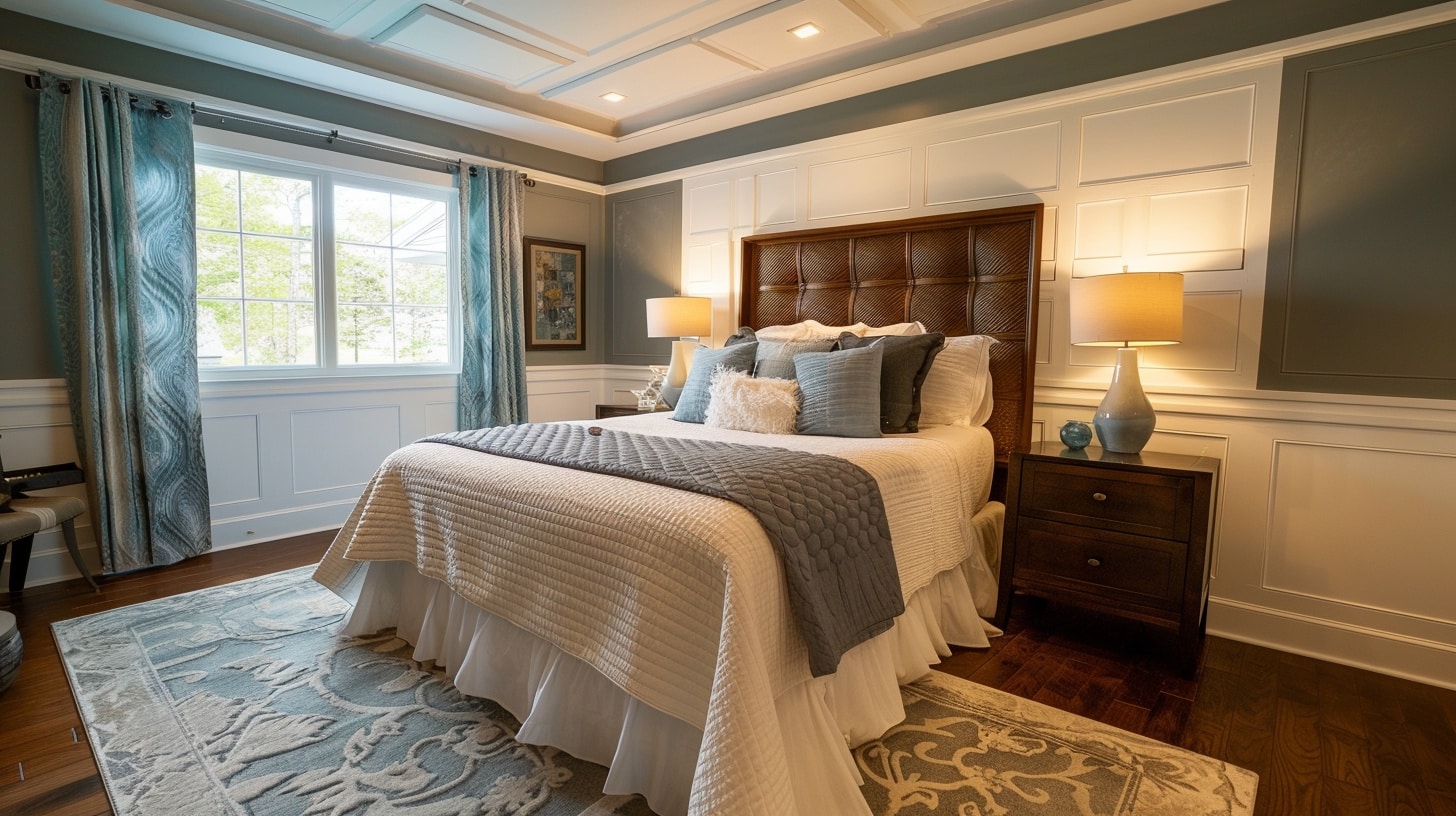
A single panel of textured wallpaper creates an instant focal point with depth and dimension.
The limited application prevents overwhelming the space while maximizing visual impact.
Raised patterns catch the light differently throughout the day, creating active interest.
This accent works particularly well behind beds or in reading books.
What You’ll Need:
- Textured wallpaper
- Wallpaper paste
- Smoothing tools
- Scissors
- Measuring tape
DIY Steps:
- Clean and prepare the wall surface
- Measure and cut wallpaper precisely
- Apply the paste evenly to the wall
- Position paper and remove air bubbles
- Trim excess and clean edges
53. Macramé Light Fixture
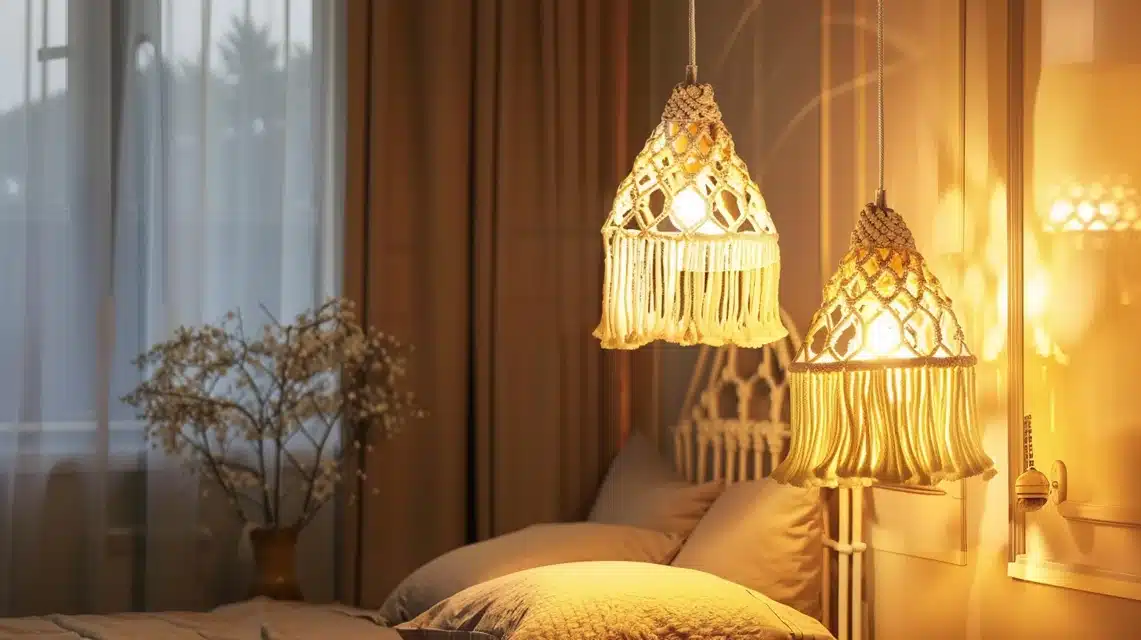
Put some Woven light covers to transform basic fixtures into artistic focal points with intricate shadows.
Natural cotton cord creates an organic texture that softens harsh lighting elements.
The handmade knot patterns add three-dimensional interest to overhead spaces.
Light filtering through the weaving creates subtle, ever-changing patterns.
What You’ll Need:
- Cotton cord
- Light fixture kit
- Scissors
- Metal ring
- Safety equipment
DIY Steps:
- Measure and cut cord lengths
- Create base knots around the ring
- Work pattern downward in sections
- Secure all knots firmly
- Install over the light fixture
54. Woven Reed Window Shade
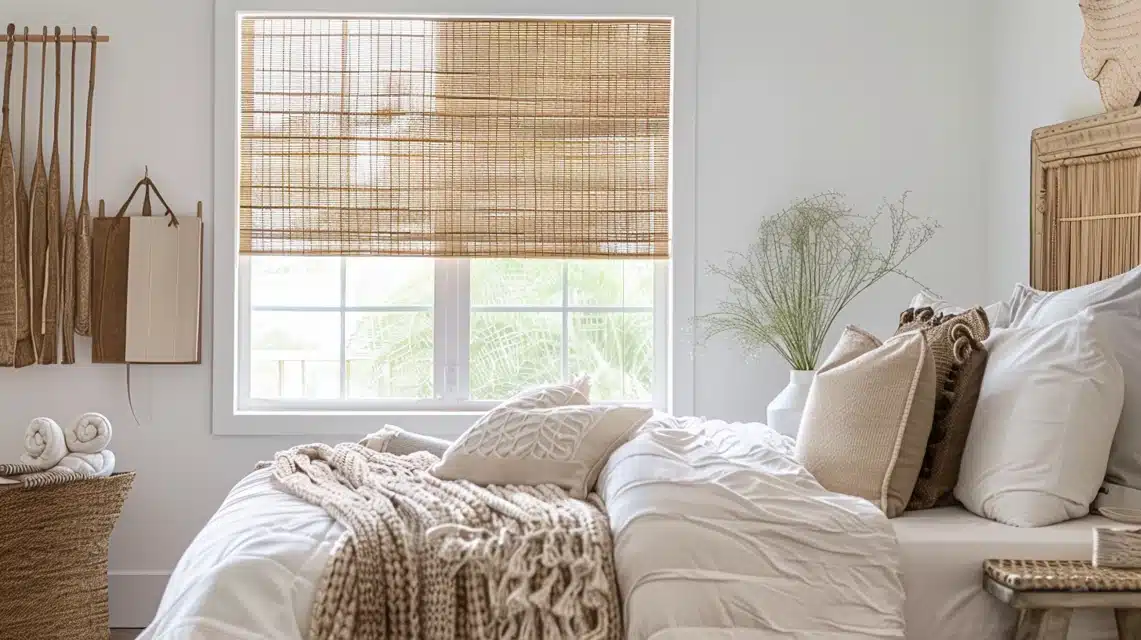
Natural reed material filters sunlight while adding organic texture to window spaces.
The horizontal reed patterns create visual interest and bring outdoor elements inside.
Layered with soft curtains, reed shades add depth to window treatments.
The natural variations in reed coloring create subtle visual movement.
What You’ll Need:
- Reed shade material
- Mounting brackets
- Cord mechanism
- Drill and hardware
- Measuring tape
DIY Steps:
- Measure window width and length
- Cut reed material to size plus overhang
- Install mounting hardware above the window
- Attach cord system for raising
- Test operation and trim excess
55. Textured Canvas Art
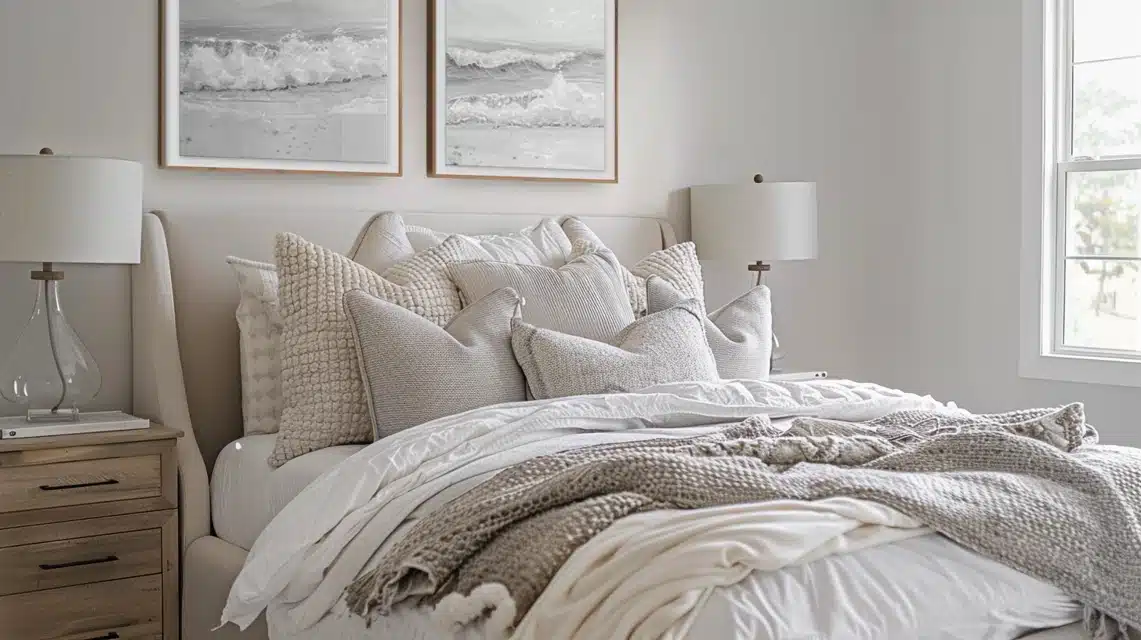
Create canvas pieces that combine multiple textures for engaging wall art.
Building layers of materials create natural shadows and visual depth.
Different textures catch light uniquely, making the piece change throughout the day.
Each layer brings its character while contributing to the overall composition.
What You’ll Need:
- Blank canvas
- Textured mediums
- Paint and brushes
- Natural elements
- Strong adhesive
- Protective sealer
DIY Steps:
- Prime canvas surface
- Apply base texture layer
- Build up additional textures
- Add color elements
- Seal finished piece
56. Rope Wrapped Planters
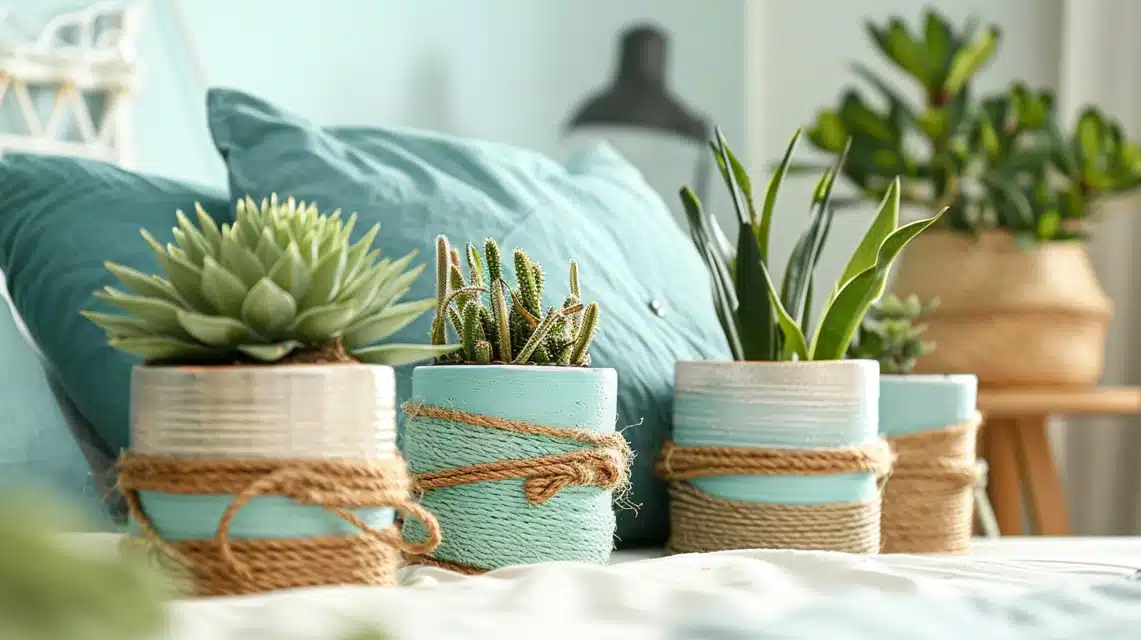
Through careful rope-wrapping techniques, simple pots become textural elements.
Natural fiber wrapping adds warmth and interest to basic ceramic containers.
Different wrapping patterns create unique visual rhythms and tactile appeal.
The technique works across various pot sizes to create coordinated groupings.
What You’ll Need:
- Plain planters
- Natural rope
- Strong adhesive
- Paintbrush
- Clear sealant
DIY Steps:
- Clean the planter surface thoroughly
- Apply adhesive in sections
- Wrap the rope tightly in a pattern
- Secure ends firmly
- Seal rope to protect from moisture
57. Textured Fabric Wall Panels
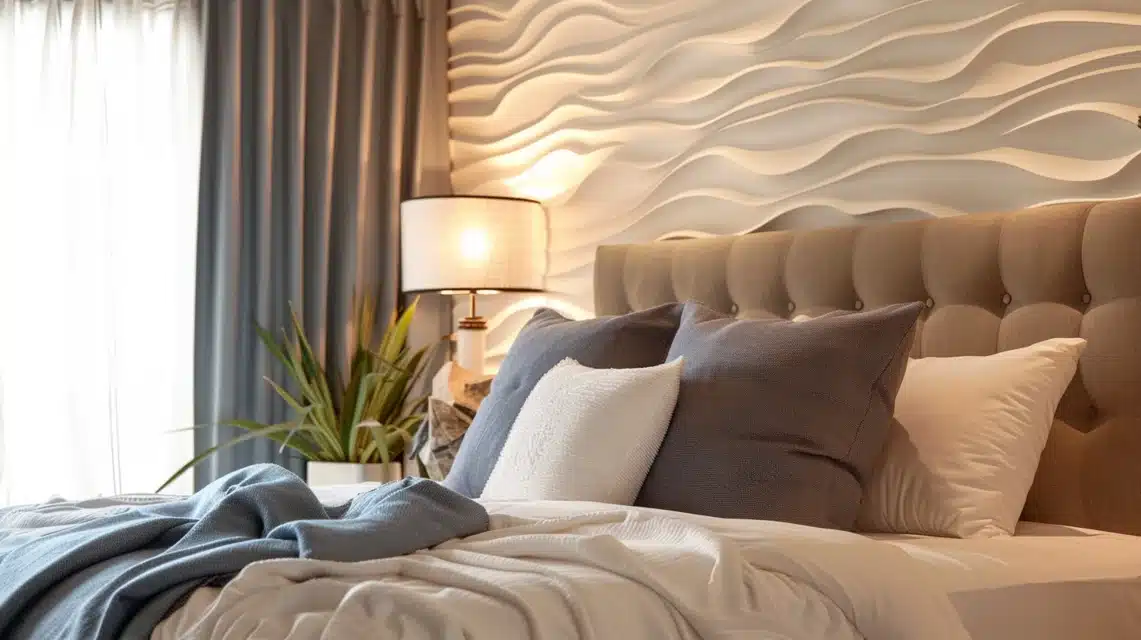
Create soft wall panels using textured upholstery fabric.
Different fabric patterns create visual interest while maintaining a cohesive look.
The panels add warmth and dimension to flat walls without permanent changes.
Strategic placement creates focal points while bringing comfort to the space.
What You’ll Need:
- Foam board panels
- Textured fabric
- Batting material
- Staple gun
- Mounting hardware
DIY Steps:
- Cut the foam board to the desired panel sizes
- Layer batting over foam smoothly
- Stretch fabric and secure edges
- Create clean corners and seams
- Mount panels with proper spacing
58. Layered Window Treatments
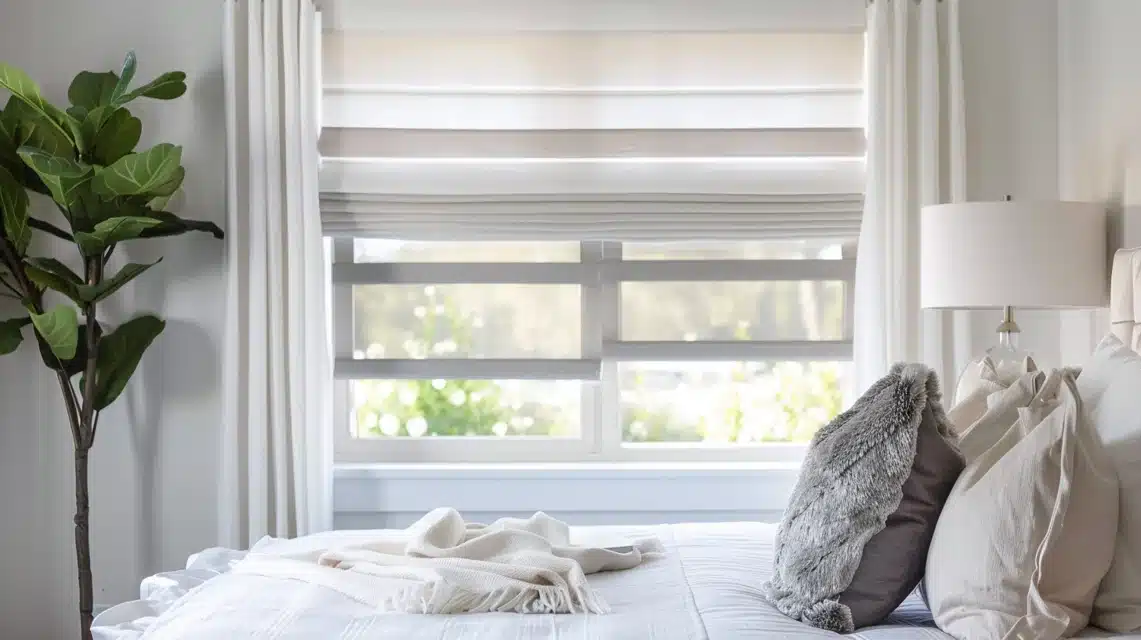
Combine multiple fabric layers to create rich window styling with varied light control options.
Combining sheer and heavy textures adds visual depth while maintaining functionality.
The layered approach allows for seasonal adjustments and lighting flexibility.
Different fabric weights create natural folds and movement in the treatment.
What You’ll Need:
- Curtain rods
- Sheer curtains
- Textured drapes
- Mounting hardware
- Measuring tape
DIY Steps:
- Install double curtain rod system
- Hang sheer panels on the inner rod
- Mix textured drapes to the outer rod
- Adjust lengths for proper flow
- Style layers for the desired effect
Conclusion
Creating a beautiful room doesn’t need to be complicated or expensive.
Small changes can make a big impact in refreshing your space.
I shared some practical and budget-friendly room decor ideas that anyone can try.
Aren’t you ready to transform your walls into living, breathing works of art?
Vertical gardens offer an incredible way to bring nature indoors without sacrificing precious space.
Whether you’re working with a tiny apartment or a spacious bedroom, these green walls can completely change the feel of your room.
It doesn’t always have to be a big change.
Starting small is fine—you can always expand your ideas as you become more comfortable with your space.
Choose ideas that match your lifestyle and light conditions, and don’t be afraid to mix and match different varieties for visual interest.
So, pick a few ideas that resonate with you and get started!
Your bedroom should be a heaven where you can relax and recharge.
These tips make it easy to achieve that without breaking the bank.
Let your creativity shine, and most importantly, have fun with it!

