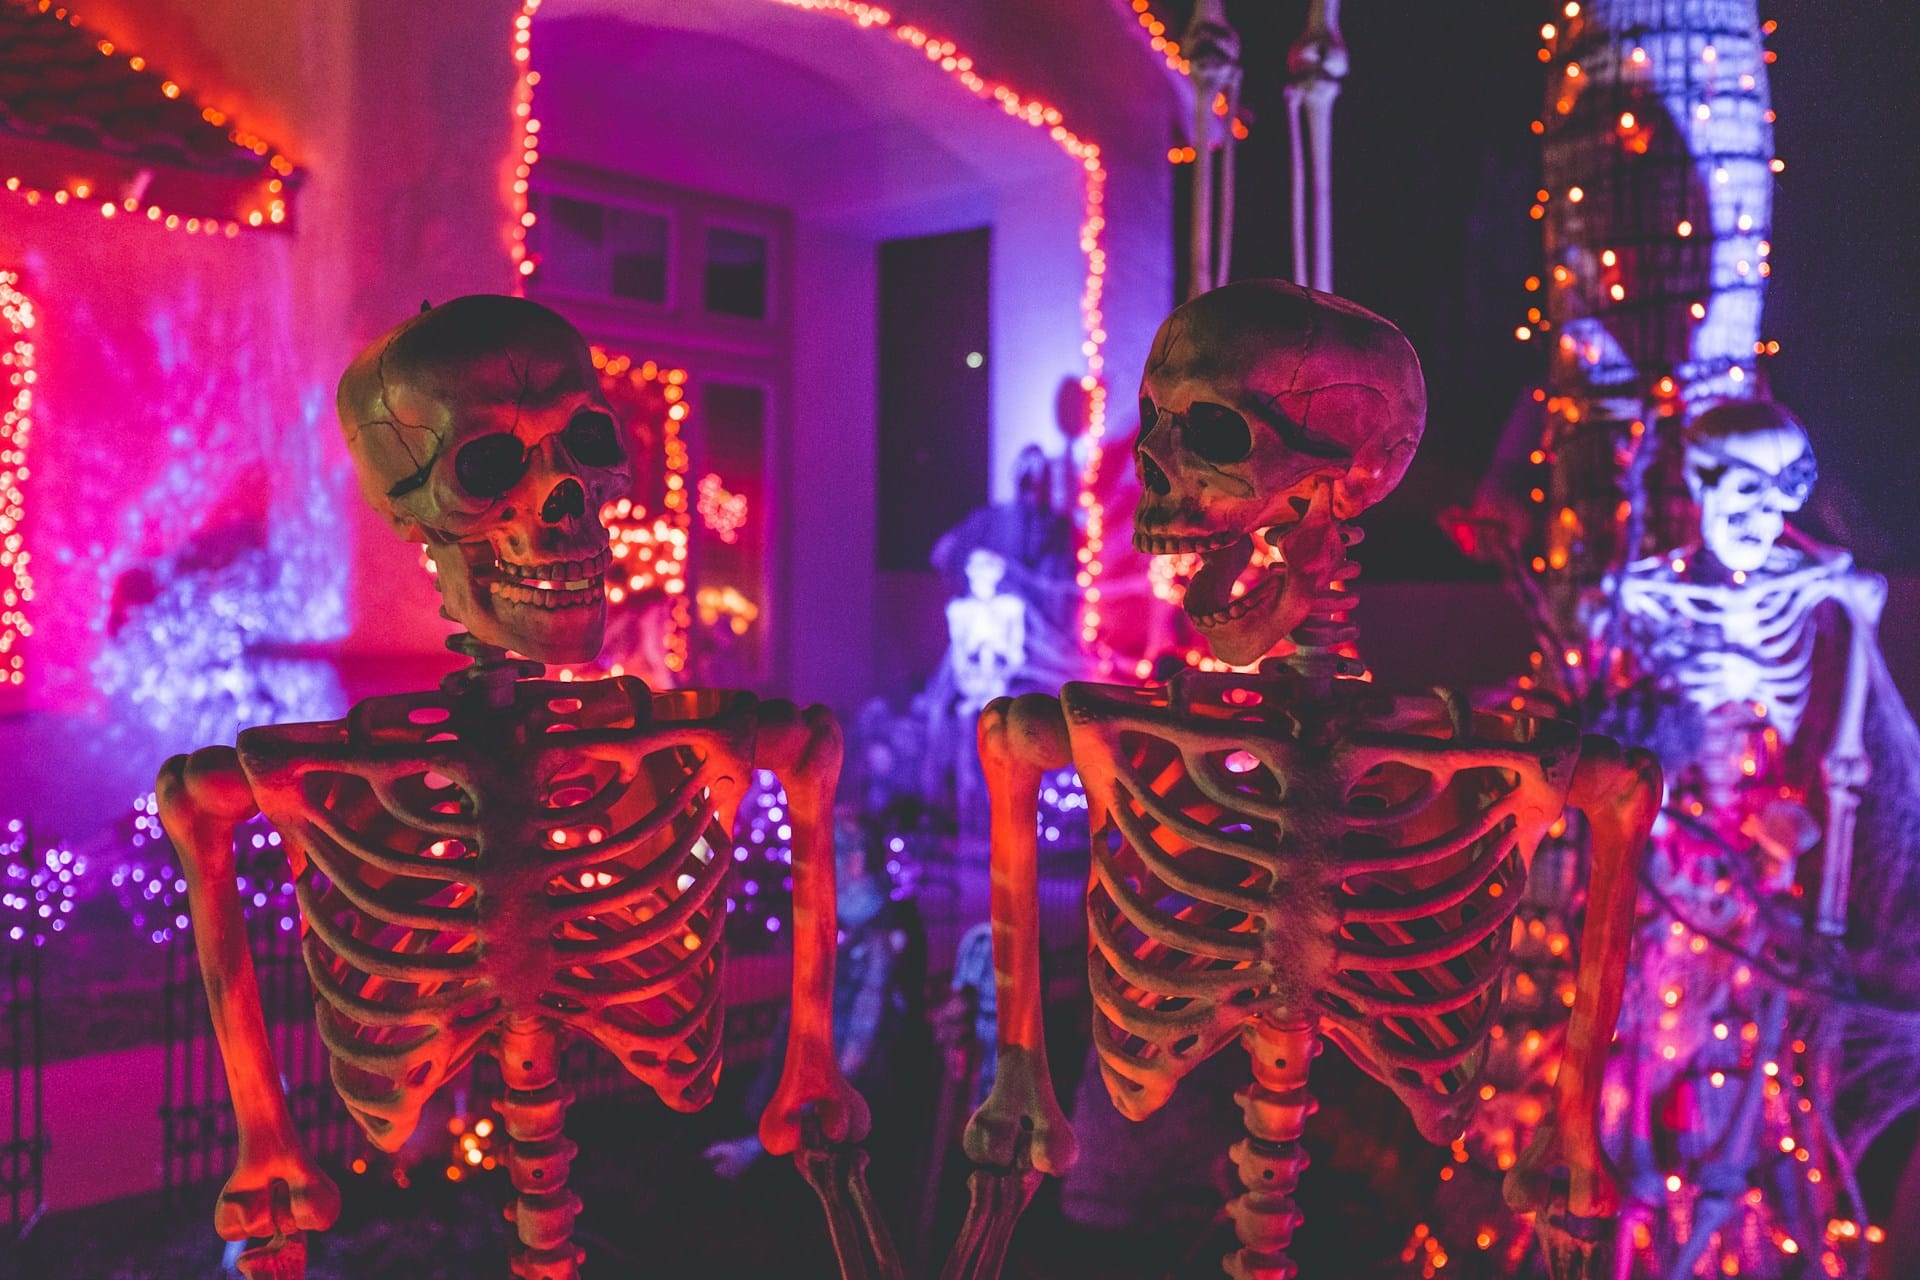
Halloween is a time for creativity, spooky fun, and transforming your home into a haunted masterpiece. Whether you’re hosting a party, wanting to impress your neighbors, or simply indulging your crafty side, laser cutting offers a precise and professional way to create stunning Halloween decorations. If you’re new to laser cutting, don’t worry—this beginner’s guide will walk you through everything you need to know to get started on your journey to creating mesmerizing Halloween decor for your home.
Why Choose Laser Cutting for Halloween Decor?
Precision and Detail
One of the primary advantages of laser cutting is the level of precision it offers. Halloween decor often involves intricate designs, such as spooky silhouettes, detailed patterns, and complex shapes. Laser cutting allows you to achieve these details with ease, resulting in professional-looking decorations that enhance the eerie atmosphere of your home.
Time Efficiency
Laser cutting is significantly faster than manual cutting, especially for complex or large-scale projects. This efficiency is particularly beneficial when preparing multiple decorations or working on large installations, saving you time and effort.
Versatility
Laser cutters can handle a wide range of materials and thicknesses, providing flexibility in your design choices. Whether you prefer the warmth of wood, the sleekness of acrylic, or the versatility of cardstock, laser cutting can bring your Halloween vision to life.
Getting Started with Laser Cutting
1. Understanding the Basics
Before diving into laser cutting, it’s essential to understand the basics of how the process works and the equipment involved. Here’s a quick overview:
· Laser Cutter: The primary machine that performs the cutting or engraving. They come in various sizes and power levels, suitable for different materials and project scales.
· Design Software: Programs like Adobe Illustrator, CorelDRAW, or free alternatives like Inkscape are used to create or modify designs that the laser cutter will follow.
· Materials: Choose materials that are compatible with your laser cutter. Common choices for Halloween decor include plywood, poster board, acrylic sheets, and felt.
2. Choosing the Right Laser Cutter
For beginners, it’s crucial to select a laser cutter that suits your needs and budget. Here are a few popular options:
· Glowforge: User-friendly and cloud-based, ideal for home use with a variety of materials.
· Epilog Zing: A robust option with excellent support and software compatibility, suitable for more frequent use.
· TorchLS: Known for versatility and precision, offering a range of models to fit different project scales.
Consider factors such as budget, space, material compatibility, and the complexity of your projects when choosing a laser cutter.
3. Learning Design Software
Familiarize yourself with design software to create or modify the patterns you want to cut. Here are some tips:
· Start Simple: Begin with basic shapes and gradually move to more complex designs as you gain confidence.
· Utilize Tutorials: Many online resources and tutorials can help you learn the essentials of design software.
· Templates and Ready-Made Designs: Use available templates or modify existing designs to suit your Halloween theme.
4. Safety First
Laser cutting involves high-powered machinery, so safety should always be a priority:
· Ventilation: Ensure your workspace is well-ventilated to avoid inhaling fumes from burning materials.
· Protective Gear: Use safety glasses and gloves as recommended by your laser cutter’s manufacturer.
· Fire Safety: Keep a fire extinguisher nearby and never leave the laser cutter unattended while in operation.
5. Practice Makes Perfect
Before embarking on your Halloween projects, practice with some simple cuts to get a feel for your machine and materials. Experiment with different settings to understand how your laser cutter handles various materials and thicknesses.
Designing Your Halloween Decor
1. Choosing Themes and Motifs
Halloween is rich with iconic symbols and themes. Some popular choices include:
· Spiders and Webs: Intricate spider silhouettes and web patterns add a creepy touch.
· Ghosts and Skeletons: Classic representations of Halloween spirit and eeriness.
· Pumpkins and Jack-o’-Lanterns: Timeless motifs that evoke the essence of Halloween.
· Haunted Houses and Bats: Detailed designs that capture the spooky atmosphere.
2. Creating Layered Decorations
Laser cutting allows for the creation of layered decorations, adding depth and dimension to your decor. For example:
· Layered Panels: Create multiple layers of a haunted house or a spooky forest, each layer adding complexity and depth.
· Shadow Boxes: Design shadow boxes with intricate scenes that cast eerie shadows when illuminated from behind.
3. Incorporating Lighting
Enhance your laser-cut decorations with lighting elements:
· LED Lights: Integrate LED strips or lights into your designs to bring them to life.
· Backlighting: Use backlighting to highlight intricate details and create a glowing effect.
4. Customizing Your Designs
Personalize your Halloween decorations by customizing designs with names, dates, or messages. This adds a unique touch and makes your decorations stand out.
Popular Laser-Cut Halloween Projects
1. Halloween Silhouettes
Create large, striking silhouettes of iconic Halloween figures like witches, bats, and cats. These can be mounted on walls, windows, or even used as yard decorations.
2. Pumpkin Lanterns
Design and cut detailed pumpkin lanterns that can be illuminated from the inside. The intricate patterns will cast spooky shadows, perfect for creating a haunted ambiance.
3. Haunted House Models
Build detailed models of haunted houses with multiple layers and complex designs. These models make impressive centerpieces and conversation starters.
4. Spooky Window Clings
Laser-cut window clings in the shape of ghosts, trees, and other Halloween motifs add a festive touch to your home’s exterior without permanent installation.
5. Halloween Signs
Create custom signs with Halloween greetings or directional signs for your party. Add elements like cobwebs or spooky fonts to enhance the theme.
Tips for Successful Laser Cutting
1. Material Selection
Choose materials that complement your design and are compatible with your laser cutter. For Halloween decor, consider:
· Wood: Offers a classic, warm look and is great for silhouettes and signs.
· Acrylic: Provides a sleek, modern appearance and works well for backlit decorations.
· Cardstock: Ideal for lightweight decorations and window clings.
2. Fine-Tuning Settings
Adjust the laser cutter settings according to the material and thickness you’re using. Proper settings ensure clean cuts and prevent burning or melting.
3. Test Cuts
Always perform test cuts on scrap material before working on your final project. This helps you adjust settings and ensure your design translates well to the material.
4. Maintenance
Keep your laser cutter clean and well-maintained. Regularly check and clean the lenses, mirrors, and cutting bed to ensure optimal performance.
5. Design Optimization
Simplify your designs where possible to reduce cut time and material use. Optimize paths in your design software to make the cutting process more efficient.
Resources and Inspiration
Online Tutorials and Courses
Numerous online platforms offer tutorials and courses on laser cutting and design software, helping you build your skills and confidence.
Design Libraries
Access free and paid design libraries for Halloween themes. Websites like Etsy, Pinterest, and specialized laser cutting communities provide a wealth of inspiration and ready-to-use designs.
Community Forums
Join laser cutting and crafting forums to share your projects, seek advice, and connect with other enthusiasts. Platforms like Reddit, Facebook groups, and dedicated laser cutting communities are excellent for networking and support.
Conclusion
Laser cutting is a fantastic tool for creating unique, intricate, and professional-looking Halloween decorations for your home. As a beginner, investing time in understanding the basics, choosing the right equipment, and practicing your skills will pay off with stunning results that elevate your Halloween festivities. Whether you’re aiming for spooky elegance or creative flair, laser cutting empowers you to bring your imaginative Halloween visions to life with precision and ease. So, gather your materials, fire up your laser cutter, and get ready to transform your home into a Halloween haven that will leave everyone enchanted and a little spooked!


