Putting up a fence on sloped ground comes with challenges that flat yards never reveal. Posts want to lean. Rails can look crooked if not handled right. Soil may shift under pressure, testing your work before it is finished.
Setting out with a few simple tools and clear steps makes the difference between a fence that lasts years and one needing repair by next season.
Stick around for practical guidance you can trust, without guesswork or jargon.
Choosing Between Stepped and Racked Fence Layouts
The very first thing you’ll need is a plan of how you want your fence to look and measure. Walk the line where your fence will go, noting every high and low point.
Sloped ground calls for a choice:
Stepped sections keep each panel level but create gaps underneath, while racked panels follow the grade, so pickets stay close to the ground.
Check that posts remain plumb even as rails tilt, then compare visual impact against practical needs before finalizing your design approach.
Setting Posts on Uneven Ground
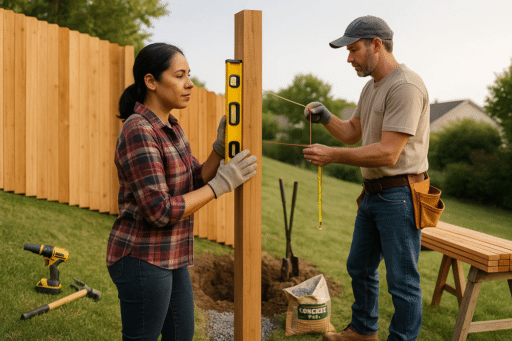
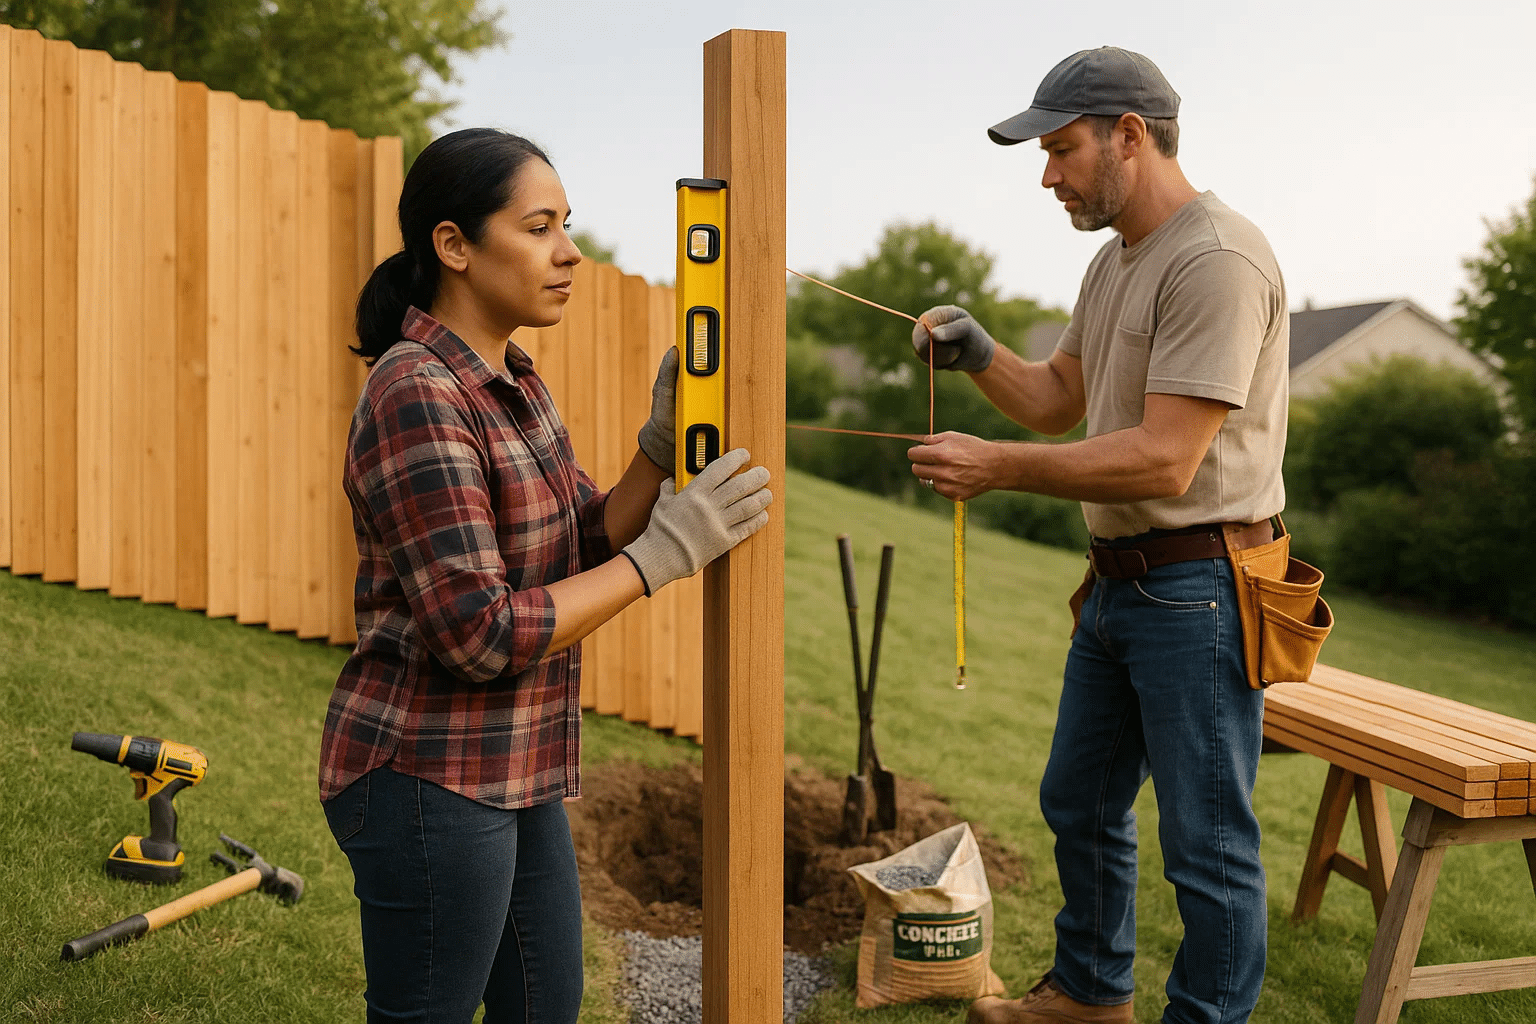
Every fence needs solid posts before any rails go up. Mark your post locations with string and stakes, measuring each spot carefully to match your plan.
Dig holes straight down, using a level to check that each one stays true even as the ground slopes away. You may need deeper holes for added stability if the soil feels loose or damp.
As the grade rises, uphill posts will need extra length to reach a consistent fence height while still setting deep enough for strength. Backfill with gravel first for drainage, then set posts in concrete so they stay upright and square. Double-check plumb before moving forward.
Fastening Rails to Match the Slope
Rails need solid attachment to posts, even when angles are tricky. Mark where each rail meets the post, and pre-drill at the matching angle so wood does not split. Use longer fasteners if you see gaps between rails and posts, as these gaps increase on steeper slopes.
For added strength on sloped surfaces, specialty hardware keeps through-bolts tight and seated flat.
These include:
- Beveled washers
- Fender washers
- Lock washers
- Hillside washers (for steeper slopes)
A hillside washer helps ensure that bolts and nuts sit flush on angled posts, expanding the contact area to stabilize the fastener. This prevents movement or twisting over time, keeping rails secure and maintaining fence alignment even on uneven terrain.
Using Angled Drilling for Strong Connections
Nothing keeps rails in place better than tight, accurate holes that follow the slope’s pitch. Start by clamping rails firmly so they do not move during drilling. Select a drill bit that matches your fastener size, and angle it to match the rail-to-post connection.
Careful drilling means bolts and screws pull both pieces snug together, instead of creating weak spots or splits. Test each joint for movement before moving on to ensure everything feels stable from end to end.
Selecting Hardware That Resists Corrosion
Long-lasting fences depend on the hardware holding them together. Outdoor moisture, soil acidity, and temperature swings put every screw and bolt to the test over time.
Look for corrosion-resistant hardware with features like:
- Hot-dip galvanized coating
- Stainless steel or coated fasteners
- Rated for exterior or ground-contact use
These finishes guard against rust where wood meets metal. When picking out materials, check packaging labels for intended environments so you get lasting performance without early failures that invite repairs later.
Understanding Local Fencing Codes and Rules
Local codes shape fence height, setback from property lines, and even the materials you can use. Checking requirements before digging saves time and money on fixes later.
If you opt for vinyl fencing, for instance, certain towns may have extra rules about visibility or reinforcement at corners. Some neighborhoods require neighbor consent when working close to shared boundaries.
So, call your local permitting office or visit its website to confirm details early in your project. Every step stays legal from start to finish this way.
Avoiding Common Mistakes with Sloped Fences
Level ground is rare, so each step must suit the land. Small errors compound fast on a hill.
Mistakes to avoid:
- Posts set out of plumb: Use a level before concrete sets.
- Overlooking expansion gaps for materials: Leave space between boards or rails as the weather shifts.
- Mismatched hardware types: Stick with one corrosion-resistant metal throughout.
- Cutting panels without marking true grade: Scribe lines directly along the slope before sawing.
Planning ahead at each stage keeps your fence sturdy and good-looking. Review your progress after each section, fixing issues early instead of rebuilding later.
Clearly, sloped ground asks for more. But well-made choices here reward you long-term. Careful work with each post and rail leads to a fence that stands steady year after year.

Holding a Master’s in Construction Management from Purdue University, William Ray has dedicated more than two decades to studying and applying construction principles. His professional journey includes a tenure with a prominent construction firm, where he specialized in project management and building technologies. William brought his knowledge to our team, providing in-depth insights into practical construction techniques. As the leader of our beginner’s guide to building since 2019, he has a knack for breaking down intricate processes into easily digestible content. When not involved in writing or onsite consultations, William enjoys woodworking and volunteering in community building projects, which aligns with his passion for hands-on construction and community service.