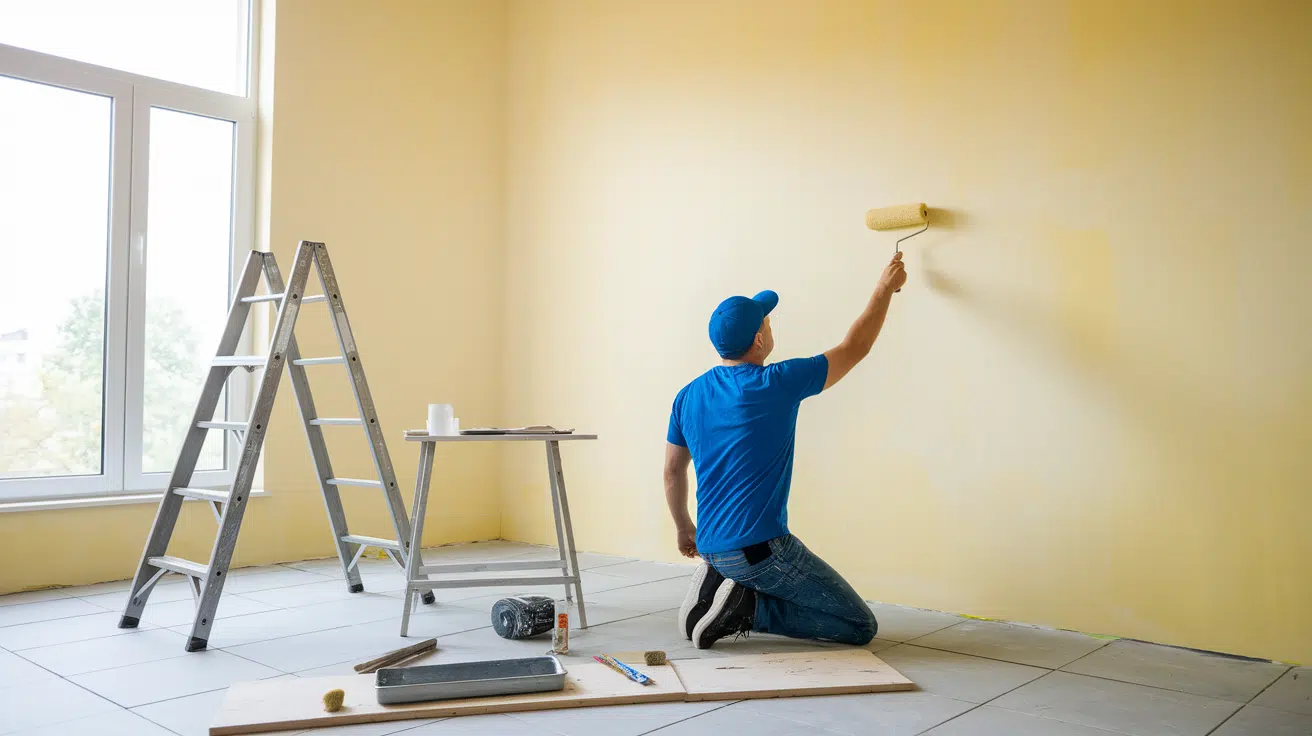
Your driveway has a crack that appears to be growing bigger every day. The sidewalk in front of your house slopes downward, creating a trip hazard. Sound familiar?
Sunken concrete is more than just an eyesore. It’s a safety concern that can negatively impact property values and lead to accidents. But here’s the good news: you don’t need to tear everything up and start over.
Concrete lifting foam offers an innovative solution. This process utilizes specialized foam concrete lifting to raise and level sunken concrete slabs. It’s faster and cheaper than a complete replacement.
The foam, also known as polyurethane concrete raising, is injected under the concrete. It expands and hardens, lifting the slab back to its original position. The whole process takes hours, not days.
Ready to fix that sunken concrete?
Understanding Polythane Concrete Raising
Polythane concrete raising utilizes expanding foam to lift sunken concrete, rather than traditional repair methods.
Unlike older techniques like mudjacking, which pumps heavy sand-water mixtures under slabs, polyurethane concrete raising injects lightweight polyurethane foam through small holes.
This foam expands and hardens beneath the concrete, filling voids and lifting the slab back to its original position. The process is faster than traditional methods, with most repairs completed within hours rather than days.
However, it typically costs more than traditional methods due to the use of synthetic materials. Overall, polyurethane concrete raising provides a modern and efficient solution for concrete leveling needs.
Tools and Materials Required
Before diving into the concrete lifting process, you’ll need to gather the right tools and materials for the job. Having everything ready beforehand will make the project run smoothly and safely.
The table below lists all the essential equipment and supplies you’ll need to complete your concrete lifting foam project.
| Tools and Materials | Purpose/Description |
|---|---|
| Concrete lifting foam | Foam is explicitly designed for lifting concrete (not for doors/windows). |
| Acetone | Used for cleaning up excess foam from tools and surfaces. |
| Cement drill bit (1/4 inch or 3/8 inch) | Drill bit used for creating holes in the concrete slab for foam application. |
| Hammer drill (corded preferred) | Power tool used for drilling holes in concrete; corded version recommended. |
| Regular hand tools | Basic tools include a screwdriver and an oscillating tool for removing caulk and making adjustments. |
| Gloves and knee protection | Protects hands and knees during work, particularly when kneeling for long periods. |
| Fill and seal | Material for filling any cracks or gaps in the concrete after raising. |
| Self-leveling concrete | Used for filling gaps and ensuring a smooth, level finish after raising the slab. |
After gathering these tools and materials, double-check that you have everything on hand before starting the project.
Missing items can cause delays and interrupt the foam application process, which works best when done continuously. Let’s see the steps.
Step 1: Prepare the Area

Start by clearing the work area of any furniture, plants, or obstacles. Remove existing caulk around the concrete slab using an oscillating tool or utility knife.
Work carefully to avoid damaging the surrounding concrete or adjacent surfaces.
Pay attention to any cracks or joints where caulk has previously been applied. Be cautious of potential ants, spiders, or other pests that may have made homes in these areas. They often nest in the gaps beneath concrete slabs.
Keep insect spray handy if needed. Once you’ve removed all the old caulk, sweep away debris and clean the area thoroughly. This preparation ensures better foam adhesion and a cleaner finished result.
Step 2: Drill Holes in the Concrete Slab

Mark the drilling locations with chalk or a marker. Typically, you’ll need three holes spaced evenly across the sunken area. Select locations that will ensure good foam distribution beneath the slab. Avoid drilling too close to edges or existing cracks.
Set up your hammer drill with a masonry bit sized for your foam injection equipment. Put on hearing protection and work gloves before starting. Drill straight down through the concrete, applying steady pressure.
The holes should penetrate completely through the slab into the void beneath. Clean out concrete dust from each hole using compressed air or a small brush.
Step 3: Prepare for Foam Application

Check that your drill holes are the correct size for your foam equipment’s injection ports. If holes are too small, enlarge them with a larger bit. If they’re too large, you may need injection port adapters.
Test-fit the foam application straw or nozzle to ensure proper connection. Prepare your foam according to the manufacturer’s instructions. Most foams work best at temperatures between 70-85°F.
If it’s cold outside, warm the foam containers in sunlight or bring them indoors beforehand. Set up your foam equipment in a convenient location with easy access to all drill holes.
Have extra foam containers ready in case you need more than expected.
Step 4: Apply Concrete Lifting Foam

Insert the foam application straw into the first hole and begin injecting slowly. The foam will expand and fill the cavity beneath the slab. Watch for the concrete to start lifting – this usually happens within minutes.
Mark the slab’s edge with a Sharpie to track progress.
Move systematically from hole to hole, applying foam in controlled amounts. Don’t rush this process. Too much foam, too quickly, can cause uneven lifting or damage.
Listen for the sound of foam expanding beneath the slab. Stop injecting when you see the desired amount of lift or when foam begins to seep out from cracks or edges.
Step 5: Test and Adjust the Height

Allow the foam to cure for about 30 minutes before testing the results. Use a level or measuring tape to check the amount of lift on the slab. Compare this to your target height.
The foam continues to expand slightly during the curing process, so don’t expect immediate final results.
If certain areas need more lifting, mark them and prepare for additional foam application. Some spots may require multiple injections to achieve the desired level. Be patient – it’s better to lift gradually than to overshoot your target height.
Step 6: Address Blowouts and Foam Overflow

Foam blowouts occur when expanding foam finds weak spots in the concrete or escapes through cracks. Don’t panic if this happens – it’s relatively common.
Let the foam set for 15-20 minutes, then scrape away excess material with a putty knife or scraper. If blowouts create holes in your foam support, you may need to inject additional foam to fill these gaps.
Clean up any foam that gets on tools or surfaces immediately, as it becomes much more difficult to remove once it has cured. Work quickly but carefully during this step.
Step 7: Final Cleanup and Sealing

Once the lifting process is complete, clean your work area thoroughly. Remove any foam residue from tools using acetone or the manufacturer’s recommended solvent. Dispose of empty foam containers in accordance with local regulations.
Fill any remaining gaps around the slab with self-leveling concrete or appropriate caulk. This prevents water infiltration and gives a finished appearance.
Clean the concrete surface with a stiff brush and water to remove any foam stains or dust. Allow everything to dry completely before applying any sealers.
Step 8: Review and Completion

Inspect the entire repair area to ensure the slab is level and stable. Walk on the surface to test for any soft spots or areas that feel unstable. Use a level to verify that the concrete matches the surrounding surfaces.
Check that drainage patterns haven’t been disrupted by the lifting process. Consider applying concrete sealer to protect the repaired area from future water damage.
The entire project typically takes about 5 hours and costs around $110 for materials when done as a DIY project. Professional services would cost significantly more but include warranties and expertise for complex situations. For homeowners facing foundation damage from sunken concrete, engaging dedicated concrete lifting services ensures a precise, long-lasting repair.
Concrete Lifting Foam: Video Tutorial
Check out the video below by Haparound thehouse for a step-by-step guide on how to lift concrete with foam.
The Advantages and Disadvantages of Concrete Lifting Foam
Concrete lifting foam offers several benefits that make it appealing for many repair projects. However, like any construction method, it also has some drawbacks worth considering.
The table below breaks down the key advantages and disadvantages to help you make an informed decision.
| Basis | Advantages | Disadvantages |
|---|---|---|
| Application Speed | Concrete lifting foam is applied quickly, reducing downtime and disruption. | It may not work well for severely damaged or deeply cracked concrete surfaces. |
| Durability | The foam provides a durable solution, ensuring long-term stability. | Over time, the foam may degrade, especially in harsh weather conditions, reducing its effectiveness. |
| Disruption | The method requires minimal disruption to the surrounding area, making it ideal for residential properties. | Not the best option for larger surface areas or highly unstable soils. |
| Cost | Compared to full concrete replacement, concrete lifting foam is a more affordable repair option. | Polythane foam may not perform well in certain soil conditions or areas with extreme moisture. |
Understanding these pros and cons helps you determine if foam lifting is a suitable fit for your specific needs and budget. Consider consulting with a professional in concrete to determine the best approach for your particular situation.
Conclusion
Concrete lifting foam provides an innovative and cost-effective solution for addressing sunken and uneven concrete around your home.
This modern approach saves time, money, and hassle compared to full concrete replacement. With the right tools and careful preparation, you can restore your surfaces to their original level in just a few hours.
The process might seem challenging at first, but following these step-by-step instructions makes it manageable for most homeowners. Remember to work slowly and monitor the lifting progress carefully. Safety should always be your top priority.
Have you tried using concrete lifting foam to address your sunken concrete issues? Share your experience in the comments below!
Frequently Asked Questions
What Is the Lifespan of Concrete Lifting Foam?
Concrete lifting foam typically lasts for 5 to 10 years, depending on environmental factors and the amount of weight or traffic the surface endures.
How long does the Concrete Lifting Process take?
The actual lifting process typically takes 30 minutes to an hour, but the curing time can extend the overall process to approximately 24 hours.
Is Polyurethane Foam Environmentally Friendly?
Polyurethane foam is considered safe for the environment due to its low toxicity; however, it is not biodegradable and may take time to break down under certain conditions.
Can Concrete Lifting Foam Be Used for All Types of Concrete Surfaces?
Concrete lifting foam is effective on most surfaces, but it may not be suitable for severely cracked or structurally compromised concrete.

Tommy Hardy, an alumnus of the Georgia Institute of Technology with a degree in Mechanical Engineering, has been a go-to figure in residential upkeep and innovation for over 18 years. His career commenced in a leading home appliance manufacturing company, where he mastered the intricacies of household systems. Joining our platform in 2020, Tommy quickly became a reader favorite for his practical and easy-to-follow guides. He took the helm of our DIY section in 2019, consistently delivering content that empowers homeowners. Beyond his professional pursuits, Tommy is a passionate gardener and enjoys woodworking, skills enhancing his hands-on approach to home care.