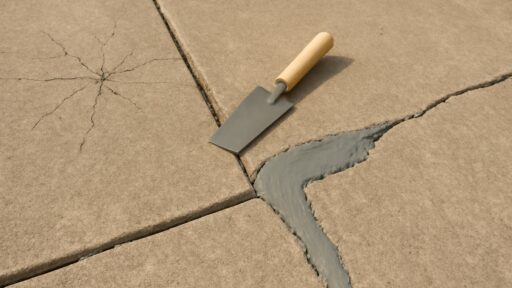
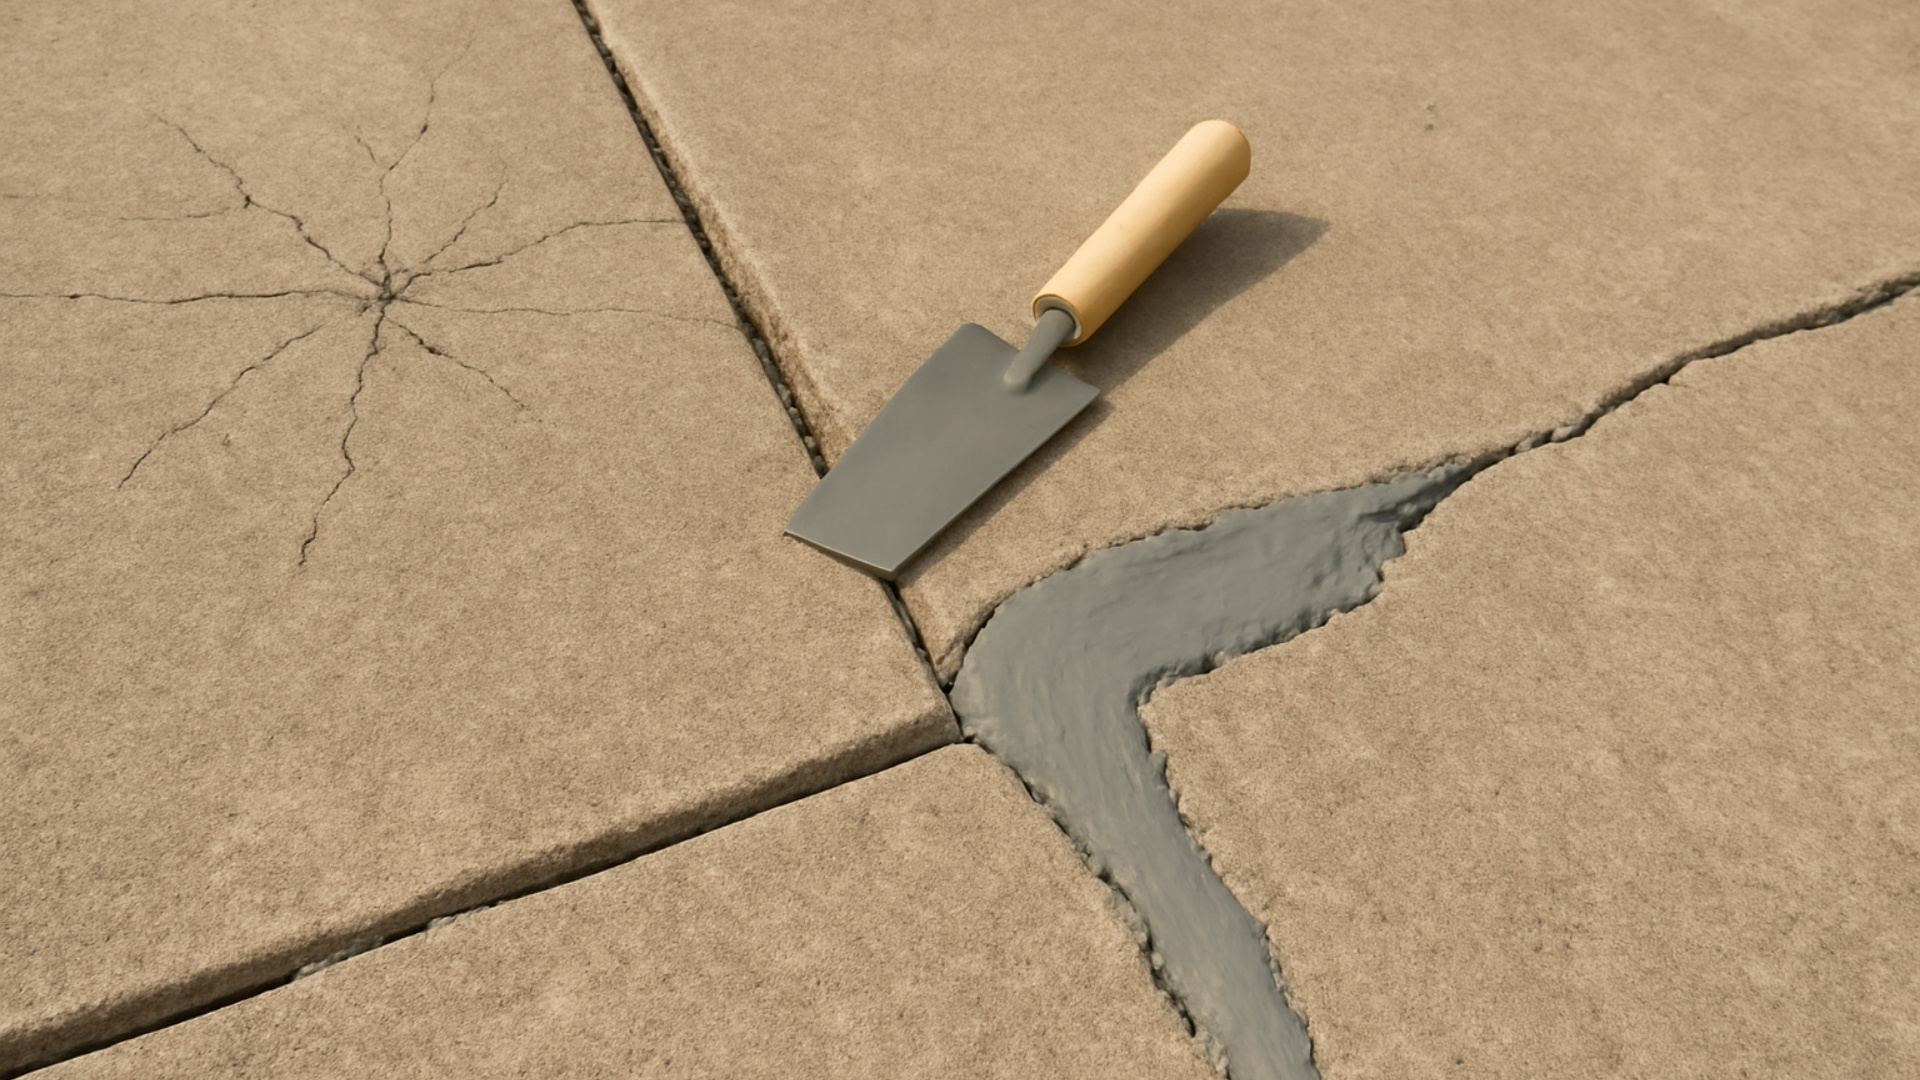
Ever stepped onto a cracked sidewalk and felt that sudden jolt of panic? You’re not alone.
Concrete sidewalk repair might seem like a hassle.
But it’s actually one of the smartest home projects you can tackle.
It prevents expensive trip-and-fall lawsuits. It instantly boosts your property’s curb appeal.
You can handle many repairs yourself with basic tools. Or you can call professionals for bigger jobs.
Mastering simple repair techniques saves thousands in the long run.
The good news? Most concrete sidewalk repairs are easier than you think.
With the right approach, you’ll get results that last for years.
Why Sidewalk Repair Matters?
Ever noticed those cracks in your sidewalk?
They matter more than you think!
When you fix them, you’re protecting yourself legally from trip-and-fall liability.
Many cities actually fine homeowners for neglected sidewalks.
A smooth, crack-free sidewalk instantly boosts your home’s curb appeal and value.
It’s also environmentally responsible; small repairs now prevent bigger problems that waste materials later.
Don’t wait until that hairline crack becomes a serious hazard.
Your wallet, your neighbors, and your property value will all thank you for taking sidewalk repair seriously!
Common Problems and When to Repair
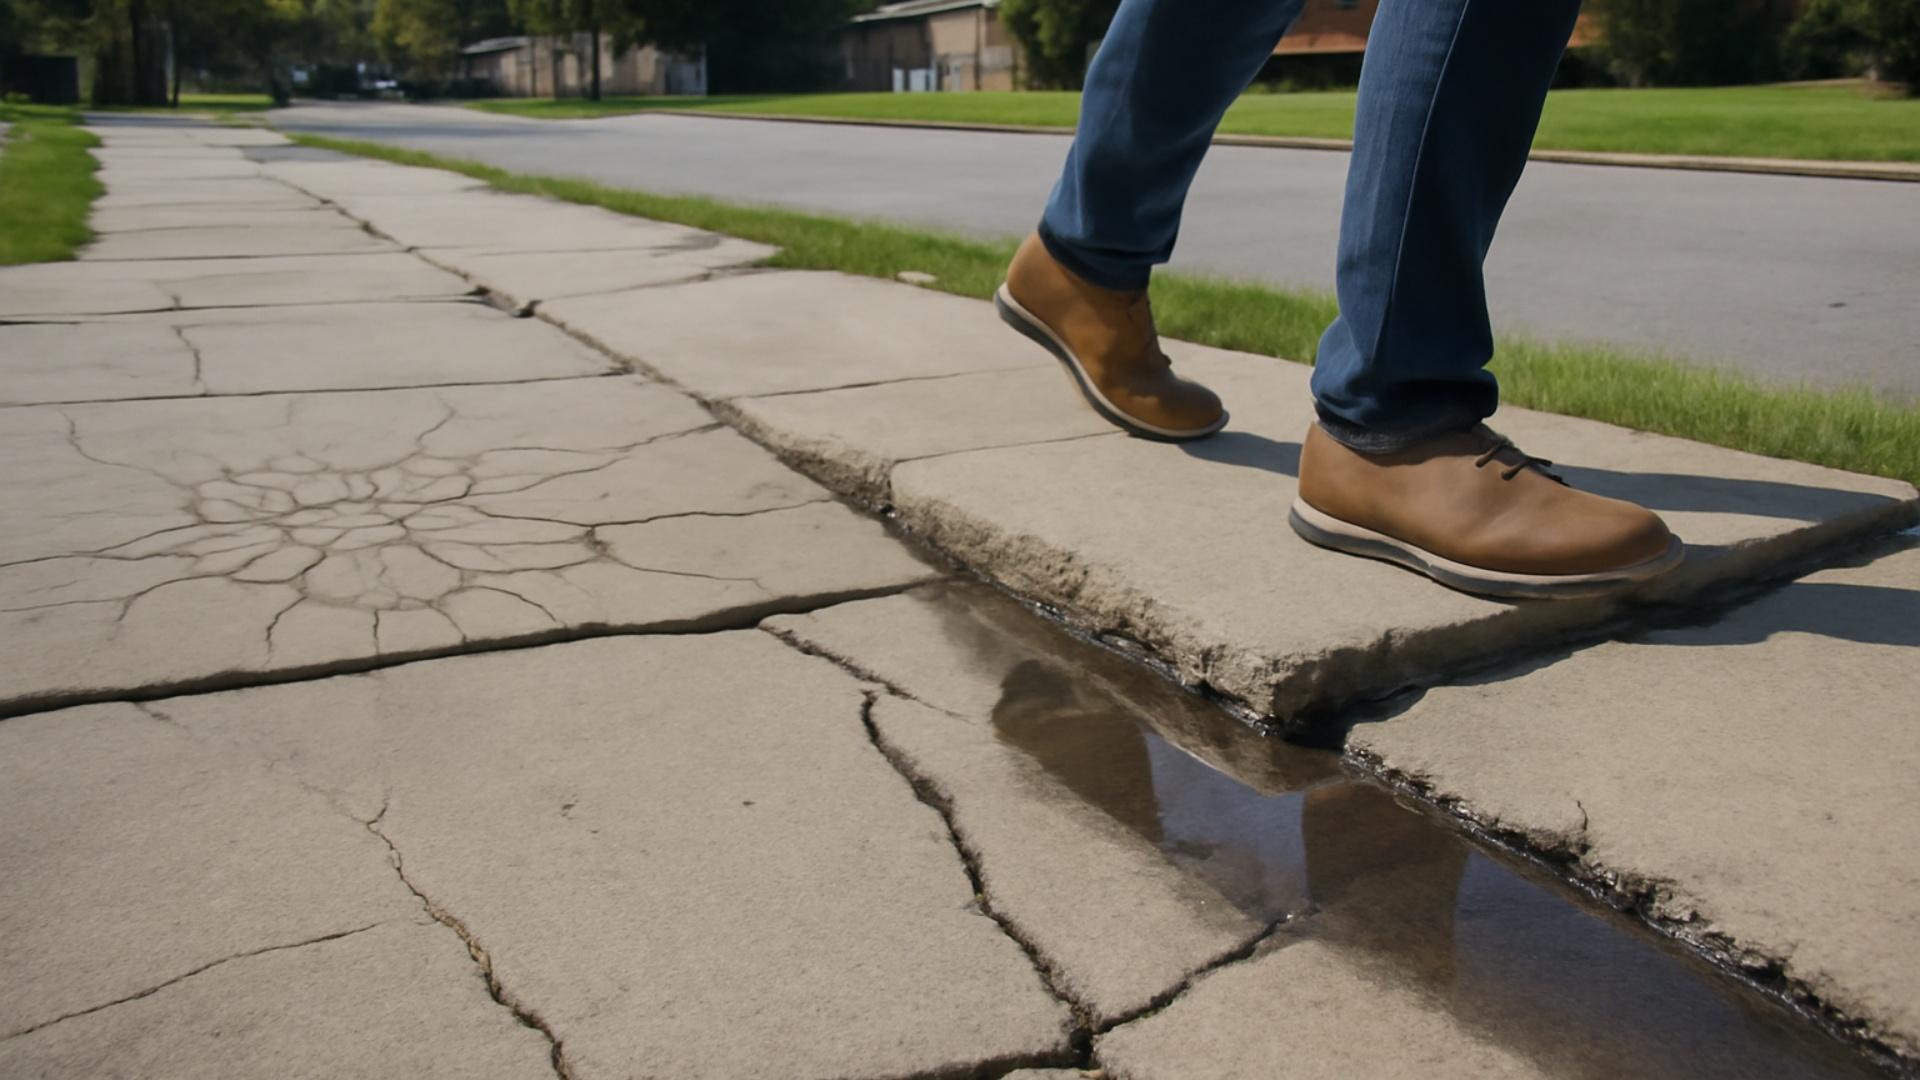
Noticed cracks in your sidewalk?
They’re usually caused by weather, tree roots, or poor installation.
Don’t ignore these warning signs that demand immediate action:
- Cracks wider than ¼ inch
- Uneven sections create trip hazards
- Standing water that doesn’t drain away
- Spider web crack patterns
- Concrete that moves when walked on
- Pitting, spalling, or discoloration
Early repairs save money and prevent accidents.
Take a quick walk around your property today, fixing those small issues now prevents costly headaches later.
Tools and Materials Needed
Before starting your concrete sidewalk repair project, make sure you have all the necessary tools and materials on hand. Here’s what you’ll need:
| ITEM | PURPOSE / USAGE |
|---|---|
| Nylon Cup Brush Wheel | Used with a drill to clean concrete edges |
| Drill | Attaches to the nylon brush wheel for cleaning |
| Play Sand | Fills large voids before foam or sealant installation |
| Backer Rod | Fills consistent, smaller gaps to control sealant depth |
| Pool Noodle | Acts as a custom backer rod for irregular or oversized gaps |
| Utility Knife / Scissors | Cut the pool noodle to appropriate lengths and shapes |
| Sealant – Vulkem 45 SSL | A semi-self-leveling concrete sealant for sealing gaps |
| Duct Tape | Seals off the ends of gaps to keep sealant contained during application |
| Shop Vacuum | Cleans up debris and sand from the surface before sealing |
| Sand (again) | Sprinkled on wet sealant to improve blending and reduce stickiness from debris |
Most of these items can be found at your local hardware store.
The pool noodle is an affordable alternative to buying extra backer rod for larger gaps.
Remember that proper preparation is key to ensuring your sidewalk repair lasts for years to come.
Step-by-Step Guide to Repairing Concrete Sidewalk
Follow these simple steps to fix concrete sidewalk gaps and cracks.
Anyone can do this job with the right tools and a little patience.
Work carefully and give everything enough time to dry properly.
Here’s how to do it right the first time.
Step 1: Clean the Concrete Edges
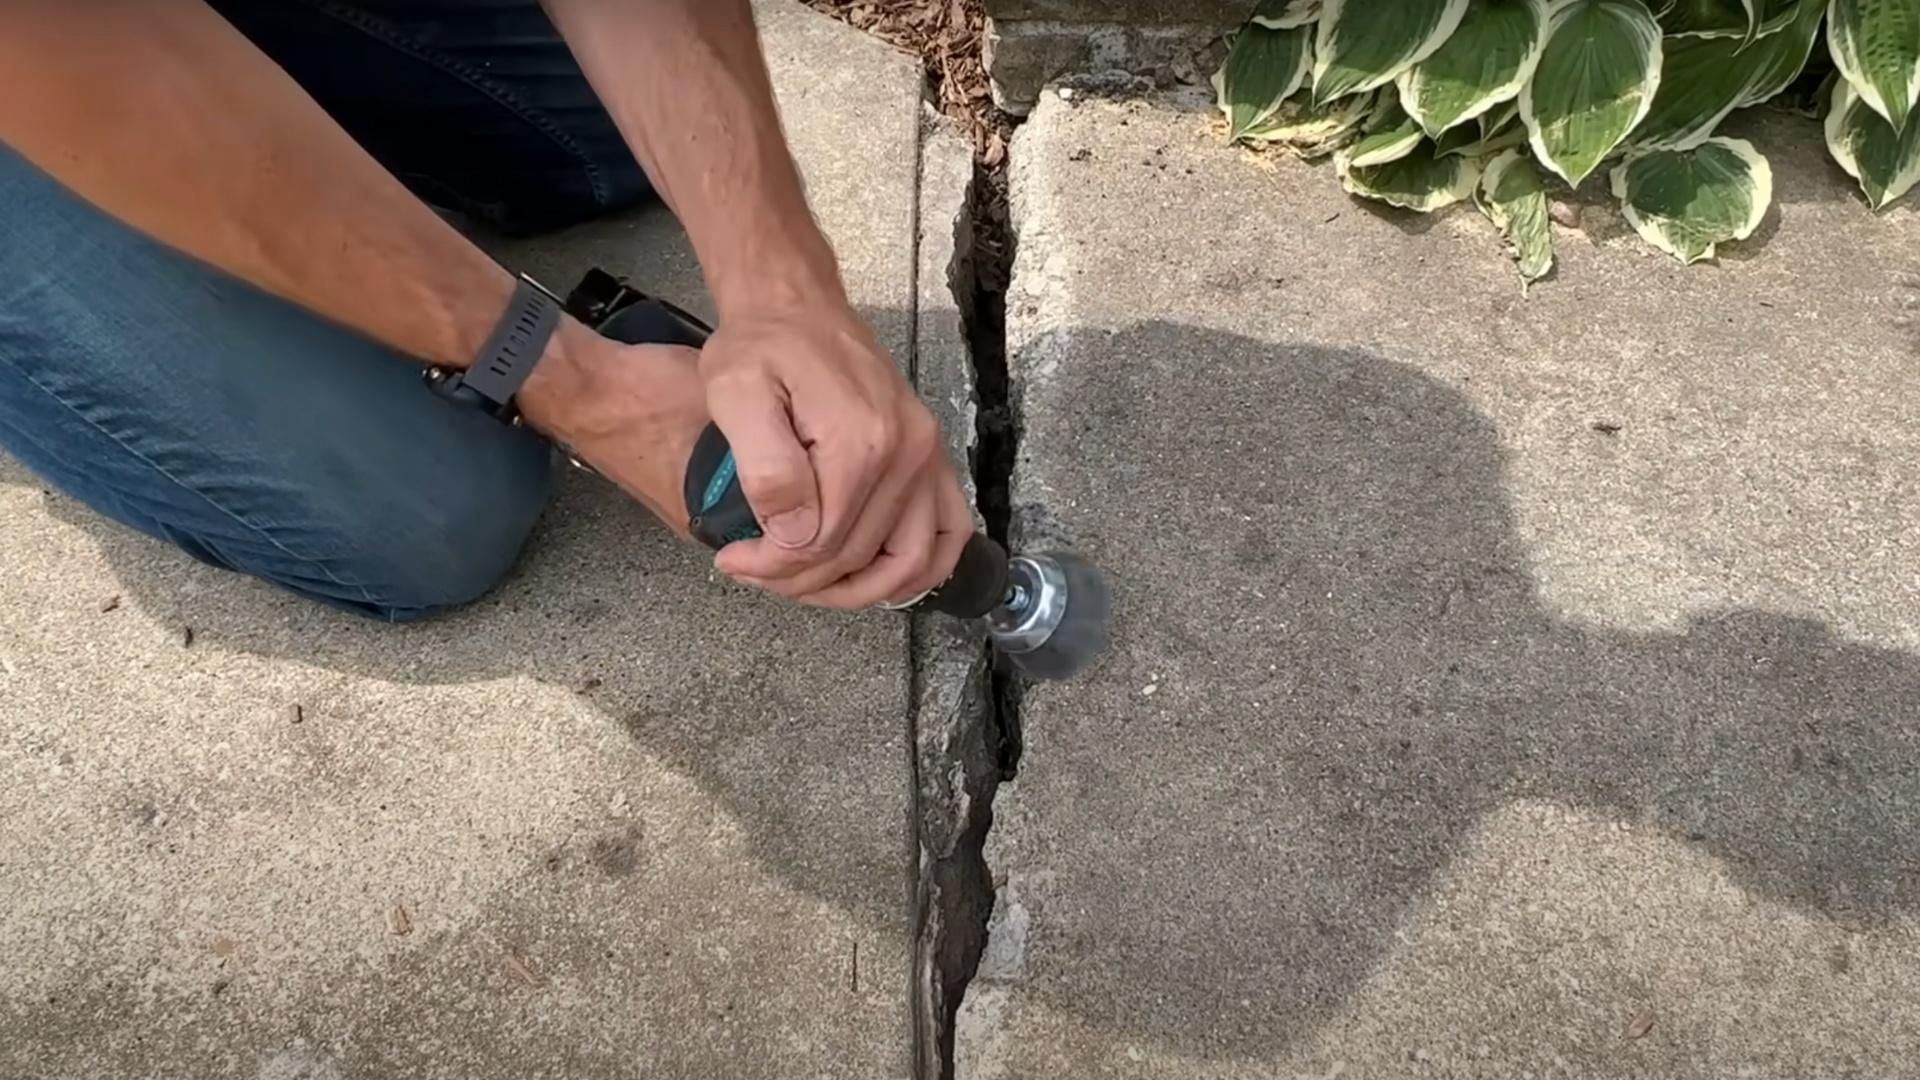
Start by attaching a nylon cup brush wheel to your drill.
This tool works great for cleaning the sides of concrete gaps.
Run the spinning brush along both sides of the crack to remove all dirt, loose concrete, and old caulking.
Clean edges are super important for the new sealant to stick properly.
Take your time with this step, the cleaner the surface, the longer your repair will last.
A shop vacuum helps remove loose debris after brushing.
Step 2: Fill Deep Voids with Sand
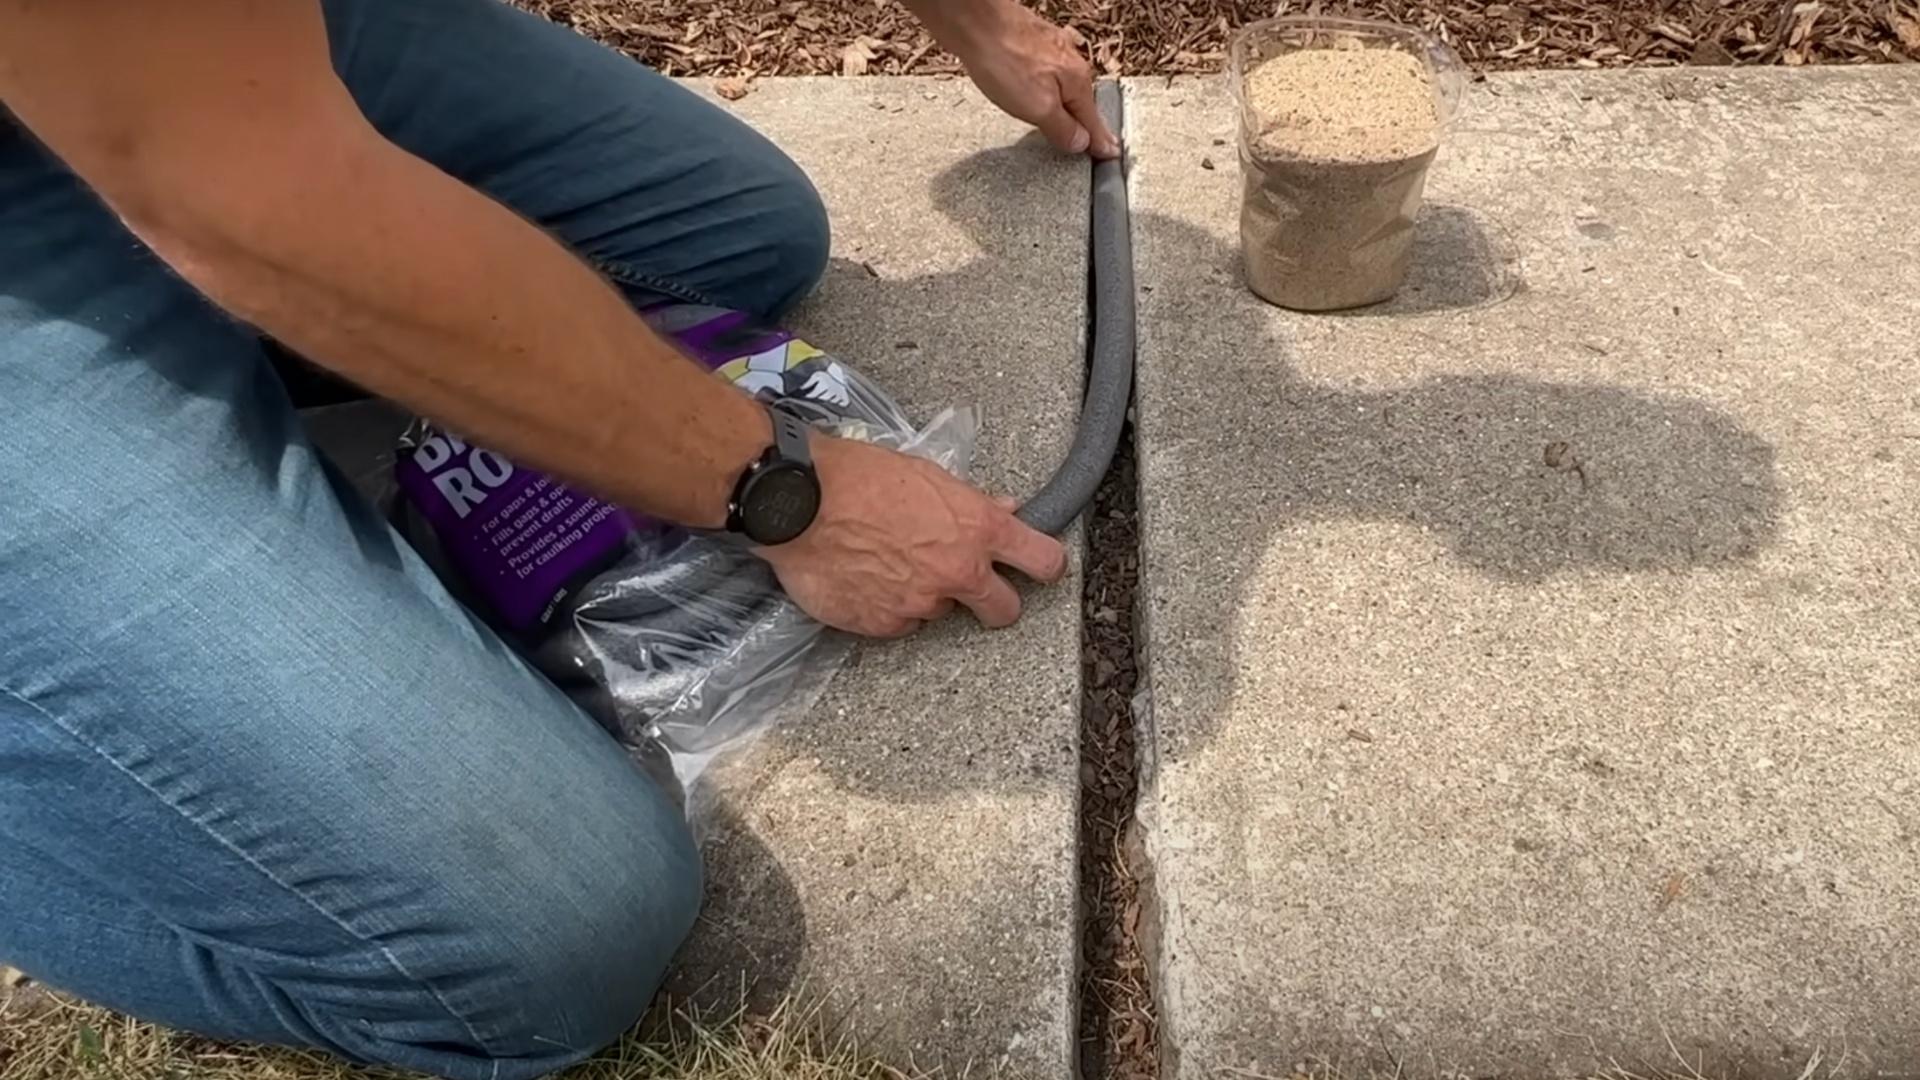
For deeper cracks or uneven gaps, pour regular play sand into the void.
The sand creates a solid base that supports everything you’ll add later.
Use a stick or screwdriver to gently push the sand down and ensure it’s packed firmly.
Don’t completely fill the gap with sand; leave enough room for the backer rod and sealant.
This step saves money since you’ll need less of the expensive sealant.
Step 3: Install the Backer Rod or Pool Noodle
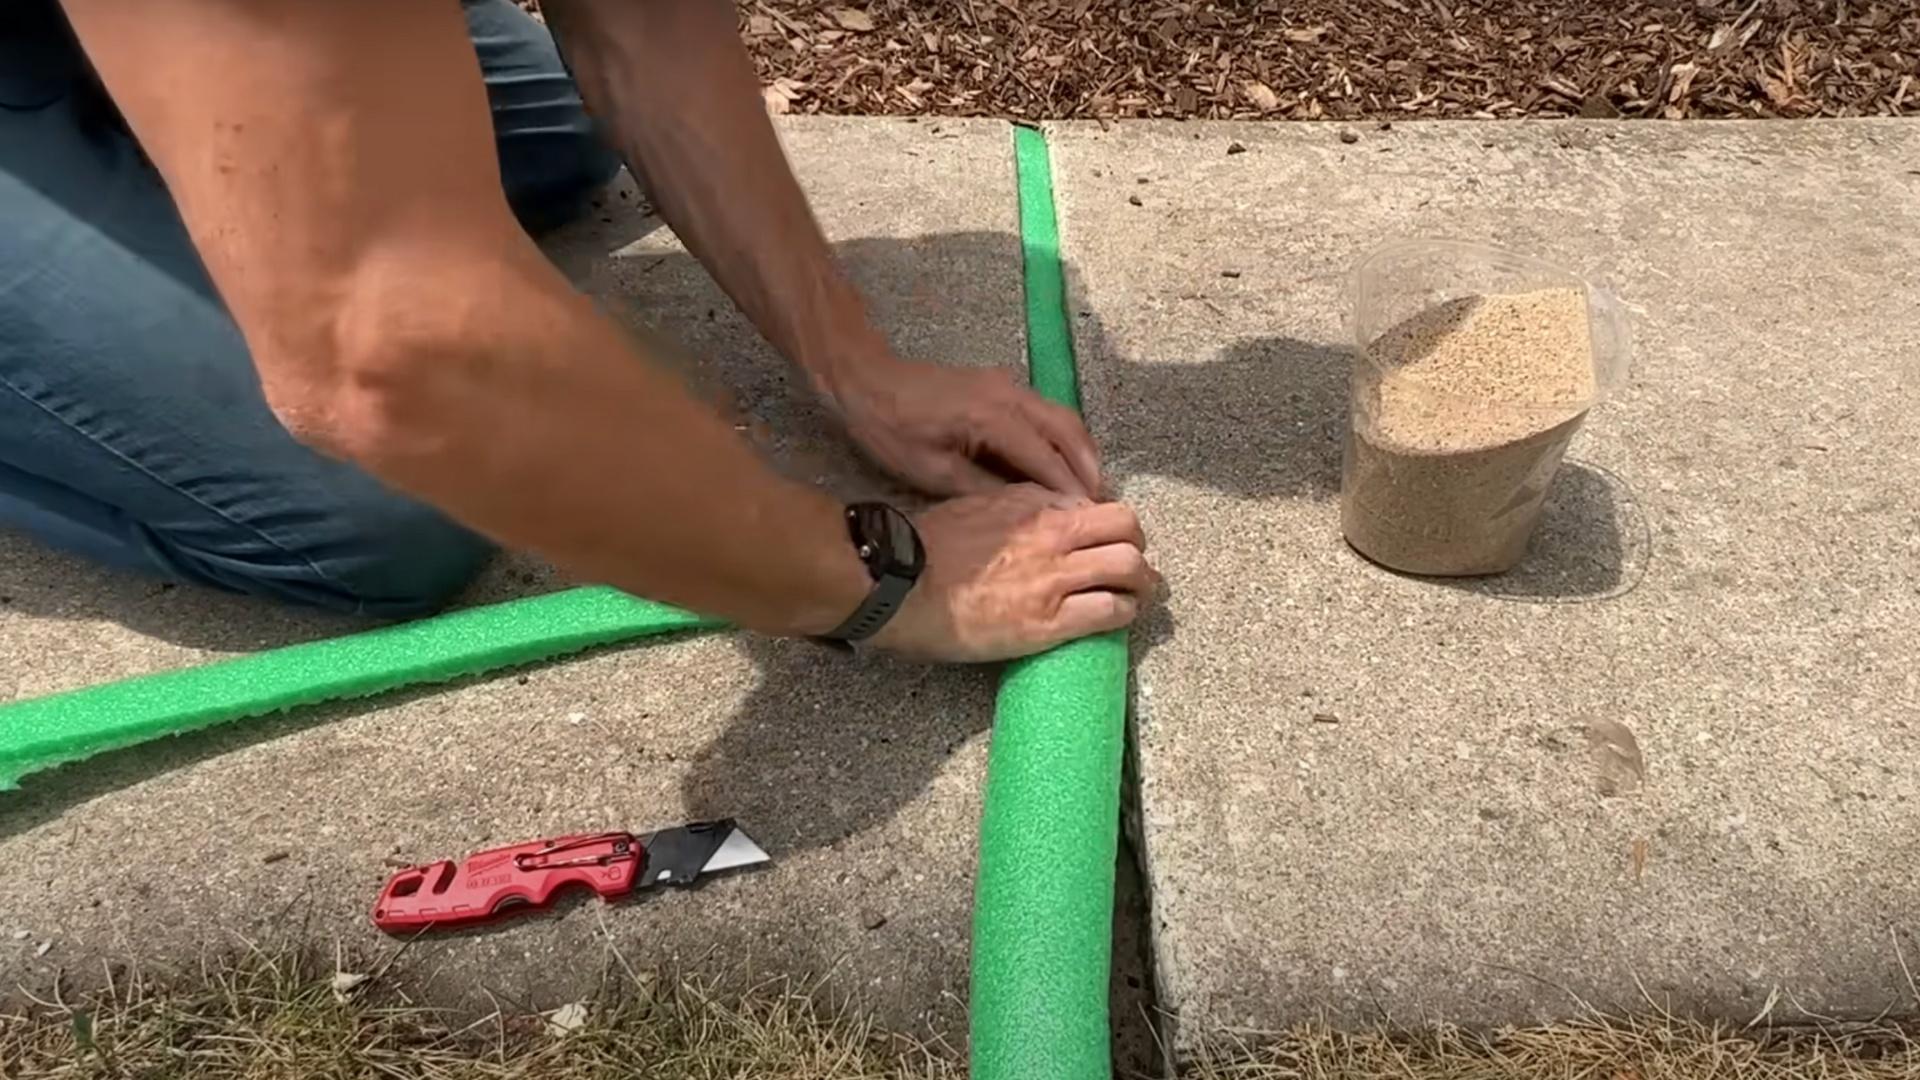
Now, place your backer material into the gap.
For normal small cracks, use standard backer rod.
For bigger or oddly shaped gaps, cut pieces from a pool noodle to fit perfectly.
Push the foam material down into the crack until it sits about 1/2 inch below the surface.
The foam should fit snugly but not be squeezed in too tight.
This creates the perfect depth for your sealant layer.
Step 4: Apply Sealant
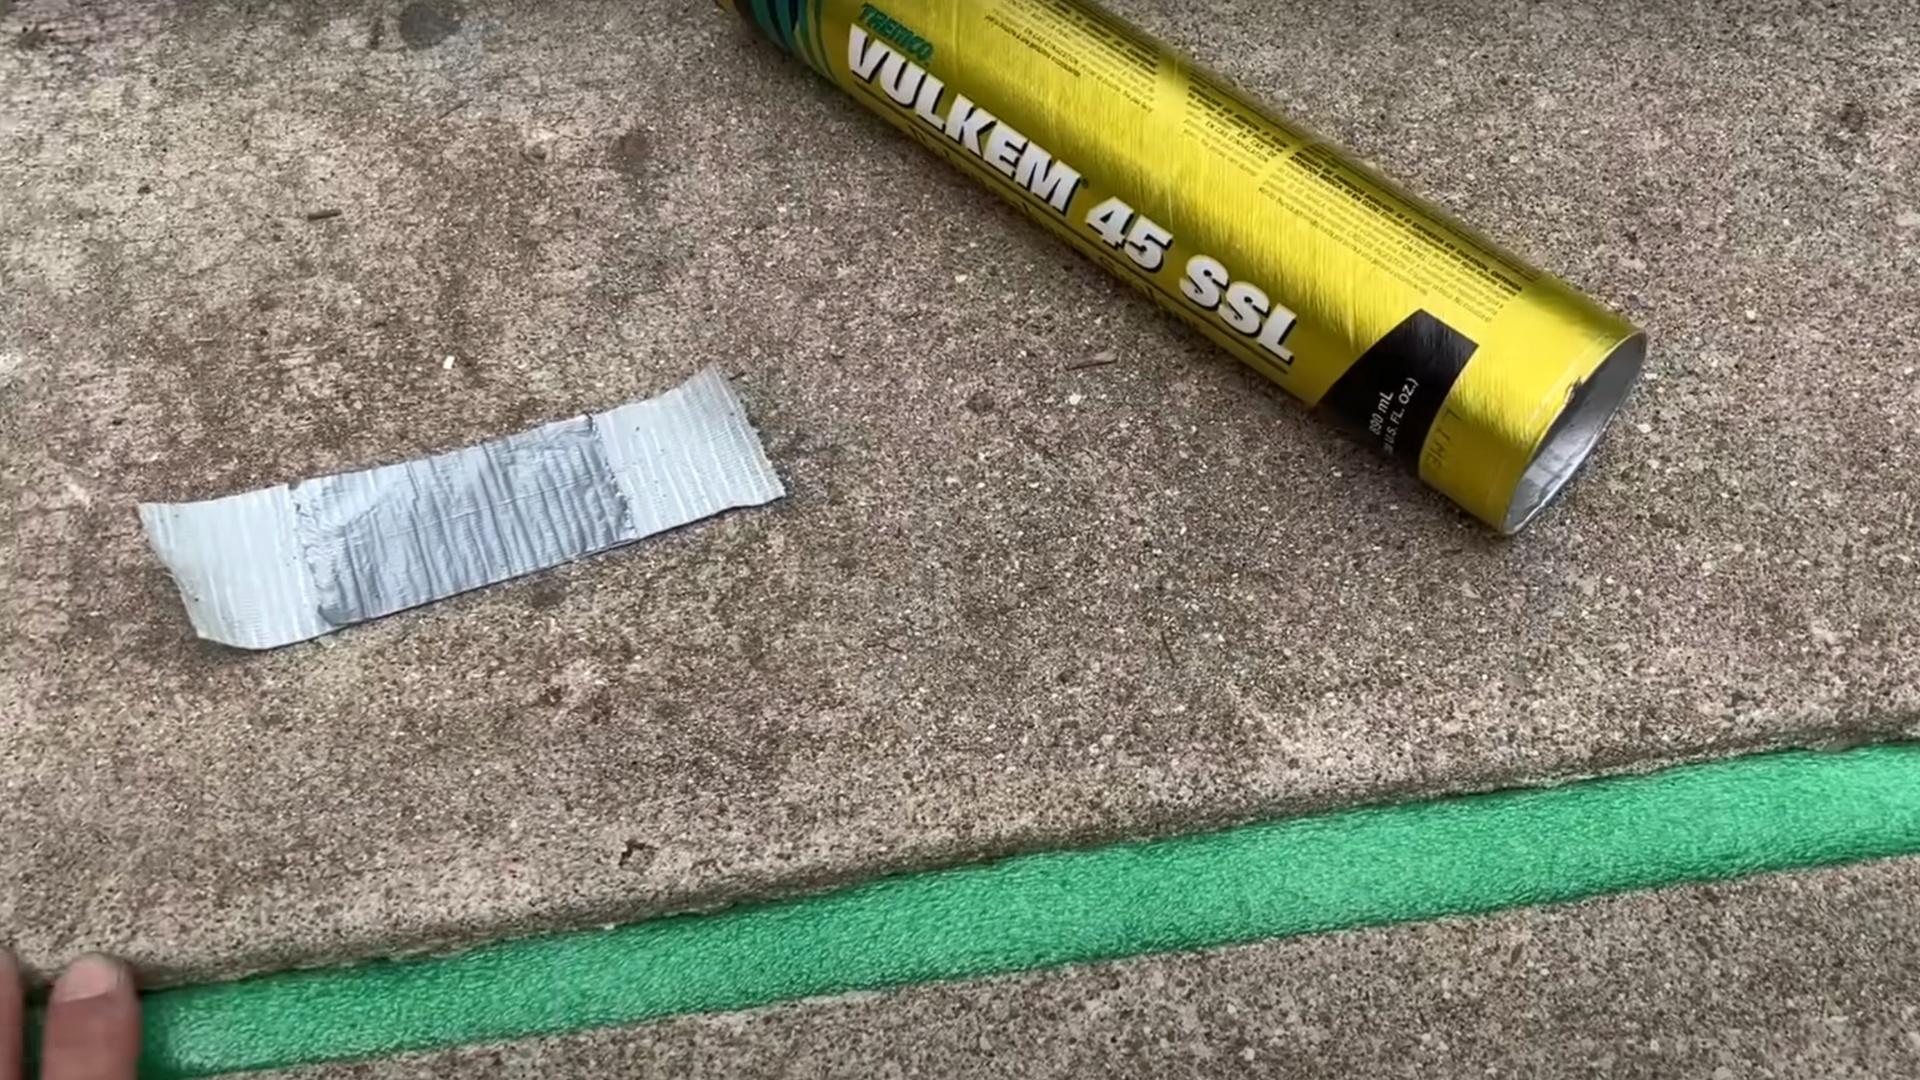
Before applying sealant, place duct tape at both ends of the crack to create a dam.
Load your Vulkem 45 SSL or similar semi-self-leveling sealant into a caulk gun.
Apply it in a steady bead over the foam, filling the gap to just below the concrete surface.
Work slowly to avoid air bubbles.
If you’re sealing a longer crack, start at one end and move steadily to the other.
Step 5: Finish and Blend
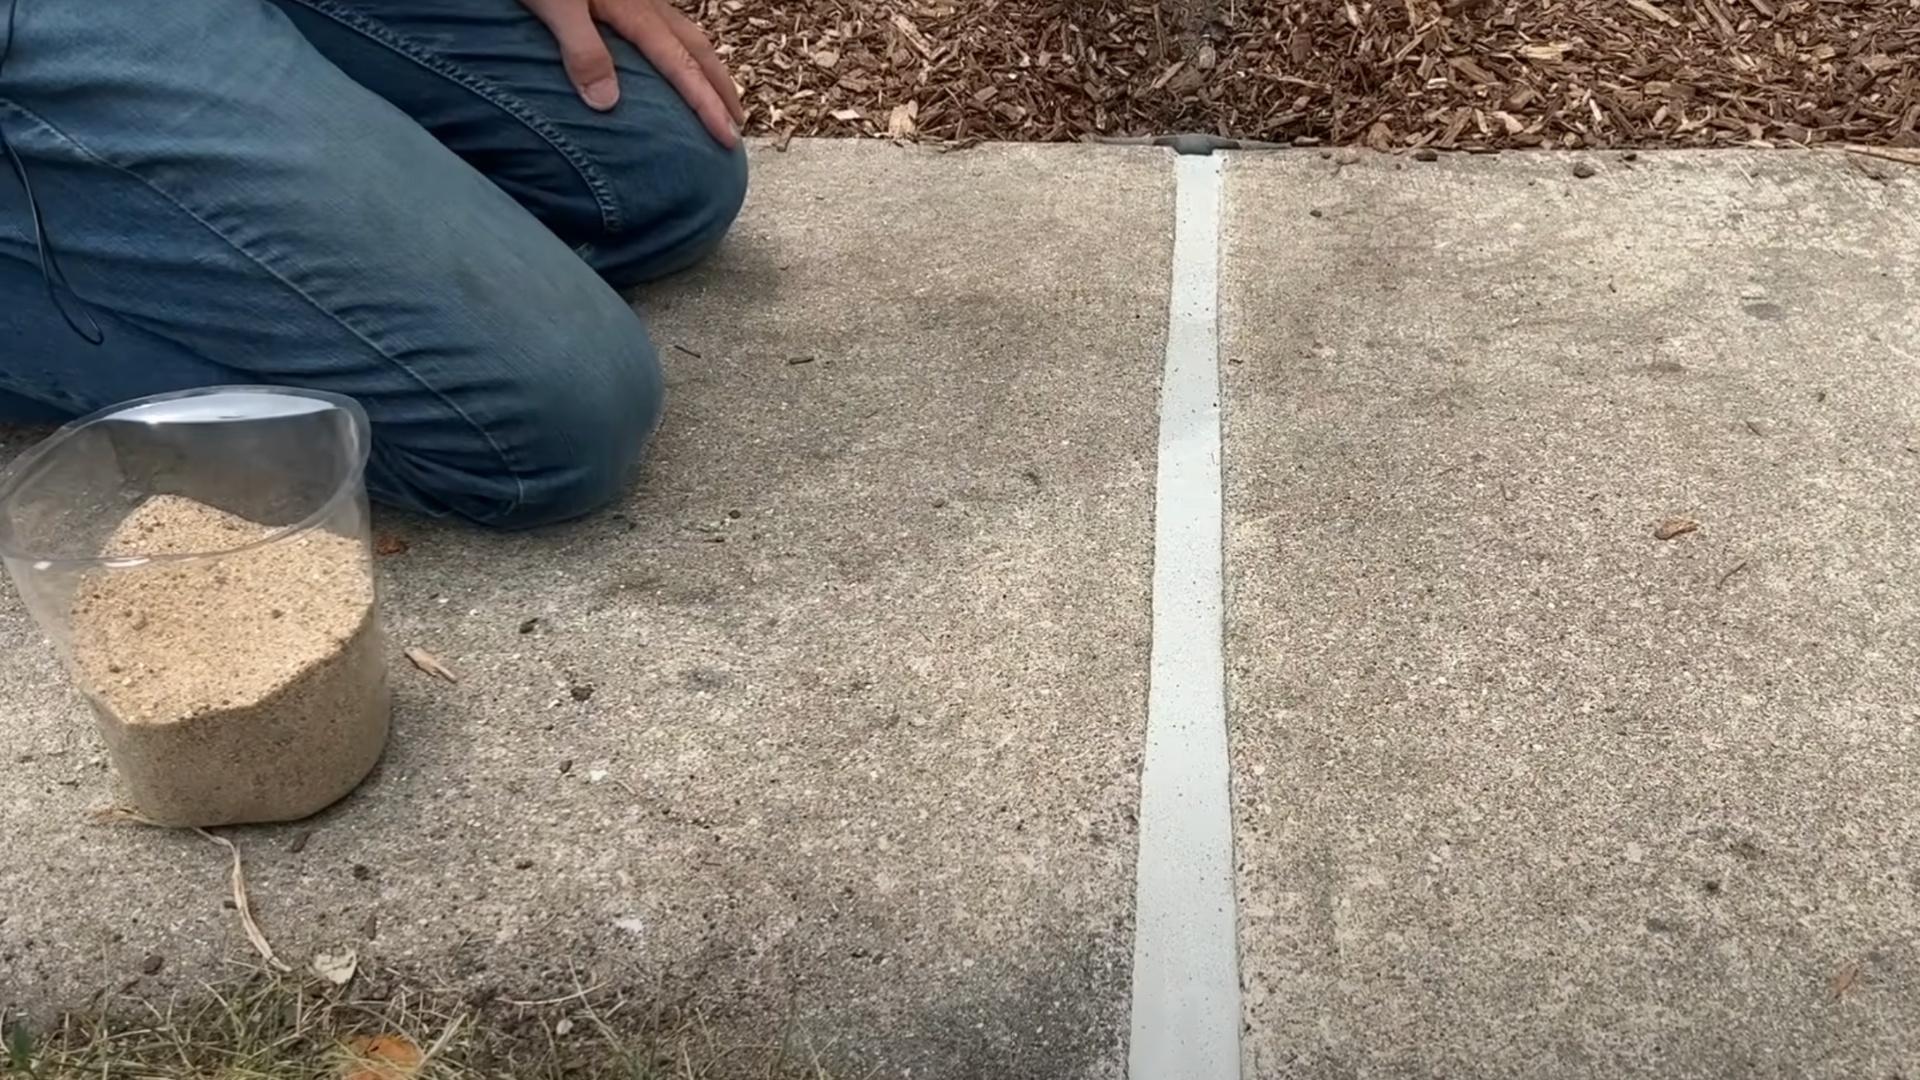
After about 10 minutes, when the sealant begins to set but is still slightly wet, sprinkle a light layer of sand over the top.
This does two important things: it helps the repair blend with the surrounding concrete texture, and it prevents leaves and debris from sticking to the sealant.
Let everything cure according to the sealant package directions before removing the duct tape.
Avoid walking on the repair for at least 24 hours.
Video Tutorial
For more information, check out this video tutorial by Everyday Home Repairs
Cost and Time Estimates
Before deciding whether to tackle sidewalk repairs yourself or hire a professional, it’s helpful to understand the costs and time involved.
This comparison can help you make the best choice for your specific situation and budget.
| REPAIR METHOD | PROFESSIONAL COST | DIY COST | TIME REQUIRED |
|---|---|---|---|
| Small Crack Repair | $150-$300 | $30-$75 | 1-2 hours (Pro), 2-4 hours (DIY) |
| Medium Section Repair | $400-$800 | $100-$200 | 4-8 hours (Pro), 1-2 days (DIY) |
| Large Section Replacement | $800-$2,000 | $200-$500 | 1-2 days (Pro), 2-4 days (DIY) |
| Entire Sidewalk Replacement | $2,000-$5,000+ | $700-$2,000 | 2-3 days (Pro), 3-7 days (DIY) |
Remember that DIY costs cover materials only, while professional costs include both materials and labor.
Professional crews typically complete jobs more efficiently due to their experience and specialized equipment.
Preventive Maintenance Tips
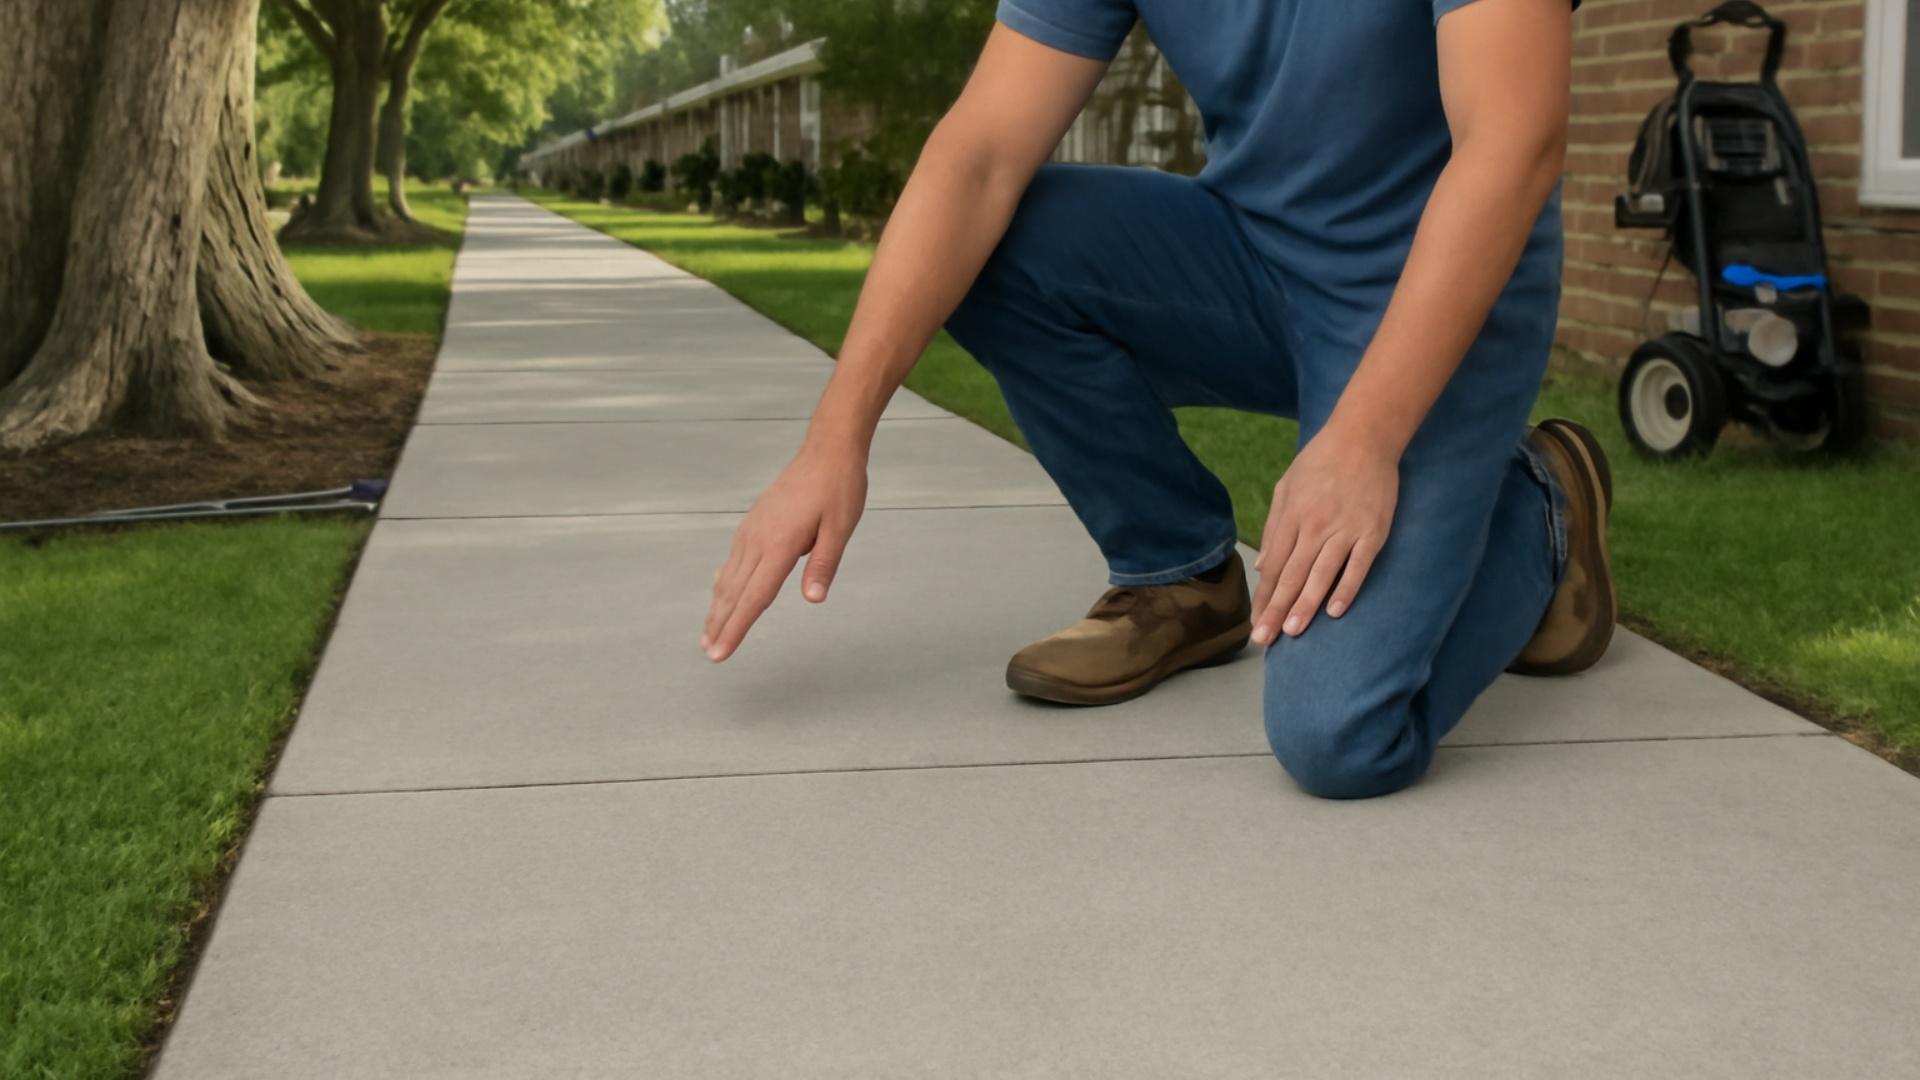
Taking care of your sidewalk before problems start is much easier and cheaper than fixing major damage.
Regular attention can add years to your sidewalk’s life and keep it looking great.
Here are five simple ways to prevent cracks and damage:
- Inspect twice a year for small cracks and repair them promptly.
- Pressure wash annually to remove dirt and to avoid staining.
- Apply concrete sealer every 2-3 years for weather protection.
- Control tree roots with trimming or install root barriers.
- Ensure proper drainage away from sidewalk edges.
Remember that most serious sidewalk damage starts as a small problem that could have been easily fixed.
By spending a little time on maintenance each year, you can avoid the hassle and expense of major repairs down the road.
The Bottom Line
Concrete sidewalk repair doesn’t have to be complicated.
It doesn’t have to be expensive when you catch problems early.
These simple steps help you maintain safe, attractive walkways. You’ll also protect your property value.
Regular inspections prevent major headaches later. Quick fixes for small issues save money.
The investment in concrete sidewalk repair always pays off. You’ll improve safety.
You’ll enhance curb appeal. You’ll avoid potential fines from your city.
Your neighbors will appreciate your effort. The repair materials are available at any hardware store.
The satisfaction of completing the job yourself is rewarding. Take a walk around your property today.
Those cracks might be easier to fix than you think!
Cracks fixed? Great start. Explore more outdoor fixes in our home exterior section!

