Are you staring at a faded, stained couch that’s still solid but looks past its prime? Before you spend hundreds or even thousands on a replacement, consider a budget-friendly alternative: dyeing it!
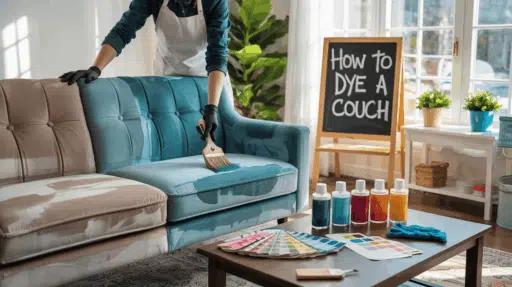
Learning how to dye a couch is simpler than you might think and can completely refresh your living space for a fraction of the cost of buying new.
Maybe your couch has seen better days or you’re just craving a fresh color to match your updated décor. Dyeing a couch delivers impressive results with some patience and the right materials.
Following a simple process can help you successfully dye your couch and breathe new life into your favorite piece of furniture. The satisfaction of sitting on your newly colored couch knowing you saved hundreds of dollars makes the effort well worth it.
How to Prepare Your Couch for Dyeing
Before starting the dyeing process, proper preparation is crucial for achieving the best results. Start by determining your couch’s fabric type—natural fibers like cotton, linen, and wool accept dye much better than synthetic materials such as polyester or nylon.
To identify the fabric, check the manufacturer’s tag or perform a simple burn test on a hidden thread. Next, assess the overall condition of your couch, paying special attention to worn areas, stains, or discoloration that might affect how evenly the dye takes.
Thoroughly vacuum your couch to remove dust and debris, then wash it with an appropriate fabric cleaner to eliminate oils and residues that could interfere with dye absorption.
Address any necessary repairs before dyeing—stitch up small tears, tighten loose buttons, and secure any wobbly joints.
Taking the time for these preparation steps will ensure a smooth dyeing process and a professional-looking finished product that will extend your couch’s life for years to come.
Choosing the Right Dye for Your Couch
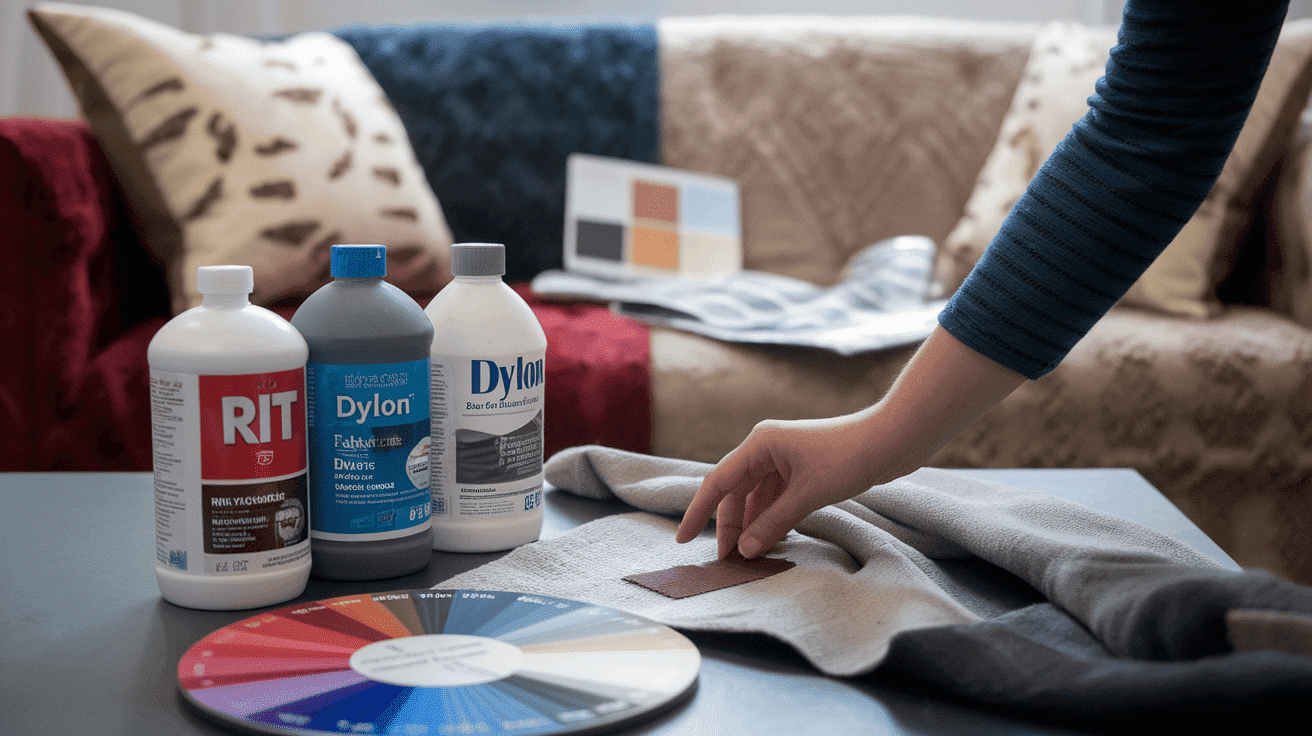
Selecting the appropriate dye is essential for successfully changing your couch’s color. Fabric dyes such as Rit or Dylon work well for natural fabrics like cotton or linen. In contrast, leather couches require specialized leather dyes.
Upholstery spray dyes offer an alternative that doesn’t require soaking and works better on synthetic fabrics. When picking a color, consider your room’s existing color scheme and how the new couch color will complement other furniture and decor elements.
Darker colors generally cover better than lighter ones, especially if your couch is currently dark. Test the dye on a hidden area or fabric swatch before committing to the entire couch.
Remember that the final color may appear different from what’s on the package, as your couch’s original color will influence the outcome.
Don’t rush this decision—the right dye and color choice will determine if your couch project becomes a success or a disappointment.
Materials You’ll Need to Dye Your Couch
Getting all your supplies ready before starting will make the dyeing process smoother. You’ll need fabric dye in your chosen color, along with various tools for application and cleanup.
Having the right materials on hand helps ensure your couch-dyeing project goes smoothly from start to finish.
- Rit All-Purpose Fabric Dye: Green Apple, Dark Green, Dark Gray (or another color of your choice).
- Hot Water
- Large Bucket or Container for Soaking Cushion Covers
- Spray Bottle for applying dye to the couch
- Vacuum Cleaner with Upholstery Attachment
- Carpet Cleaner
- Mild Laundry Detergent
- Washing Machine (for cushion covers)
- Fan for drying
- Rubber Gloves
Total Estimated Cost Range
- If you already have a vacuum, detergent, fan, etc. — $17
- If purchasing everything new, including a vacuum and fan — $181
Step-by-Step Guide to Dyeing Your Couch
Dyeing your couch may seem intimidating, but breaking it down into simple steps makes it manageable. Following a systematic approach helps ensure even color application and professional-looking results.
With the right preparation and technique, you can convert your old couch into a fresh piece of furniture that looks almost new.
Step 1: Clean the Couch Thoroughly

Begin by removing all cushion covers and washing them in your machine. Use a gentle cycle with mild detergent, even if the tags advise against washing.
While the covers are washing, vacuum the entire couch frame thoroughly to remove dust, pet hair, and debris hiding in crevices. Next, use a carpet cleaner with an upholstery attachment to deep-clean the fabric, removing stains and ground-in dirt.
This preparation ensures the dye will adhere properly and create an even color. If your couch has a dated skirt, consider removing it for a more modern appearance before proceeding with the dyeing process.
Step 2: Mix the Dye Solution
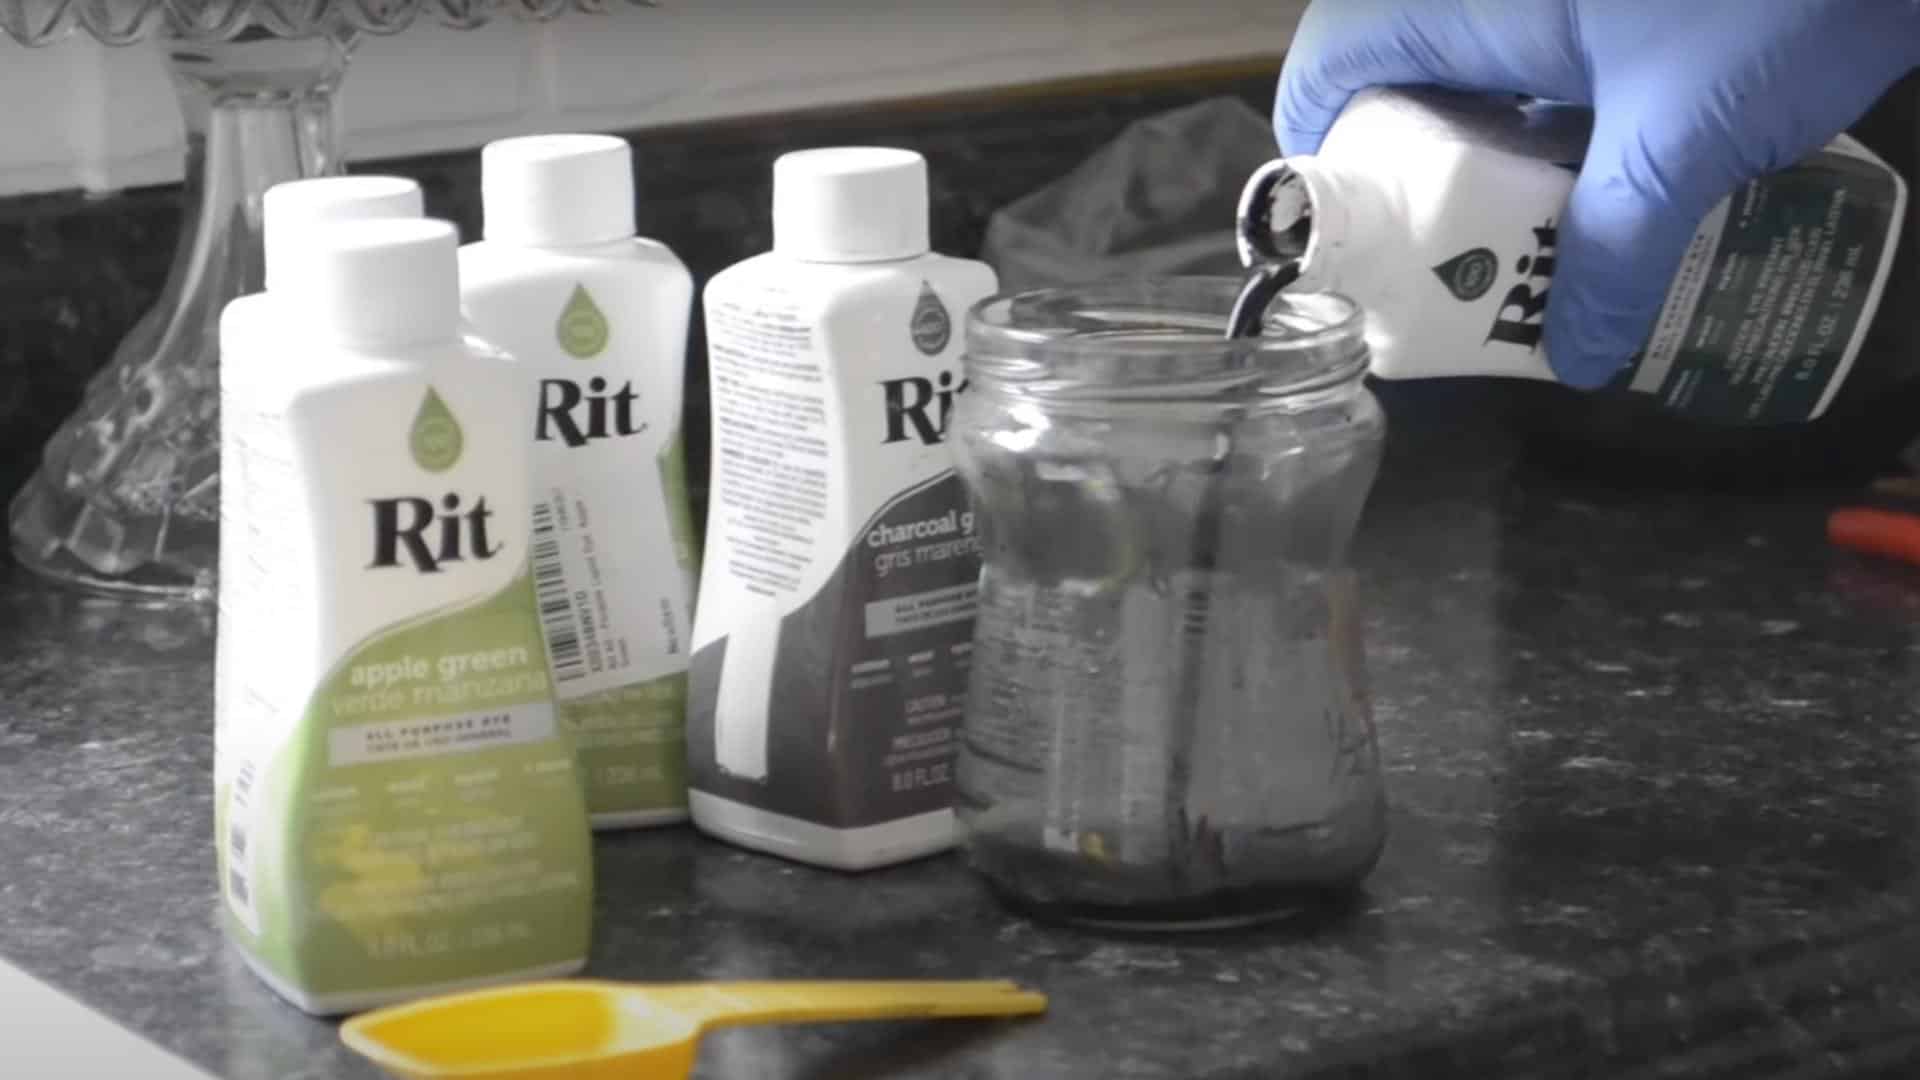
Creating the right dye mixture is crucial for achieving your desired color.
For cushion covers, combine half a cup of green apple dye, half a cup of dark green dye, and two tablespoons of dark gray dye with three gallons of hot water in a large container. Stir thoroughly until fully dissolved.
For the couch body, prepare a separate, less concentrated mixture in a spray bottle by combining a quarter cup of green apple dye, a quarter cup of dark green dye, and one tablespoon of dark gray dye with hot water.
Use hot water for both solutions, as it helps the dye penetrate the fabric fibers more effectively.
Step 3: Dye the Couch Cushions
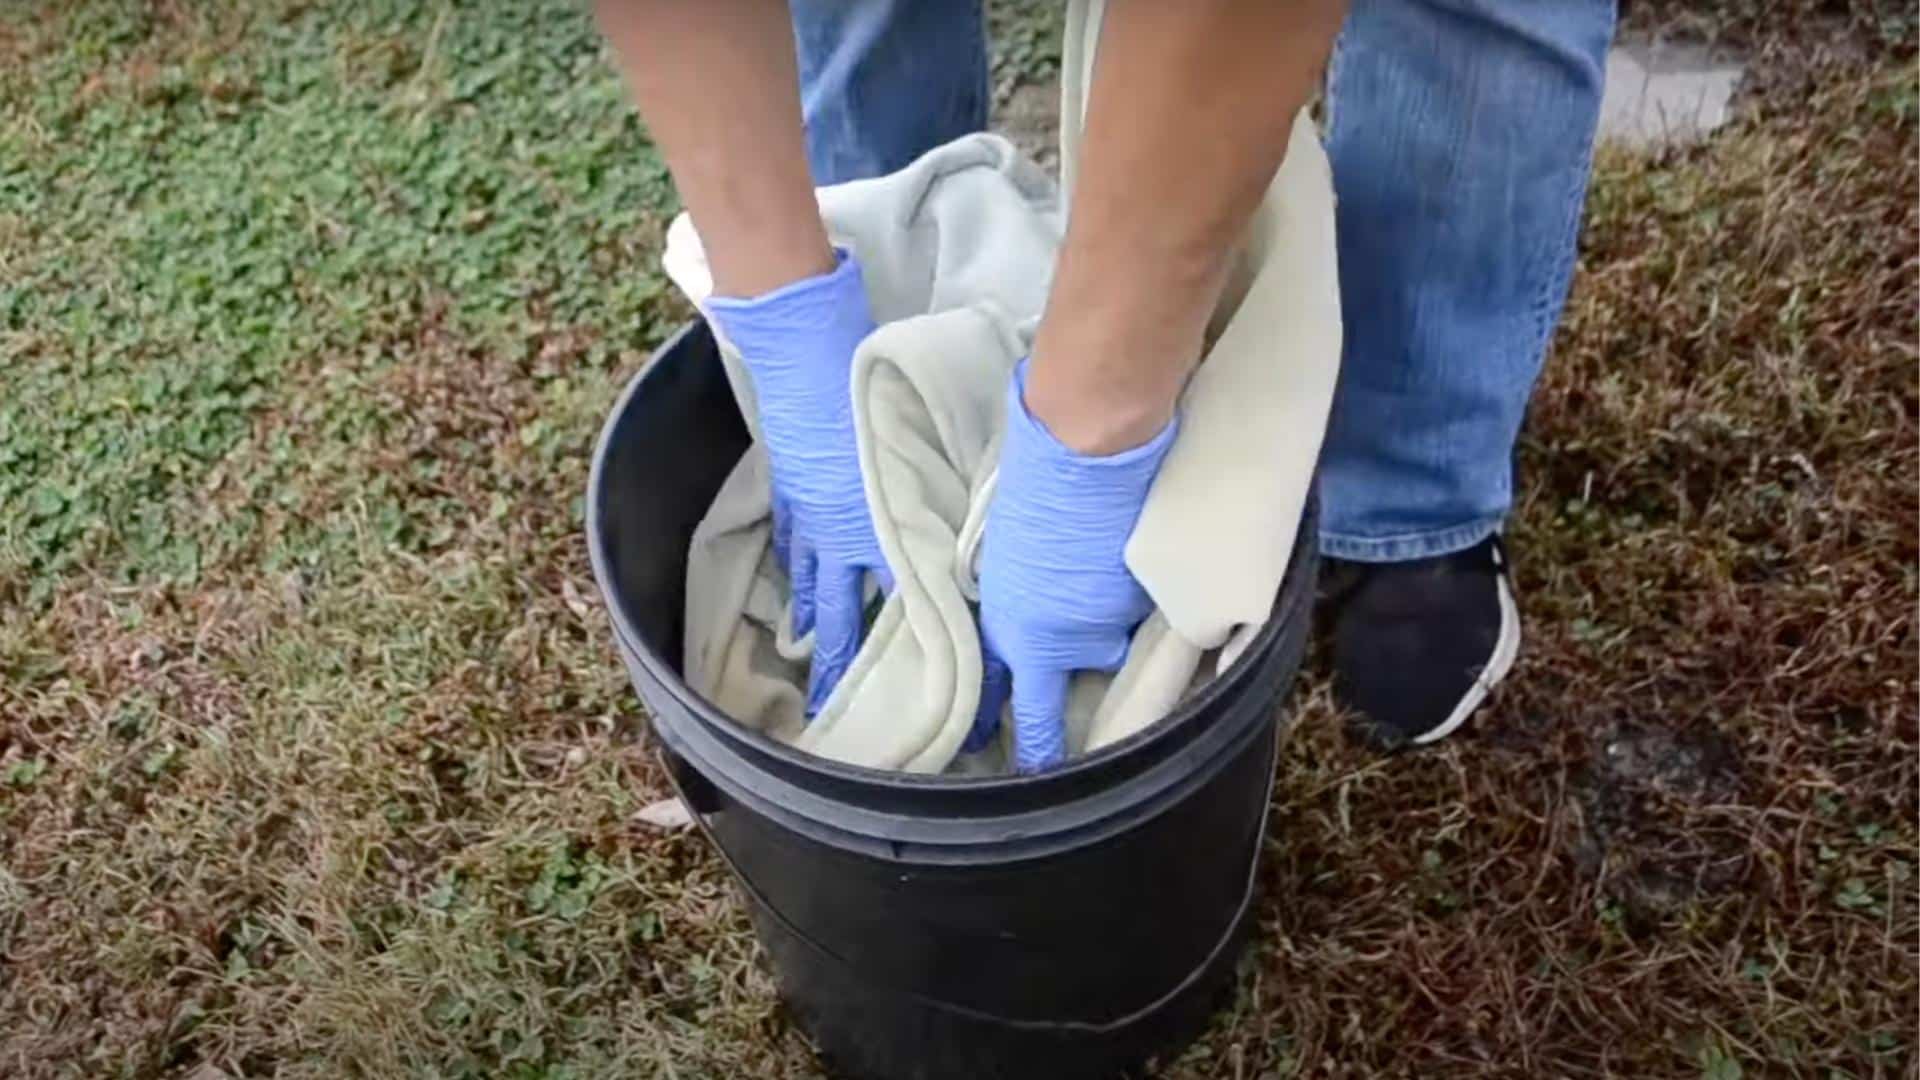
Submerge the clean, damp cushion covers completely in the dye solution. Use your hands (wearing rubber gloves) to work the dye into the fabric, ensuring even coverage throughout.
Pay special attention to seams and corners where the dye might not penetrate as easily. Let the covers soak for 30-60 minutes, occasionally agitating them to prevent uneven dyeing.
After soaking, remove the covers and rinse thoroughly until the water runs clear. Hang the covers outdoors to air dry completely before putting them back on the cushions.
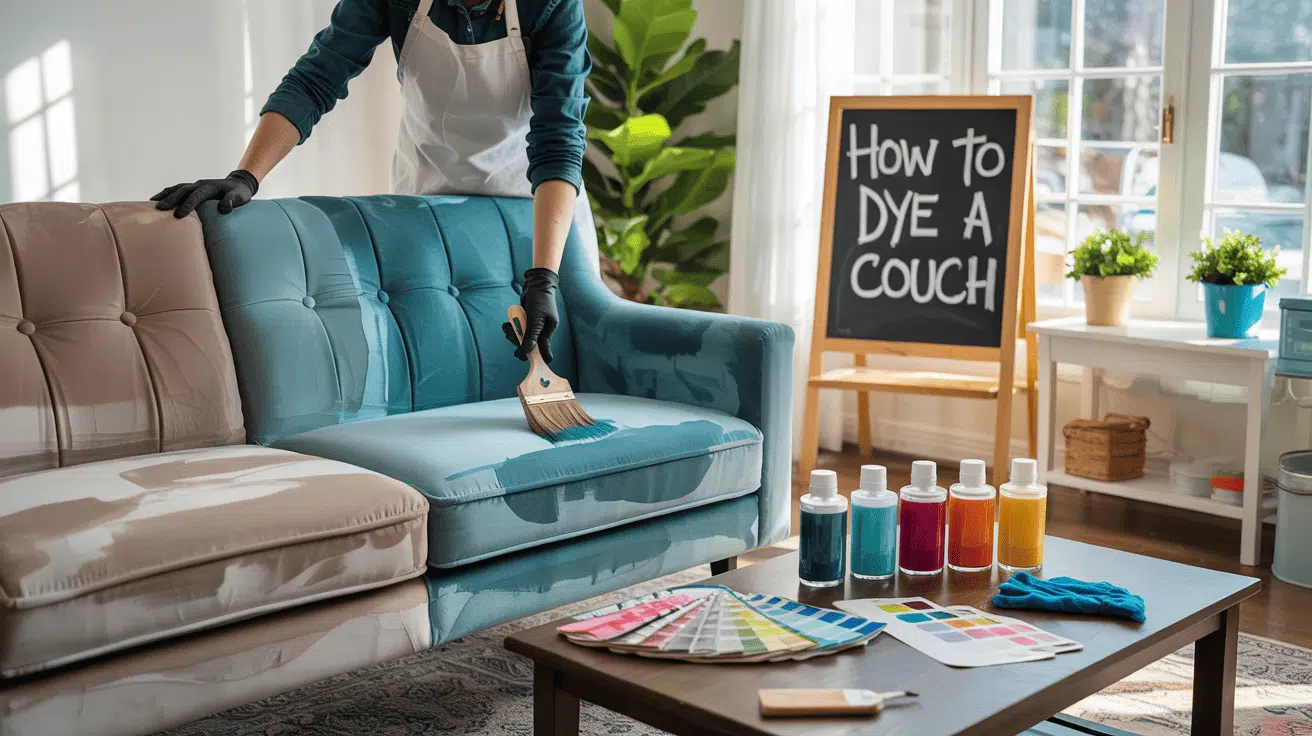
Step 4: Dye the Couch (Spray Application)
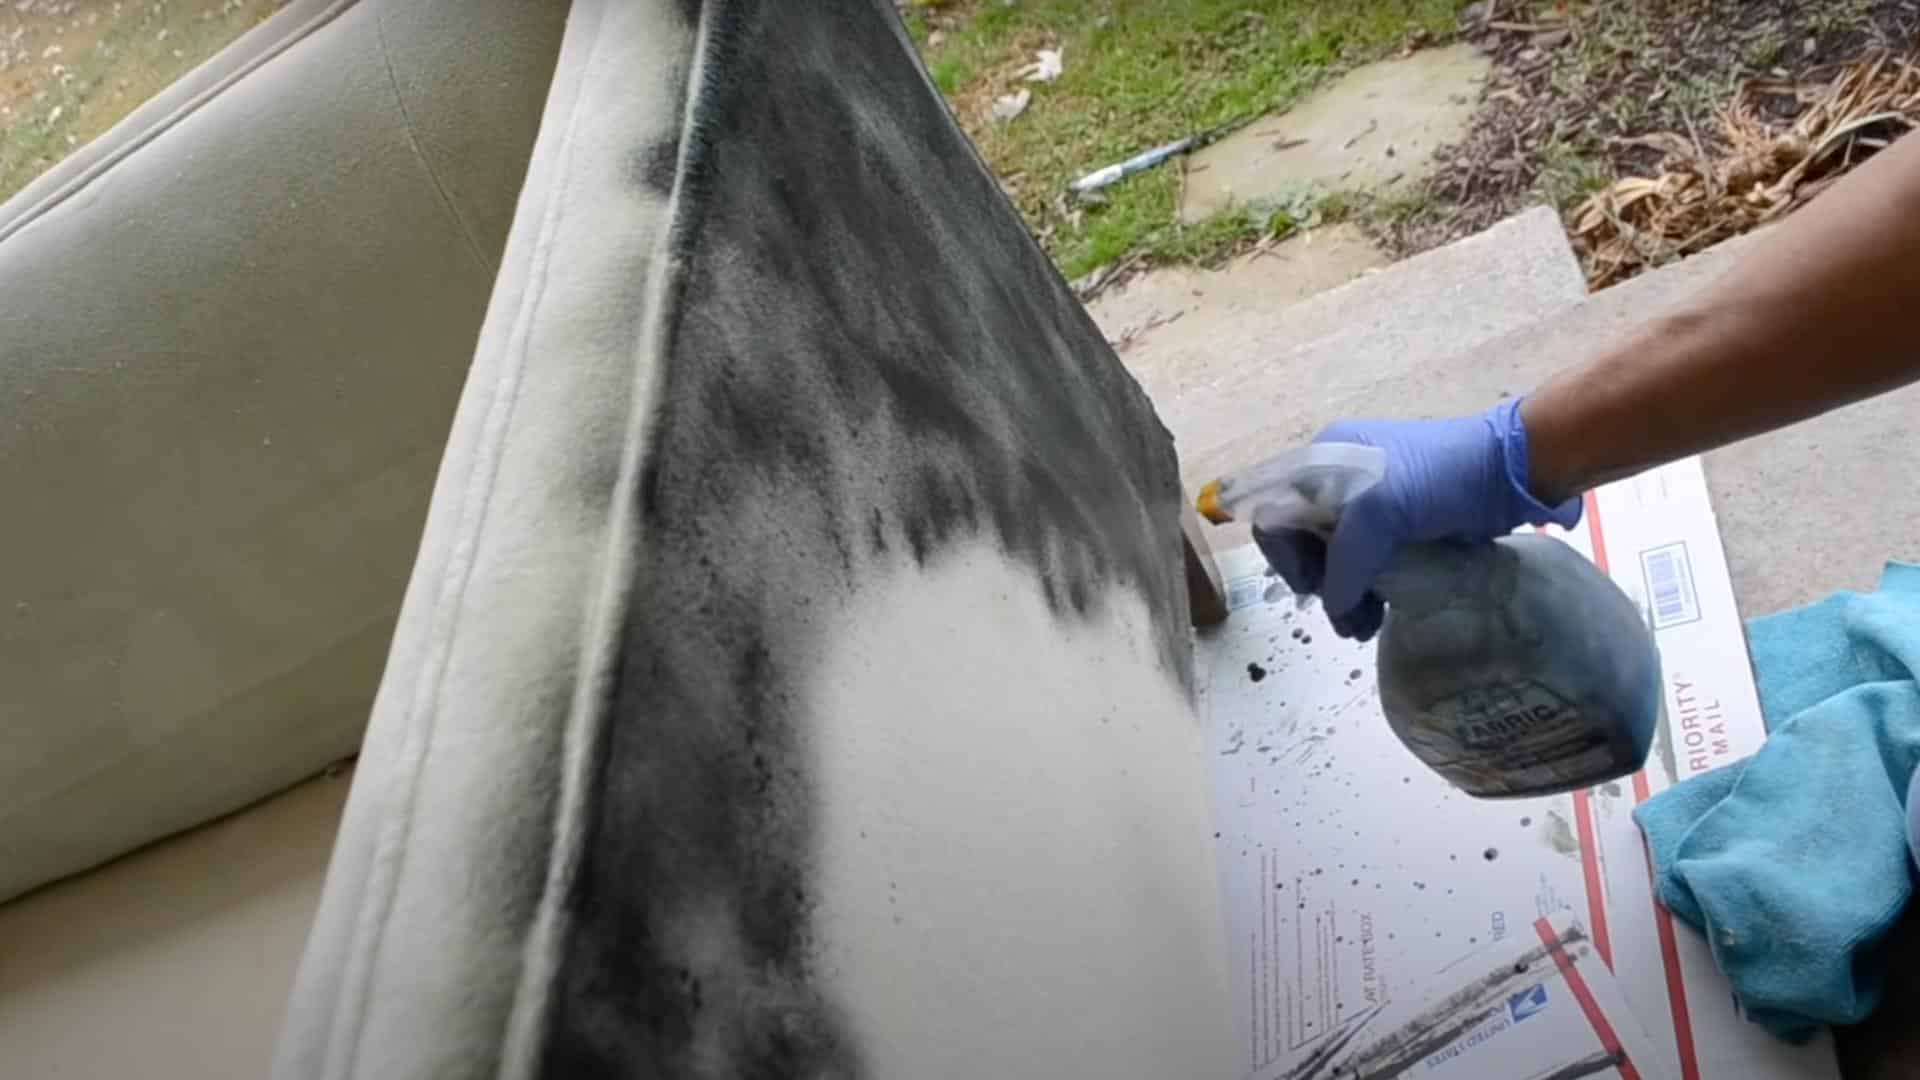
For the couch frame, work in small sections using your prepared spray bottle mixture. Spray an area thoroughly until damp but not soaking wet.
Use your hands (wearing gloves) to massage the dye into the fabric, ensuring it penetrates evenly. Continue this process across the entire couch, maintaining consistent coverage. Work systematically from top to bottom and back to front to avoid missing spots.
After completing the application, move the couch outdoors, if possible, to begin drying. Finish the drying process indoors with fans to ensure proper air circulation.
Step 5: Final Touches

Once the couch is completely dry, inspect it carefully for any patchy or missed areas that may need touch-up dyeing.
If you notice the cushions and couch body don’t match perfectly, apply another light coat of dye to the lighter pieces for color consistency. You can optionally apply a fabric protector spray to help set the dye and protect your newly colored couch from future stains.
Be cautious with fabric protectors if you have children or pets, as some contain chemicals that might be harmful. Allow the couch to air out completely before regular use.
Video Tutorial
For more information, check out this video tutorial by Jess & Obie
Caring Tips for Your Newly Dyed Couch
Your newly dyed couch requires some special attention to maintain its fresh look. Regular maintenance will prevent premature fading and keep your furniture looking lively for longer. With proper care, your DIY dye job can last for years, making your effort worthwhile.
- Vacuum your couch weekly to prevent dust and dirt from embedding in the fabric.
- Keep your couch away from direct sunlight to prevent color fading.
- Clean spills immediately by blotting (not rubbing) with a clean, damp cloth.
- Avoid harsh chemical cleaners that can strip the dye from the fabric.
- Test any cleaning products on a hidden area first before applying widely.
- Consider reapplying a thin layer of dye annually to areas that receive the most use.
- Use fabric protector spray designed for dyed fabrics to create a protective barrier.
- Keep pets off your newly dyed couch for at least the first few weeks.
Wrapping It Up
Learning how to dye a couch might seem challenging at first, but the results are truly worth the effort. Not only will you save hundreds of dollars on new furniture, but you’ll also give your living space a personal touch.
The satisfaction of sitting on a couch you’ve refreshed yourself brings a special pride that store-bought furniture simply can’t match. Remember that patience is key throughout the process—from proper preparation to careful application and thorough drying.
Your couch should now look refreshed and renewed, ready to be the centerpiece of your room again. So, next time you’re tempted to replace tired furniture, remember that learning how to dye a couch might be all you need for a whole new look.
If you’re interested in more DIY projects for your home, feel free to click here and explore our collection of easy weekend makeovers and step-by-step renovation tutorials.

Stephanie Grace, a graduate with a degree in Fine Arts from the Savannah College of Art and Design, has been inspiring DIY enthusiasts with her creative and practical guidance for over 14 years. Her career in design and crafting began in a small artisan workshop, where she developed a passion for transforming everyday materials into beautiful and functional items. Stephanie joined our website in 2018, rapidly gaining popularity for her easy-to-follow DIY tutorials and innovative project ideas. Since then, she has been the creative mind behind our DIY section, helping readers bring their artistic visions to life. Outside her professional pursuits, Stephanie enjoys pottery and urban gardening, hobbies that showcase her love for hands-on creativity and nature.