Hey there! As I strolled through my bare garden last spring, my climbing roses desperately needed support, but those store-bought trellises? Ouch – the prices made my wallet cry! That’s when I decided to channel my inner craftsperson and build my own wooden trellis.
Trust me, if I can do it, you definitely can too! Whether you’re a DIY newbie or a weekend warrior, I’ll walk you through creating a sturdy, beautiful trellis that won’t break the bank.
The best part? You’ll be satisfied to watch your favorite climbers wind their way up something you built with your hands.
Ready to transform some lumber into garden magic? Let’s jump in!
How to Choose the Right Wood for Your Trellis
When I started my Trellis project, I learned that choosing the right wood is crucial.
Cedar and redwood are my top picks. They’re naturally resistant to rot and insects and perfect for outdoor projects.
But if you’re budget-conscious like me, pressure-treated pine works great, too. Just make sure it’s rated for ground contact.
I avoid woods like oak or maple – they’re beautiful but tend to rot when exposed to moisture.
Whatever wood you choose, look for straight boards without warping or knots. Trust me, spending a few extra minutes picking good lumber will save you headaches later!
Types of Wood Trellis

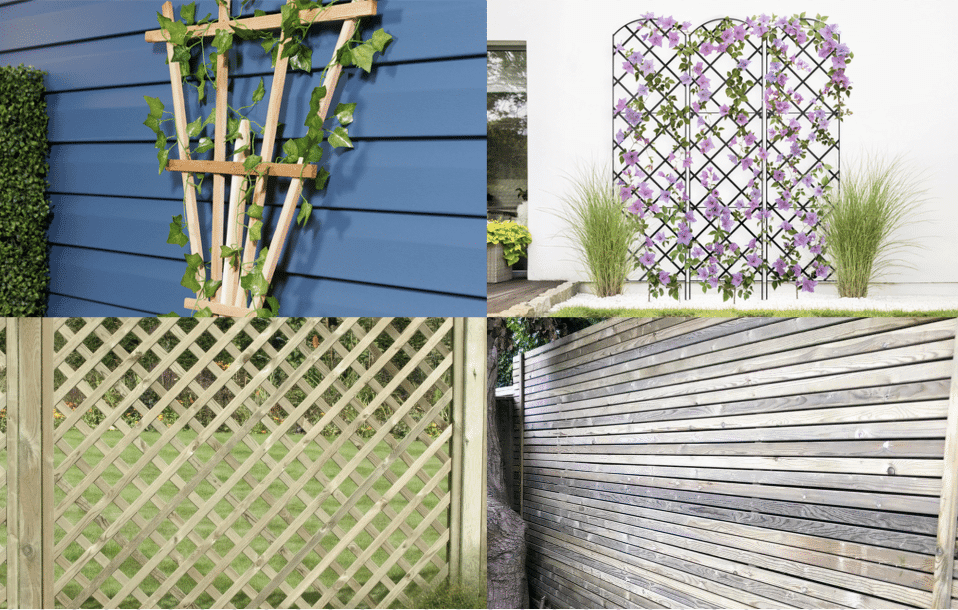
Let me show you my favorite Trellis styles that have turned my garden into a vertical paradise.
Each design brings its own unique flair and purpose:
- Fan Trellis: Spreads outward from a narrow base – ideal for statement garden walls with climbing roses.
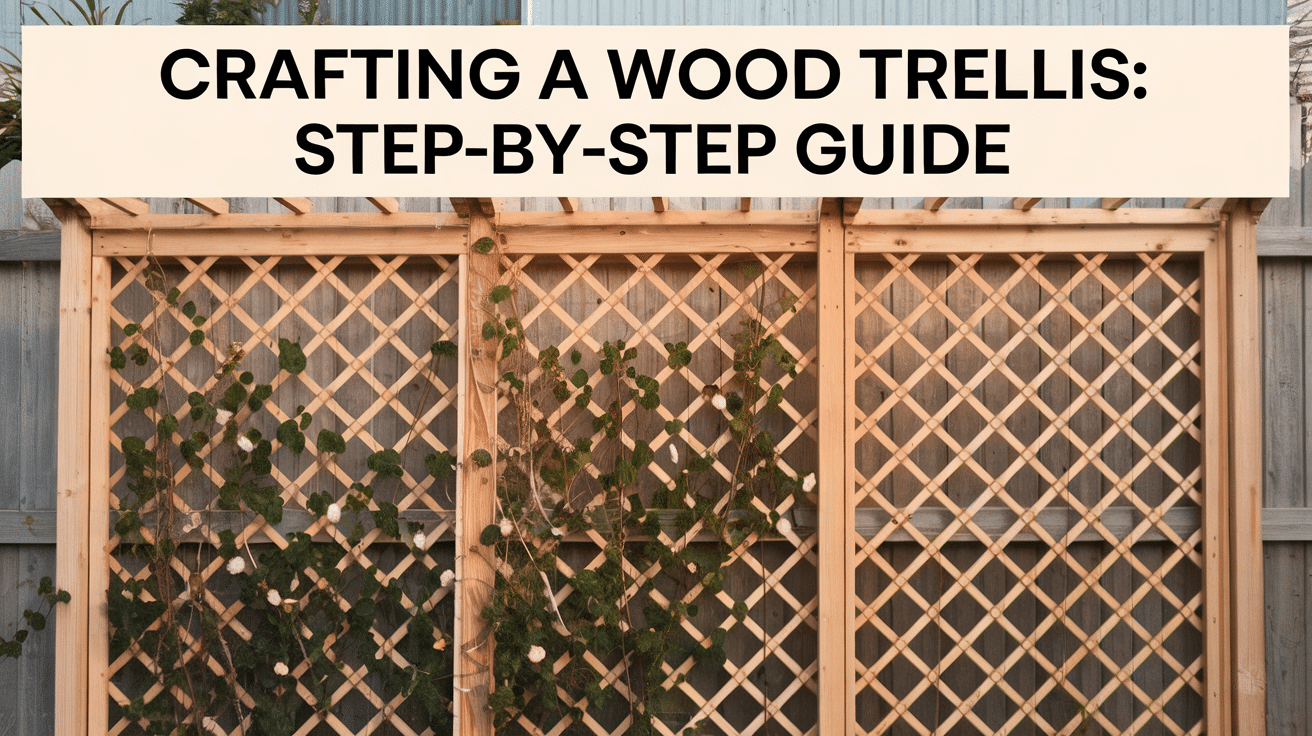
- Classic Grid: Equal-sized squares formed by crossing boards – perfect for vegetables and heavy climbers.
- Diamond Lattice: Diagonal boards create a crisscross pattern – making climbing easier for delicate vines.
- Modern Horizontal: Simple parallel slats spaced evenly – great for contemporary gardens and espaliered trees.
Whether you’re aiming for classic charm or modern simplicity, there’s a trellis design that’ll fit your style.
Just pick what speaks to your garden’s personality, and watch your climbing plants transform it into a living masterpiece!
Grab These Tools – Your Project Shopping List
| Tools | Materials |
|---|---|
| Table saw | Cedar fence pickets |
| Miter saw | Waterproof Type III wood glue |
| Brad nailer (or hammer) | Craft sticks (as spacers) |
| Measuring tape | 2 ½-inch screws |
| Clamps | |
| Straight edge | |
| Pre-drill bit and drill | |
| Dust mask (optional) |
Total Estimated Cost: $5
This estimate assumes you already own the necessary tools (e.g., table saw, clamps, brad nailer, etc.). If these tools are unavailable, their costs must be factored into the project.
This budget-friendly approach highlights how you can save significantly compared to purchasing a pre-made trellis, which typically costs $50 or more.
Step-by-Step Guide to Creating a Wooden Trellis
Step 1: Cut the Wood
- Use a Table Saw to Cut the Cedar Pickets Into Five Strips, Each 7/8 Inch Wide.
- Ensure precise measurements are taken to account for the saw blade’s kerf.
- Retain the Leftover Half-Inch Strip for The Support Rails.
Step 2: Cut Support Rails
Cut the Leftover Strip Into the Following Lengths:
- 3 Feet
- 2 Feet
- 1 Foot
Step 3: Prepare and Assemble the Fan Frame
- Arrange the Five Cedar Strips Vertically, Aligning Them Neatly Using a Straight Edge.
- Mark 6 Inches from The Top as A Reference for Glue Placement.
Step 4: Glue and Secure the Strips
- Apply Waterproof Type Iii Wood Glue Between the Strips, Stopping at The Reference Mark.
- Use Craft Sticks as Spacers to Prevent Excess Glue from Spreading.
- Clamp the Strips Together and Remove Any Excess Glue. Allow Time for The Glue to Dry.
Step 5: Attach Support Rails
Position the Support Rails Horizontally Across the Fan Structure
- The 3-foot Piece Should Be 6–7 Inches from The Top.
- The 2-foot Piece Should Be 21–22 Inches from The Top.
- The 1-foot Piece Should Be 43–44 Inches from The Top
- Mark the Center and Edges of The Rails for Alignment.
- Use Type Iii Glue and A Brad Nailer (or Small Nails/screws) to Secure the Rails in Place.
Step 7: Final Adjustments and Reinforcements
- Pre-Drill Holes and Insert 2 ½-Inch Screws to Reinforce the Structure.
- Remove Craft Stick Spacers Carefully.
- Address Any Cracks by Applying Extra Glue and Clamping the Affected Area until Dry.
Step 8: Apply Waterproofing
- Seal the End Grain with Waterproof Glue to Protect Against Moisture.
- For buried ports, apply glue on the sides to prevent rot.
Step 9: Mass Production(optional)
- Create a Jig for Efficient Assembly if Making Multiple Trellises.
For a more detailed tutorial on DIY wood trellis, check out the video below:
How to Install Garden Trellis in Your Garden
Let me walk you through my foolproof process for installing a garden trellis—it’s easier than you think!
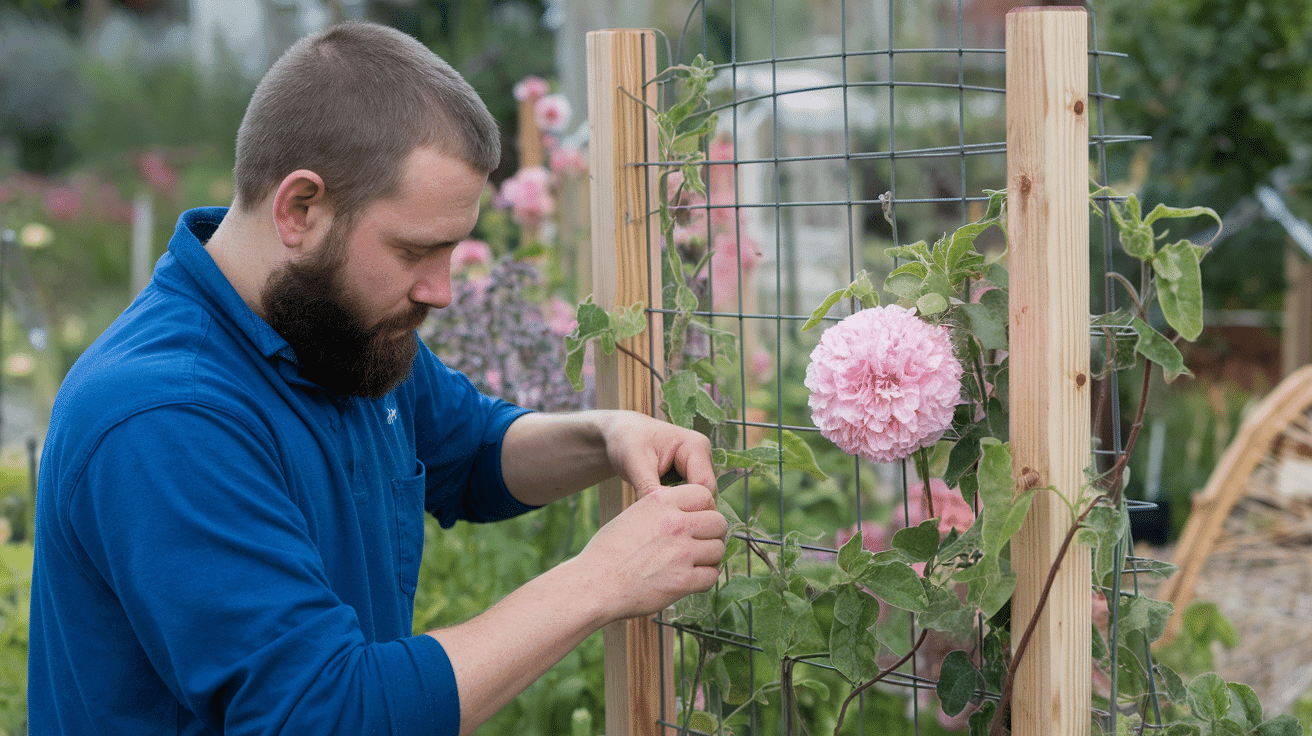
- Mark your spot: I use marking paint to outline where my trellis will go, ensuring it’s at least 6 inches from any wall.
- Dig post holes: Make them 2 feet deep for stability. Trust me, this depth has saved my trellis from toppling in strong winds.
- Set your posts: Pour gravel for drainage, add posts, and fill with concrete. I like to use a level to keep everything straight.
- Let it cure: Give the concrete 24 hours to set properly – patience is key here!
- Attach trellis panels: Once the posts are secure, I mount the trellis using galvanized screws. Remember to pre-drill to prevent wood splitting.
- Check stability: Give it a gentle shake. If it’s solid, you’re ready to start planting!
Remember: Always check for underground utilities before digging, and keep your materials handy before starting. There is nothing worse than running to the store mid-project!
Plants That Love Your Trellis
Let me share my favorite climbing companions who have turned my wooden trellises into stunning garden features:
Flowering Beauties
- Climbing Roses: Creates cascading walls of color and sweet fragrance
- Clematis: Produces large, showy blooms in various colors
- Wisteria: Offers dramatic purple cascades in spring
Edible Climbers
- Grape Vines: Perfect blend of fruit and shade
- Pole Beans & Cucumbers: Makes harvesting a breeze
- Sugar Snap Peas: Sweet spring crops at arm’s reach
Evergreen Charmers
- Jasmine: Year-round fragrance and dense coverage
- English Ivy: Reliable green backdrop
- Honeysuckle: Attracts butterflies with fragrant blooms
Safety Considerations to Keep in Mind
- Rock those safety glasses – eyes are VIPs!
- Pop on work gloves – your hands will thank you
- Quick wood check – dodge those surprise nails
- Clean workspace = happy feet
- Good light + fresh air = smooth work
- Clamp it tight – wobbly wood is bad news
- Fingers and blades aren’t friends – keep them apart
- Sharp tools = safe tools (weird but true!)
- Kids and pets get a time-out until you’re done
- A first aid kit is nearby – just in case you need it!
Smart creators put safety first – protect yourself and build better. That’s all you need to know.
Common Mistakes to Avoid while Making Trellis
Let me share some trellis-making mistakes I’ve learned the hard way!
The biggest blunder? If you do not treat the wood properly. Skipping this step means you’ll be rebuilding sooner than you’d like.
I’ve also found that spacing supports too far apart can cause sagging once the plants become heavy.
Another rookie error I made was using nails instead of screws – trust me, they’ll work loose over time.
Here’s a crucial tip: remember to account for your plants’ mature size when planning your trellis dimensions.
Last but not least, placing a trellis too close to walls can trap moisture and cause rot.
Easy Trellis Care Tips

- Give your trellis a quick check every few months. Run your hands over the joints and look for loose spots.
- Watch out for any soft or dark spots on the wood – that’s water damage saying hello, and you’ll want to fix it fast
- Keep those climbing plants in check – trim them back when they get too heavy for your trellis to handle
- Got wobbly spots? Tighten up those screws and brackets – think of it as giving your trellis a quick tune-up.
- Look for tiny holes in the wood – those might be bug visitors making themselves at home. It’s time for some wood treatment!
- Clean off dirt and green stuff once a year with soap and water – your trellis needs a spa day, too!
- Fix any splits in the wood immediately—small cracks love to turn into big problems when you’re not looking.
- Check the base where it meets the ground – that’s where rot likes to start its sneaky business.s
- Add a fresh coat of sealer every couple of years – think of it as sunscreen for your trellis.s
- Got a severely damaged section? Replace it pronto – one weak spot can make the whole thing tipsy.
Regular quick checks and fixes keep your trellis strong and your climbing plants happy. Easy upkeep today means no big repairs tomorrow!
Wrap-Up – You’re Ready to Build!
After building countless trellises in my garden, I can tell you it’s more than just hammering wood together – it’s about creating something that brings your outdoor space to life.
From choosing the perfect wood to watching your favorite climbers reach for the sky, every step is a rewarding journey.
Remember, your trellis doesn’t have to be perfect; mine certainly wasn’t at first! But that’s the beauty of DIY projects – they grow with you, just like your garden.
Whether you’re going for a simple grid or an elaborate fan design, take your time, learn from my mistakes, and don’t be afraid to add your personal touch.
Ready to get started? Grab those tools, unleash your creativity, and watch your garden transform vertically!


