Are uneven sidewalks and sunken driveways driving you crazy?
Do-it-yourself (DIY) concrete lifting foam offers an affordable solution.
It can save you hundreds, even thousands of dollars, compared to professional services.
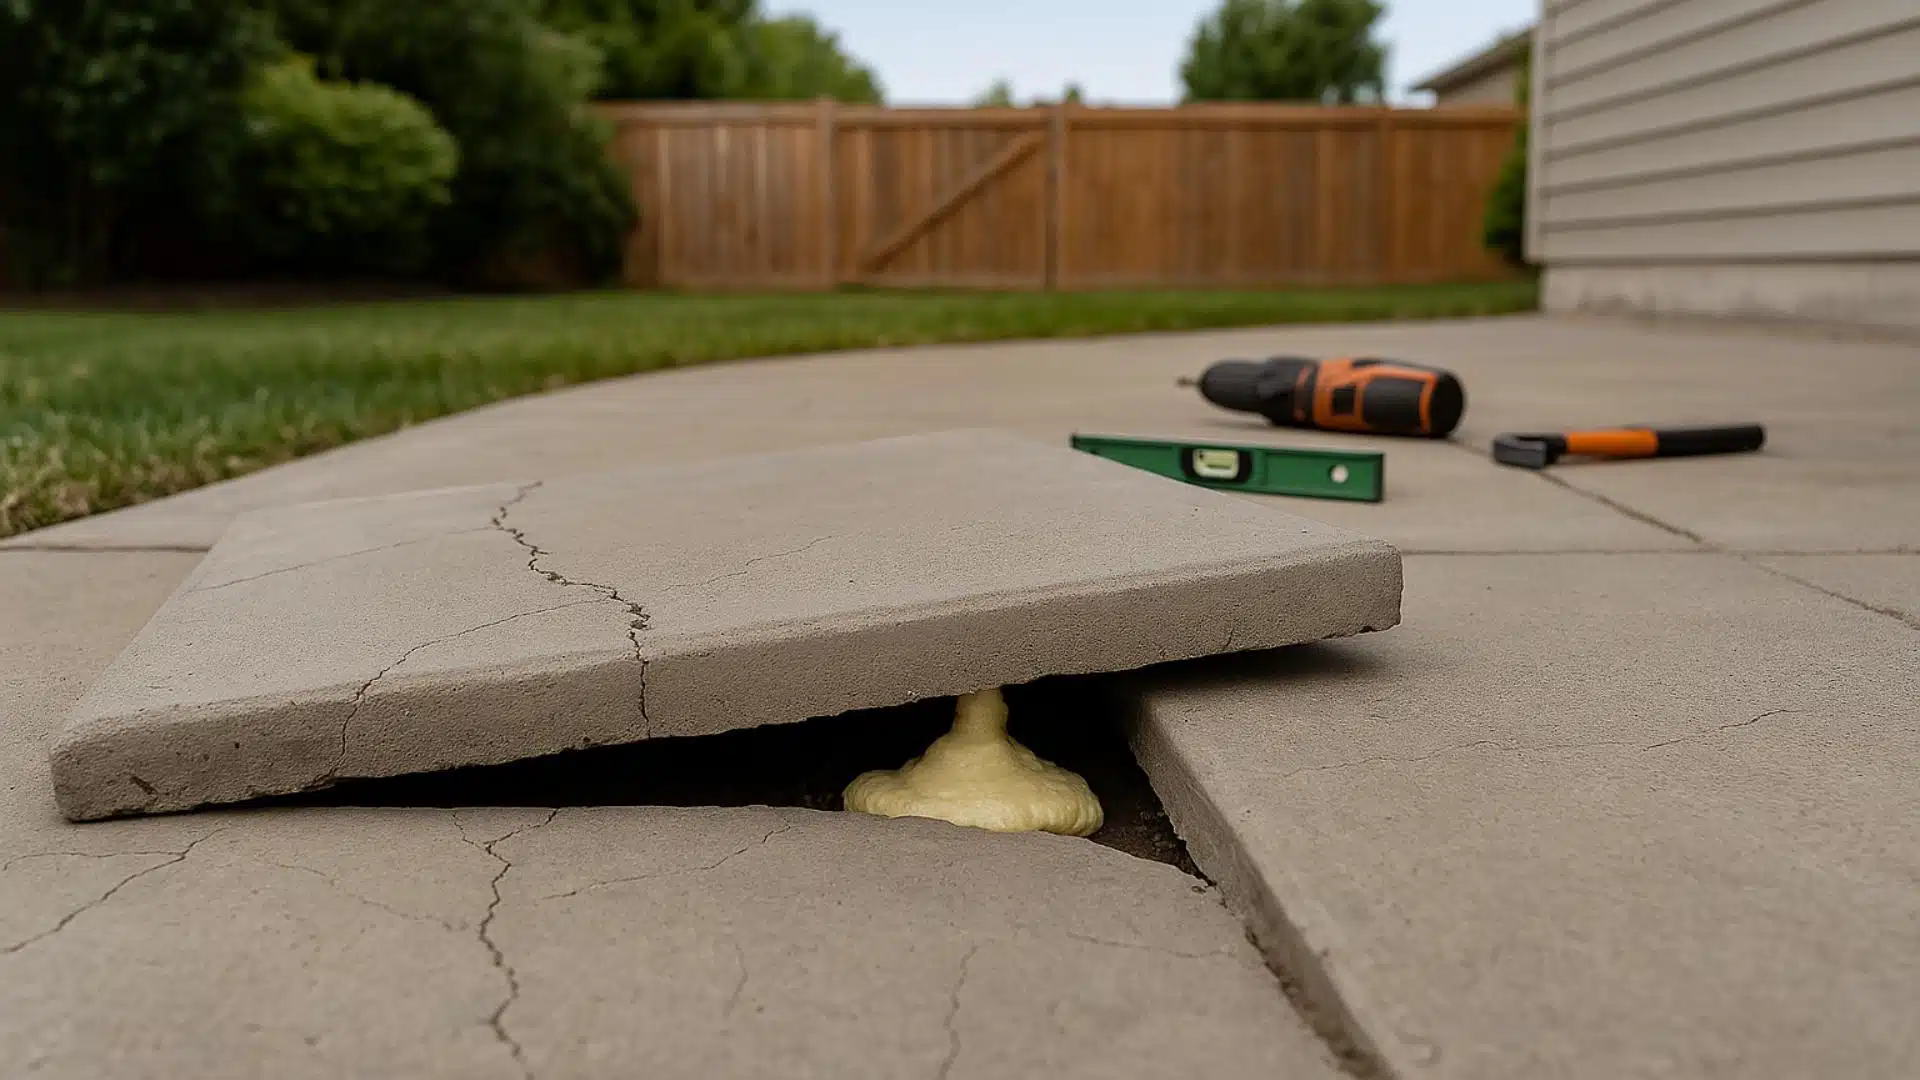
This innovative method uses expanding polyurethane foam to lift and level concrete slabs.
You won’t need to tear out and replace your existing concrete.
It’s perfect for tilted patios that create tripping hazards.
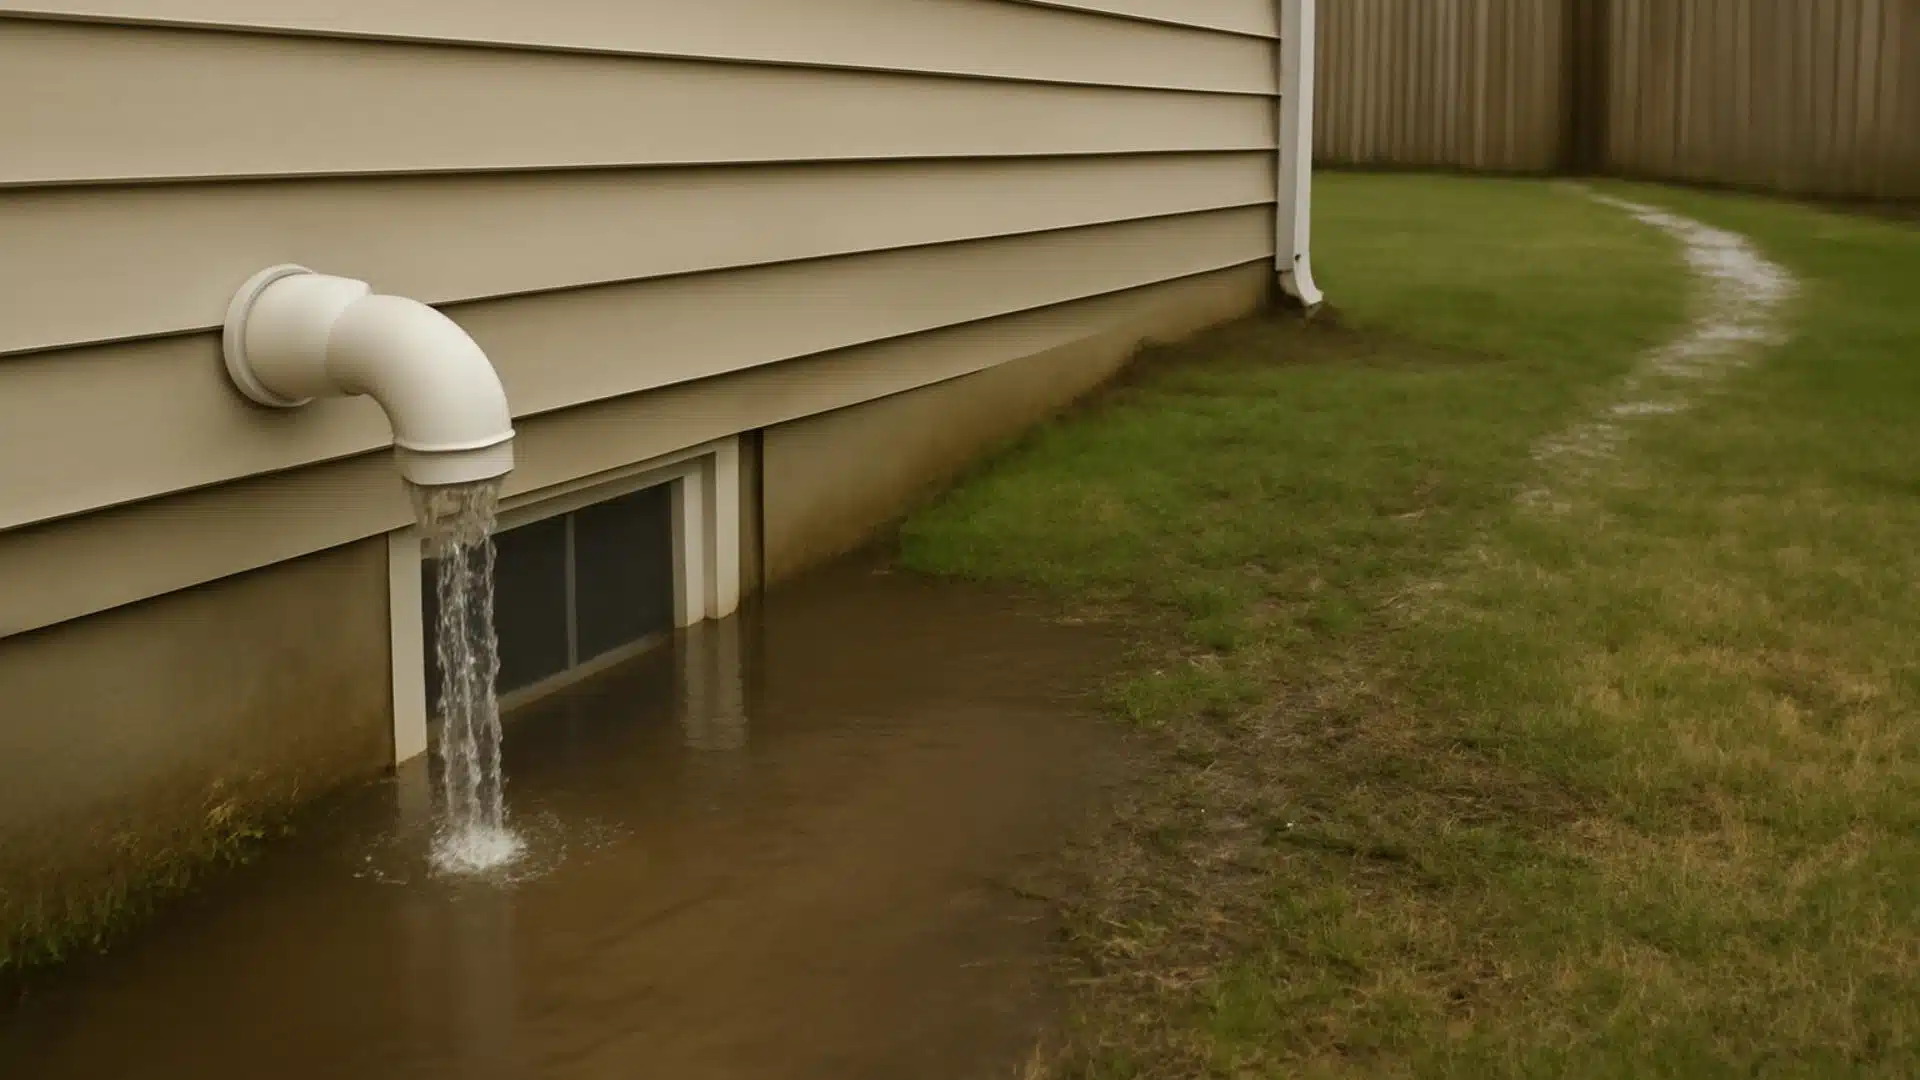
It also works expertly for sloped driveways that send water toward your foundation.
You can fix these problems yourself with the right tools and techniques.
The simple, step-by-step process turns a seemingly impossible task into a manageable weekend project.
What Is Concrete Lifting Foam?
Concrete lifting foam is a modern solution for repairing sunken or uneven concrete slabs without the need for replacement.
It involves injecting expanding polyurethane foam beneath the concrete through small drilled holes.
Once injected, this lightweight material expands, filling voids and lifting the concrete back to its original position.
The foam hardens quickly, creating a strong, stable base that prevents future settling.
This process goes by several names in the home improvement world.
You may also hear it referred to as foam jacking, polyjacking, or slab jacking.
While traditional methods used mud or cement slurry, polyurethane foam has become popular because it’s lighter, stronger, and lasts longer.
The foam won’t wash away over time, unlike other materials.
Homeowners prefer this method as it’s quicker, less messy, and often more budget-friendly than replacing entire concrete sections.
Why Choose DIY Concrete Lifting?

Tackling concrete lifting yourself can save you a significant amount of money compared to hiring professionals, who often charge premium rates for this specialized service.
Many homeowners report saving 50-70% on project costs when they opt for the DIY route.
Beyond the financial benefits, doing it yourself offers convenience and flexibility.
Work on your schedule, tackling the project on weekends or evenings, and complete it at your own pace without rushing a contractor’s timeline.
The polyurethane foam used in DIY kits also provides excellent long-term durability.
Once cured, the foam resists moisture, doesn’t break down over time, and prevents further erosion beneath your concrete.
This means your repair won’t just fix today’s problem but will help prevent the same issue from recurring in the future.
Signs You Need Concrete Lifting

Knowing when your concrete needs lifting can save you from bigger problems down the road.
Look for these common warning signs around your home:
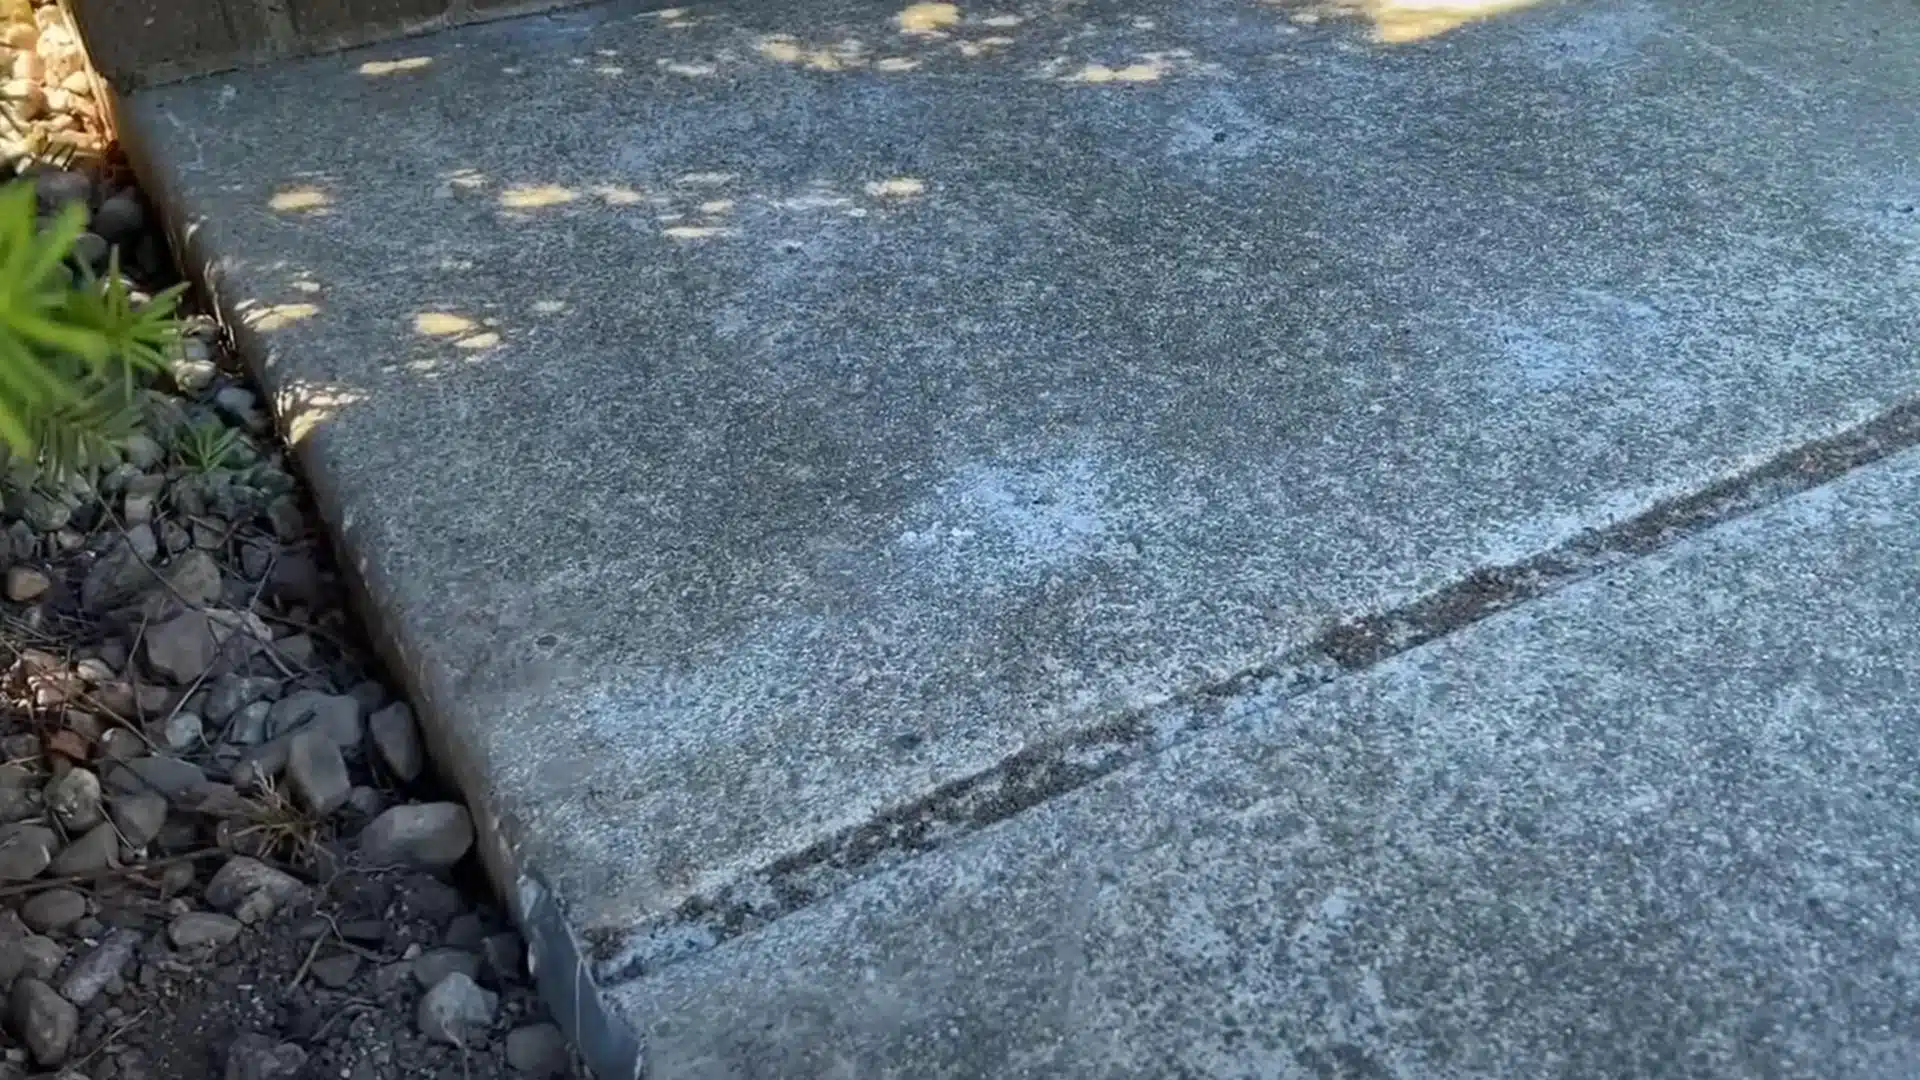
- Tripping hazards are where concrete slabs meet at different heights.
- Water is pooling on your driveway or patio after rain.
- Cracks that form between the concrete and your home’s foundation.
- Slabs that rock or feel unstable when you walk across them.
- Concrete that slopes toward your house instead of away from it.
- Gaps are appearing under previously flush concrete edges.
Uneven concrete is an eyesore that creates dangerous tripping hazards and can lead to water damage in your home.
The sooner you address sinking concrete, the simpler and less expensive the fix will be.
Tools & Materials You Will Need
Before starting your DIY concrete lifting project, gather all the necessary tools and materials.
Having everything ready will save you time and prevent frustrating mid-project trips to the hardware store.
| ITEM | COST (USD) |
|---|---|
| Rotary hammer drill | $100–$200 (or $30/day rent) |
| ¼” x 12″ masonry bit | $10–$15 |
| Cordless drill | $80–$150 |
| Bottle jacks (2–4) | $60–$120 total |
| C-clamps (4) | $20–$40 total |
| Chains | $15–$25 total |
| 4×4 wood posts (four 8-ft) | $30–$40 total |
| J-bolts (5/16″ x 7″, 4) | $8–$12 total |
| Washers and nuts | $2–$5 total |
| 24″ pry bar | $10–$20 |
| Torpedo level | $5–$15 |
| Spray foam (2 cans) | $16 total ($8 each) |
| Concrete sealant | $10–$15 |
| Nylon cup wheel | $10–$20 |
| Gravel and dirt | Free–$10 |
Quality matters when selecting these items.
While you can rent some of the more expensive tools like the rotary hammer drill, don’t skimp on materials like the spray foam or sealant.
Estimated Total Cost
- DIY (with rentals) – $150 – $200
- DIY (with purchases) – $250 – $400
- Hiring a Professional – $500 – $1,500
Step-by-Step Guide for Concrete Lifting Foam
Lifting concrete yourself might seem intimidating, but with the right approach, it becomes a straightforward weekend project.
Follow these five steps carefully, working methodically and prioritizing safety throughout the process.
Step 1: Drill Access Holes
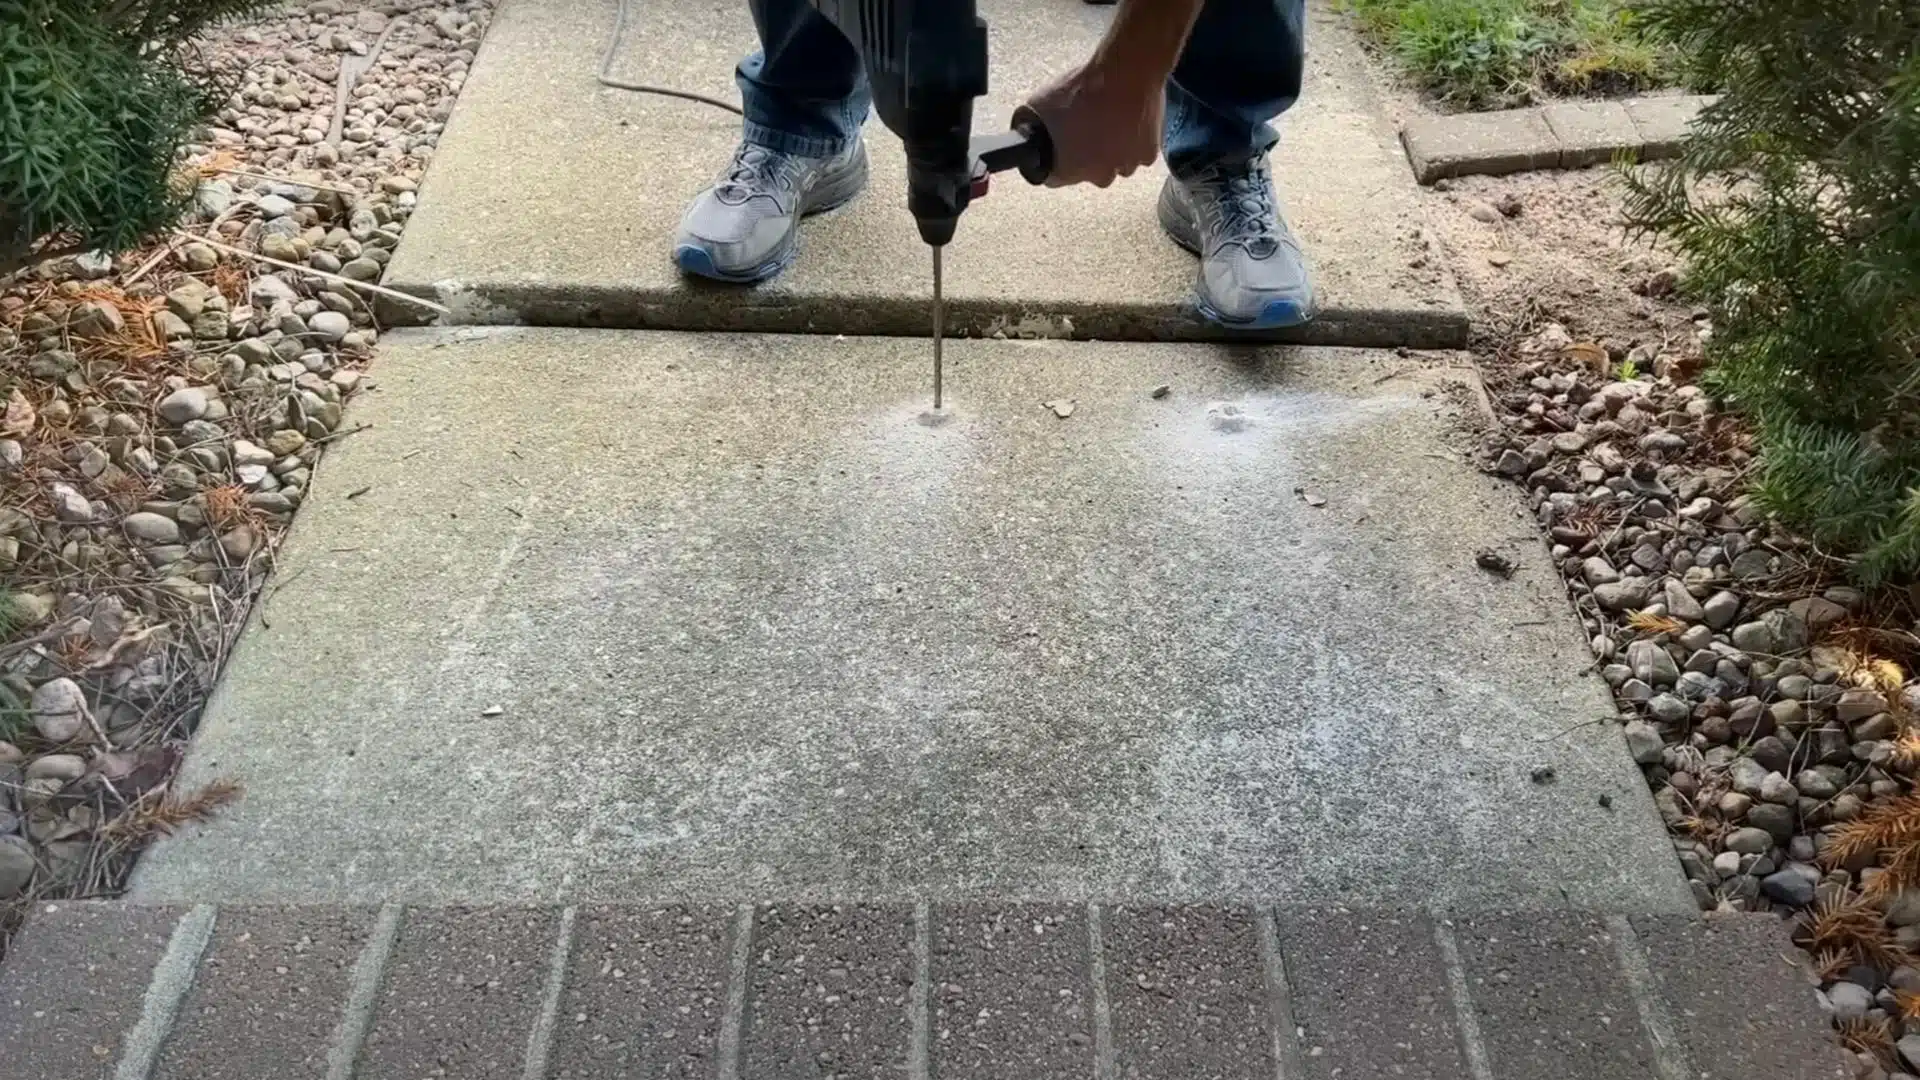
Start by marking an evenly spaced grid of 12 holes across your sunken concrete slab.
Use your rotary hammer drill with the masonry bit to create clean, straight holes through the concrete.
These holes will serve as injection points for the foam later.
Drilling can be dusty work, so wear eye protection and a dust mask.
Clean out any debris from the holes using compressed air or a shop vacuum to ensure good foam flow.
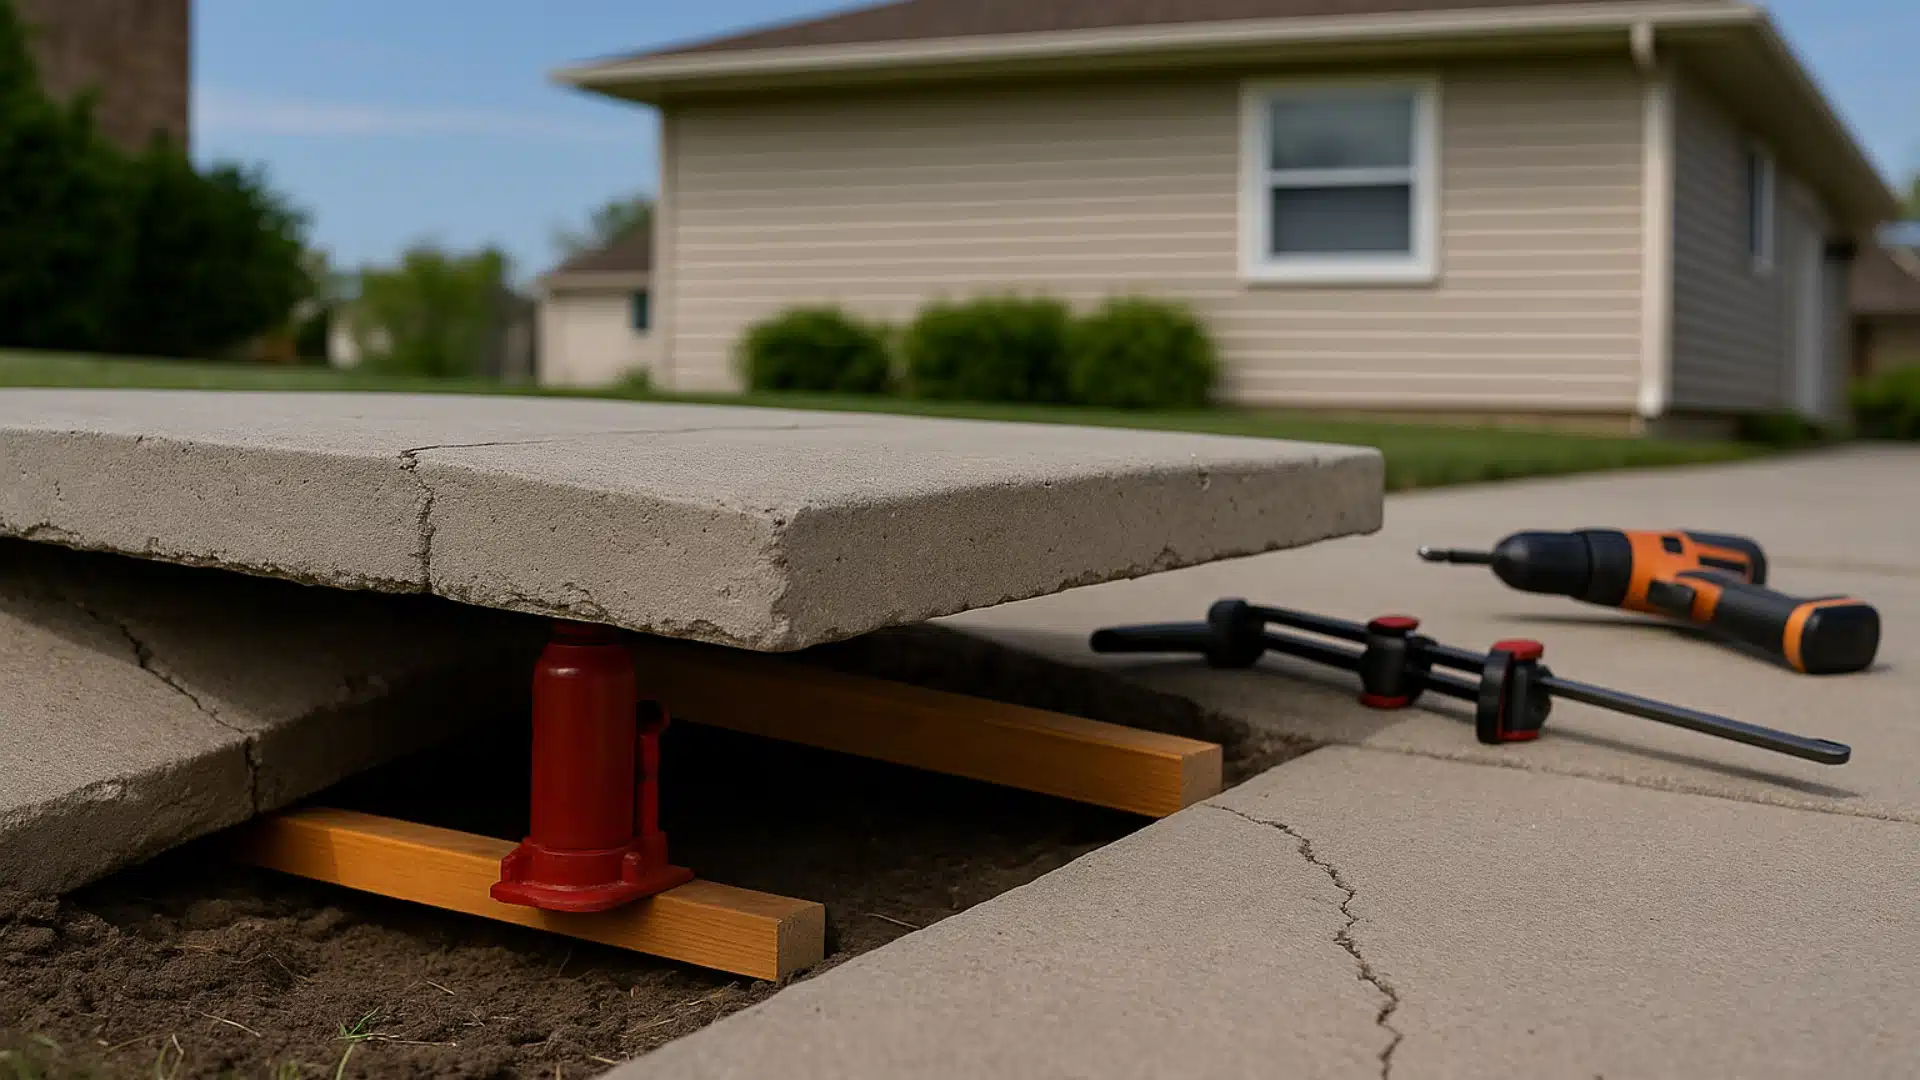
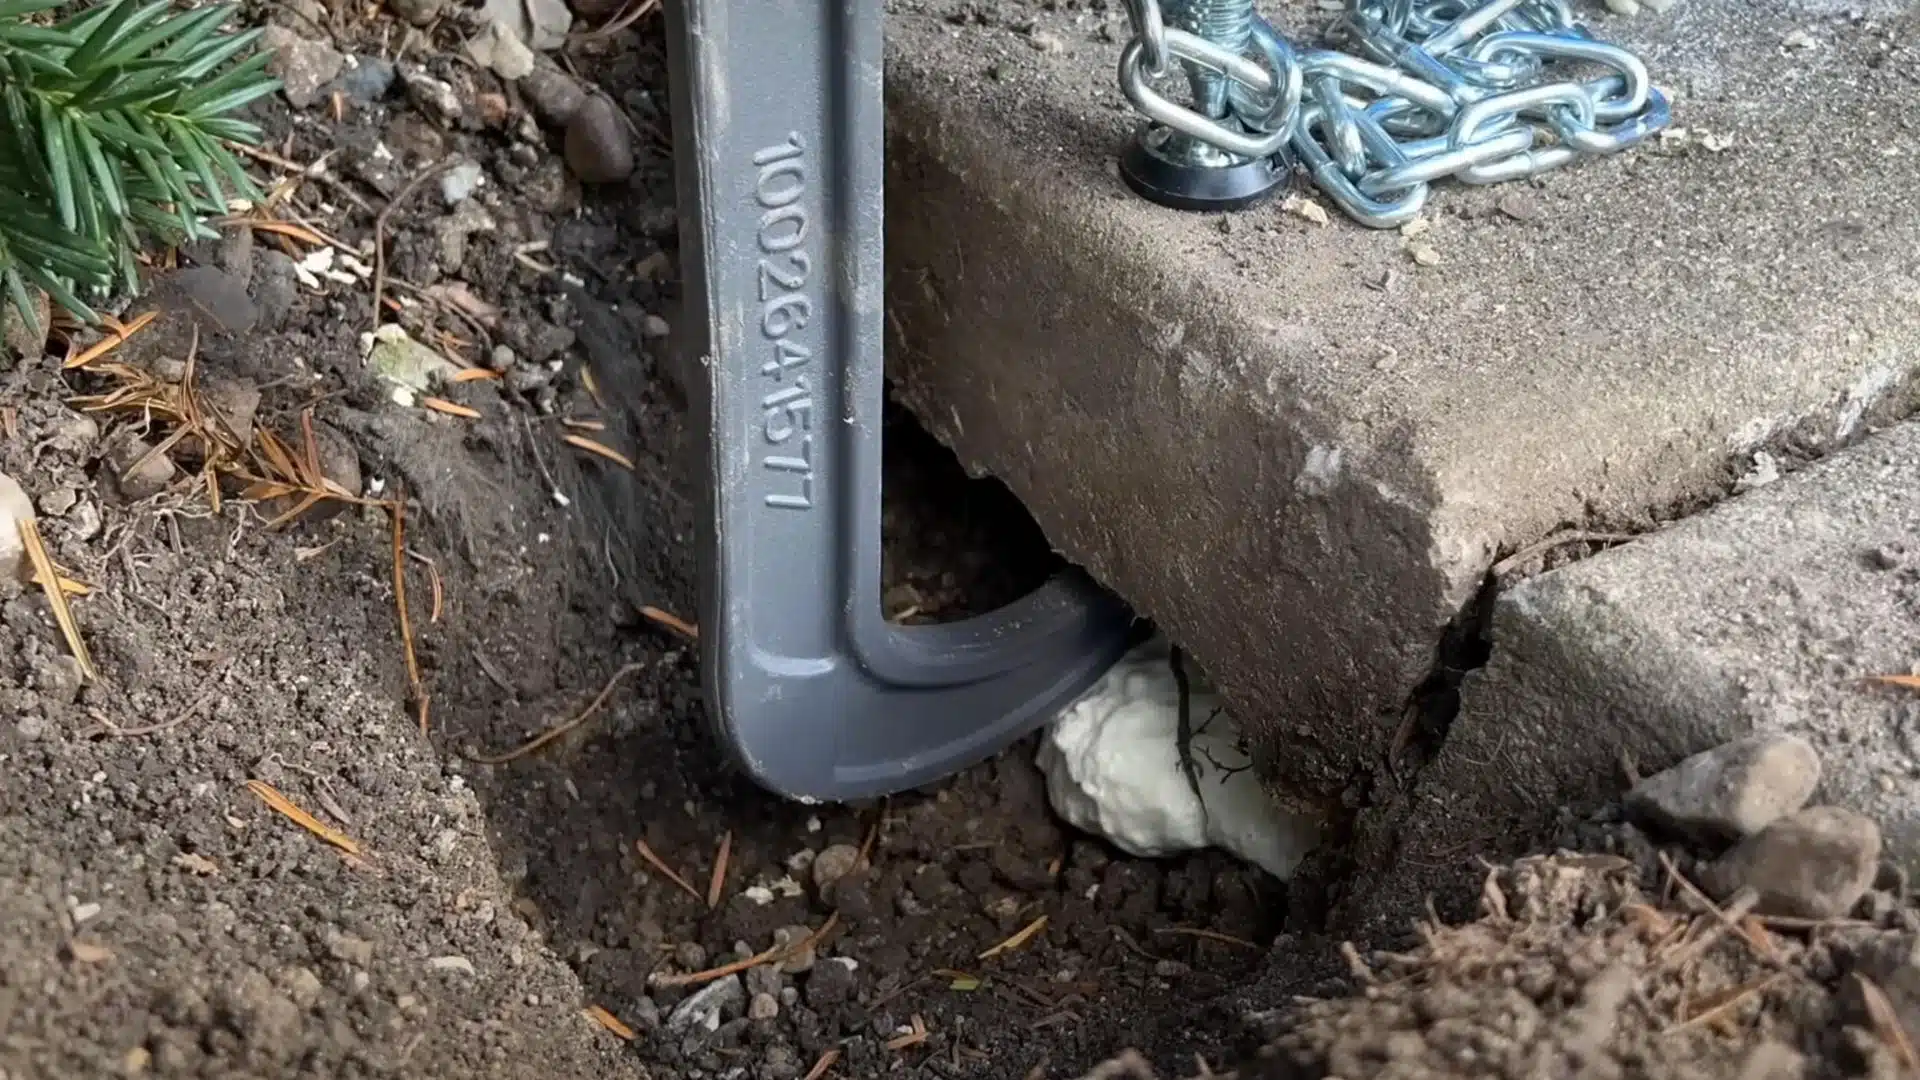
Step 2: Set Up Lifting Structure
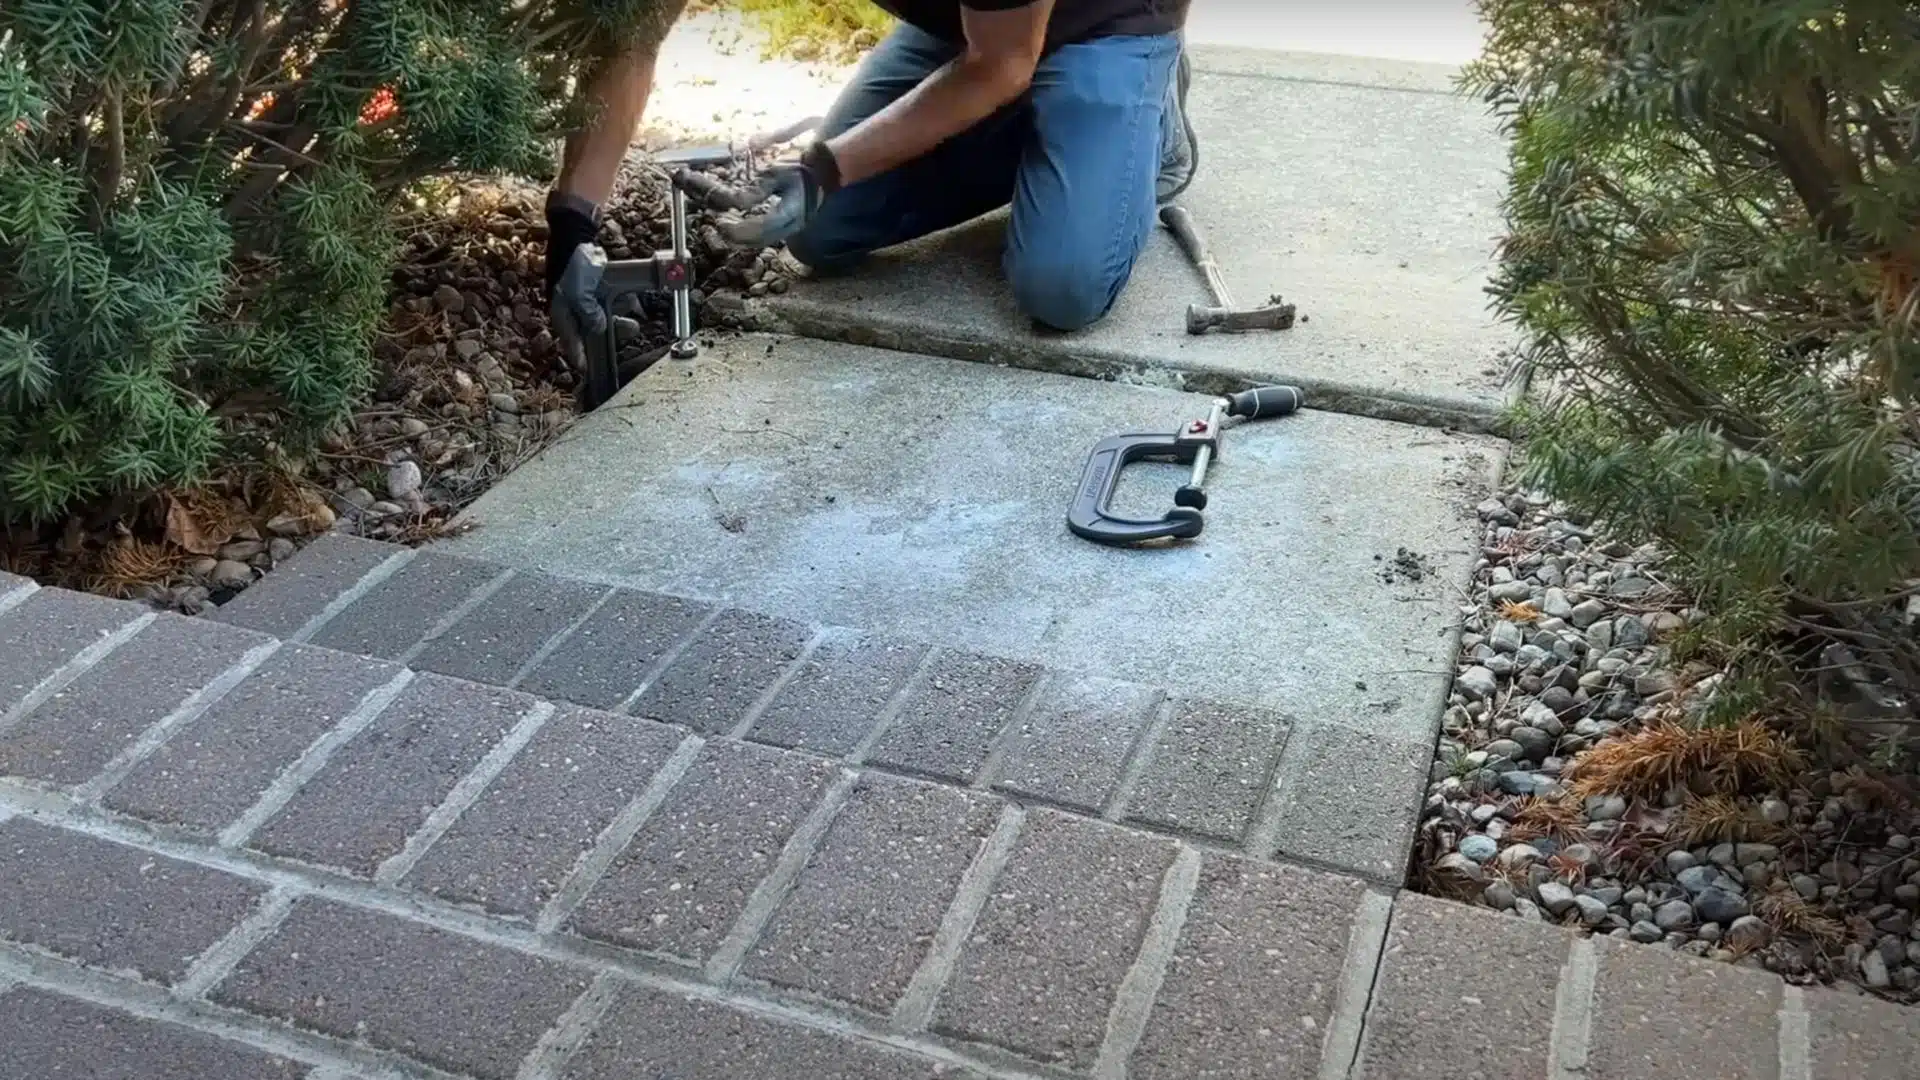
Ensure there is sufficient space around the slab edges to position your C-clamps underneath.
Arrange your 4×4 posts across the top of the slab, connecting them to the C-clamps using J-bolts and chains.
This creates your lifting frame.
Position bottle jacks between the frame and slab, then slowly lift each side, checking for level as you go.
Use the demo bar to free the slab if it sticks. Always maintain a slight slope away from buildings for proper drainage.
Step 3: Inject Foam to Fill Voids

With your slab held at the proper height, begin injecting the expanding foam through your drill holes.
Start with the center holes and work your way outward in a systematic pattern.
The foam will expand rapidly, filling voids beneath the concrete.
You’ll know you’ve filled the space correctly when you see foam begin to seep out from the edges of the slab.
Work quickly as the foam starts to set within minutes.
Step 4: Let the Foam Cure
Patience is crucial during this step.
Leave your lifting structure in place for at least 8 hours, allowing the foam to fully cure and harden.
Resist the temptation to check on progress or make adjustments during this time.
The foam needs undisturbed time to reach its maximum strength.
This curing period ensures the foam creates a solid, stable base that will support your concrete for years to come.
Step 5: Seal and Clean Up
Once the foam has cured, carefully remove your lifting structure.
Backfill any excavated areas around the slab with a mixture of gravel and soil.
Use the nylon cup wheel to clean the concrete surface, removing any foam residue.
Apply the concrete sealant to fill the drill holes and seal any cracks.
Check the slab one final time with your level to confirm proper grading.
Allow the sealant to dry completely before using the area.
Video Tutorial
For more information, check out this video tutorial by Everyday Home Repairs
Common Mistakes to Avoid
Even experienced DIYers can encounter difficulties when lifting concrete for the first time.
Being aware of these common pitfalls will help ensure your project succeeds on the first attempt:
- Using too much foam, causing the concrete to lift unevenly or crack
- Rushing the lifting process instead of raising the slab gradually
- Failing to clean drill holes before injecting foam, leading to poor distribution
- Not checking for proper drainage slope away from buildings
- Removing the lifting structure before the foam has fully cured (8+ hours)
Take your time and double-check your work at each stage.
Remember that concrete lifting is not easily reversed if mistakes are made, so careful planning and execution are essential for lasting results.
Should You Do It Yourself with Concrete Lifting Foam?
DIY foam lifting works well for many homeowners, but it’s not for everyone.
Contact a professional if your concrete has sunk over 4 inches, shows structural damage, or includes complex areas like pool decks or garage floors.
Consider your soil type too; extremely wet or unstable soil might require expert assessment before lifting.
The ideal DIY candidate has experience with home improvement projects and feels comfortable operating power tools and reading levels.
Be honest about your skills, and this project requires patience, attention to detail, and some physical strength.
If you get frustrated easily or lack confidence in measuring accurately, hiring a professional might save you headaches.
For most people with basic DIY skills, tackling smaller slabs, however, this project is completely doable and satisfying.
The Bottom Line
Do it yourself concrete lifting foam can dramatically improve your property’s appearance, safety, and value.
The entire project often takes just a weekend to complete.
You’ll feel satisfied knowing you fixed the problem yourself.
Your wallet will appreciate the money saved compared to hiring professionals.
Patience and precision matter more than speed when lifting concrete.
Not every sunken slab requires professional help. These practical tips will help you decide when to tackle the job yourself.
Proper lifting technique now provides years of stable, level concrete surfaces.
Your outdoor spaces will look better and function properly again.
Fixing that sidewalk is just the start!
Check out our DIY Projects and Home Improvement blogs for more helpful ideas to improve every part of your home!

James McLaren, with a rich background in architecture from the University of Manchester, has been contributing his expertise to the world of creative construction and home innovation for over 20 years. His journey began as a project manager for a leading construction firm, where he honed his skills in bringing complex designs to life. James joined our platform as a freelancer in 2019, quickly becoming a favorite for his insightful and practical advice. He has been a pivotal force to our wing ever since, bringing our readers a blend of technical know-how and creative flair. Beyond his professional life, James is an avid woodworker and enjoys restoring vintage furniture, a hobby that complements his professional insights beautifully.