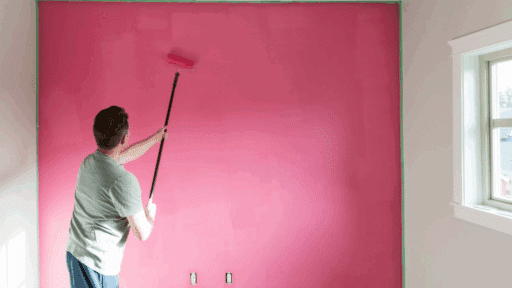
Ever step into a room and think, “This needs a change”? Sometimes, all it takes is a new coat of paint to make everything feel fresh again.
Painting is one of the easiest and cheapest ways to make your space look better. It doesn’t take a big budget, but the change it brings is huge.
I’ve helped many people update their homes just by painting. You don’t have to be an expert to do it right.
With the right tools and some planning, you can make a big impact in just a weekend.
In this guide, I’ll show you how to get started – from picking the best time to paint to cleaning up at the end.
You’ll learn how to prep your walls, figure out how much paint to buy, and apply it correctly. Once it’s done, the satisfaction of seeing your work will be totally worth it.
When Should You Paint a Wall?
Knowing when to repaint your walls can help you avoid wasting time or money. If your walls look dirty, stained, or don’t clean up anymore, it might be time.
Peeling, cracking, or bubbling paint is also a clear sign you need a new coat.
If it’s been 5 to 7 years since your last paint job, or if the color feels old and no longer fits your style, a repaint could really help.
Moving into a new home or feeling off because of the wall color? Those are good reasons, too.
The best time to paint indoors is during spring or fall when it’s not too hot or too cold. Keep the room at 60–75°F and avoid humid days.
Give yourself at least 2 to 3 days for the whole process, so you have enough time for prep, painting, and cleaning up.
Supplies You’ll Need
Getting the right supplies before you start will make your painting project go much smoother. Here’s what you’ll need:
- Paint
- Paint Roller
- Primer
- Extension pole
- Angled paintbrush
- Painter’s tape
- Drop cloths
- Spackle and putty knife
- Damp cloth
- Paint stirrer
- Ladder or step stool
- Gloves and old clothes
Step-by-Step Guide to Painting a Wall
Painting a wall isn’t just about adding color. A systematic approach will give you professional-looking results that last for years.
Step 1: Preparation
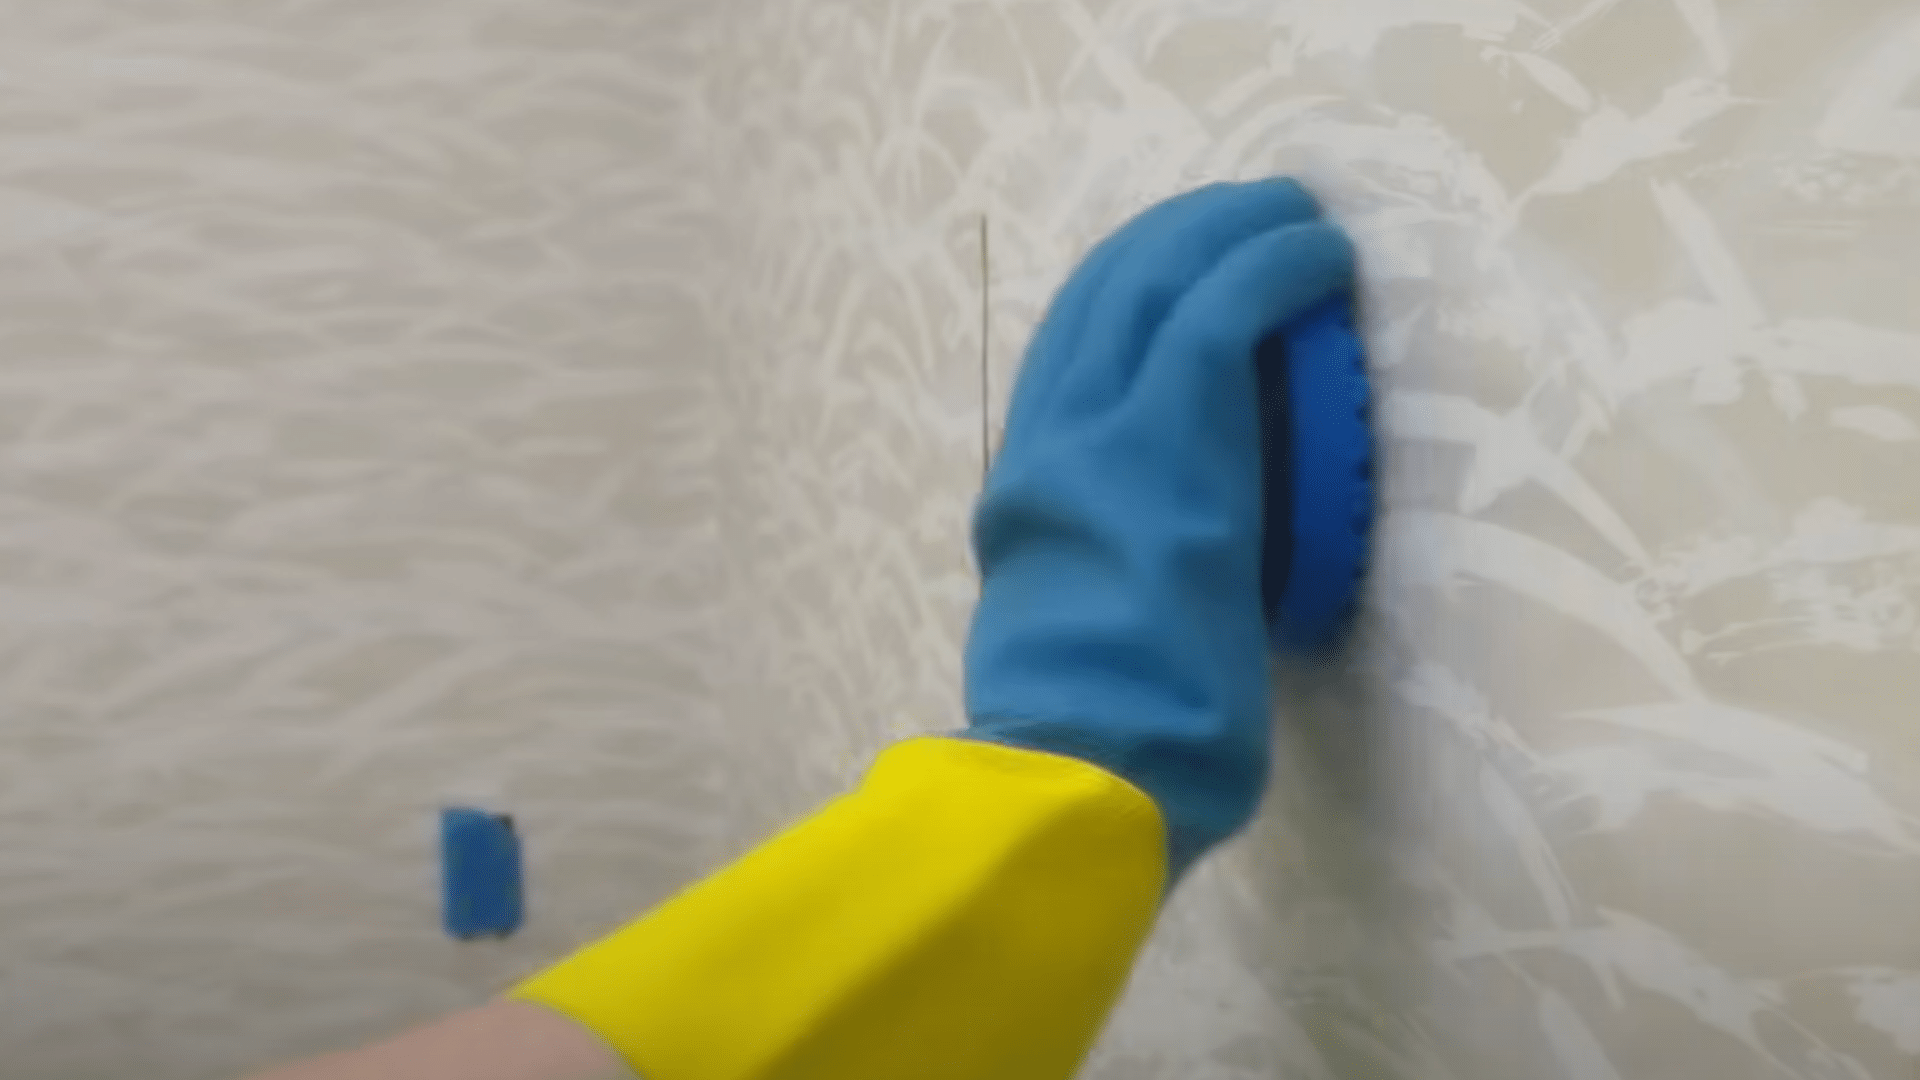
Getting ready might not seem exciting, but it’s what makes a paint job great. Remove everything from the walls, including pictures, nails, and outlet covers.
If possible, move furniture to the middle or out of the room. Lay canvas drop cloths to protect your floors and help catch spills.
Check the walls closely for holes or cracks. Fill them with spackle, let it dry, and sand it smooth. Wash the walls to get rid of grease or dust.
Then tape off the edges carefully. Taking your time here means everything else will be easier and look better.
Step 2: Calculate Your Paint Needs
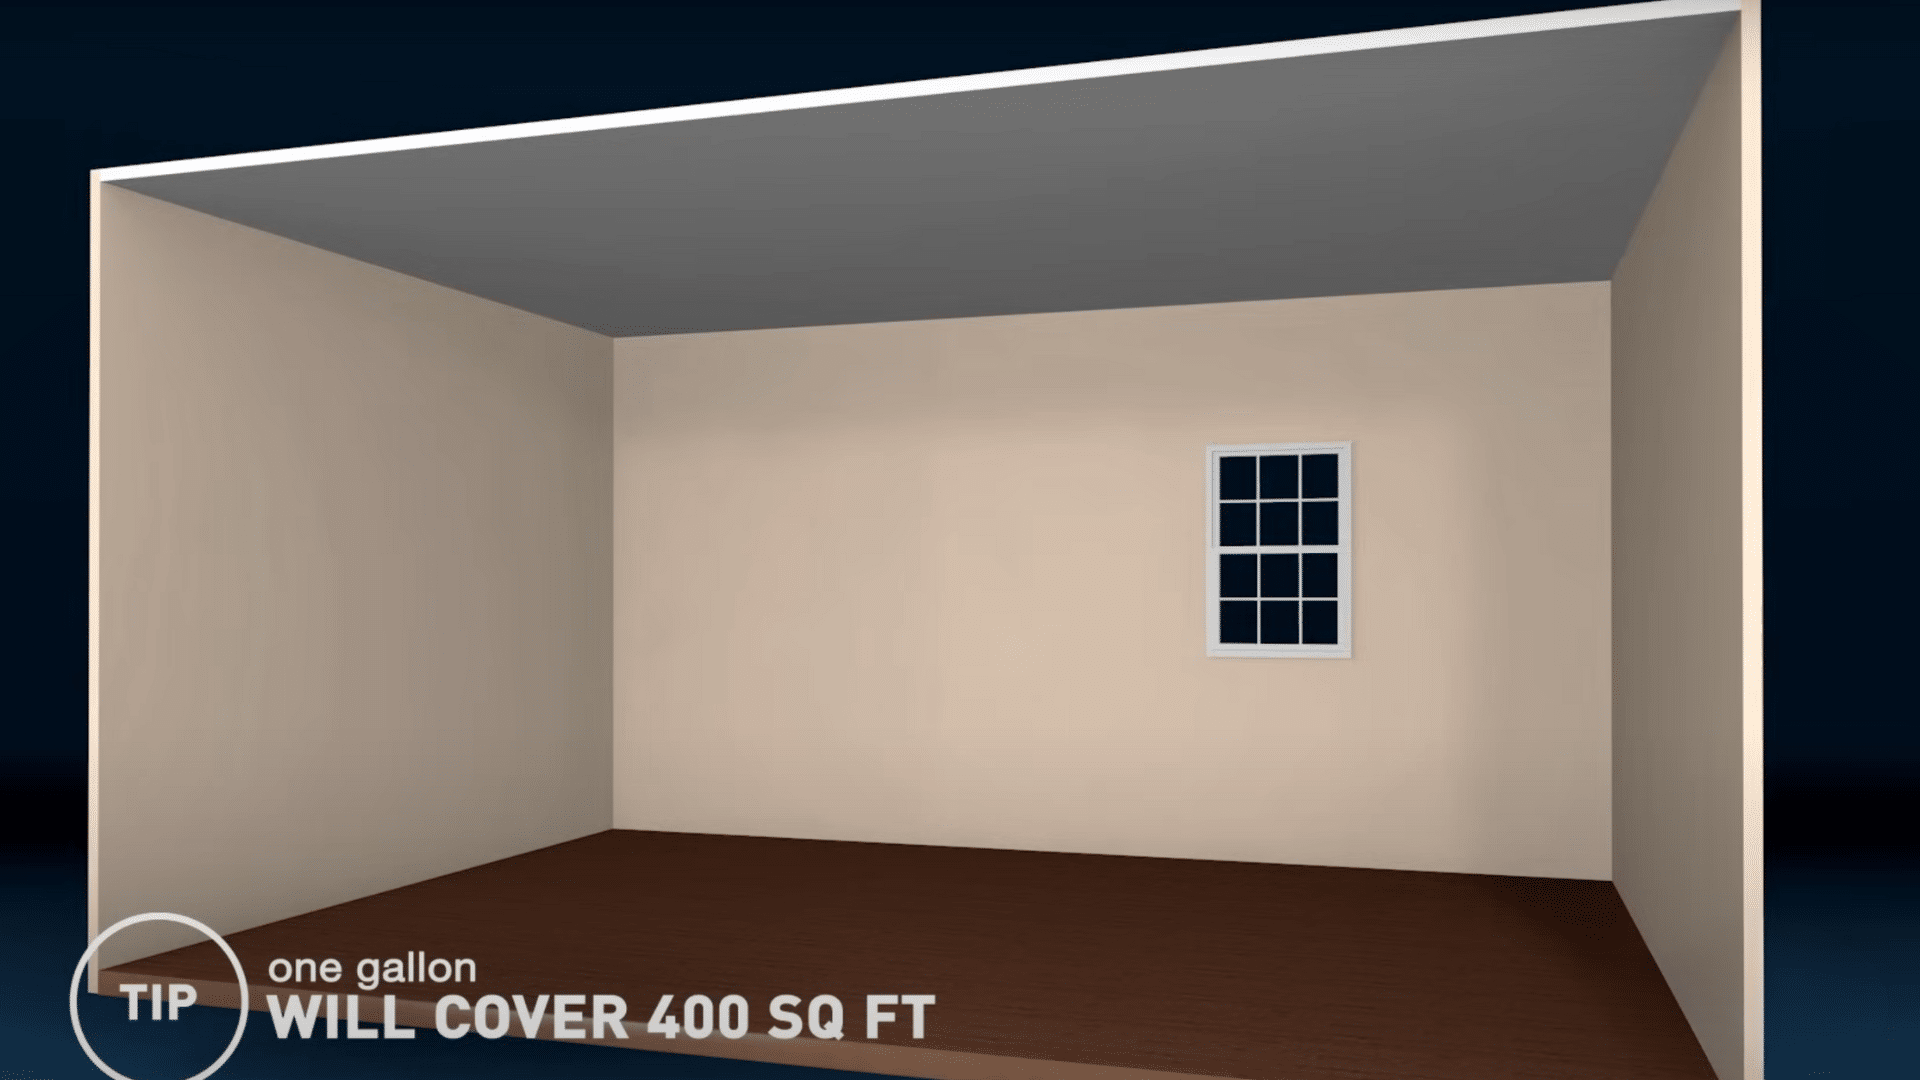
Before you start painting, figure out how much paint you’ll need. Measure the width of each wall and add it up, then multiply by the ceiling height to get square feet.
Subtract doors and windows. Most paint covers about 350 square feet per gallon. For two coats, double your number before dividing.
If you’re covering a dark color with a light one, you’ll need more coats or primer. Buying a little extra paint is a smart idea.
It helps you avoid last-minute trips and keeps the color looking the same across the room.
Step 3: Boxing Your Paint for Consistent Color
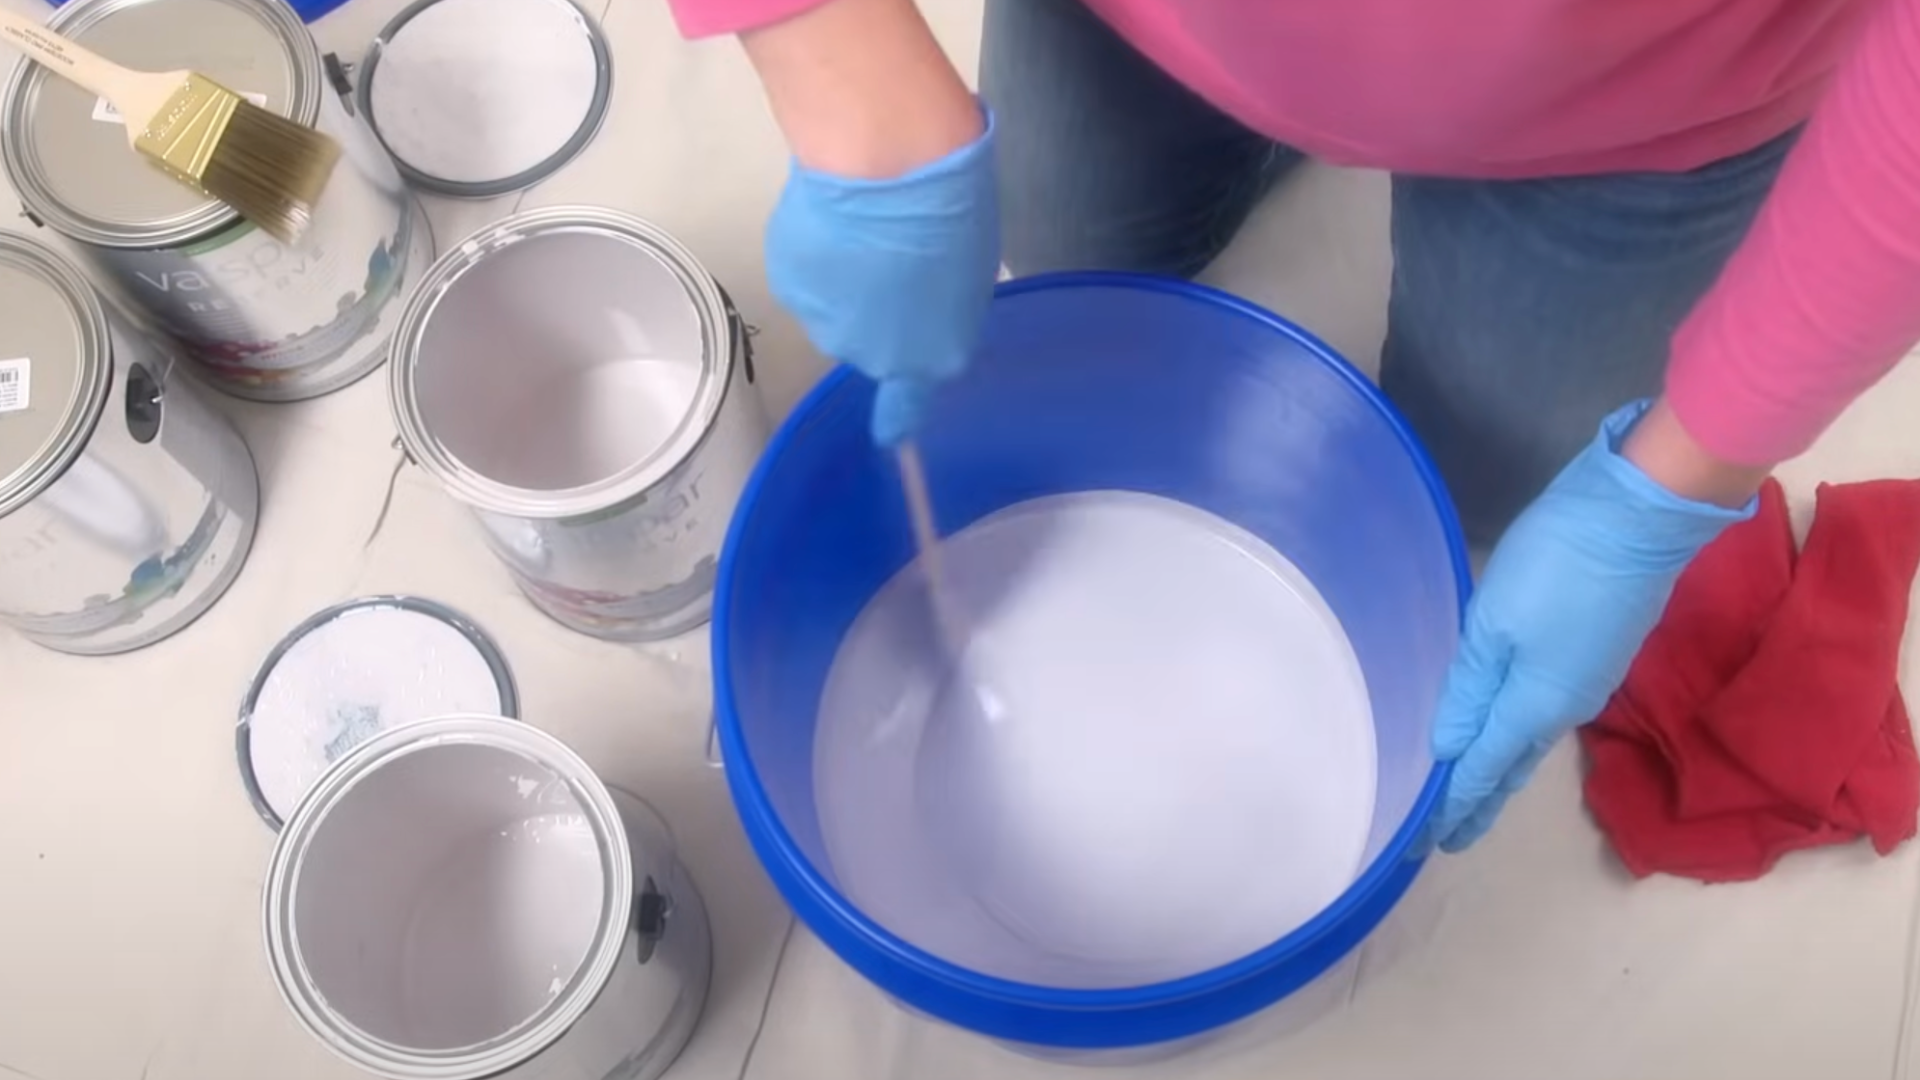
Even paint with the same name can look slightly different between cans. That’s why mixing – or “boxing” – your paint in one big bucket helps.
Pour all gallons into one container and stir them well. This gives you one even color to use across the whole room.
If you have more than one batch, finish one before starting the next. This is really important if you’re using a custom shade or painting a large area.
Skipping this step might lead to walls that look slightly off, especially when the light hits them just right.
Step 4: Painting the Edges
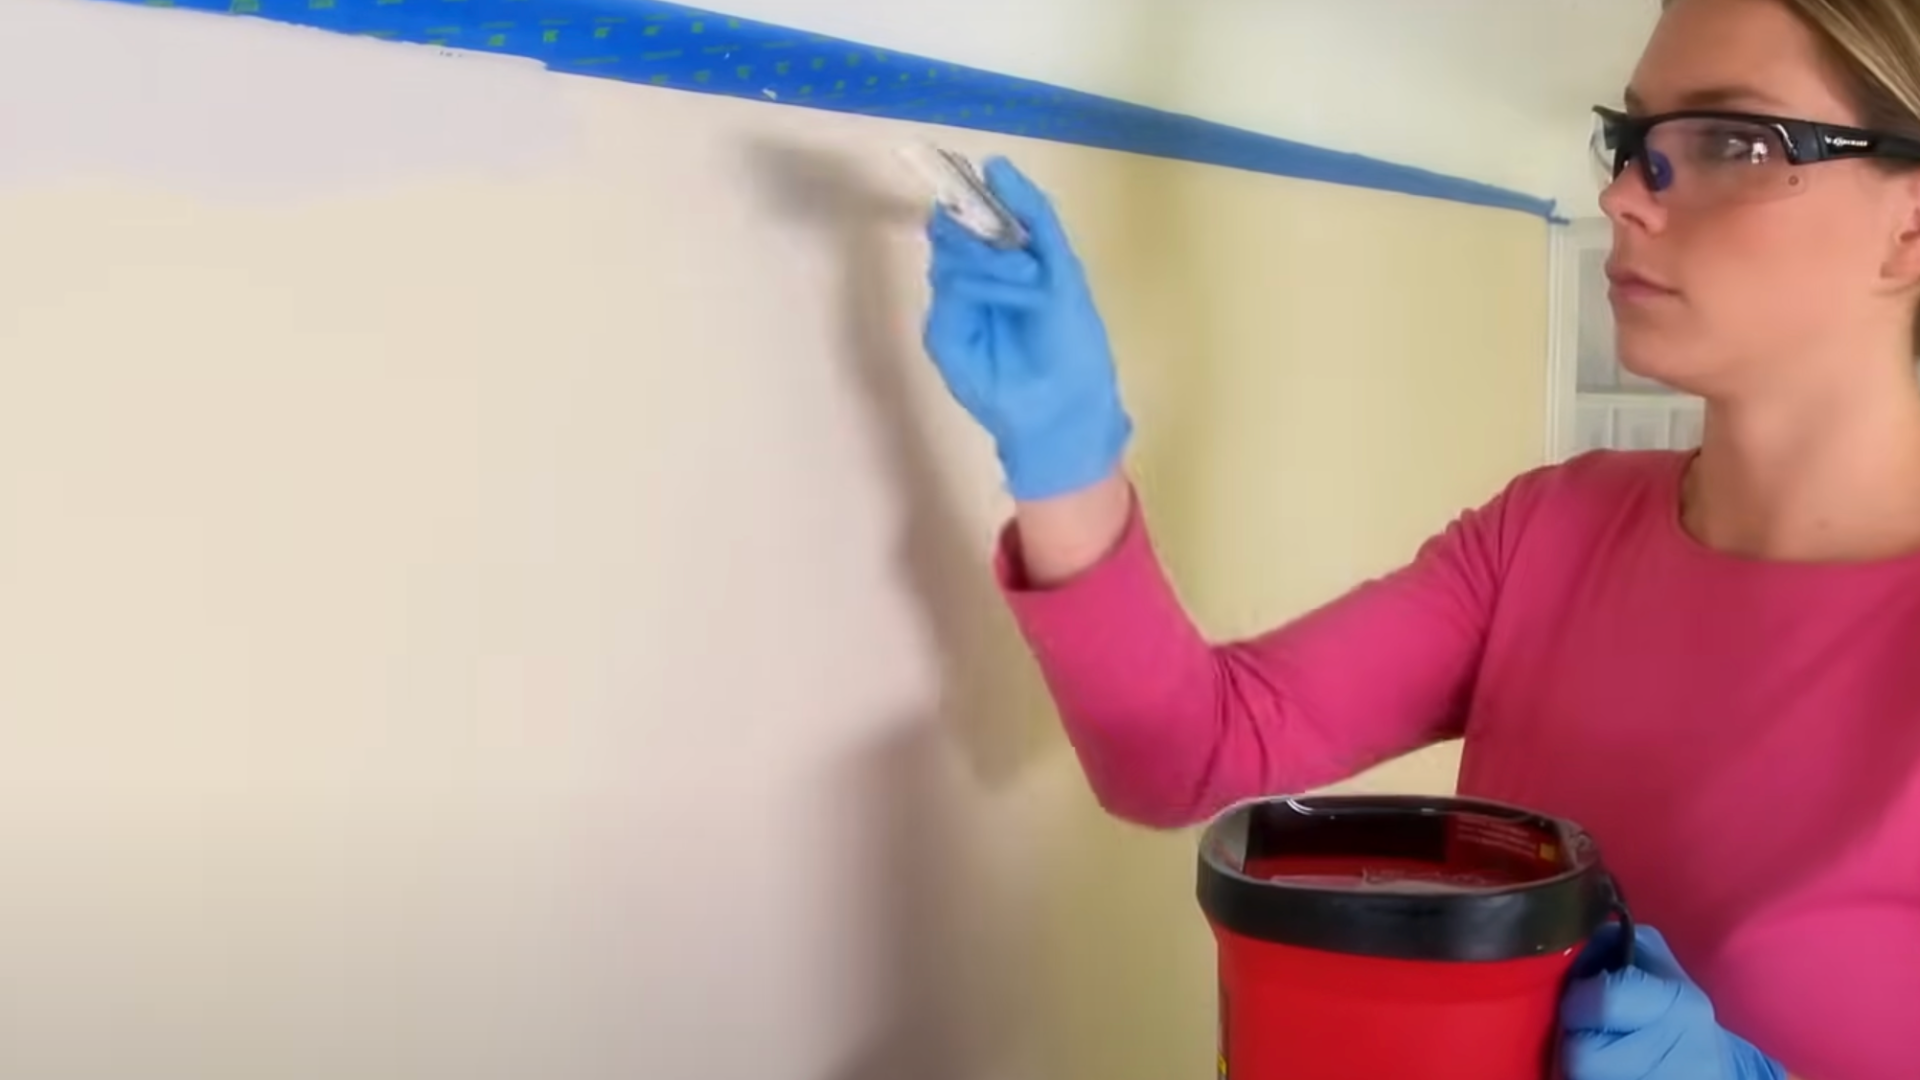
Before rolling the walls, start by painting the edges – this is called cutting in. Use an angled brush for corners, baseboards, and where the wall meets the ceiling.
Dip the brush in paint, tap off the extra, and paint a steady line along the edge. Move slowly and try to keep your strokes smooth.
Do about a two – to three-inch strip all around each wall – work in small sections, one wall at a time.
If you’re not comfortable freehand, painter’s tape helps make cleaner lines. These borders give your roller a space to blend into without messing up the trim.
Step 5: Rolling the Walls
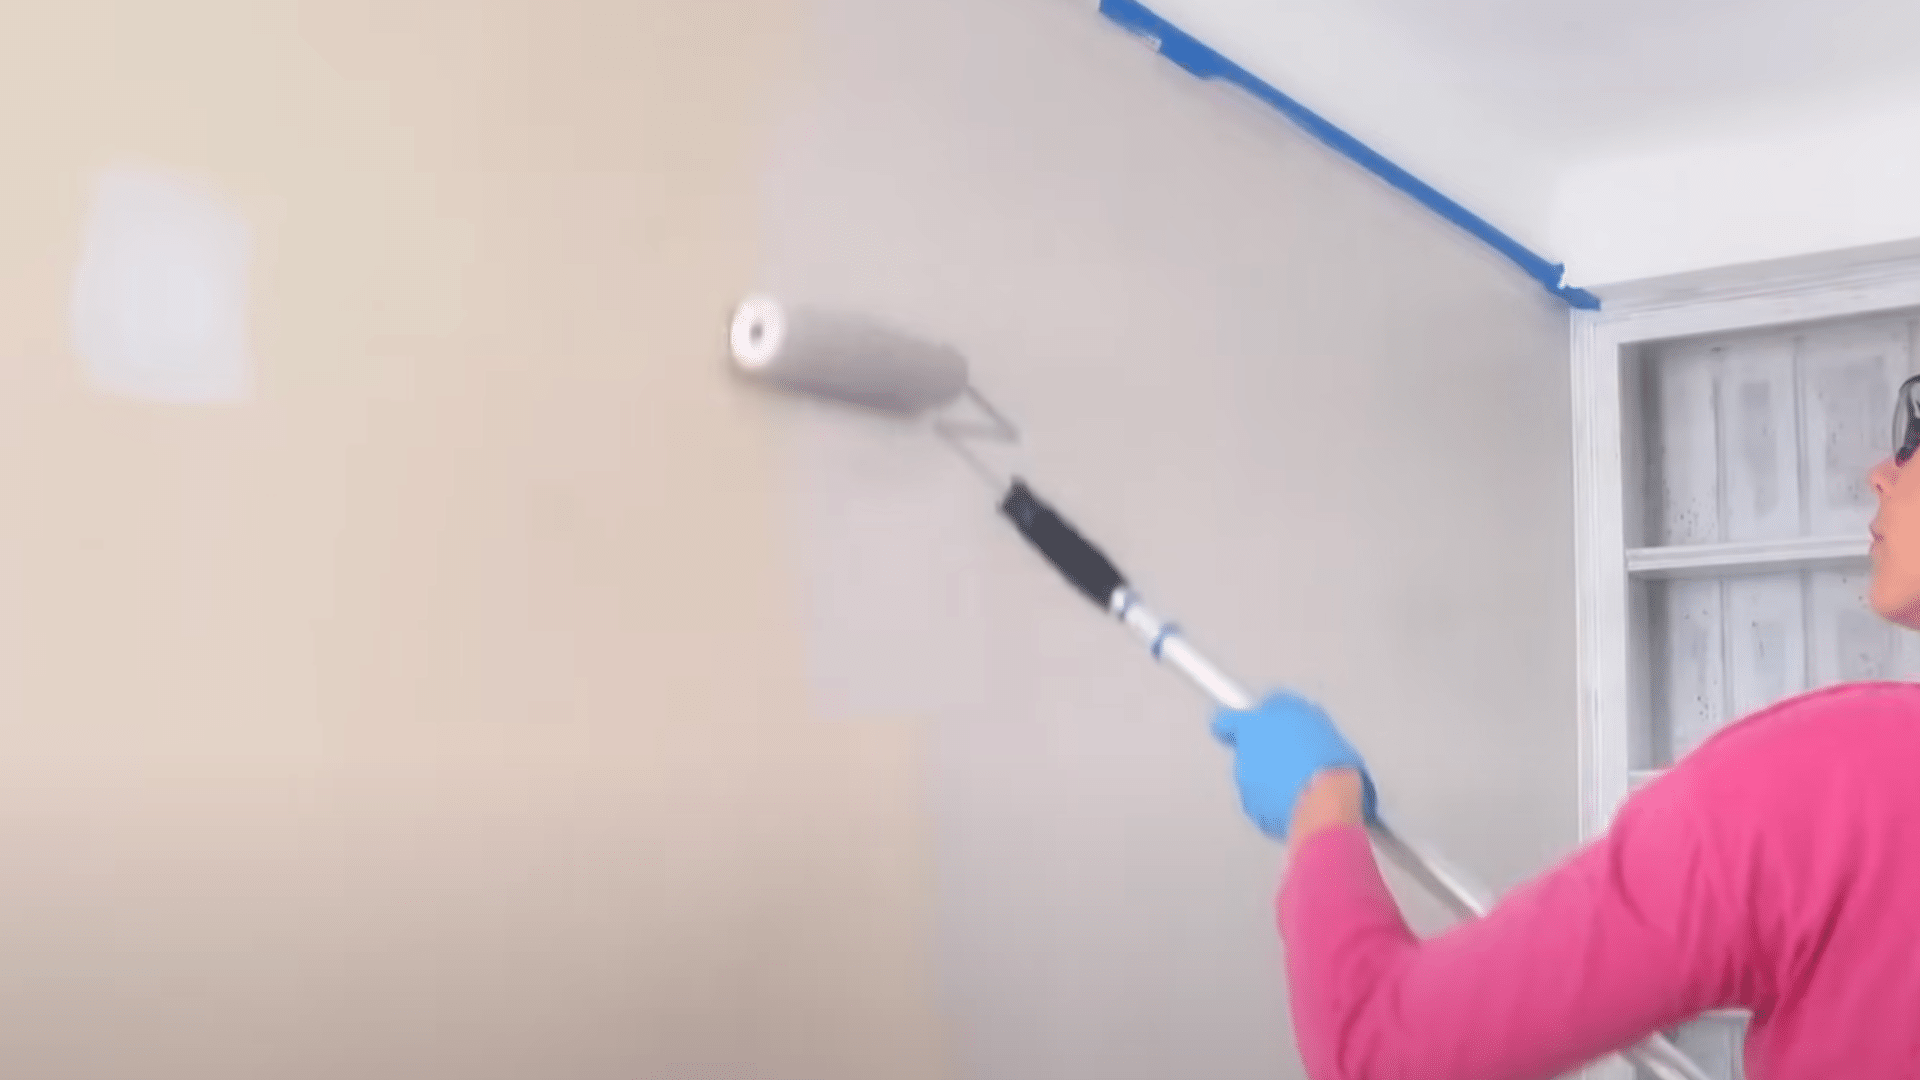
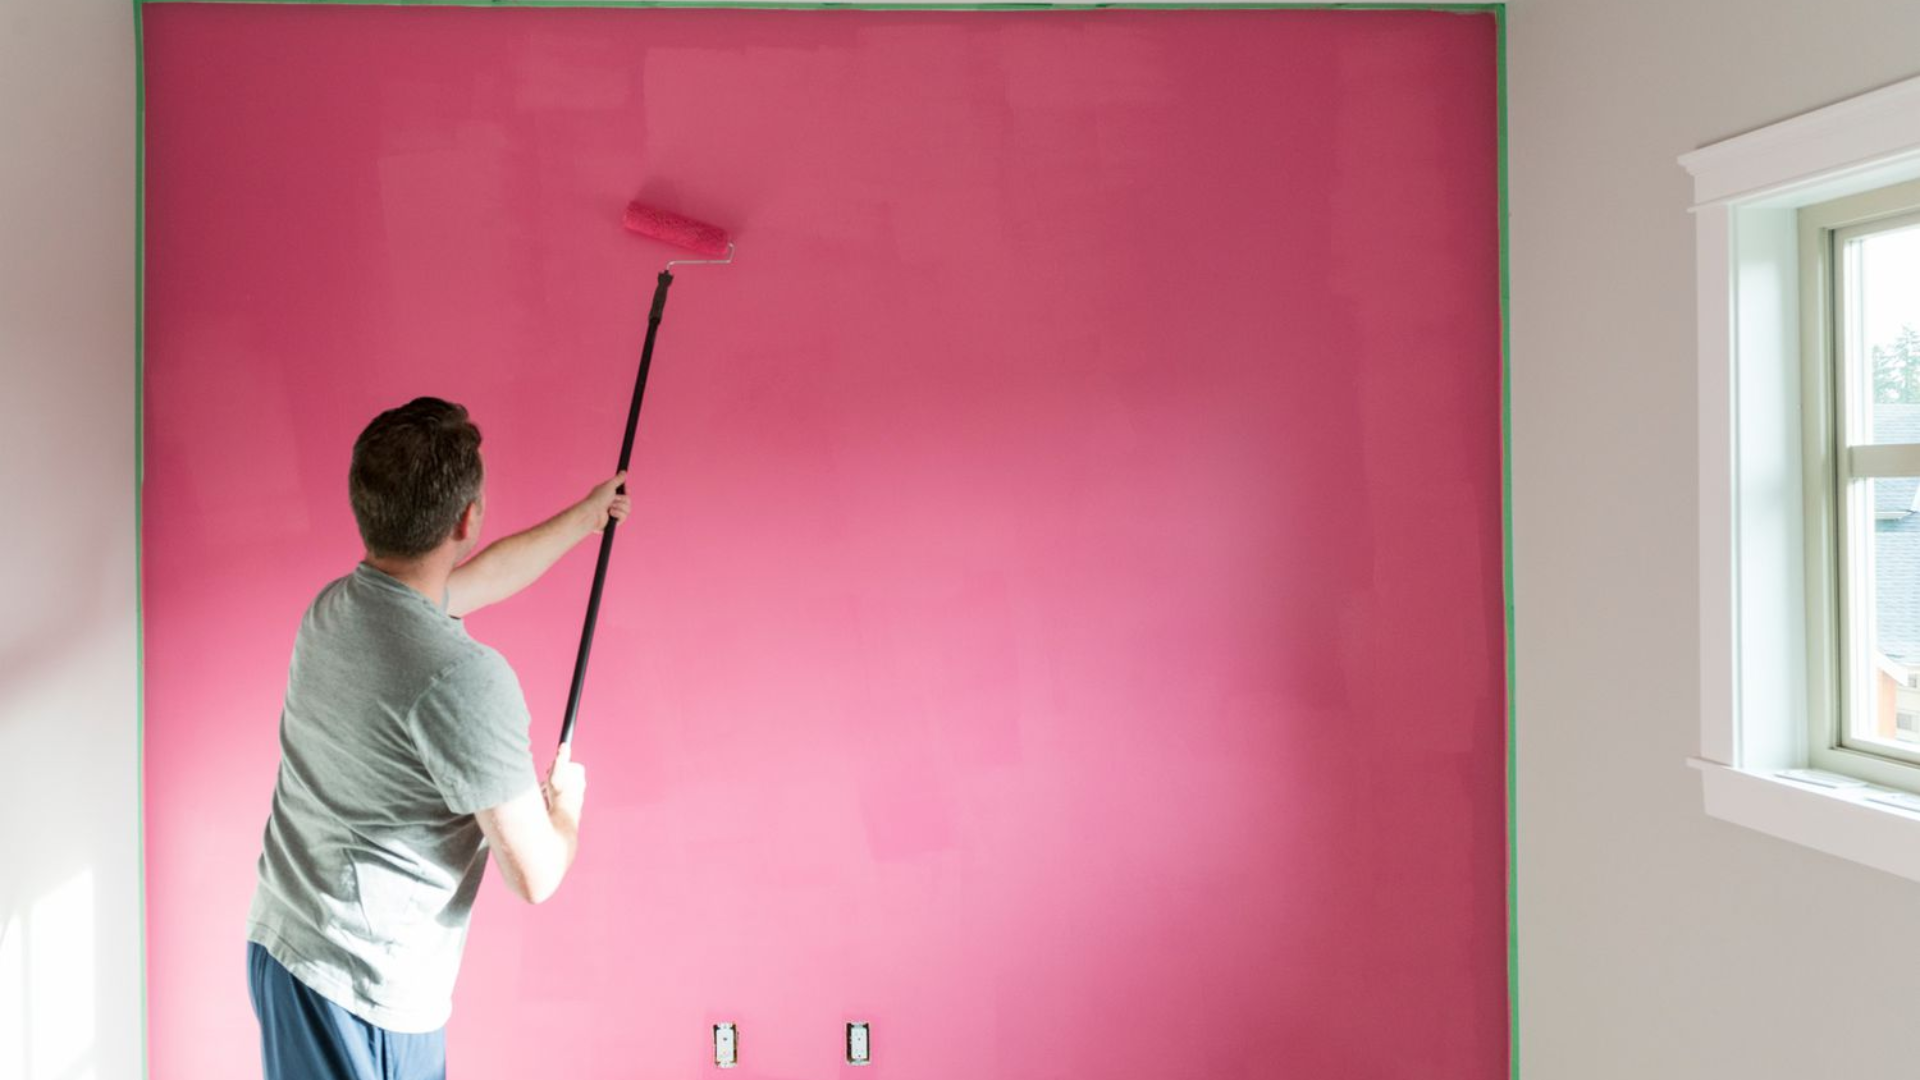
Now you can roll on the paint. Pour it into a tray and load your roller evenly by rolling it in the tray’s well and slope.
Start in the middle of the wall. Paint a “W” or “M” shape, then fill in the space without lifting the roller. Work in sections about three to four feet wide.
Roll from top to bottom, slightly overlapping the last section while it’s still wet. Use steady, medium pressure – don’t press too hard or the paint will splatter.
Wait until the first coat dries, then roll on a second coat for smooth color that lasts.
Step 6: Cleanup
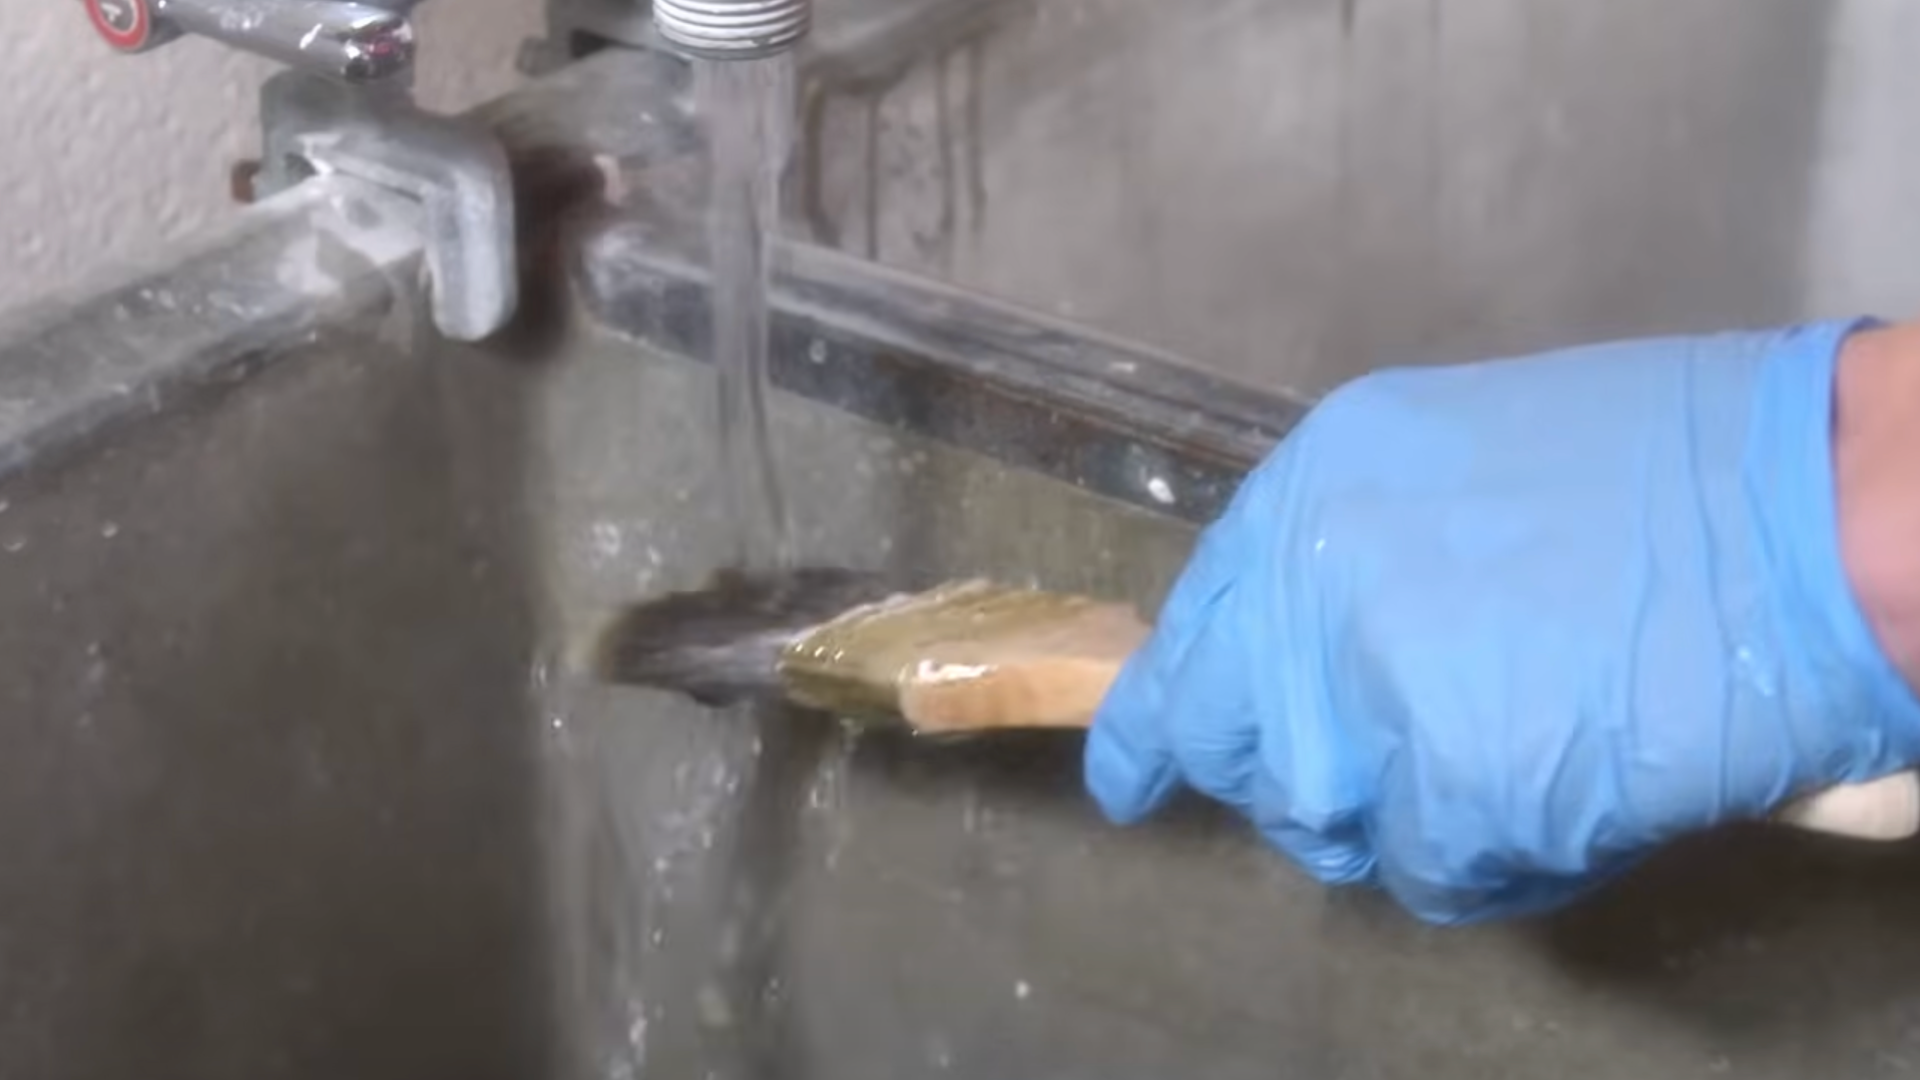
Cleaning up right after painting saves your tools and keeps your space neat. While the paint is still a little wet, gently peel off the painter’s tape at an angle.
If you used latex paint, wash brushes and rollers with warm water. Use soap if needed. Dry them well so they stay in good shape.
For oil-based paint, clean with paint thinner, but follow safety rules and store leftovers properly.
Keep extra paint sealed tight and put it somewhere cool and dry. Never pour paint down the sink. Always check how to throw away extra paint or supplies safely.
Want to see how it’s done in real time? Check out this helpful video from @lowes. It walks you through each step and makes the whole process seem a lot more doable.
Tips for Best Results
Want your walls to look like a pro painted them? Follow these insider tips:
- Test Your Color First: Always test a small patch of paint to ensure it matches your desired shade before committing to the whole wall.
- Paint in the Right Order: Start with cutting in (painting edges and corners), then roll the large flat areas for a smooth finish.
- Keep a “Wet Edge”: Always paint in sections while maintaining a wet edge to avoid visible lines or streaks.
- Watch the Weather: Avoid painting on extremely hot, cold, or humid days as it can affect how the paint dries and adheres.
- Use Natural Breaks: Plan your paintwork around natural breaks in the wall, like corners or window trims, to minimize visible seams.
- Don’t Overload Your Brush or Roller: Dip the brush or roller lightly in paint to avoid drips and ensure a smoother application.
- Invest in Quality: High-quality paint and tools can make a significant difference in the result and longevity of your paint job.
Conclusion
Painting your walls is one of the best home projects you can do yourself. It doesn’t cost much, but it makes a big difference.
Don’t rush through the steps. Take time to prep the walls, apply the paint carefully, and clean up properly. When you do each part well, the results will last longer and look better.
The best part is walking into the room later and knowing you did it yourself. That’s a great feeling – and it’s even better than paying someone else to do the job.
I hope this guide helped you feel ready to grab a brush and get started. Pick colors that you love and that show off your style.
Have you painted a room before? Or are you planning to try it soon? Share your thoughts or tips in the comments – I’d really like to hear what worked for you.
If you enjoyed this blog, take a minute to read about Sherwin-Williams Duration paint.
It’s a solid choice if you want color that lasts, holds up to wear, and still looks fresh after years of use.
Frequently Asked Questions
How long does it take for wall paint to cure fully?
Paint dries to the touch in a few hours, but full curing takes 2–4 weeks. During this time, avoid washing or scrubbing the walls. Be careful when moving furniture to prevent marks or scratches.
Can I paint over wallpaper?
Yes, but it’s not ideal. If you must, make sure the wallpaper is secure with no loose edges. Clean it well, use an oil-based primer, and expect the wallpaper texture to show through the final coat.
How do I fix drips or runs in my paint?
If the paint is still wet, smooth it with your brush or roller right away. If dry, sand the drip gently, clean the area, and repaint with a light coat to blend it in.
Do I need to prime walls that were already painted?
You might not need primer if the color is similar and the wall is in good shape. But use primer if you’re painting over dark colors, glossy paint, stains, or patched-up damaged areas.

