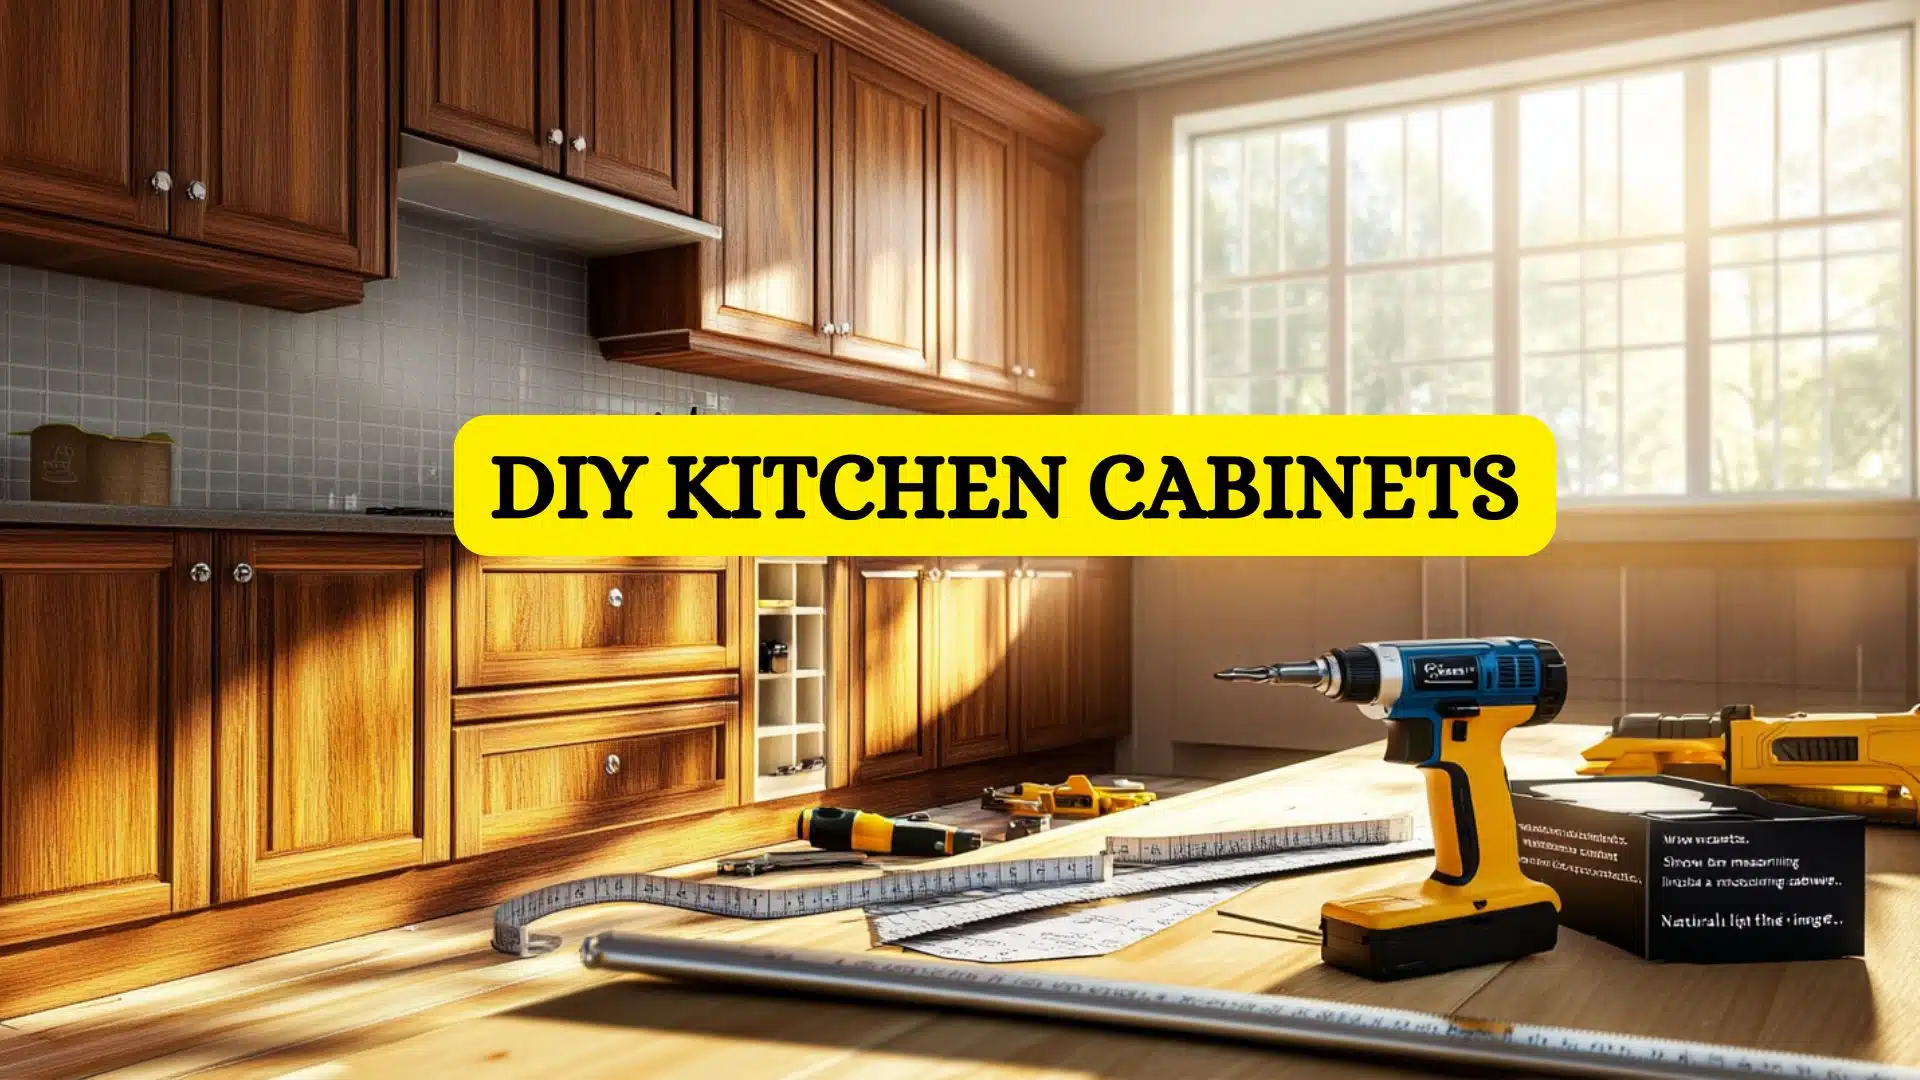
Ever dreamed of a kitchen that feels truly yours? DIY kitchen cabinets might be your answer! Building your own cabinets saves money that you can use for other kitchen upgrades.
Plus, you get to create exactly what you want. You decide the size, style, and features – no more settling for “almost right” store-bought options!
Yes, you’ll need to learn new skills and spend some weekends working. But think about how proud you’ll feel every time you open those cabinet doors, knowing your hands built them.
Friends will be amazed when they learn you made them yourself! With basic tools and patience, your DIY kitchen cabinet project can change your home.
The time you put in pays off with cabinets that fit your space perfectly.
The Joy of Building Your Own Kitchen Cabinets
Building custom kitchen cabinets can be one of the most rewarding home improvement projects. This approach saves substantial money that can be redirected to other kitchen upgrades.
Homeowners gain complete control over the design, ensuring cabinets perfectly fit the available space and match the desired aesthetic.
While the process requires time investment and learning new skills, the satisfaction of using handcrafted cabinets creates lasting pride.
Visitors are often impressed when they learn the homeowner built the cabinets. For those considering this project, the benefits typically outweigh the challenges, making it well worth pursuing.
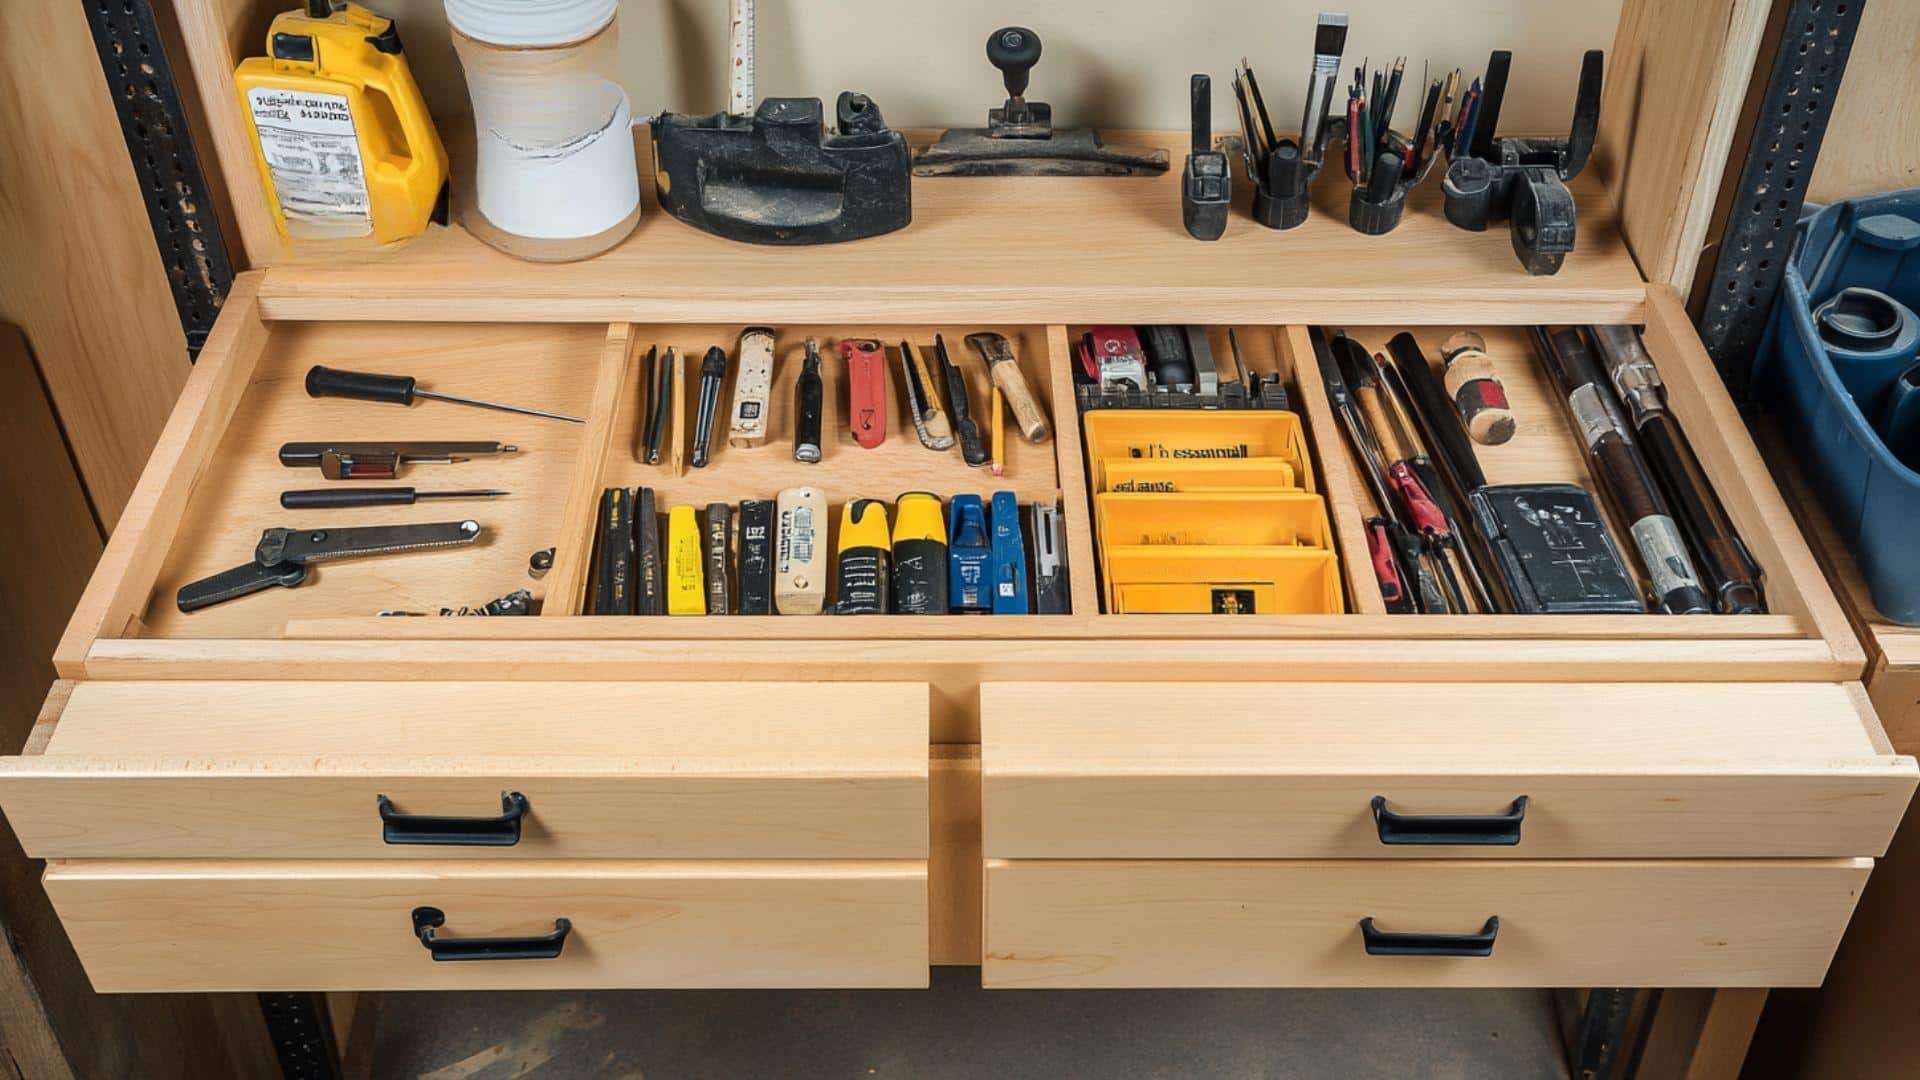
Materials and Tools You’ll Need
Choosing the Right Wood for Your DIY Kitchen Cabinets
Selecting the perfect wood for kitchen cabinets is crucial for both durability and appearance. The 3/4″ plywood provides excellent strength for most cabinet structures without excessive cost.
Hardwoods like maple or oak create a high-end look for cabinet doors and face frames, while MDF works well for painted finishes.
Moisture resistance is essential for areas near the sink, making melamine or sealed plywood ideal choices for these locations.
Essential Tools for Perfect DIY Kitchen Cabinets
- Plywood sheets (3/4″ for cabinet sides, tops, and bottoms)
- Wood screws (for assembly)
- Brad nails or narrow crown staples
- Drawer slides (for base cabinets)
- Hinges (for upper cabinets)
- Leveling feet
- Edge banding (optional)
- Wood glue (optional)
- Paint, stain, or laminate finish
- Sandpaper and finish tools (brushes, rags)
- Jigs for hardware installation (drawer slides, hinges)
- Circular saw or track saw
- Drill and drill bits
- Measuring tape and square tool
Total Estimated Cost of Material
With Wood Glue and Measuring Tape:
Minimum Cost: $242.25
Maximum Cost: $746.25
Without Wood Glue and Measuring Tape
Minimum Cost: $231.00
Maximum Cost: $712.50
Style Options for DIY Kitchen Cabinets
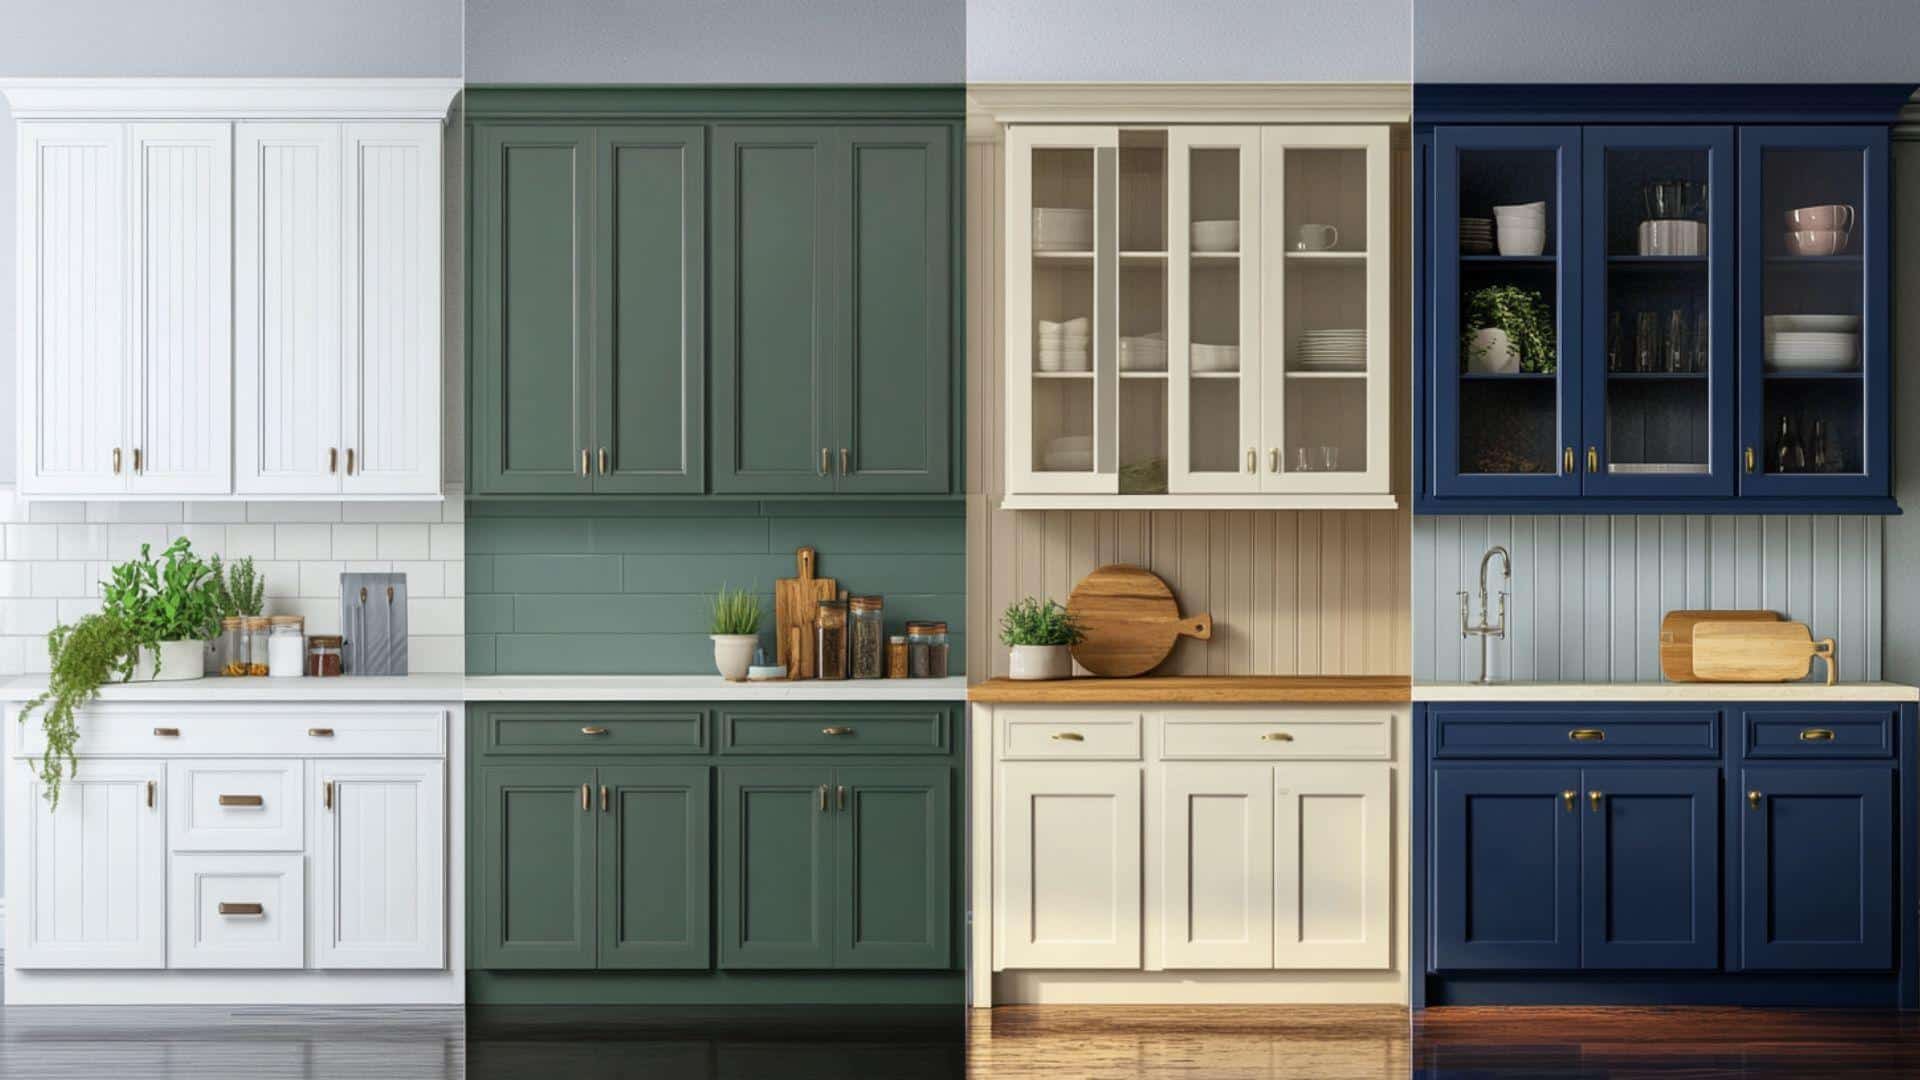
Explore These Popular Cabinet Door Styles
A simple comparison of cabinet door styles helps identify the perfect match for any DIY project.
Each style offers distinct character and varying levels of building difficulty, making it important to consider both aesthetics and construction capabilities when making a selection.
| Door Style | Description |
|---|---|
| Shaker | Timeless, clean look ideal for various kitchen styles. |
| Flat Panel | Easy to build, especially for beginners. |
| Raised Panel | Fancier look but requires special router bits for construction. |
| Glass-Front | Perfect for showcasing dishes and adding personality to the space. |
| Slab | Modern, minimalist style, great for smaller kitchens. |
| Beadboard | Charming, cottage-style look, great for cabins or rustic spaces. |
| Mission-Style | Straight lines and simple design, fitting well in a craftsman-style home. |
How to Match Your Cabinet Style to Your Kitchen’s Look?
When redoing a kitchen, it’s important to select a cabinet style that complements the home’s overall aesthetic.
Consider elements like flooring, countertops, and the structural style of the house for inspiration. In a 1950s home, simple Shaker cabinets strike a balance between modern and traditional.
Think about longevity when choosing a style—trendy options may feel outdated more quickly.
One of the most satisfying aspects of DIY kitchen cabinets is the ability to personalize them with unique hardware selections that add character and make the space feel truly custom.
How to Built Kitchen Cabinets: Step-by-Step
STEP 1: Measure Your Space and Plan Design
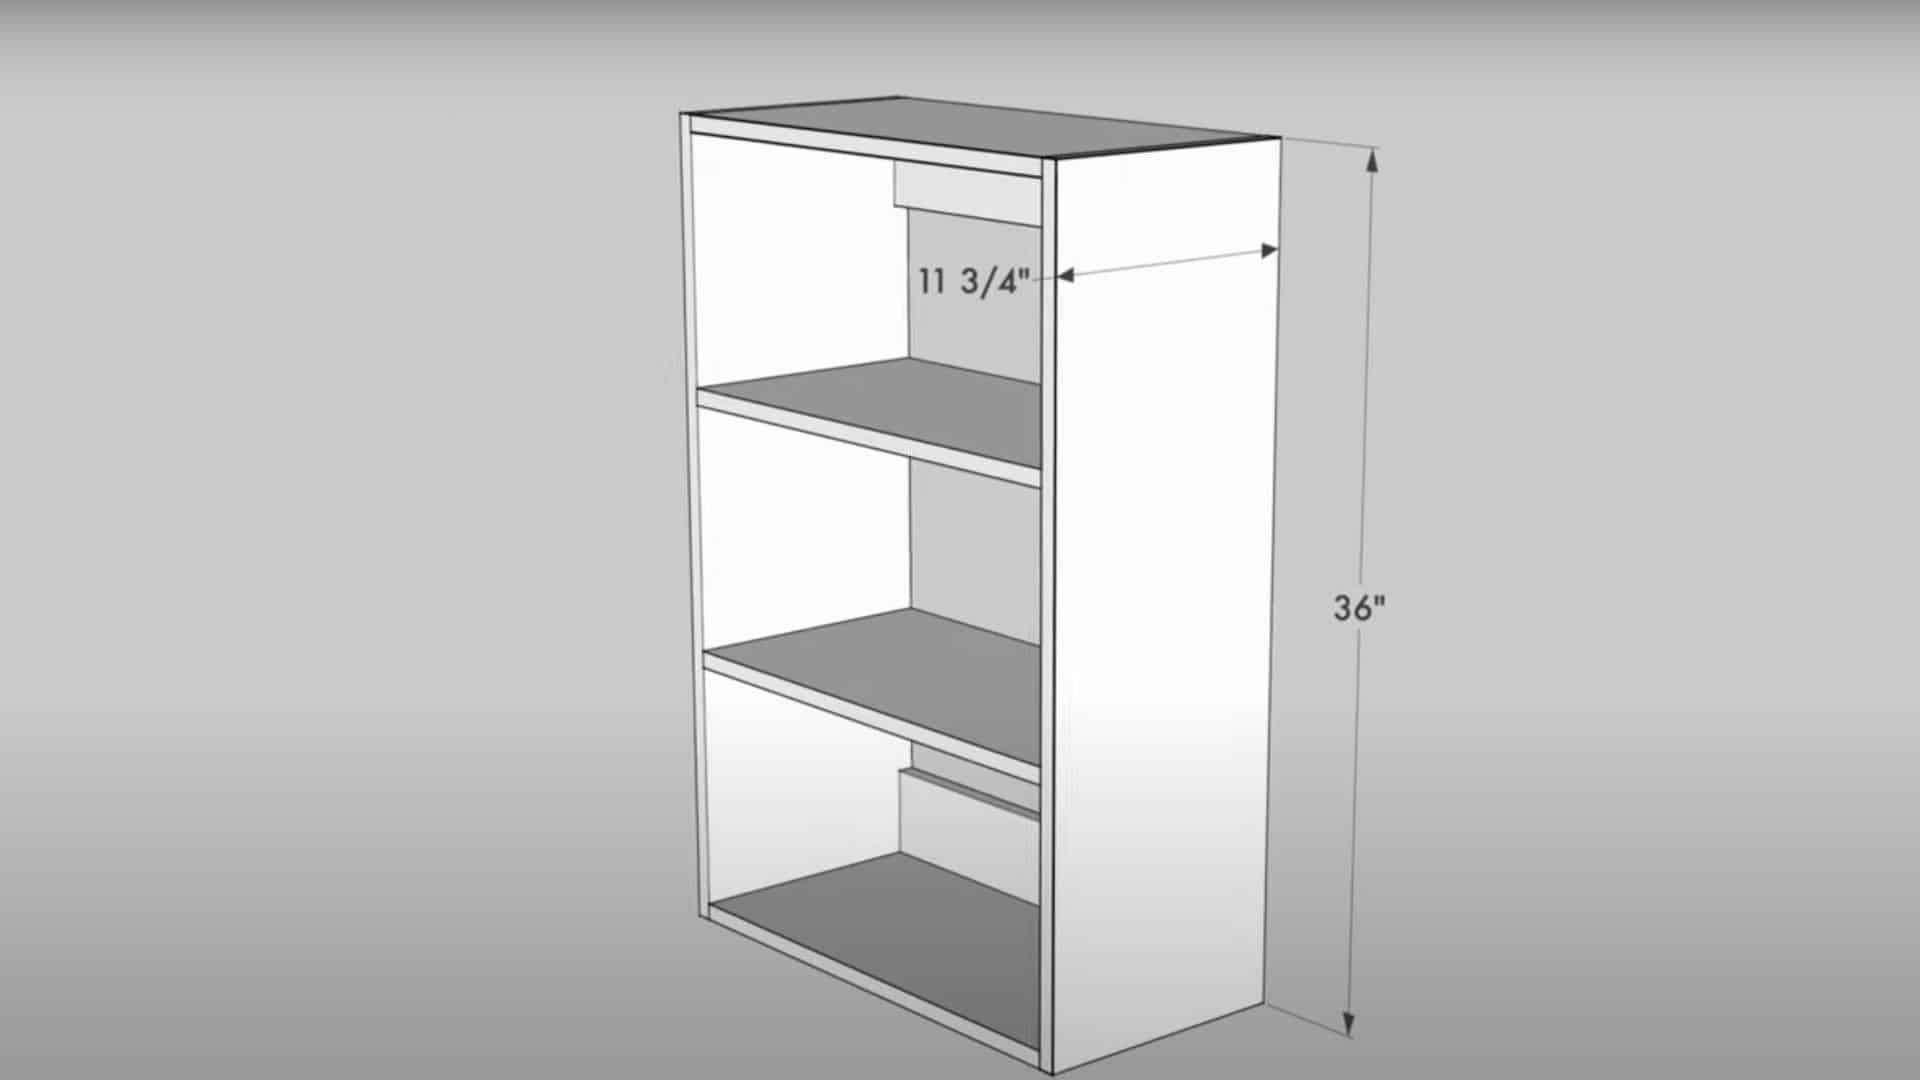
Start by measuring the space where the cabinets will be installed. Consider both the base and upper cabinets.
Design the cabinets using SketchUp or a simple drawing to plan the layout and determine the dimensions.
Make sure to account for any fixtures, such as plumbing or appliances, that might affect cabinet placement.
Pro tips:
- Measure twice to avoid mistakes.
- Consider future needs for storage or space.
- Make adjustments to the design as needed.
STEP 2: Choose the Cabinet Style
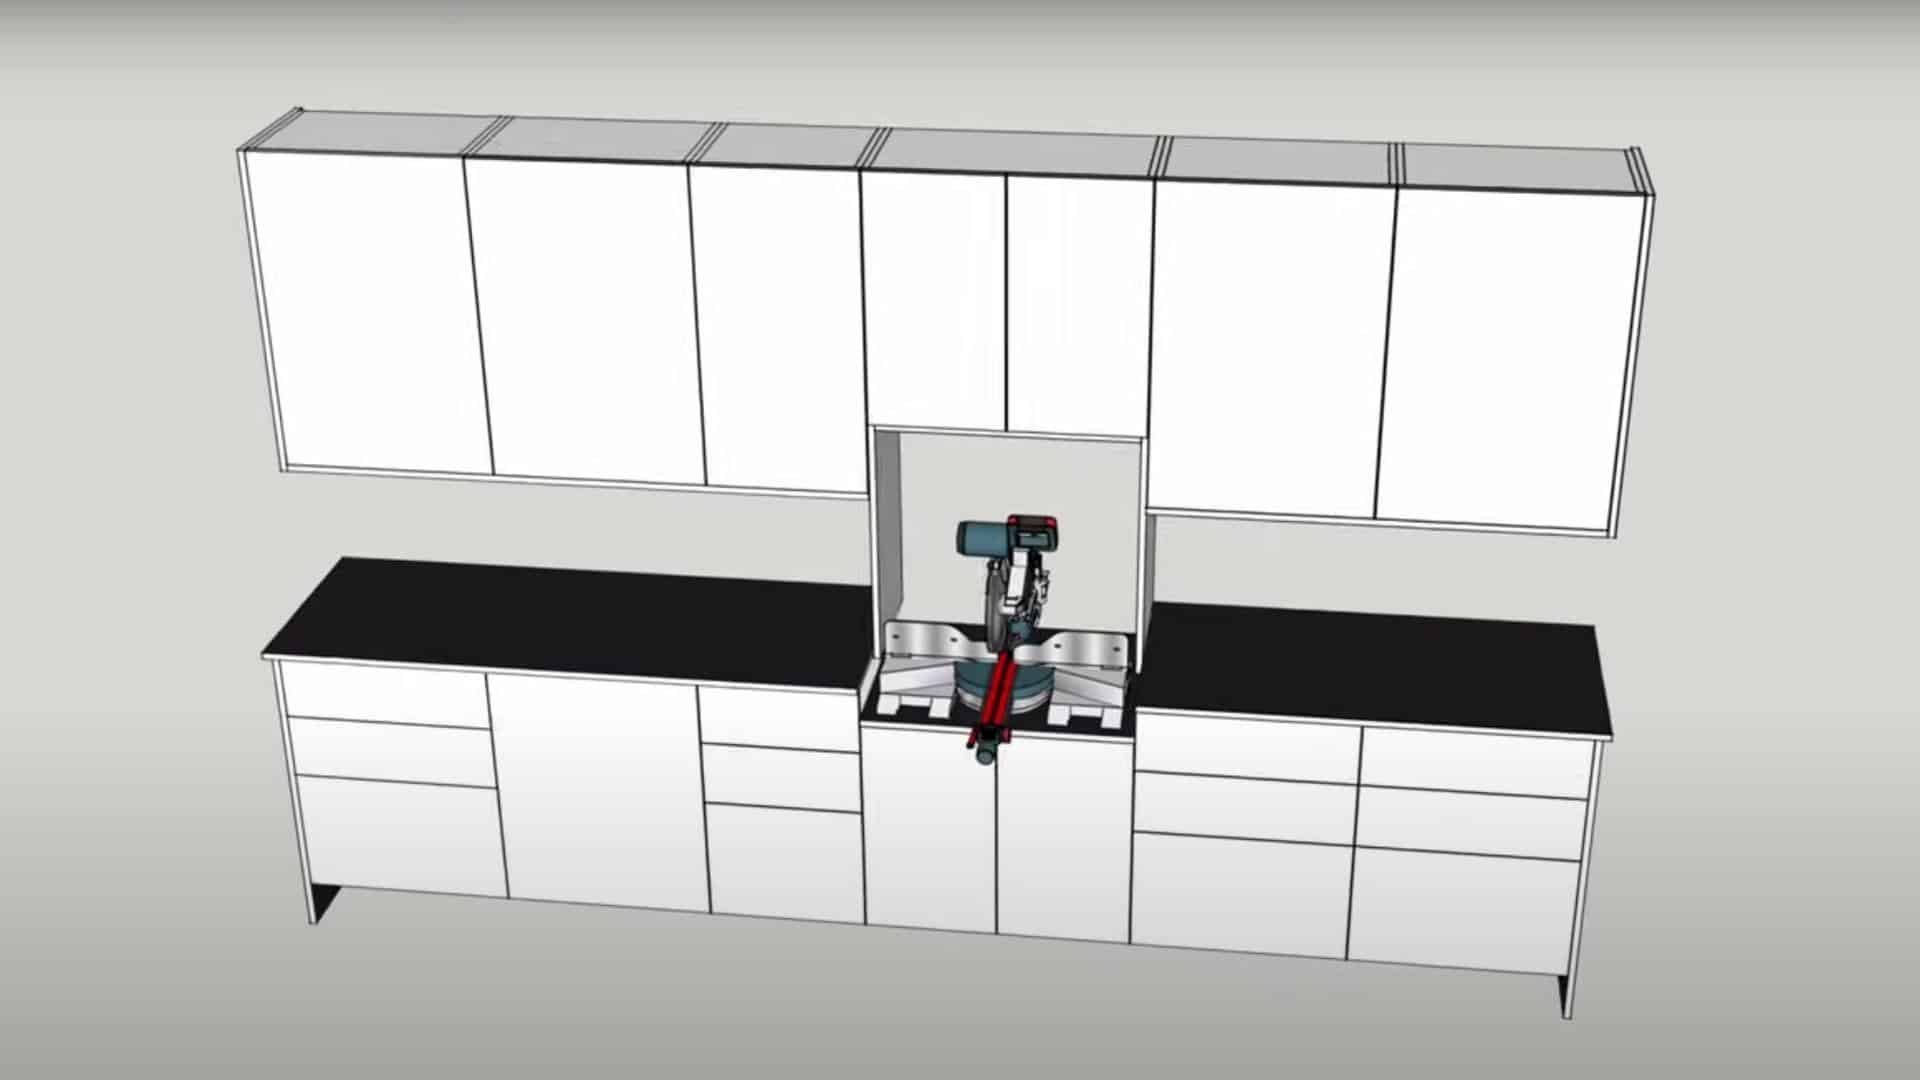
Decide on the cabinet style you want to build: face frame or frameless. Frameless cabinets are often easier to build for DIY projects and give a sleek, modern look. If you prefer a traditional look, you can add a face frame to the cabinet box.
Pro tips:
- Frameless cabinets are quicker to assemble.
- Face frames require more work but offer a more traditional aesthetic.
- Both styles can be built with similar tools.
STEP 3: Cut Your Plywood and Prepare the Materials
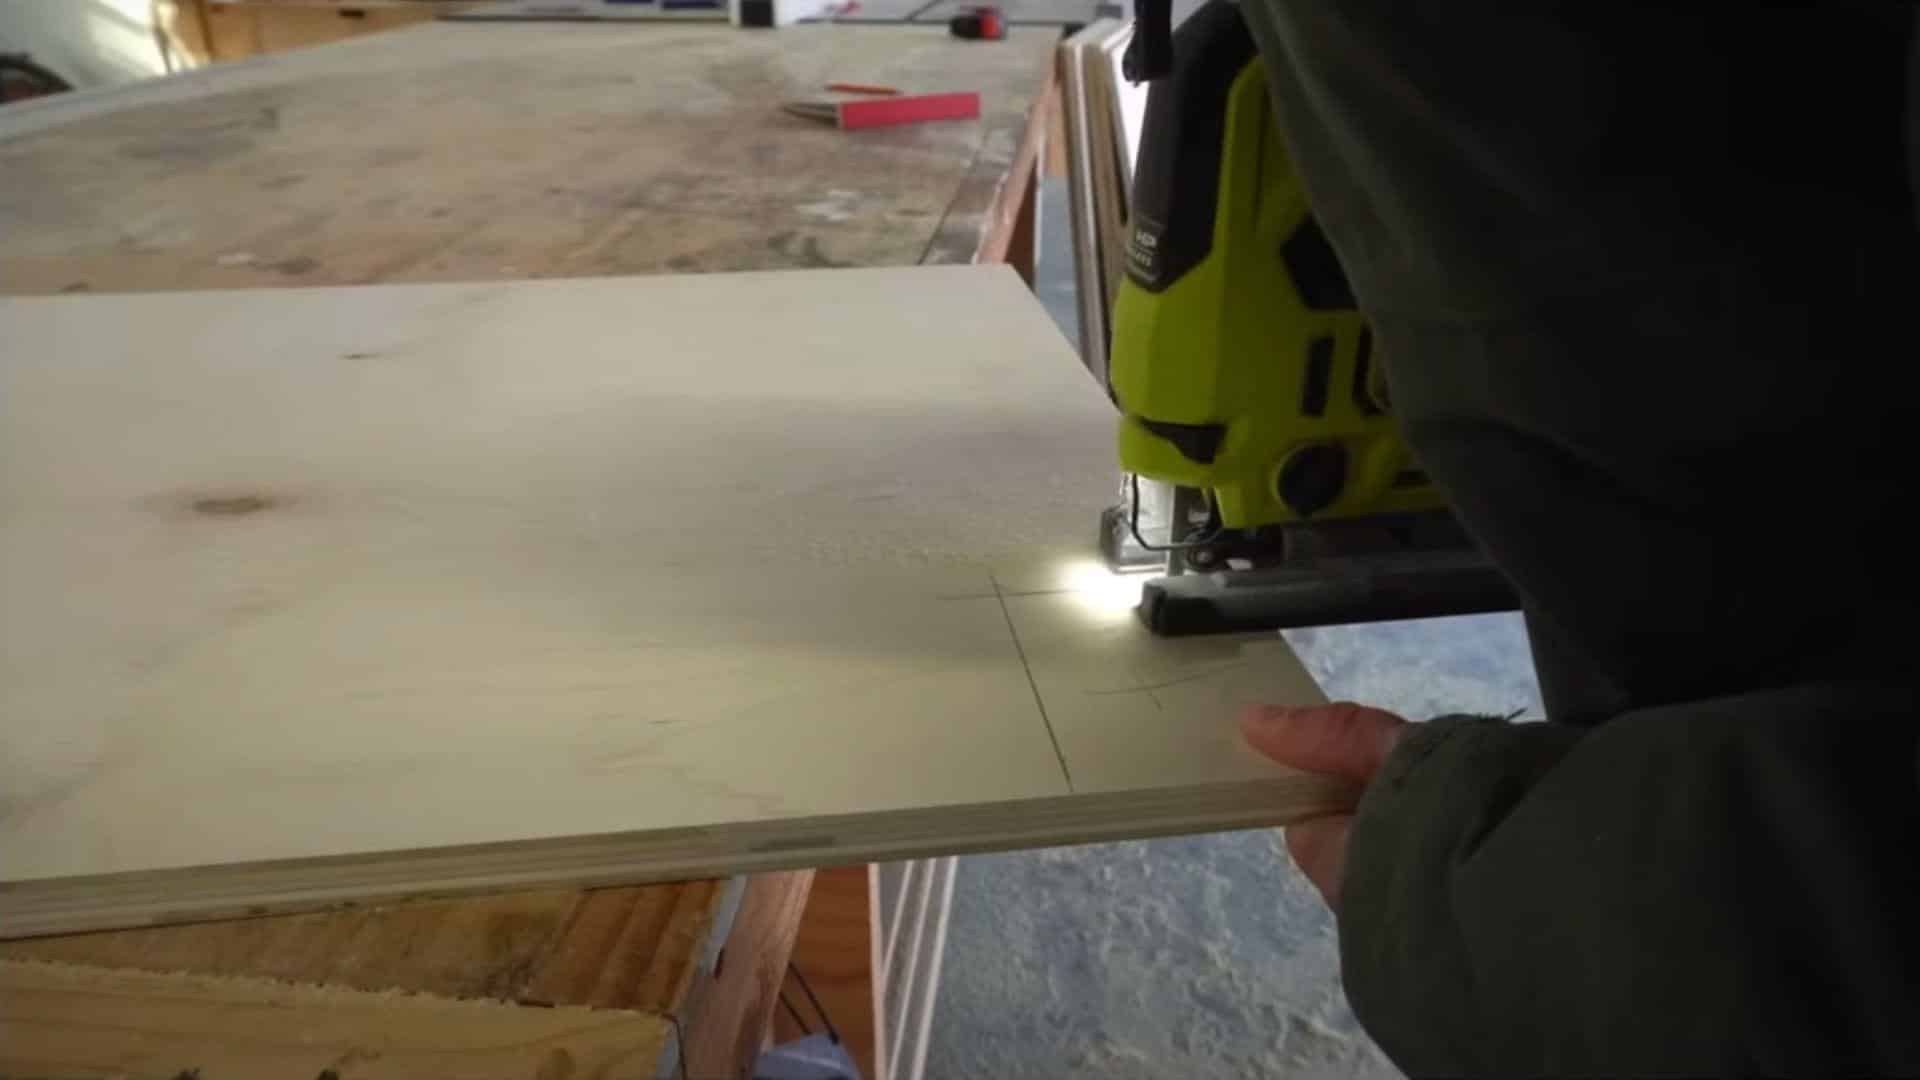
Using your design and measurements, cut your plywood into the necessary pieces. Ensure that the plywood pieces are sized correctly to avoid mistakes during assembly.
Remove any factory edges and make sure all pieces are square to ensure a clean fit when assembling the cabinets.
Pro tips:
- Use a circular saw or track saw for clean cuts.
- Always cut slightly larger than needed and trim to size.
- Invest in a good-quality saw blade to minimize tear-out.
STEP 4: Assemble the Cabinet Boxes
Begin assembling the cabinet boxes by attaching the bottom, side, and back panels. Use brad nails or narrow crown staples to temporarily hold the pieces together, then reinforce the joints with screws.
For base cabinets, you can opt for stretchers to save material and reduce weight. Ensure everything is square and level during assembly.
Pro tips:
- Use a workbench for flat assembly.
- Reinforce joints with screws for a sturdy structure.
- Don’t use glue for most parts—screws are enough to hold them together.
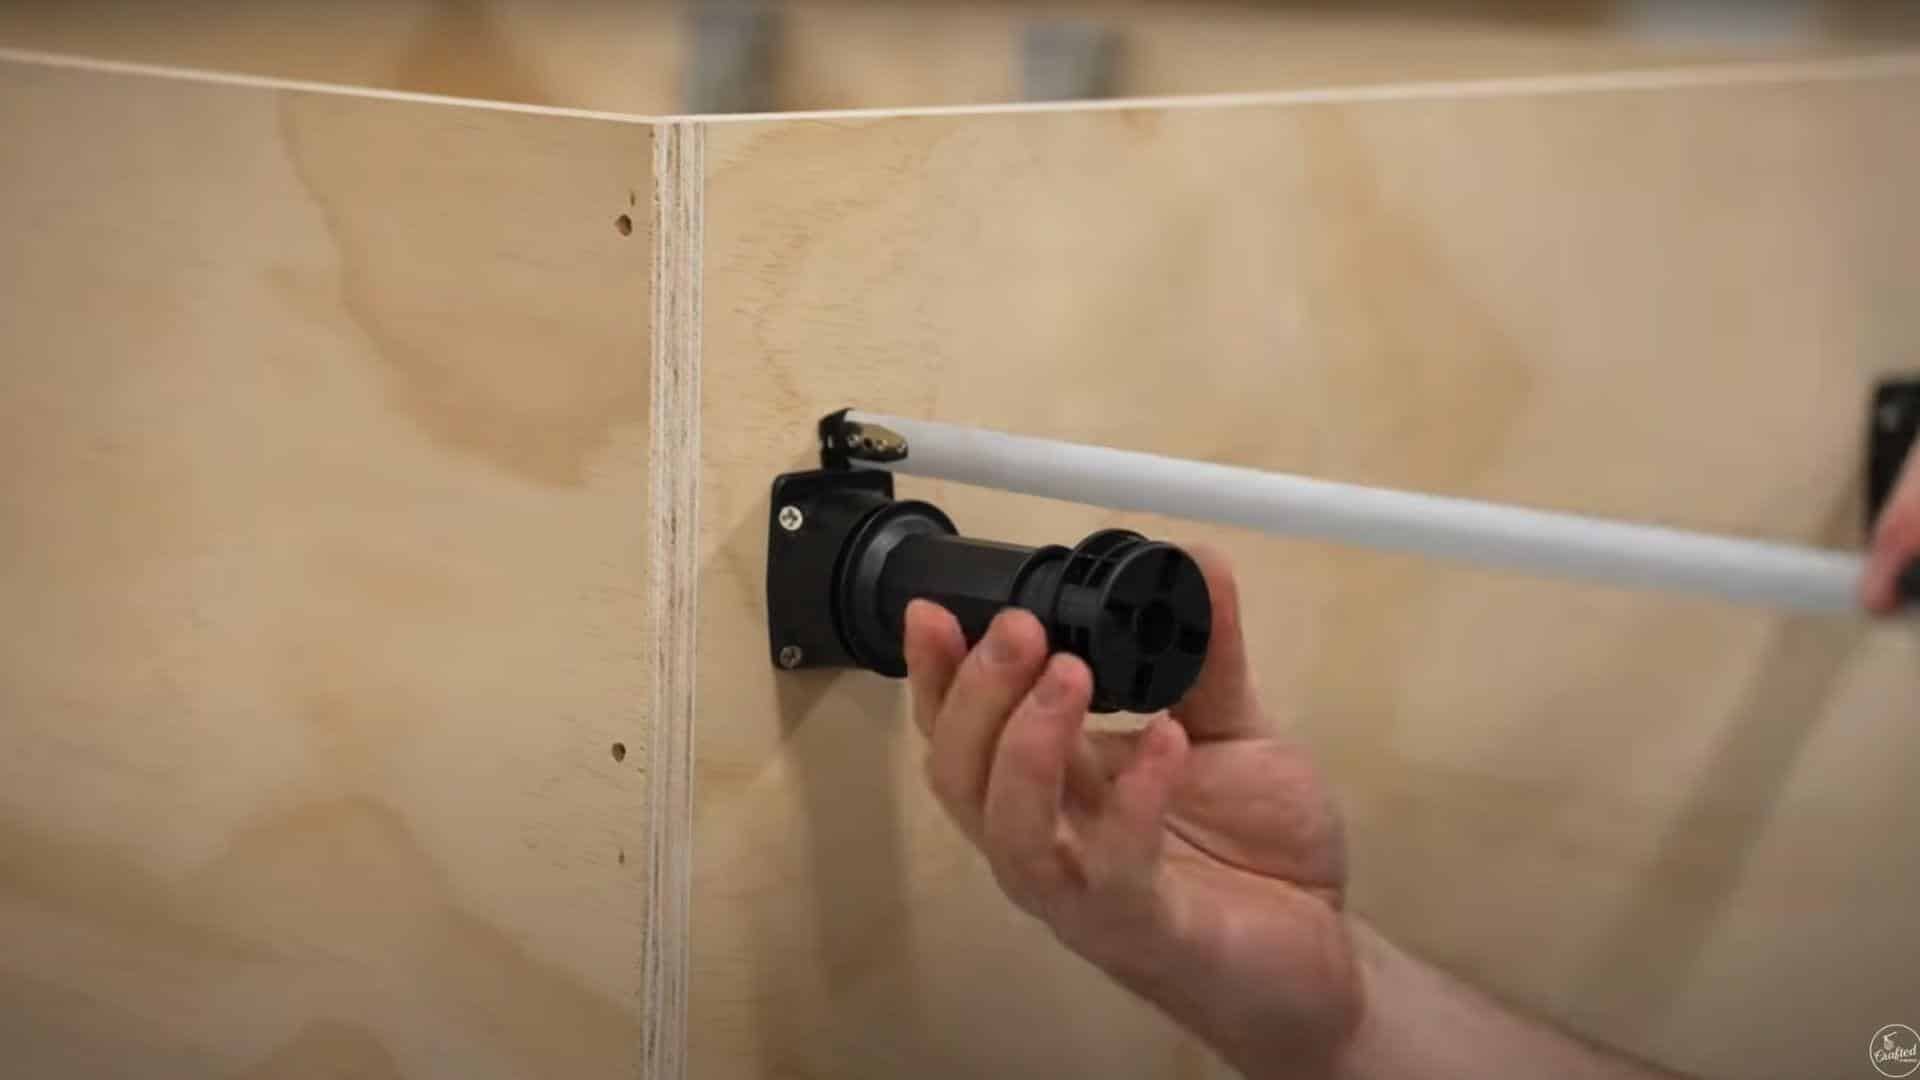
STEP 5: Install the Hardware and Finish
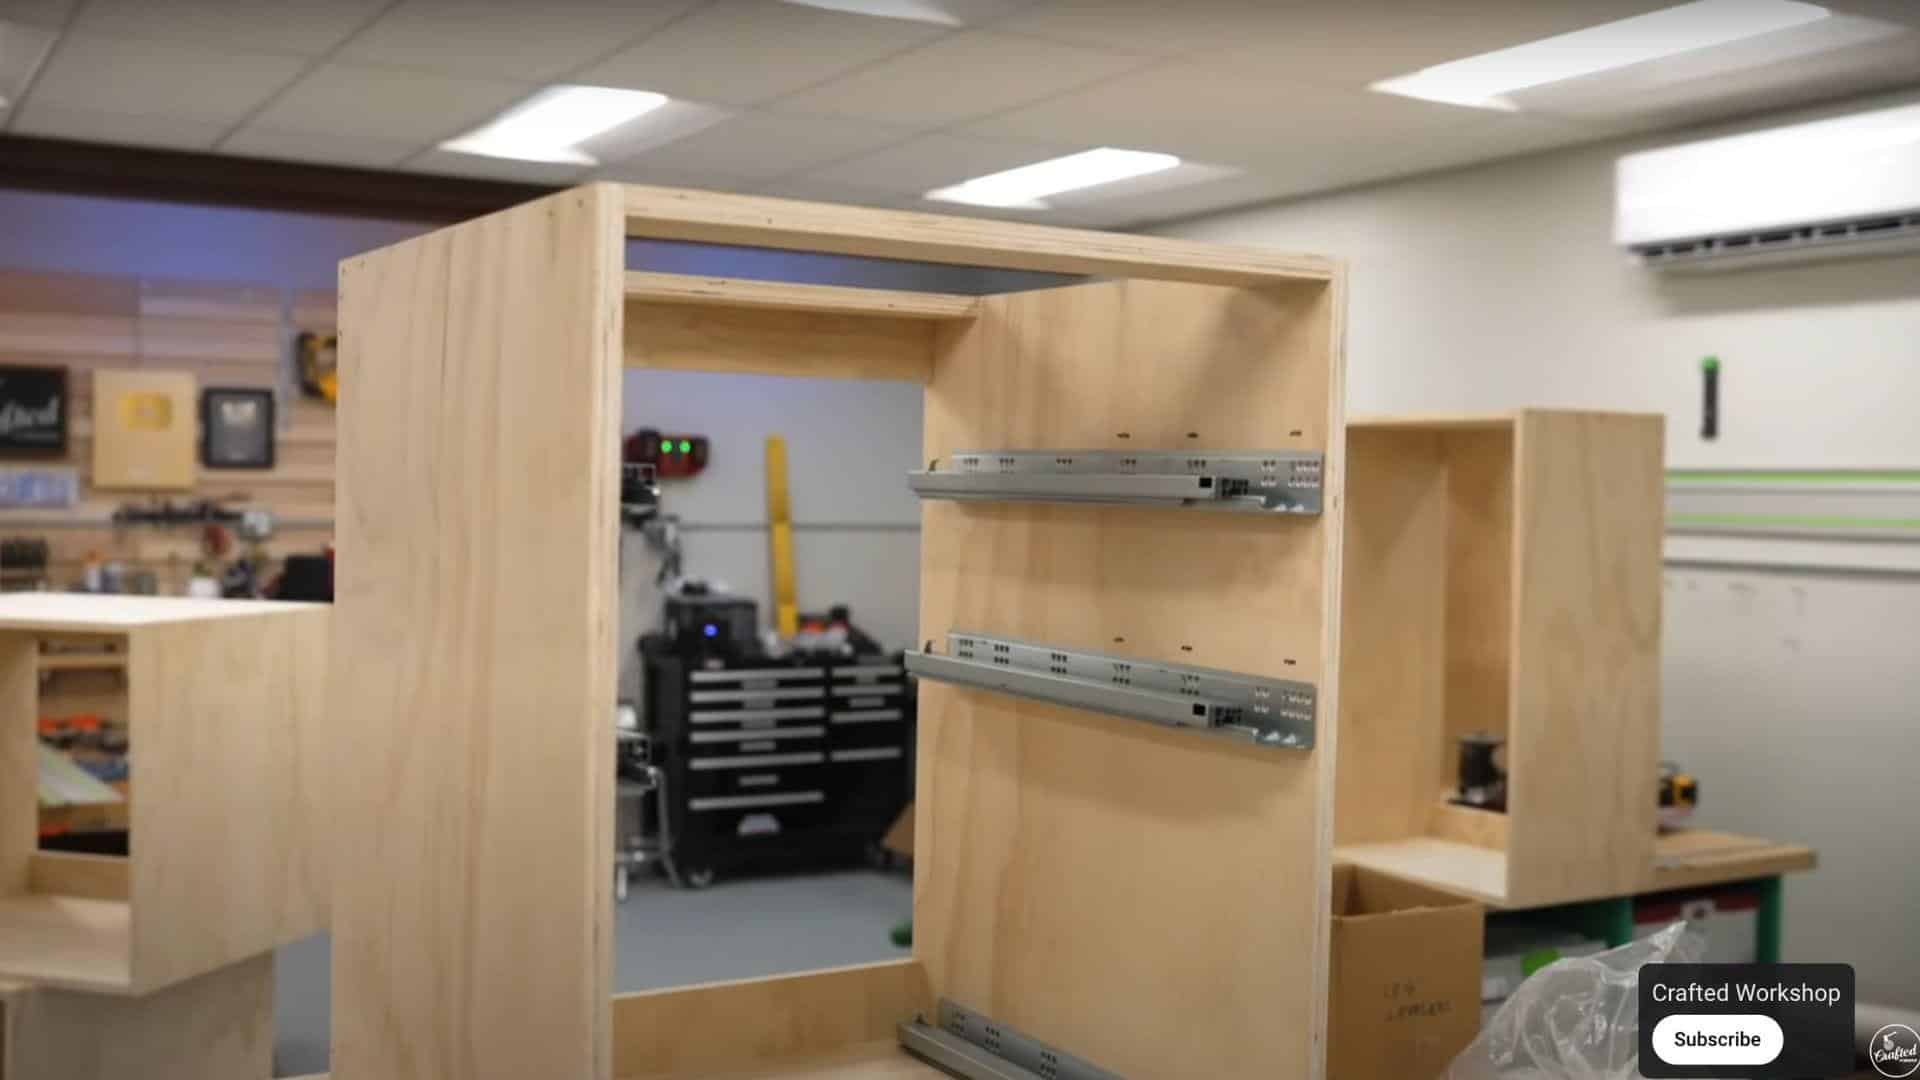
Install the necessary hardware, such as door hinges, drawer slides, and leveling feet. Once the hardware is in place, sand the cabinets smooth, then apply your chosen finish, if it’s paint, stain, or laminate. After the finish dries, mount the cabinets in place and attach any final trim pieces.
Pro tips:
- Use jigs for accurate hardware placement.
- Level the cabinets during installation using leveling feet.
- Finish with a durable coat to protect your cabinets.
Watch How It’s Done: DIY Kitchen Cabinet Video Tutorial
For more information, check out this video tutorial by Crafted Workshop
Maintaining Your DIY Kitchen Cabinets
- Keep them clean with gentle soap. Wipe your cabinets monthly with a mild cleaner to prevent grease and dirt buildup that can damage the finish.
- Tighten loose handles and hinges right away. Check the hardware every few months and fix any wobbly parts before small issues turn into bigger problems.
- Touch up scratches when you spot them. Keep some matching paint or stain handy for quick repairs to keep your cabinets looking fresh and new.
- To avoid water damage, wipe up spills immediately around sink areas and use caulk to seal any gaps where moisture might seep in.
- Protect cabinet interiors with liners. Replace shelf liners when worn to prevent stains and make cleaning your cabinet shelves much easier.
DIY Kitchen Cabinet Pitfalls to Avoid
Rushing the installation process. Take your time measuring and leveling cabinets properly to prevent crooked doors and uneven countertops that are difficult to fix later.
Skipping primer on unfinished wood. Always apply primer before painting to ensure better adhesion, a smoother finish, and longer-lasting cabinets.
Overloading cabinet shelves. Distribute heavy items evenly to prevent sagging shelves and damaged hinges that can compromise your cabinet structure.
Using harsh chemical cleaners. Stick to gentle cleaners to protect your cabinet finish from damage that can lead to peeling, discoloration, or warping.
Ignoring water leaks near cabinets. Address plumbing issues immediately to prevent water damage that can cause swelling, warping, and mold growth.
Summing It Up
Building DIY kitchen cabinets takes work, but the rewards are worth it. Your kitchen will have cabinets that fit perfectly – no awkward gaps or wasted space.
The money you save can buy nicer countertops or that fancy faucet you’ve been wanting! You’ll also learn skills for future home projects.
Remember to measure carefully, pick the right materials, and don’t rush the installation. Good care will keep your cabinets looking great for years.
Avoid common mistakes like skipping primer, and you’ll create cabinets that last. When friends ask where you got such perfect cabinets, you’ll smile knowing your own hands made them.
Your dream kitchen is just a DIY project away!

James McLaren, with a rich background in architecture from the University of Manchester, has been contributing his expertise to the world of creative construction and home innovation for over 20 years. His journey began as a project manager for a leading construction firm, where he honed his skills in bringing complex designs to life. James joined our platform as a freelancer in 2019, quickly becoming a favorite for his insightful and practical advice. He has been a pivotal force to our wing ever since, bringing our readers a blend of technical know-how and creative flair. Beyond his professional life, James is an avid woodworker and enjoys restoring vintage furniture, a hobby that complements his professional insights beautifully.