Are you tired of spending too much money on boring store-bought frames that don’t quite match your style? DIY picture frames are the perfect solution!
With just a few basic tools and materials, you can create custom frames that perfectly showcase your favorite photos and artwork. Making your own frames lets you control everything – from size and color to style and cost.
Both beginners and experienced crafters can follow these simple steps to create professional-looking frames for their home, office or as thoughtful gifts.
The best part? DIY picture frames are budget-friendly while adding a personal touch that mass-produced options simply can’t match. Ready to start making your own beautiful, personalized frames?
Why Choose a DIY Picture Frame?
Creating your own picture frames offers numerous benefits that store-bought options simply can’t match. When you make a frame yourself, you gain complete personalization control.
You can perfectly match your home’s décor or the specific photo’s style. This customization extends to size. You can frame those oddly shaped pieces that standard frames can’t accommodate.
DIY frames are incredibly budget-friendly. They often cost a fraction of retail prices while delivering a higher-quality, more durable result. The creative freedom is unmatched. You can experiment with various materials like reclaimed wood, cardboard, fabric, or even upcycled items you already have around your home.
Perhaps most rewarding is the deep satisfaction that comes from crafting something beautiful with your own hands. You turn simple materials into a cherished display piece that showcases your memories.
DIY picture frames offer a perfect blend of practicality and creative expression for crafters of all skill levels.
Materials You’ll Need
DIY picture frames are simple to make with the right supplies. You don’t need fancy tools or expensive materials to create beautiful custom frames. Most items can be found at your local hardware store or craft shop.
With these basic supplies, you’ll be ready to create a professional-looking frame that perfectly showcases your favorite photos or artwork.
- 4 pieces of 1x2x6 square edge white wood for creating the frame sides.
- Miter saw or miter box with hand saw for precise 45-degree angle cuts.
- Wood glue to secure the frame corners firmly.
- Stapler or brad nail gun for reinforcing the corners.
- Wood filler to cover any gaps, cracks, or nail holes.
- 220 grit sandpaper for smoothing rough edges and surfaces.
- Sponge brush wrapped with sandpaper for more controlled sanding.
- Spray paint in matte black (or your preferred color) for the finished look.
Total Estimated Cost Range
- Using a miter box, manual stapler, and minimal materials — $44.
- Using a miter saw, brad nail gun, and premium materials — $219.
Step-by-Step Instructions to Make Your Own DIY Picture Frame
Making your own picture frame is easier than you might think. You’ll need just a few basic tools and materials to get started. Follow these simple steps to create a custom frame for your favorite photos or artwork.
The entire project can be completed in a weekend, even by beginners. Your handmade frame will add a personal touch to your home décor while showcasing your memories in style.
Step 1: Measure and Cut the Wood
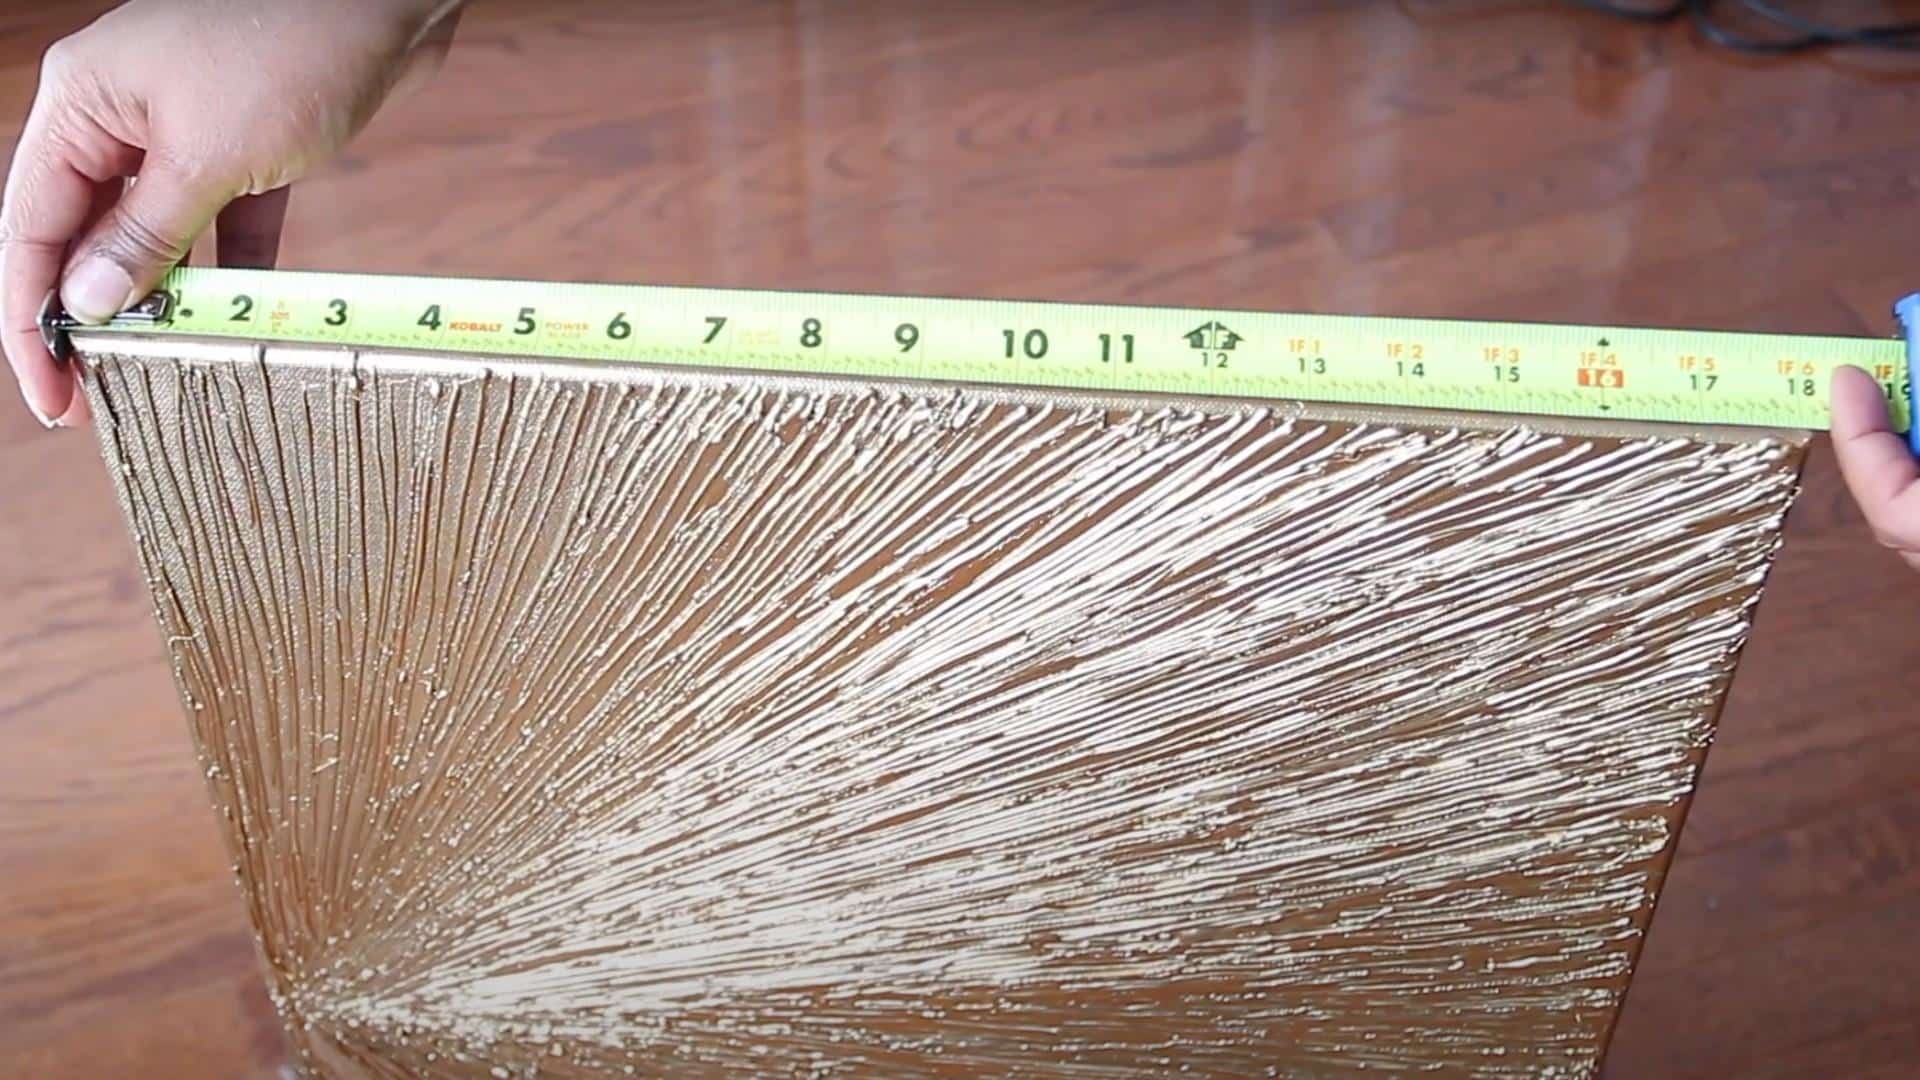
Start by measuring your wall art accurately. In this project, we need an 18 by 24-inch frame. Grab your miter saw and cut four wood pieces at 45-degree angles.
You’ll need two pieces for the width (18 inches) and two for the height (24 inches). Don’t worry if you don’t have a fancy miter saw – a simple miter box with a hand saw works just fine. Make sure your measurements are exact for a perfect fit around your artwork.
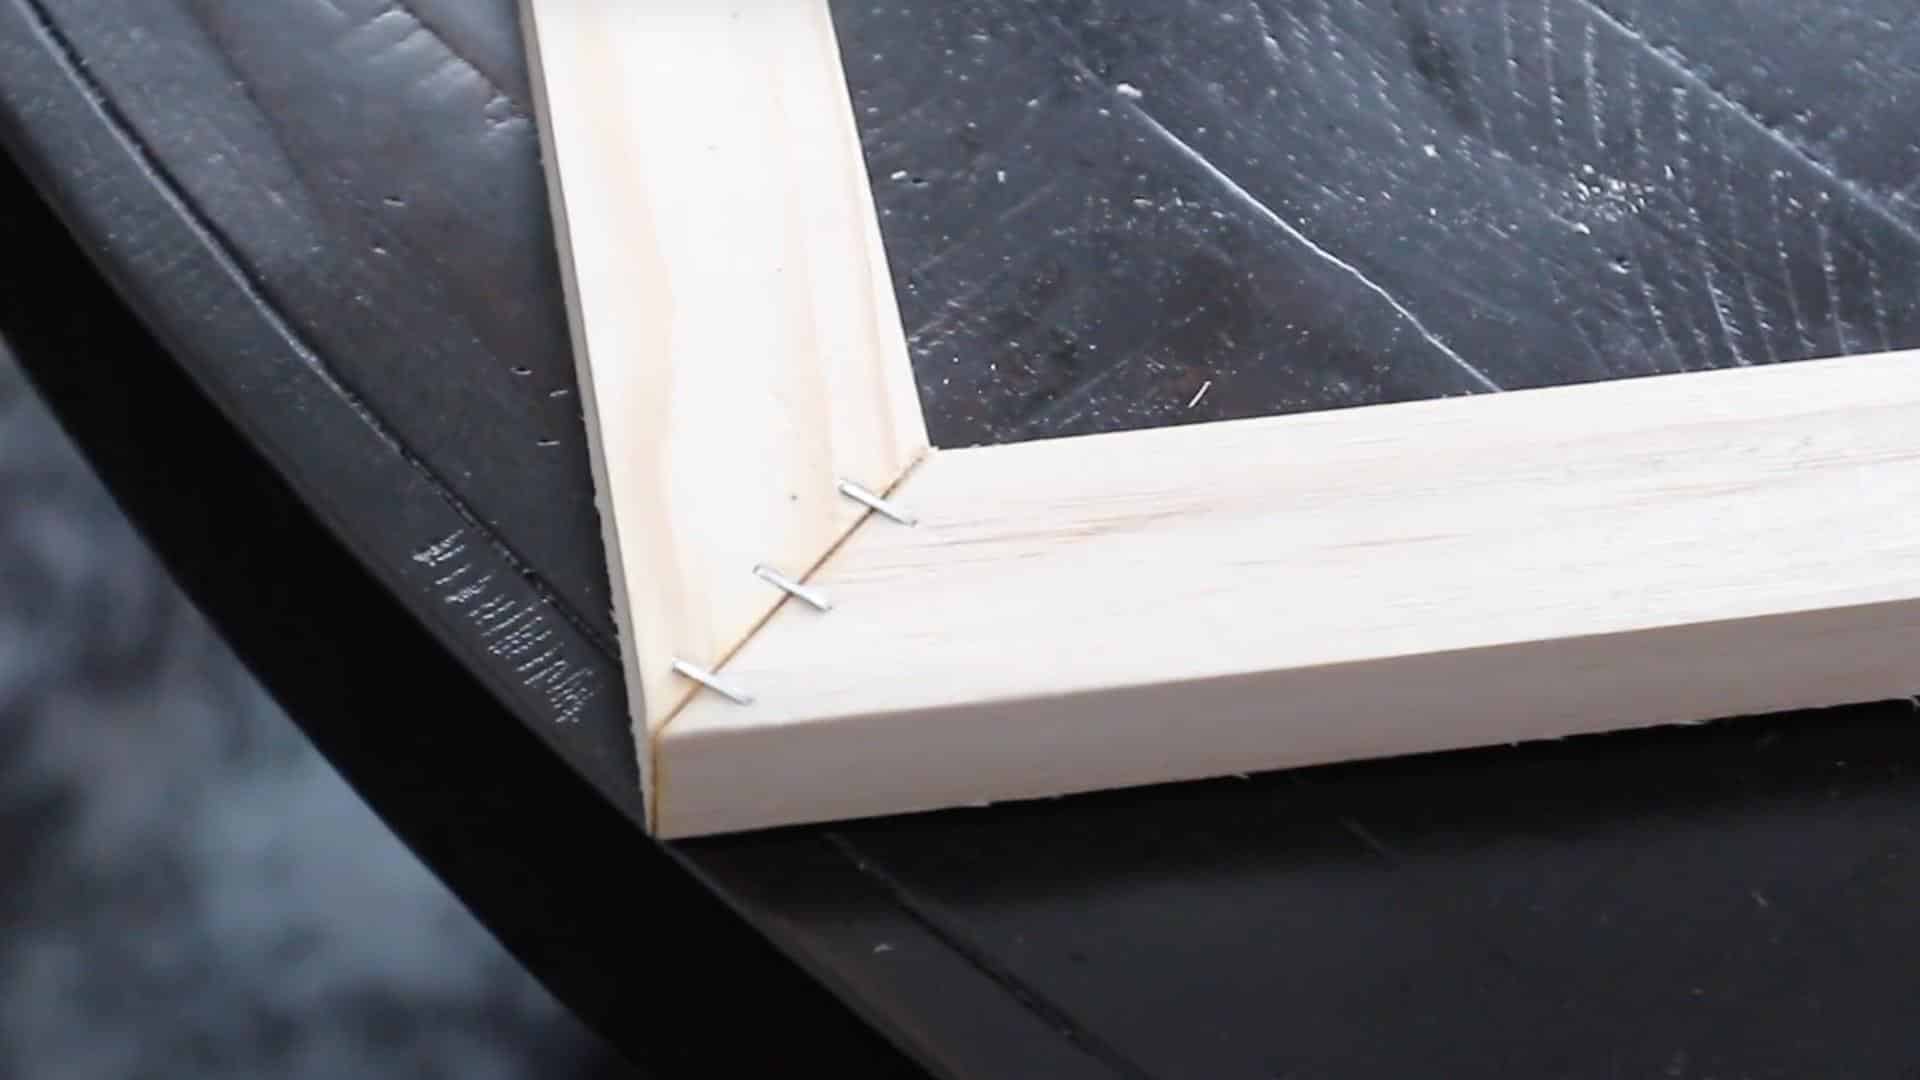
Step 2: Apply Wood Glue and Assemble the Frame
Now it’s time to put your frame together. Apply a thin layer of wood glue to each cut edge. Join the pieces to form a rectangle, connecting the 18-inch pieces with the 24-inch pieces. Hold them in place for a minute to let the glue set slightly.
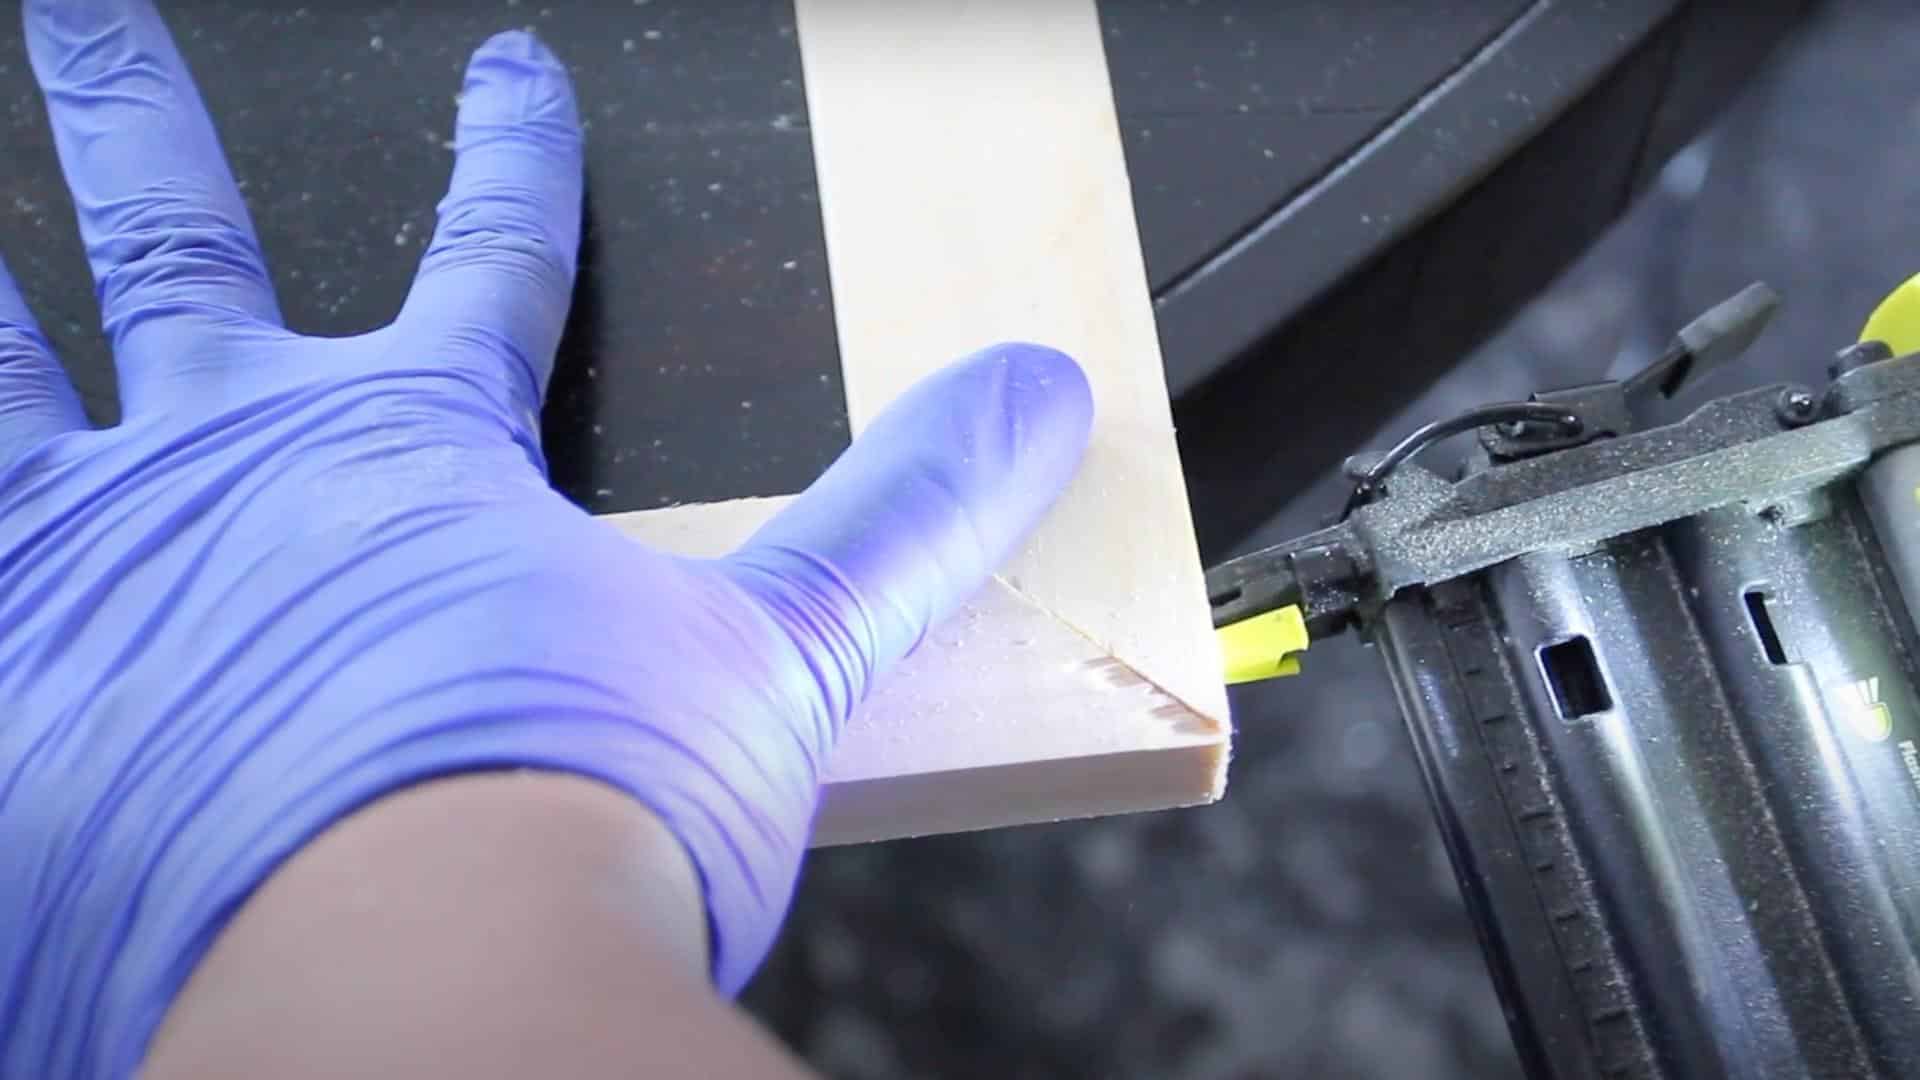
For extra strength, use your stapler or brad nail gun to secure each corner. Place at least two nails per corner for the best hold. Make sure everything is lined up neatly before the glue starts to dry.
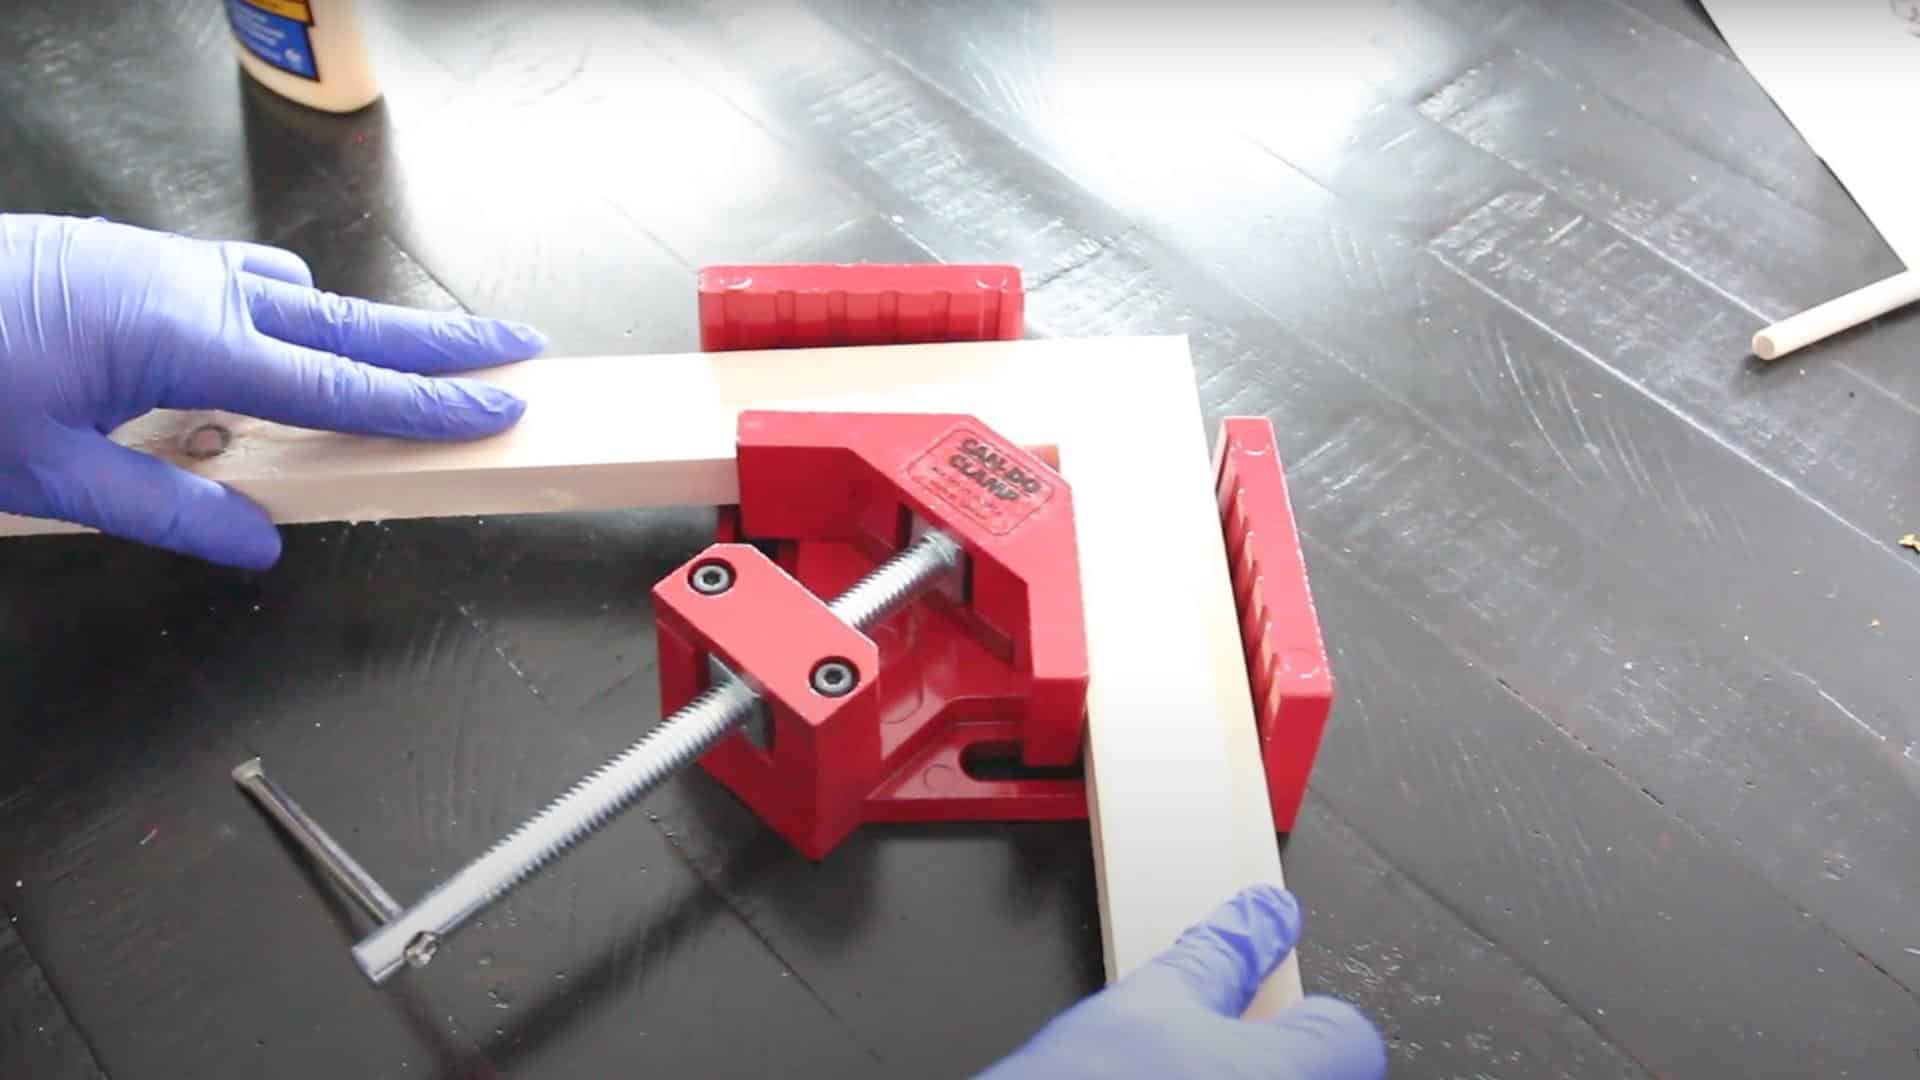
Step 3: Clamp and Let Dry
For the strongest possible frame, use clamps to hold everything firmly in place. Position one clamp on each corner and tighten them just enough to keep the wood pressed together. Let the frame sit undisturbed for about 24 hours to allow the glue to dry completely.
If you don’t have clamps, that’s okay! Just use a few extra nails at each corner and let it rest on a flat surface while drying. This patience will pay off with a sturdy frame.
Step 4: Fill the Gaps
Once your frame is dry, check for any gaps, cracks, or nail holes. Use your finger or a small tool to press wood filler into these spaces. Don’t be shy with the amount – it’s better to use a bit extra and sand it down later.
Smooth the filler as best you can and let it dry completely according to the package directions. This step might seem small, but it makes a huge difference in the final look of your frame.
Step 5: Sand and Paint the Frame
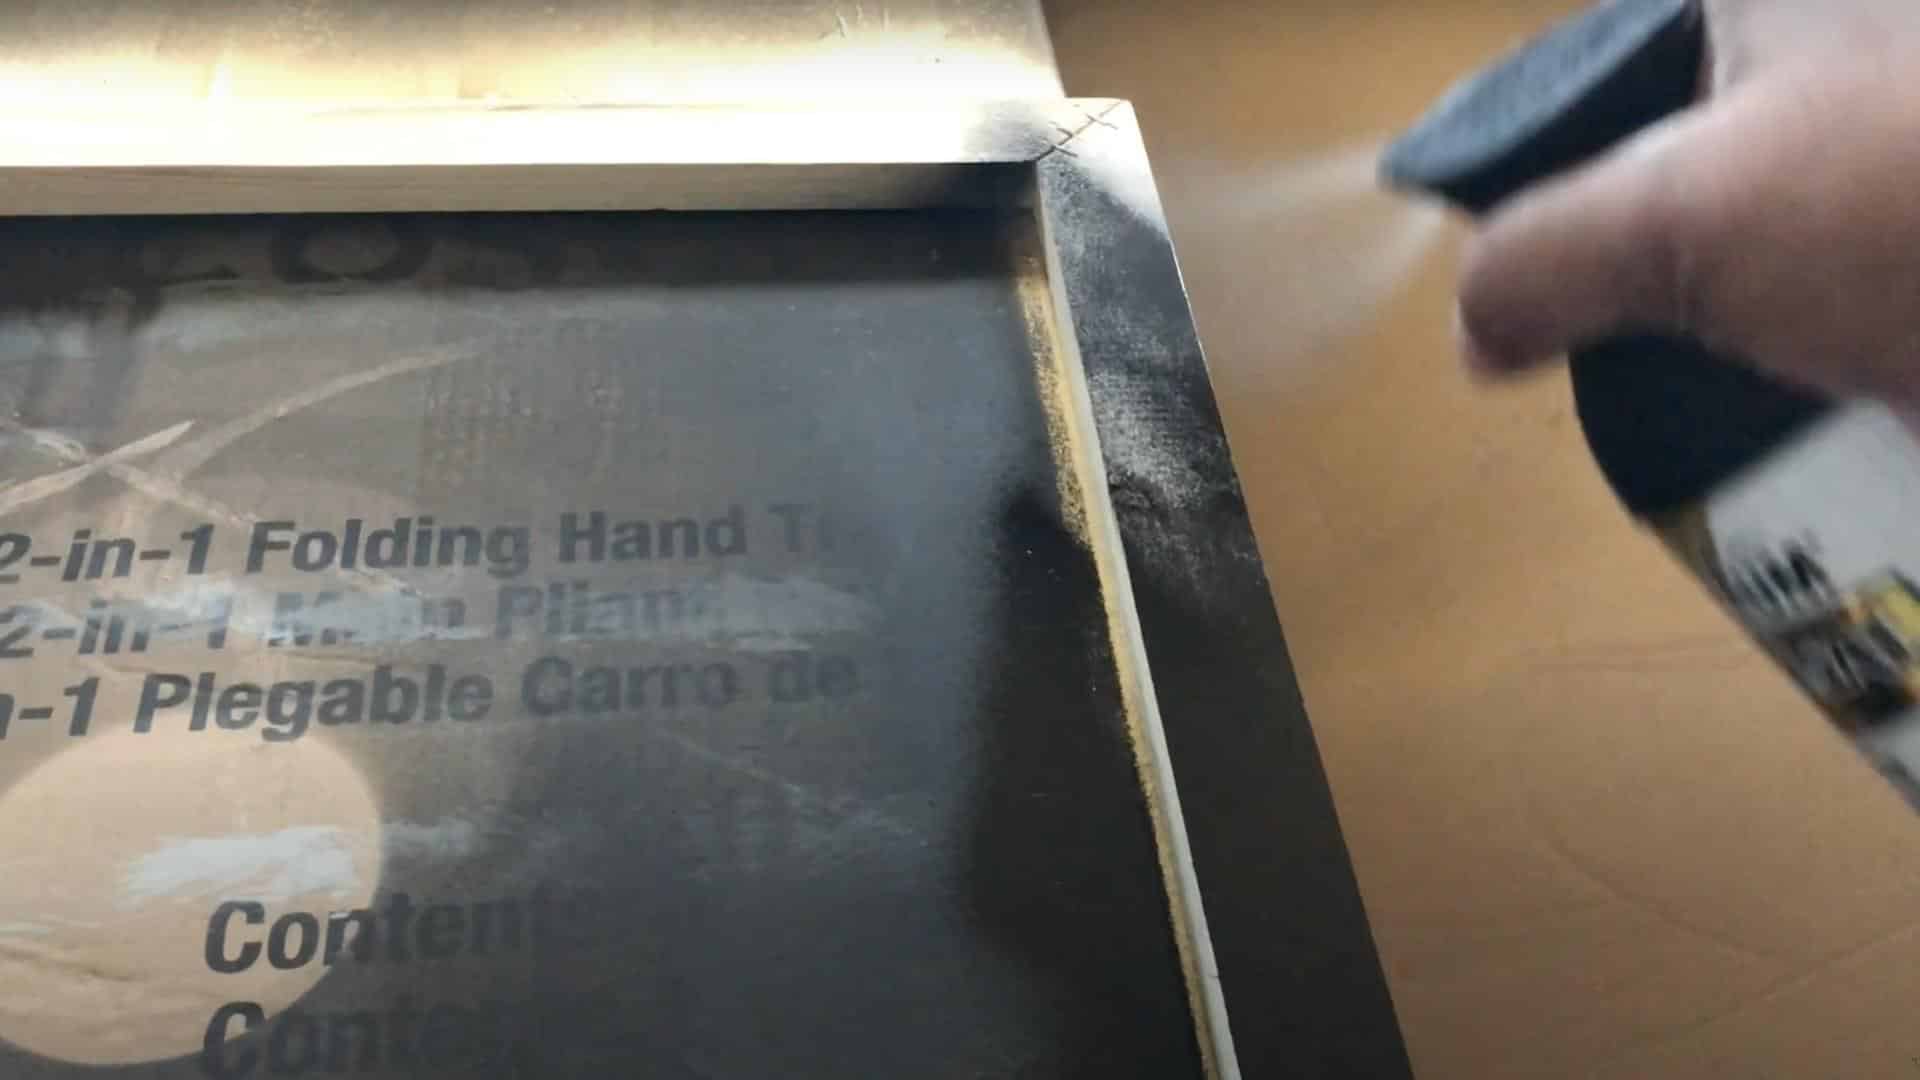
The final step turns your raw wood frame into a finished piece. Once the wood filler is completely dry, sand everything smooth with 220 grit sandpaper wrapped around a sponge brush. Focus on the corners and filled areas until they blend effortlessly with the rest of the frame.
Wipe away all dust with a clean cloth. Take your frame outside or to a well-ventilated area and apply even coats of matte black spray paint, letting each coat dry before adding another.
Video Tutorial
For more information, check out this video tutorial by Treshaja
Where to Use DIY Picture Frames
DIY picture frames work wonderfully in many settings. They add a personal touch that store-bought frames simply can’t match. You can adjust the style, color, and size to fit any space perfectly.
These custom frames show off both your photos and your crafting skills. They’re conversation starters that tell visitors about your creativity.
1. Home Decor
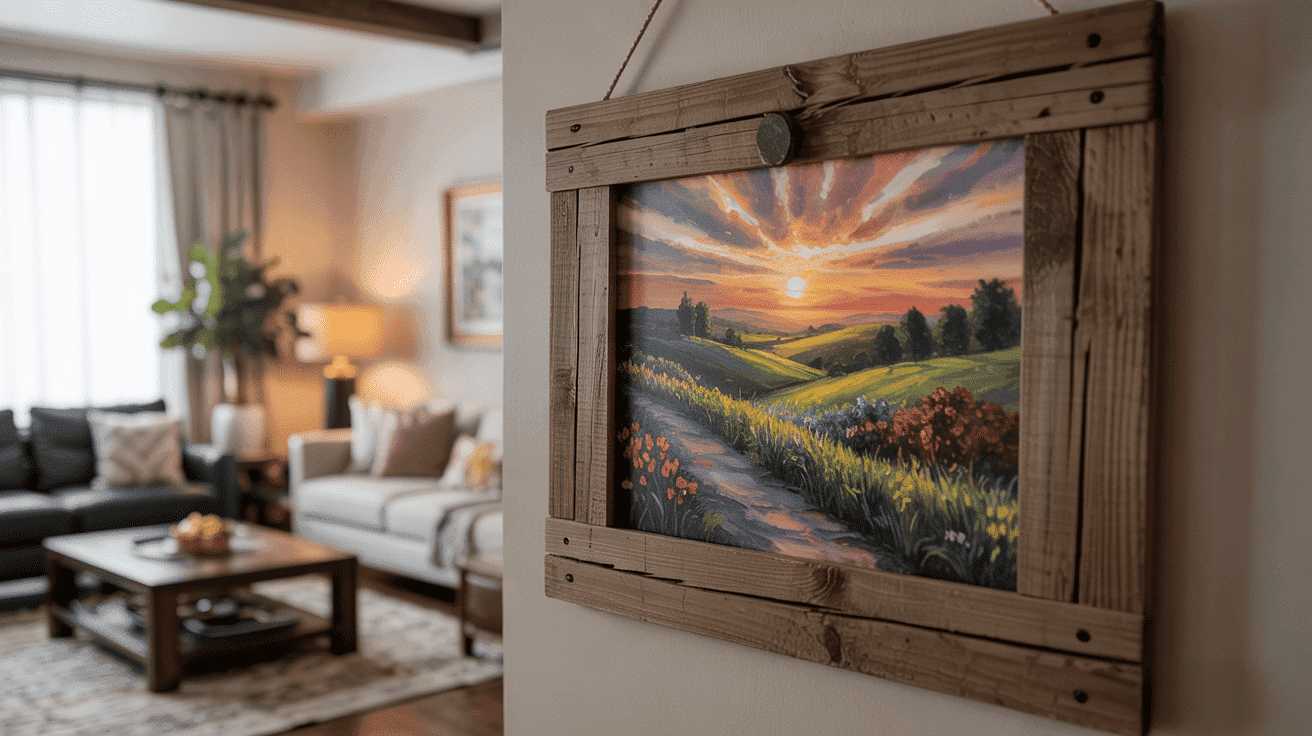
DIY frames bring warmth and personality to any room in your home. In living rooms, they create eye-catching gallery walls that showcase family photos, travel memories, or random paintings.
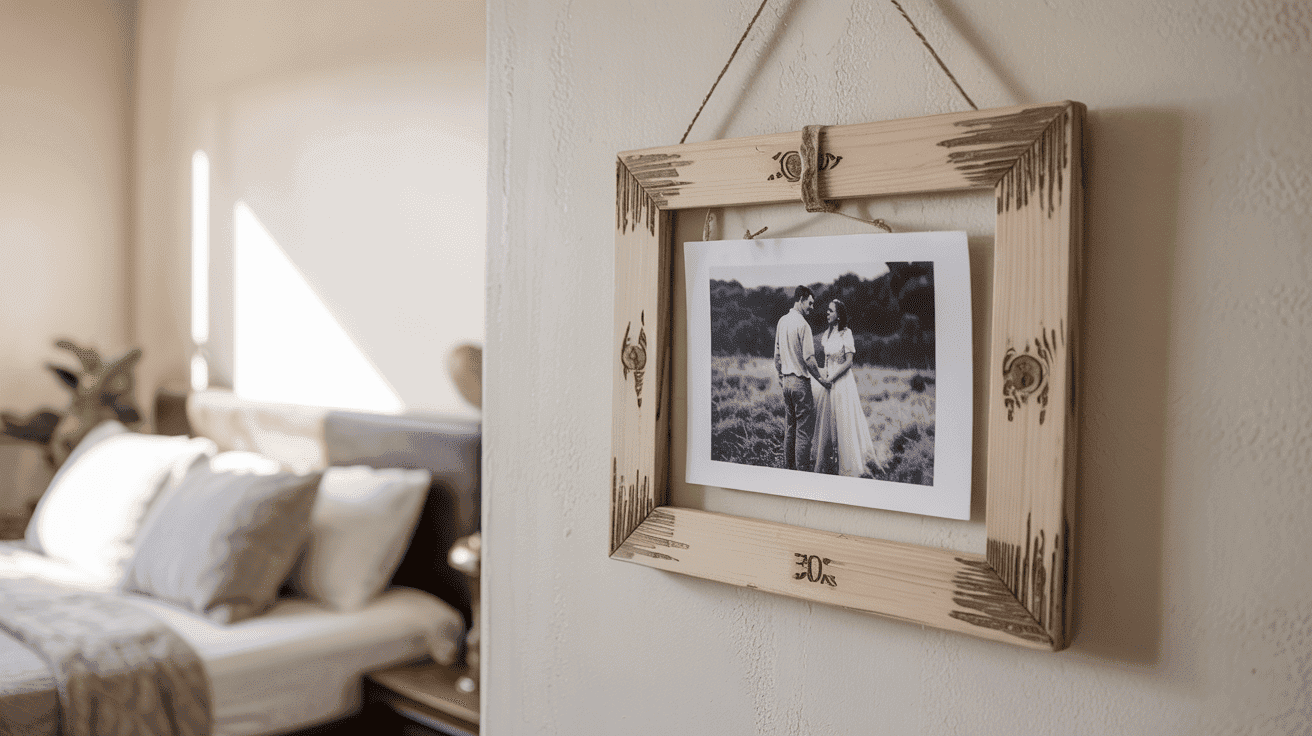
Bedrooms benefit from personalized frames on nightstands or dressers, holding cherished moments. Hallways become memory lanes with custom frames lining the walls, telling your family’s story as guests walk through.
2. Gift Ideas
Handmade picture frames make thoughtful gifts that people truly treasure. For birthdays, create a frame in the recipient’s favorite color filled with a special memory you share.
Wedding gifts become meaningful keepsakes when you craft a frame that matches the couple’s new home decor. Anniversary presents feel more personal when the frame includes details specific to the couple’s time together.
3. Office Decor
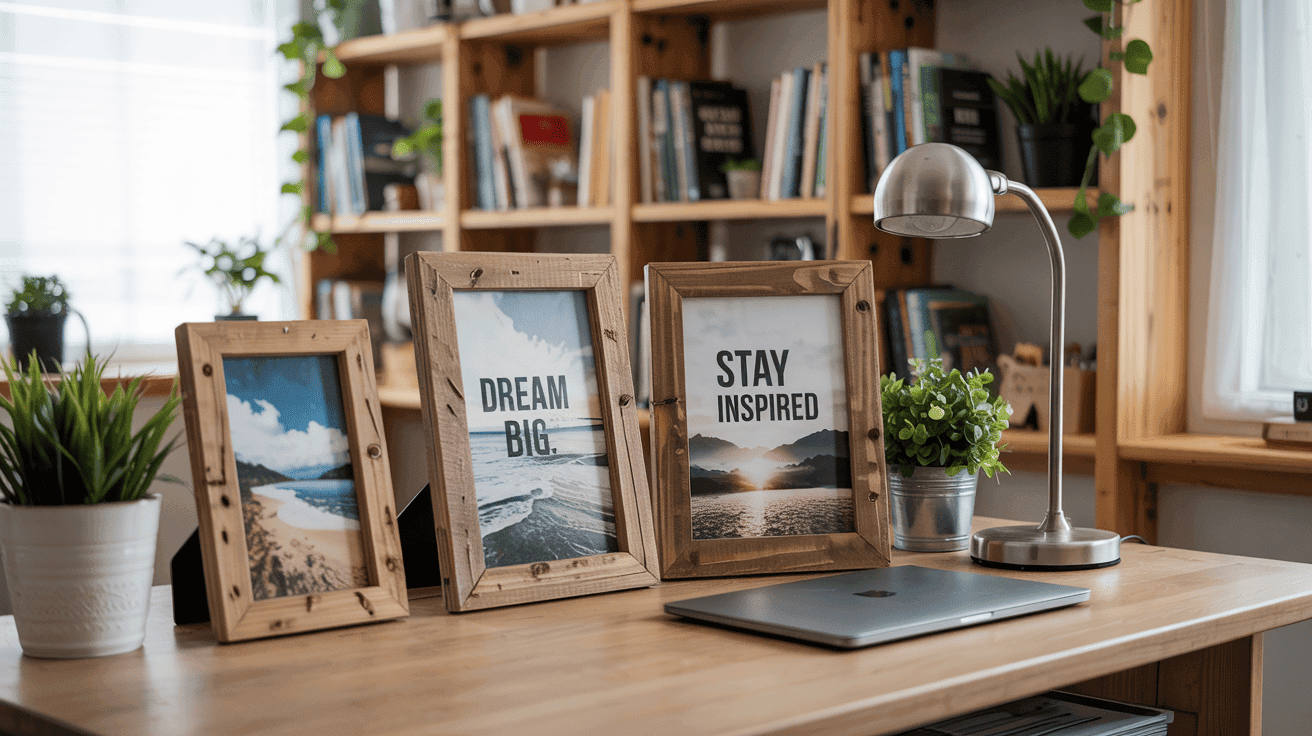
Your workspace deserves personal touches that make long days more enjoyable. DIY picture frames on your desk help bring happy memories into your work life with photos of loved ones or beautiful places.
Office walls become less institutional with custom frames that match your personal style rather than corporate blandness. Create smaller frames for motivational quotes that inspire you throughout the workday.
Common DIY Picture Frame Mistakes To Avoid
Even experienced crafters make mistakes when creating picture frames. Learning to avoid these common errors will save you time and frustration. Your frames will look more professional when you master these basic skills.
With a little patience and the right techniques, you can create frames that look store-bought or even better. These simple tips will help your DIY frame projects turn out beautifully every time.
- Always measure twice and cut once to avoid wasting materials.
- Mark your cutting lines clearly with a sharp pencil for precision.
- Use a proper miter box or saw guide for consistent 45-degree angles.
- Apply glue with a thin tool like a toothpick for better control.
- Keep a damp cloth nearby to wipe away excess glue immediately.
- Use a carpenter’s square to check for perfect right angles.
- Place your frame on a flat surface while drying to prevent warping.
- Measure diagonally from corner to corner – both measurements should match.
Final Thoughts
Now you have all the skills needed to create beautiful DIY picture frames for any occasion! These handmade frames not only save you money but also add a personal touch to your home that store-bought frames simply can’t match.
Remember, your first DIY picture frame might not be perfect, and that’s okay. Each frame you make will get better as you practice and learn.
The small imperfections actually add character and make your frames unique.
So gather your supplies, set aside some time, and start creating frames that perfectly showcase your precious memories.
Your photos deserve more than ordinary frames—they deserve the care and creativity that only your DIY picture frames can provide. Happy crafting!

James McLaren, with a rich background in architecture from the University of Manchester, has been contributing his expertise to the world of creative construction and home innovation for over 20 years. His journey began as a project manager for a leading construction firm, where he honed his skills in bringing complex designs to life. James joined our platform as a freelancer in 2019, quickly becoming a favorite for his insightful and practical advice. He has been a pivotal force to our wing ever since, bringing our readers a blend of technical know-how and creative flair. Beyond his professional life, James is an avid woodworker and enjoys restoring vintage furniture, a hobby that complements his professional insights beautifully.