Worried about the cost of a bathroom remodel? Many homeowners face this challenge. Professional tile installation often costs thousands of dollars, making dream bathrooms seem out of reach. Yet, with the right guidance, you can handle this project yourself.
Let me show you how to install shower tiles like a pro. I’ll guide you through each step, from picking the right materials to adding those final touches. You’ll learn proper techniques that ensure lasting results.
In this guide, you’ll get:
- A clear, step-by-step process for tile installation
- Common mistake warnings and how to avoid them
- Essential tips for picking the right materials
- Expert methods for clean, professional-looking results
- Tips for maintaining your new shower tiles
Ready to transform your bathroom? Let’s begin.
Why Choose DIY for Your Shower Tile?
Cost Savings
You can save a lot of money by installing shower tiles yourself. Most homeowners who take this route spend $1,000 to $3,000 less than hiring professionals. The main costs come from materials and basic tools, not expensive labor fees.
Personalization
When you handle the tile work yourself, you control every step. You can select the specific pattern layout that fits your style. The spacing between tiles, color choices, and final look are all up to you. Many people feel satisfied seeing their design choices come to life.
Skill Building
Working with tiles teaches you useful home repair abilities. You’ll learn proper measurement techniques and how to prepare surfaces correctly, which will help with future home projects.
You can spot and fix small problems before they grow bigger, and each step builds your confidence in home maintenance work.
The effort you put into tiling your shower brings lasting value. Your new skills, the money you keep, and your unique design make the project worthwhile. Remember to work carefully and give yourself enough time to do each step right.
Step-by-Step Guide for DIY Shower Tile Installation
Step 1: Preparation
Materials and Tools
| Category | Tools | Materials |
|---|---|---|
| Basic Tools | Tile cutter | Ceramic or porcelain tiles |
| Notched trowel | Tile adhesive | |
| Level | Grout | |
| Rubber float | Tile spacers | |
| Sponge | Caulk (silicone) | |
| Measuring tape | Waterproofing membrane (optional) | |
| Advanced Tools | Wet saw (for complex cuts) | Sealer for grout |
| Drill (for mixing) | ||
| Mixing paddle | ||
| Safety Gear | Safety glasses | |
| Gloves | ||
| Cleaning Supplies | Buckets | |
| Cloths |
- Surface Preparation: Ensure your wall has proper waterproofing. Clean the surface thoroughly and fix any uneven spots. The wall must be completely flat for tiles to stick properly.
Step 2: Plan Your Layout
- Measure the Area: Take precise measurements from floor to ceiling. Consider the height of your shower pan and any built-in features like soap holders.
- Dry Layout: First, place tiles on the floor. Check how the pattern looks and mark where you need to cut tiles. This step helps you avoid small cuts that look out of place.
Step 3: Mixing Adhesive
- Prepare Adhesive: Add water in your bucket, then add mortar powder. Mix until you reach a smooth, paste-like texture. Avoid making the mix too wet or too dry.
Step 4: Apply Adhesive
- Start at the Bottom: Apply mortar with your notched trowel. Work in small sections – only cover what you can tile in 10 minutes. Make consistent ridges in the mortar for better tile grip.
Step 5: Setting Tiles
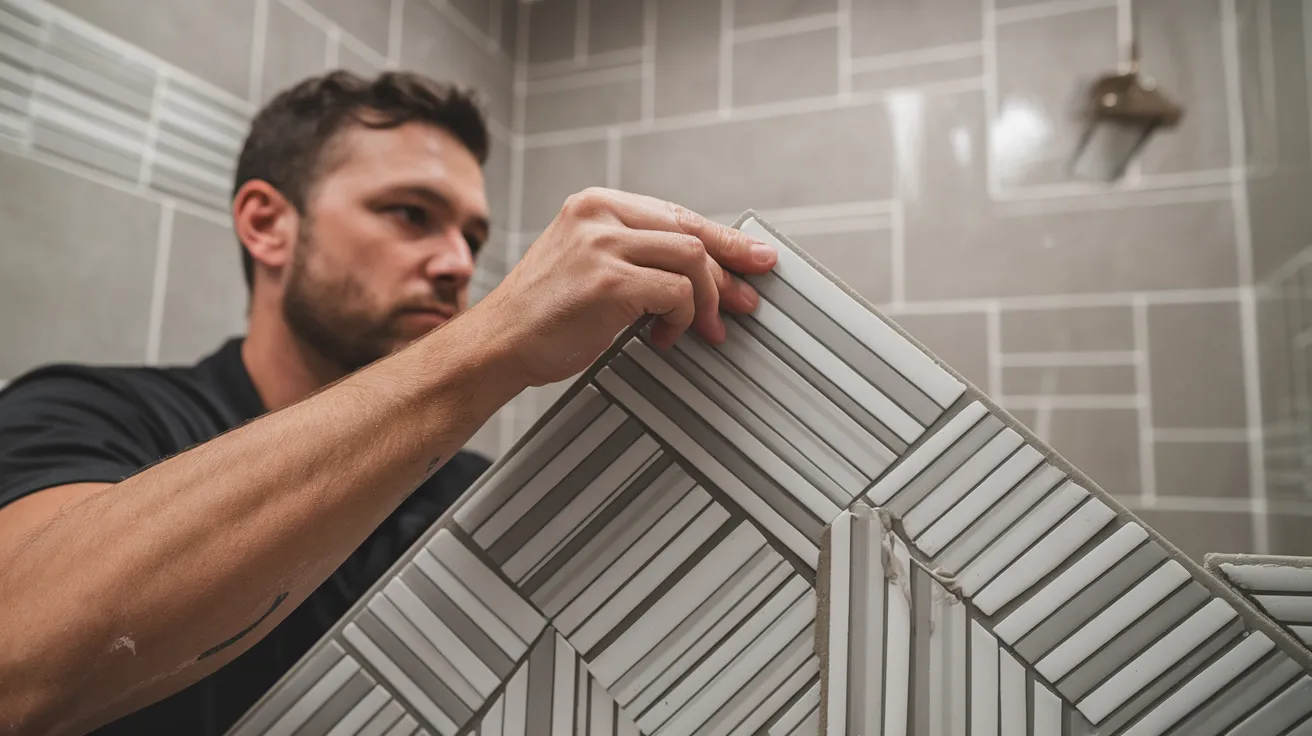
- Place the First Tile: Press firmly into the mortar, giving a slight twist. Put spacers at tile corners for even gaps.
- Continue Tiling: Add more tiles beside the first. Check each row with your level.
- Cut Tiles as Needed: Use a wet saw for precise cuts around pipes or corners.
Step 6: Allow Adhesive to Cure
- Drying Time: Let tiles set for 24 hours. Don’t touch or adjust tiles during this time.
Step 7: Applying Grout
- Mix Grout: Add small amounts of water gradually to avoid making the mix too wet.
- Spread Grout: Use a rubber float at 45-degree angles to fill gaps completely.
- Clean Excess Grout: Wait 10 minutes, then clean with a damp sponge. Rinse your sponge often.
Step 8: Sealing Grout
- Cure Time: Wait 72 hours before sealing.
- Apply Grout Sealer: Use even strokes to cover all grout lines. This step stops water from soaking in.
Step 9: Caulking
- Apply Silicone Caulk: Fill all corners and edges where tiles meet other surfaces. Choose caulk that matches your grout color.
Step 10: Final Cleaning and Inspection
- Clean Tiles: Remove the grout haze with a dry cloth first. Use minimal water for tough spots.
- Inspect the Installation: Look for any missing grout or uneven spots. Fix these issues before using the shower.
Watch a full YouTube video tutorial on DIY shower tiles by Home RenoVision DIY.
Post-Installation Care for Your Shower Tiles

Good care practices can keep your shower tiles looking new. A clean shower not only looks better but also lasts longer. Simple daily habits can have a big impact on your tile’s lifespan.
Regular Cleaning Tips
Clean your shower tiles weekly with gentle cleaners and soft brushes. Wipe down tiles after each use to stop soap scum buildup. Mix equal parts water and white vinegar for a natural cleaning option. Focus on grout lines, as they tend to collect dirt first. If you do some research to find and install the best shower head filter, that can help cut down on the minerals that leave scum behind as well, saving you a lot of time and effort.
Preventing Mold and Mildew
Run your bathroom fan during and after showers to remove moisture. Leave the shower door open when not in use to help surfaces dry. Use a squeegee on walls after showering to remove water. Check corners and edges often, as these spots tend to collect water.
When to Re-Seal Grout
Test your grout every six months by dropping water on it. If the water soaks in quickly, it’s time to reseal. Apply new sealer once a year in high-use showers. Pay special attention to areas that get direct water contact. Put sealer on clean, dry grout for the best results.
Troubleshooting Common Issues
Watch for signs of loose tiles, such as hollow sounds when tapped. Fix small grout cracks right away to stop water from getting behind tiles. Look for changes in grout color, which might mean water damage. Clean stained grout with a paste of baking soda and water.
Quick fixes for common problems:
- For loose tiles: Call a pro to reset them before the water causes more damage
- For stained grout: Try oxygen-based cleaners
- For small grout cracks: Fill with matching grout
- For water spots: Use white vinegar solution to remove mineral buildup
Conclusion
Your shower tile project takes time and patience, but the results are worth the effort. With careful planning and attention to detail, you can create a beautiful, lasting shower that adds value to your home.
Remember that each step builds on the last. Good preparation leads to better tile setting, which makes grouting easier. Careful grouting also helps with long-term maintenance. Take your time with each phase of the project.
If you hit a snag, step back and review the steps. Most issues come from rushing or skipping crucial parts of the process. Many homeowners find that breaking the project into smaller tasks makes it more manageable.
Keep this guide handy as you work. Small details matter in tile work; success comes from carefully following each step.
Frequently Asked Questions
Do You Tile the Shower Walls or Floor First?
Start with the shower walls first. This keeps wall tiles clean and prevents damage while working. Install floor tiles last to avoid stepping on and cracking them during wall installation.
Is There a Difference Between Floor Tile and Shower Tile?
Yes. Floor tiles have higher slip resistance and can bear more weight. Shower wall tiles are thinner and lighter. Shower floor tiles need good grip for safety when wet.
How to Waterproof a Bathroom Floor Before Tiling?
Apply a waterproof membrane over your subfloor. Roll on liquid waterproofing or lay sheet membrane, paying special attention to seams and corners. Let it fully dry before tiling.


