Are you bored with blank, lifeless walls? You’re not alone, and luckily, the fix is easier than you might think. DIY wall molding is a simple, affordable way to add style, depth, and personality to any room.
If you’re going for a classic look or something more modern, molding can completely change the feel of your space.
With just a few basic materials and some patience, you can turn plain walls into something that looks custom and feels like you hired a designer.
This guide covers everything from picking the right molding style for your space to the final coat of paint. Are you ready to add some character to those walls?
What is Wall Molding?
Wall molding is a decorative feature designed to enhance the visual appeal of walls while providing functional benefits.
Typically made from materials like wood, plaster, PVC, or MDF, wall molding brings charm and character to a space by covering imperfections such as uneven surfaces or gaps between walls and ceilings.
The best part? It’s an easy and budget-friendly DIY project. Whether you like clean, modern lines or something more classic, wall molding is a simple, budget-friendly way to make your home feel more custom and thoughtfully designed.
Beyond that, it serves as crown molding, chair rails, or baseboards, adding charm and protection.
Easy to paint or stain, wall molding is a favorite among DIY enthusiasts for its flexibility and ability to complement any style.
Benefits of Adding Wall Molding
Adding wall molding is an easy way to upgrade your space without major changes. Whether it’s subtle or more detailed, molding brings style and depth to your walls, making your room feel more intentional and well-designed.
- Enhances Aesthetic Appeal: Wall molding makes ordinary, flat walls into extraordinary things, adding character and design without the high cost. Even simple patterns add symmetry and order, while more intricate designs bring warmth and charm.
- Creates Depth & Texture: Wall Molding adds dimension to flat surfaces, with shadows creating natural texture that changes throughout the day. This depth makes rooms feel more layered and visually interesting, especially in newer homes that lack built-in details.
- Cost-Effective Upgrade: Compared to other home improvements, wall molding is inexpensive. It can be installed easily with basic tools, and unlike trendy updates, classic molding styles have long-lasting appeal that adds value over time.
With its timeless appeal, it adds character, depth, and warmth, helping your space look more put together without a major renovation.
Types of Wall Molding
Wall molding comes in many styles, each adding its touch of charm and purpose. Understanding the different types will help you choose the right option for your space and design goals.
From decorative to functional, here are the most common types and what they’re best used for:
| MOLDING TYPE | DESCRIPTION | BEST USED FOR |
|---|---|---|
| Chair Rail | Horizontal molding is installed about 3 feet from the floor | Dining rooms, hallways, and rooms with wainscoting |
| Picture Frame | Rectangular or square boxes created with thin molding | Adding dimension to plain walls, creating a formal look |
| Wainscoting | Paneled sections covering the lower portion of the walls | Adding traditional charm, protecting walls from damage |
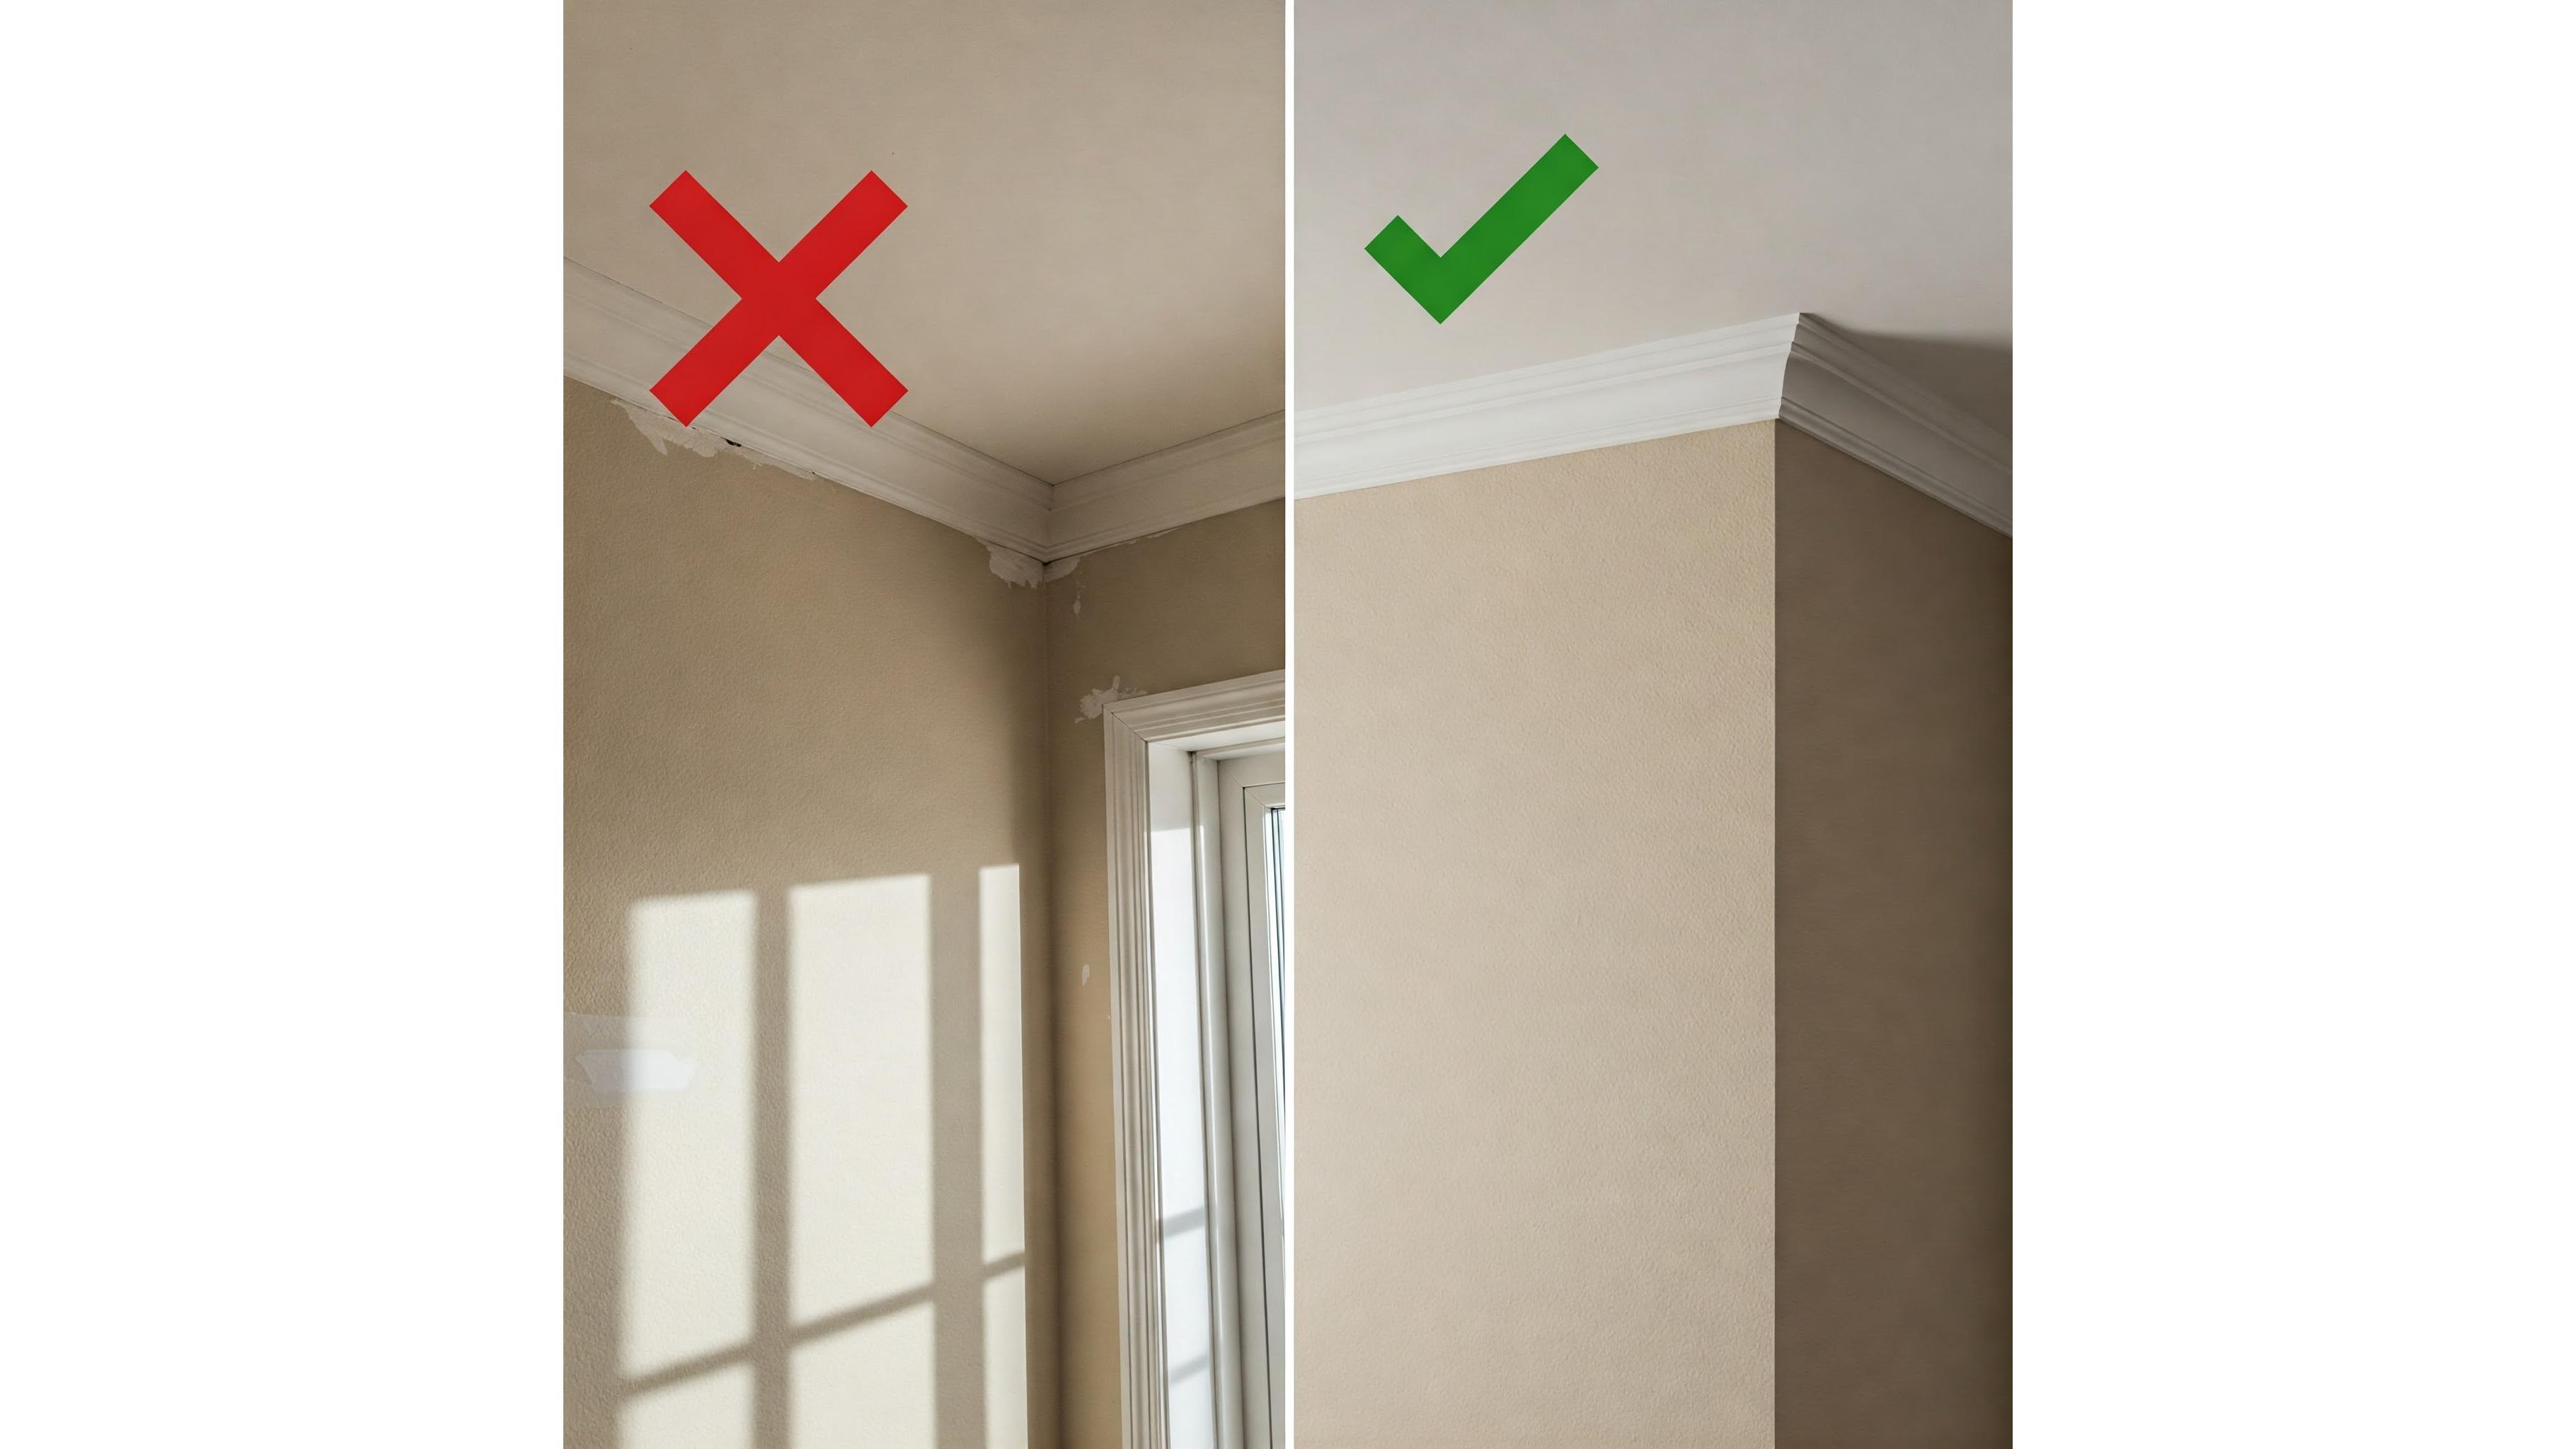
| Crown Molding | Installed where the walls meet the ceiling | Making ceilings appear higher, adding detail |
| Baseboard | Installed where the walls meet the floor | Hiding gaps, protecting walls from furniture damage |
| Panel Molding | Creates raised or recessed panels on walls | Adding texture and dimension, creating a traditional look |
| Casing | Trim around doors and windows | Finishing openings, creating a cohesive look |
With a wide range of molding styles to choose from, there’s an option to suit every space and design vision. Thoughtfully combining types can create a cohesive, well-finished look that enhances your walls and overall interior.
Tools and Materials You’ll Need
Having the right supplies makes all the difference in a smooth DIY experience. This list covers all the essential tools and materials to help you work efficiently and achieve a professional finish.
- Measuring Tape and Level – For accurate measurements and straight, even lines.
- Pencil and Chalk Line – To mark your design layout clearly on the wall.
- Miter Saw or Hand Saw – To cut the molding pieces cleanly at the correct angles.
- Nail Gun or Hammer and Nails – For securely attaching the molding to the wall.
- Pre-Primed Molding – Ready-to-paint molding for a smoother finish and less prep work.
- Decorative Millwork Appliques – To add charm and a touch of elegance to your wall design.
- Paint and Brushes – For coating the wall and molding in a unified color.
- Metallic Glaze – To add depth and a subtle shimmer to your molding details.
- Painter’s Tape and Drop Cloths – To protect your floors and edges while painting.
- Adhesive (Optional for Appliques) – To secure decorative details firmly if needed.
Total Estimated Cost Range – $130–$400
Step-by-Step Guide for DIY Molding
Installing wall molding might seem like a pro-level project, but with a little planning and the right approach, it’s surprisingly achievable as a DIY project.
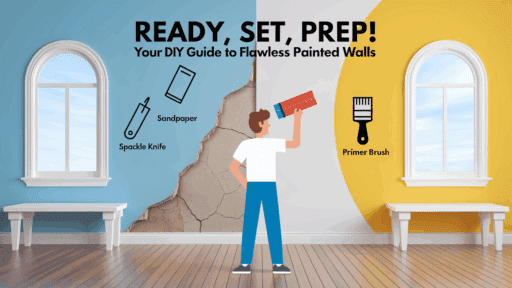
Step 1: Measure and Plan Your Design
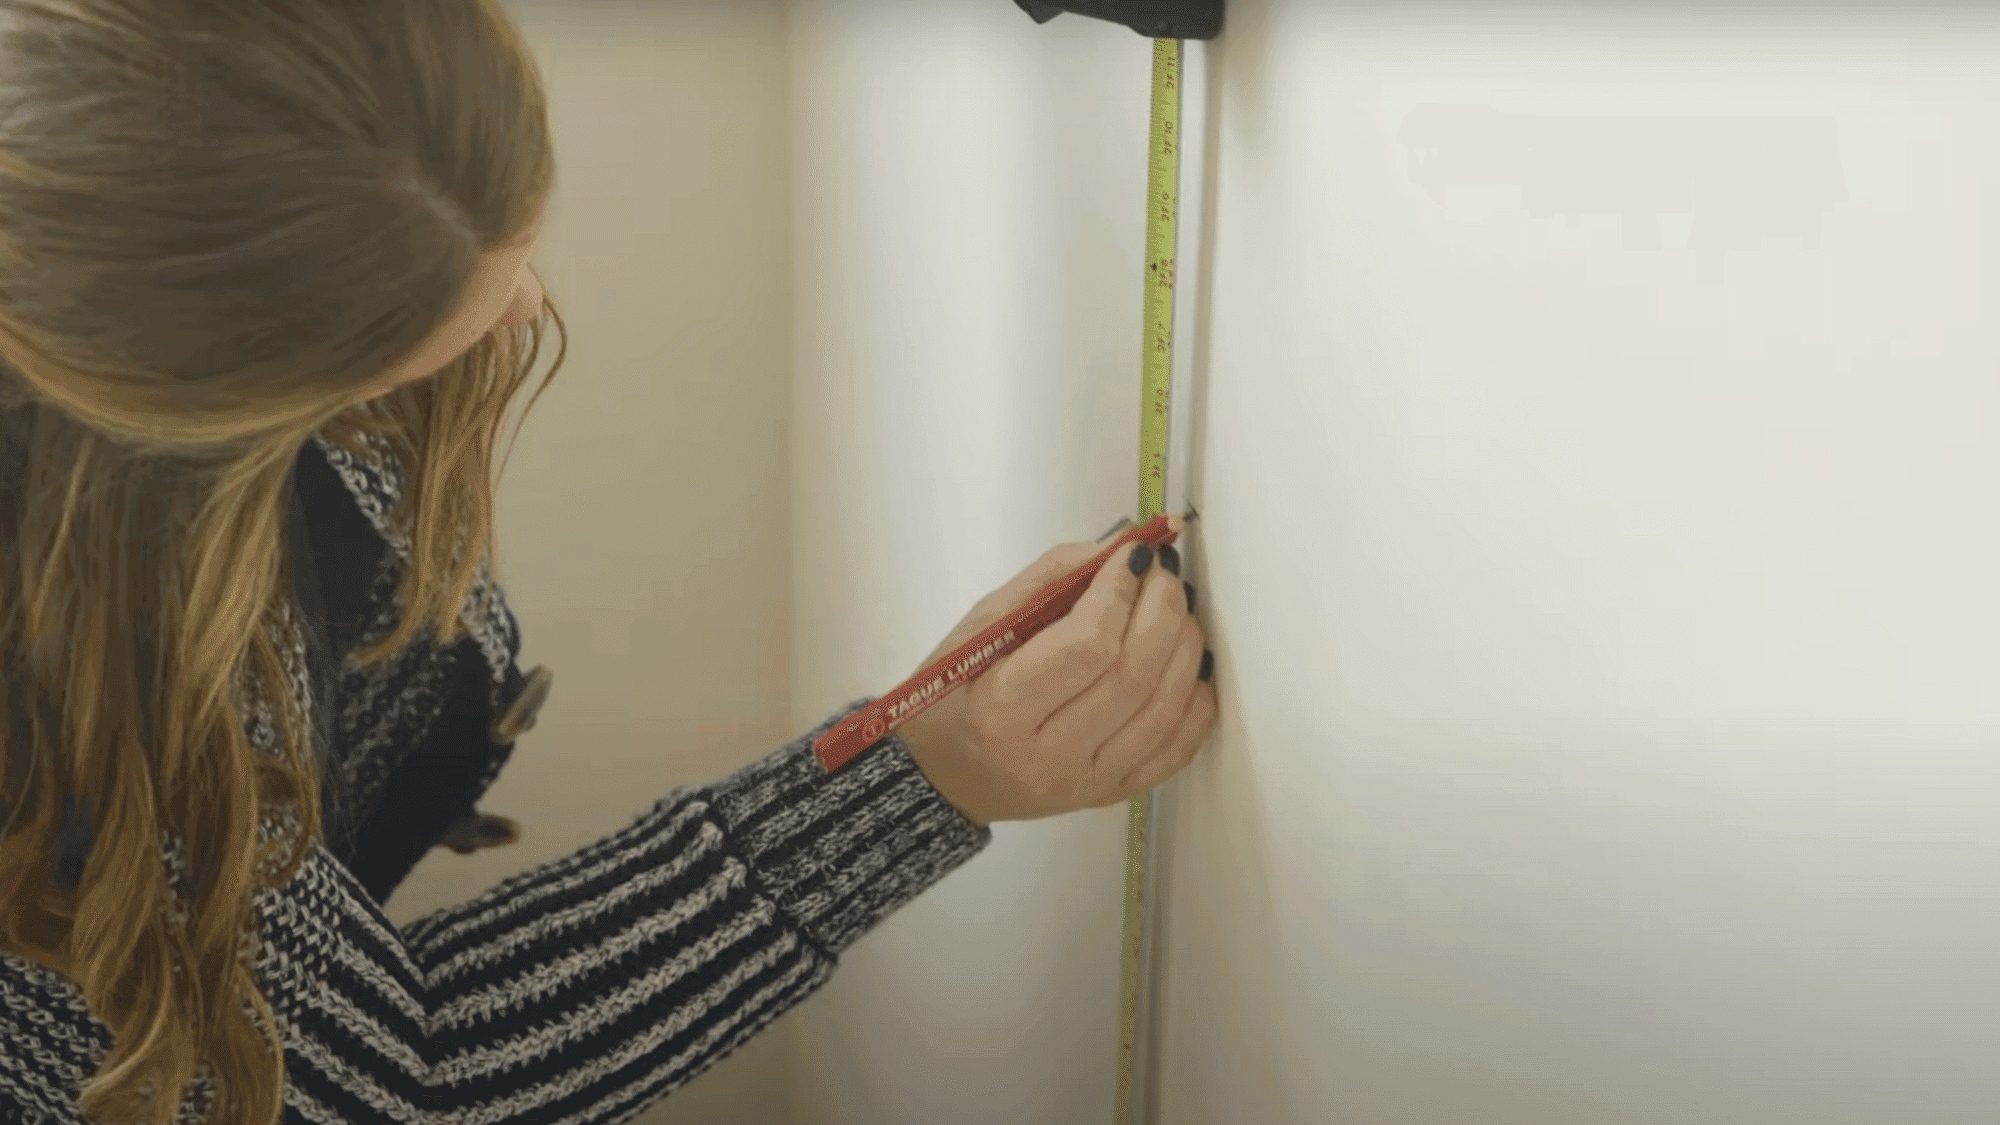
Carefully measure your wall to create a balanced layout. Sketch your design on paper first, focusing on symmetrical rectangular patterns that complement your space.
Use a level and pencil to mark horizontal and vertical guidelines directly on the wall. Take time during this planning phase—precision here ensures professional-looking results later.
Step 2: Install the Molding
Secure pre-primed molding pieces to your wall using a nail gun for efficiency or a hammer and finishing nails for a budget option.
Position each piece along your marked guidelines, checking for level as you work. Fill nail holes with wood putty and lightly sand when dry for an effortless finish.
Step 3: Add Decorative Appliques
Enhance corners and intersections with decorative millwork appliques to introduce architectural character. Apply wood glue to the back of each piece, press firmly into position, and secure with a few small nails if needed.
These small details dramatically change plain walls, adding historical reference and visual interest to your space.
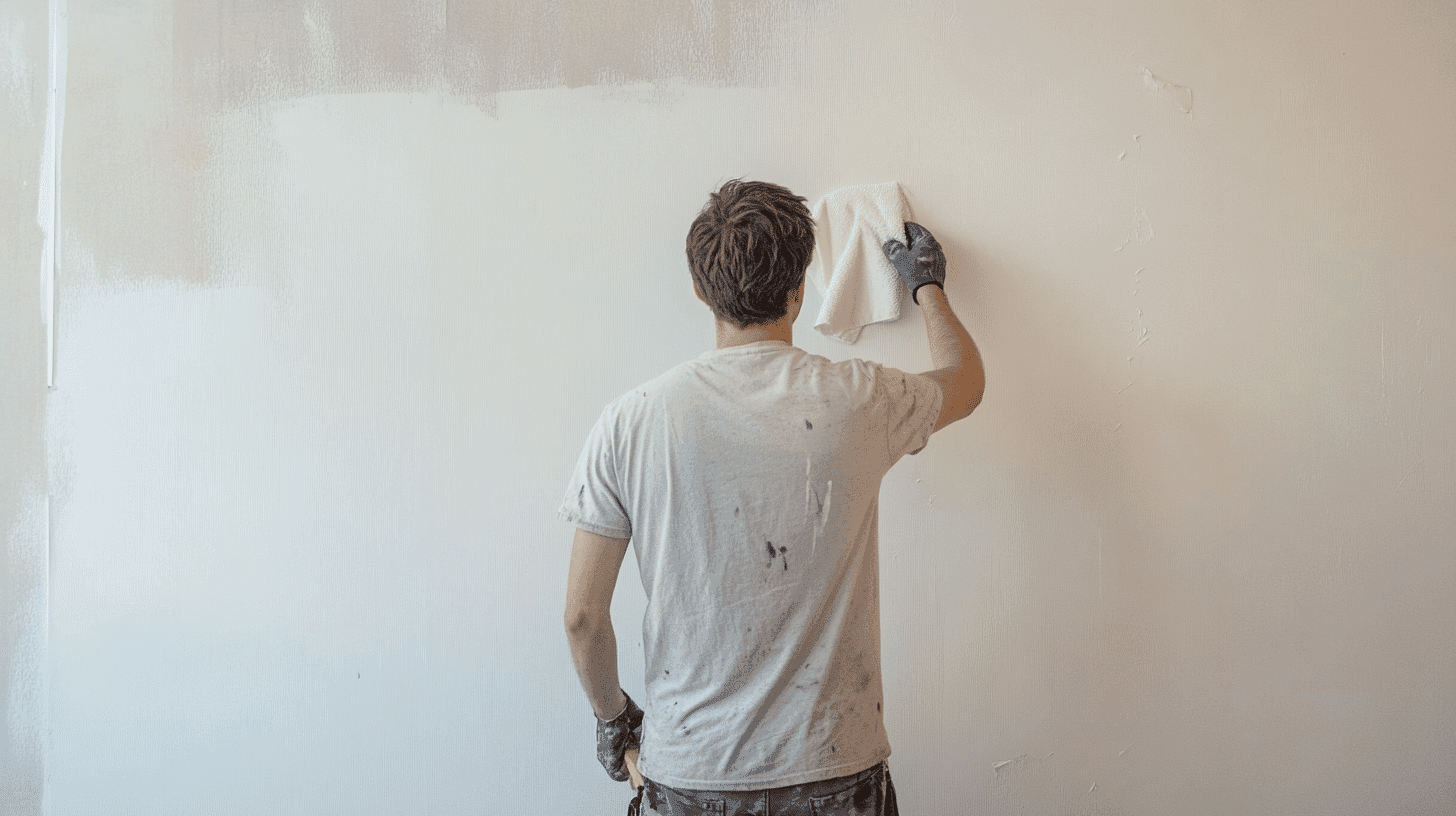
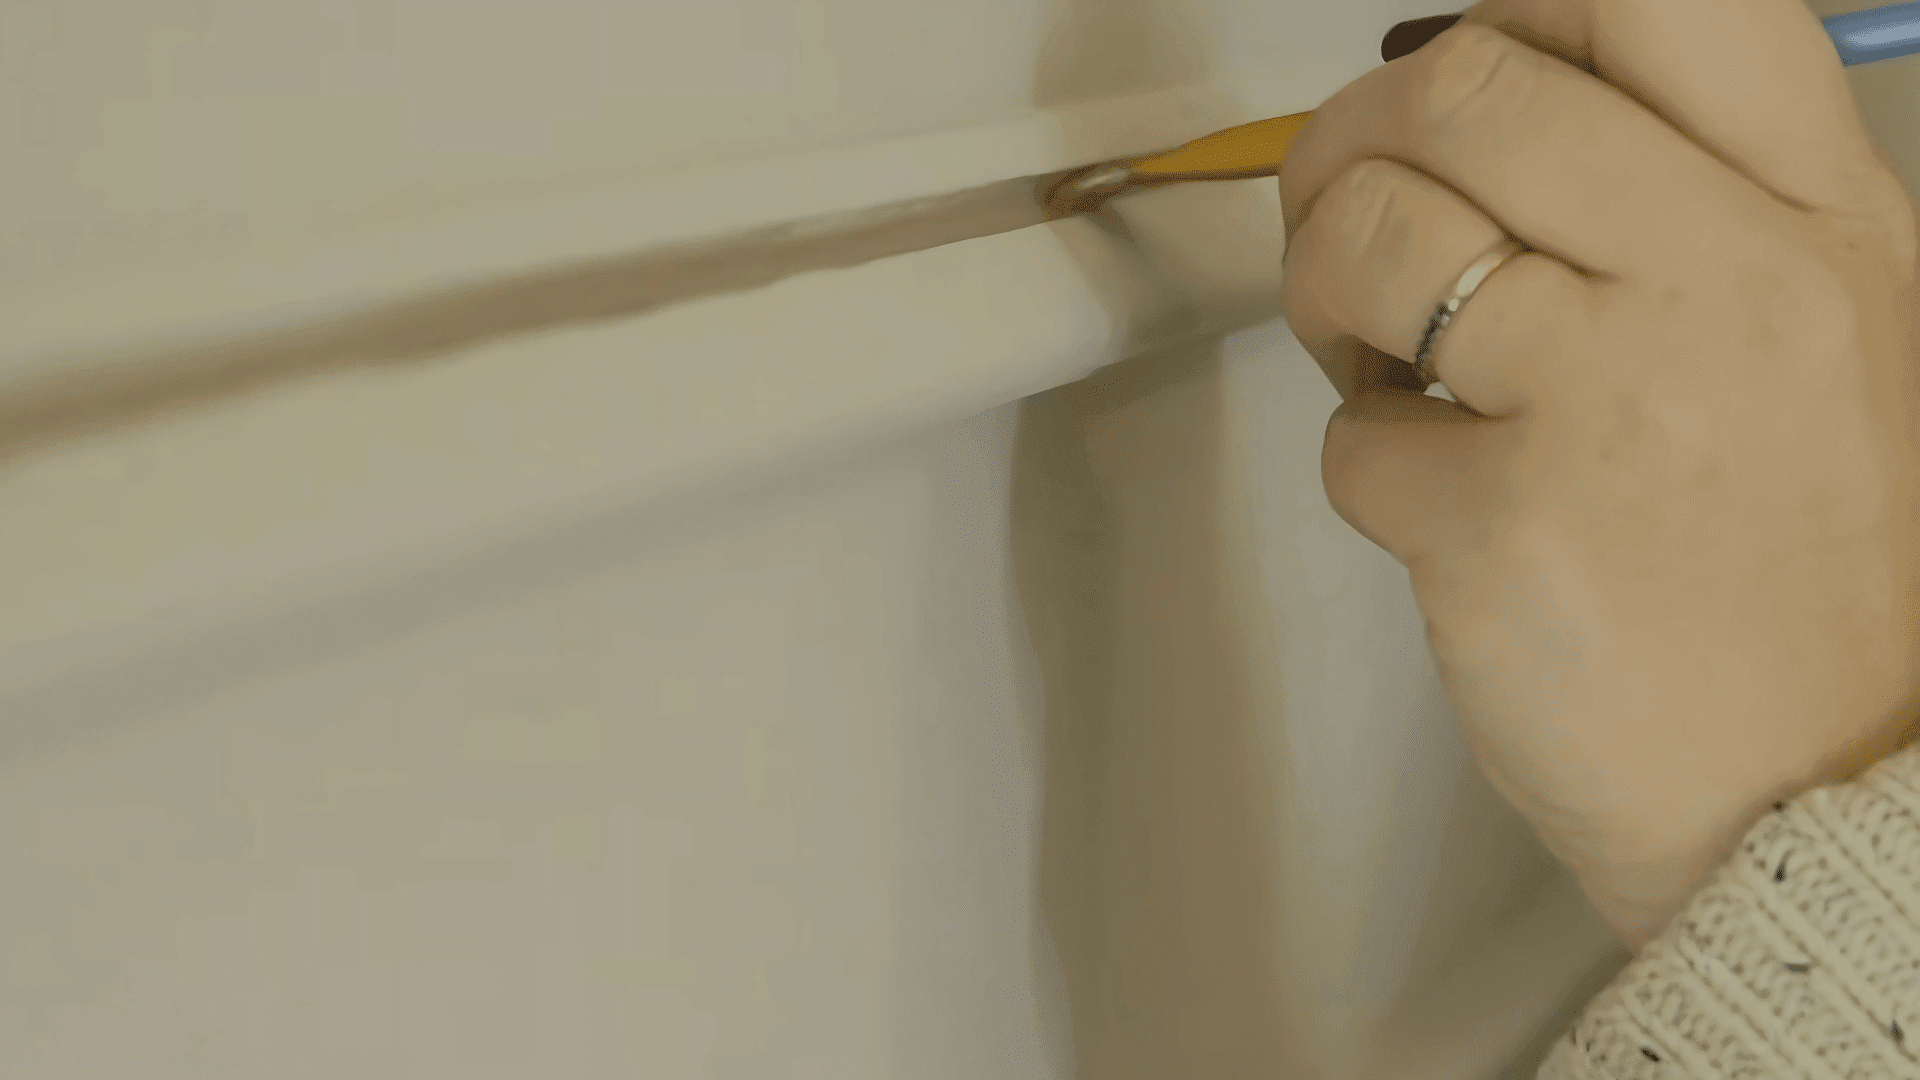
Step 4: Paint the Wall and Molding Together
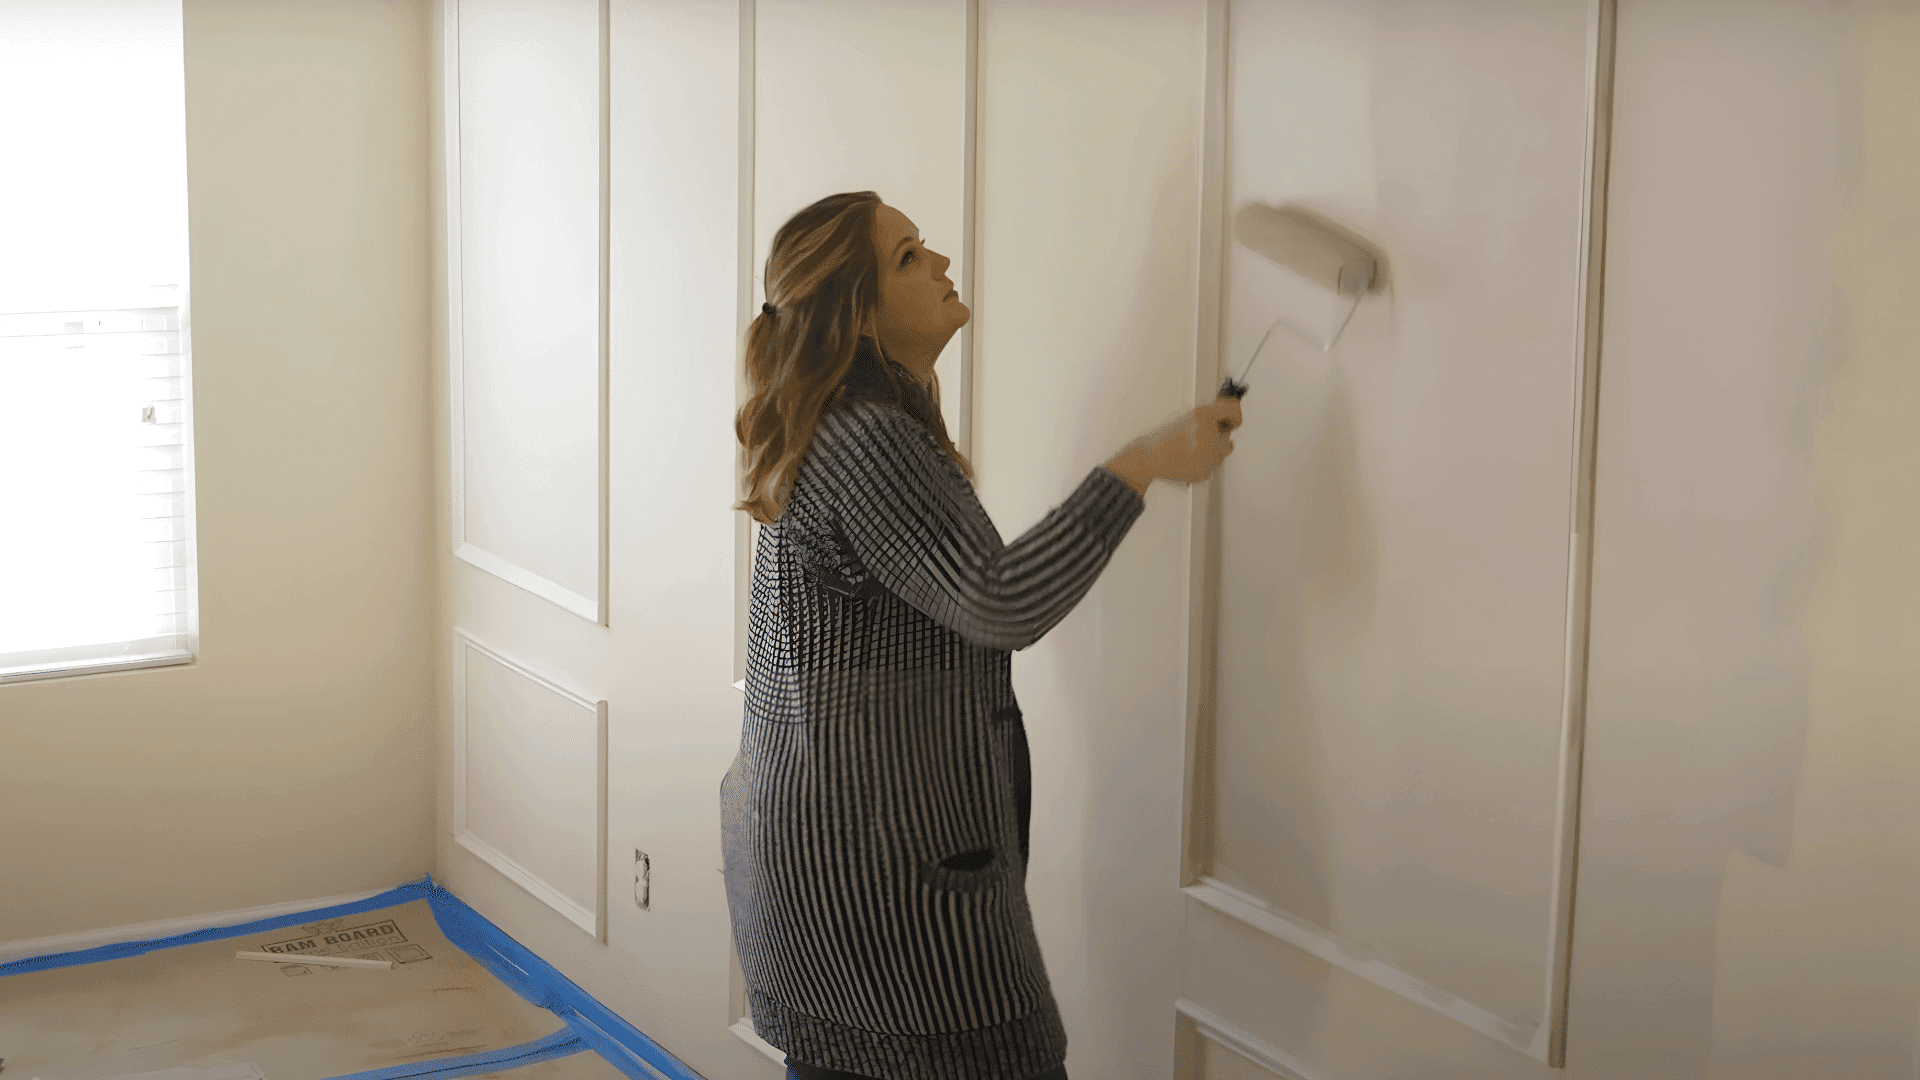
Choose a high-quality interior paint and apply it uniformly across both walls and molding. This monochromatic approach creates a refined, cohesive look while still highlighting the dimensional details.
Use a brush for molding edges and a roller for flat surfaces, applying two coats for best coverage.
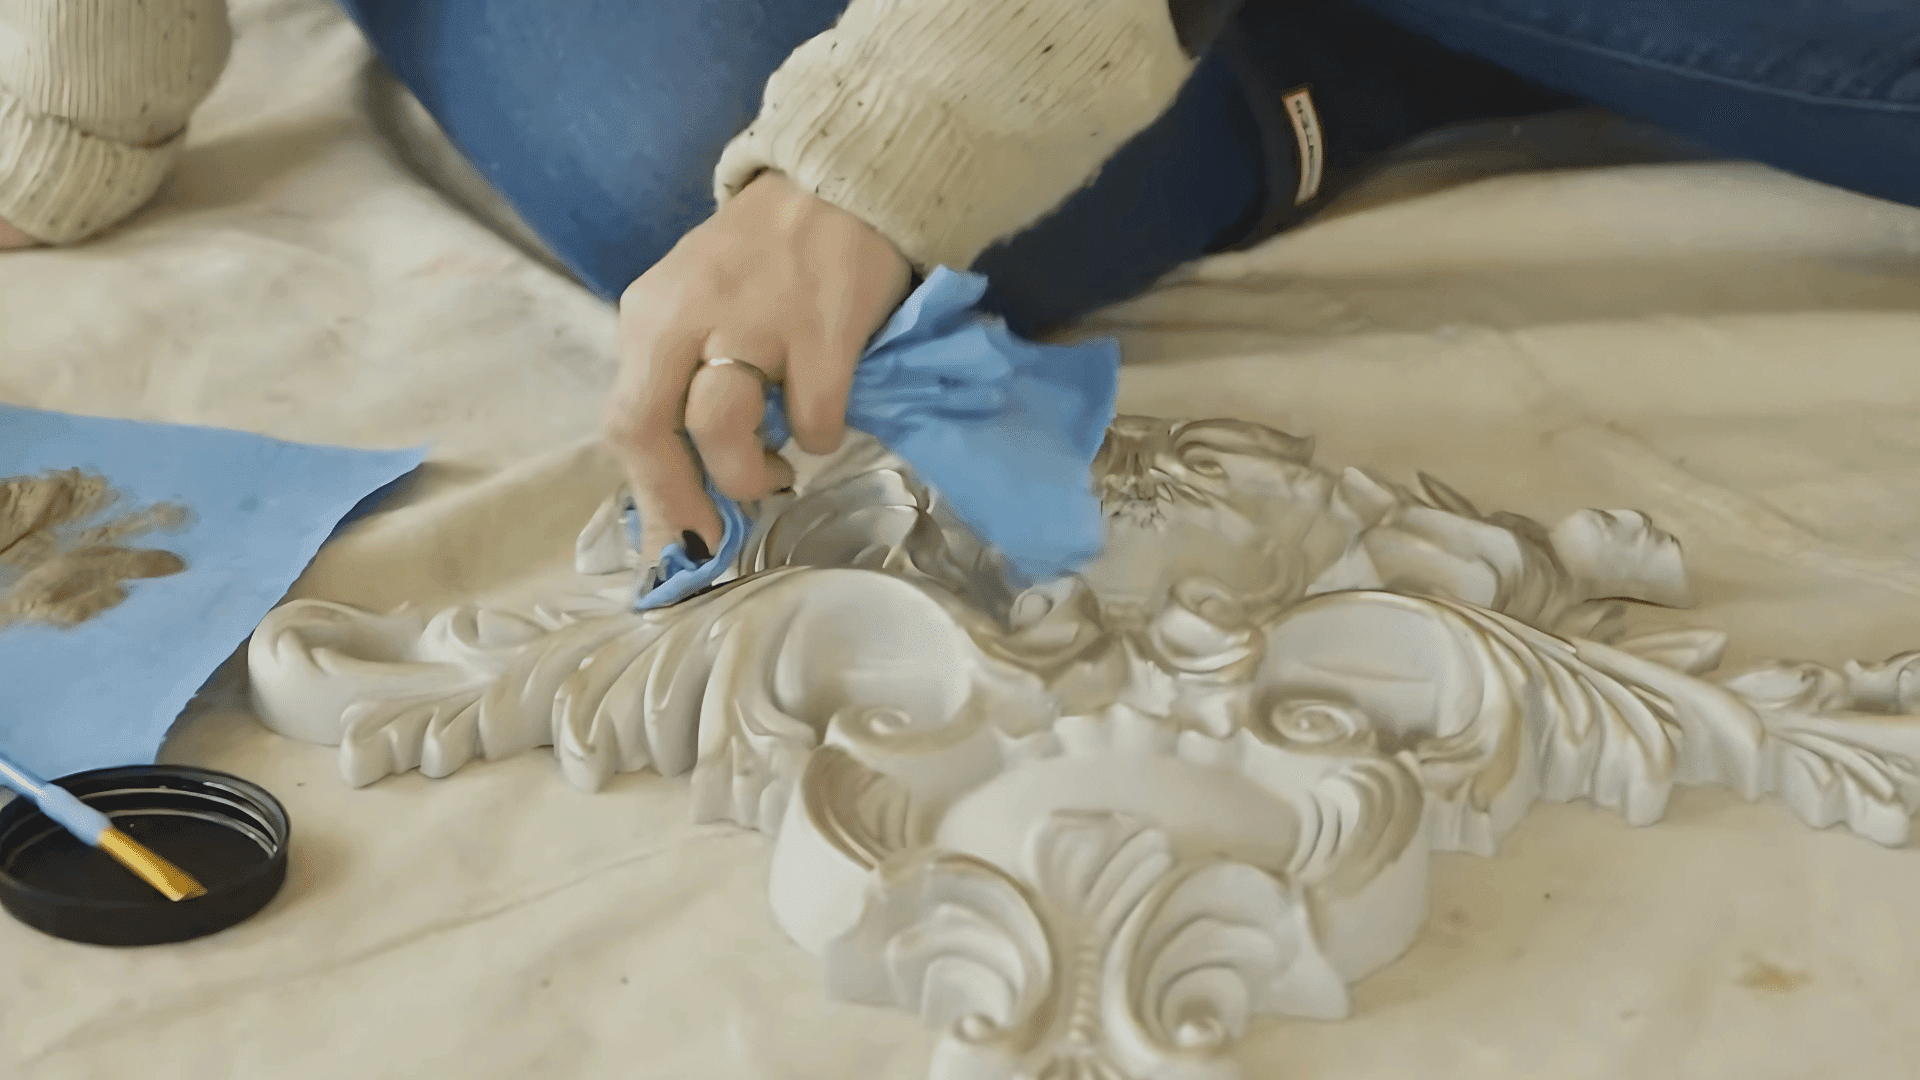
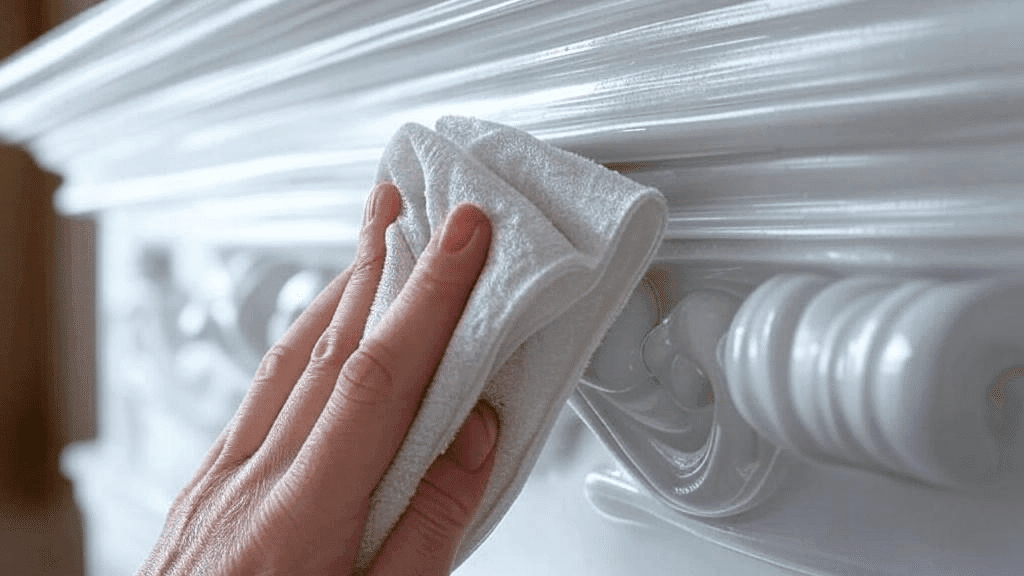
Step 5: Finish with a Touch of Metallic Glaze
Brush a thin layer of metallic glaze over the molding surfaces, working in small sections. Immediately wipe away excess with a clean cloth, leaving shimmer in the recessed areas.
This subtle finishing touch catches light beautifully, creating depth and dimension that promotes your DIY project to custom, designer-quality work.
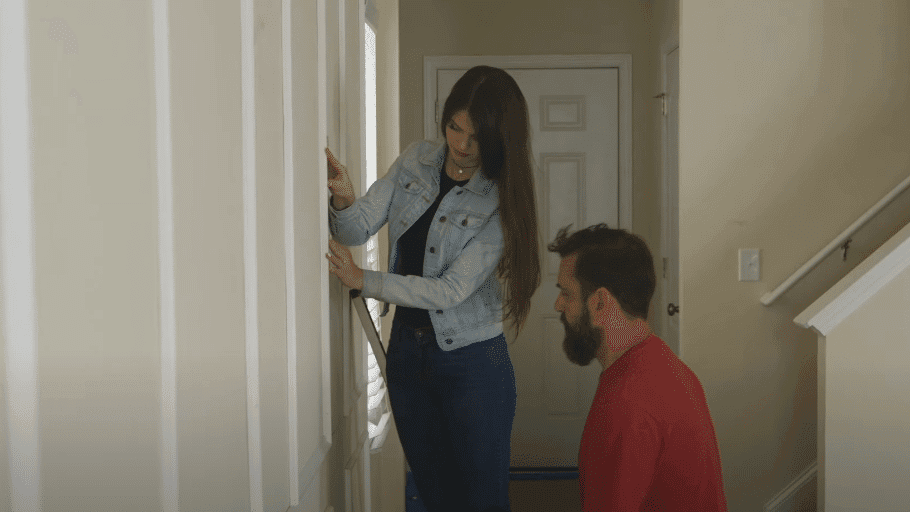
See the Process: DIY Wall Molding Tutorial
For a complete walkthrough, check out the video tutorial by Lowe’s Home Improvement.
Maintenance and Durability
While DIY wall molding adds undeniable grace, it’s natural to wonder about its upkeep and longevity. With the right care, your painted countertops can last for years, considering both maintenance and durability to keep them looking their best.
- Dust regularly with a soft cloth or vacuum brush to prevent buildup.
- To protect the surface from smudges, use a damp cloth and avoid abrasive cleaners or excess moisture, especially on wood or MDF.
- Use wood filler to fix small dents or chips, then sand smooth for an even surface.
- Regular touch-ups keep molding looking fresh, especially in high-traffic areas.
- The durability of your molding largely depends on the material:
Wood and MDF: Solid wood is strong but prone to dents and humidity changes; MDF is more stable but can be damaged by moisture if not well-sealed and painted.
PVC & Polyurethane: Highly durable, resistant to moisture, rot, insects, and impacts, making them ideal for high-humidity areas like bathrooms, kitchens, and basements.
In the end, the durability of your painted countertops depends on the materials you choose and how well you care for them. Regular cleaning, quick repairs, and touch-ups will keep your countertops looking great.
Wrapping It Up
Adding wall molding is more than just a DIY project; it’s a chance to enhance your home’s style and character.
Whether you choose durable PVC or classic wood, this simple upgrade brings lasting value with minimal effort. With the right installation and basic care, your molding will remain a timeless feature for years to come.
So, don’t hesitate to go on this rewarding DIY task. With planning and patience, you can successfully upgrade your space, one wall at a time, and enjoy a touch of grace that truly makes a difference without the cost of replacements.
Remember, patience is key—take your time during the process. Regular maintenance will keep your countertops looking great for years to come. So grab your supplies and get started—you’ll be shocked at the modification!
If you’re interested in more DIY projects for your home, feel free to click here and explore our collection of easy weekend makeovers and step-by-step renovation tutorials.

Stephanie Grace, a graduate with a degree in Fine Arts from the Savannah College of Art and Design, has been inspiring DIY enthusiasts with her creative and practical guidance for over 14 years. Her career in design and crafting began in a small artisan workshop, where she developed a passion for transforming everyday materials into beautiful and functional items. Stephanie joined our website in 2018, rapidly gaining popularity for her easy-to-follow DIY tutorials and innovative project ideas. Since then, she has been the creative mind behind our DIY section, helping readers bring their artistic visions to life. Outside her professional pursuits, Stephanie enjoys pottery and urban gardening, hobbies that showcase her love for hands-on creativity and nature.