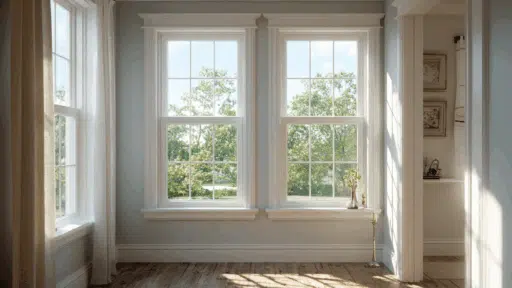
Mounting shelves, mirrors, televisions, or artwork transforms empty walls into functional, attractive spaces. However, improper installation can lead to damaged walls, broken possessions, or even injuries when heavy items come crashing down. Whether you’re a seasoned DIY enthusiast or tackling your first home improvement project, understanding proper wall-mounting techniques ensures your installations remain secure for years while protecting both your walls and the items you’re hanging.
Understanding Your Wall Type
Different wall constructions require distinct approaches and fixing methods. Identifying what lies behind your wall surface is the crucial first step before any installation.
Solid Walls vs Hollow Walls
Solid walls—typically brick, concrete, or dense blockwork—provide robust anchoring points that support substantial weight when appropriate fixings are used. Hollow walls, constructed from plasterboard over timber or metal studs, require specialised techniques since the surface material alone cannot bear significant loads.
Locating Studs and Joists
For hollow walls, finding the solid framework behind the plasterboard dramatically increases load-bearing capacity. Electronic stud finders work reliably, though you can also tap along walls listening for changes from hollow to solid sounds. Studs typically sit at 400mm or 600mm centres in UK construction, providing predictable anchor points once you’ve located one.
Choosing the Right Fixings
Selecting appropriate fixings for your specific wall type and load requirements prevents installation failures and ensures long-term security.
Weight Capacity Considerations
Always check manufacturer specifications for maximum load ratings. Remember that these figures assume perfect installation—real-world conditions often reduce capacity. Apply a safety margin by selecting fixings rated for at least 50% more than your item’s actual weight.
Hollow Wall Solutions
Plasterboard fixings come in various designs, each suited to different applications. Spring toggles provide excellent load distribution for heavier items, whilst metal cavity anchors work well for medium-weight installations. Self-drilling anchors offer convenience for lighter applications, though they provide less holding power than expansion-style alternatives.
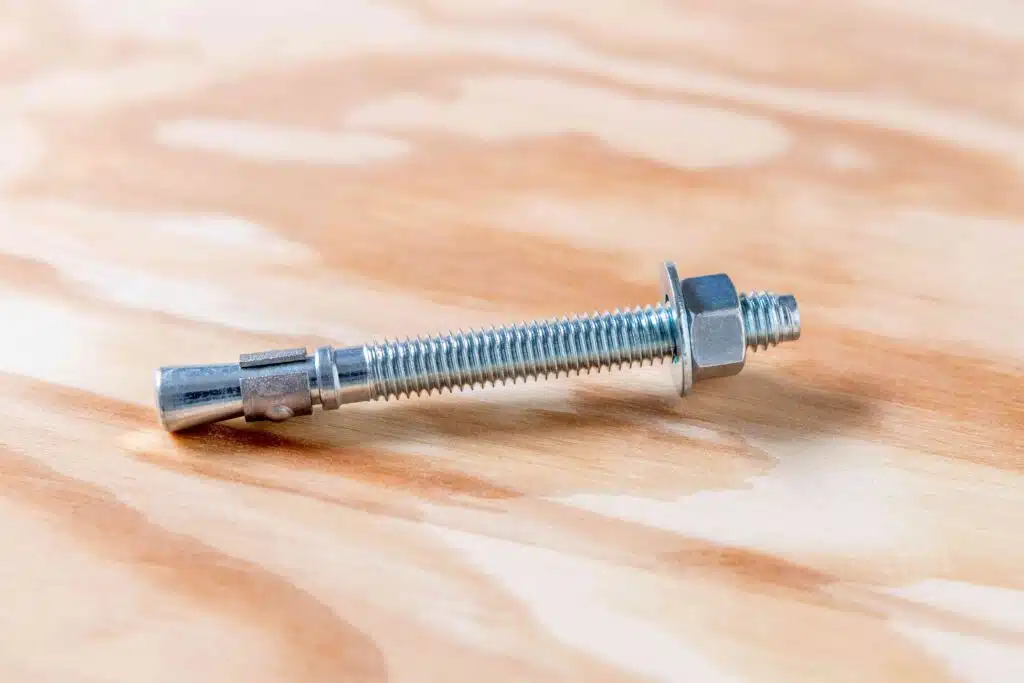
Solid Wall Options
Plastic wall plugs paired with screws remain the standard for solid walls. Select plug sizes matching your screw diameter, and ensure plugs sit flush with the wall surface. For very heavy items, resin anchors or expanding shield anchors provide maximum holding strength in masonry.
Proper Installation Techniques
Even the best fixings fail when installed incorrectly. Following proper procedures ensures secure, long-lasting installations.
Drilling Accurately
Mark fixing positions carefully, using spirit levels to ensure alignment. When drilling into solid walls, use masonry bits at appropriate sizes for your chosen plugs. For plasterboard, specialised bits prevent excessive damage to the surface material. Drill perpendicular to the wall surface—angled holes compromise fixing strength significantly.
Avoiding Common Mistakes
Never overdrill holes, as oversized openings prevent fixings from gripping properly. When installing into plasterboard, avoid over-tightening, which can strip the fixing or crush the board. For solid walls, ensure plugs sit completely within the wall rather than protruding, and always blow dust from holes before inserting plugs.
Testing Before Loading
After installation, gently test fixings before hanging items. Properly installed fixings should feel solid with no movement. Any looseness indicates problems requiring correction before you trust them with valuable or heavy items.
Distribution and Multiple Fixing Points
Spreading load across multiple fixings provides redundancy whilst reducing stress on individual anchor points.
Calculating Fixing Quantity
Light items (under 5kg) typically require one or two fixings, whilst medium-weight objects (5-15kg) benefit from two to three anchor points. Heavy installations exceeding 15kg should use at least three fixings, preferably more, with loads distributed evenly across all points.
Strategic Spacing
Position fixings to balance weight distribution naturally. For shelving, placing fixings near bracket ends prevents sagging whilst maintaining secure attachment. When mounting objects with uneven weight distribution, add extra fixings near heavier sections.
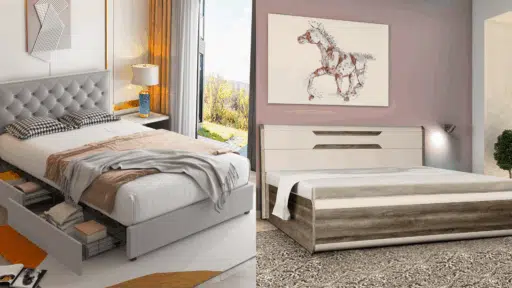
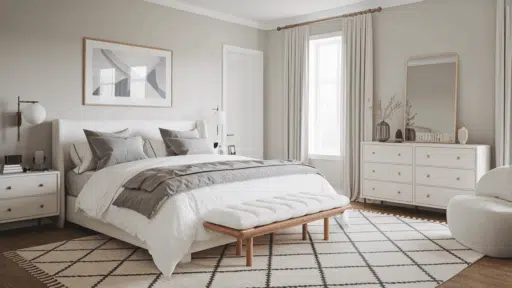
Special Considerations for Specific Items
Different items present unique challenges requiring tailored approaches beyond standard fixing techniques.
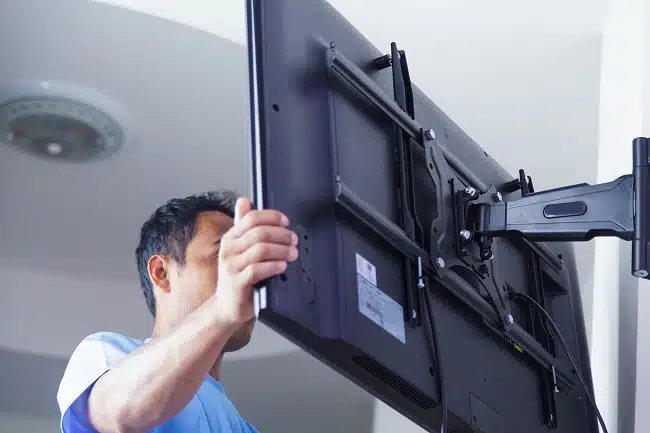
Television Mounting
Modern televisions combine substantial weight with high centres of gravity, creating significant stress on wall fixings. Always mount brackets to wall studs when possible, using multiple heavy-duty fixings. Check bracket specifications ensure compatibility with your television’s VESA mounting pattern and weight.
Bathroom Installations
Moisture affects fixing integrity over time, particularly in plasterboard walls. Use corrosion-resistant fixings and ensure adequate backing exists behind mounting points. Towel rails and toilet roll holders experience repeated stress, so select fixings rated for dynamic loads rather than static weight alone.
Kitchen Cabinets
Wall-mounted kitchen units carry considerable weight when fully loaded. Attach cabinet rails or brackets to wall studs wherever possible, using multiple fixing points across each unit’s width. Account for maximum potential load—fully stocked cupboards weigh far more than empty ones.
Frequently Asked Questions
How do I know if my wall can support heavy items?
Identify your wall type first—solid walls generally support more weight than hollow constructions. For plasterboard walls, mounting directly to studs provides maximum strength, whilst appropriate cavity fixings allow secure mounting between studs for lighter items.
What weight can plasterboard walls hold?
Standard 12.5mm plasterboard with quality spring toggle fixings can support 15-20kg per fixing point. However, mounting directly to studs increases capacity to 30kg or more per fixing. Always distribute weight across multiple fixings for heavy items.
Can I reuse holes if a fixing fails?
Avoid reusing failed fixing holes, as the surrounding material is already compromised. Position new fixings at least 50mm away from damaged areas. For plasterboard, you may need to patch and reinforce damaged sections before attempting new installations.
Do I need special tools for wall mounting?
Basic installations require only a drill with appropriate bits, screwdriver, spirit level, tape measure, and pencil. A stud finder proves invaluable for hollow walls, whilst masonry bits are essential for solid walls. More complex projects might benefit from SDS drills for heavy-duty solid wall applications.
How do I remove wall fixings without damage?
For solid walls, unscrew fixings and leave plugs in place if not visible, as removal often enlarges holes unnecessarily. Plasterboard fixings should be unscrewed carefully—some types can be removed cleanly, whilst others require pushing through the cavity and patching holes afterwards.
Ensuring Safe, Secure Installations
Properly mounting items to walls requires understanding your wall construction, selecting appropriate fixings, and following correct installation procedures. Whilst the process might seem straightforward, attention to detail separates secure, professional-looking installations from potential failures. Investing time in proper preparation, using quality materials, and following proven techniques ensures your wall-mounted items remain safely in place, protecting both your possessions and your home’s structural integrity for years to come.

With a Master’s in Architecture from the University of California, Berkeley, Mitchell Green has spent over two decades dedicated to the study and practical application of home fixture design. His career started in an architectural firm, providing him a strong foundation in the structural and aesthetic aspects of home interiors. Mitchell brought his comprehensive knowledge to our platform, where he has been an influential voice in our home fixtures and fittings section. Since 2018, he has been guiding our readers through the intricacies of selecting and installing fixtures, combining technical know-how with design flair. In his spare time, Mitchell is a keen photographer, capturing architectural details and design elements, an interest that complements his professional focus.