
Quick Answer
Managing snow effectively isn’t just about clearing pathways – it’s about preventing damage, ensuring safety, and minimizing long-term wear on surfaces. Ice buildup under snow can crack concrete, while uneven clearing leaves hazardous patches.
Proper technique involves removing snow before it compacts, using the right tools for the job, and understanding how temperature shifts affect ice formation. Planning ahead, maintaining equipment, and knowing when to stop shoveling to avoid injury are all part of responsible winter maintenance. Communities that prioritize consistent, thoughtful snow care see fewer accidents and lower repair costs over time.
Introduction
Winter in Canada doesn’t arrive with a warning – it shows up quietly, then overwhelms. One light flurry can turn into a week-long challenge if not managed with intention. For homeowners, property managers, and small business operators alike, the real cost of snow isn’t the effort it takes to remove it – it’s what happens when you wait too long, use the wrong tools, or treat it as a chore rather than a system to manage.
That’s why many professionals turn to trusted resources for guidance – whether it’s understanding how moisture interacts with subfreezing surfaces or learning how to distribute salt without harming landscaping. Learn more about the science behind winter maintenance through practical, field-tested approaches.
The shift from reactive clearing to proactive management begins with awareness. It’s not about working harder – it’s about working smarter. And that starts with the right strategies and snow removal tips.
Core Strategies for Professional Snow Management
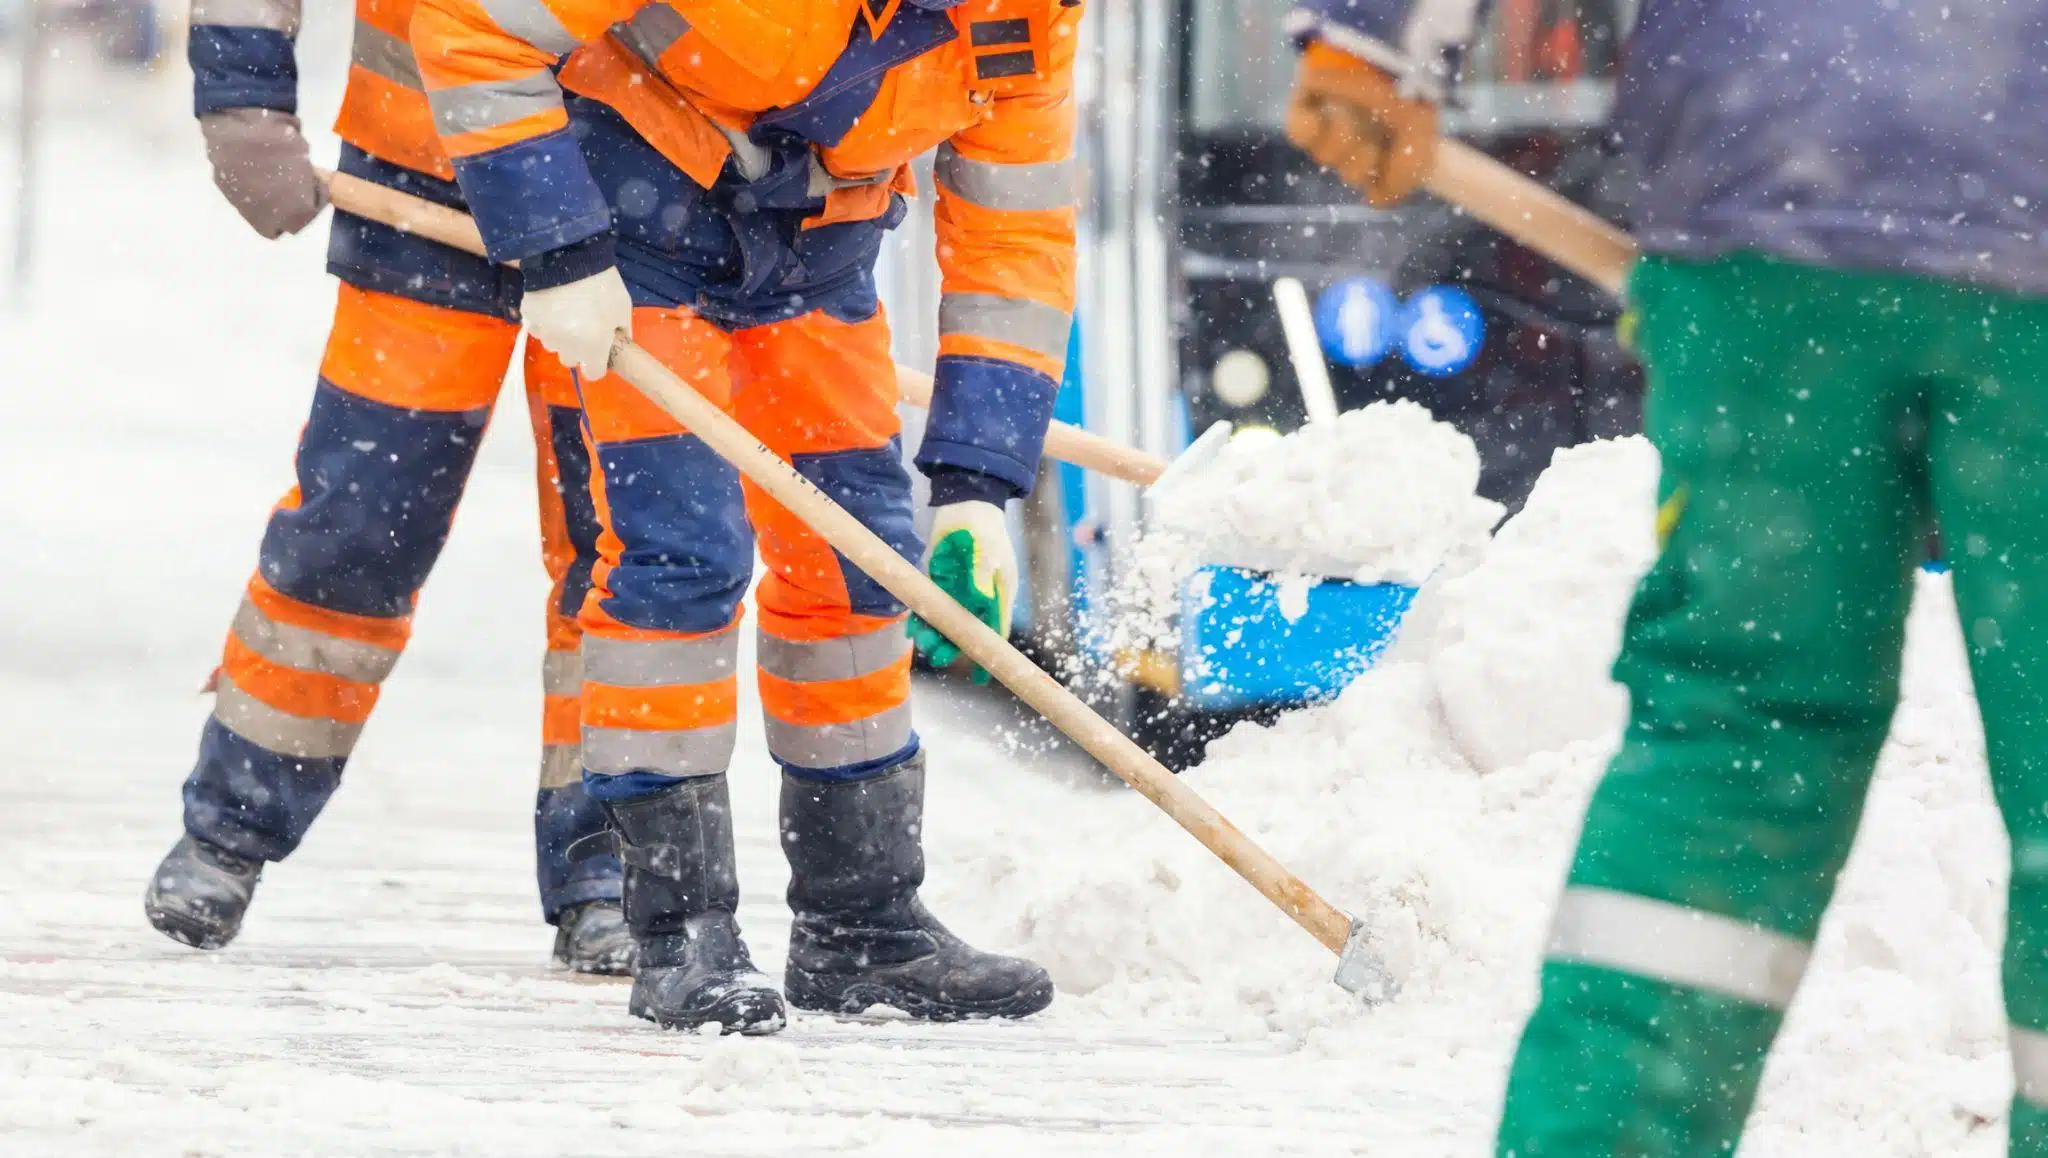
Clear Early, Clear Often
Don’t wait for snow to pile up. Removing it in layers – especially before it melts and refreezes – prevents compaction and makes the job easier. Aim to clear after every 5 cm of accumulation.
Prioritize Safety Zones First
Focus on high-traffic areas: front steps, walkways to the garage, entrances for emergency access, and paths to outdoor bins. Clear these before tackling the rest of the property.
Push, Don’t Lift
Whenever possible, push snow sideways instead of lifting it. This, along with other efficient snow-clearing techniques, reduces strain on your back and shoulders. Use a shovel with a curved handle to maintain a neutral spine.
Use Surface-Friendly Techniques
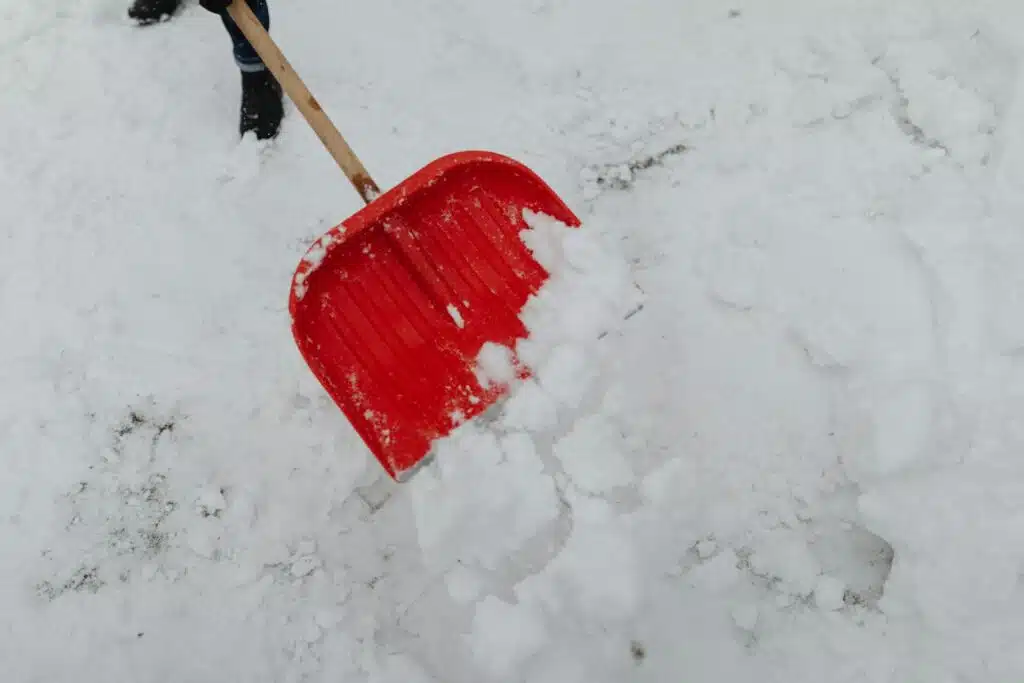
Avoid metal blades on concrete or asphalt. Plastic or poly blades are gentler and just as effective for most residential snow. Save metal tools for breaking ice – never for routine clearing.
Apply Traction, Not Just Salt
Sand, kitty litter, or non-clumping birdseed provide grip on icy patches without damaging surfaces or harming pets. Use salt only after snow is removed, and sparingly – no more than a handful per square metre.
Work With the Weather, Not Against It
If temperatures are near freezing, snow is more likely to stick. Clear early in the morning before daytime thaw begins. If it’s below –10°C, wait until the sun warms surfaces slightly to avoid ice bonding.
Timing and Monitoring: When to Act and How to Stay Ahead
Track the Real-Time Forecast, Not Just the Prediction
Don’t rely solely on daily outlooks. Use hyperlocal apps or municipal weather alerts that show snowfall rate, wind speed, and freeze-thaw cycles. A slow 1 cm/hour fall is manageable; a sudden 10 cm in two hours isn’t.
The 5 cm Rule
Once snow reaches 5 cm, foot traffic begins to compress it. That’s when it starts turning into ice. Clear before this threshold – not after. Early action saves hours of labor later.
Set a Personal Snow Schedule
If storms often hit overnight, make clearing part of your morning routine. If your driveway collects wind-driven drifts after 4 p.m., schedule a quick sweep then. Consistency beats intensity.
Log Your Patterns
- Keep a simple notebook – or even a phone note – recording:
- Date and time of each clearing
- Snow depth before and after
- Tools used
- Any ice formation spots
Over time, you’ll see where and when problems recur – and adjust accordingly.
Use the “One Sweep” Rule for Light Snow
After a brief flurry, don’t wait. A single pass with a push broom or small shovel prevents bonding. This is where time-saving snow removal tips make the biggest difference – small efforts, repeated, prevent big problems.
Watch for Thaw-Refreeze Cycles
A midday thaw followed by a night freeze creates invisible black ice. Check shaded areas, garage entrances, and north-facing paths the next morning. A quick scrape with an ice scraper beats slipping on a hidden sheet.
Don’t Wait for Perfect Conditions
There’s no ideal time to clear snow – only the best time to act. Waiting for the storm to end means you’re clearing frozen slush, not snow, which makes it harder for creative snow removal ideas to work. Start early. Finish early. Sleep better.
Common Mistakes and How to Avoid Them
Overusing Ice Melt
Salt and chemical de-icers don’t prevent snow from sticking – they only break ice after it forms. Sprinkling them generously before or during snowfall wastes product, damages concrete, and harms plants and pets. Use only after clearing, and only on stubborn patches – no more than a coffee mug’s worth per 10 square metres.
Ignoring the Layer Beneath
Many assume clearing the top layer is enough. But if snow melts and refreezes underneath, it creates a slick, invisible ice sheet. Always check for hardness underfoot after a thaw, especially near garages, porches, and shaded walkways.
Using the Wrong Blade Material
Metal shovels may feel more durable, but they scratch asphalt and concrete over time. Plastic or poly blades are lighter, gentler, and just as effective for pushing snow. Reserve metal for breaking ice – never for routine clearing.
Trying to Clear Everything at Once
Waiting until a storm ends and then tackling the entire property in one go leads to fatigue, uneven results, and back injuries. Break it into stages: priority paths first, then driveways, then less-used areas. Let snow settle slightly between passes – it’s often lighter and easier to move.
Neglecting Tool Maintenance
A cracked shovel handle, a clogged snow thrower chute, or a rusted spreader isn’t just inconvenient – it’s dangerous. Clean tools after each use. Store them indoors. A quick wipe and a drop of oil in the fall can extend their life by years.
Assuming Last Year’s Plan Still Works
Snow patterns change. New landscaping, shifted drainage, or even a different roof overhang can alter where drifts form. Reassess your property each season. What worked in 2023 may create hazards in 2025.
Relying on “It’ll Melt Soon”
Snow doesn’t always melt quickly in Canadian winters. Even a few centimetres left untouched for 48 hours can bond to surfaces and become a long-term problem. Don’t gamble with weather – act with intention.
Final Thoughts: Building a Sustainable Winter Plan
Snow management isn’t about perfection – it’s about persistence. The most successful winters aren’t the ones with the least snow, but the ones where you’ve built a quiet, reliable system with residential snow removal hacks that keeps people safe and surfaces intact.
Start small: clear high-traffic areas after each storm, use the right tool for the job, and avoid overusing ice melt. Don’t wait for the storm to end before you act – early, light clearing prevents the heavy lifting later. Involve others in your household or property so the work doesn’t fall to one person. Store and maintain your tools properly so they’re ready when you need them.
And remember, you’re not fighting winter – you’re living through it. The goal isn’t to erase the snow, but to move through it without damage, injury, or stress. When you treat snow care as a rhythm, not a race, winter becomes manageable. Not just bearable. Manageable.

Journalist Chloe Rivera studied at the University of Missouri and has covered mindful, stylish living since 2013. She joined us in 2025 to curate realistic routines, budget-friendly décor, and community stories that help readers craft balance without perfection pressure. When offline, Chloe volunteers at urban farms, photographs street style, and hosts weekend swap parties for preloved clothes and books in her neighborhood.


