From Kitchen Counter to Salad Bowl: The Home Microgreen Setup That Every Busy Person Can Do

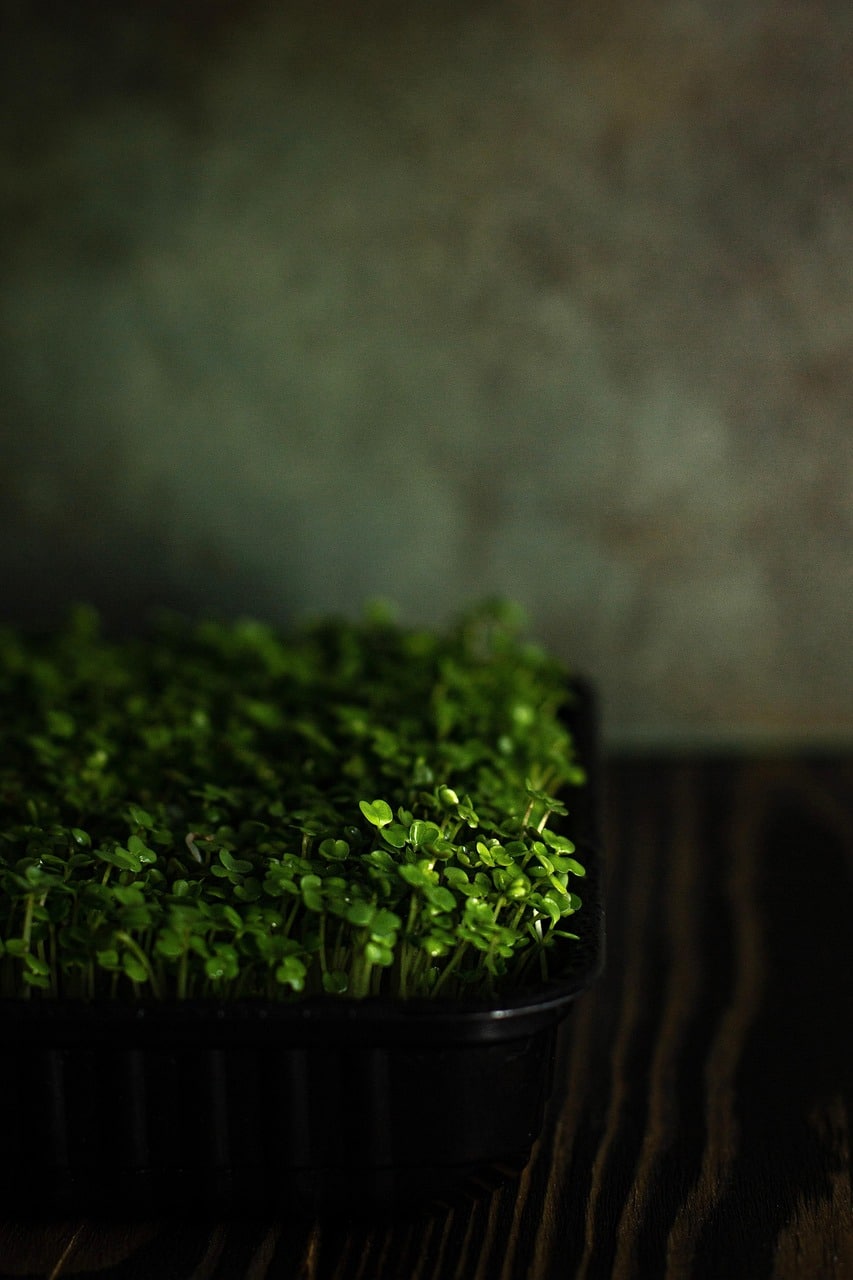
Image by Tikovka1355 from Pixabay
Even if you live in a small apartment or barely have time to cook, you can still grow fresh greens right on your kitchen counter. Microgreens – the tiny plants harvested just days after sprouting – don’t require a garden or any special tools. With a little preparation, you can enjoy crisp, nutrient-rich greens in less than two weeks.
Simple Home Microgreen Setup
Creating a home microgreen garden is straightforward and affordable. You will need:
- A shallow tray or container – reusable food trays or a microgreen kit work well.
- Potting soil or coconut coir – about one inch deep in each tray.
- Microgreen seeds – for example, radish, broccoli, or pea shoots.
- Spray bottle and scissors – for watering and harvesting.
- (Optional) LED grow light – only if your kitchen gets very little sunlight.
This whole setup can cost less than £40 (around $54) and takes up about the same space as a chopping board on your counter.
Finding the Right Spot
Microgreens grow best with consistent light and moderate humidity. Place your tray near a bright window that gets a few hours of indirect light each day.
Be sure to avoid heat sources like stoves or dishwashers, which might dry out or overheat the plants.
If your kitchen lacks natural light, use a small LED grow lamp about 6 to 12 inches above the tray.
It’s also a good idea to put a waterproof mat under the container to protect your counter from any moisture.
Step-by-Step: From Seeds to Greens
- Prepare the container: Fill your tray with about an inch of soil or coconut coir, then gently level the surface. It should be even but not tightly packed (a bit of air helps the seeds sprout).
- Sow your seeds: Scatter the microgreen seeds evenly across the top of the soil. Don’t worry about spacing too much – microgreens actually grow well when planted densely. Roughly a tablespoon of seeds can cover a standard tray.
- Mist and cover: Use a spray bottle to mist the seeds and soil surface until it’s evenly damp (but not waterlogged). Then cover the tray with a lid, another inverted tray, or even a loose piece of plastic for the first 2–3 days. This cover helps lock in moisture and encourages the seeds to germinate.
- Uncover and provide light: Once you see tiny shoots peeking out (usually after a couple of days), remove the cover and move the tray to your chosen well-lit spot. Continue misting once a day to keep the soil moist, but be careful not to soak it. Now is also the time to turn on your grow light if you’re using one.
- Harvest and enjoy: After about 7 to 10 days, your microgreens should be 2 to 3 inches tall and ready to harvest. Use scissors to cut them just above the soil line. Give the harvested greens a gentle rinse, pat them dry, and they’re ready to eat fresh. Toss them into salads, sprinkle on sandwiches, or use as a garnish on just about any dish for a nutritious crunch.
- Clean and repeat: Once you’ve harvested, compost or dispose of the leftover soil and seed roots. Rinse out the tray, and it’s ready for the next planting. Many home growers keep a couple of trays in rotation – starting a new batch every few days – to enjoy a continuous supply of microgreens. As one tray is being harvested, the next one is already sprouting.
Understanding Microgreens
Microgreens are young vegetable greens harvested soon after germination, typically when the first set of true leaves appears. They grow in a shallow layer of soil or growing medium, and you harvest only the stems and leaves, not the roots.
These shouldn’t be confused with sprouts (which are germinated seeds usually grown in water and eaten whole, root and all). When comparing sprouts vs microgreens, we find that microgreens often have higher concentrations of nutrients and more developed, intense flavors because they’re grown in light and allowed to photosynthesize.
What makes microgreens especially appealing is their rapid growth cycle, high nutrient density, and versatility. Because microgreens get ample light as they grow, they develop vibrant colors, distinct textures, and bolder tastes than many mature greens.
All these qualities make microgreens ideal for compact indoor gardens. With minimal space and effort, you can have a handful of fresh greens that add flavor, nutrients, and visual appeal to your meals.
Time, Cost, and Convenience
Growing microgreens at home fits easily into even the busiest routine. A single tray of microgreens yields enough greens for several meals and costs less than buying a pre-packaged clamshell at the store. Better yet, the process takes only a few minutes of active work.
After the quick initial setup, all you need to do is mist the tray once a day and watch your little garden grow. Within a week or so, you’ll be harvesting, which is immensely satisfying given the minimal time and money invested.
Keeping Your Greens Fresh
Once you harvest your microgreens, you’ll want to keep them fresh. The best method is to store them in a sealed container lined with a paper towel (the paper towel will absorb excess moisture).
This way, your microgreens stay crisp in the refrigerator for about five days. If you find yourself harvesting more than you can use at once, don’t worry – they’ll hold up for several days when stored properly.
For a steady supply without any waste, you can start a new tray every few days. That simple rotation means as soon as one batch is finished (or even before), the next batch is ready to harvest, so you’re never out of fresh greens.
Why Microgreens Are Worth It
Microgreens offer exceptional nutrition in a tiny package. In fact, studies have found that these little greens can contain significantly more nutrients than their fully-grown counterparts. For example, red cabbage microgreens pack about 40 times more vitamin E and six times more vitamin C than mature red cabbage. They’re also loaded with antioxidants, and incorporating microgreens into your diet may support heart health and immune function.
There’s also a sustainability and cost angle: growing your own microgreens means less plastic packaging and fewer trips to the store. You snip off exactly what you need, so there’s very little waste.
All of this makes home-grown microgreens a truly rewarding way to get more veggies into your diet without a lot of hassle.
Bringing Nature Indoors
Finally, a microgreen setup is more than just a source of food – it brings a touch of nature and a splash of green into your living space.
There’s something very uplifting about seeing new growth each day. Checking on your sprouts every morning can give a small sense of calm and accomplishment before the rush of your day begins.
And unlike big, time-consuming indoor gardening projects, this little indoor garden practically takes care of itself. By bringing some green into your home in such an easy way, you add a bit of peace and vitality to your environment, proving that even a busy life and a small space can bloom with a little effort and a few seeds.


