I always assumed that the right way to paint your cabinets is to sand and prime them. However, the burning question people posed was, “Is there an easier way to paint the cabinets?”
With that in mind, I decided to buy a new house with ugly, outdated cabinets. It was a sacrifice, but one I was willing to make for you guys.
Much to my surprise, I found out that painting your cabinets without sanding and priming is actually far easier than doing it with them.
In this guide, I will share with you the process of painting your cabinet without sanding and priming, as well as tips and tricks for making it stylish.
You will learn how to go through such a process and realize that this will become your favorite way of painting your cabinets. So, let’s get started!
Benefits of Painting Cabinets Without Sanding and Priming
If you think skipping primer and sanding is just a shortcut, think again. You can paint your cabinets on a budget and avoid making a mess in your home.
Best of all? The results can be just as beautiful, and even more durable, than the traditional method.
- Budget-friendly and mess-free – No sanding dust or extra primer coats needed.
- Faster and easier – This method saves time and energy.
- Smooth, professional finish – With the right paint, results look clean and even.
- Durability that lasts – Paint holds up for years, just like with primer.
- Longer-lasting finish – Some paints made for cabinets bond better without primer.
Painting your cabinets without sanding or priming isn’t cutting corners—it’s just a smarter, simpler way to get a lasting, stylish finish.
Tools and Materials You’ll Need
Before beginning the process, it is essential to obtain the supplies for your cabinets. After all, you can’t paint your cabinets without your brush.
- Paint Brush
- Cloth
- Gloves
- Valspar Oil Enriched Enamel
- Sherwin-Williams Pure White (SW-7005)
- Savogran Liquid TSP Substitute
- Plastic wood filler
- Painter’s Tapes
- Six-inch Roller
- 3-8 inch ceiling nap
- Handy Paint Cup
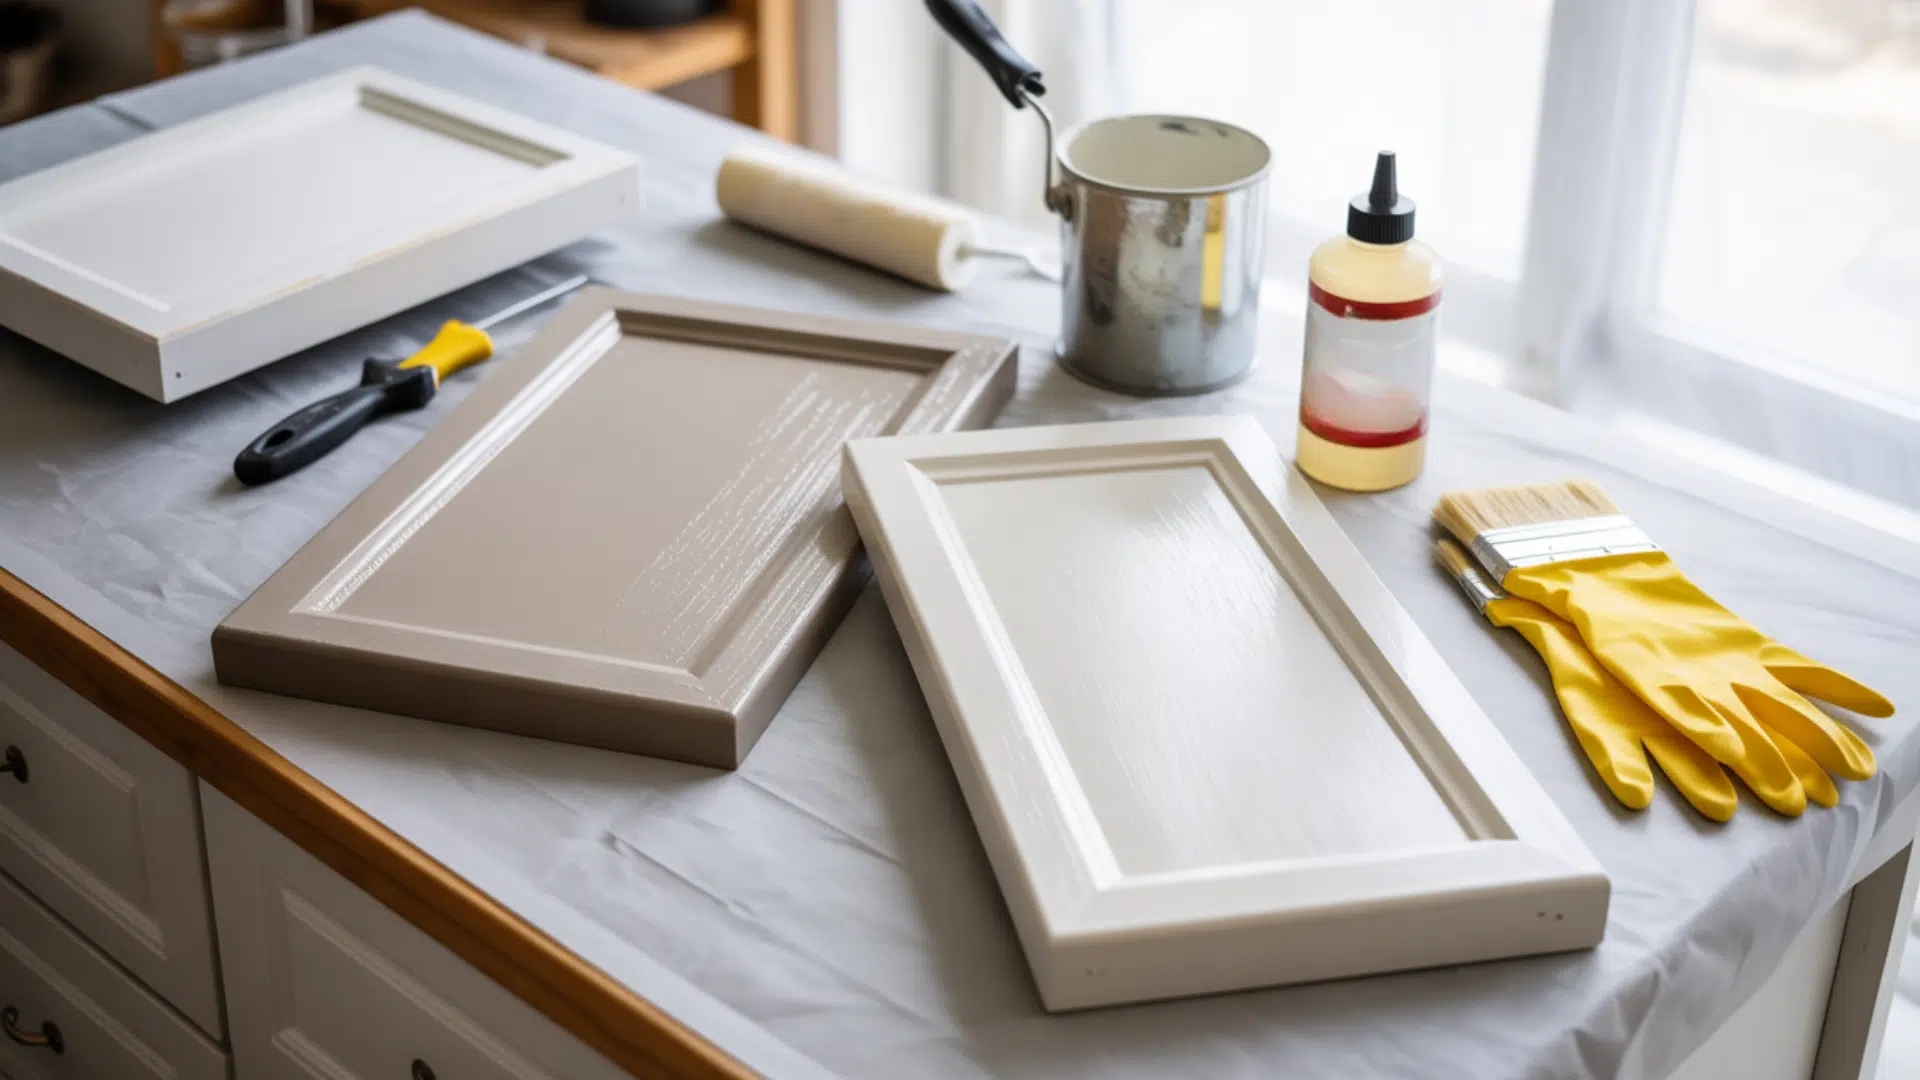
How to Paint Cabinets Without Sanding and Priming
Now that you have everything ready, it’s time to get started. Follow these steps to clean your cabinets the right way, so they look great and last longer, without wasting time or effort.
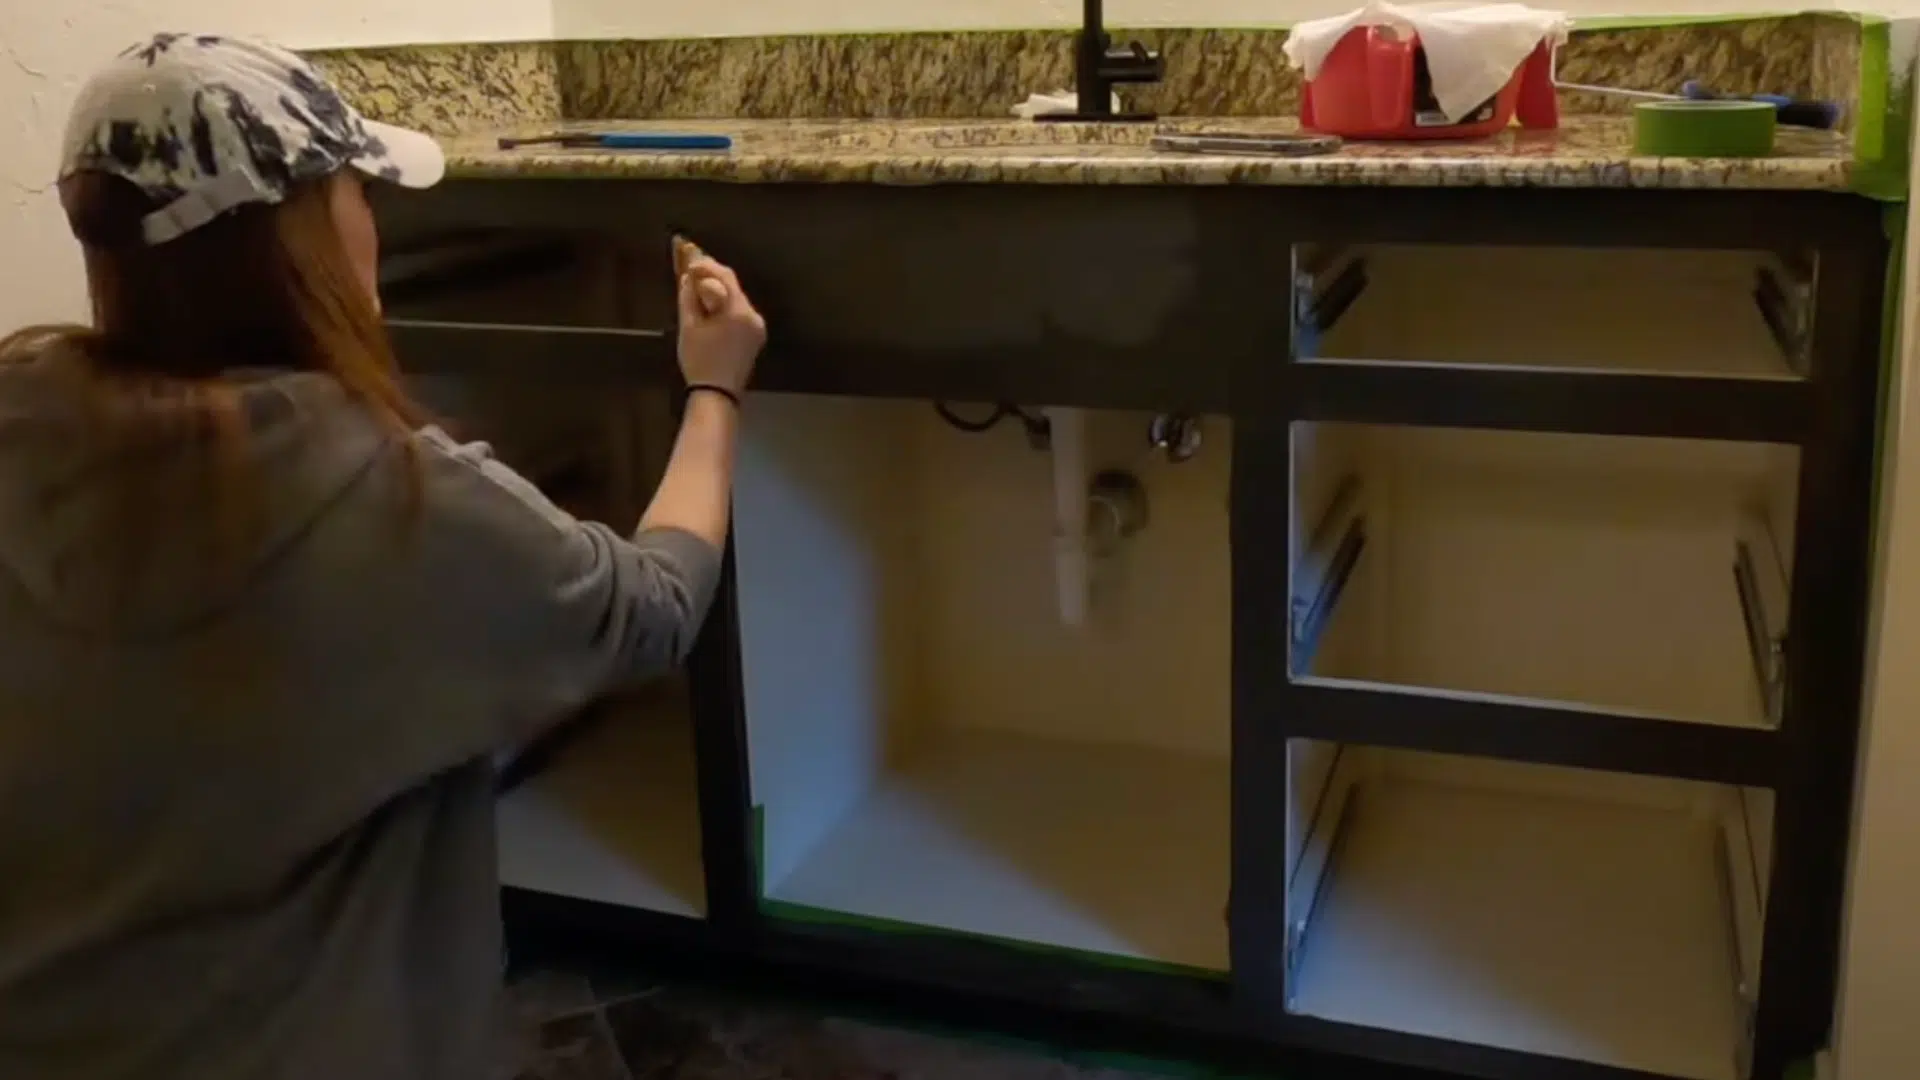
1. Remove Your Hardware, Doors, and Drawers
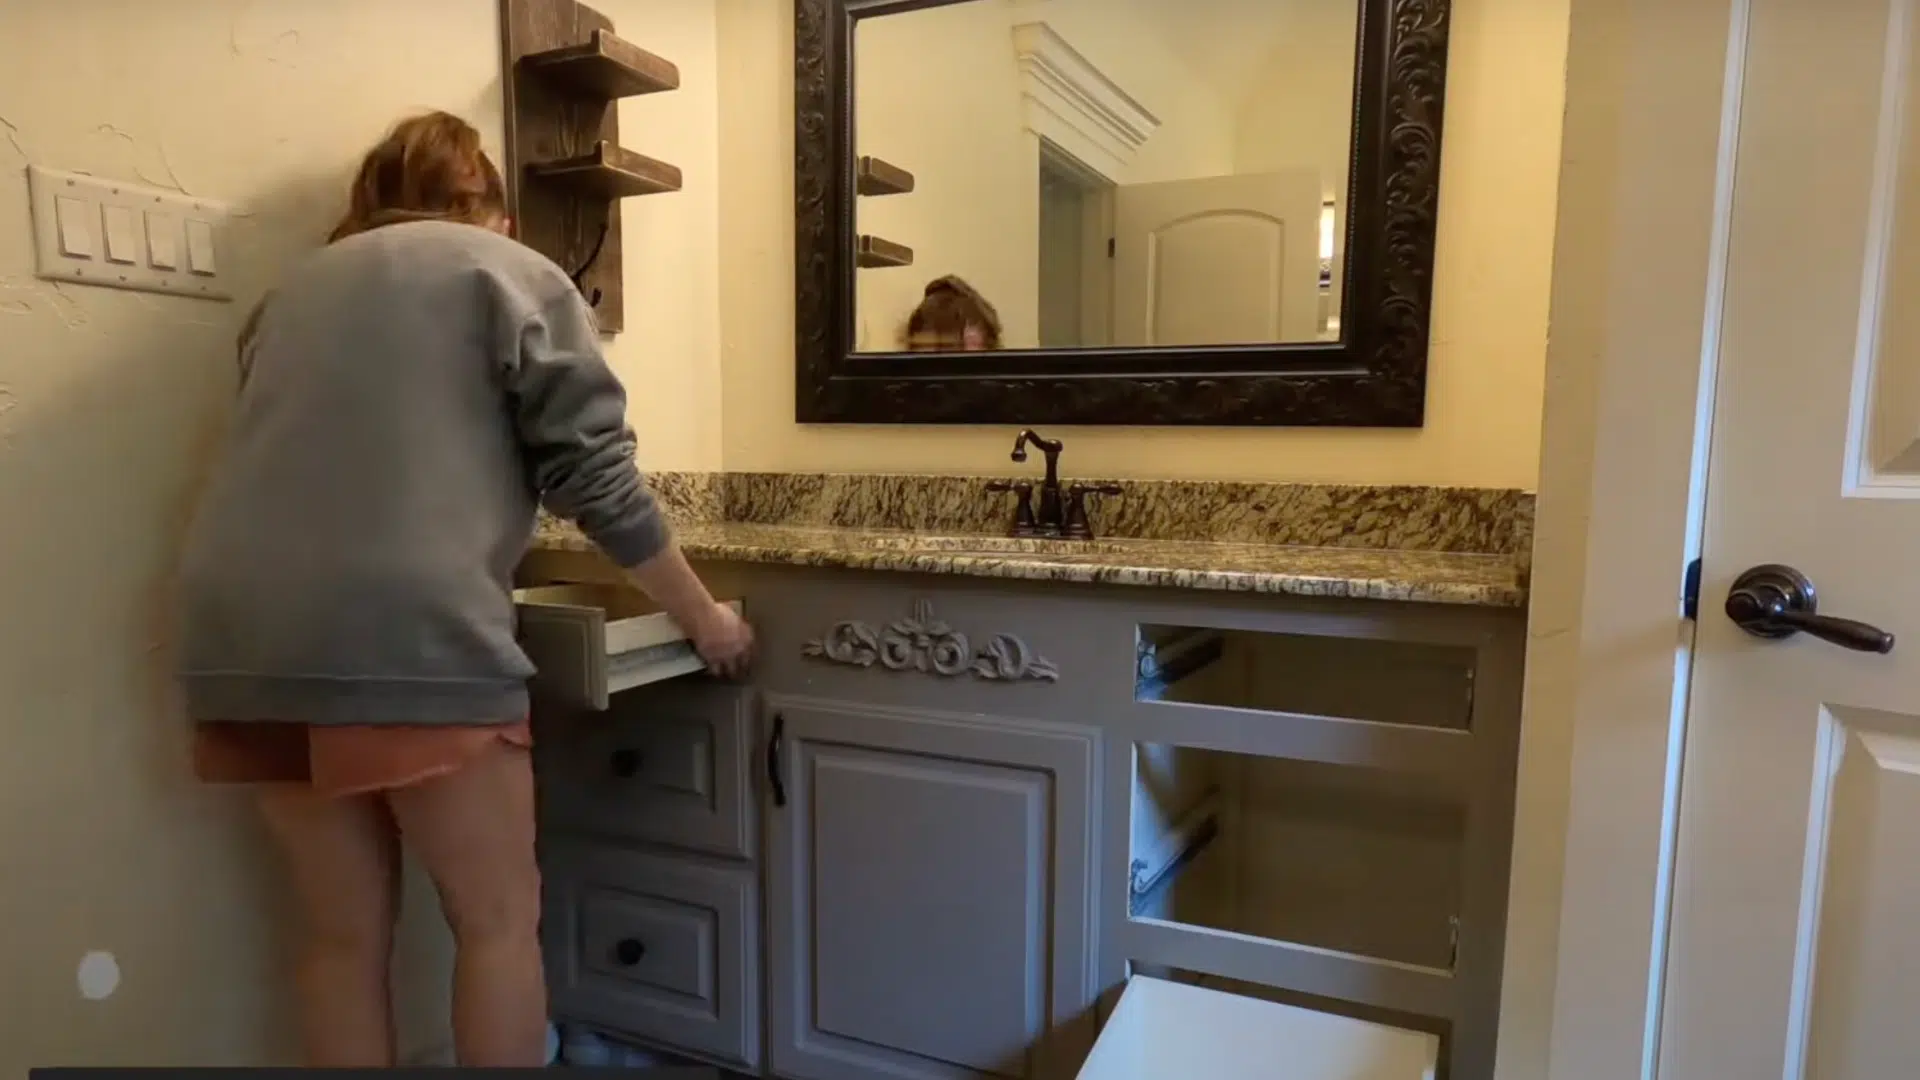
Start by removing all the cabinet doors, drawers, and hardware. Since you’re only painting the doors and frame, there’s no need to paint the inside.
If you can, move the doors and drawers to the garage for easier painting. You don’t have to keep the drawer fronts attached, but leaving them on can make things a bit easier.
2. Clean Your Cabinetry
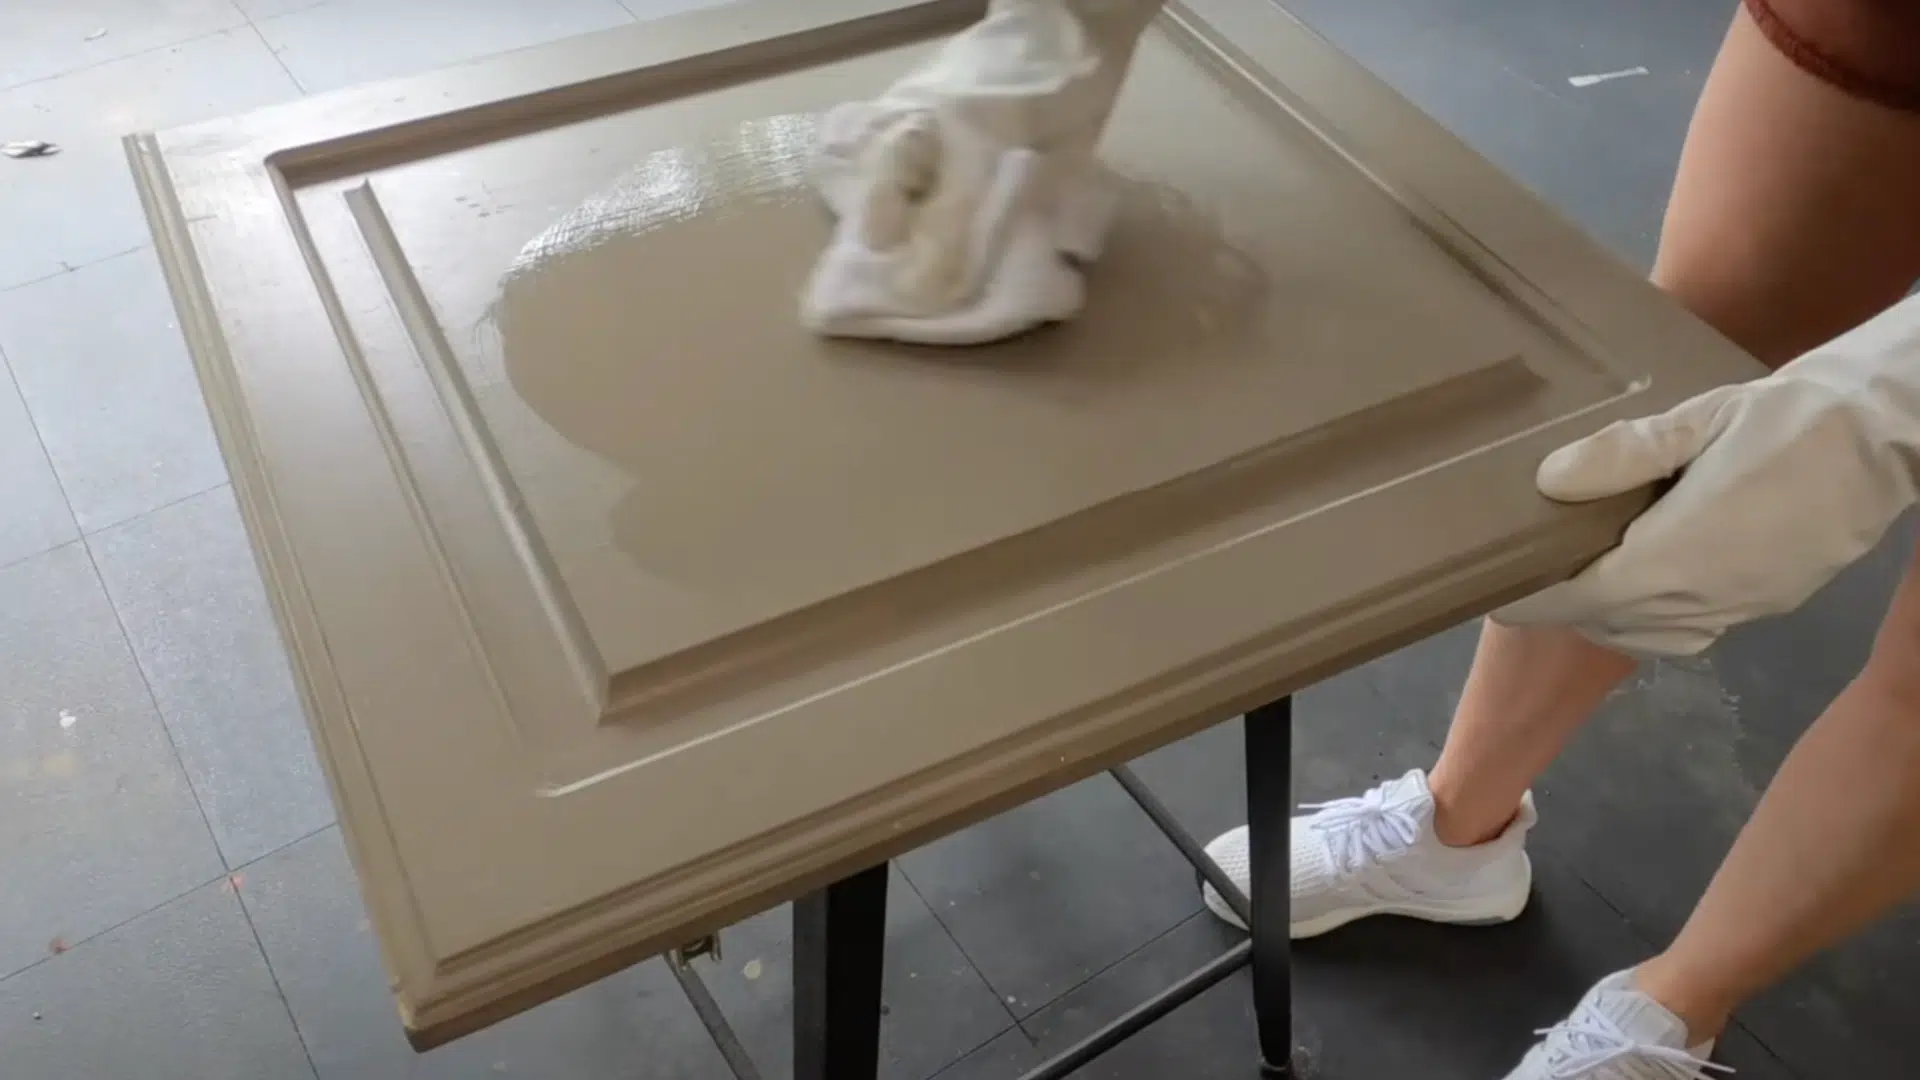
Use a liquid tsp substitute to degrease and clean all your cabinets, doors, and drawers. You need to ensure that your cabinets are free of grime and grease. Otherwise, your paint will not adhere correctly.
Spray the liquid tsp substitute on your cabinet, doors, and drawers, then use an old cloth to wipe off all the grease and stains from your doors.
Once you remove the film that gets in the way and makes your paint bubble up, your cabinetry is ready for painting – no priming or sanding required.
3. Fill Any Hardware Holes if Needed
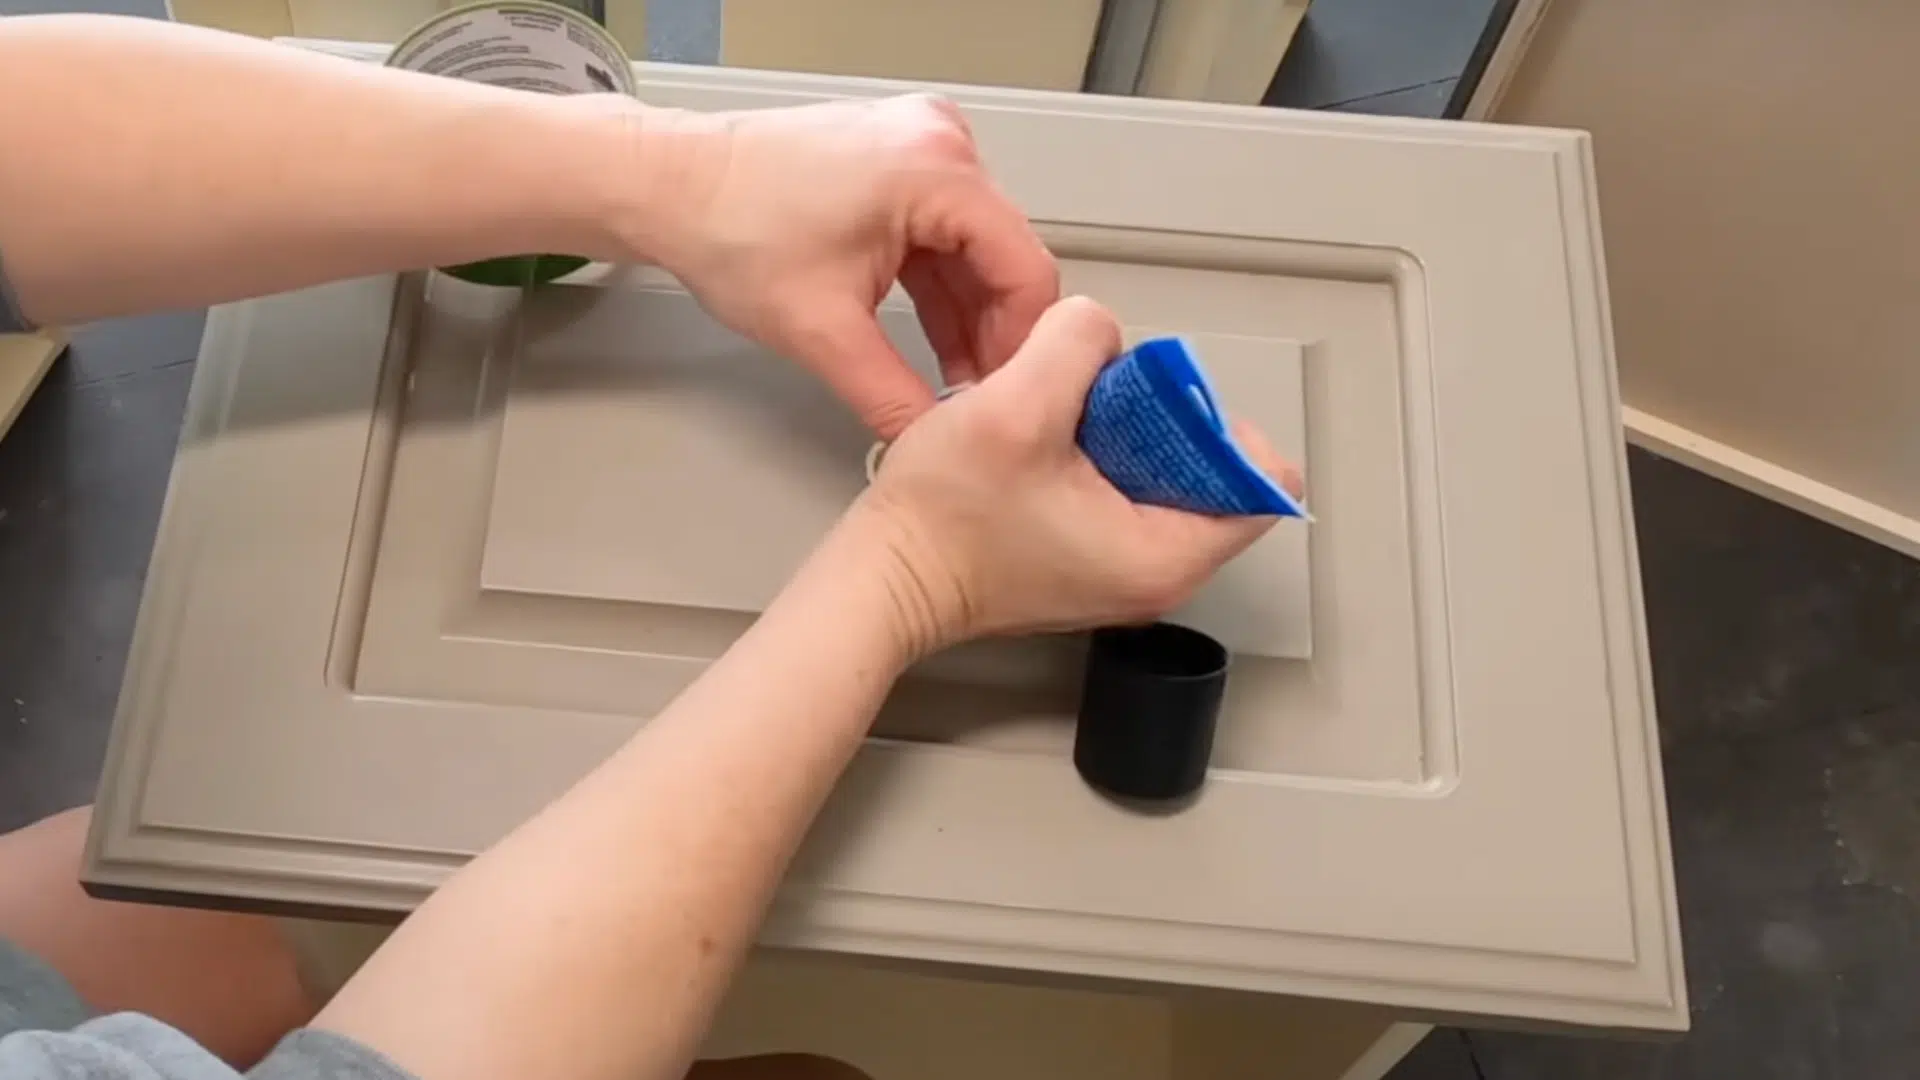
Make sure to look for any holes in your hardware if there are any holes. Once you spot the holes, take a small piece of tape and tape it to the inside of your doors where the hole is.
After you tape them up, use a plastic wood filler tube to fill the holes. Ensure that you get it filled and that the filler sticks up past the hole.
When the filler dries, spot sand the repair. Note that you don’t need to sand anything but the areas that are already prepared.
4. Apply One Coat of Paint to Your Cabinets
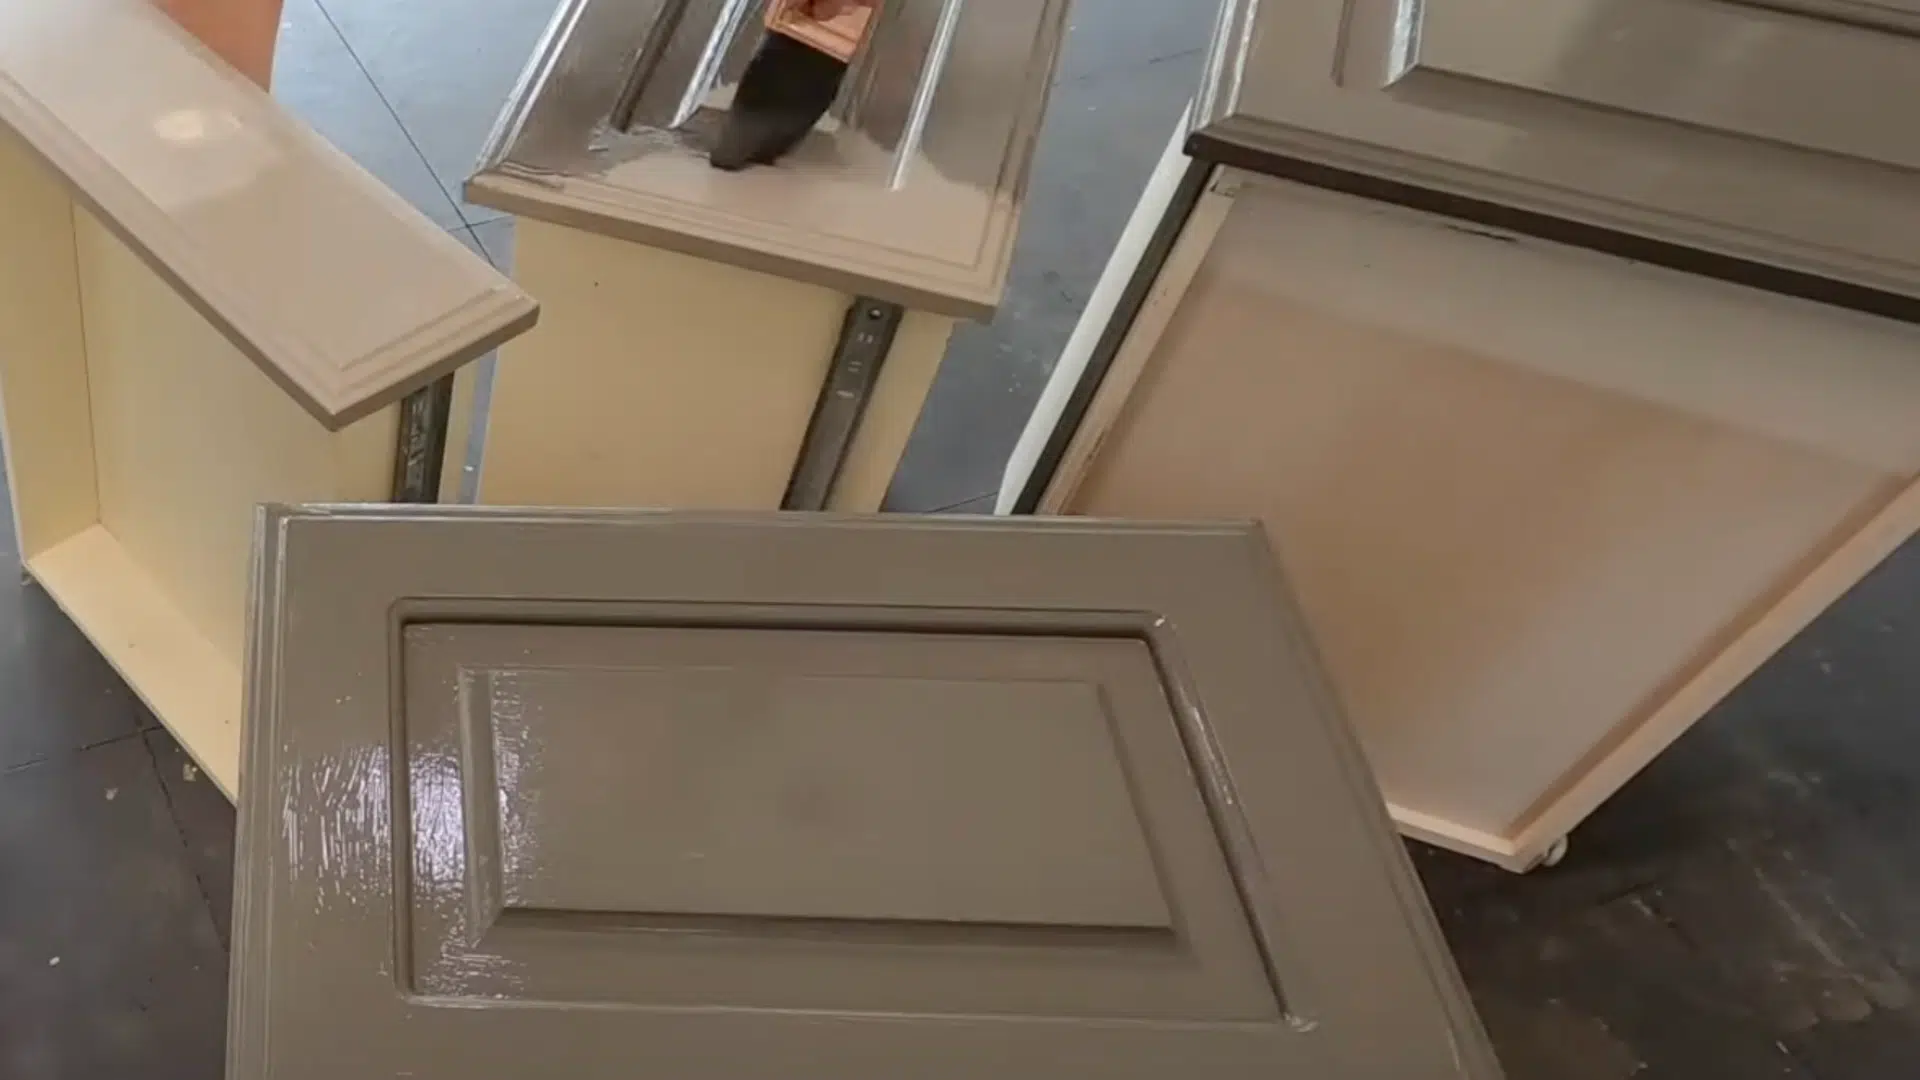
Once you have degreased your cabinetry and/or filled the holes in your cabinet doors, you can start painting them. Apply one coat of paint to your cabinet faces.
For detail work, use a paintbrush, and for flat areas, use a paint roller.
When you finish applying your first coat of paint, the original color will peek through the brush strokes. It is happening because your paint is self-leveling.
There’s nothing to worry about, however, since you only need to let the paint dry up before the original paint disappears.
5. Apply the Second Coat of Paint to Your Cabinets
Once the first coat of paint dries, you can apply the second coat to your cabinets. There is no need to sand between the coats of paint since your finish will be nice and smooth.
Apply the second coat of paint to your trim and walls to ensure that your cabinets will have a stylish look once the process is over.
You can apply the second coat on your walls while you wait for the first coat of paint to dry. You don’t have to stay overnight, but you can choose to do so if you feel like you need a break.
To see the steps in action, watch the full YouTube video by @shanty2chic.
Tips for a Long-Lasting Result
Now that you are finished painting your cabinets, some unnecessary but helpful steps will go a long way.
- Wait till each coat fully cures
- Don’t slam or overload your cabinets while they are still wet.
- To ensure that it is doubly durable, use a clear coat of paint on your cabinets.
These small habits can keep your painted cabinets looking fresh and beautiful for years.
Conclusion
I know it might seem like skipping sanding and priming is a shortcut, but it’s really not. I’ve found that painting cabinets without those extra steps can still give you amazing results.
In fact, the finish often looks smoother and lasts just as long, sometimes even longer. This method is quicker, easier, and a lot less messy, which makes it perfect if you’re short on time or working in a busy home.
You can also have fun with color. Try something bold or stick with a classic—just make sure you use high-quality paint for the best look and durability.
At the end of the day, painting your cabinets doesn’t have to be hard or stressful. With the right approach, you can get a beautiful, long-lasting finish and enjoy a fresh new look in your kitchen or bathroom.
Frequently Asked Questions
Can you really skip sanding and priming on all cabinet types?
Not always, only on cabinets that have been painted before or lightly finished cabinets. Raw wood may still require prep, though.
How long should I wait before using the cabinets after painting?
You only have to wait a few hours before using the cabinets. But if you want your paint to cure fully, then 5-7 days.
Can I use Chalk Paint without sanding and priming?
Yes, you can apply chalk paint without needing to sand or prime, especially on furniture or cabinets. Just make sure to seal it with wax.

With a Master in Architectural Studies from University of Pennysylvania, Marwa Haydar has pioneered living spaces since 2005. Her expertise, initially honed in a prestigious architectural firm, is evident in her approach to creating environments. Marwa became part of our team in 2019 and has since been a driving force in our home improvement section, known for her practical yet stylish solutions. She’s been spearheading our design workshops since then, infusing her passion for teaching into her work. In her leisure time, Marwa enjoys exploring historic architecture and is an enthusiastic pottery hobbyist, further enriching her understanding of form and texture.