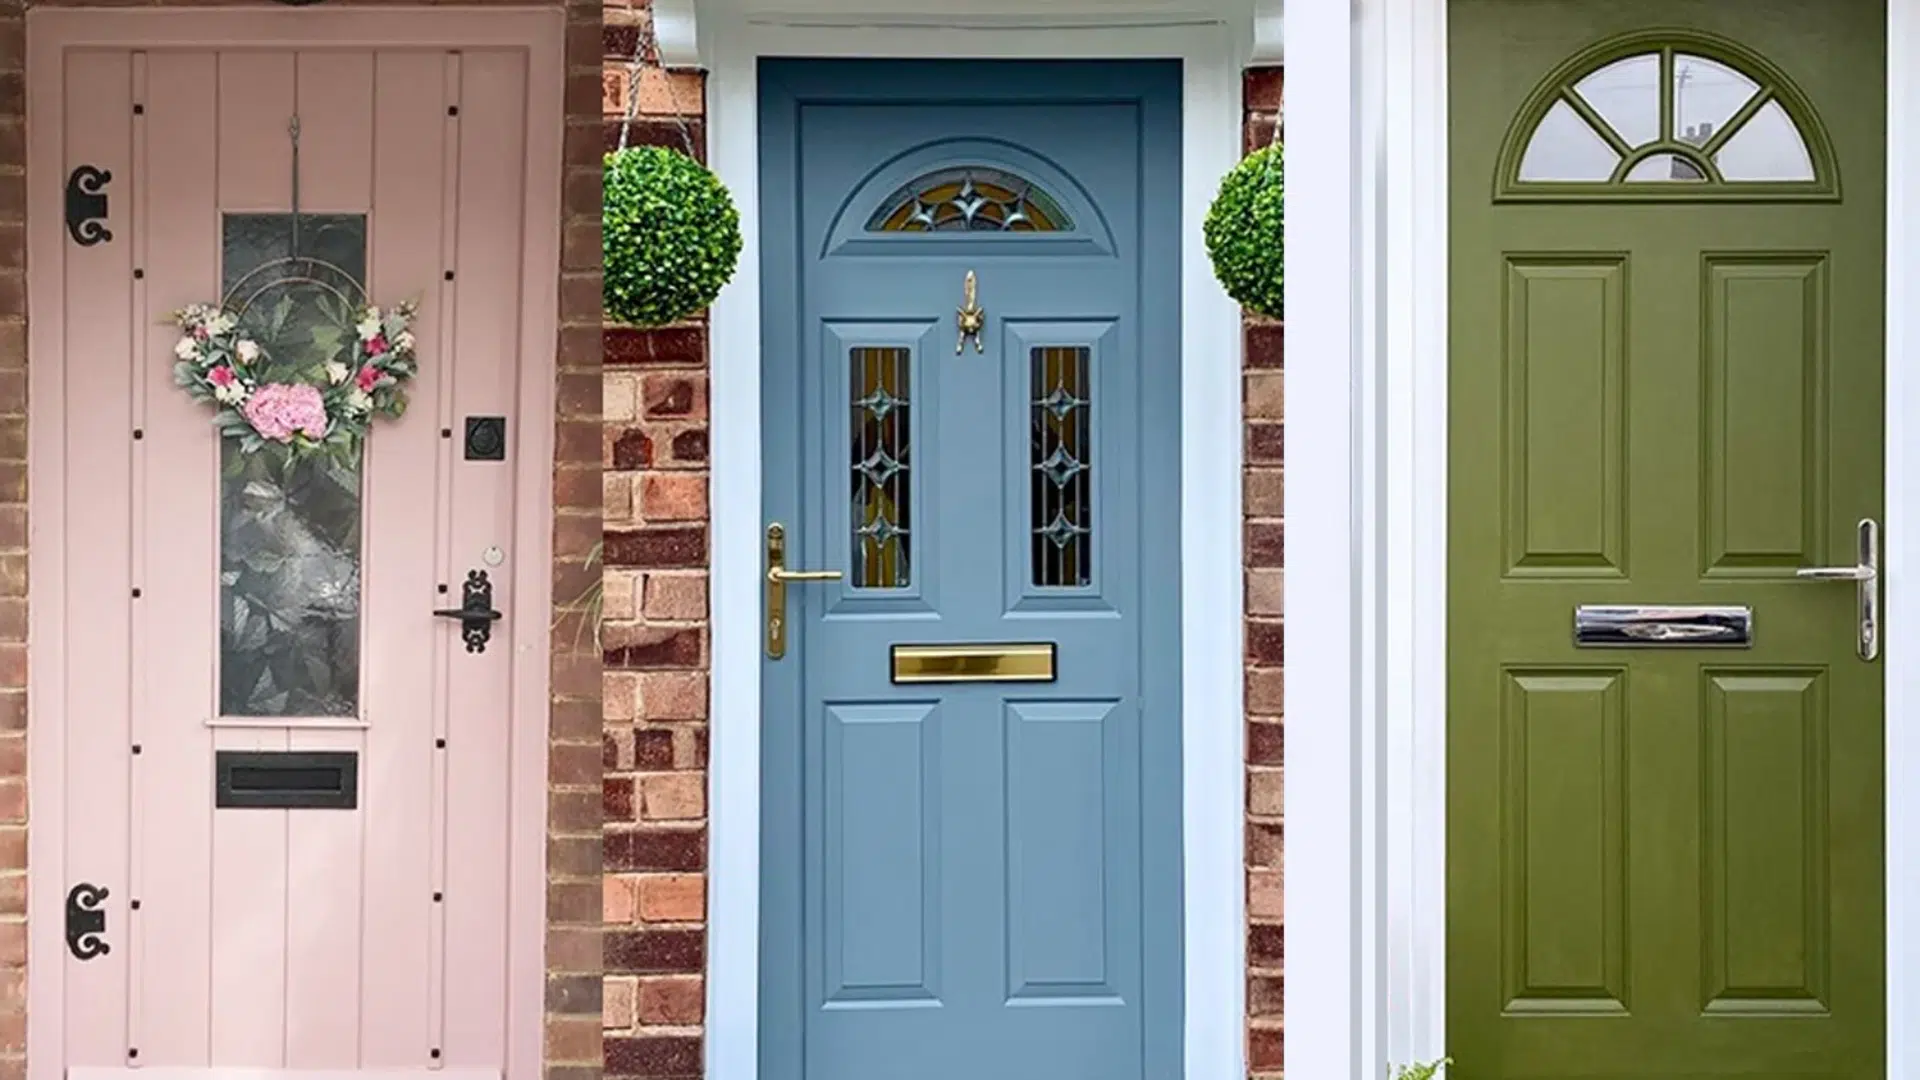
Your front door is the first thing guests notice when they visit your home. A new coat of paint can make all the difference. It makes your house look clean and welcoming right away.
But here’s the good news. You don’t have to remove the door to paint it.
Many people think they need to take the door off its hinges. That’s not true, and it makes the job harder than it needs to be.
I’ve painted many doors while they were still hanging on their hinges. It’s faster and simpler. You don’t need extra tools or extra hands to hold the door.
In this guide, I’ll walk you through the process step by step. You’ll know which tools to use. I’ll explain the prep work and how to apply the paint correctly.
It doesn’t matter if your door is made of wood, metal, or fiberglass. These tips work for all of them. Let’s get started and give your front door a fresh new look.
Is It Okay to Paint a Door Without Taking It Off?
Yes, you can absolutely paint your front door without removing it. In fact, painting it in place often makes the whole job easier and faster.
You won’t risk scratching the door frame. You don’t need to remove heavy hinges or tricky hardware. And you get to see the paint color in natural light, right where it matters most.
Some people say taking the door off gives better results. That used to be true. However, with improved paints and tools, painting the door while it hangs works just as well.
The secret is in the prep work. Cover the floor and nearby trim. Use painter’s tape to protect edges. Choose a day with low humidity and mild temperatures.
Don’t paint in direct sunlight, as the paint may dry too quickly and streak. Mornings and late afternoons typically yield the best results.
Tools and Materials You’ll Need
The following are the supplies you’ll need for painting a door:
- 2-inch angled brush for detail work
- 4-inch foam roller for flat surfaces
- Small artist brush for tight spaces
- 120-grit sandpaper
- Tack cloth or microfiber rags
- Painter’s tape (high-quality)
- Plastic sheeting or drop cloths
- High-quality exterior paint
- Paint thinner or mineral spirits
- Screwdriver set
- Small containers for screws
- Putty knife
- Caulk and caulk gun
How to Paint Your Front Door Without Removing It
Painting a door while it’s hanging might seem tricky. But it’s actually straightforward when you know the right approach.
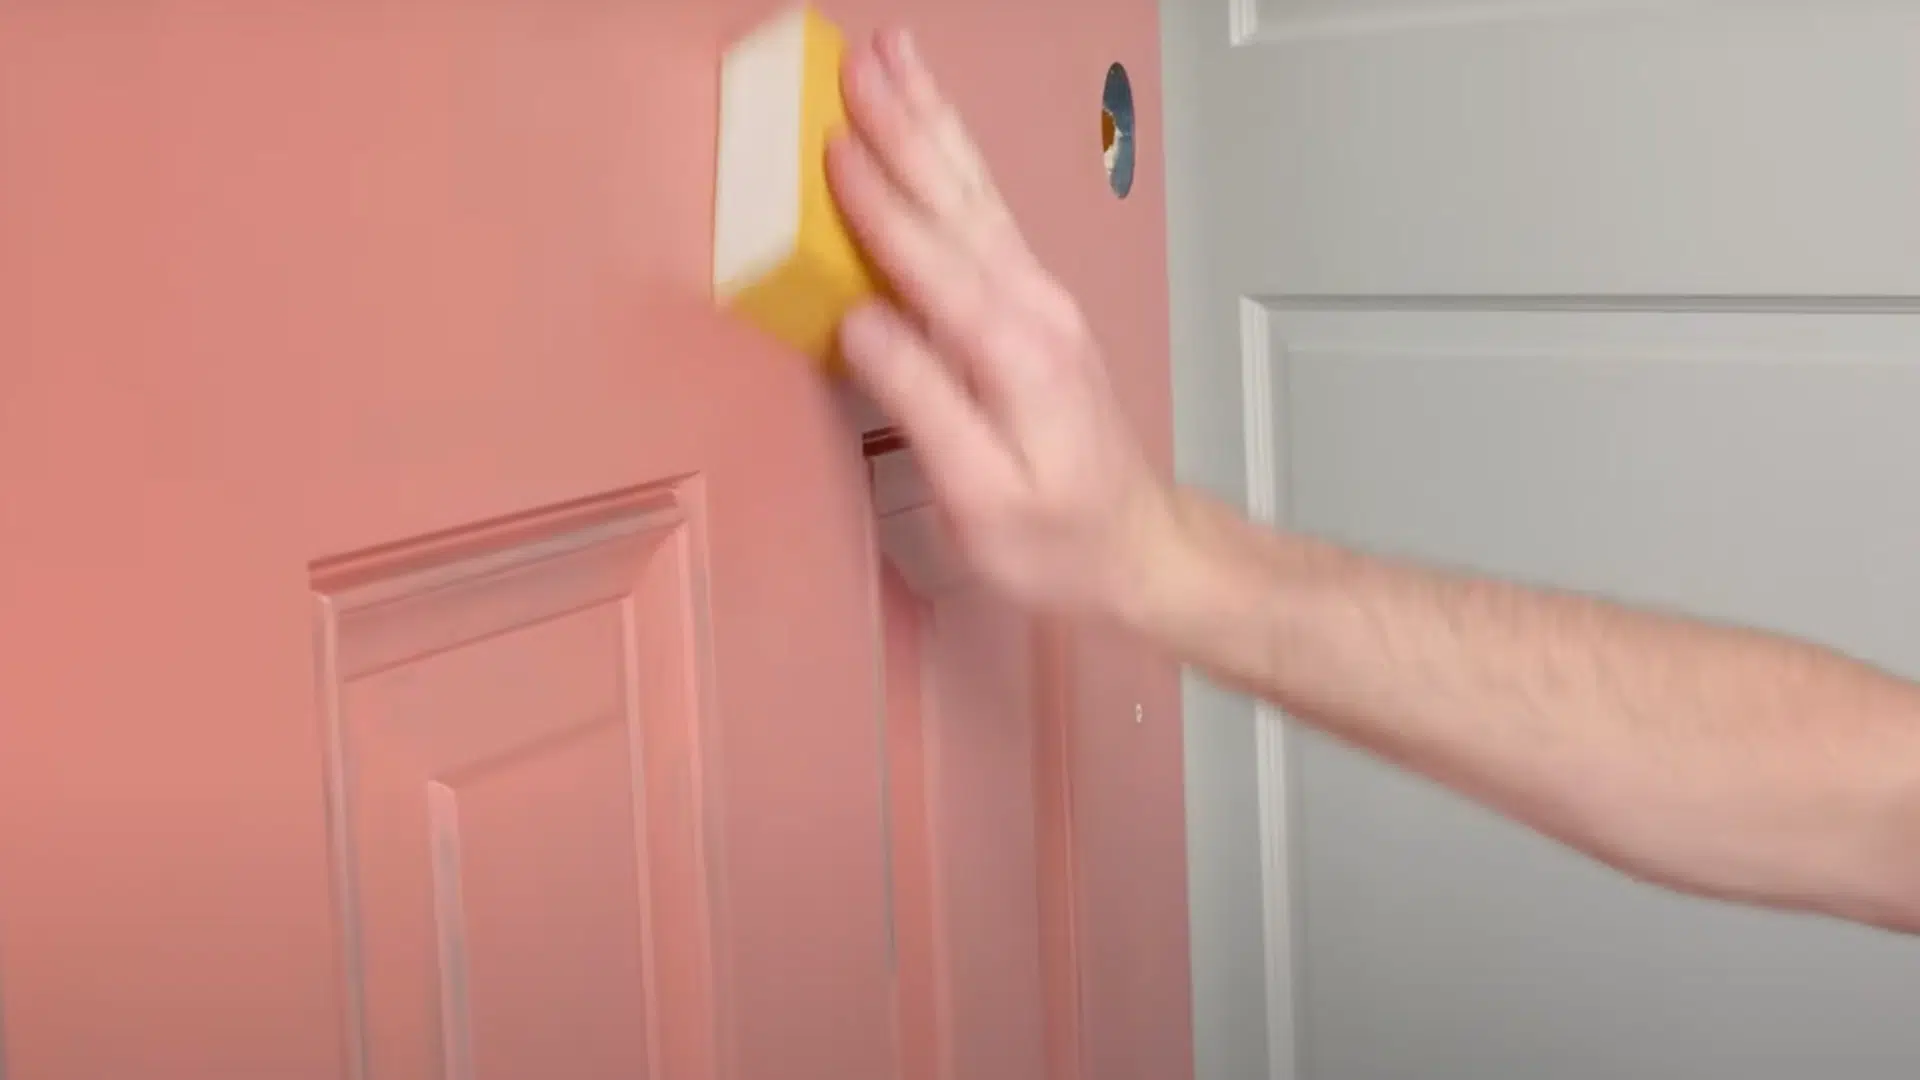
1. Remove Door Handles
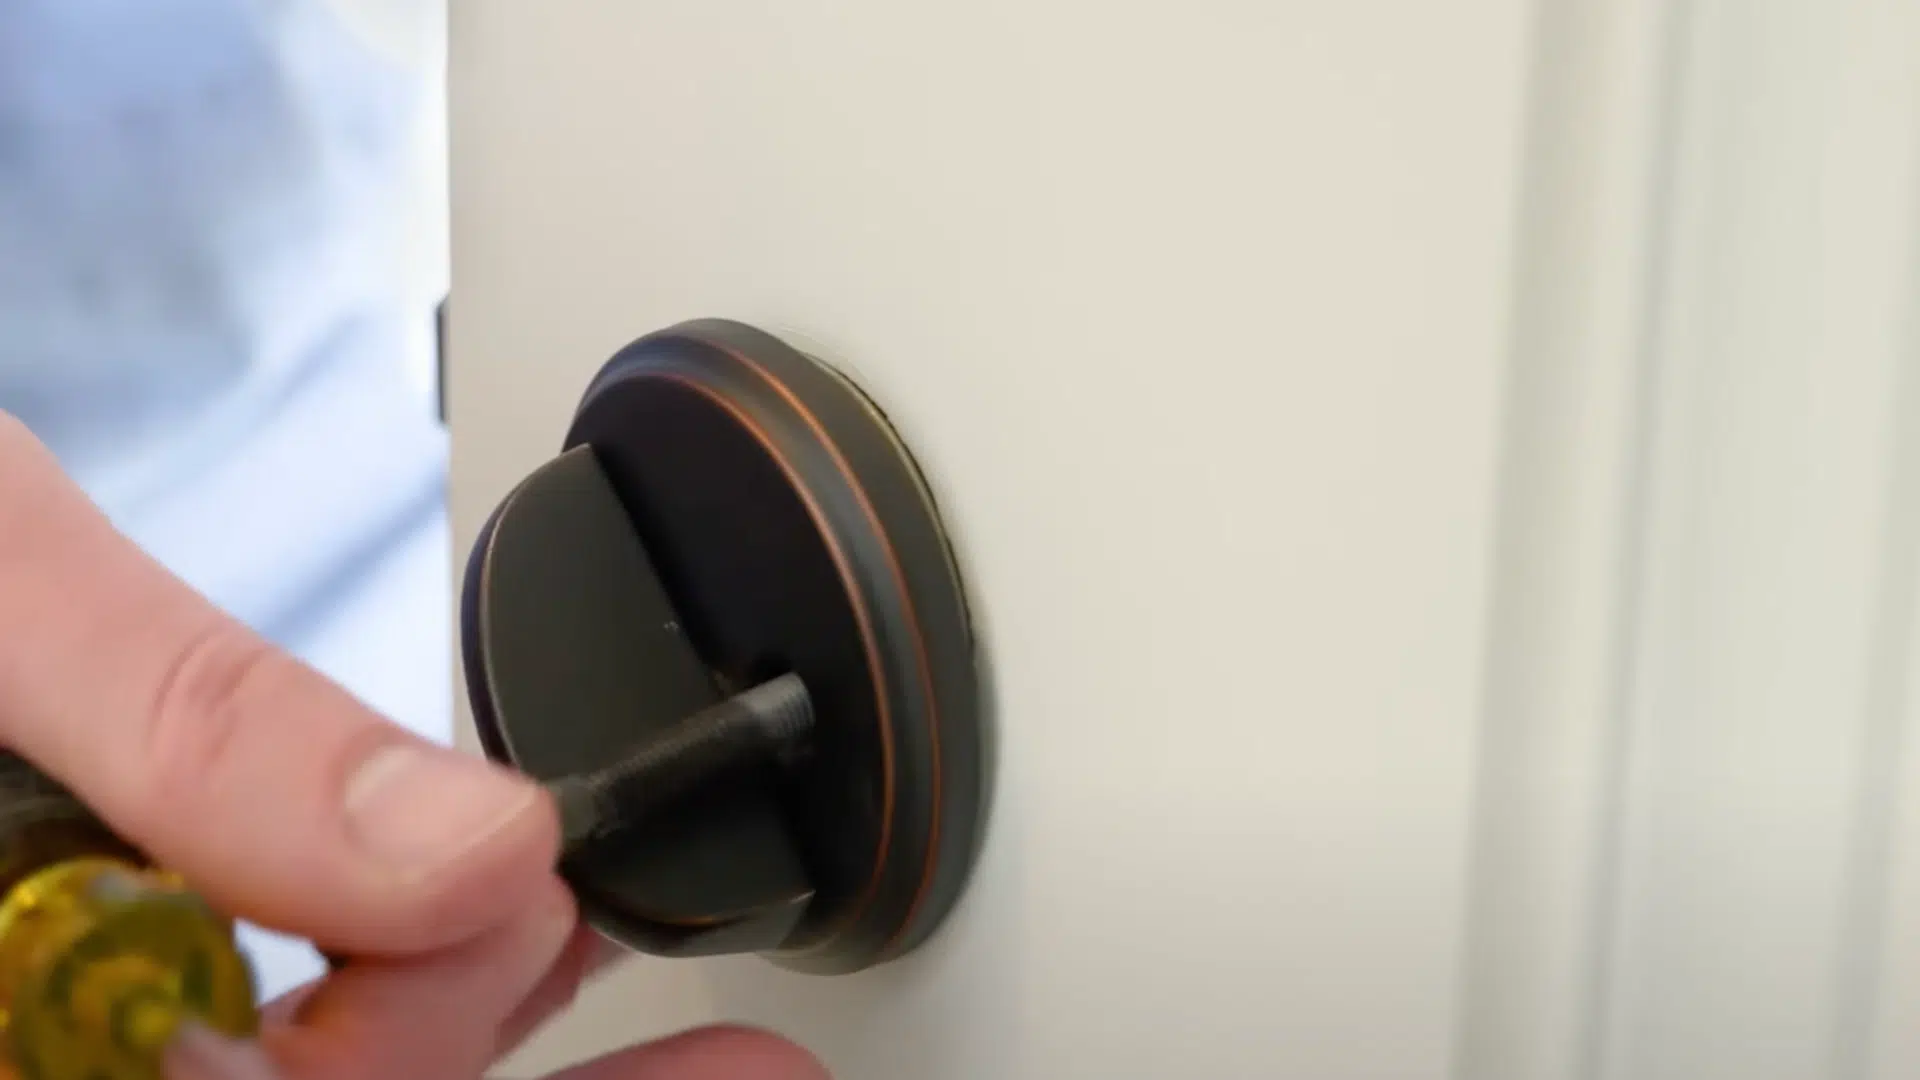
Start by taking off all the door hardware. That means the handles, locks, and any decorative elements. Use a screwdriver and handle each part gently.
Some screws are hidden under small covers. Don’t pry too hard; check first before forcing anything.
Place the screws and hardware in a small container to prevent anything from getting lost.
A smart tip? Take a picture before you begin. That way, putting everything back together is easier. Trust me, when you’re done painting, you’ll be glad you did.
2. Lightly Sand the Door
Before you paint, lightly sand your door. This helps the paint stick better.
You don’t need to remove all the old paint; rough it up. Use 120-grit sandpaper. Sand with the wood grain if it’s wood. On metal, move in small circles.
Focus more on shiny spots. Those need extra sanding so the new paint stays on. Don’t forget the edges either.
Wipe off the dust afterward. A tack cloth works best for that. Dust left behind can mess up your paint finish.
3. Clean the Door
A clean door makes for better painting. Use warm water with a small amount of soap to gently scrub away dirt and grease.
For sticky or oily spots, grab a kitchen degreaser. Once it’s clean, rinse it with plain water and let it dry completely. Don’t rush this part.
Painting over moisture can cause bubbles or peeling later. Run your hand across the surface.
If it feels sticky or gritty, clean it again. You want a door that feels smooth and dry to the touch.
4. Preparing the Surface
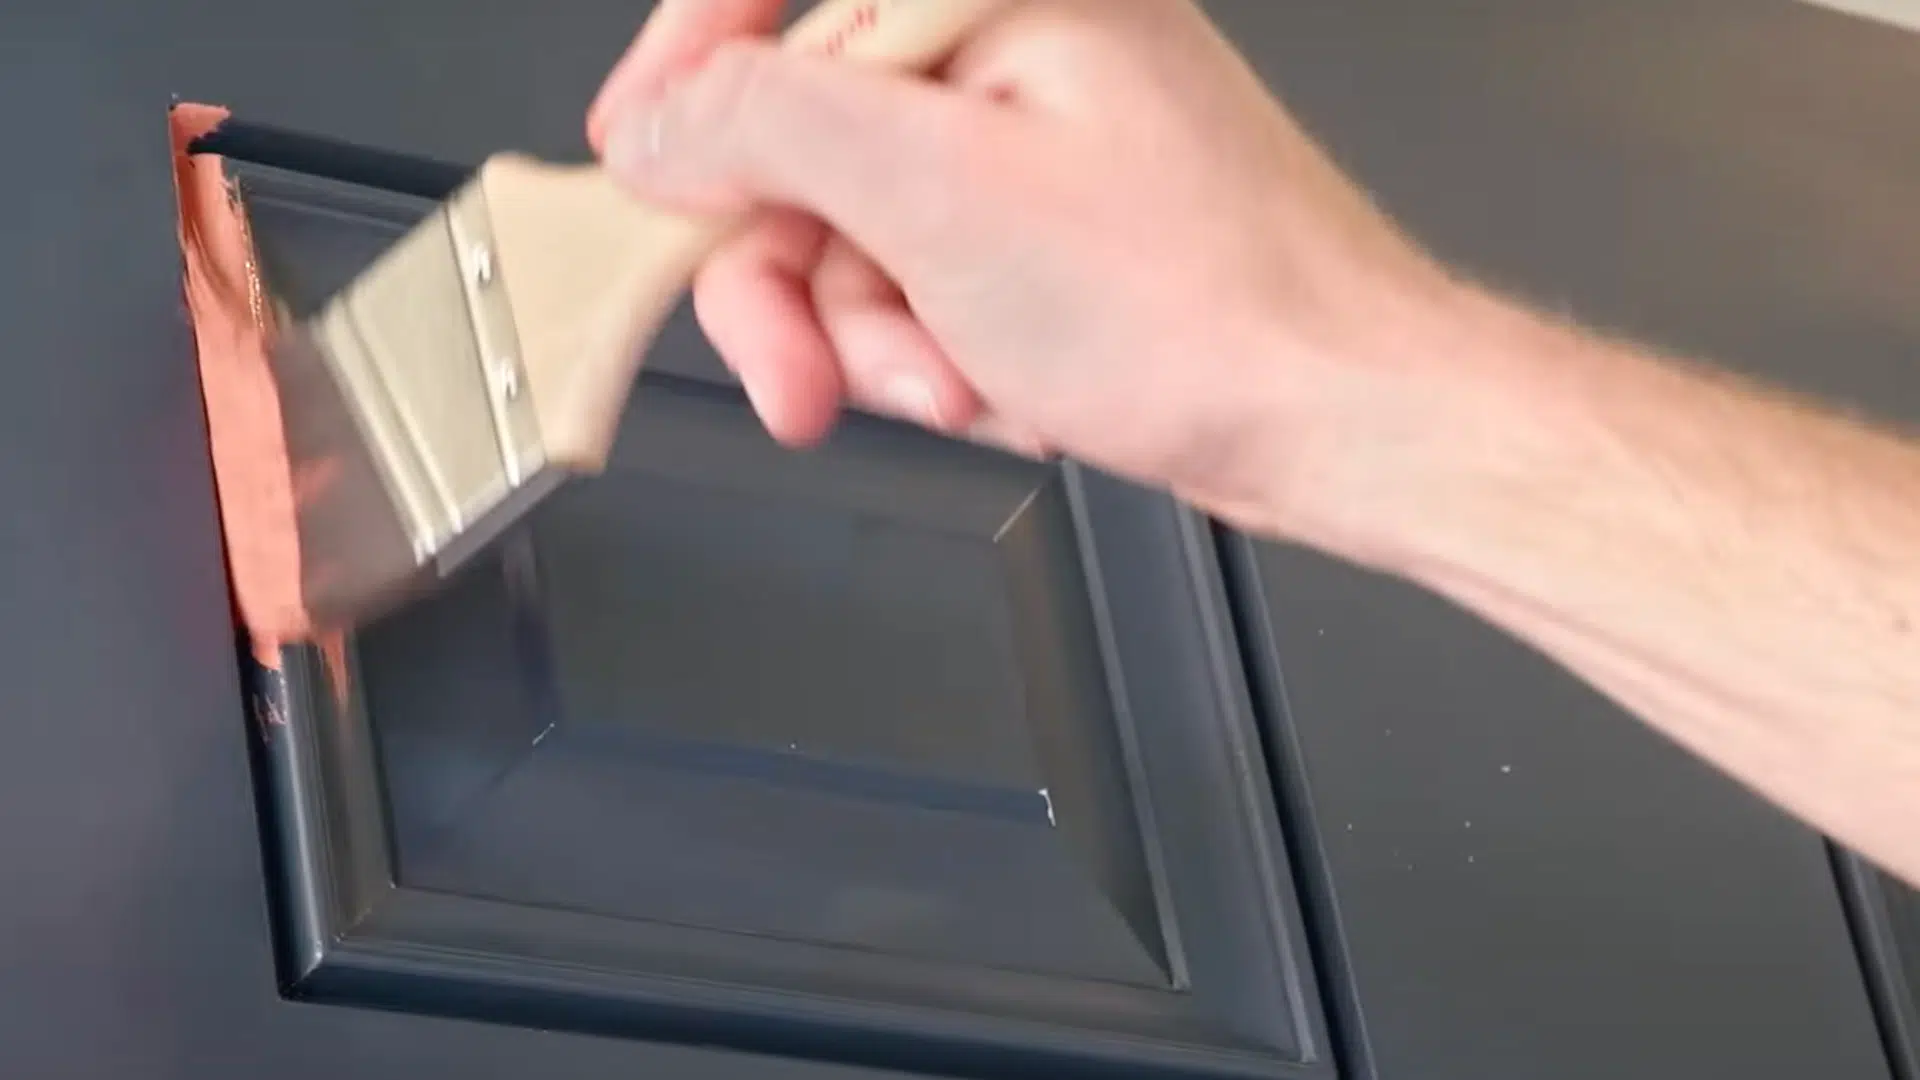
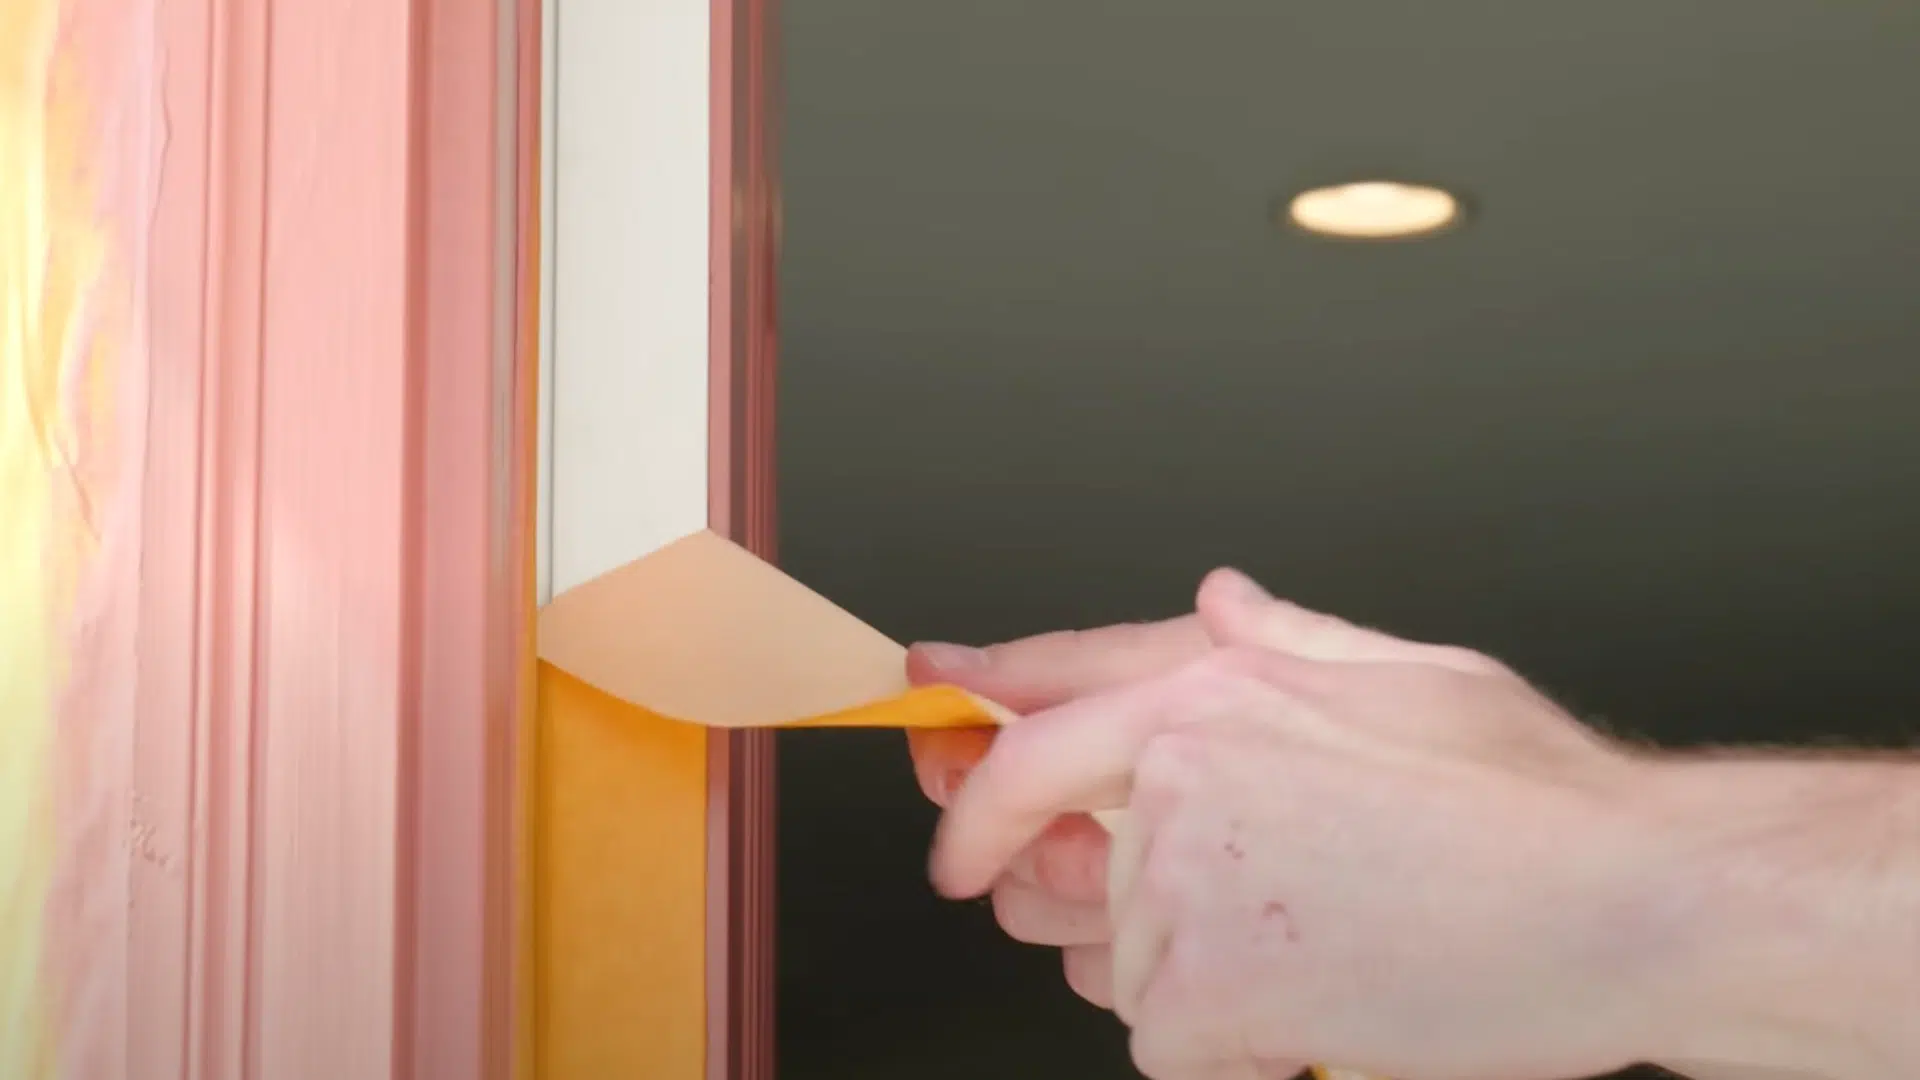
Before painting, protect everything around your door by taping off the door frame with painter’s tape.
This gives you clean, sharp paint lines. Lay down drop cloths to catch drips. Cover any nearby plants or furniture.
If the door has holes or dents, fill them with wood filler. Once that dries, sand it smooth. If your door is raw wood, you must prime it.
Painted doors typically do not require primer unless the paint is peeling or showing patchy areas. When in doubt, a light primer coat helps.
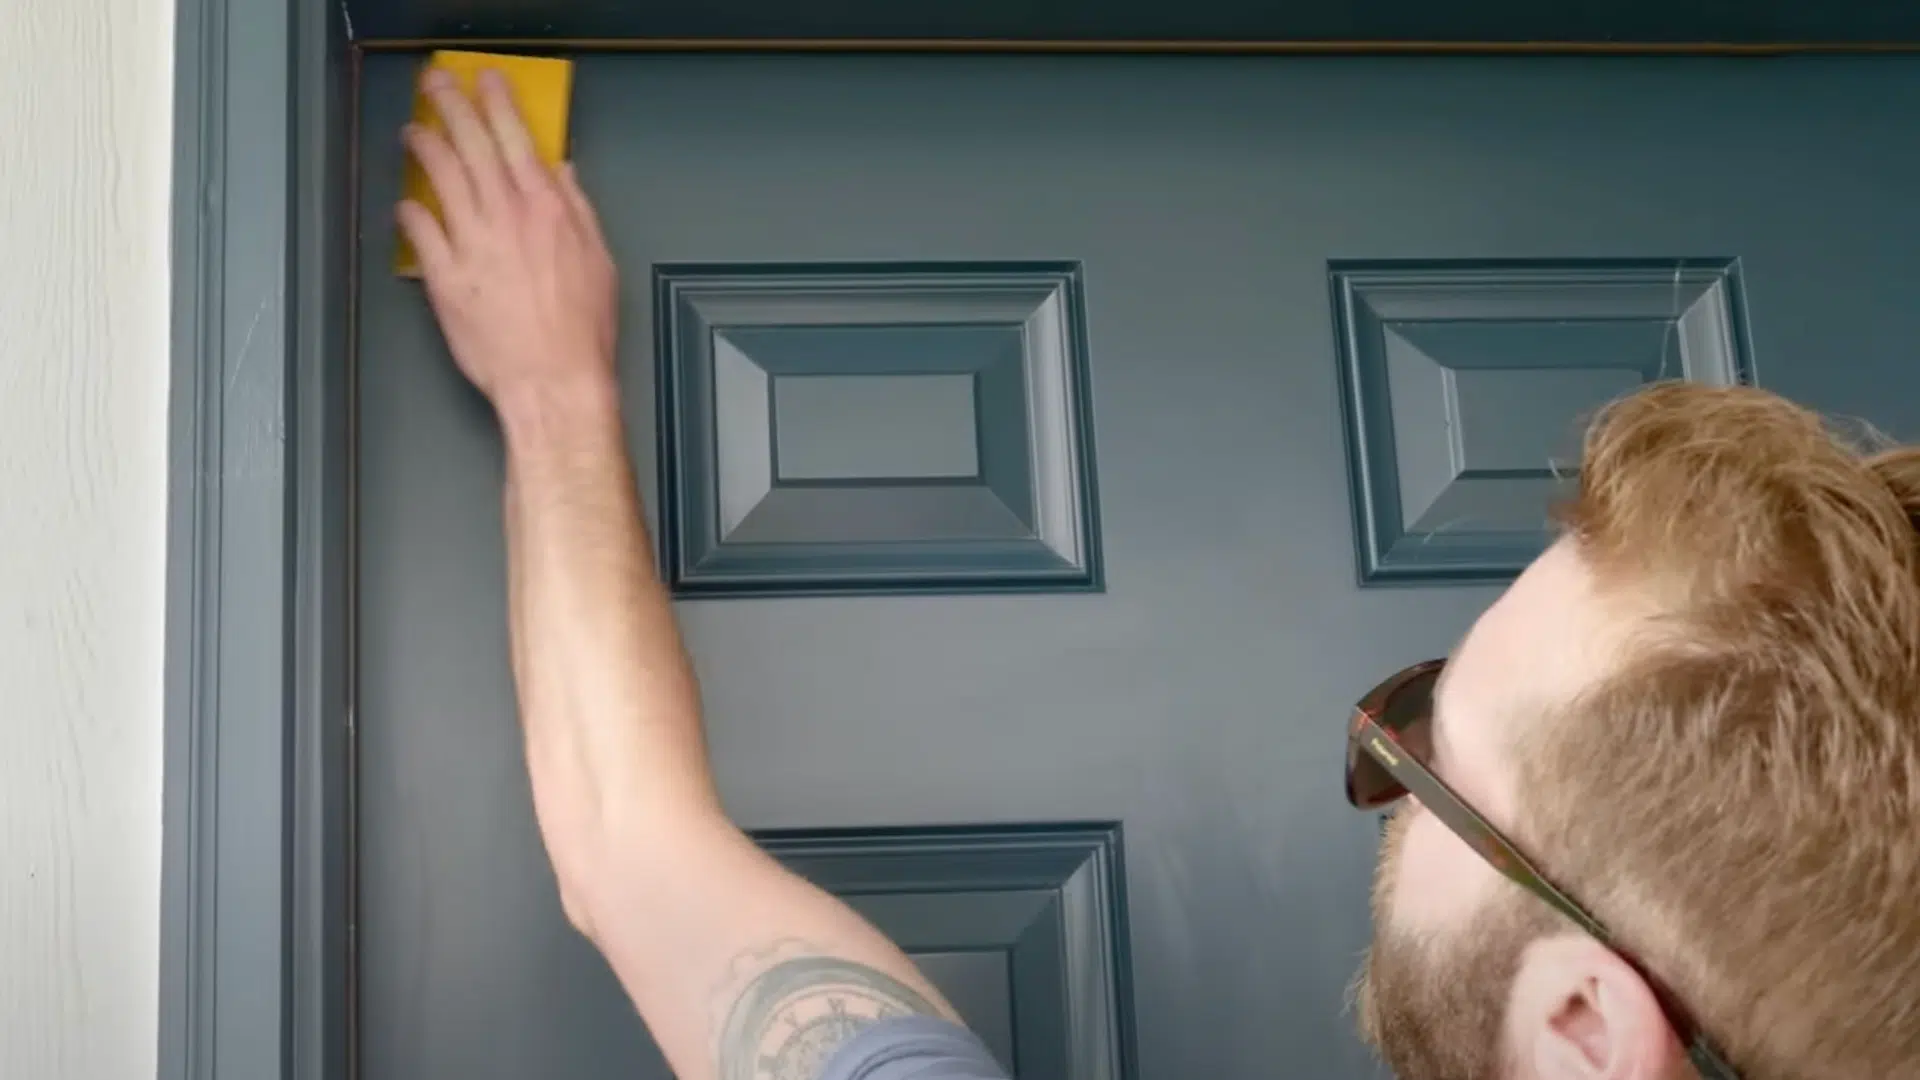
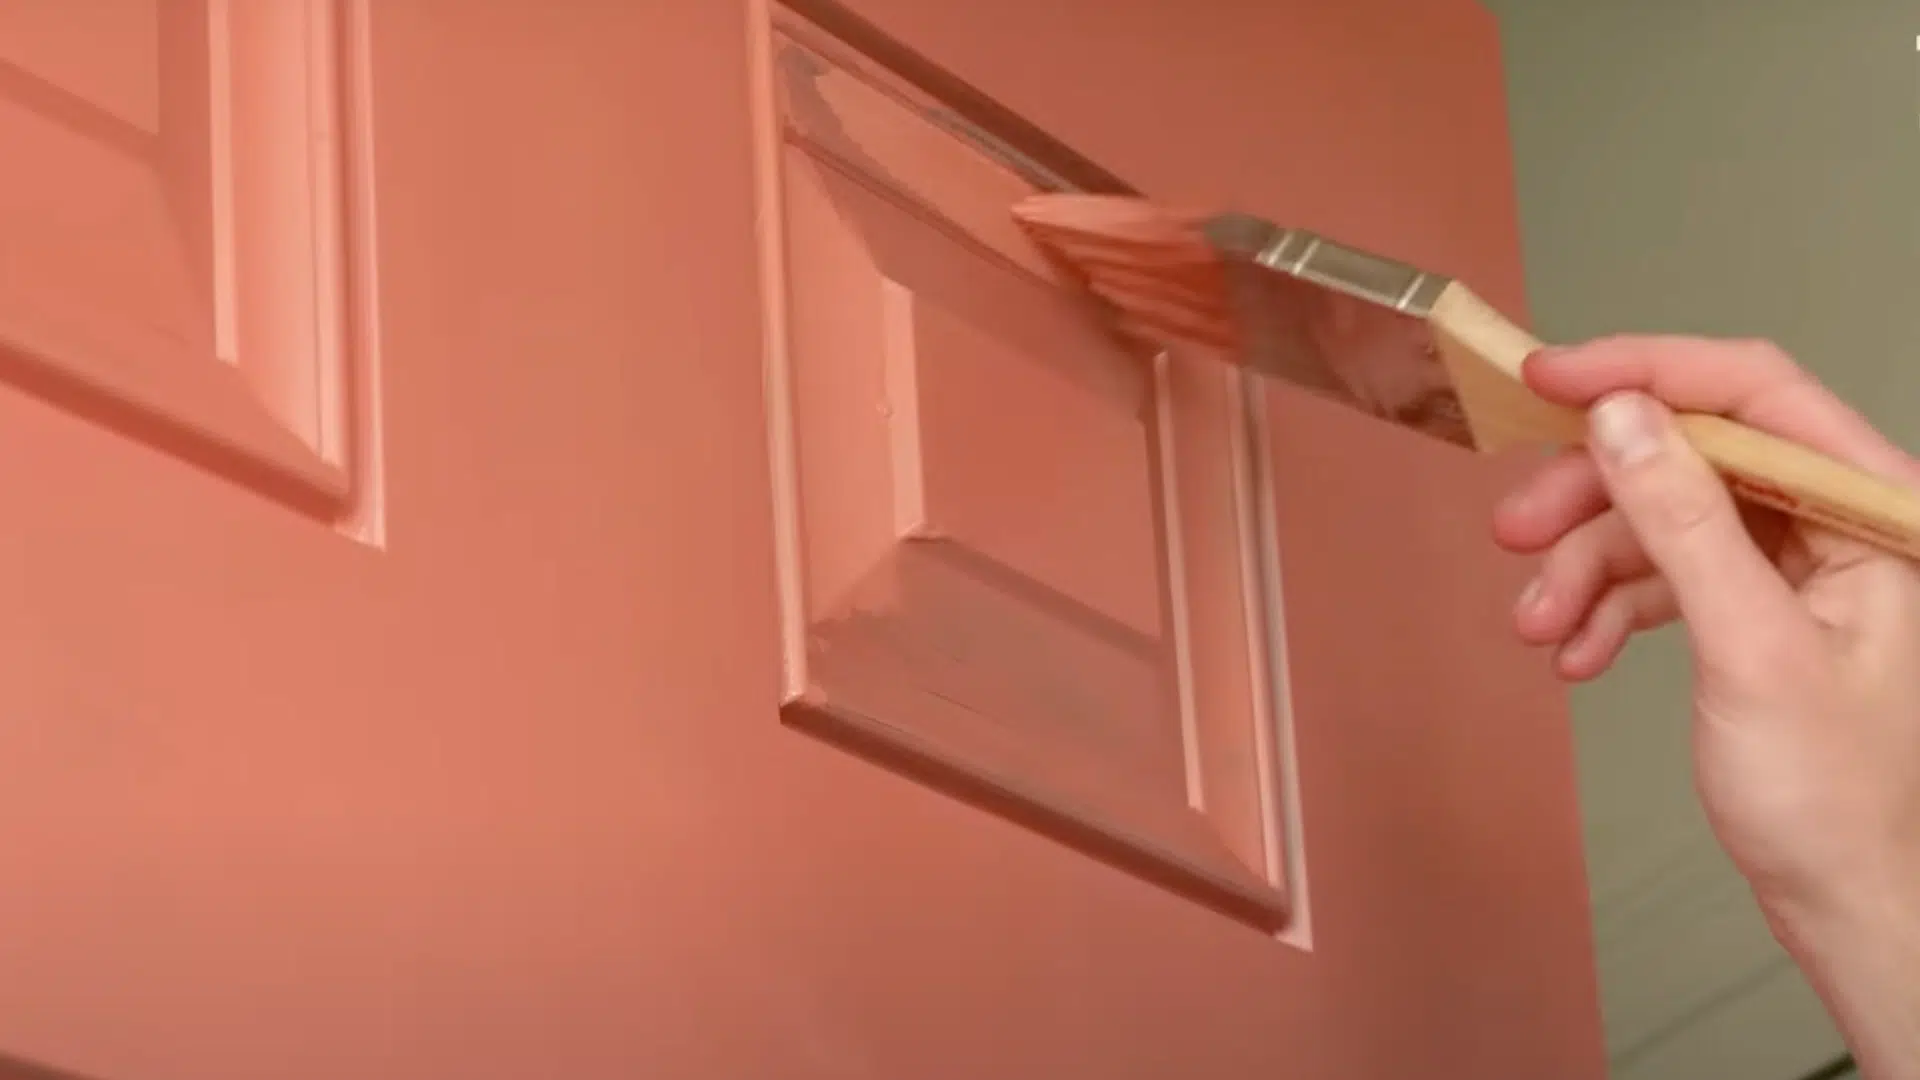
5. Paint the Panels
Start with the smaller, recessed panels on your door. Use an angled brush for better control.
Dip your brush in paint, but don’t overload it. Too much paint leads to drips. Brush in the direction of the grain, usually up and down.
Work from the top down. Watch for runs as you go and smooth them out quickly. Make sure every corner is coated evenly.
Check your work after each section. Address thick spots and missed areas promptly.
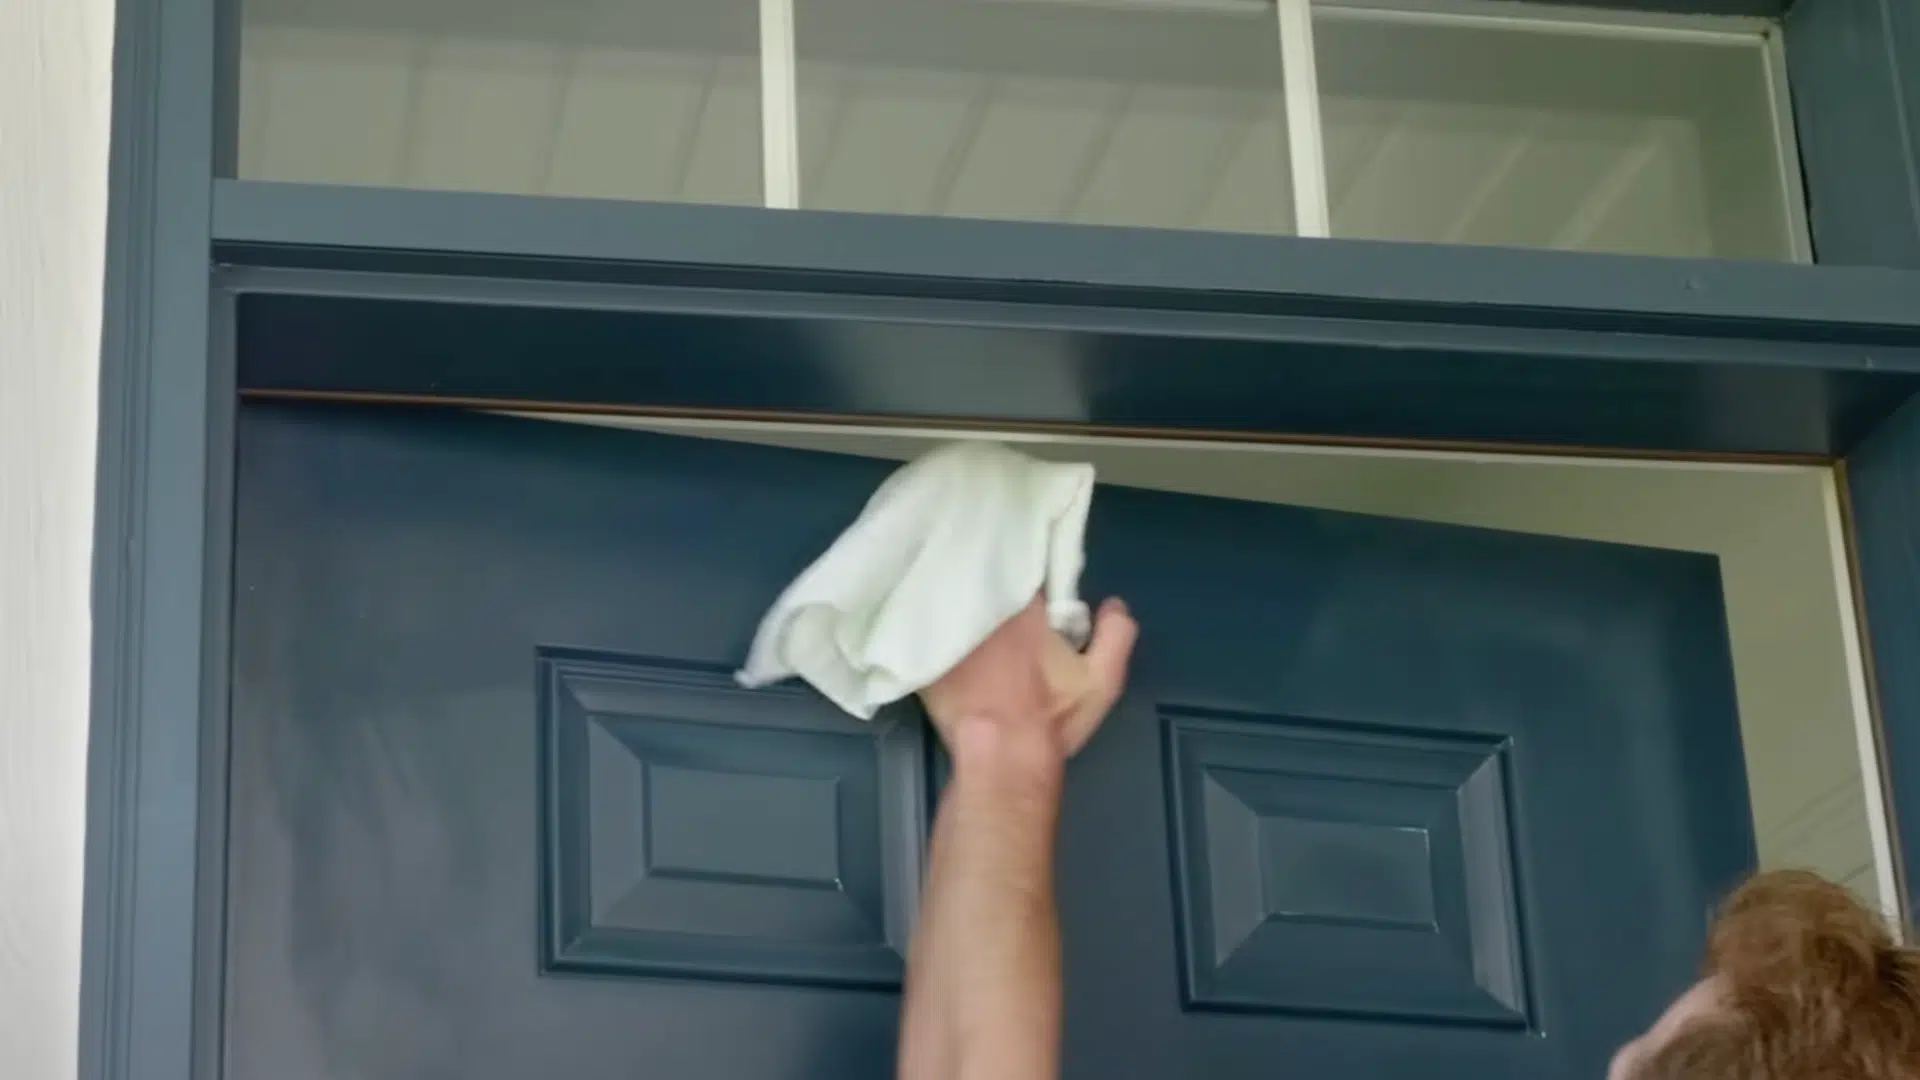
6. Paint Trims and Edges
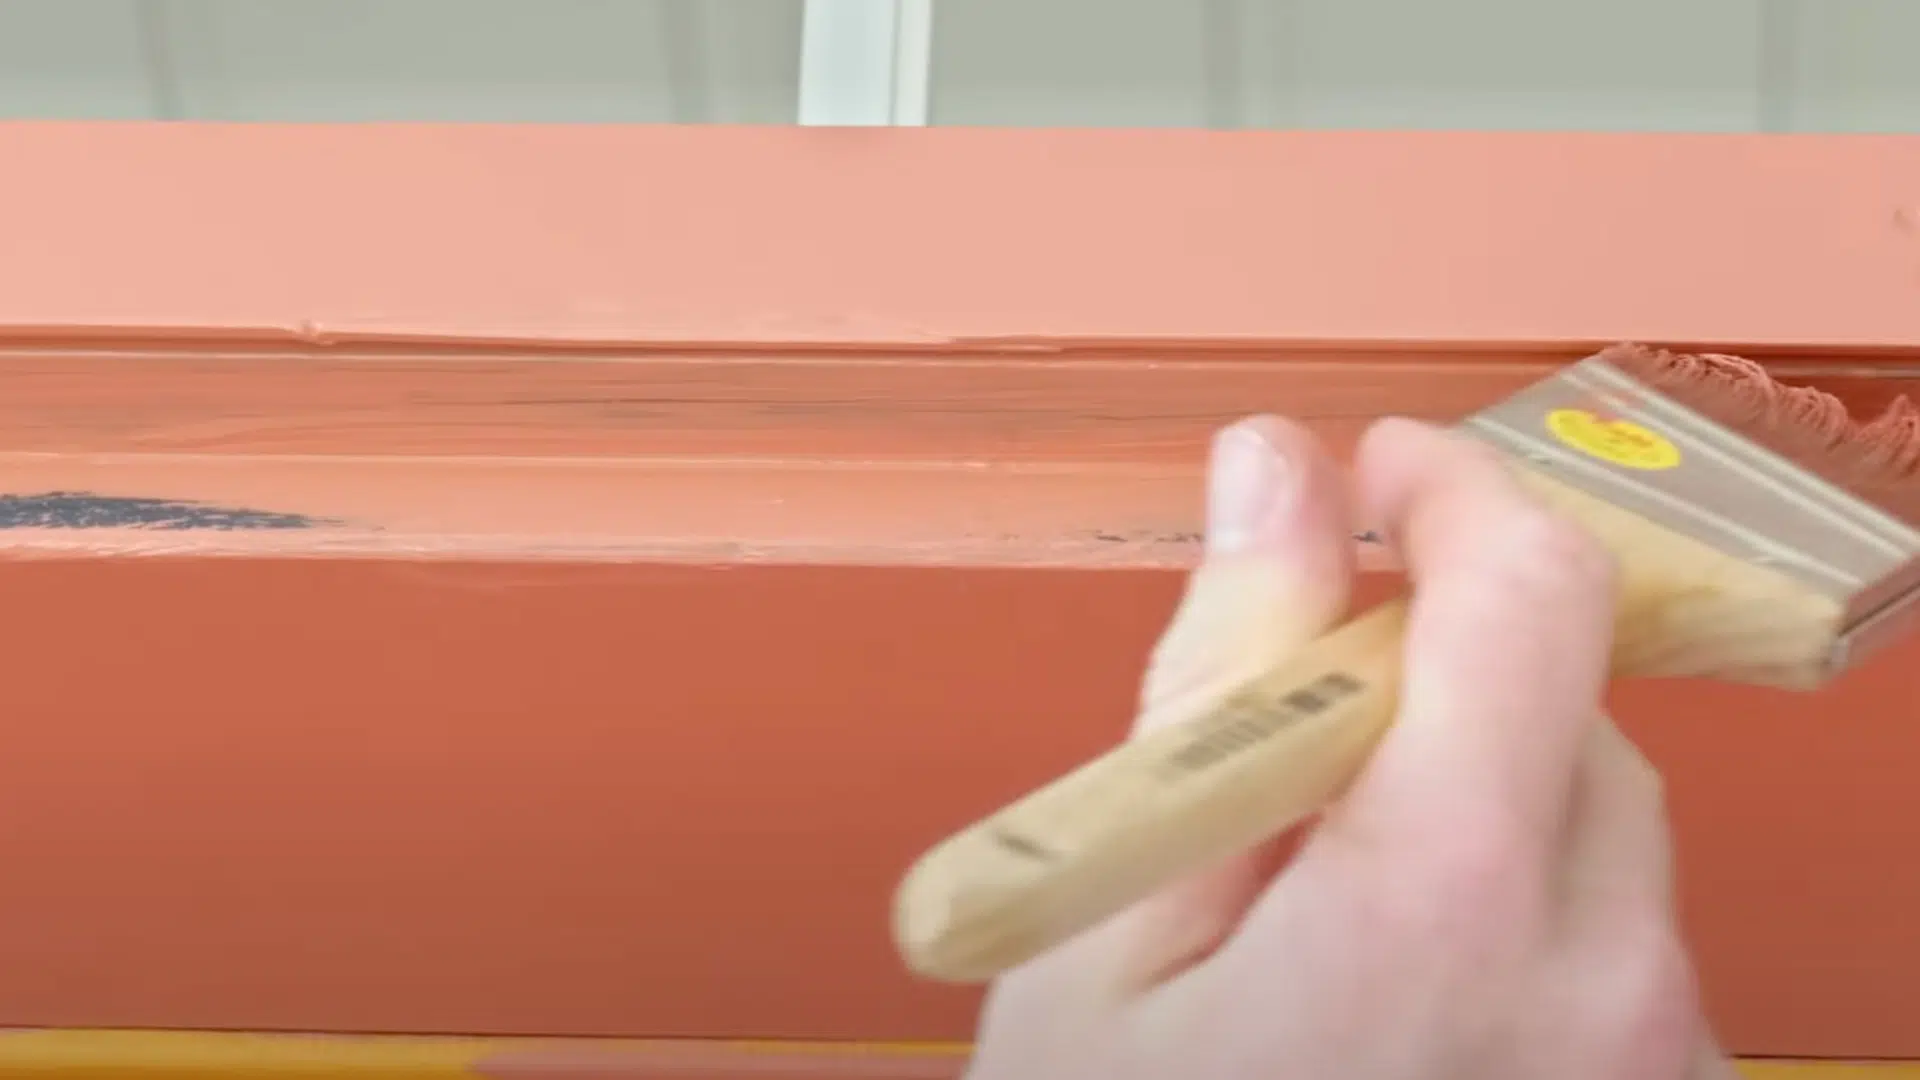
Now paint the trim and edges of your door. Use your angled brush to get clean lines along the edges.
Start with the horizontal trim pieces first. Then move to the vertical sides. This helps keep smudges to a minimum.
Don’t forget the door edges. Open the door just a little so you can reach them. Watch out for paint building up in corners.
Use a dry brush to smooth it out. Take your time, this part needs patience for a neat finish.
7. Paint Doors Using a Roller

Now it’s time to paint the big flat part of the door. Use a small foam roller for the smoothest look.
Start at the top and roll downward. Overlap your strokes by half to avoid visible lines. Don’t press down hard.
Let the roller do the work. Too much pressure leaves texture behind. Watch as you go. If you see lines or bubbles, gently roll over them again.
The final roll should be light to leave a nice even finish.
8. Sand After Paint
Once the first coat of paint dries fully, it’s time to sand again. Use 220-grit sandpaper.
You’re not sanding hard, just smoothing out brush marks or bumps. Run the sandpaper lightly across the whole surface.
After sanding, wipe away every bit of dust. Use a tack cloth to catch the tiny bits. If you skip this step, dust will show through your second coat.
Look over the whole door again. Fix any flaws you find now. It’s easier than after the final coat.
9. Apply Second Coat
The second coat is where your paint job really shines. Follow the same steps as before.
Start with the panels, then the trim, and finally roll out the main surface. Be careful to get even coverage, especially where the first coat looked thin.
Don’t rush. Check your work as you go. Take a few steps back often. It’s easier to see missed spots that way.
This coat doesn’t need to be thick. Just smooth and even. Finish with a light roller pass to remove any remaining lines.
10. Cleanup and Reattach Doors
Let the paint dry completely before you reattach anything. Check the paint can for the correct drying time.
Remove the painter’s tape while the paint is still slightly tacky. That helps prevent peeling. Clean your brushes and rollers right away.
Good tools last longer when you care for them. Use your earlier photo to reinstall the hardware. Take your time putting everything back.
Test the handle and lock to ensure they function properly. Then step back and admire your work.
Want to see how it’s done in real time? Watch this helpful video from @thefamilyhandyman.
It guides you through the steps clearly, allowing you to follow along with confidence. It’s like having a pro right beside you.
Tips for Best Results
Picking the right time and using proper techniques make a huge difference in your door painting project.
A few simple choices can help you achieve a smoother finish, prevent problems, and extend the life of your paint job. The following are some smart tips to follow:
- Choose the right day for painting.
- Work in shade whenever possible.
- Use high-quality paint.
- Don’t rush the process.
- Keep a wet edge while painting.
Conclusion
Painting your front door without taking it off is a smart move for most people. You save time and avoid the hassle of removing hardware or rehanging the door later.
The key to achieving great results is thorough preparation. Take your time with sanding and cleaning.
These steps really help the paint stick better and look smoother when you’re done.
A new coat of paint can make a significant impact. Your door will look fresh, and your home will feel more welcoming right away.
It’s a simple weekend project that doesn’t need fancy tools or special skills, just a little patience.
Have you painted your door recently? Share your story in the comments.
What color did you pick? Did you hit any roadblocks? Your experience might help someone else with their door makeover.
If you found this guide helpful, you’ll definitely want to check out our step-by-step guide on DIY siding replacement.
It’s packed with practical tips, real-world advice, and easy instructions to help you take on your next big home project with confidence.

Stephanie Grace, a graduate with a degree in Fine Arts from the Savannah College of Art and Design, has been inspiring DIY enthusiasts with her creative and practical guidance for over 14 years. Her career in design and crafting began in a small artisan workshop, where she developed a passion for transforming everyday materials into beautiful and functional items. Stephanie joined our website in 2018, rapidly gaining popularity for her easy-to-follow DIY tutorials and innovative project ideas. Since then, she has been the creative mind behind our DIY section, helping readers bring their artistic visions to life. Outside her professional pursuits, Stephanie enjoys pottery and urban gardening, hobbies that showcase her love for hands-on creativity and nature.