Your home’s siding does more than look nice. It shields your house from rain, wind, and harsh weather that could cause serious damage.
But over time, siding can start to crack, bend, or fade. When that happens, it’s a clear sign it needs replacing before the damage gets worse.
This guide walks you through the process of repairing damaged siding on your own.
I’ll explain each step clearly so you won’t get confused. You’ll learn what tools to use and how to avoid the common mistakes that cost people time and money.
I’ve helped many homeowners do this themselves. It’s not as hard as it seems. Most folks think siding repair is too big a job, but it’s very doable with some patience and know-how.
Maybe your siding came loose after a storm. Or perhaps water is seeping behind it. Let’s fix that today, properly, safely, and without incurring a fortune in contractor costs.
Why Replace Your Siding?
Replacing siding is one of the best ways to protect and update your home.
Old or damaged siding can let in water, pests, and outside air, which may lead to bigger problems like mold or higher energy bills. If your siding is cracked, faded, or warped, it might be time for a fresh start.
New siding gives your home a clean, updated look and can even boost its value. It also helps improve insulation, keeping your house warmer in winter and cooler in summer. That means you’ll save money on heating and cooling.
I always suggest checking your siding every year. If you see signs of damage, don’t wait too long to fix it. Replacing siding might seem like a big job, but it’s a smart investment that makes your home look better and last longer.
Tools and Materials You’ll Need
The following are all the supplies you’ll need for replacing siding:
- Hammer and nail set
- Circular saw or miter saw
- Measuring tape (25-foot minimum)
- Level (4-foot works best)
- Utility knife with extra blades
- Pry bar or crowbar
- Safety glasses and work gloves
- Siding removal tool (zip tool)
- Chalk line for marking
- Tin snips for cutting
- Ladder or scaffolding
- Extension cord for power tools
- Replacement siding pieces
- Galvanized nails (1.5 to 2 inches)
- House wrap or building paper
- Caulk and caulk gun
- Primer and paint (if needed)
- Flashing tape
DIY Siding Replacement
Replacing damaged siding takes patience and care. You can’t rush this job since each step builds on the last one. Skip a step, and you’ll have problems later.
1. Cutting the Damaged Section Loose
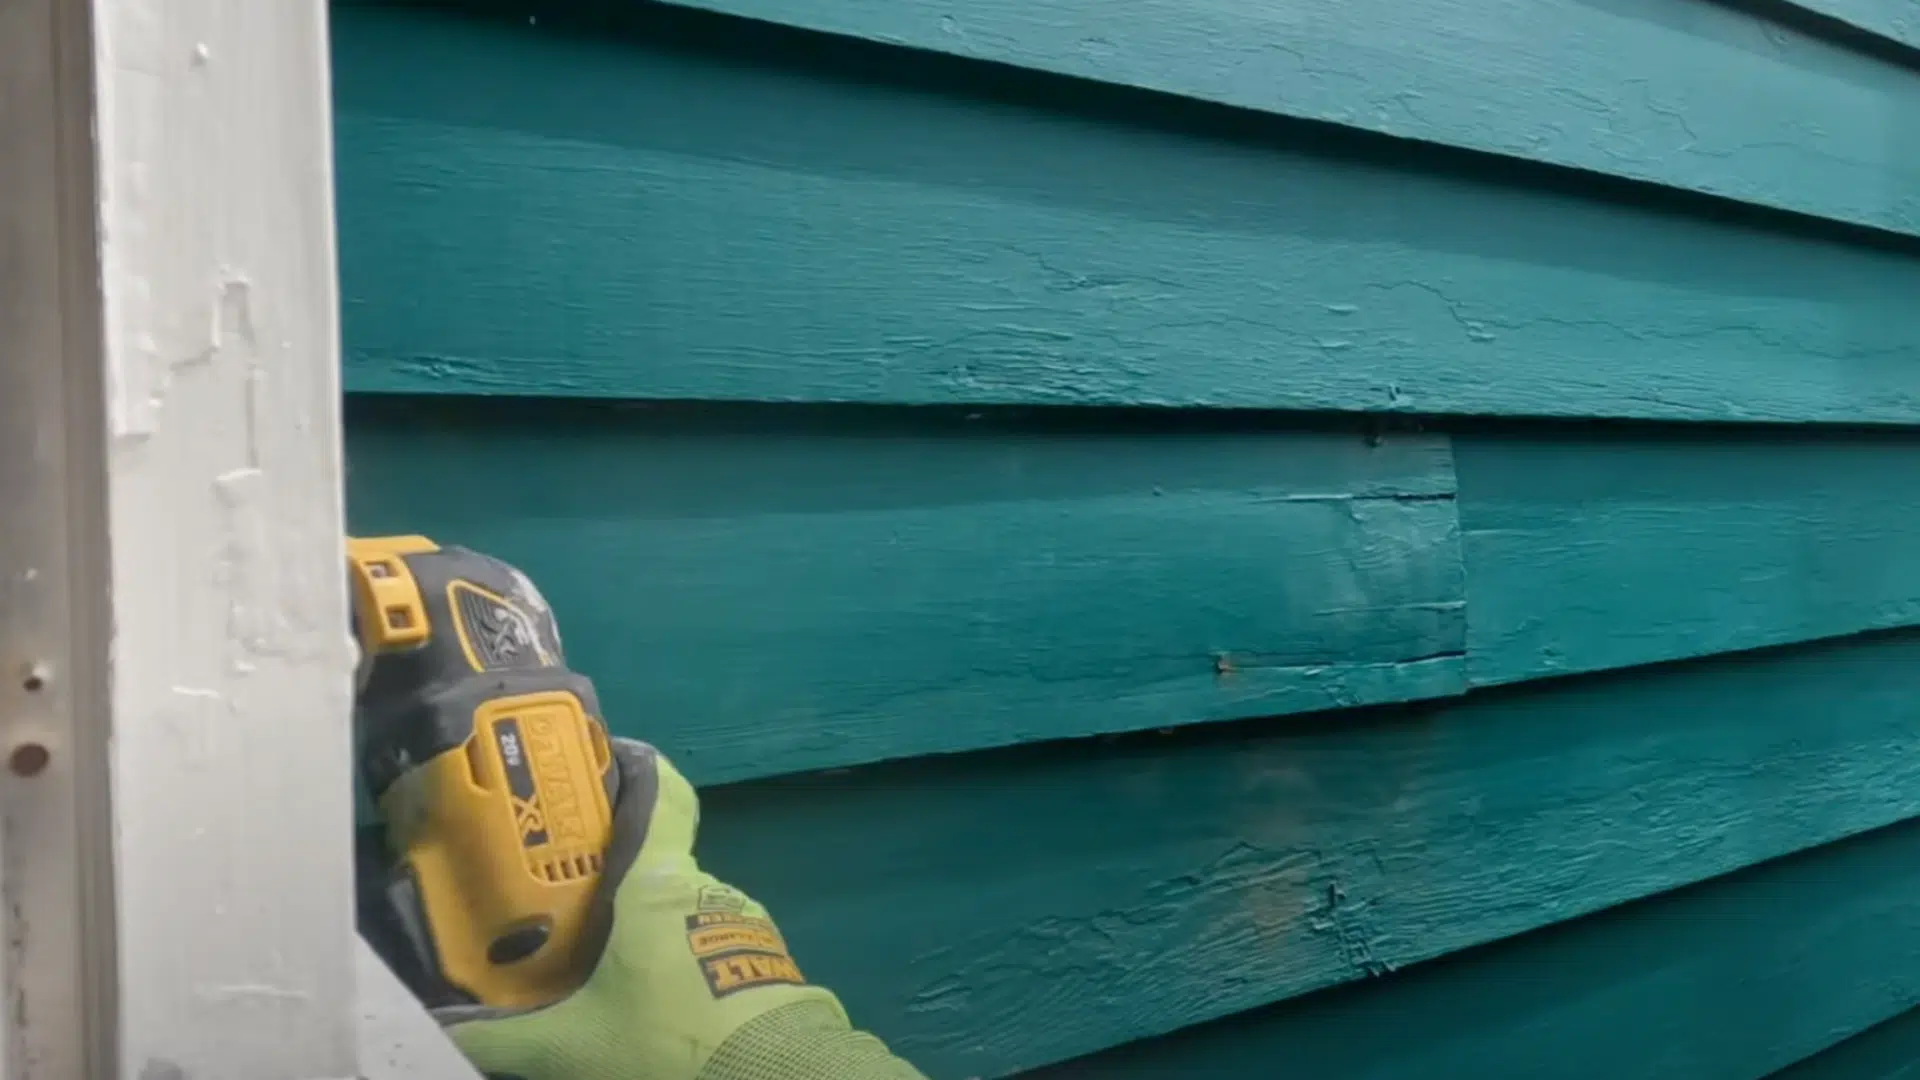
Start by clearly marking the damaged area. Always mark about 6 inches past what looks bad.
Damage often hides underneath. Score the caulk lines carefully using a sharp utility knife. This keeps you from tearing off good siding. Use a zip tool for horizontal siding.
Slide it under the lip and pull downward. The seam will pop loose. Suppose it’s vertical siding, use tin snips to cut nails. Work slowly to avoid breaking nearby pieces.
Check for wires behind the siding. Always turn off the power first. A live wire can seriously injure you, so double-check using a voltage tester.
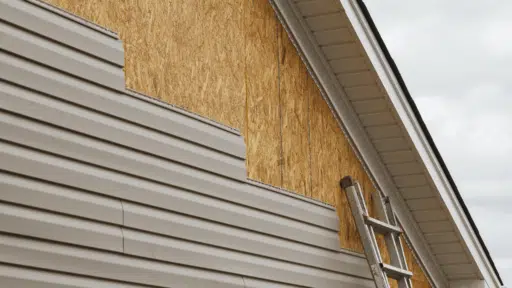
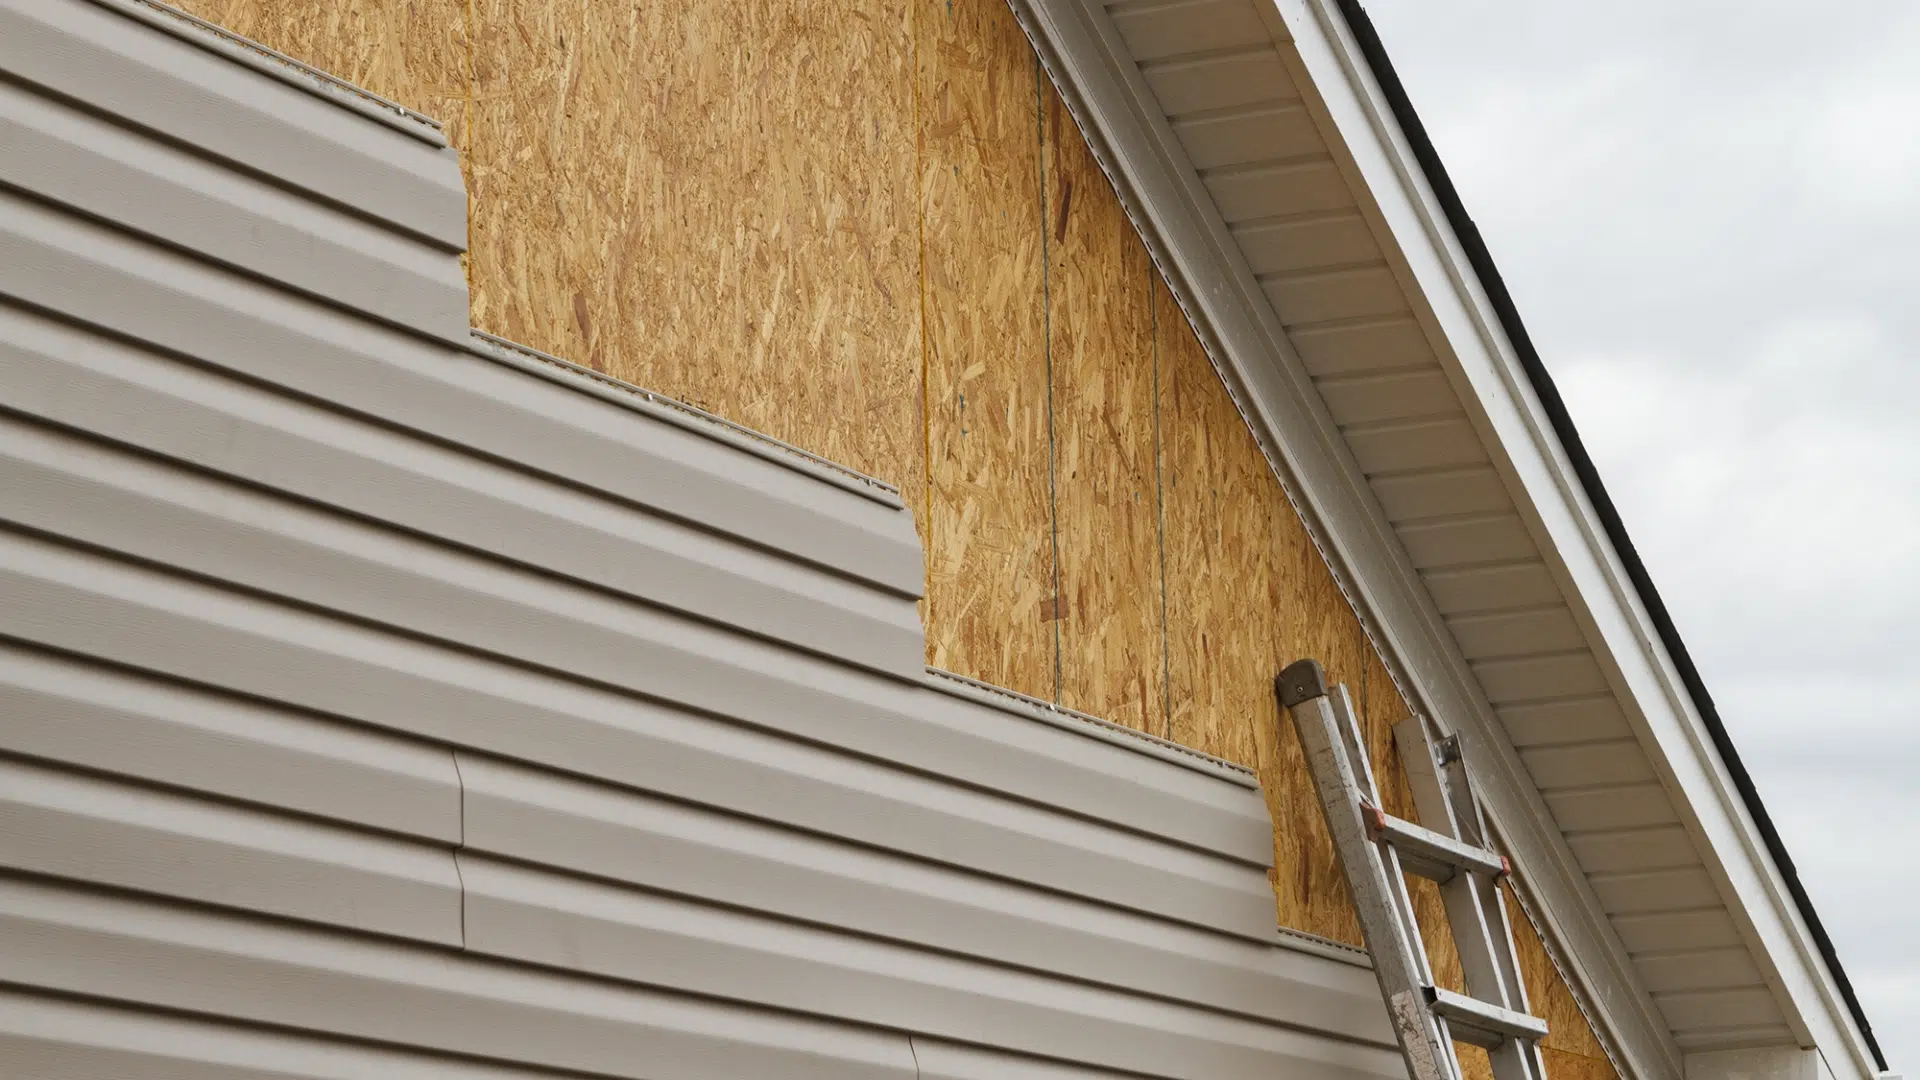
2. Removing the Damaged Siding
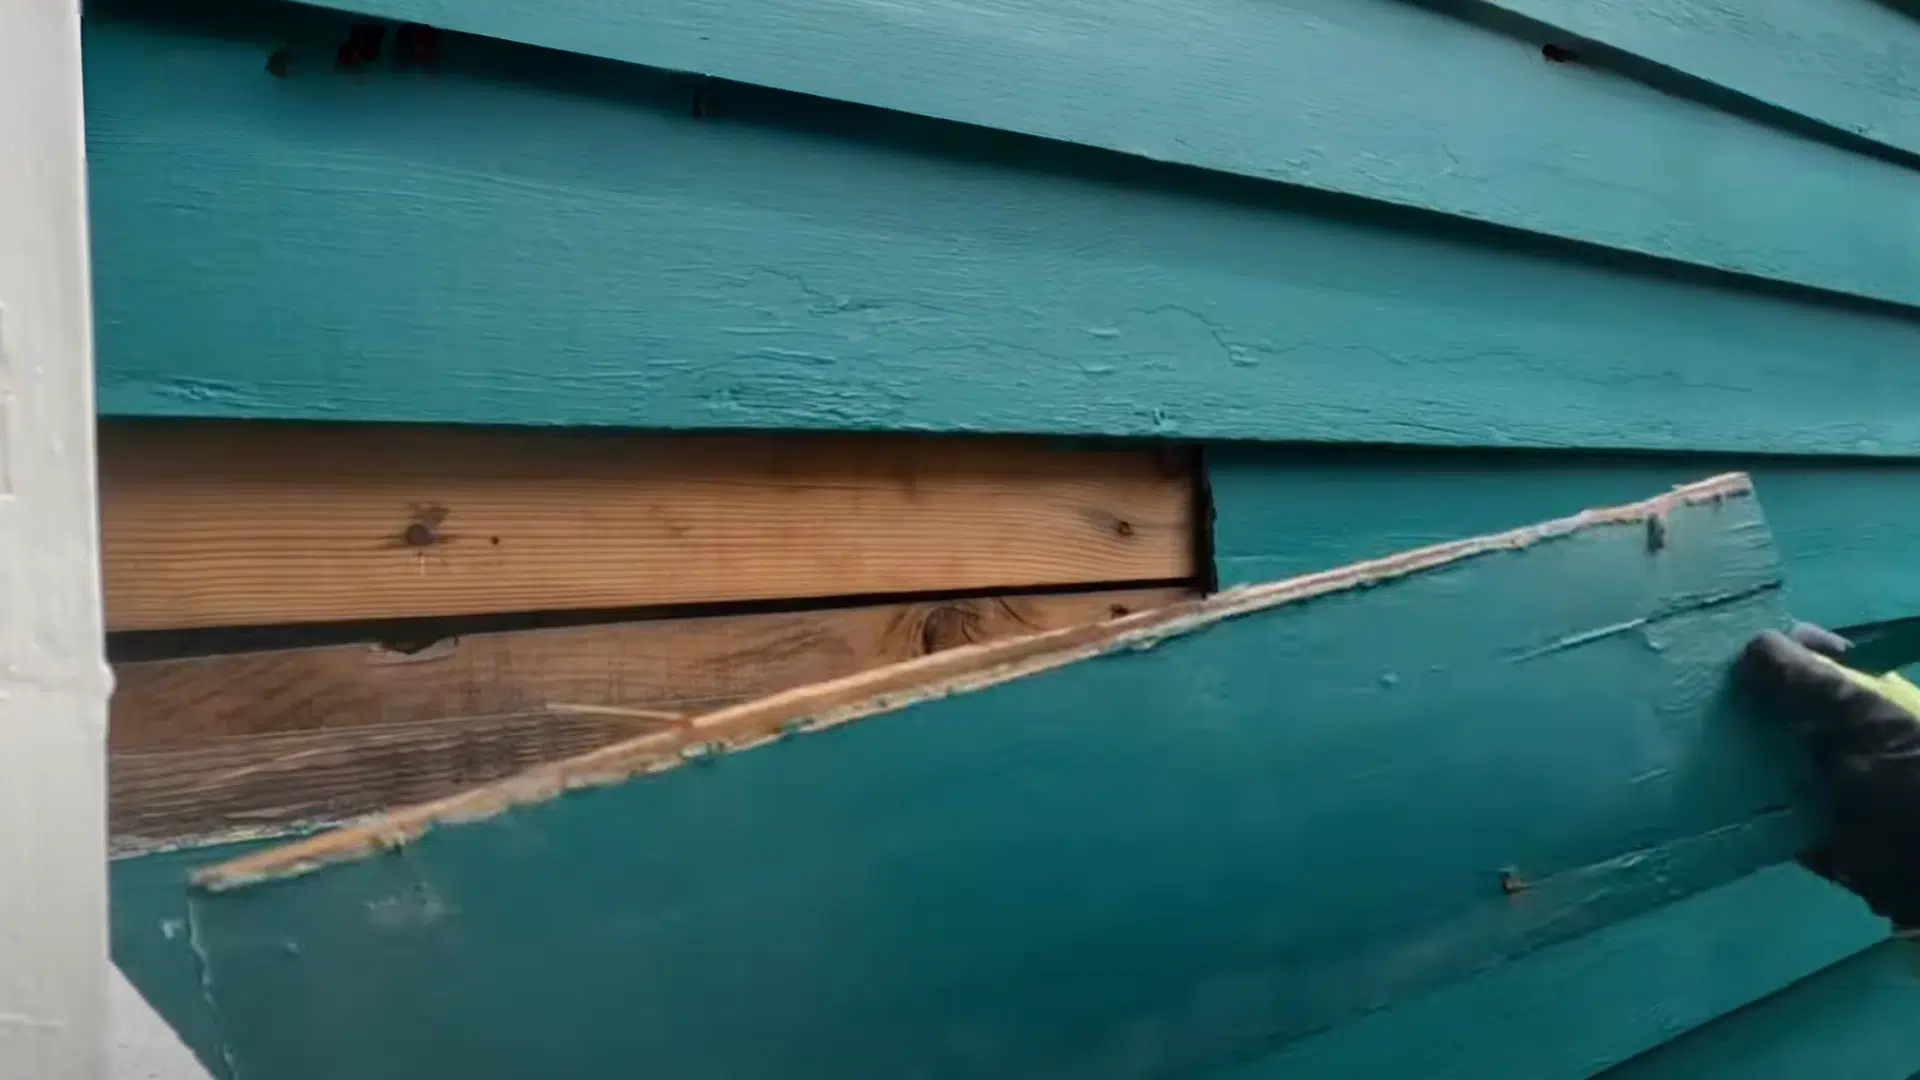
Use a pry bar to lift the nails gently. Don’t rush or you’ll damage siding that still works fine. Start from the top and remove each piece in reverse order.
Save trim if it’s not cracked and clean off any old caulk using your utility knife.
Look at the house wrap underneath. If it’s torn or missing, replace it. This keeps water from sneaking into your walls.
Take a photo of everything before you install the new siding. Trust me, those pictures help when it’s time to line things up again. They act like a visual map of your project.
3. Preparing and Installing the New Siding
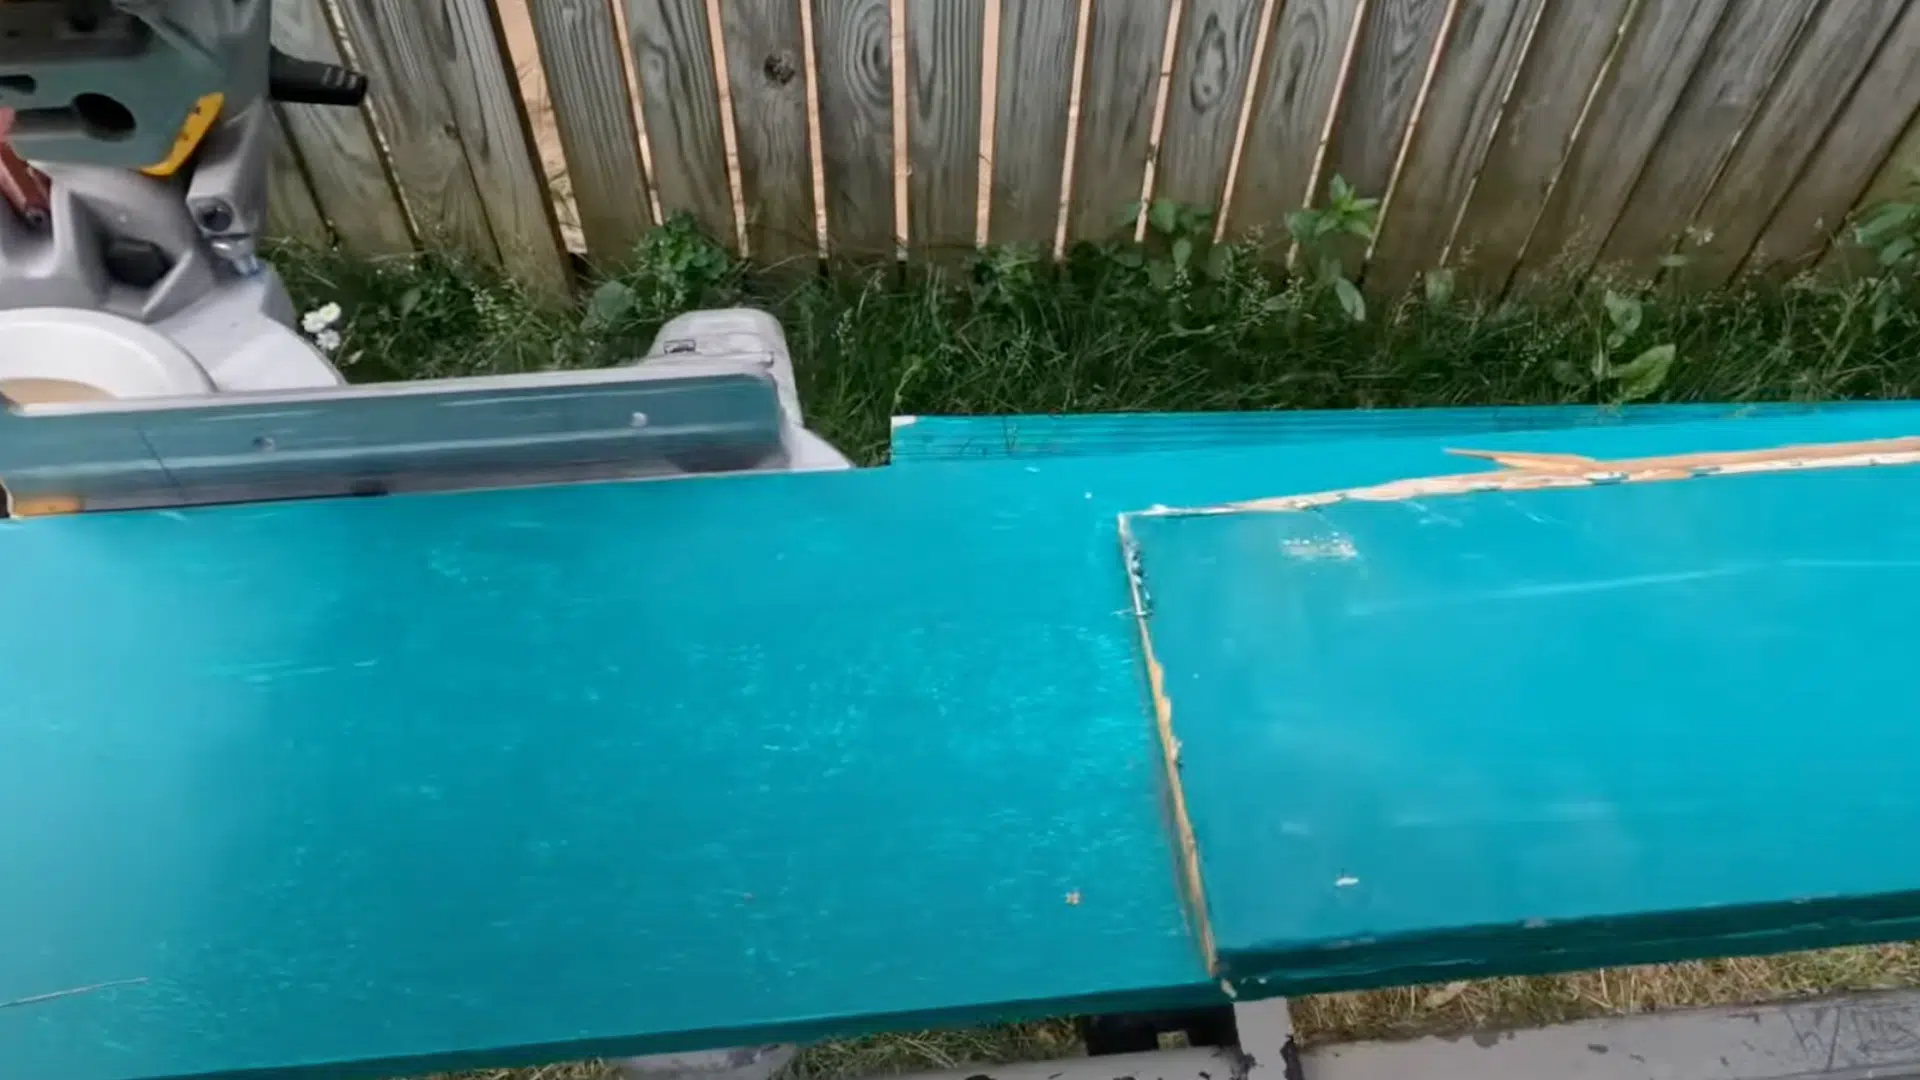
Measure the space several times. Walls aren’t always straight. Cut new siding to the largest size. Use a fine-tooth blade to cut cleanly.
Always cut with the siding face down. Support both sides of the board while cutting. Slide each piece into place before nailing. It should fit snugly and overlap just right.
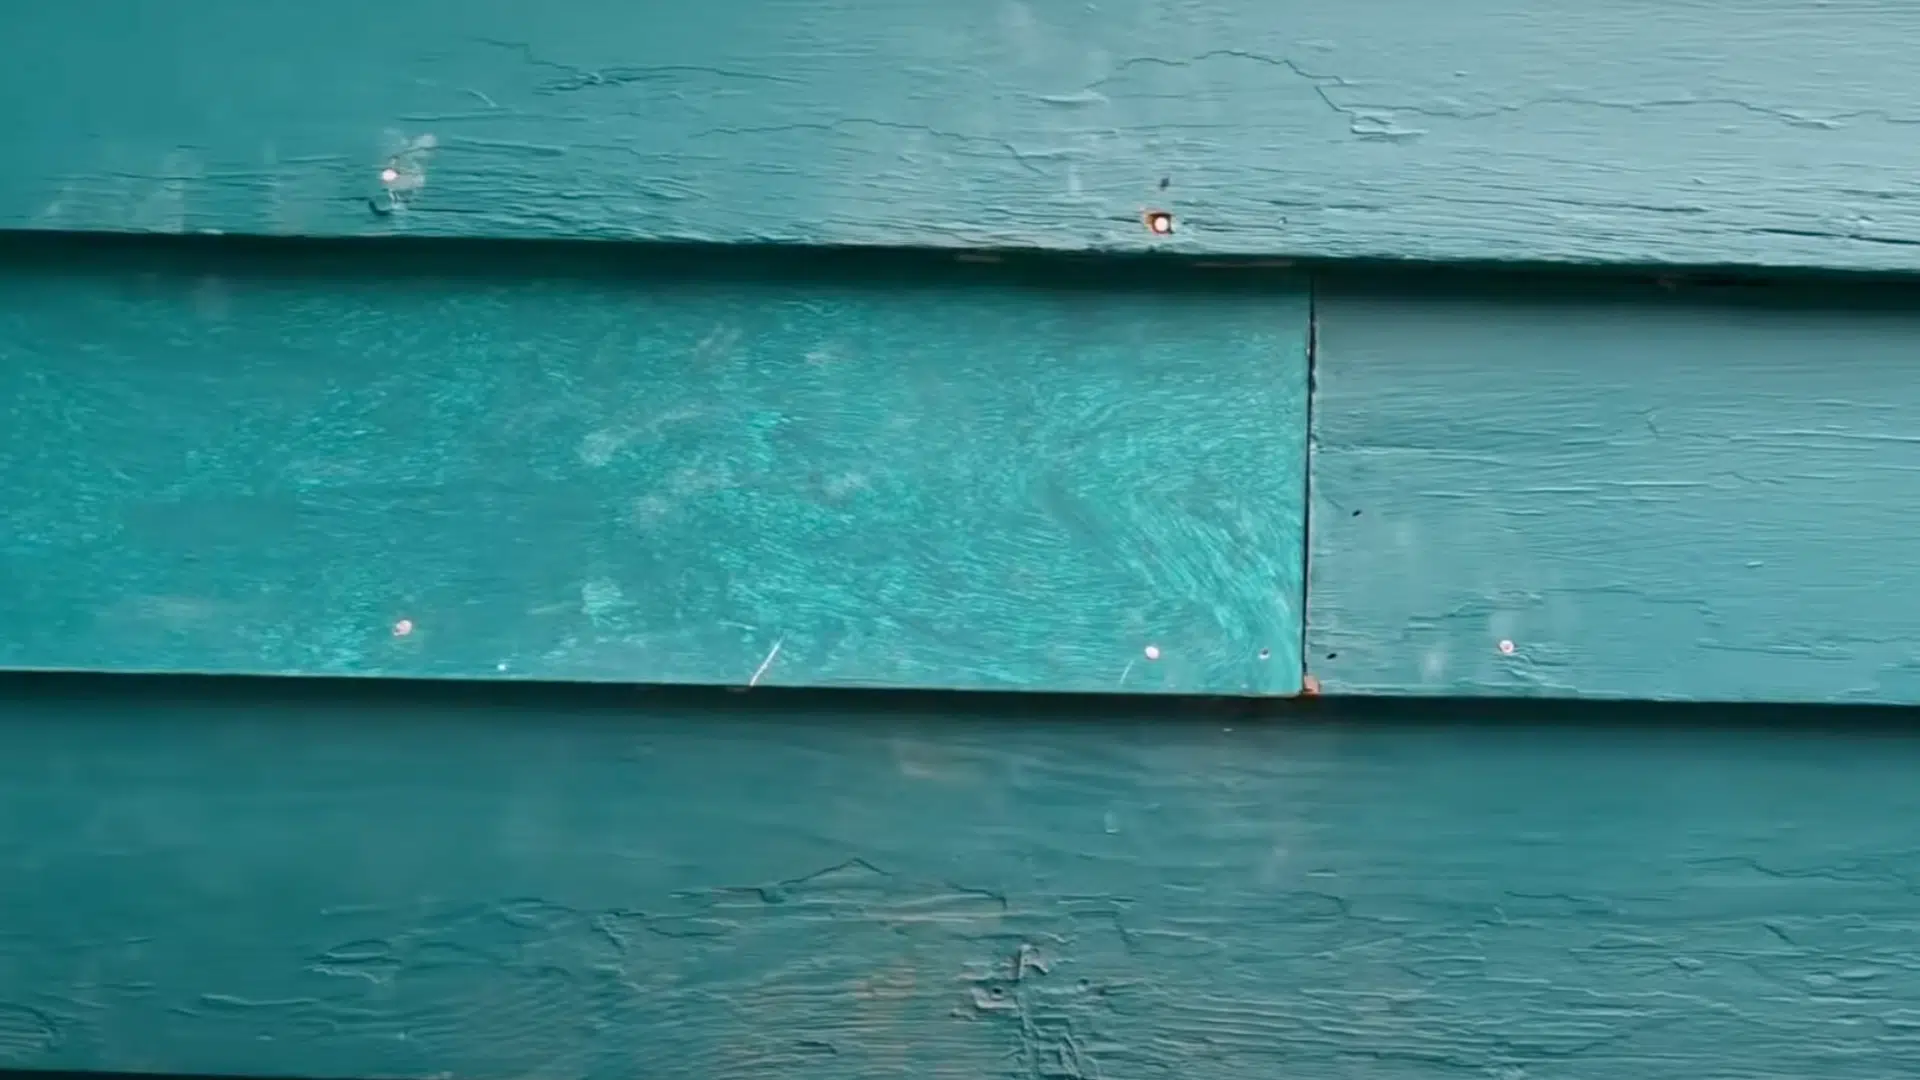
Nail through the center of each slot. Leave a tiny space between the nail and the siding so it can move slightly.
Space nails every 16 inches on horizontal boards. For vertical boards, nail every 12 inches. Always use rust-resistant nails for a clean, lasting look.
4. Finishing Touches
Seal all the gaps using outdoor caulk that matches your siding color. Smooth it with your finger for a clean look.
Prime any raw wood as soon as possible. It soaks up water fast. One coat of primer can save you a lot of trouble later. Match your paint by bringing a siding sample to the store.
Two light coats work better than one heavy one. Clean your space when you finish. Pick up old nails and sweep off dust.
Store extra pieces in a dry, secure location for future repairs. Walk around and check your work from every angle.
When to Hire a Professional Instead?
The following is when to hire a siding professional:
- Your home has two or more stories
- The damage affects load-bearing walls or structural framing
- There’s mold, rot, or water damage under the siding
- Electrical wiring or plumbing runs behind the siding
- You don’t have the proper tools or experience
- Local permits require licensed contractor work
- You want a full siding replacement instead of a small repair
- The siding pattern or installation style is complex or custom
- You’re short on time and need the job done quickly and correctly
Hiring a professional saves time, reduces stress, and prevents costly mistakes down the road.
Maintenance Tips for New Siding
Keeping your new siding in great shape doesn’t take a lot of work, but it does require some regular care. I’ve found that a few simple habits can go a long way in protecting your home’s exterior.
- Wash Your Siding Once a Year – Use a garden hose and mild soap to remove dirt and grime.
- Check for Damage After Storms – Look for cracks, loose panels, or dents.
- Trim Bushes and Trees Away – This prevents scratches, mold, and insect access.
- Repaint or Reseal Wood Siding Every 5–7 Years – Helps protect against weather and decay.
- Inspect Caulking and Seals Yearly – Replace any cracked or missing caulk to prevent moisture problems.
- Avoid Using Pressure Washers Unless Recommended – High pressure can damage certain siding materials.
- Look for Signs of Insect Activity – Catching problems early can prevent major repairs.
Conclusion
Replacing siding gives your home a cleaner look and helps lower energy bills. It seals gaps that let in cold air or moisture, which keeps your home more comfortable all year.
Knowing the basics of siding replacement helps you determine what you can handle on your own. Some jobs are fine for DIY. Others need a professional’s help.
Walk around your home twice a year. Look for cracks, loose panels, or fading. These small issues often show up before serious damage begins.
Fixing problems early saves you money. A tiny leak can quickly turn into a major repair.
Have you tackled a siding project? Share your experience in the comments. Your tips could help another homeowner make a smart choice.
It would also be best for you to read the blog where the cost of replacing siding is being discussed.
Frequently Asked Questions
How Long Does Siding Last Before Replacement?
Most siding lasts 20–40 years, depending on the material and the local weather conditions. Vinyl typically lasts 25–30 years, while fiber cement can last over 50 years with proper care.
How Much Does DIY Siding Replacement Cost?
Materials cost around $3 to $12 per square foot. If you do it yourself, you skip labor costs, but professional installation adds $5–$15 per square foot, depending on the type of siding.
Do I Need Permits for Siding Replacement?
Most towns require a permit for full siding jobs. Small repairs typically don’t need one. Always call your local building office before starting any siding work.
What Happens if I Find Asbestos Siding?
Stop right away. Don’t disturb the material. Contact licensed asbestos removal pros. Asbestos is a hazardous material that requires specialized removal to keep your family and neighbors safe.
How Do I Match Discontinued Siding Colors?
Try salvage yards or leftover stock from manufacturers. If that fails, paint the area or the entire wall. You can also use blending tricks to hide the color difference.

James McLaren, with a rich background in architecture from the University of Manchester, has been contributing his expertise to the world of creative construction and home innovation for over 20 years. His journey began as a project manager for a leading construction firm, where he honed his skills in bringing complex designs to life. James joined our platform as a freelancer in 2019, quickly becoming a favorite for his insightful and practical advice. He has been a pivotal force to our wing ever since, bringing our readers a blend of technical know-how and creative flair. Beyond his professional life, James is an avid woodworker and enjoys restoring vintage furniture, a hobby that complements his professional insights beautifully.