Ever walked into a room and thought, “This place needs a major style upgrade”?
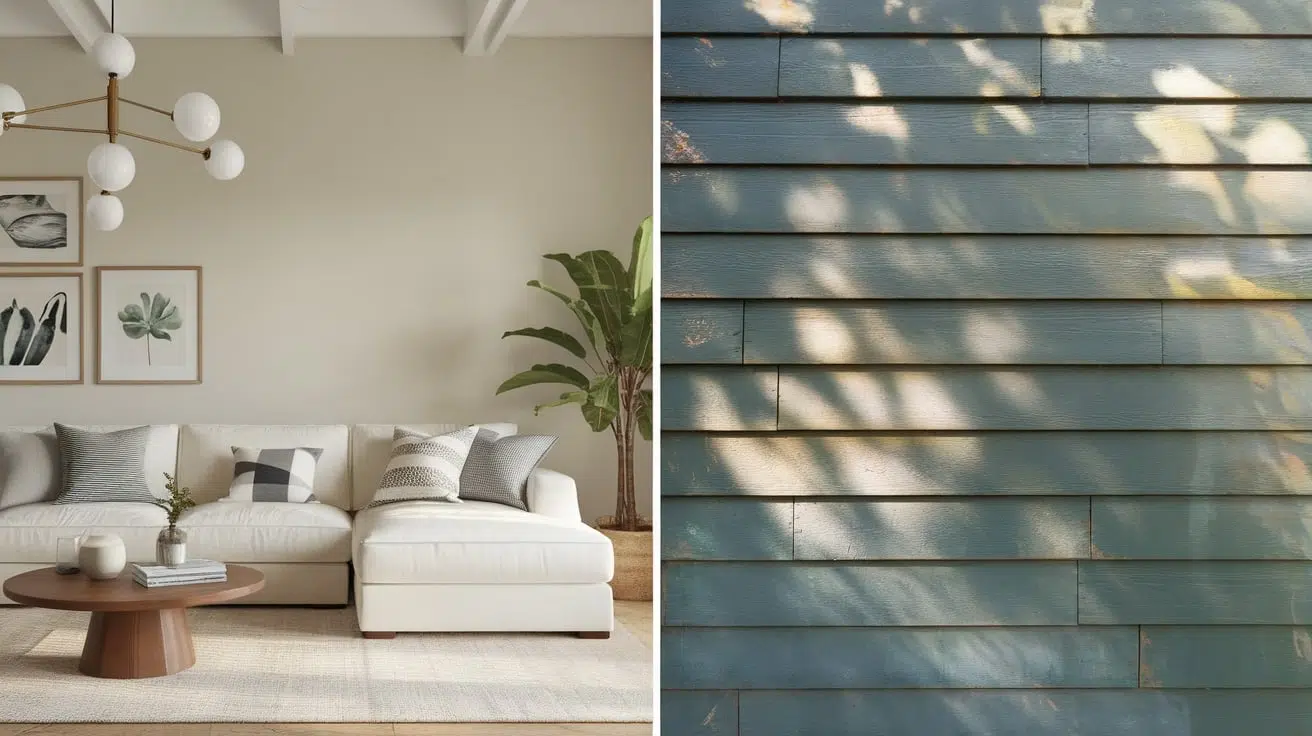
Wallpaper is having a huge comeback. It’s everywhere these days – from cozy farmhouse kitchens to sleek modern bedrooms. People love how it can completely change a room’s vibe with just one accent wall.
But here’s the thing. Many homes have textured walls. Those bumpy, rough surfaces that make decorating feel impossible.
Can wallpaper stick to textured walls? Yes, it absolutely can work! It’s not as scary as it sounds, either. With the right prep work and techniques, even the bumpiest walls can get a beautiful wallpaper makeover.
From choosing the right materials to getting that perfect finish. No confusing jargon or complicated tricks – just clear, simple instructions that work.
Can You Hang Wallpaper on a Textured Wall?
The short answer is yes, but some textures are easier than others. Light orange peel texture, with its tiny bumps, works great for wallpaper. Knockdown texture, where bumps are flattened, is also manageable.
Heavy popcorn or deep grooved patterns are trickier since wallpaper might not stick to all raised areas.
What makes the difference? Subtle textures like light orange peel need minimal prep and standard adhesive.
Medium textures might require primer or thicker wallpaper. Heavy textures often need sanding or a skim coat of joint compound first.
Success comes down to proper preparation. Clean walls, fill imperfections, and choose the right materials. Even challenging textures become workable with patience and correct techniques.
Types of Textured Walls

Not all textured walls are created equal. Understanding what type of texture covers the walls helps determine the best approach for wallpaper installation. Each texture has its challenges and benefits when it comes to hanging wallpaper successfully.
- Knockdown Texture – Features raised bumps flattened with a trowel, creating a wallpaper-friendly surface with good contact points for adhesive.
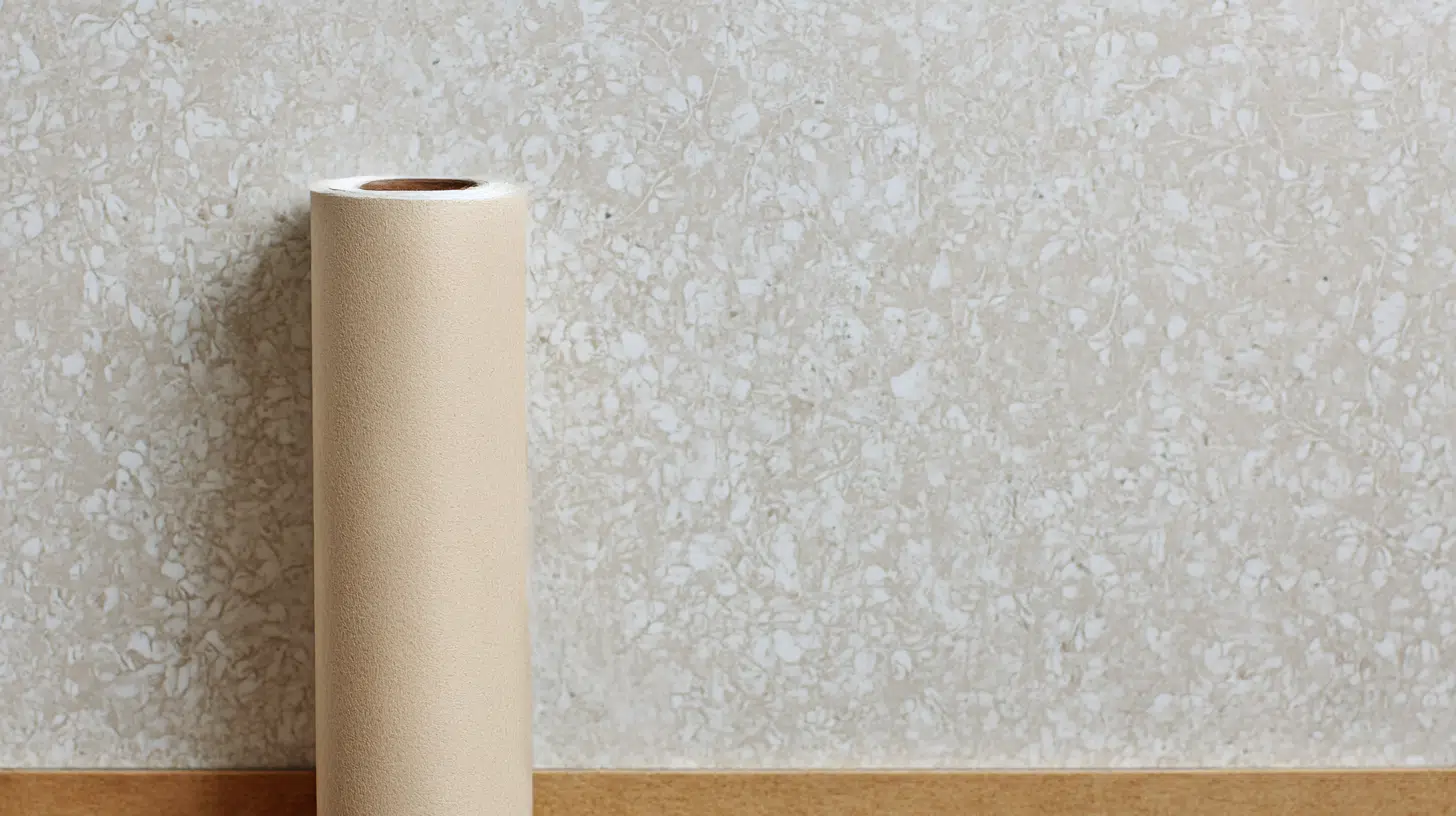
- Orange Peel Texture – Resembles orange skin with small, rounded bumps that are evenly distributed, making it one of the easiest textures for wallpaper application.
- Popcorn Texture – Creates a heavily bumped surface like cottage cheese that requires significant preparation work, including sanding or skim coating before wallpaper installation.
Tools and Materials Needed
Having the right tools and materials on hand makes the difference between a smooth wallpaper installation and a frustrating project full of delays and mistakes.
Preparing textured walls for wallpaper requires specific equipment for surface preparation, while the actual wallpaper application needs its own set of tools for professional results
- Wallpaper and adhesive
- Smoothing tool
- Sandpaper or joint compound
- Primer or lining paper
- Utility knife, level, measuring tape, sponge, etc.
How to Prepare Textured Walls for Wallpaper
Preparing textured walls for wallpaper requires patience and the right technique to create a smooth enough surface for proper adhesion.
xThe goal isn’t to eliminate all texture completely, but rather to create a workable surface that won’t cause bubbles or poor contact points.
This process involves assessing the current texture, applying a skim coat of joint compound, and smoothing everything out for optimal wallpaper installation.
Step 1: Assess and Scrape the Surface

Before applying any joint compound, it’s crucial to examine the wall thoroughly and remove any problematic areas that could interfere with the skim coating process.
Run your hand along the textured wall to identify sharp points and ridges that need attention. Use a wide scraper to gently glide over the surface, knocking down any raised edges that could catch your tools.
Step 2: Prepare and Apply the Joint Compound

The application of joint compound requires the right tools and techniques to achieve a smooth, even finish across the textured surface. Use a tray and box of joint compound (drywall mud) along with a wide taping knife for the best coverage and control.
Scoop out the compound with a smaller scraper and place it into your tray, then work out any visible air bubbles in the compound before application.
Step 3: Let Dry and Lightly Sand

Proper drying and sanding are essential steps that determine the final quality of your prepared surface for wallpaper application. Allow the skim coat to dry overnight to ensure complete curing before moving to the next phase of preparation.
Use medium-grit sandpaper the next day to lightly sand down any ridges or lines that may have formed during the application process.
Step 5: Measure The Walls

Accurate measurement and cutting are essential for achieving professional-looking results with your wallpaper installation project.
After drying your wall, measure the required wallpaper length based on your wall height, and for partial walls like a half wall, mark the exact height you want on the wallpaper.
Step 6: Measure and Cut The Wallpaper

Measure your wallpaper and start cutting it. If your wallpaper has a pattern, ensure it lines up across panels by using blue painter’s tape to mark where the pattern continues and label each panel with top, bottom, and order for easy installation.
Lay the wallpaper flat, use your previously cut panel as a template, and cut the rest accordingly using a ruler and rotary cutter or regular scissors.
Step 7: Begin the Application Carefully

Begin the wallpaper application by starting only a few inches of the wax paper backing. Then, align the wallpaper with the ceiling, allowing for a 1-inch overhang for adjustments.
For smooth walls, a vinyl scraper or putty knife works great, while for textured walls, a flexible window squeegee helps you press the adhesive in around all the bumps and grooves effectively.
Step 8: Final Touches and Clean-Up

Watch for air bubbles and smooth them out as you go using your preferred stroke method, like vertical or center-out techniques, and remember that peel-and-stick wallpaper is forgiving, so if you make a mistake, simply lift and reapply.
Trim off any extra wallpaper along the edges with a razor blade or craft knife for clean, precise lines.
Prepping Textured Walls: Video Tutorial
Check out the video below by @chris loves julia for a step-by-step guide on how to prepare a textured wall.
Install Wallpaper: Video Tutorial
Check out the video below by @Kimagine DIY for a step-by-step guide on how to peel and stick wallpaper.
Common Mistakes to Avoid
Even experienced DIYers can make costly errors when wallpapering textured walls, turning what should be a rewarding project into a frustrating mess.
Learning from others’ mistakes saves time, money, and prevents the heartbreak of having to start over completely. Avoiding these common pitfalls ensures your wallpaper installation looks professional and lasts for years to come.
- Hanging on rough texture: Skipping surface preparation leads to poor adhesion and visible texture bleeding through the wallpaper.
- Skipping primer: Without proper primer, wallpaper may not stick correctly and could peel or bubble over time.
- Using the wrong wallpaper: Lightweight papers won’t conform to textured surfaces, while heavy papers may not adhere properly without proper preparation.
- Rushingdrying time: Rushing the drying process between preparation steps can cause joint compound to crack or the wallpaper to fail.
Conclusion
Hanging wallpaper on textured walls is achievable with the right preparation and techniques. While it requires more effort than smooth surfaces, the results are worth it.
The key lies in properly assessing your wall texture, preparing the surface with joint compound when needed, and choosing appropriate wallpaper and adhesive.
Remember to take your time during the preparation and application phases.
With patience and the right approach, even the most challenging textured walls can be changed into beautiful wallpapered features that increase any room’s graceful appeal.
What type of textured wall are you working with, and how did your wallpaper project turn out? Share your experience in the comments below!

Millie Anderson, a graduate of Textile Design from the Fashion Institute of Technology, has carved her name in fabric and material finishes for over 16 years. Her career took flight in a renowned textile manufacturing company, where she mastered combining textures and patterns. Millie joined our team in 2018, becoming a cornerstone for readers interested in the latest trends in textiles. Since then, she has been the lead editor for our home decor fabrics section, blending her deep knowledge of materials with a flair for contemporary design. Beyond her professional achievements, Millie is an enthusiastic quilter and often participates in community arts and crafts workshops, further nurturing her passion for fabrics and design.