Curtains are powerful design elements that change ordinary spaces into stylish, comfortable homes. When installed at the proper height, they frame windows beautifully and add warmth, texture, and personality to any room.
Beyond their decorative impact, curtains serve essential functions – controlling light, providing privacy, and even improving energy efficiency by adding insulation around windows.
They can make ceilings appear higher, make rooms feel larger, and add a layer of completeness to the entire space.
The right curtain height creates visual balance and proportion that enhances a home’s overall attractive appeal.
Whether seeking a casual, attractive, or dramatic look, understanding proper curtain placement is key to achieving professional-looking window treatments that complement and complete any room’s design.
Why Curtain Height Matters for Your Space
Hanging curtains at the wrong height can throw off the visual balance of an entire room. When curtains are too short, they create an awkward, unfinished appearance that makes spaces feel choppy and poorly designed.
Conversely, when hung correctly, curtains create an effortless flow that enhances the room’s proportions and draws the eye upward, making ceilings appear higher and spaces feel more expansive.
The impact of proper curtain height is:
- It creates an illusion of larger windows and more spacious rooms
- Enhances natural light distribution throughout the space
- Improves mood and psychological comfort through balanced proportions
- Protects furniture and flooring from sun damage when properly sized
- Improves room acoustics by adding soft surfaces that absorb sound
- Contributes to energy efficiency by providing insulation around windows
Standard Curtain Heights and Placement Tips
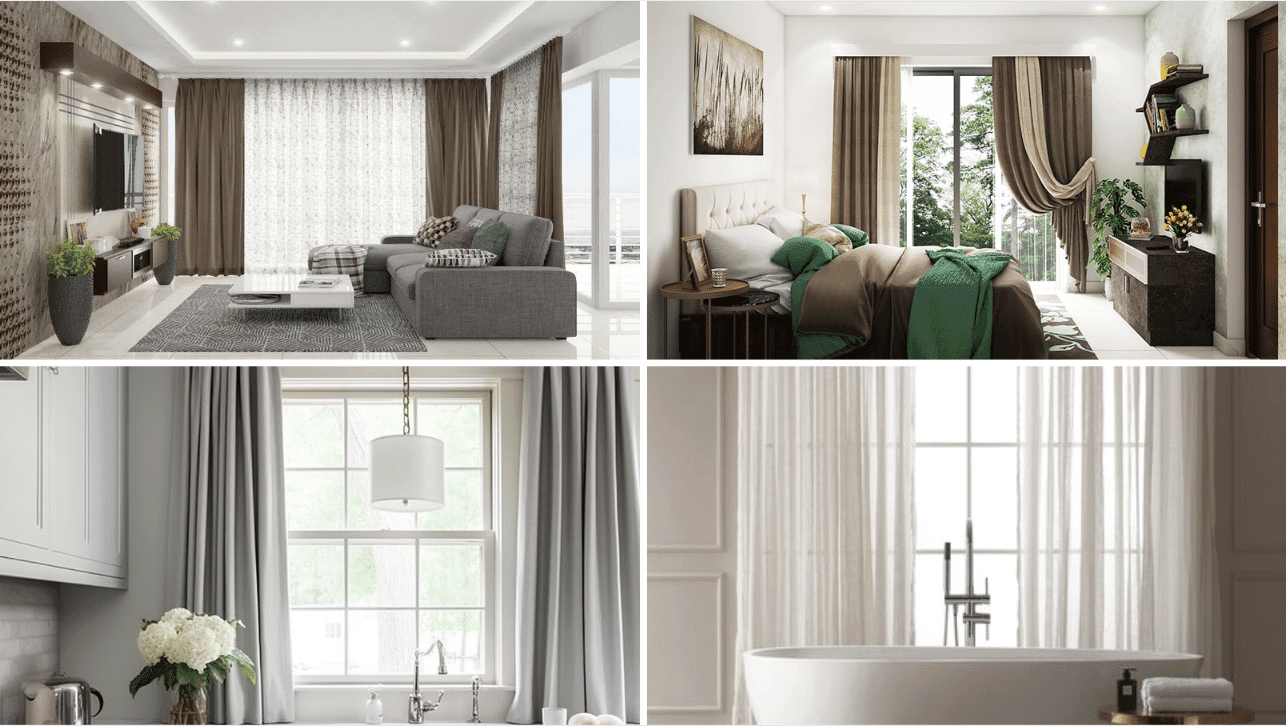
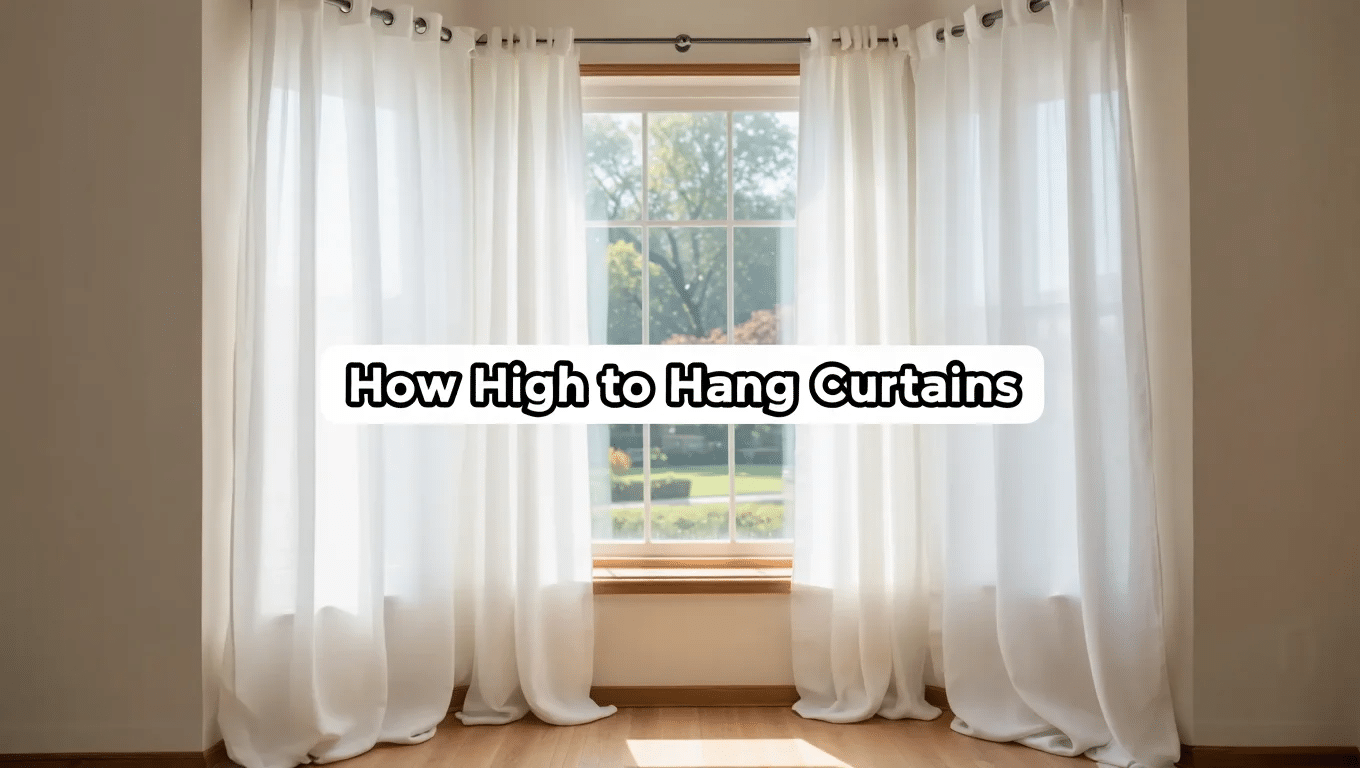
According to home interior design experts, curtains should typically be hung at least 4-6 inches (10-15 cm) above the window frame.
However, for a more dramatic and professional look, many designers recommend hanging curtains as high as 8-12 inches (20-30 cm) above the window or positioning them just below the ceiling or crown molding.
Curtain Lengths for Each Room
Here are some recommendations for curtain lengths for every room
- Living Room: Floor-length curtains that either lightly touch the floor or hover 1/2 inch above it create a formal, complete look appropriate for main living spaces.
- Bedroom: Floor-length or just touching the floor for a restful, complete look. Blackout styles may benefit from extra length to prevent light leakage.
- Bathroom: Due to moisture concerns, shorter curtains ending at the windowsill or just below it (usually 63-inch panels) work best.
- Kitchen and Dining Room: Café curtains that end at the windowsill or tier curtains that cover just the bottom half of windows balance privacy with natural light.
- Home Office: Floor-length curtains that reduce glare on screens while still allowing natural light are ideal for productivity.
Curtain Placement Tips
Here are some tips you should follow before getting ready to install curtains.
- Always measure from where the curtain rod will be installed, not from the top of the window.
- For wider windows, extend rods 8-12 inches beyond each side of the window frame.
- Use a level to ensure curtain rods are perfectly straight before final installation.
- Mount brackets into wall studs or use appropriate anchors for secure placement
- Consider stackback space—the area curtains occupy when fully opened—when determining rod width.
Curtain Styles and How They Affect Hanging Height
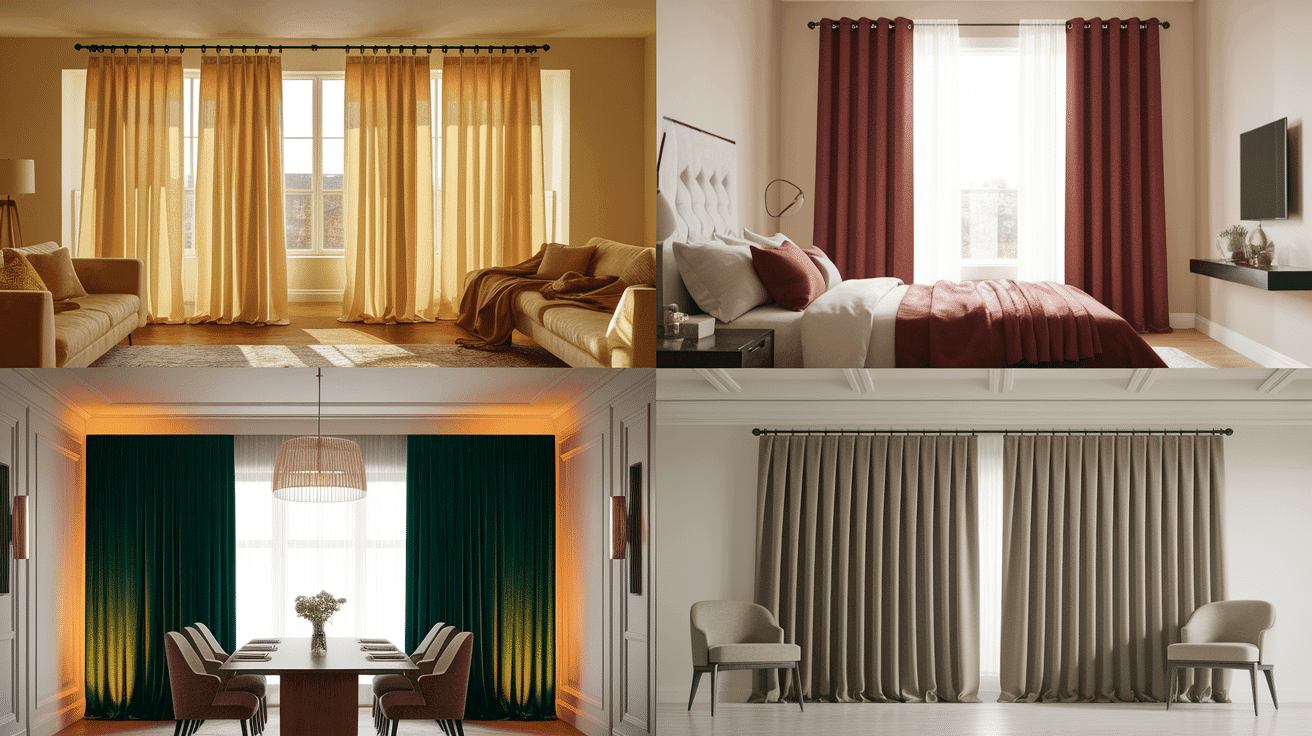
Different curtain styles have specific hanging requirements that affect the overall look and function of the window treatment.
- Tab Top Curtains: Hang these higher as the tabs themselves take up 3-4 inches of visual space from the rod
- Grommet/Eyelet Curtains: Account for the 1-2 inch space grommets create between the rod and the fabric top
- Rod Pocket Curtains: These gather closely to the rod and require minimal additional height calculation
- Pleated Curtains: Professional-looking pinch pleats typically begin right at rod level, so your measurement can be more precise
- Ring Top/Clip Curtains: Add 1-2 inches to your height calculation, as rings add length between the rod and fabric top
The right curtain style combined with proper hanging height creates a cohesive, designer-approved look throughout the home.
How to Hang Curtains Like A Pro
Now that you know the importance of curtains, let’s discuss how to hang curtains professionally and easily at home.
Tools & Materials Required
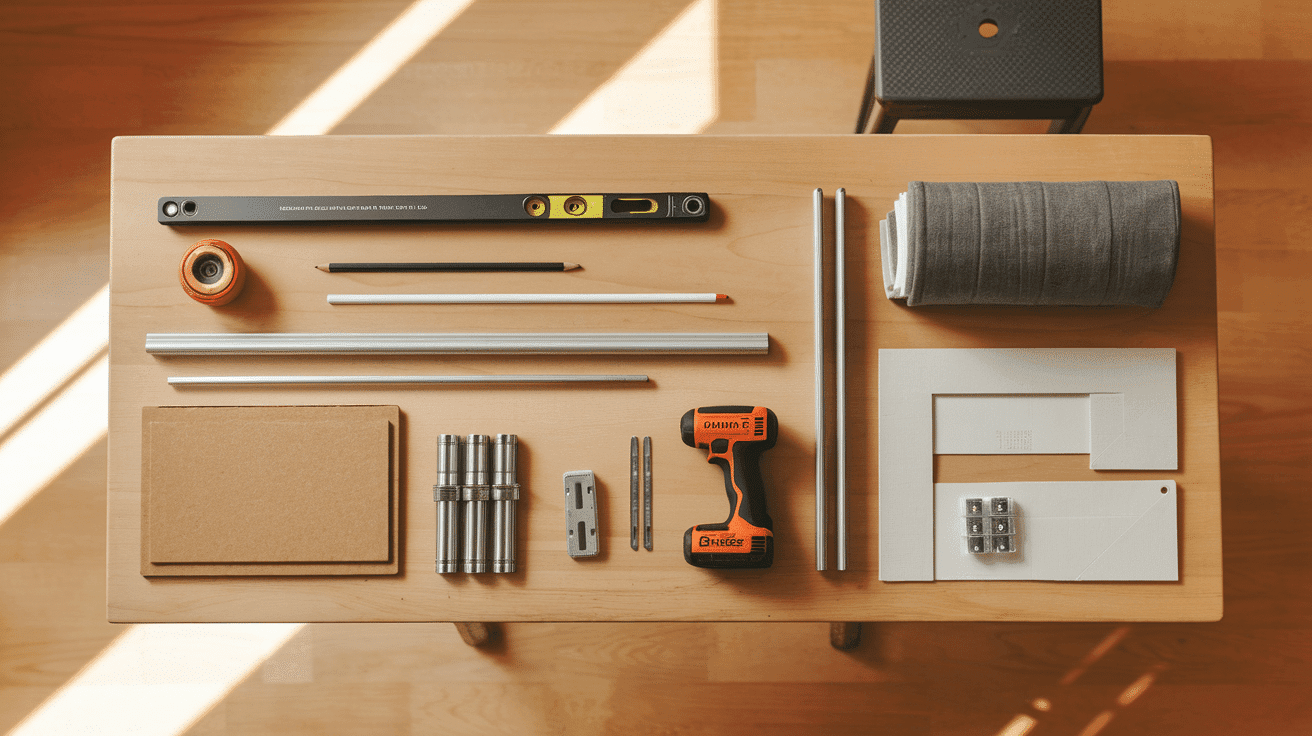
Before beginning with hanging curtains, make sure you have these tools ready.
| TOOLS | MATERIALS |
|---|---|
| Measuring tape, Pencil, & Level | Curtains |
| Step stool/ladder | Curtain rod (single/double as your need) |
| Drill or screwdriver | Brackets |
| Right-angle template | Screws and wall anchors |
Step-by-Step Guide to Hang Curtains
Here is a step-by-step guide you can follow to hang curtains in your house.
Step 1: Measure Your Window
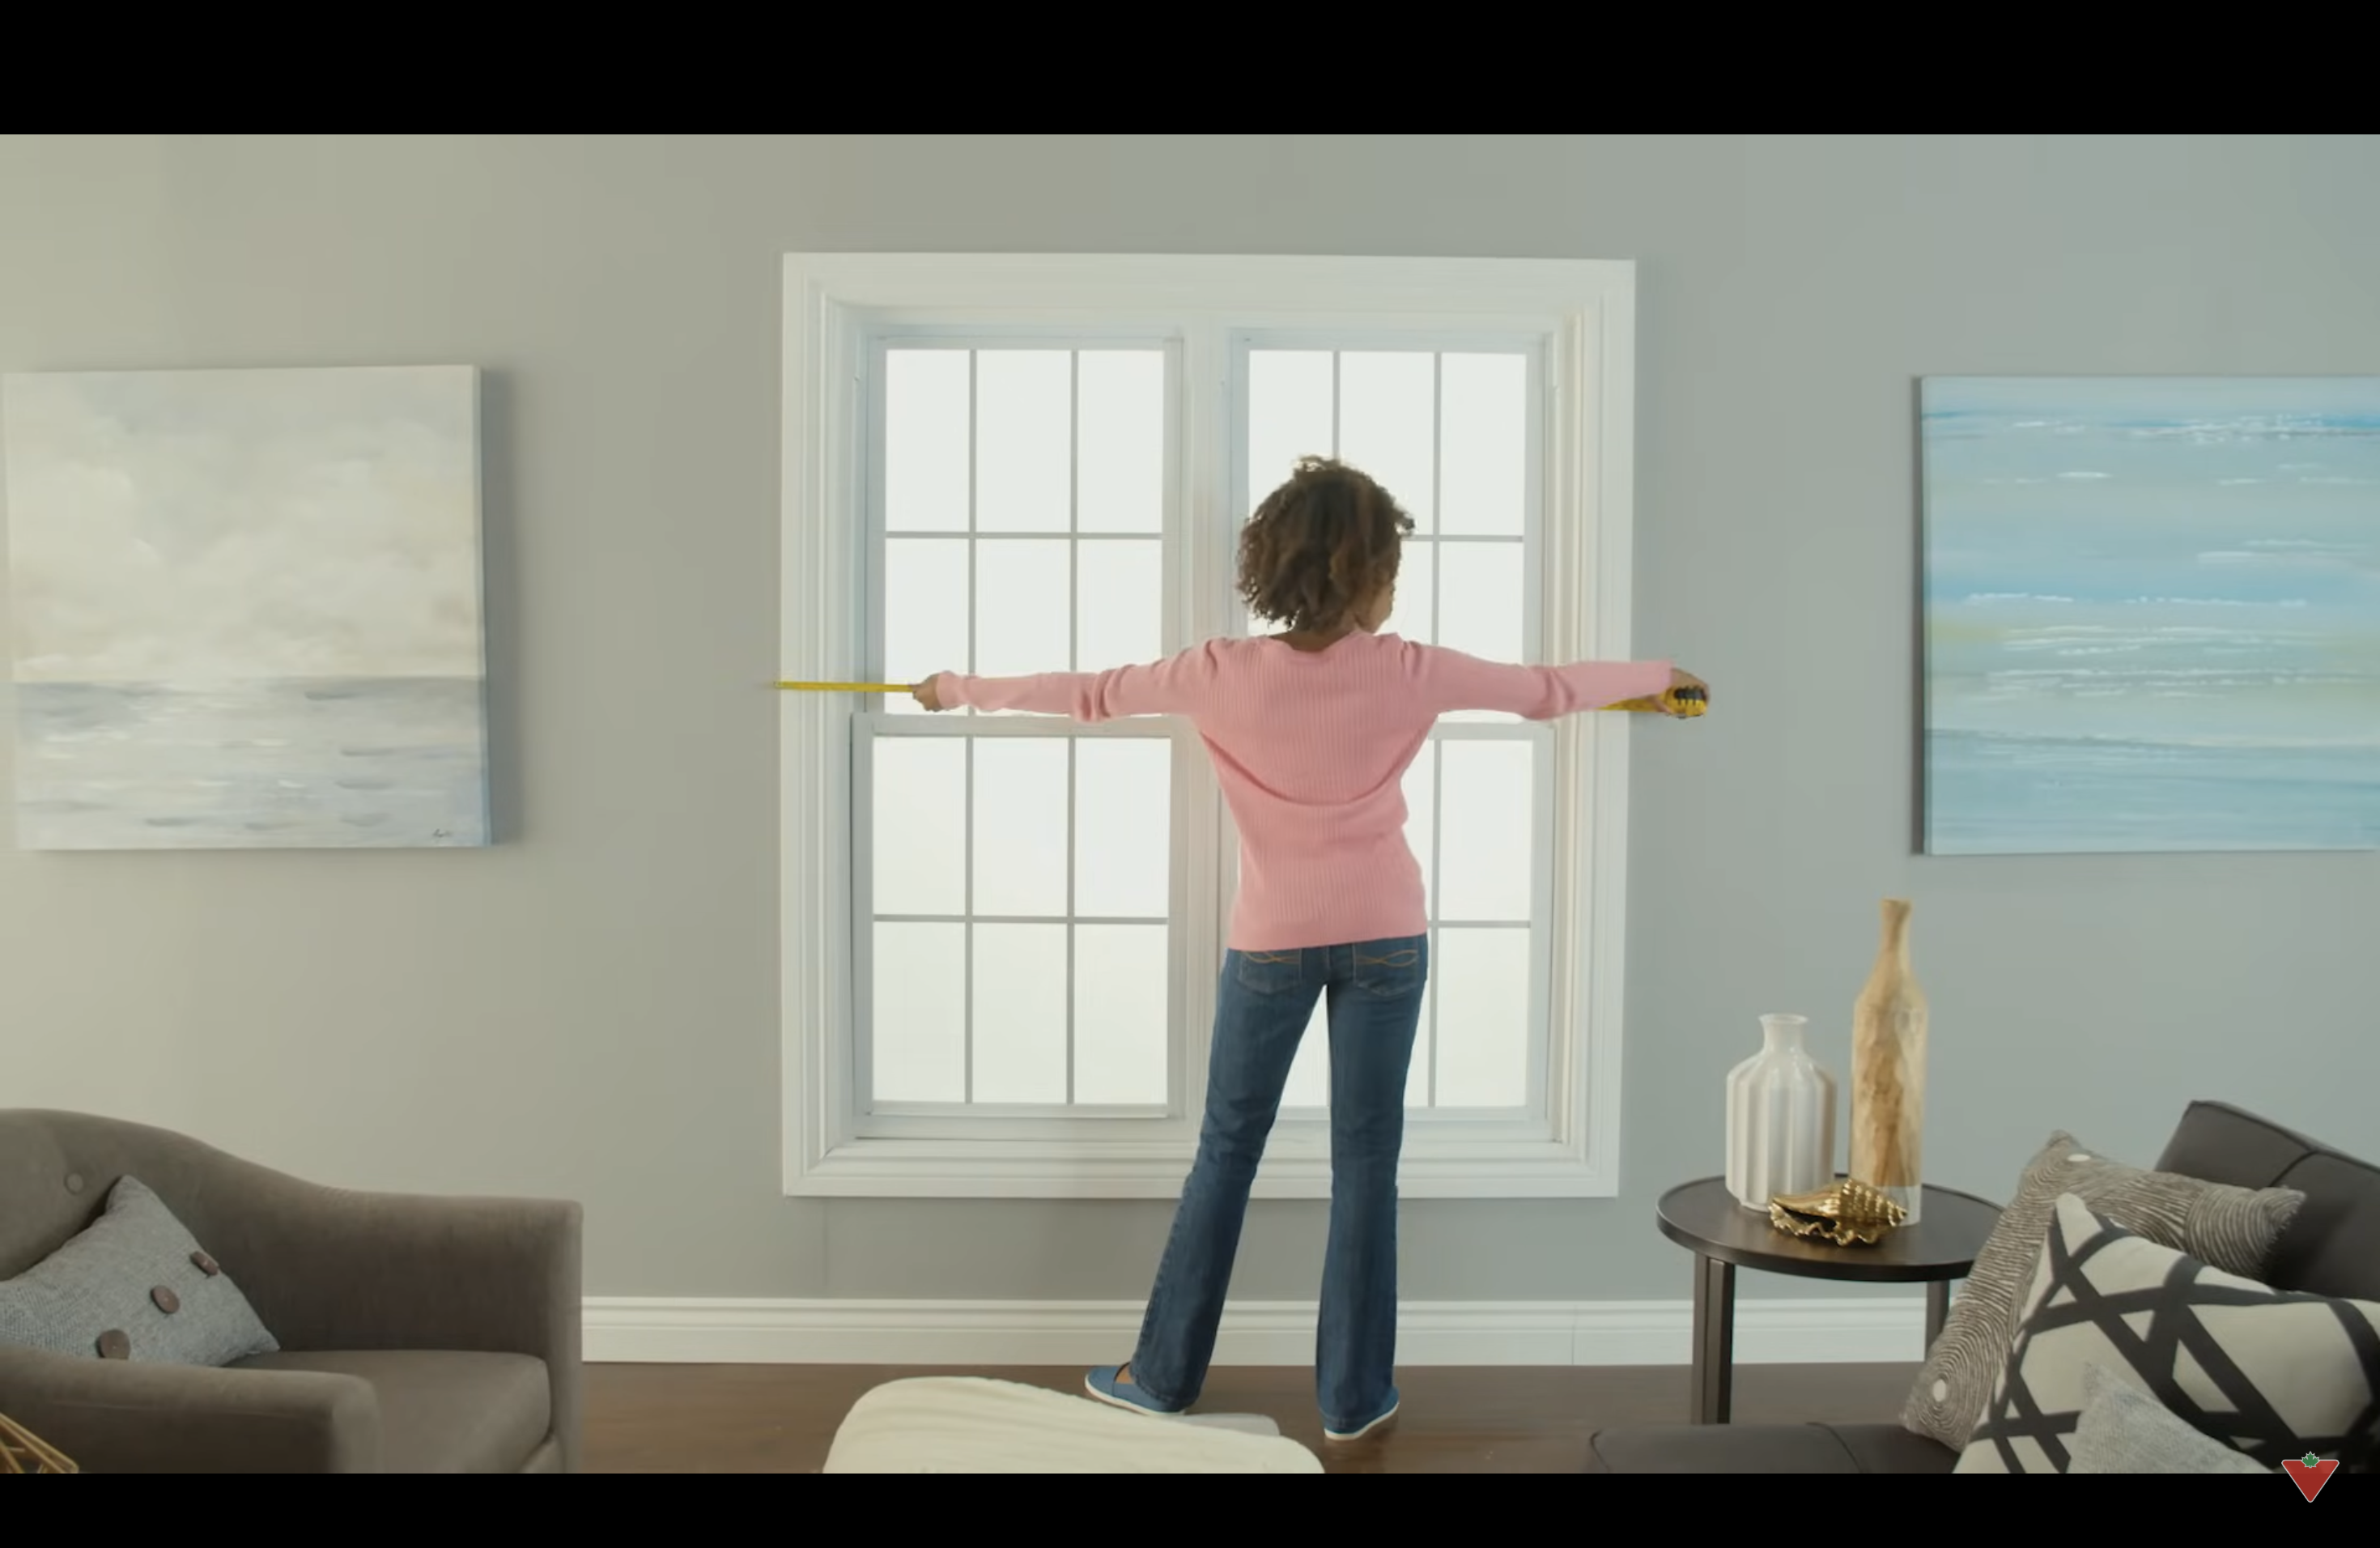
Start by using a measuring tape to find out how wide and tall your window is. This helps you choose the right size curtains and curtain rod.
For a nice full look, make sure the curtains you pick are about twice as wide as your window. Also, measure from where you want to hang the curtain rod down to the floor so you know how long the curtains should be.
Remember to consider whether you want the curtains to touch the floor, float a little above it, or hang long and puddle for a fancy look.
Step 2: Decide How High to Hang the Rod
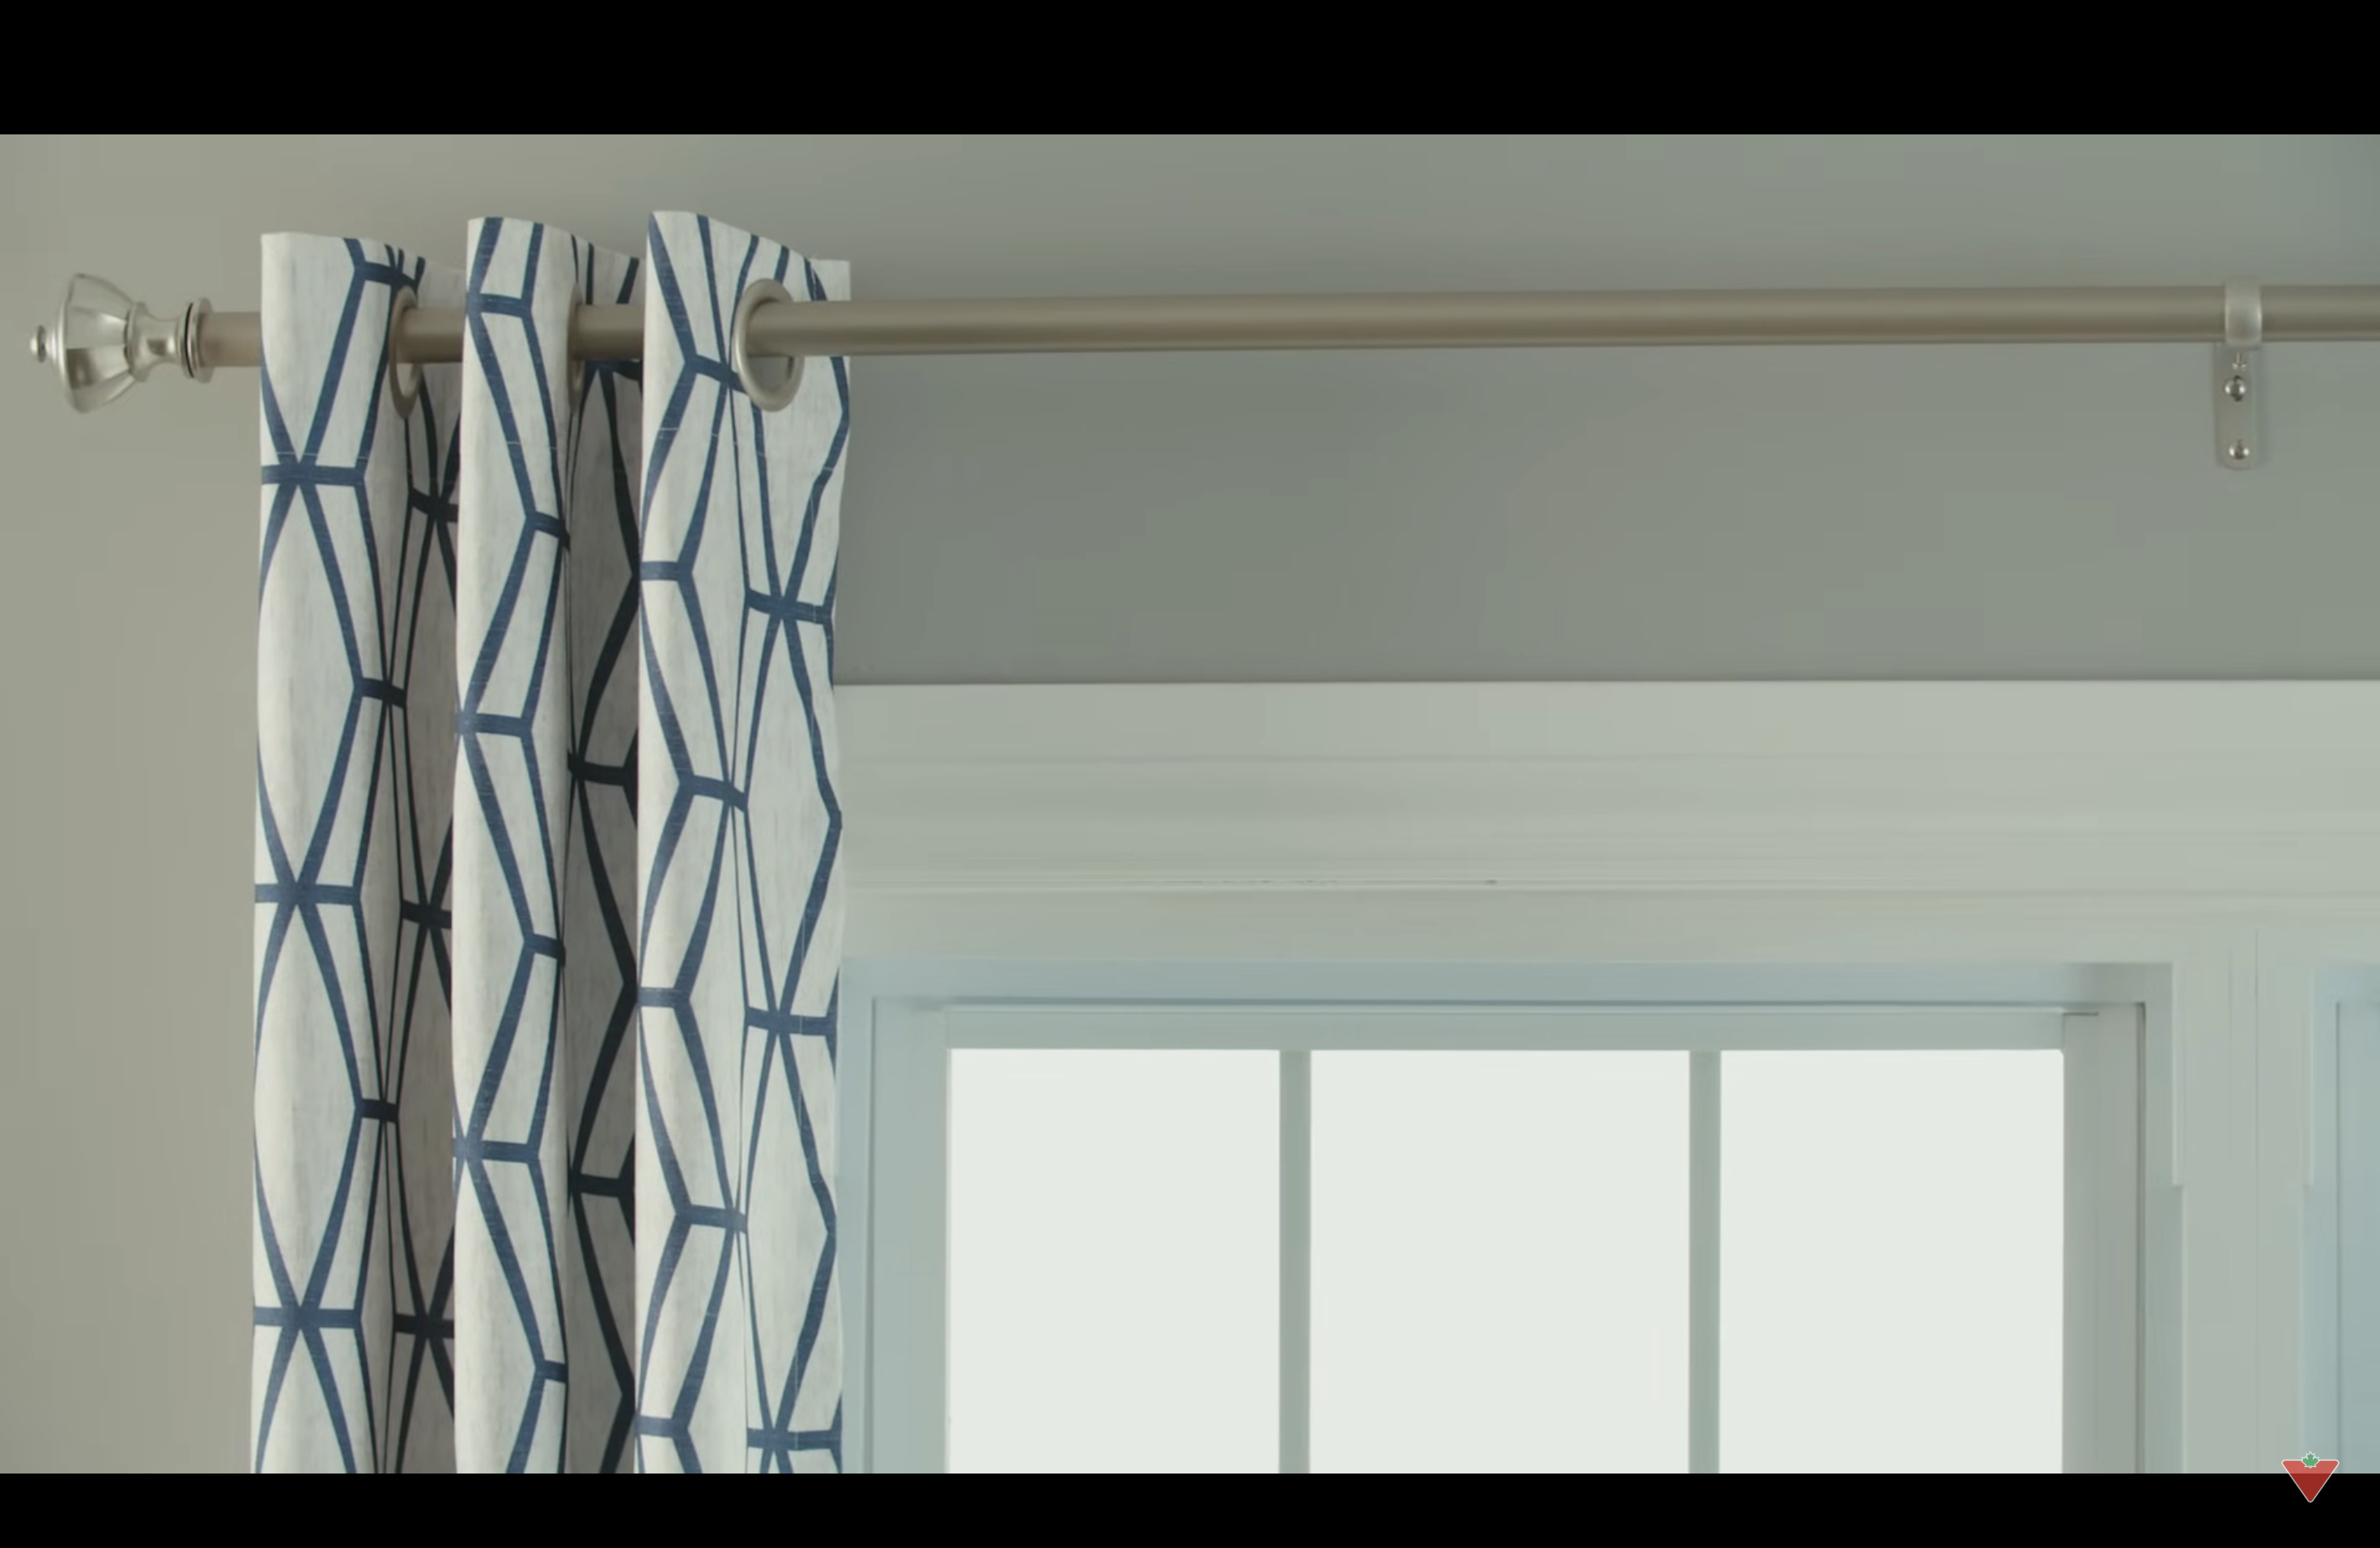
Before you place the rod, think about how you want your room to look. A simple rule is to hang the rod about 4 to 6 inches above the window frame.
But if you want the ceiling to look higher and the room to feel bigger, you can place the rod closer to the ceiling, even up to 12 inches above the window. This small change can really make your space feel taller and more open.
Use the height you choose when picking the curtain length so everything fits and looks right.
Step 3: Mark Bracket Spots with a Template
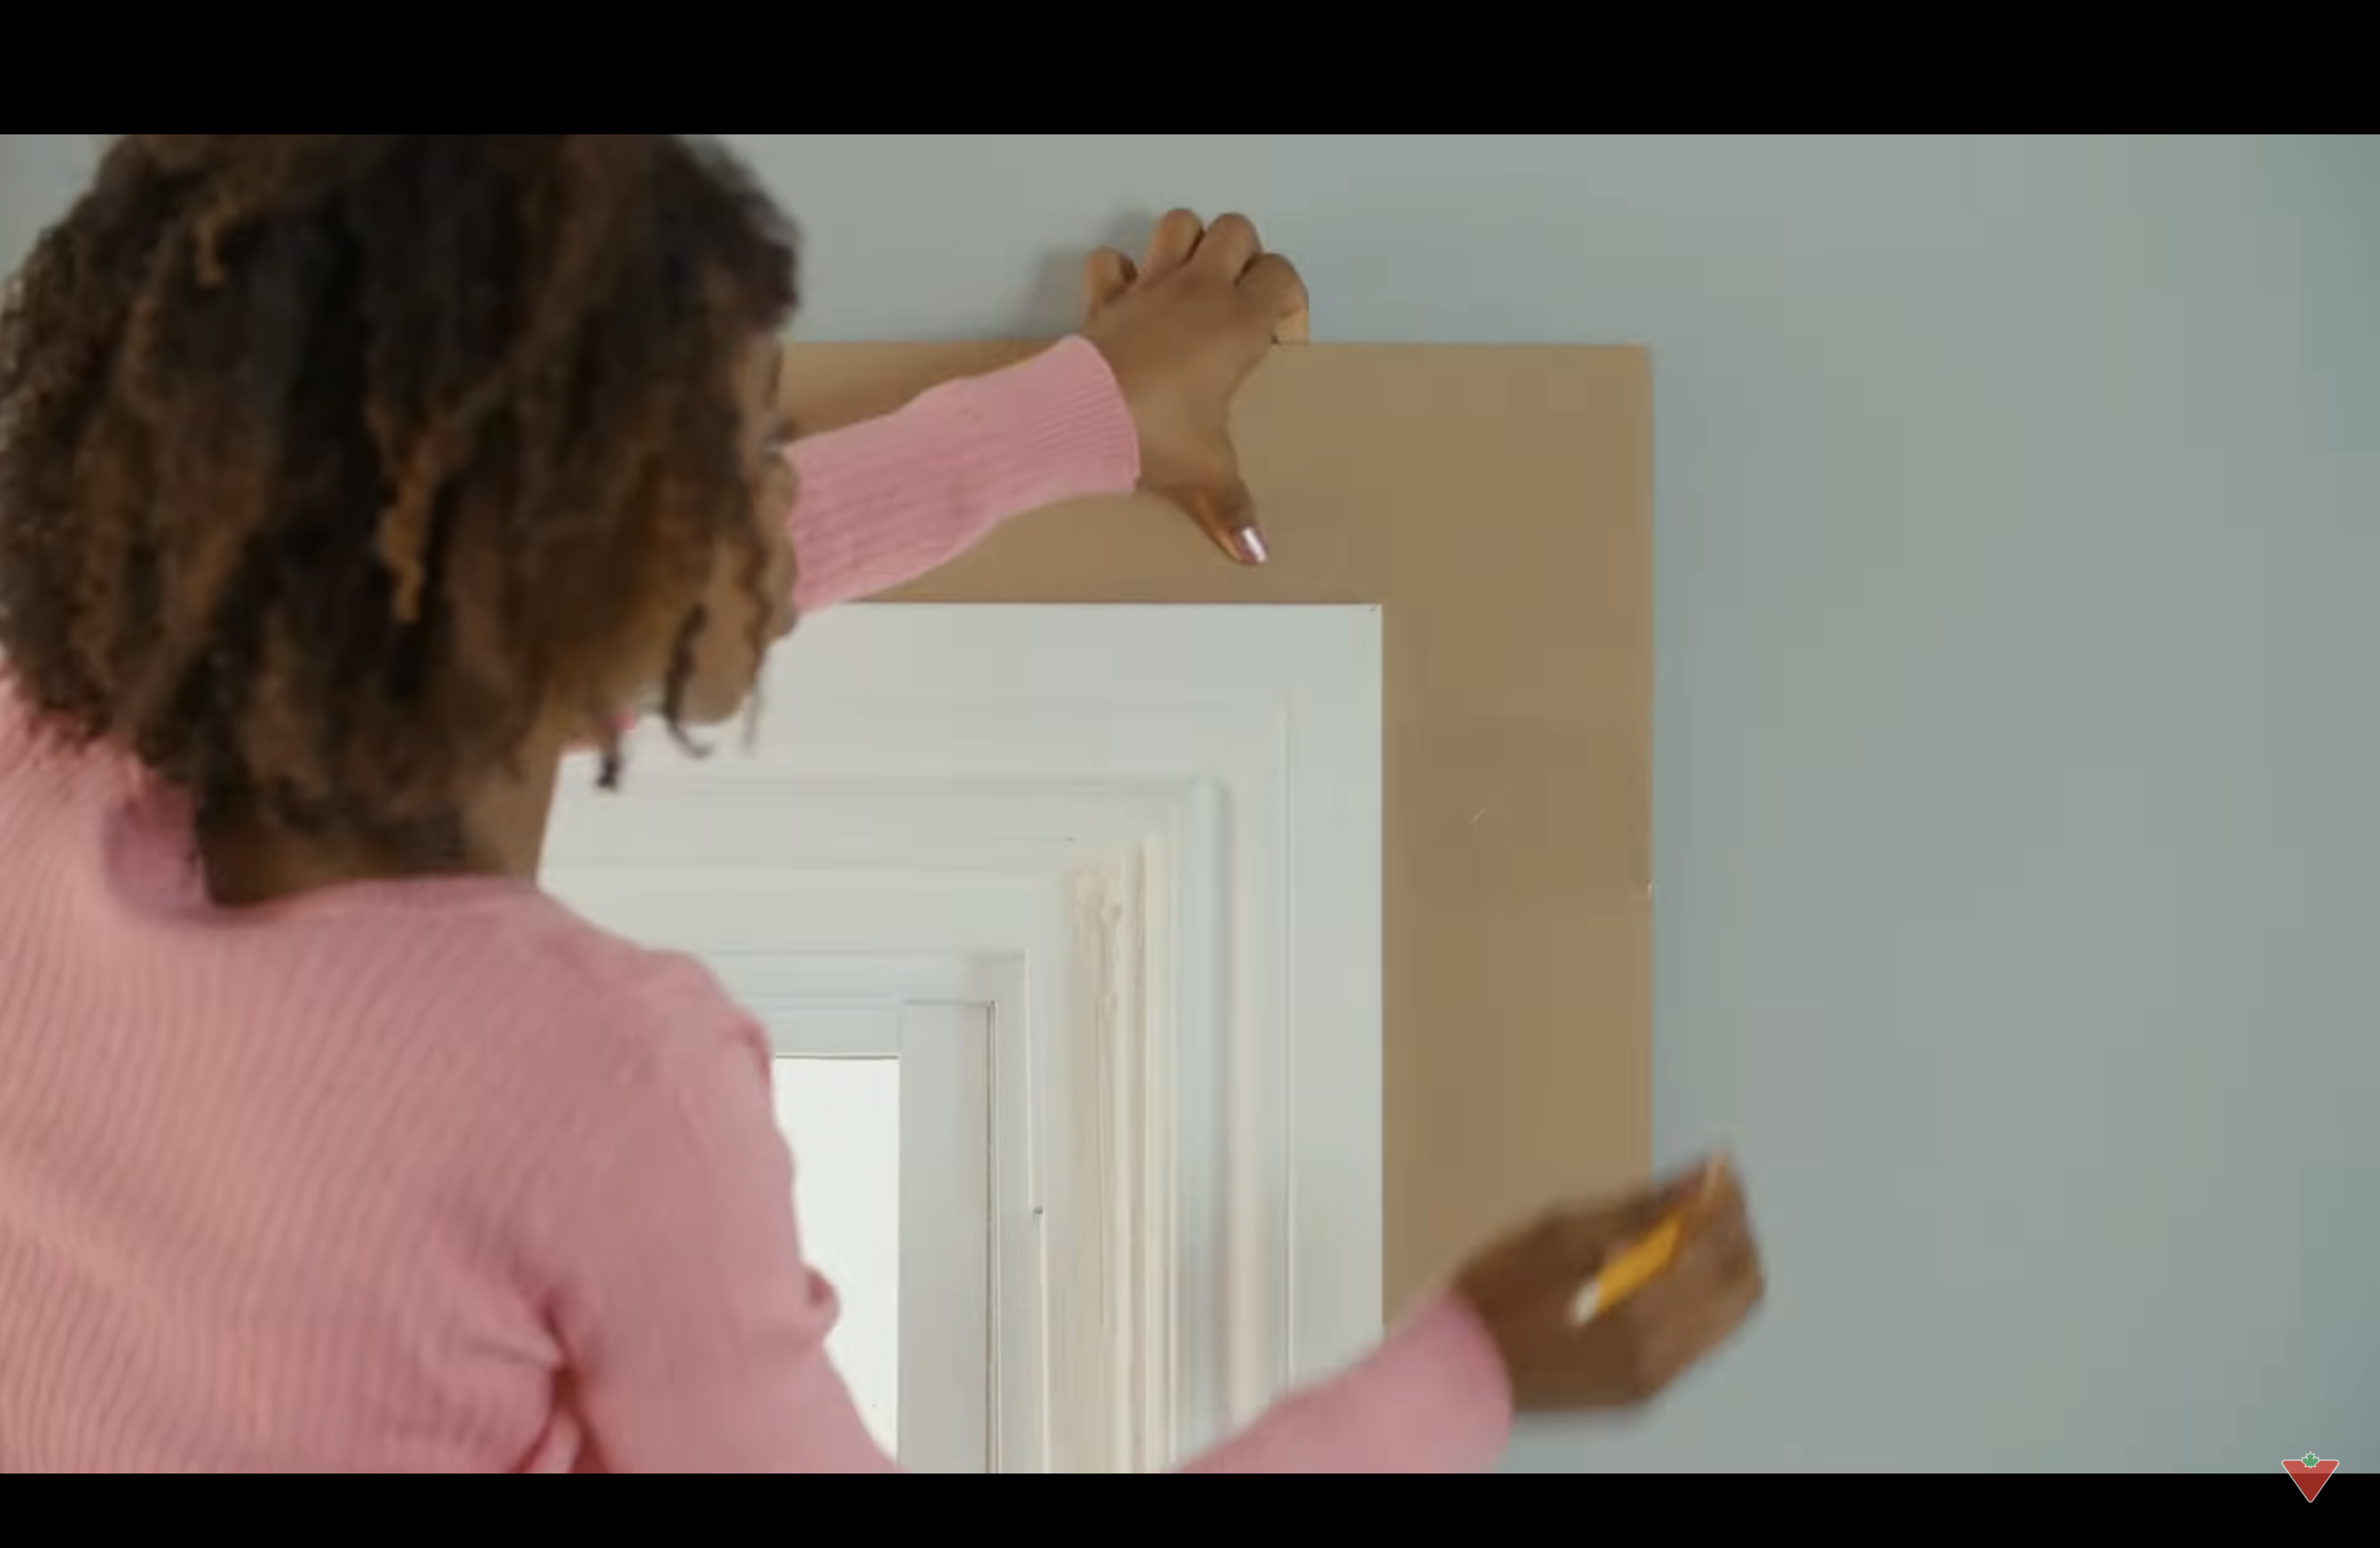
To ensure even brackets, use a piece of cardboard to create a right-angle template. This will help you mark the same spot on both sides of the window.
Hold the template at the top corner of the window and use a pencil to mark your bracket placement.
Brackets should go 4 to 6 inches above the window and 3 to 6 inches out from each side. These marks will help you hang your rod high and wide, which makes your windows look bigger and lets in more light when the curtains are open.
Step 4: Install the Brackets
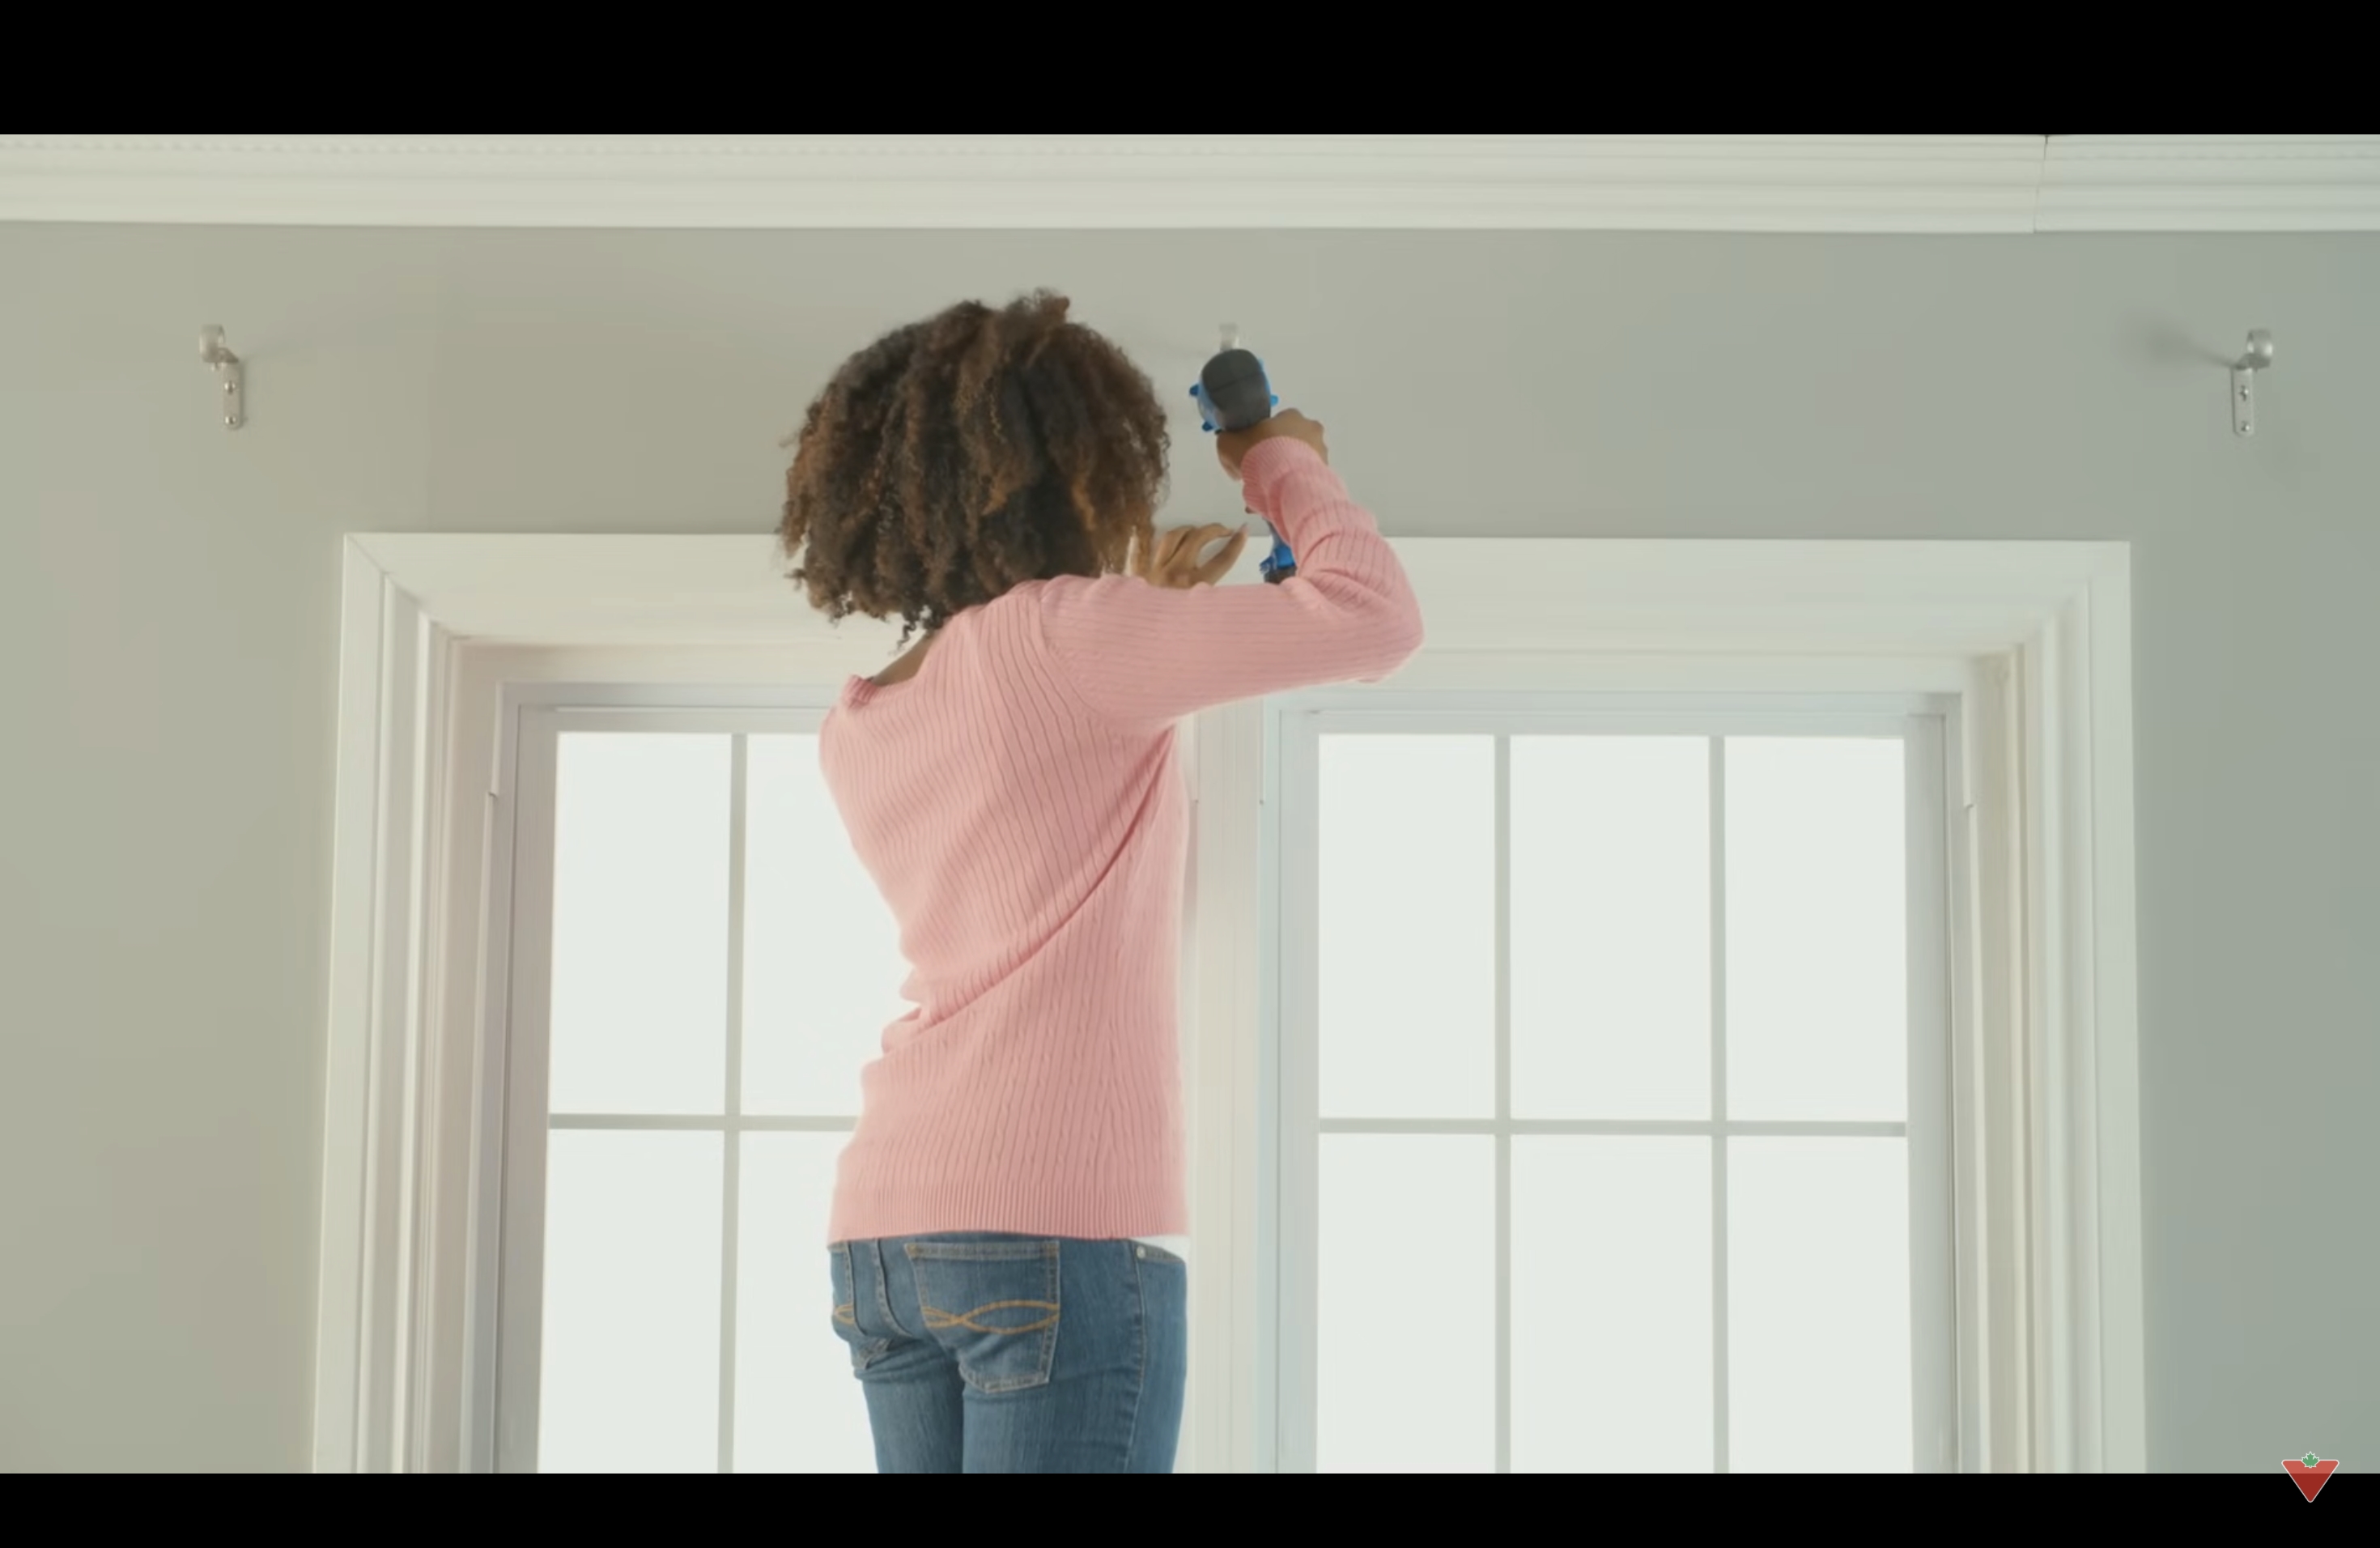
Once your marks are ready, use a drill or screwdriver to attach the brackets to the wall. If your rod is longer than 4 feet, be sure to add a third bracket in the center so the rod doesn’t sag in the middle.
Make sure the brackets are tight and strong so they can hold up the weight of the curtains.
If you’re not drilling into a stud, it’s a good idea to use wall anchors, which prevent the rod from falling or pulling out of the wall later.
Step 5: Place the Rod and Check for Balance

Slide the curtain rod into the brackets, but don’t tighten it yet. Place a level on top of the rod to see if it’s straight. If the bubble is centered, that means your rod is even. If it’s not, you may need to adjust one or both brackets a little.
Once everything looks good and straight, tighten the screws on the brackets to lock the rod in place.
This step makes sure your curtains won’t slide around or make the rod tilt to one side.
Step 6: Hang the Curtains
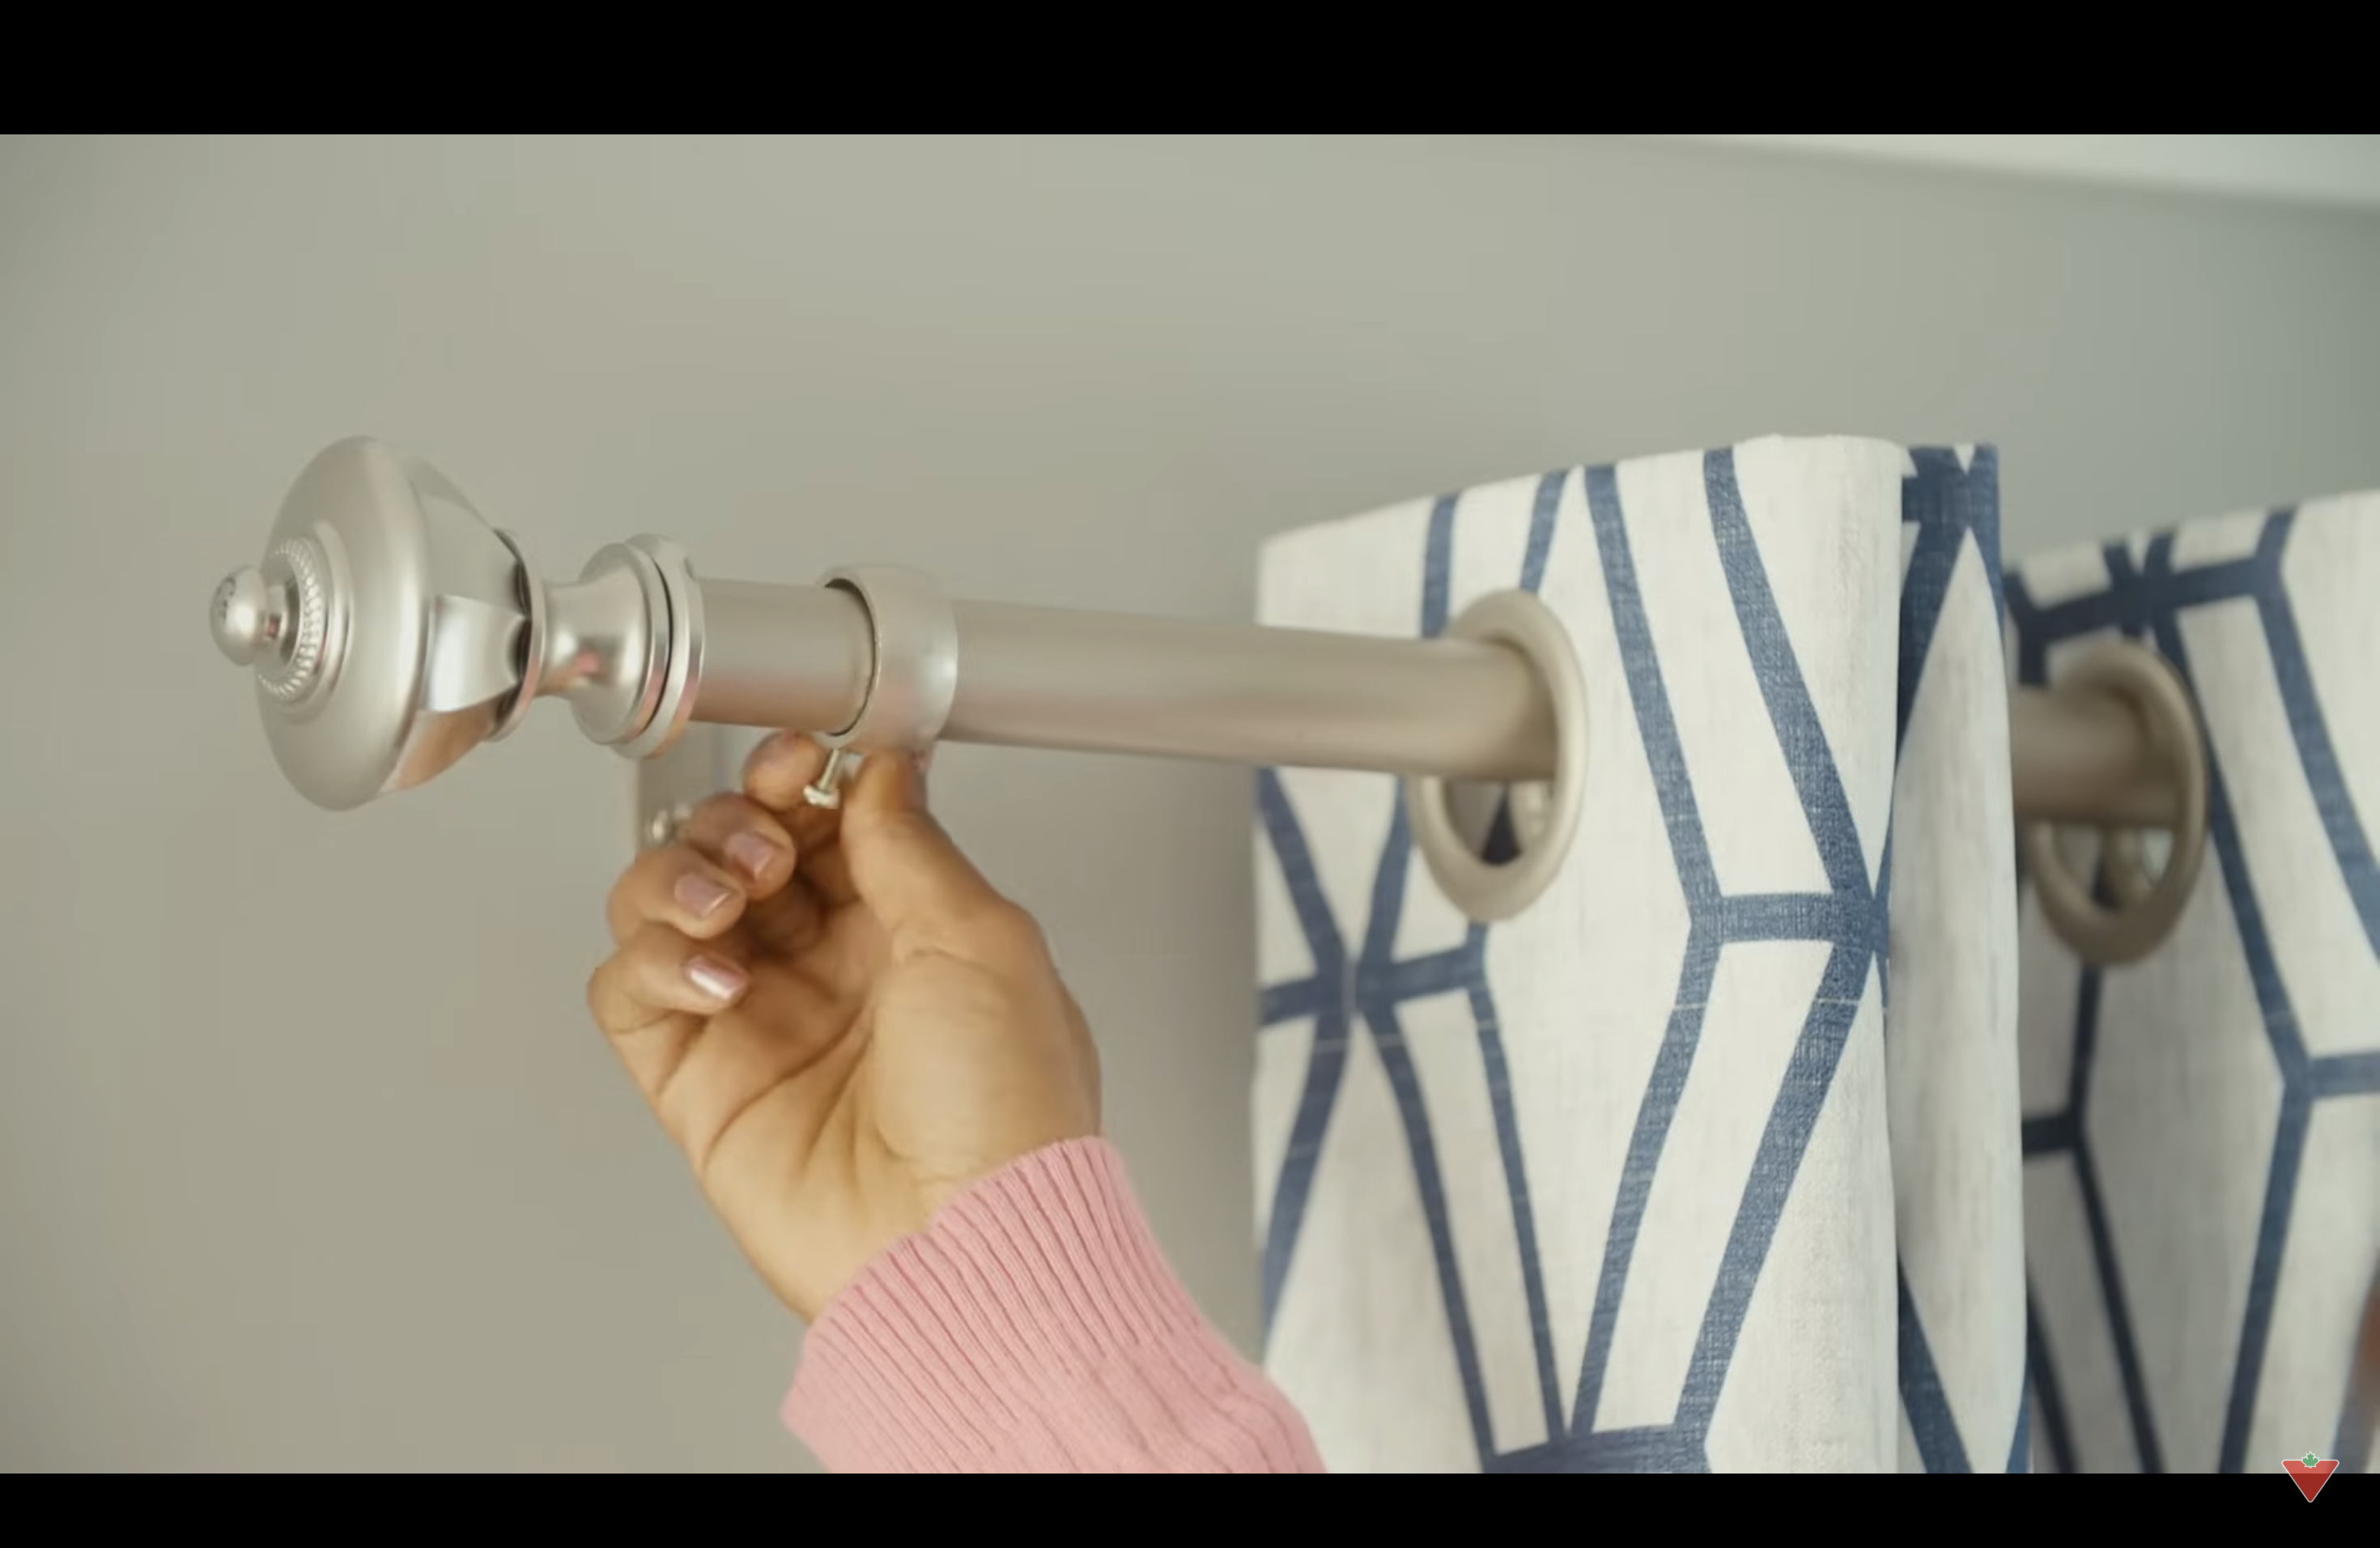
Now, it’s time to slide your curtain panels onto the rod. Some curtains hang from rings, grommets, tabs, or rod pockets, so the way they fall can vary depending on the style.
After placing the curtains, center the rod inside the brackets and make any final adjustments so everything looks even. Once you’re happy with how it seems, step back and admire your work.
Your curtains should hang straight, move smoothly, and make the room feel warm and finished.
Watch How It’s Done: Hanging Curtains in the Home
For more information, check out this video tutorial by Canadian Tire.
Common Mistakes To Avoid
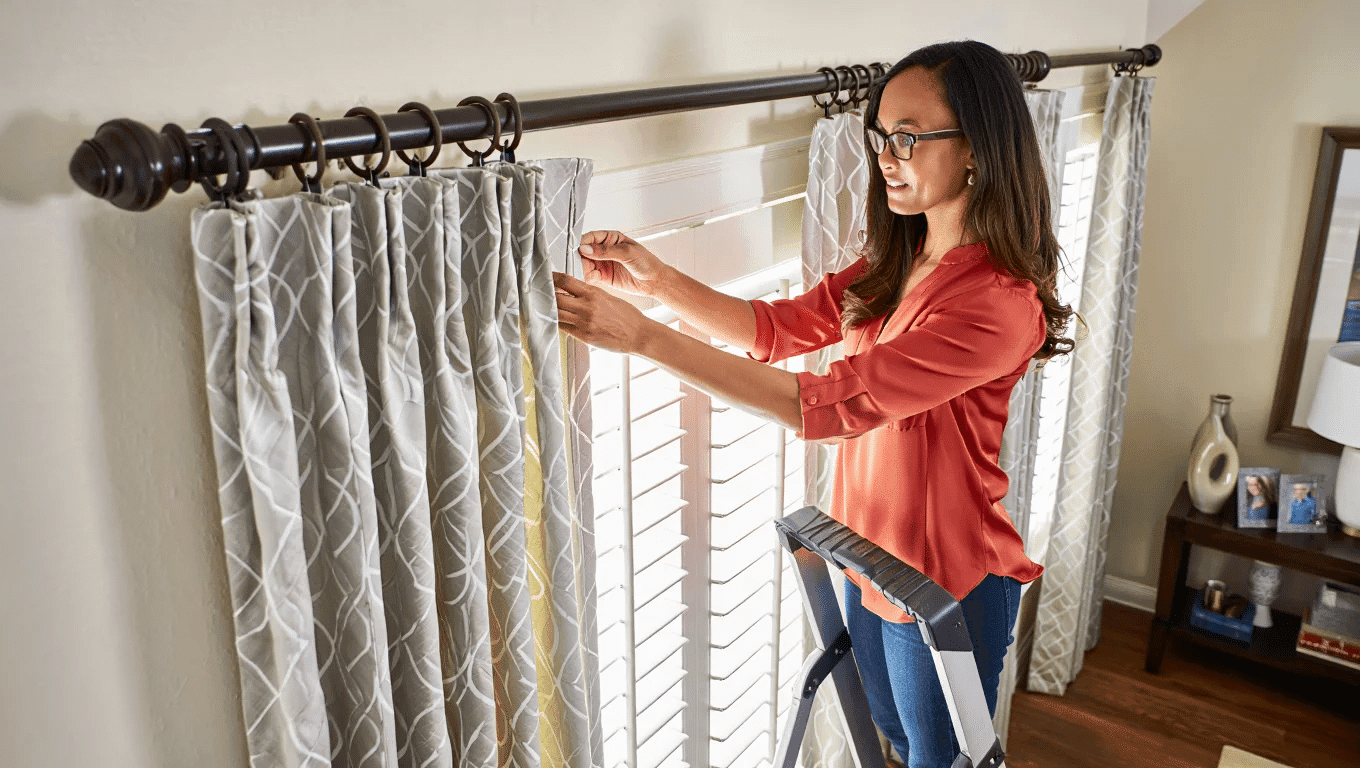
Even experienced decorators sometimes make errors when hanging curtains, but awareness of common pitfalls can save time, money, and frustration.
- Hanging curtain rods too low or directly above window frames creates a cramped appearance
- Choosing curtains that are too short and create an awkward “flooding” effect
- Failing to account for curtain fullness, resulting in flat, inadequate window coverage
- Installing rods that are too narrow prevents curtains from opening fully.
- Using insufficient hardware that can’t support the weight of heavier curtains
- Neglecting to iron or steam curtains before hanging, leaving unsightly wrinkles
With attention to these details, anyone can achieve a professional-looking window treatment that enhances their space.
Tips for Making Ceilings Look Taller
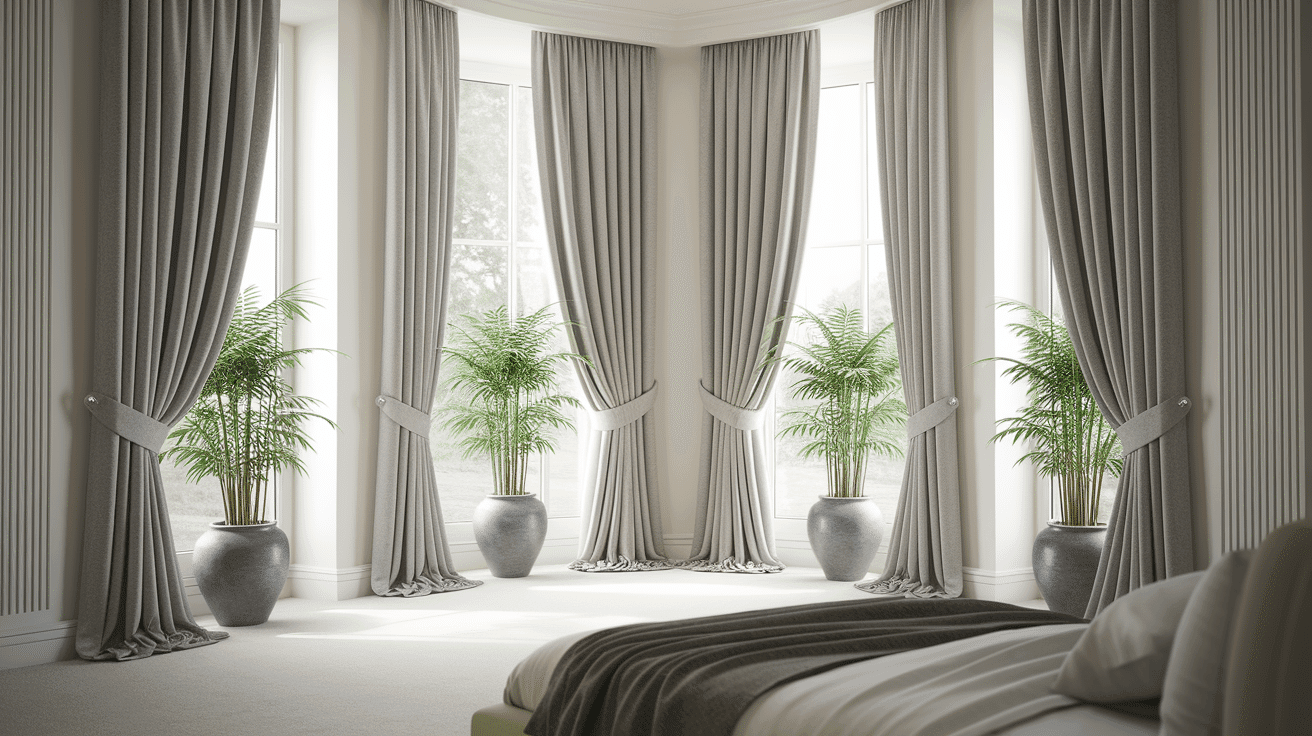
Strategic curtain placement can create the illusion of height in rooms with lower ceilings, making spaces feel more open and airy.
- Mount curtain rods as close to the ceiling as possible, or just under crown molding
- Choose vertical patterns or stripes that draw the eye upward
- Opt for floor-to-ceiling curtains even for shorter windows
- Select curtain fabrics with sheen or luster that reflect light upward
- Use the same color for curtains and walls to create an unbroken visual line
These techniques create a continuous visual flow from floor to ceiling, making even modest spaces feel more expansive and luxurious.
Wrapping It Up
Properly hung curtains can change ordinary spaces into professionally designed rooms with remarkable ease.
Following the guidelines for ideal curtain heights, placement techniques, and style considerations helps homeowners dramatically enhance their windows and entire living environment.
The right curtain height creates visual interest, makes ceilings appear taller, and brings a polished finish to any room.
With proper measurements, tools, and techniques, anyone can achieve designer-worthy window treatments that add beauty, functionality, and style to their home. Isn’t it great how such a seemingly small detail can completely change the feel of a room?
Beautiful curtains hung at the perfect height create spaces that feel both welcoming and expertly designed.
If you’re interested in more DIY projects for your home, feel free to click here and explore our collection of easy weekend makeovers and step-by-step renovation tutorials.

