When I started my first flooring project, I thought measuring the room and buying that exact amount was enough. But I quickly learned that things don’t always go as planned.
Boards can get damaged, cuts don’t always go right, and sometimes you just change your mind mid-project. That’s when having a little extra flooring becomes a lifesaver.
I didn’t realize how important it was until I ran short and had to pause everything to order more, only to find the color batch had changed slightly.
If you’re starting your own project, trust me: planning for a bit of extra material saves time, money, and stress.
In this guide, I’ll help you figure out exactly how much more you need, so you’re never caught off guard.
Why Do You Need Extra Flooring?
Buying a little extra flooring is more important than it might seem. During installation, mistakes are common; boards can crack, tiles might chip, or cuts may go wrong.
Even skilled professionals plan for some waste. Without extra material on hand, a small error can lead to project delays, especially if more flooring needs to be ordered.
Sometimes, the new batch doesn’t match the original color or texture, creating a noticeable difference.
Extra flooring also comes in handy down the road. Floors take a lot of wear over time, and water damage, pet scratches, or furniture dents can ruin a few planks or tiles.
If there are spares available, those spots can be fixed without replacing an entire section. For most projects, adding 5–15% more than the measured square footage is a safe rule.
It’s a simple step that can prevent stress and unexpected costs both during and after installation.
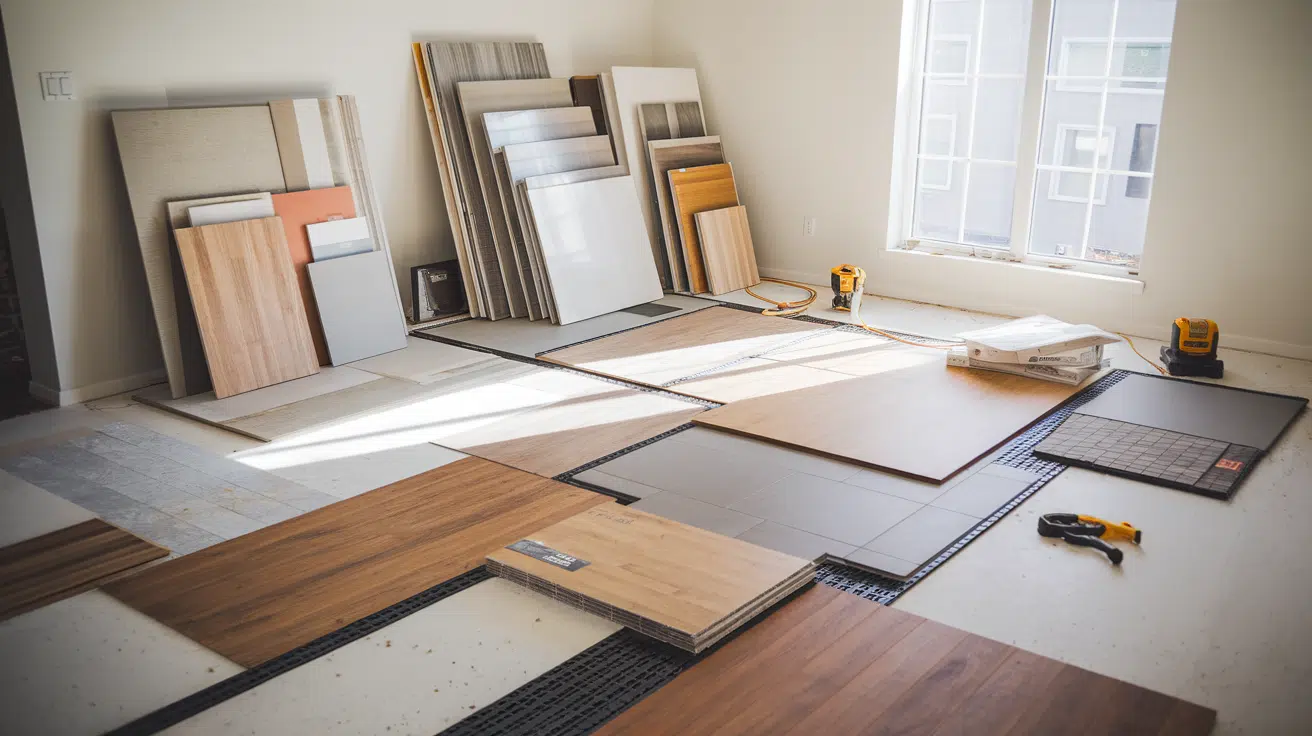
What Is Flooring Waste?
Flooring waste refers to the leftover material that isn’t usable after cutting and fitting pieces during installation. It’s a natural part of the process and happens in every flooring project.
Boards or tiles often need to be trimmed to fit around walls, corners, and awkward spaces, which leads to offcuts that can’t be reused.
Sometimes pieces get damaged during handling or installation, adding to the waste pile. This isn’t a sign of poor planning; it’s actually expected and accounted for before the project begins.
The amount of waste varies depending on the type of flooring, the pattern being installed, and the shape of the room.
Straight layouts in square rooms may produce less waste, while angled cuts or complex patterns usually result in more.
Understanding flooring waste helps with planning and ensures there’s enough material to finish the job smoothly, without running short or having to hunt for matching pieces later.
Standard Overage by Flooring Type
Overage amounts vary depending on the flooring material, as some types produce more waste than others during installation. Buying the right percentage of extra flooring ensures a smoother process and fewer delays.
| Flooring Type | Recommended Overage | Why It’s Needed |
|---|---|---|
| Hardwood & Engineered Wood | About 10% | Prone to splintering and needs precise cutting around edges and doorways. |
| Laminate Flooring | 5–10% | Easy to install, but trimming around obstacles still creates some waste. |
| Vinyl Plank Flooring | 7–10% | Flexible and easy to work with, but extra is needed for fitting and trimming. |
| Tile Flooring | 10–15% | More likely to crack or chip during cutting, especially with complex layouts. |
Choosing the right overage based on flooring type prevents mid-project shortages and makes future repairs much simpler.
Tip: Overage is the extra amount of flooring material purchased beyond the exact square footage of the space.
Extra Flooring: Room Shape and Layout
The layout of a room can have a big impact on how much flooring you’ll need beyond the basic measurements. Not all spaces are simple rectangles, and every extra angle adds complexity.
- Curved walls or angled corners mean more custom cuts—and more waste.
- Alcoves, closets, and built-in features create awkward spaces that need precision trimming.
- Staircases often require specialized pieces or detailed fitting, which increases the chances of mistakes.
- Open floor plans with connected rooms may require transitions or directional changes that utilize more materials.
In these cases, the standard overage may not be enough. For complicated layouts, increasing overage to up to 15% is often the safer choice. It gives room for errors, miscuts, and unexpected obstacles.
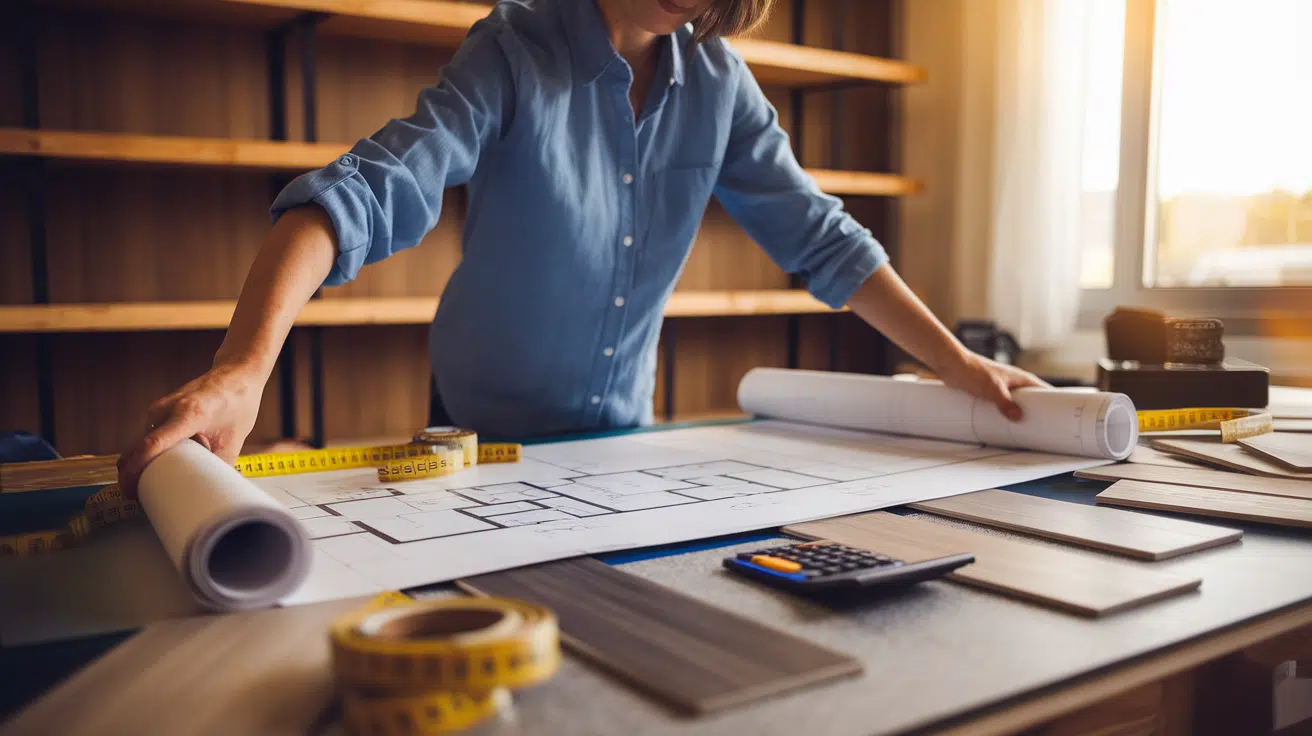
Tools to Help You Calculate Extra Flooring
Getting your flooring measurements right is crucial, and luckily, you don’t have to do it all by hand. There are numerous online flooring calculators available to make the process easier.
These tools help estimate the amount of material needed based on the room’s dimensions and the type of flooring being used. Some even allow you to adjust for layout style, waste percentage, and overage.
- Basic calculators need length and width.
- Advanced tools let you account for odd shapes and patterns.
- Mobile apps can measure rooms using your phone’s camera.
Even if you’re confident in your math, it’s smart to double-check with a calculator. Most tools will also remind you to include extra for waste and repairs.
Always round up your numbers to stay safe. Using a calculator takes the guesswork out and ensures you’re buying the right amount from the start.
Buying Flooring in Batches
Ordering all your flooring in one go is a brilliant and often overlooked step. Even if you’re buying the same product, there can be slight variations in color or texture between production batches.
These batch differences may not seem significant at first, but once the flooring is installed, they can become noticeable and impact the overall appearance of the room.
Buying your full amount, plus overage, at the same time ensures consistency across the entire space.
It also prevents delays caused by running short or waiting on additional boxes that may not match perfectly.
Returns and exchanges are also easier when everything comes from a single order, with a single receipt and batch number.
Having all your material ready before installation starts helps the process move smoothly and keeps your finished floor looking seamless and professional.
Consider Future Repairs
Floors take a beating over time from daily foot traffic, moving furniture, pet claws, and the occasional spill; even high-quality flooring can show signs of wear.
Planning ahead by keeping extra material makes repairs easier and more affordable when issues pop up.
- Fix Minor Damages Easily: Scratches, dents, or chipped boards can happen anytime. With matching spare pieces, small repairs blend in perfectly without needing to redo a large section.
- Handle Water Damage Without Replacing Everything: Leaks or spills may only damage part of the floor. Having a few extra boards lets you replace just the affected area instead of starting over.
- Prepare for Discontinued Styles: Flooring styles, finishes, and color batches can change over time. Matching older floors later may be impossible without stored extras.
- Store Flooring Smartly:Keep 1–2 boxes in a dry, climate-controlled spot. Proper storage ensures pieces stay flat and ready for use when needed.
What to Do With Leftover Flooring
Leftover flooring isn’t just scrap—it’s a smart backup for future fixes and upgrades.
- Inspect and Sort the Leftovers: Go through the extra pieces after installation. Keep boards or tiles in good condition, and discard any damaged, warped, or unusably small pieces.
- Use for Repairs or Replacements: Save the flooring for fixing scratches, chips, or water damage. Matching pieces ensure your repair blends in without needing to redo an entire section.
- Extend into Future Renovations: If you remodel or expand a room later, the leftover flooring can help create a seamless transition with the same look and style.
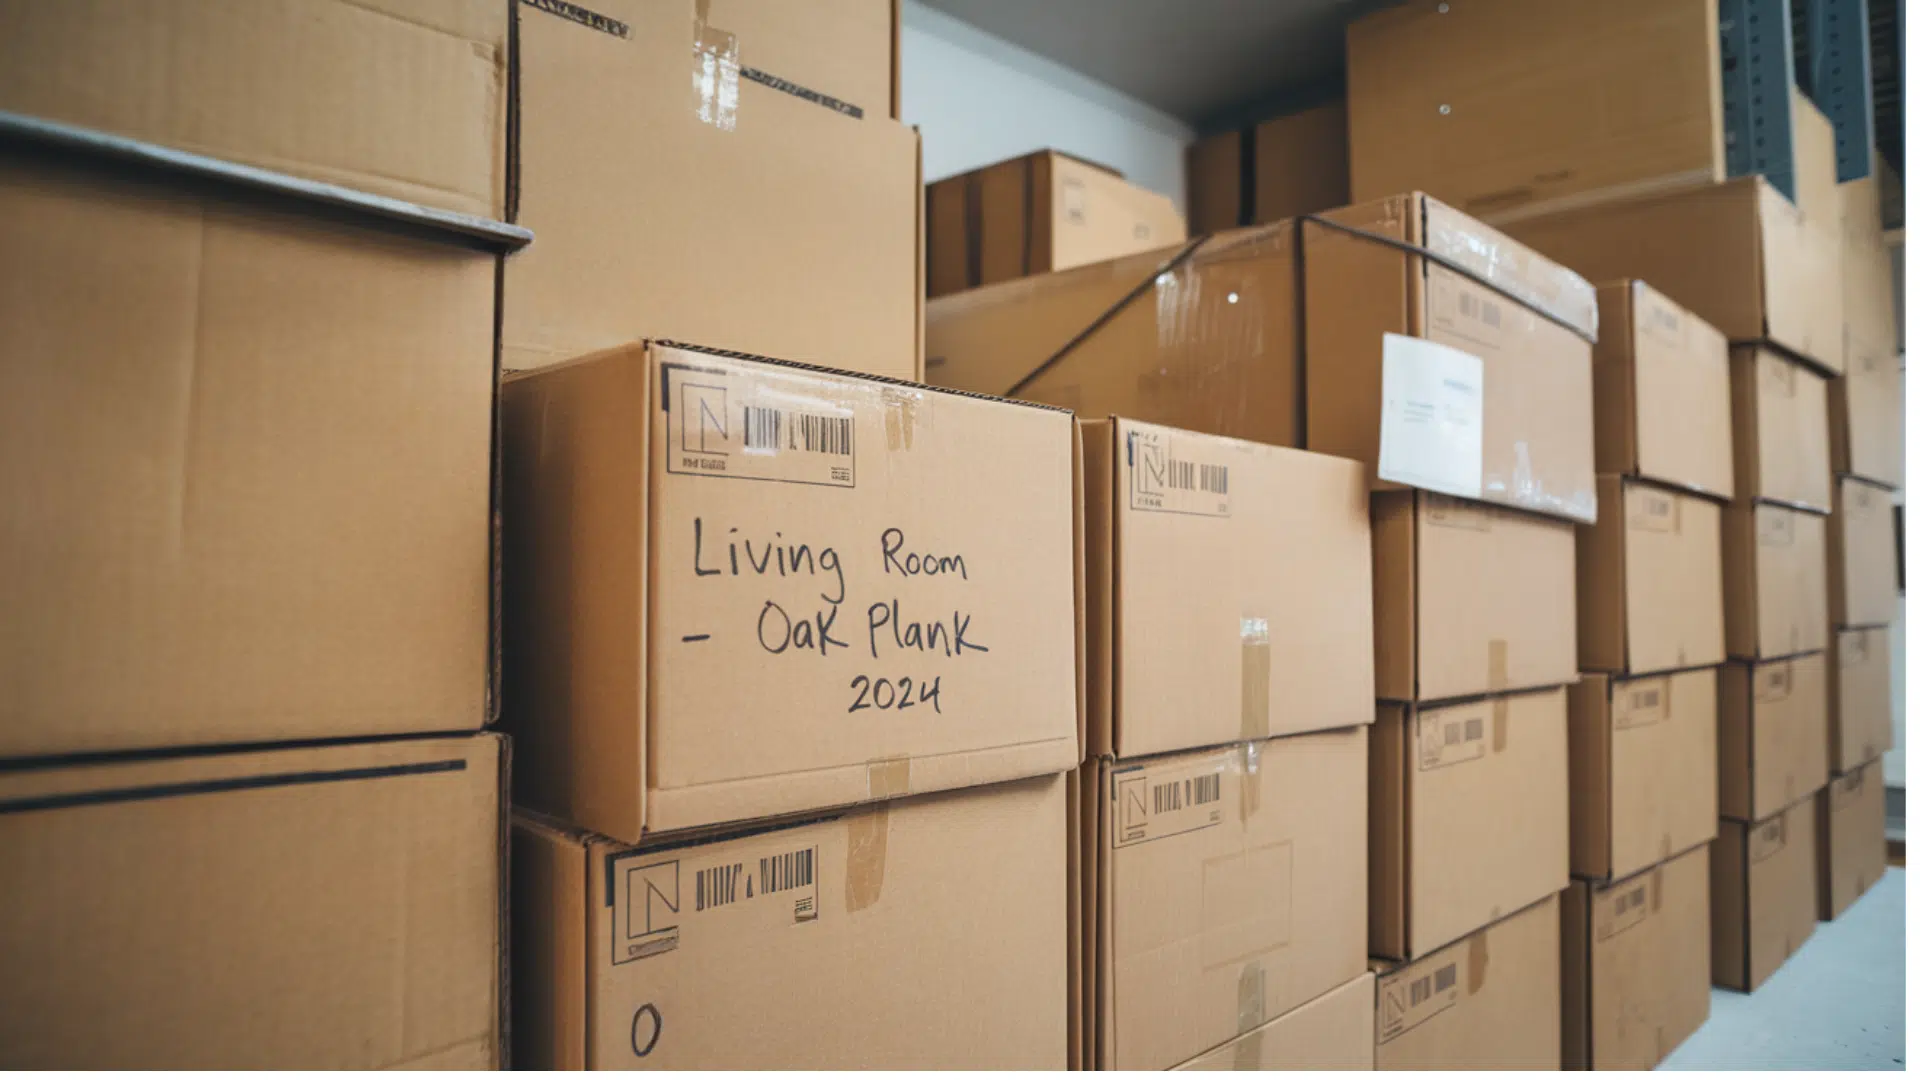
- Store Flat in a Dry Location: Lay planks or tiles flat in a temperature-controlled, dry area. Avoid garages or basements where moisture and humidity could cause warping.
- Label Boxes for Easy Identification: Write the flooring brand, color code, room name, and purchase date on each box. Clear labeling saves time when it’s needed for repairs or matching.
Conclusion
From my own experience, buying extra flooring has saved me more times than I can count.
I always go with at least 10% more than what I measured, sometimes even more if the room has odd corners or a tricky layout.
It’s a small step that makes a big difference. You won’t have to stress about last-minute shortages, mismatched color batches, or rushing out to find a few extra planks mid-project.
Plus, having spares on hand means future repairs are simple and stress-free. If you’re just starting your flooring journey, don’t leave things to chance.
Take a little extra time to plan, double-check your measurements, and grab those extra boxes.
Trust me, you’ll thank yourself later when everything fits, looks great, and holds up for years.
Frequently Asked Questions
How do I calculate how much extra flooring I need?
Start by measuring the total square footage of your space. Then add 5–15% extra, depending on the flooring type, room shape, and layout complexity.
Why should I buy more flooring than I need?
Extra flooring accounts for cutting mistakes, fitting around obstacles, and future repairs. It ensures consistency and saves time if replacements are ever needed.
Is 10% overage enough for most projects?
In most cases, yes. A 10% buffer is typically sufficient for standard layouts. However, complex patterns or tricky rooms may require up to 15%.
Can I use leftover flooring later?
Absolutely. Leftover pieces are perfect for repairs, small upgrades, or extending the floor into another space. Store them properly in a dry area.
What happens if I run out mid-project?
You may face delays or mismatched flooring if a new batch doesn’t match the original. That’s why buying enough overage upfront is so important.

With a Master in Architectural Studies from University of Pennysylvania, Marwa Haydar has pioneered living spaces since 2005. Her expertise, initially honed in a prestigious architectural firm, is evident in her approach to creating environments. Marwa became part of our team in 2019 and has since been a driving force in our home improvement section, known for her practical yet stylish solutions. She’s been spearheading our design workshops since then, infusing her passion for teaching into her work. In her leisure time, Marwa enjoys exploring historic architecture and is an enthusiastic pottery hobbyist, further enriching her understanding of form and texture.