Do you have shiny brass items that look too new for your taste? We get it. Many of us prefer the charm of aged brass, but waiting years for natural tarnish isn’t practical.
Good news! We can help you turn that gleaming brass into a beautifully aged piece in no time. This guide will show you how to safely and quickly give your brass a vintage look at home.
We’ll walk you through the whole process, from picking the right materials to applying the aging solution.
By the end, you’ll know how to transform any brass object into a treasure with character and history.
Let’s get started on your brass aging journey!
Why Age Brass?
Let’s talk about why you might want to age your brass items. There’s something special about the look of old brass, right?
Its warm, golden-brown color speaks of time and stories. This aged appearance can add charm to many objects in your home.
Think about a brass doorknob with a soft, worn finish. It feels welcoming and cozy. Or picture an old brass lamp base with a rich patina. It adds character to your room, making it feel lived-in and loved.
Aged brass fits well in many places around your house:
- In the kitchen: Cabinet handles or faucets
- In the living room: Picture frames or candlesticks
- In the bedroom: Drawer pulls or bedside lamps
- In the bathroom: Towel racks or mirror frames
By aging brass, we can give new items an instant sense of history. It’s a way to add depth and interest to your decor without waiting years for natural tarnish to develop.
Tools Required to Age Brass
| Category | Tool/Material | Purpose |
|---|---|---|
| Essential Tools | Brass Ager | To apply the chemical solution for aging brass. |
| Sandpaper | To remove the protective coating from the brass. | |
| Paint Stripper | An alternative to sandpaper for removing the coating. | |
| Sponges | For applying the brass ager on larger items. | |
| Optional Tools | Fine Steel Wool | For detailed work and achieving a smoother finish. |
| Protective Gear | To ensure safety while handling chemicals (gloves, goggles, etc.). |
Removing Protective Coating
Before aging our brass, we need to remove its clear protective coating. This coating keeps brass shiny and prevents tarnishing.
Here’s how we do it:
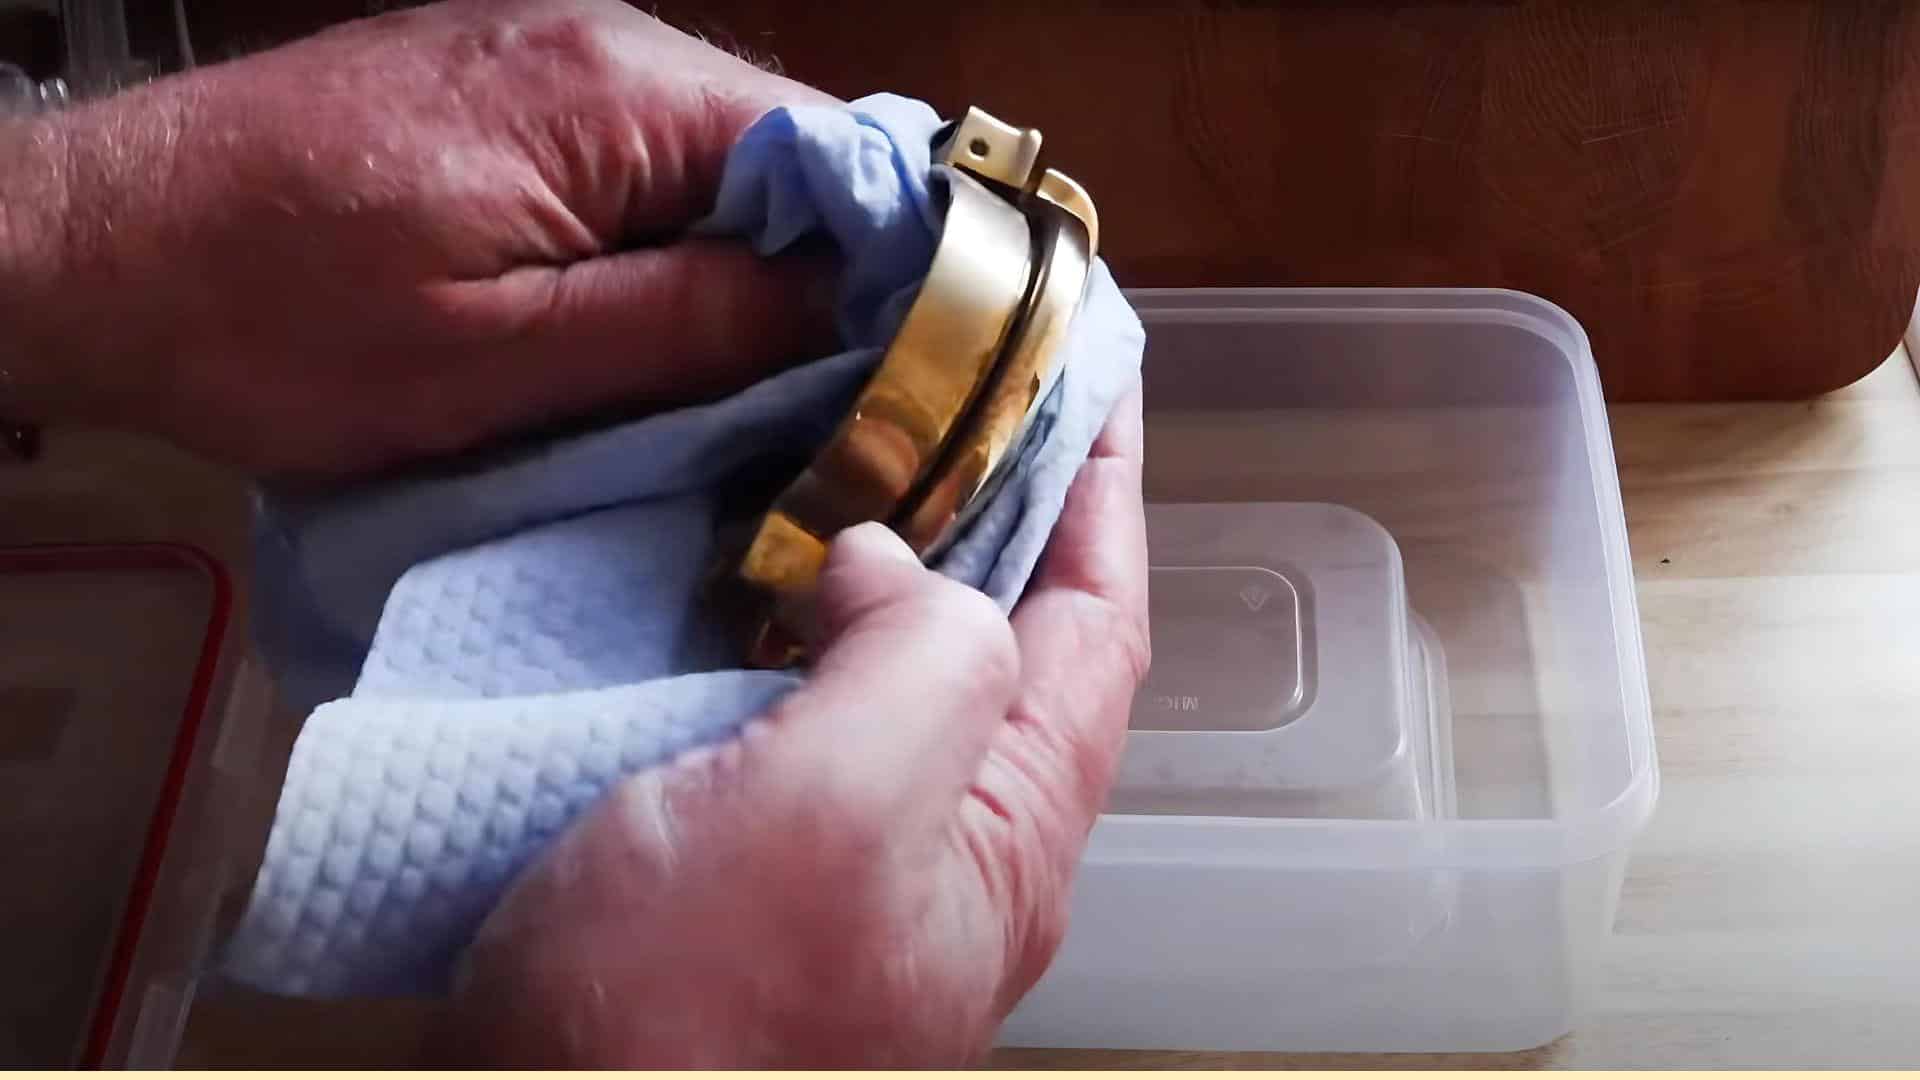
- Clean the brass item with soap and water.
- Dry it completely with a soft cloth.
- Choose your removal method: sanding or paint stripper.
Sanding method:
- Use fine-grit sandpaper (220-grit works well).
- Gently rub the surface in circular motions.
- Keep sanding until the shine is gone.
- Wipe off the dust with a clean cloth.
Paint stripper method:
- Apply a thick layer of paint stripper with a brush.
- Wait about 15 minutes for it to bubble up.
- Scrub off the coating with steel wool or a scraper.
- Rinse thoroughly and dry.
How to Age Brass: Step-By-Step Instructions
Now that we’ve removed the protective coating, it’s time for the fun part – aging our brass!
1. Applying the Aging Solution
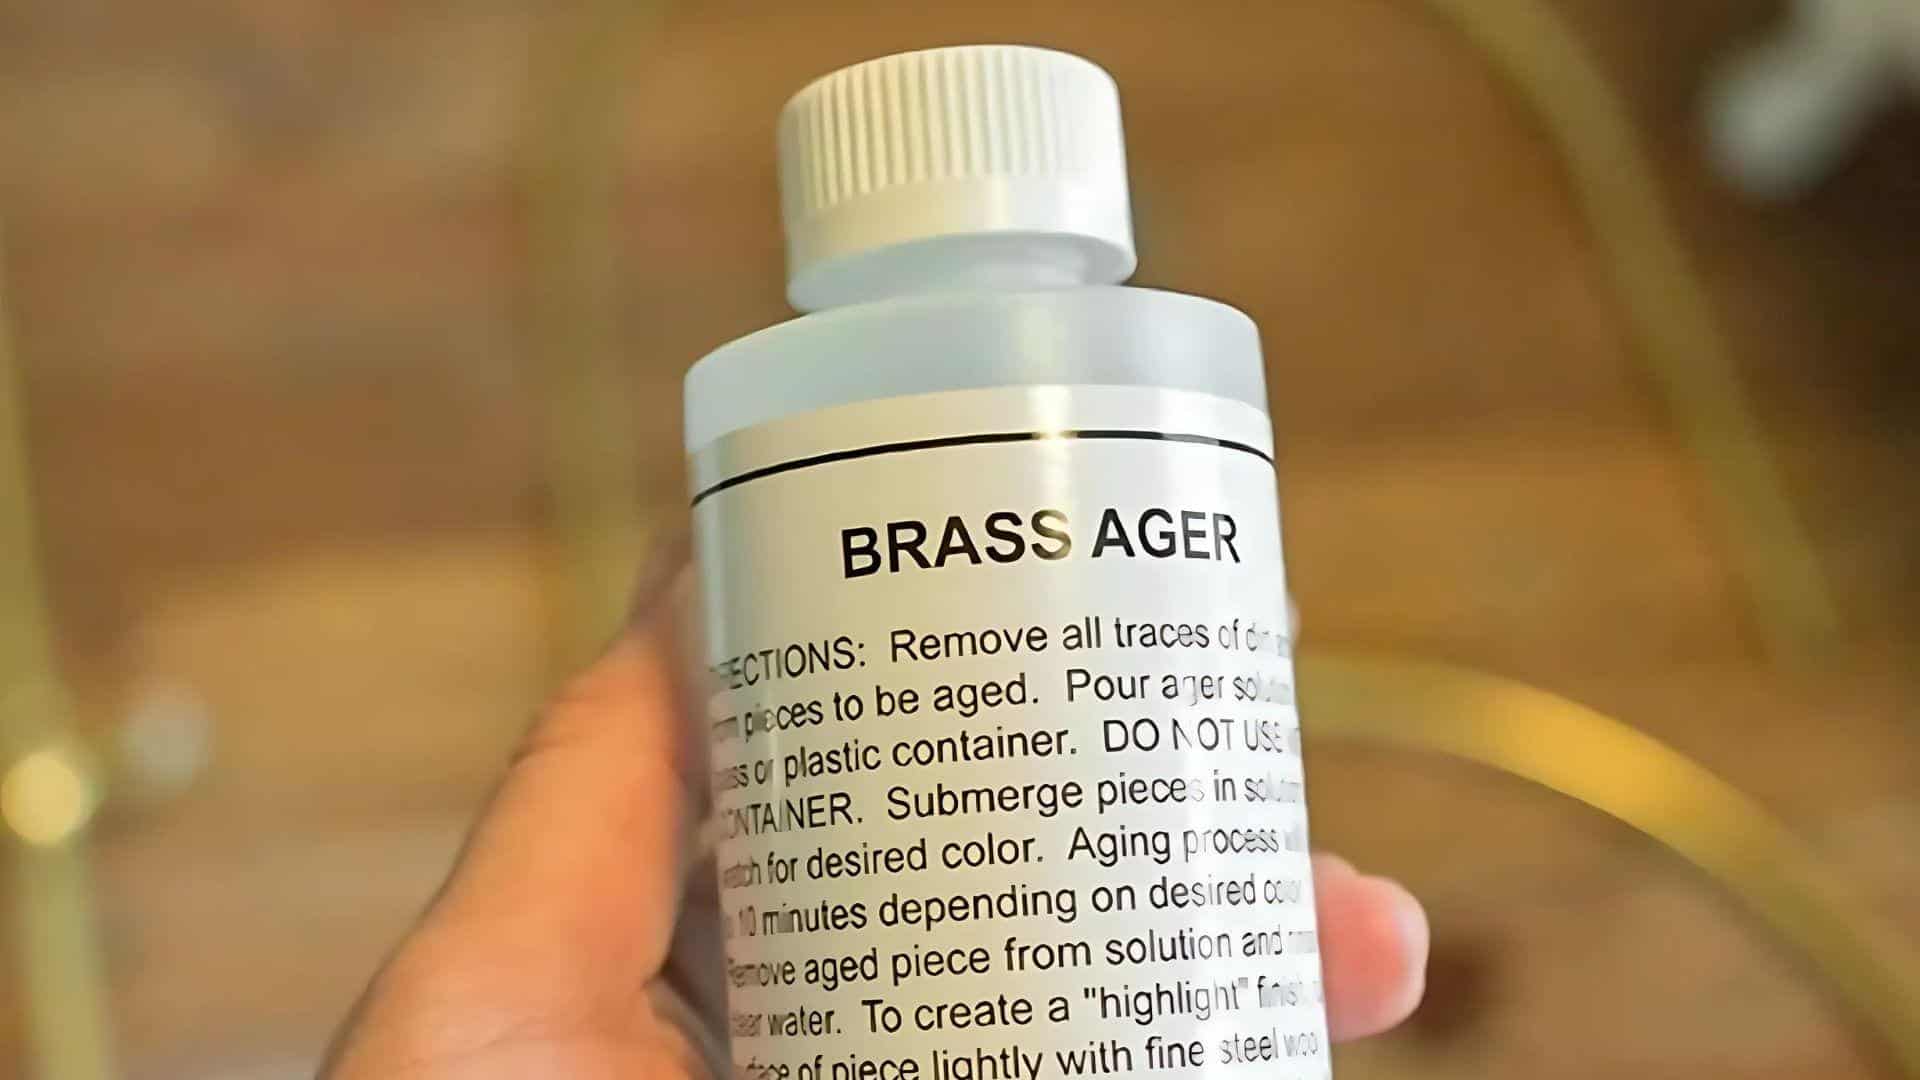
We’ll use a brass ager for this step. It’s a special liquid that speeds up the natural tarnishing process. Here’s how we apply it:
For small pieces:
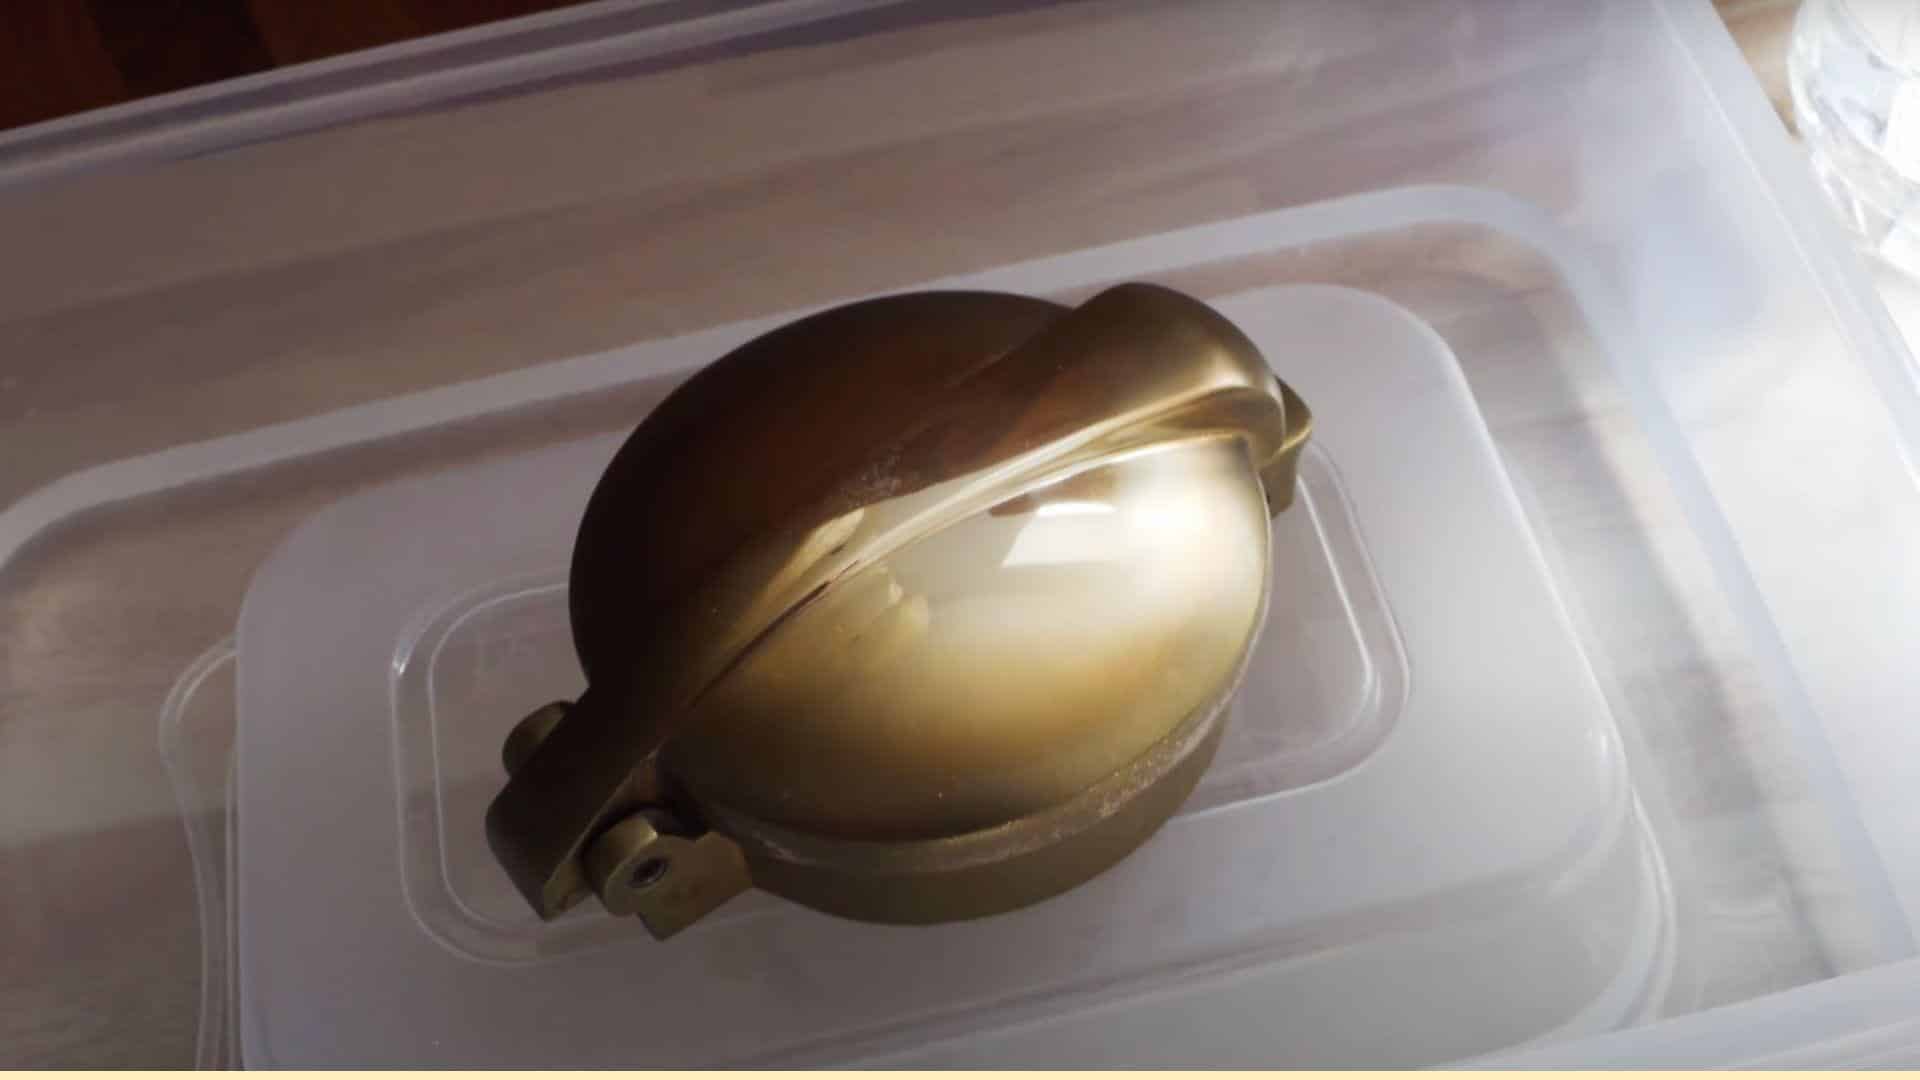
- Pour the brass ager into a plastic container.
- Dip the brass item fully into the solution.
- Leave it submerged for about 30 seconds to 1 minute.
- Remove and check the color change.
For large pieces:
- Pour some brass ager into a small bowl.
- Use a sponge or brush to apply the solution evenly.
- Keep coating until you see the desired change.
- Pay extra attention to nooks and crannies.
Remember, the brass will darken quickly, so keep a close eye on it!
2. Controlling the Patina
We can create different looks by adjusting how we use the aging solution:
Adjusting concentration:
- For a lighter patina: mix the brass ager with water (1:1 ratio).
- For a darker patina: use the solution at full strength.
- Test on a small area first to see the effect.
Creating uniform patina:
- Apply the solution evenly with a sponge.
- Rotate the item to avoid pooling in one spot.
- Reapply as needed for an even look.
Creating varied patina:
- Use different strengths of solution in different areas.
- Let the solution pool in some spots for darker patches.
- Dab away excess in other areas for lighter spots.
The great thing about this process is that we’re in control. If an area gets too dark, we can lightly sand it. If it’s too light, we can add more solutions. It’s all about playing around until we get the look we want!
3. Buffing and Sanding
After aging, our brass might have some uneven spots. Don’t worry, we can fix that:
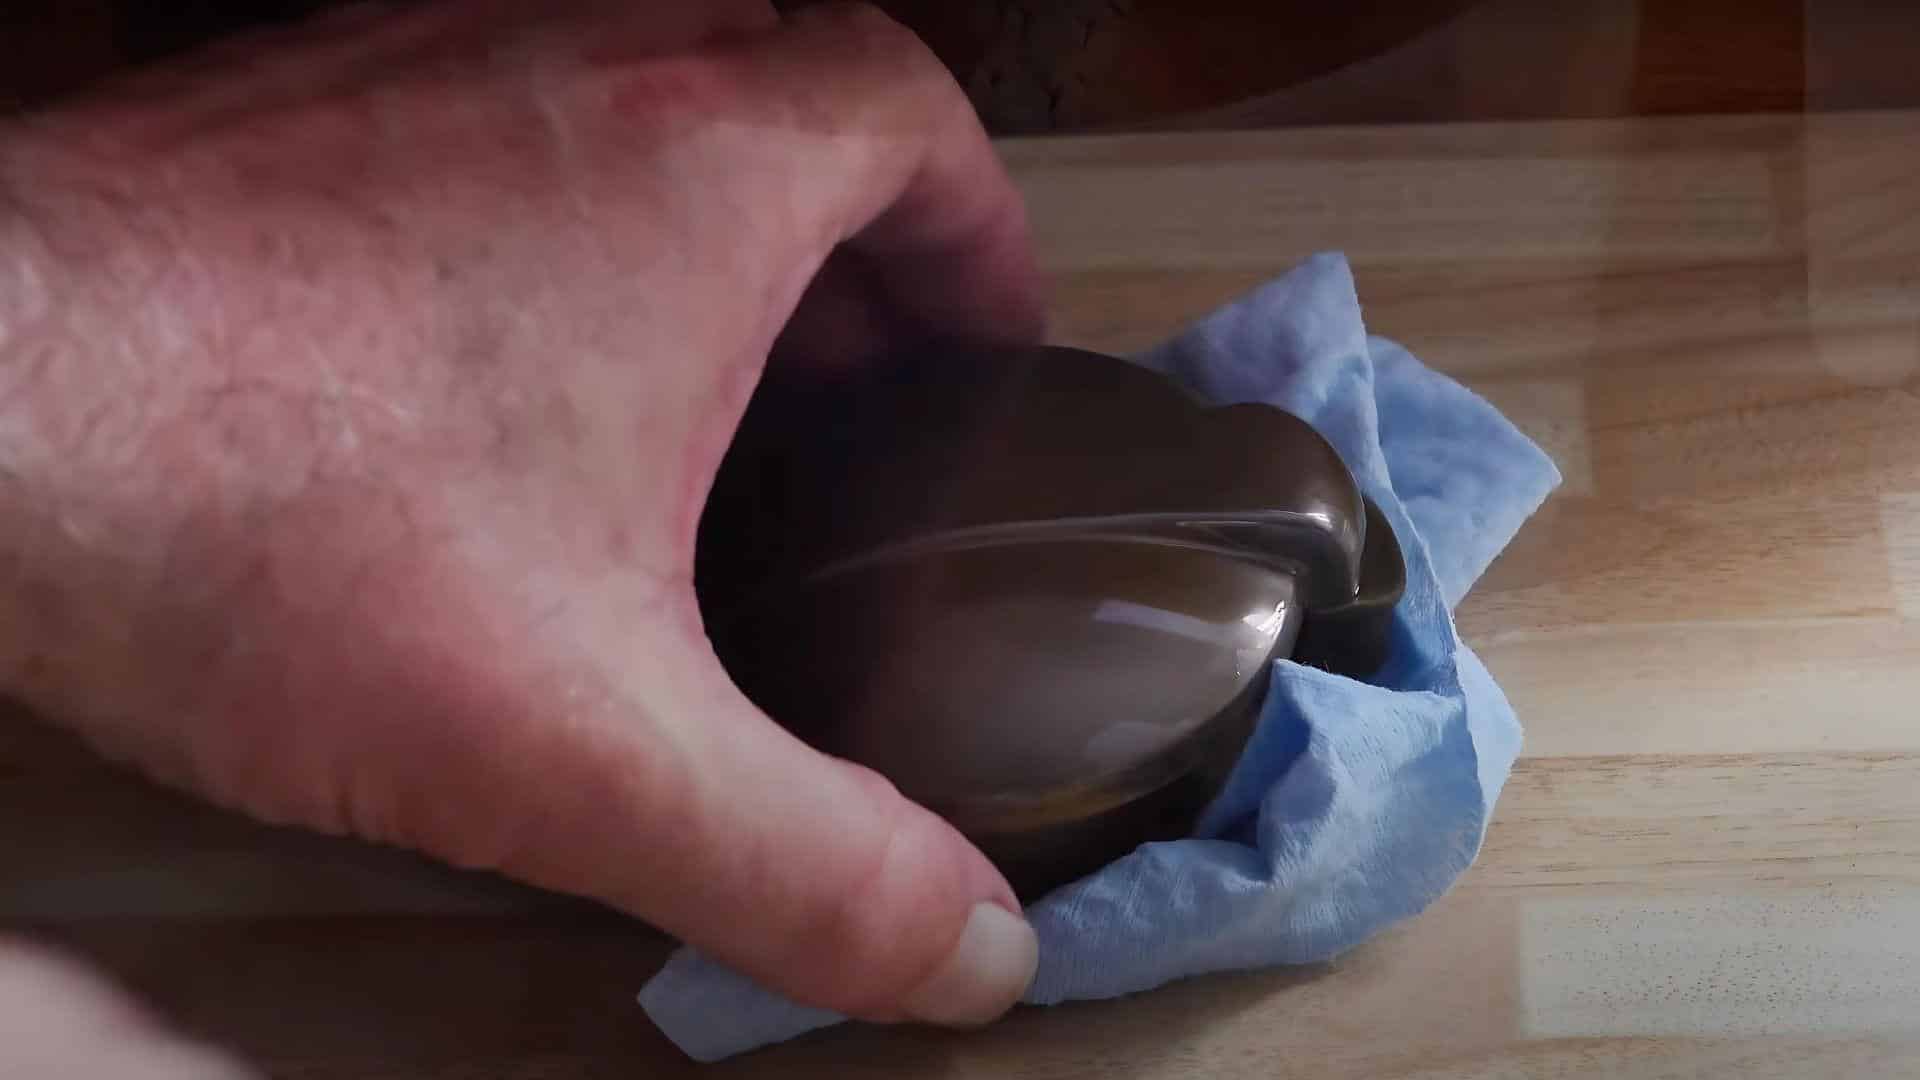
Buffing out streaks:
- Use a soft cloth to rub the surface gently.
- Move in small circles to blend any streaky areas.
- Keep buffing until the finish looks even.
For stubborn streaks:
- Dip fine steel wool in mineral oil.
- Lightly rub the streaky areas.
- Wipe clean with a soft cloth.
Adjusting dark areas:
- Use very fine sandpaper (400-grit or higher).
- Gently sand the too-dark spots.
- Blend the edges with nearby areas.
- Wipe off any dust with a clean cloth.
Remember, we’re aiming for a natural look. Some variation adds to the aged charm!
4. Sealing the Aged Brass
Now that we’ve got the perfect patina, let’s keep it that way:
How to seal:
- Choose a clear sealant (wax or lacquer work well).
- Make sure the brass is clean and dry.
- Apply a thin, even coat with a soft brush.
- Let it dry completely (check the product instructions).
- Add a second coat for extra protection.
With these finishing touches, our aged brass will look great and stay that way for a long time. We’ve turned new brass into a vintage-looking treasure!
How to Use Aged Brass in Home Decor
Now that we know how to age brass, let’s look at ways to use it in our homes. Aged brass can add warmth and character to many spaces:
Living Room:
- Replace plain lamp bases with aged brass ones.
- Hang a group of brass picture frames for a gallery wall.
- Use brass candlesticks on the mantel or coffee table.
Kitchen:
- Switch out cabinet handles and drawer pulls for aged brass.
- Add a brass pot rack above the stove.
- Display brass cookware on open shelves.
Bathroom:
- Replace the mirror frame with an aged brass one.
- Install brass towel bars or hooks.
- Use a brass soap dish or toothbrush holder.
Bedroom:
- Upgrade bedside lamps with aged brass bases.
- Add brass knobs to a dresser or wardrobe.
- Hang brass curtain rods and finials.
Entryway:
- Install an aged brass door knocker.
- Use a brass umbrella stand by the door.
- Hang a brass mirror for last-minute checks.
Office:
- Place a brass desk lamp on your workspace.
- Use brass bookends on your shelves.
- Add a brass letter holder or pencil cup.
Wrapping It Up
We’ve covered a lot about aging brass, from how to age brass and removing protective coatings to applying patinas and sealing the finished product.
Now it’s your turn to try it out! Remember, aging brass is as much an art as a science. Don’t be afraid to experiment and find what works best for you.
Whether you’re updating old hardware or giving new life to thrift store finds, you now have the skills to create beautiful, aged brass pieces.
As you work on your projects, remember that imperfections often add to the charm of aged items. Embrace the uniqueness of each piece you create.
We’d love to hear about your experiences with aging brass. Why not leave a comment and share your results?
Happy brass aging, everyone!

James McLaren, with a rich background in architecture from the University of Manchester, has been contributing his expertise to the world of creative construction and home innovation for over 20 years. His journey began as a project manager for a leading construction firm, where he honed his skills in bringing complex designs to life. James joined our platform as a freelancer in 2019, quickly becoming a favorite for his insightful and practical advice. He has been a pivotal force to our wing ever since, bringing our readers a blend of technical know-how and creative flair. Beyond his professional life, James is an avid woodworker and enjoys restoring vintage furniture, a hobby that complements his professional insights beautifully.