Adding a bathroom to your basement can seem like a daunting task, especially when you have limited funds. I know this because I faced the same challenge last year.
Many homeowners worry about costs, plumbing issues, and where to begin.
Good news – you can create a functional basement bathroom without spending too much money. I’ve learned smart ways to save cash while building a proper bathroom downstairs.
In this guide, I’ll show you step-by-step tips for planning, buying materials, and setting up your basement bathroom.
You’ll learn which items are worth spending on and where you can cut costs without sacrificing quality.
Let’s start making your basement more useful!
How to Plan Your Low-Budget Basement Bathroom
I’ve found that good planning makes a huge difference when you’re trying to save money on a basement bathroom.
- First, grab a notebook and walk around your basement. Look for spots near existing water pipes – this can save you hundreds in plumbing costs.
- Make a list of what you really need versus what would be nice to have. In my experience, a basic bathroom needs just three things: a toilet, a sink, and proper ventilation. Everything else is extra.
- Measure your space carefully. You’ll want at least 30 inches of width for the toilet area and about 24 inches of clear space in front of the sink. I learned this the hard way – getting measurements wrong can lead to wasted money on returns or fixes.
- Don’t forget to check your local building codes. Each area has different rules about basement bathrooms. A quick call to your local office can prevent costly mistakes later.
DIY Construction Guide for Your Basement Bathroom Project
Tools & Materials Required
- 8-pound sledgehammer
- Power drill
- Concrete mixing tools
- Basic plumbing tools
- Drywall tools
- Paint brushes
- Tile cutting grinder
- Measuring tape
- Pencil
- Tile laying tools
- PEX plumbing supplies
- Sanding sponge
Step-by-Step Construction Process
1. Planning and Floor Breaking
- Start with measuring the space
- Break concrete floor carefully near existing water pipes
- Dig about 16 inches deep for new plumbing lines
2. Plumbing Setup
- Install main sewer connection with 45-degree angles
- Add toilet flange and sink drain
- Connect PEX pipes for hot and cold water
- Test water connections for leaks
3. Framework and Walls
- Build wall frames with 2×4 lumber
- Account for existing shower space
- Install ceiling supports
- Add backing for ventilation fan
4. Electrical and Ventilation
- Install lighting fixtures
- Set up a bathroom exhaust fan
- Run necessary wiring
5. Wall Completion
- Put up drywall
- Apply joint compound
- Sand surfaces smooth
- Paint walls and ceiling
6. Flooring
- Install heating mat (optional)
- Lay tile around the shower base
- Complete floor tiling
7. Final Touches
- Install vanity and toilet
- Add door and trim
- Mount mirror and towel bars
- Set up flooring thermostat
DOWNLOAD THE ENTIRE LOW-BUDGET BASEMENT BATHROOM GUIDE FROM THIS PDF
An Approximate Cost Required for Construction
| Category | Items | Cost Estimate |
|---|---|---|
| Basic Structure Costs | Lumber for framing | $250 |
| Drywall and materials | $150 – $200 | |
| Door and trim | $100 – $150 | |
| Plumbing Materials | PEX piping and connections | $100 – $150 |
| Toilet flange and drain parts | $75 – $100 | |
| Basic toilet | $150 – $200 | |
| Simple vanity with sink | $200 – $250 | |
| Flooring and Tiles | Floor heating mat (optional) | $57 (open box deal) |
| Basic floor tiles | $200 – $300 | |
| Tile setting materials | $100 – $150 | |
| Electrical Components | Light fixtures (3-4) | $120 – $160 |
| Ventilation fan | $80 – $100 | |
| Basic wiring supplies | $50 – $75 | |
| Final Touches | Paint and supplies | $50 – $75 |
| Mirror | $40 – $60 | |
| Towel bars and hardware | $30 – $50 | |
| Total Estimated Cost | $1,600 – $2,000 |
Note: These prices reflect basic, functional items. Your costs might change based on:
- Local material prices
- Quality of fixtures chosen
- Whether you need professional help
- Any unexpected issues during construction
How to Overcome Plumbing Challenges
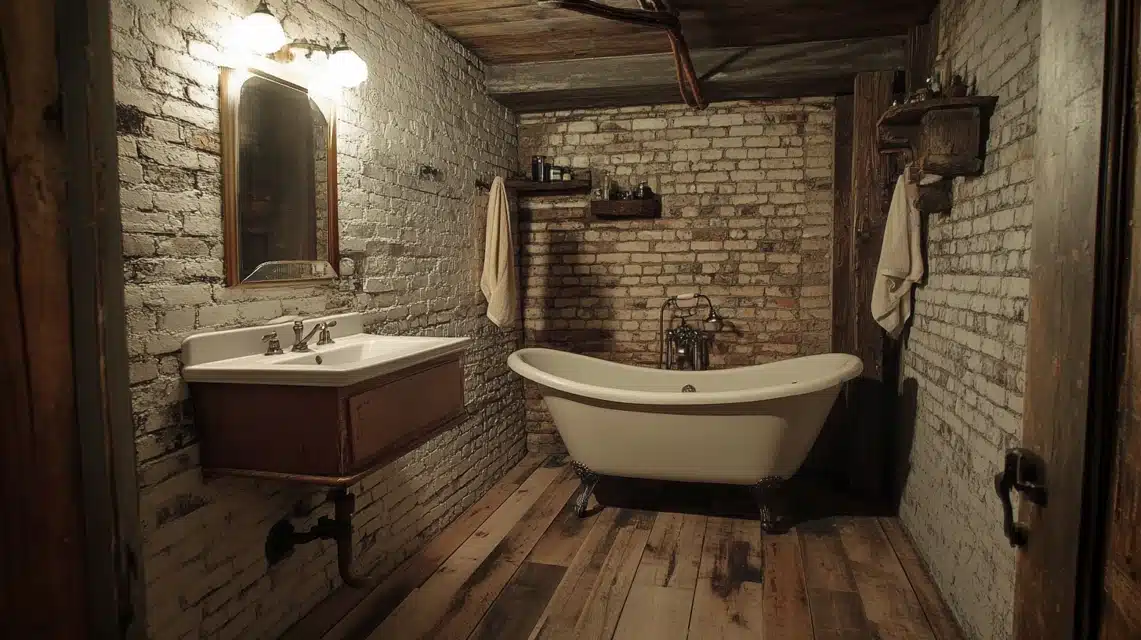
Getting the plumbing right in a basement bathroom can be tricky. I faced this myself, and here’s what I learned works best:
Check Your Main Line: Start by finding your main sewer line. You want your new bathroom pipes to connect at the right slope. You’ll need a pump system if the main line is above your basement floor level.
Work With Your Space: Look for existing water lines nearby. Running new pipes from close connections saves money. If you find pipes overhead, you might need to build a raised floor to hide new plumbing.
Smart Solutions for Common Issues:
- Get a macerating toilet if your drain line is too high
- Use PEX piping – it’s easier to work with than copper
- Put in a backwater valve to stop sewage backup
- Add clean-outs in key spots for easier maintenance
Top Customized Design Ideas to Consider
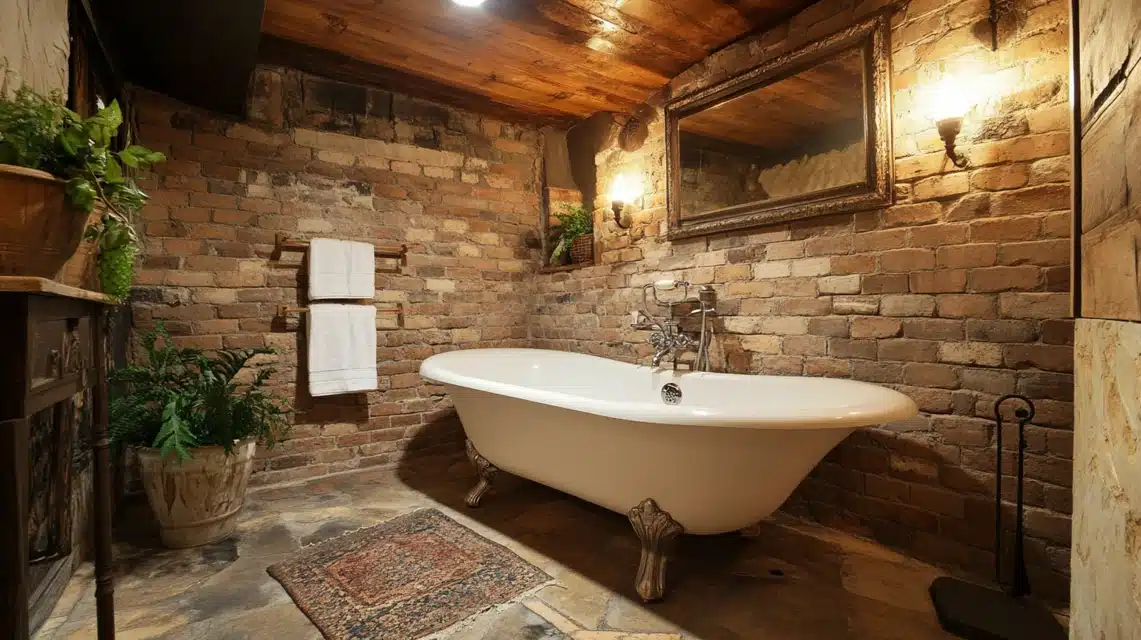
1. Small Space Solutions
- Try a corner sink to save space
- Pick a round toilet bowl instead of an oval one – it takes up less room
- Use a sliding barn-style door that won’t swing into your space
2. Smart Storage Ideas
- Put up open shelves above the toilet for towels and supplies
- Install a medicine cabinet instead of a plain mirror
- Add hooks on the back of your door for robes and clothes
3. Budget-Friendly Style Tips
- Paint half the wall a different color instead of buying expensive tile
- Use peel-and-stick backsplash behind the sink
- Pick vinyl flooring that looks like tile – it’s cheaper and warmer
4. Lighting Options
- Add a small window if possible – natural light makes spaces feel bigger
- Put in recessed lights to keep your ceiling feeling high
- Use LED strip lights under shelves for a soft glow
5. Ventilation Tricks
- Get a fan with a built-in light to save ceiling space
- Choose a quiet fan model – basement sounds echo more
- Make sure your fan vents properly outside
Certain Maintenance Tips for Your Basement Bathroom
- Check your drain pipes every month – pour hot water down sinks to prevent clogs and buildup.
- Run your ventilation fan during showers and for 30 minutes after to stop mold from growing.
- Test your heating system before the cold weather starts if you have heated floors.
- Look for water spots on walls and ceilings each season – catching leaks early saves money.
- Clean the space between floor tiles with a brush every few months to prevent grout from getting dark.
- Feel around pipe connections under the sink once a month – a paper towel test will show if there are small leaks.
Conclusion
Building a basement bathroom on a budget isn’t as hard as you might think. I hope this guide has shown you that you can create a functional space with good planning and simple materials without spending too much.
Remember, take your time with the plumbing work – it’s the foundation of your project. If you’re unsure about any step, asking for help is okay.
Want to learn more about home improvements?
Check out my other guides:
- DIY Guide to Waterproofing Your Basement,
- Smart Storage Solutions for Small Bathrooms.
And hey, if you’ve built your own basement bathroom, I’d love to hear about your experience in the comments below!
Frequently Asked Questions
What Permits or Building Codes Do I Need to Consider?
You’ll need plumbing and electrical permits from your local office. Each area has specific rules about ventilation and drainage. Call your city’s building department before starting – they’ll give you a checklist.
Can I DIY the Entire Project, or Do I Need Professional Help?
You can do much of the work yourself, like framing and tiling. But I suggest hiring pros for main plumbing connections and electrical wiring. This keeps you safe and meets legal requirements.
How Do I Handle Moisture and Waterproofing in a Basement Bathroom?
Install a good ventilation fan and use moisture-resistant drywall. Put in a vapor barrier behind walls. Make sure your floor slopes slightly toward the drain to prevent water from pooling.

