Ever looked at a plain mirror and wished it had more character? We get it. Many homeowners face the same issue with their builder-grade mirrors.
But don’t worry – we have a solution.
We’ll show you how to make a stunning DIY mirror frame at home. This project can transform your space without breaking the bank.
In this guide, we’ll walk you through the process. You’ll learn to measure, cut, assemble, and install your custom frame.
We’ll cover the tools you’ll need and offer tips to make your project successful.
By the end, you’ll have the skills to create a beautiful DIY framed mirror that reflects your style. Ready to get started?
Let’s jump in and give your mirror the makeover it deserves.
Why Build a DIY Mirror Frame at Home?
1. Personalization and Creativity
Making your own DIY mirror frame lets you add a personal touch to your space. You can pick materials and colors that match your home’s look.
Want a rustic wooden frame? Or maybe a sleek metal one? The choice is yours. Your frame can be as simple or fancy as you like.
2. Cost-Effective
Building a DIY mirror frame yourself can save you money. Store-bought frames can be pricey. But with DIY, you control the costs.
You might even already have some materials at home. Old picture frames or spare wood can work well. This project turns everyday items into something special.
3. Satisfaction of Creating Something Unique
There’s a special feeling when you make something yourself. Your DIY mirror frame will be one-of-a-kind. No one else will have the same piece.
Each time you look at it, you’ll remember the effort you made. It’s not just a mirror—it’s your creation.
Materials Required for Making a DIY Mirror Frame
| Category | Item | Purpose/Use |
|---|---|---|
| Supplies | Wood (Baseboards or other framing materials) | Used to create the frame around the mirror. |
| Wood Glue or Liquid Nails | Adheres the frame pieces together and secures them to the mirror. | |
| Miter Saw or Hand Saw with Miter Box | Cuts the wood pieces at precise angles to fit together neatly. | |
| Paint or Stain (Optional) | Adds color or finish to the frame for aesthetic appeal. | |
| Sandpaper | Smooths rough edges on the wood for a clean finish. | |
| Measuring Tape | Measures the dimensions of the mirror and wood accurately. | |
| Masking Tape | Holds the frame in place while the adhesive dries. | |
| Paintbrushes | Applies paint or stain to the wood. | |
| Tools | Hammer | Drives nails into the wood to secure the frame corners. |
| Nails or Clamps | Holds the frame pieces together while the glue dries. | |
| Wood Chisel (if using clips) | Creates notches in the wood to accommodate mirror clips, allowing a flush fit. | |
| Protective gear (gloves, safety glasses) | Protects hands and eyes during cutting, sanding, and assembly. |
Step-by-Step Guide to Making a DIY Mirror Frame
1. Measuring the Mirror

Getting the right measurements is key to making a frame that fits well. If you measure wrong, your frame might not fit or look good.
Here’s how to measure your mirror correctly:
Measure height and width:
- Use a tape measure to check the mirror’s height and width.
- Measure at several spots to make sure the mirror is even all around.
Choose your frame width:
- Think about how wide you want the frame to be.
- Look at the wall space around your mirror to help you decide.
Plan for edges:
- Decide whether you want the frame to cover the mirror’s edge or sit beside it.
- This choice will change your final measurements.
2. Cutting the Frame Pieces

Making clean cuts is vital for a good-looking frame. When you cut carefully, your frame corners fit snugly. Sloppy cuts can leave gaps that are hard to fix.
Picking Your Cutting Tool:
- Miter Saw: This fast and exact tool is great if you have one or can borrow one.
- Hand Saw with Miter Box: This combo is cheaper and easier to find. It works well for most people.
How to Cut at 45 Degrees:
- Set your saw to 45 degrees. This angle helps frame pieces join at right angles.
- Place your wood on the saw. Line up the outside edge with your measured length.
3. Checking Fit and Adjustments

After cutting your frame pieces, it is important to check how they fit. This step helps catch any issues before you start putting the frame together.
How to Check the Fit:
- Place each cut piece against the mirror.
- Look for any gaps or overlaps.
- Make sure the corners line up well.
Making Adjustments:
- If pieces are too long, mark where to trim them.
- For pieces that are too short, you may need to cut new ones.
- Small gaps can sometimes be filled later with wood filler.
4. Creating Notches for Clips (If Applicable)

If your mirror has clips holding it to the wall, you’ll need to make room for them in your frame. This step ensures your frame sits flat against the mirror.
How to Make Notches:
- Hold your frame pieces up to the mirror.
- Mark where each clip touches the frame.
- Use a wood chisel to carefully cut out small notches at these spots.
5. Gluing the Frame Together
Now, it’s time to join your frame pieces. This step turns your cut wood into a sturdy frame.
Gluing Process:
- Choose wood glue or Liquid Nails for joining.
- Apply glue to the edges of each piece.
- Press the pieces together at the corners.
Securing the Frame:
- Use clamps to hold corners tight while drying.
- If using nails, place them carefully to avoid splitting the wood.
- Let the frame dry overnight for best results.
6. Sanding and Painting

After your frame is dry, it’s time to make it smooth and give it color. Start by sanding the whole frame. This step gets rid of any rough spots or splinters.
Use fine-grit sandpaper and move it along the wood grain. Be sure to sand all sides, even the back edges. These might show in the mirror’s reflection.
Next, choose your paint or stain. Pick a color that matches your bathroom style. When painting, use even strokes and cover all areas.
Don’t forget the sides and back edges, which might be visible in the mirror. If you’re using stain, apply it with a cloth, following the wood grain.
Let each coat dry fully before adding another. This care in painting or staining will make your frame look skillfully made.
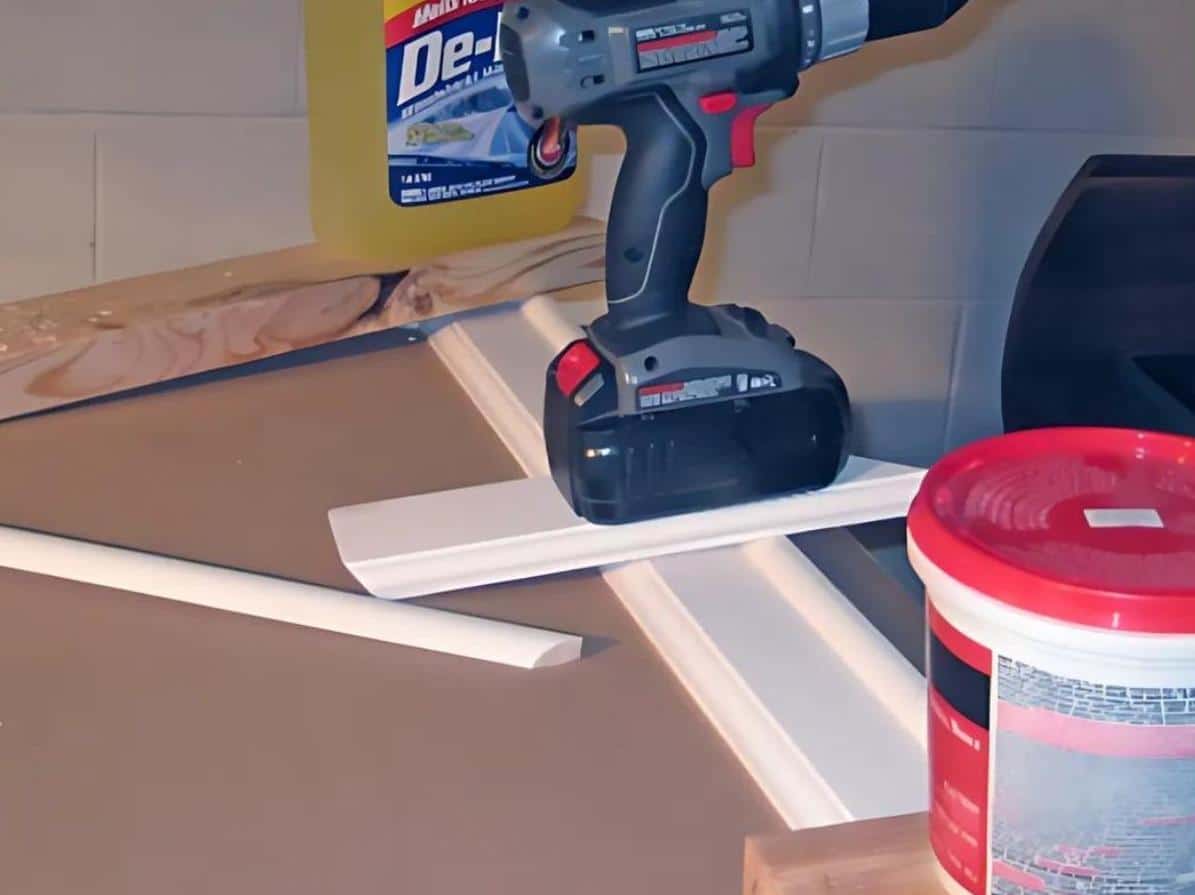
7. Attaching the Frame to the Mirror

- Get your Liquid Nails ready for use.
- Flip your frame face down on a clean, flat surface.
- Apply Liquid Nails to the back of the frame.
- Keep the glue about an inch from the inner edge.
- This prevents glue from showing in the mirror.
- Carefully lift the frame and line it up with your mirror.
- Gently press the frame onto the mirror.
- Make sure it’s centered and straight.
8. Securing the Frame

- Grab your masking tape.
- Cut several strips, about 6 inches long each.
- Stick tape from the frame to the wall above the mirror.
- Do this every few inches around the frame.
- The tape holds the frame while the glue dries.
- Leave the tape on overnight.
- This gives the Liquid Nails time to set fully.
- Check that the frame hasn’t slipped before you leave it.
How Not to Reframe a Mirror (Avoiding Common Pitfalls)
1. Avoid Inadequate Measurements
Don’t rush measuring your mirror. Check the height and width at several points. Mirrors aren’t always perfectly square, so multiple measurements help catch variations.
Taking extra time here prevents issues later.
2. Be Careful with Adhesives
Use adhesive sparingly when attaching your DIY mirror frame. Too much can squeeze out and show in the mirror’s reflection.
Apply it carefully, keeping it away from the inner edges of the frame. Wipe away any excess quickly.
3. Watch Out for Paint Drips
Paint drips can ruin your frame’s look, especially when reflected in the mirror. Apply thin, even coats, and check for drips as you go.
Pay attention to the inner edges, and let each coat dry fully before adding another.
Wrapping It Up
Creating a DIY mirror frame is a rewarding project that can transform your space. By following these steps, you’ve learned how to measure, cut, and assemble a custom frame.
Remember, accuracy is key in measurements and cuts. Take care with adhesives and paint to ensure a clean finish. Your new frame adds style and personal touch to your home.
What’s next? Consider applying these skills to other mirrors in your house. Or, use your newfound woodworking knowledge for different projects.
Maybe you’ll frame artwork or create custom shelving. The possibilities are endless.
We’d love to see your finished frames! Share photos in the comments below. Have questions? Ask away – our community is here to help.
Happy framing!

James McLaren, with a rich background in architecture from the University of Manchester, has been contributing his expertise to the world of creative construction and home innovation for over 20 years. His journey began as a project manager for a leading construction firm, where he honed his skills in bringing complex designs to life. James joined our platform as a freelancer in 2019, quickly becoming a favorite for his insightful and practical advice. He has been a pivotal force to our wing ever since, bringing our readers a blend of technical know-how and creative flair. Beyond his professional life, James is an avid woodworker and enjoys restoring vintage furniture, a hobby that complements his professional insights beautifully.