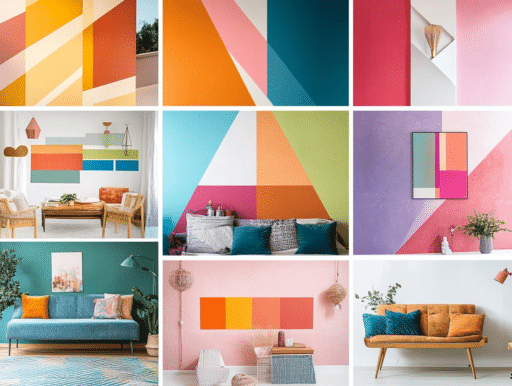
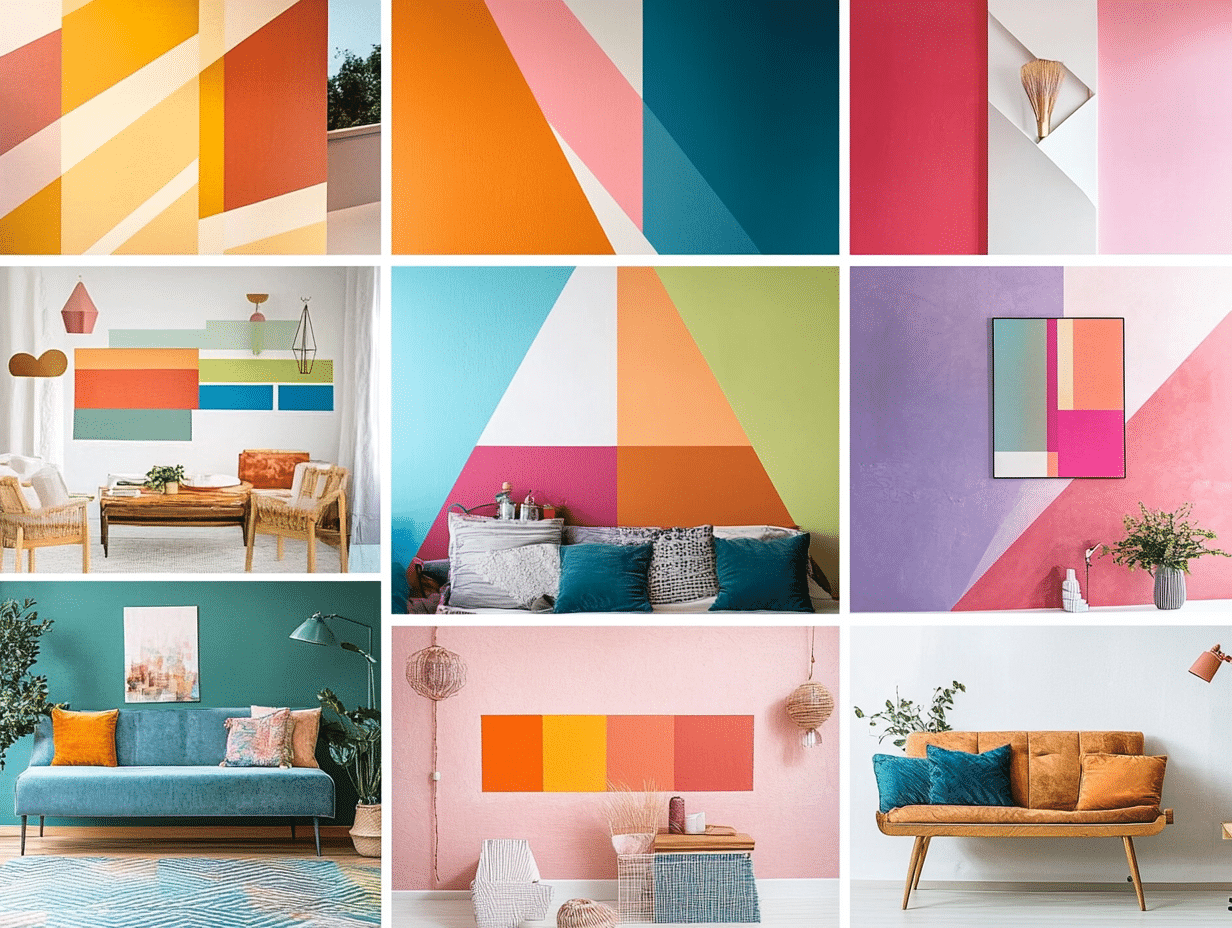
Looking to try color block painting but need help figuring out where to start?
You’re not alone. Many new artists feel overwhelmed when they first pick up a brush.
Here’s the good news: creating color block paintings is simpler than you might think. This guide breaks down the process into clear and manageable steps.
What you’ll learn:
- Basic materials you need to start
- Simple tips and techniques
- Creative ideas for inspiration
I’ve helped hundreds of beginners create their first color block paintings.
The methods I share are tested and proven to work, even if you’ve never painted before.
I’ll also share tips for a clean, professional finish so your project looks like it came straight from a design magazine.
The best part?
You don’t need fancy tools or years of practice.
Just follow along, and you’ll have your first color block painting ready soon.
What is Color-Block Painting?
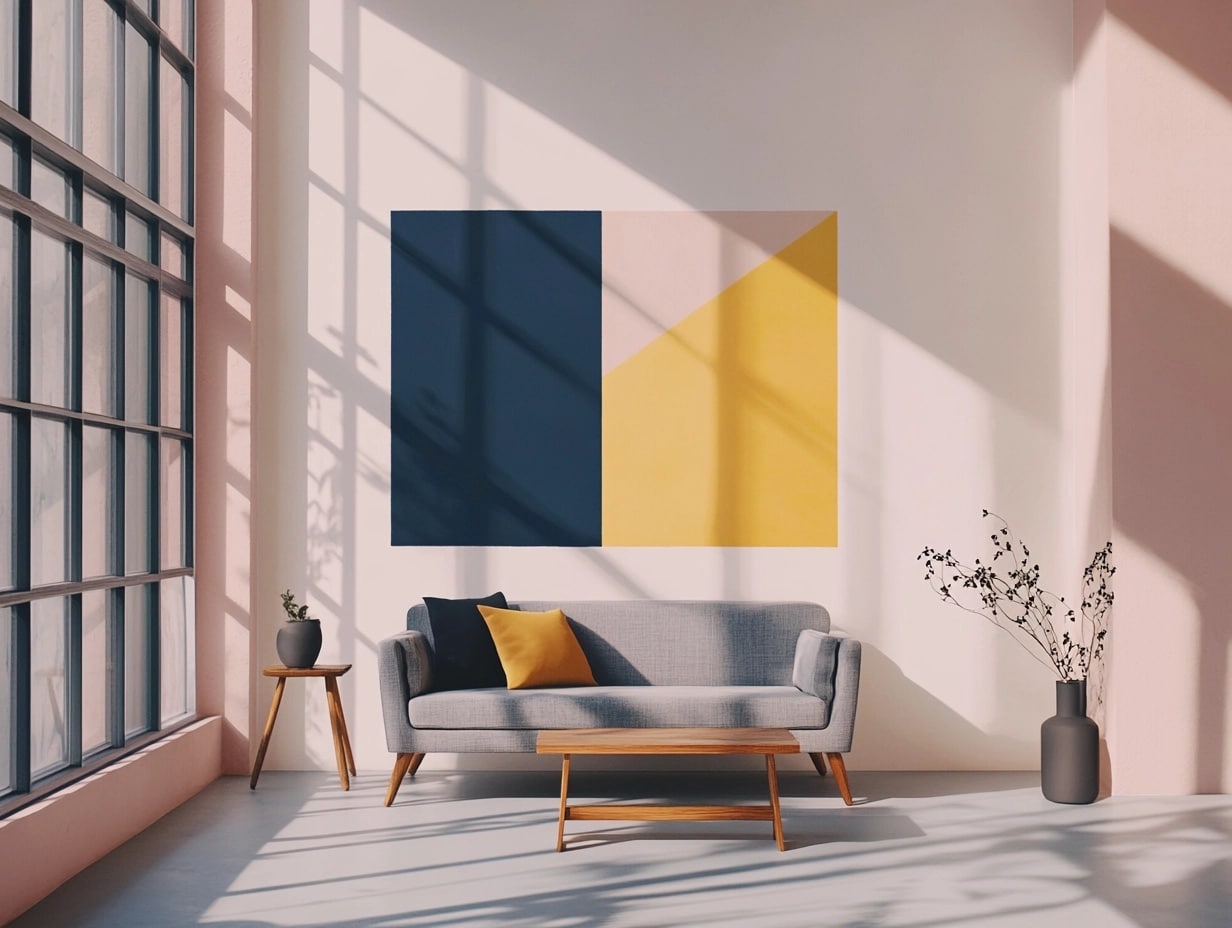
Color block painting is a simple art style that uses large areas of solid colors side by side.
Think of it like putting colorful squares and rectangles next to each other to create a picture.
Why I love color block painting
It’s straightforward—no tiny details or complex shading are needed. You pick your colors, create shapes, and fill them in.
That’s the beauty of it.
Let me show you where you’ll see color block art:
- On canvas paintings in modern homes
- Across accent walls
- On throw pillows and blankets
- In office spaces
- On outdoor murals
People choose colored block art in their homes because it makes a bold statement without being too busy.
When you walk into a room with a color block piece, your eyes know exactly where to look.
The best part?
You can start creating these paintings today – even if you’ve never held a brush.
In the next sections, I’ll show you exactly how to do it.
Essential Tools and Materials for Color Block Painting
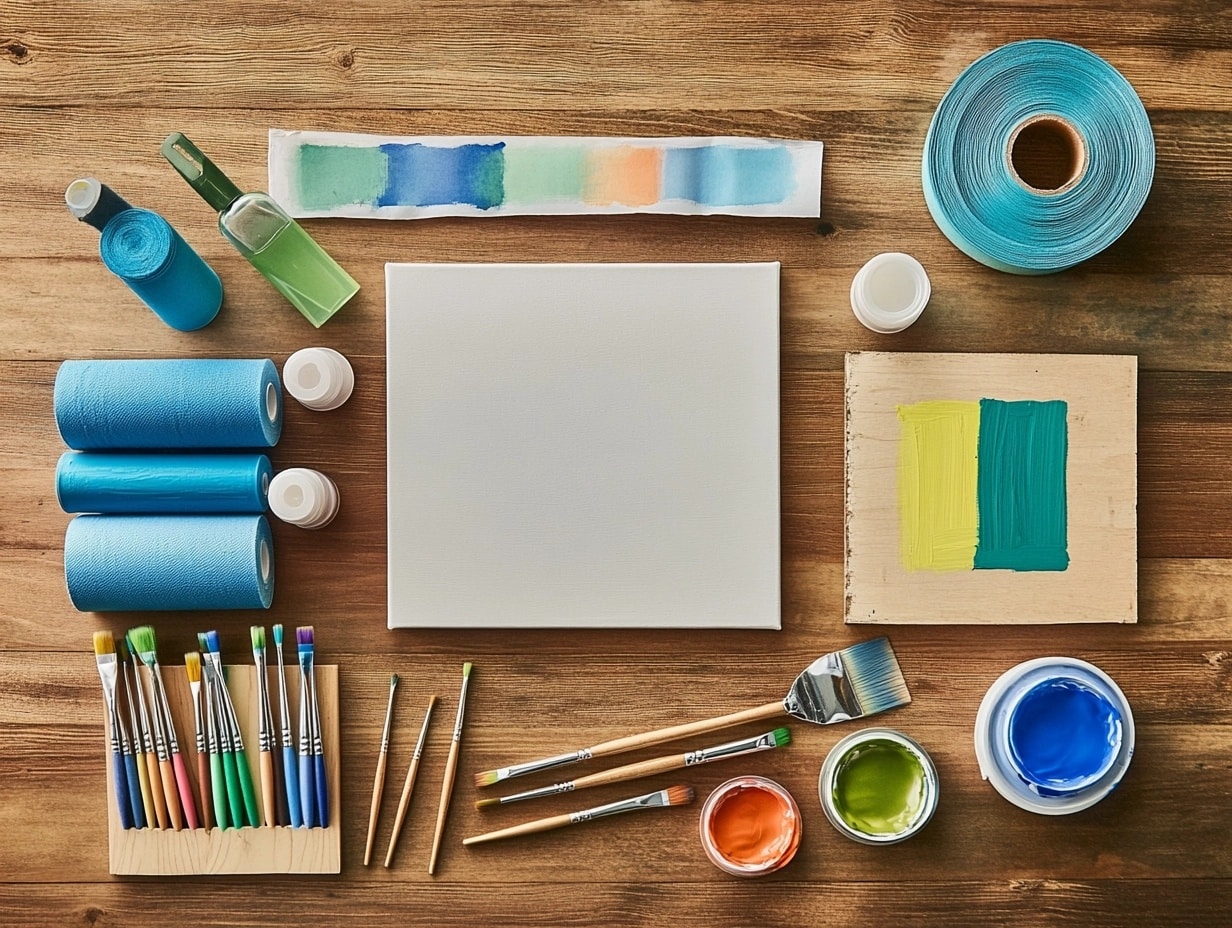
Let’s get your art supplies ready!
I’ll share what you really need – no fancy or expensive items are required.
Must-Have Tools
- Paintbrushes (2-inch flat brush and 1-inch angled brush)
- Painter’s tape (blue or green)
- Canvas or wood panel
- Acrylic paint
- Paint palette or paper plate
- Pencil
- Ruler
- Paper towels
Paint Types to Consider
Acrylic paint works best for beginners. Here’s why I recommend it:
- Dries quickly
- Easy to clean up
- Mixes well
- Sticks to most surfaces
Want matte walls? Choose flat-finish paint.
Looking for shine? Choose semi-gloss. Both work great for color blocking.
Nice-to-Have Tools
These aren’t needed, but they can make your work easier:
- Paint roller (for large areas)
- Level (for straight lines)
- Drafting tape (thinner than regular tape)
- Paint mixing cups
- Drop cloth
Money-saving tip: Start with basic tools. You can always add more as you practice and grow.
Preparing Your Space for Color Block Painting
Let’s set up your painting area right. I always say good prep work leads to better results.
Step 1: Clean the Surface
- Wipe down your walls or surface with a damp cloth.
- If there’s grease or stains, use a mild soap solution.
- Let it dry completely.
Step 2: Use Painter’s Tape (It’s a Game-Changer)
- Apply painter’s tape to mark your color blocks.
- Press it down firmly to avoid paint bleeding underneath.
- Don’t rush—this step ensures crisp, clean lines.
Pro tip: If your tape isn’t straight, your design won’t be either. Take your time here!
Step 3: Protect Your Space
- Lay down a drop cloth to protect the floors.
- Move furniture out of the way or cover it with old sheets or plastic.
- Keep a damp cloth handy to wipe up small spills.
Bonus tip: Cover light switches and outlets with tape to avoid messy edges around them.
Step-by-Step Guide to Color Block Painting
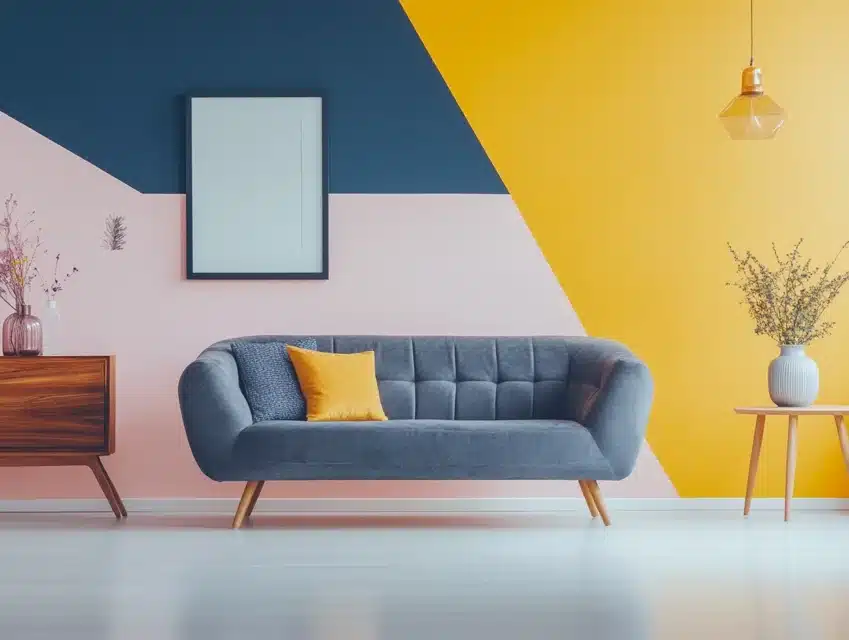
Let me walk you through each step of creating your color block masterpiece.
I’ve broken it down into simple parts you can easily follow.
Step 1: Sketch Your Design
Grab paper and pencil. Draw simple shapes to plan your painting.
Keep it basic—squares, rectangles, or triangles work best. Make changes now while they’re easy to erase.
Step 2: Mark Your Surface
Time to move your design to your canvas or wall:
- Use a pencil to draw light lines
- Keep a ruler handy for straight edges
- Mark where each color will go
- Double-check your measurements
A quick tip: Use light pencil marks – they’ll be covered by paint later.
Step 3: Apply Base Coat
Paint your entire surface white first. This helps your colors look bright and true.
Let it dry completely before moving on.
Step 4: Paint Your Blocks
Here’s my tested method:
- Apply tape along your pencil lines
- Paint one color at a time
- Use two thin coats instead of one thick coat
- Let each section dry before starting the next
Pro tip: Paint away from the tape edge to prevent bleeding.
Step 5: Remove Tape and Touch Up
- Pull tape at a 45-degree angle
- Remove while the paint is slightly wet
- Keep a small brush handy for touch-ups
- Fix any spots where the paint bled through
Your first try might not be perfect – that’s okay!
Each painting teaches you something new.
Creative Color Block Design Ideas for Inspiration
Need fresh ideas for your next color block project?
Here are my favorite designs that I’ve seen work well in different spaces.
1. Horizontal Stripes
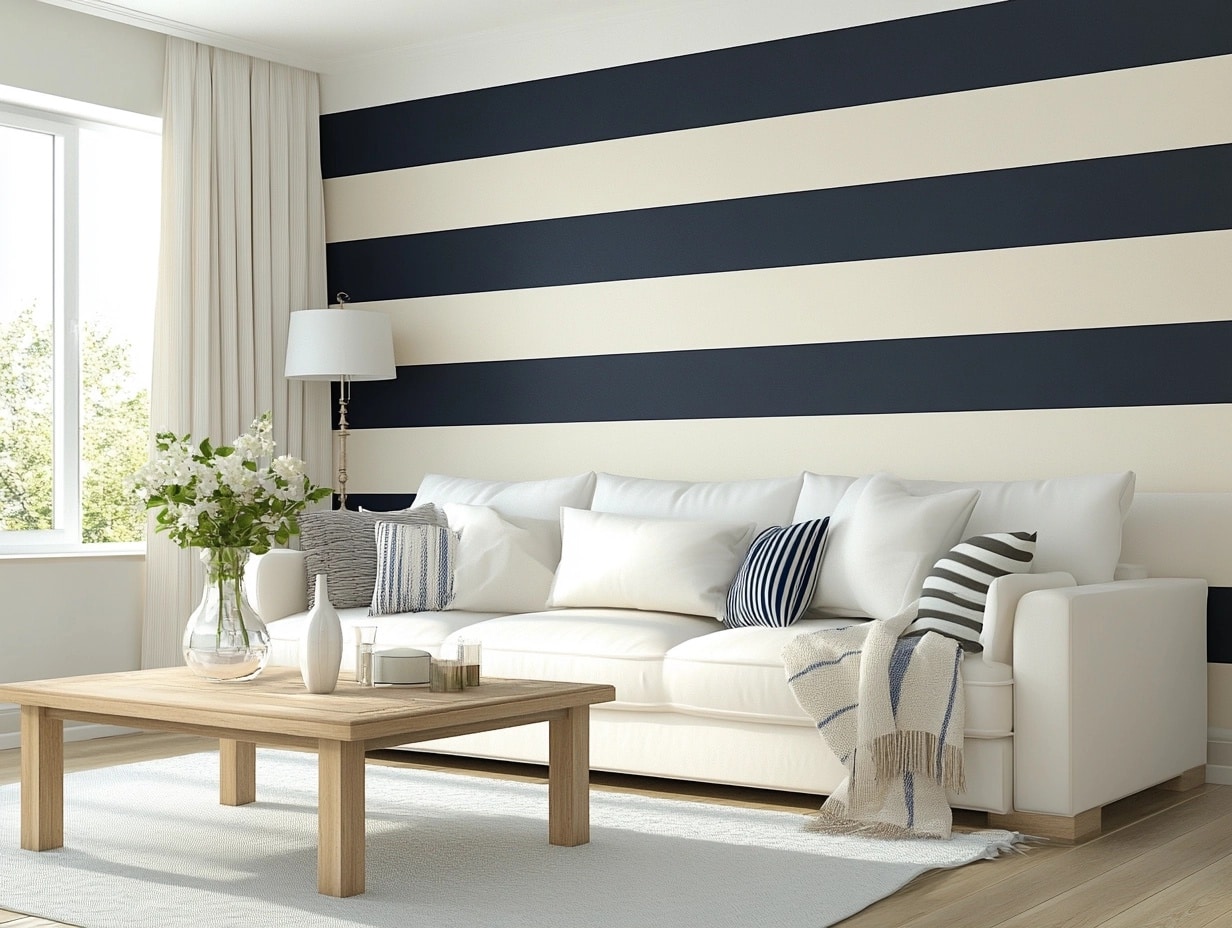
Horizontal stripes are a classic way to add personality to your walls.
- Wide stripes: Create a bold, modern look that draws attention.
- Narrow stripes: Add a subtle texture without overpowering the room.
Pair bold colors like navy and white for a nautical feel, or use soft pastels like blush and beige for a relaxed, calming vibe.
2. Vertical Stripes
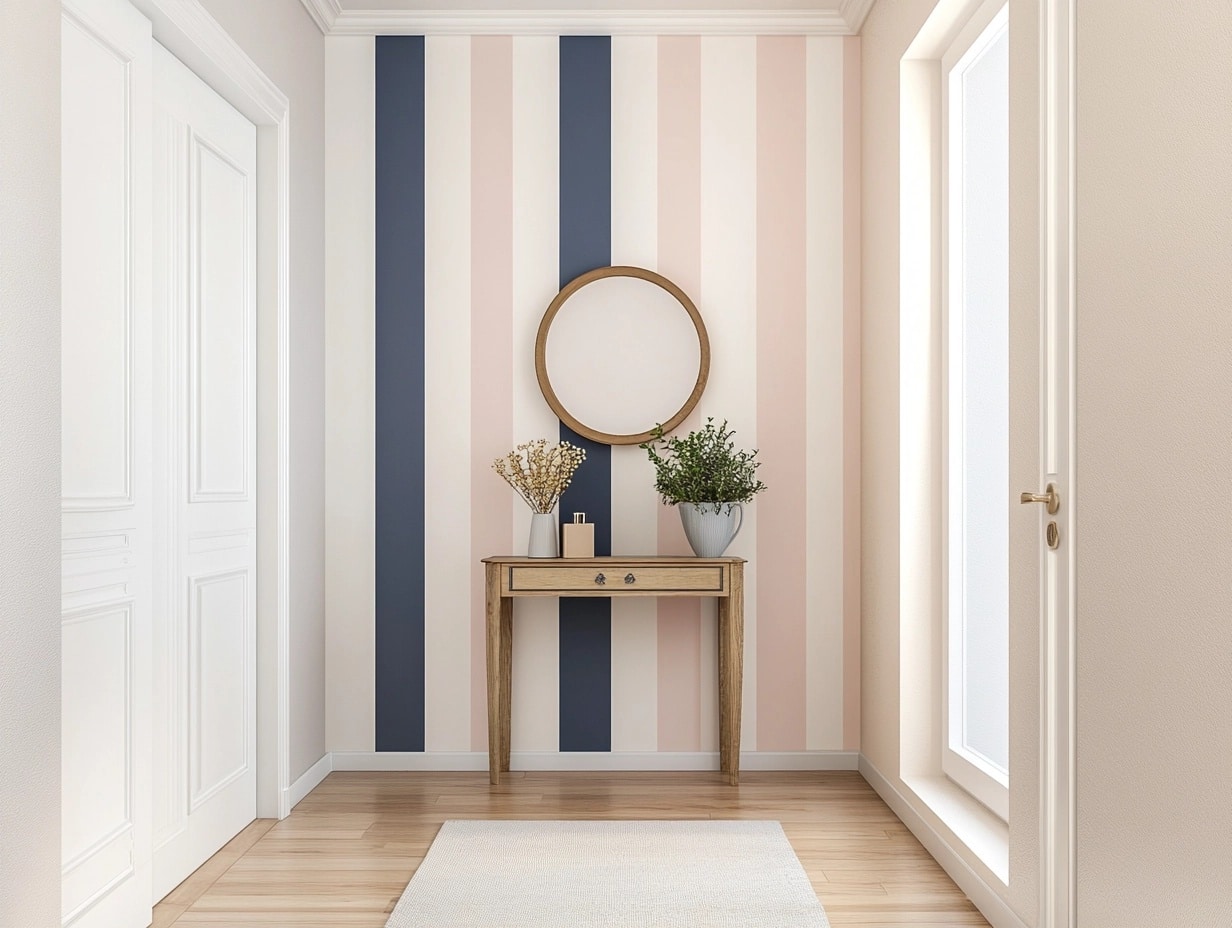
Vertical stripes not only look stylish but also create the illusion of height.
- Combine two shades, like white and gray, for a timeless design.
- Want more drama? Try mixing three or more colors with varied stripe widths.
Vertical stripes are especially effective in small spaces like bathrooms or hallways.
3. Geometric Shapes
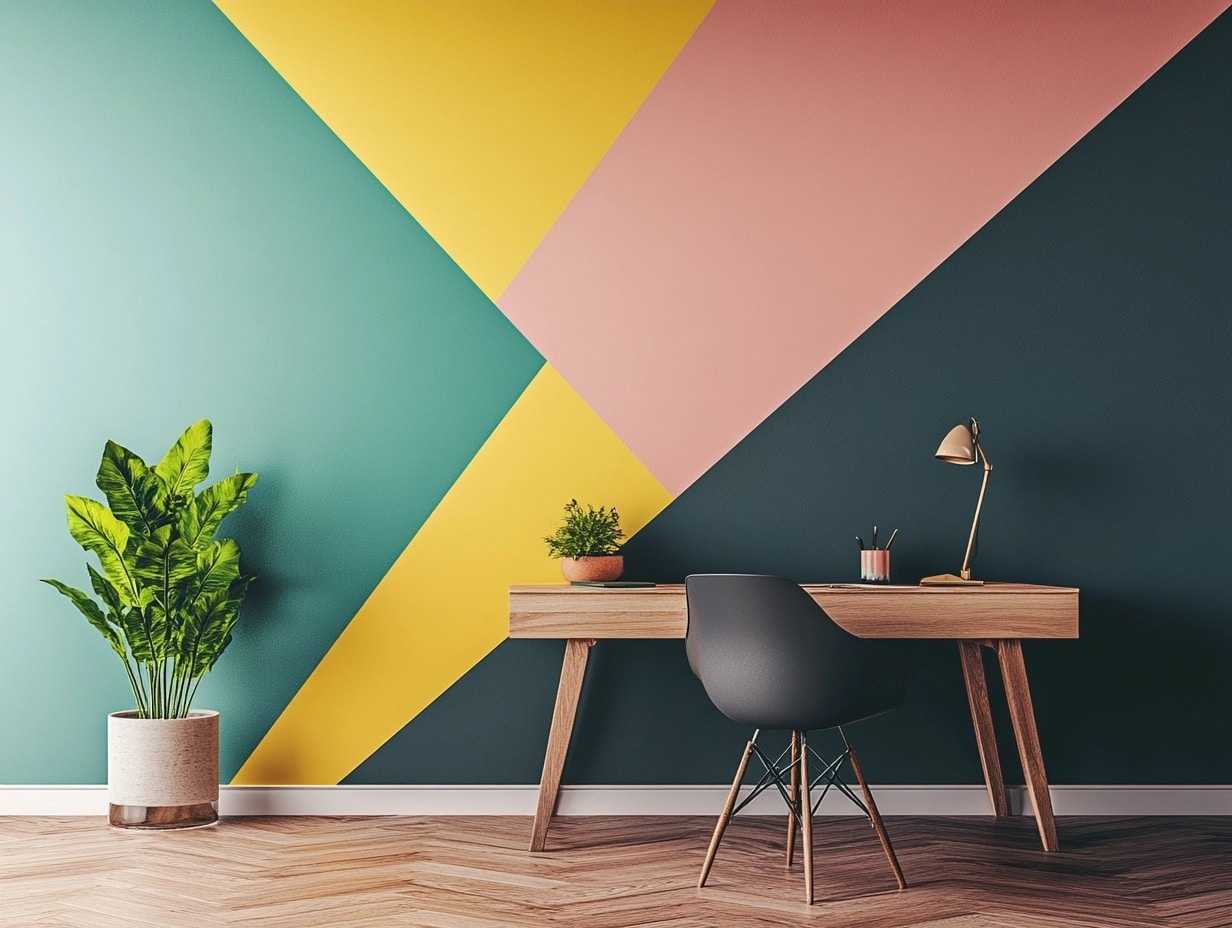
Geometric designs are a fantastic way to play with structure and symmetry.
- Use triangles, squares, or diamonds in contrasting shades for a dynamic effect.
- Stick to monochromatic tones if you prefer a cleaner, more understated look.
This style is perfect for an accent wall in a study or creative workspace.
4. Ombre Effect
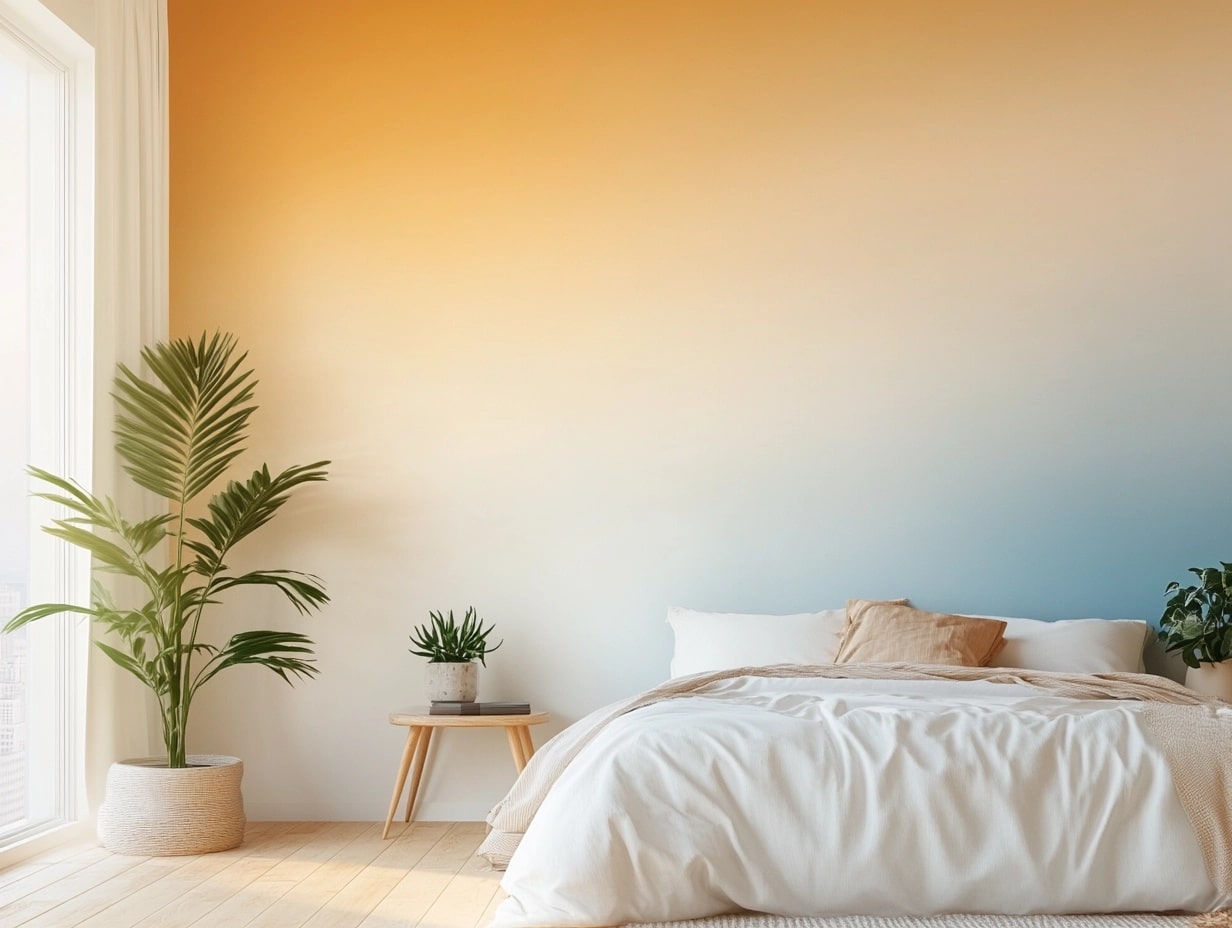
The ombre effect offers a soothing, gradient look that transitions seamlessly from one shade to another.
- Create a sunrise effect with warm yellows and oranges.
- Or go for coastal vibes with blues fading into whites.
This works beautifully in bedrooms or nurseries, adding depth and serenity to the space.
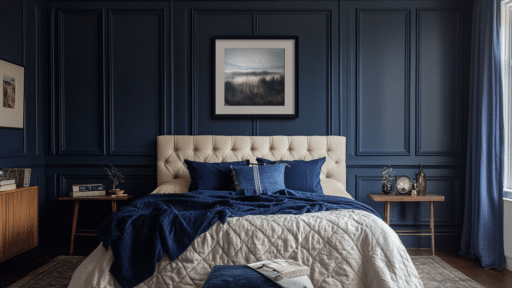
5. Bold Accent Wall
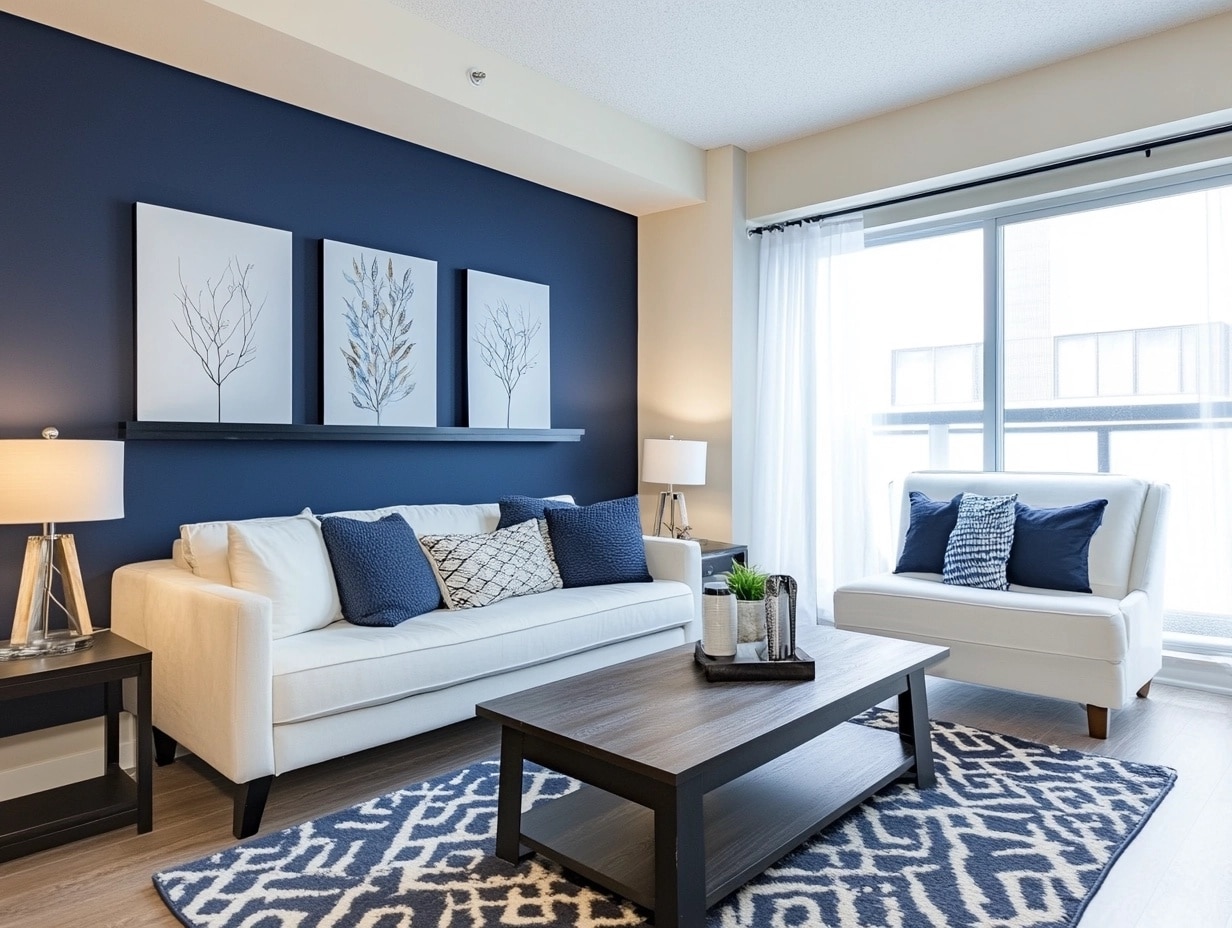
A bold accent wall can completely change the energy of a room.
- Colors like deep red, navy, or black make a strong statement.
- Balance it out with lighter, neutral tones on the surrounding walls.
It’s an ideal choice for living rooms or dining areas where you want a focal point.
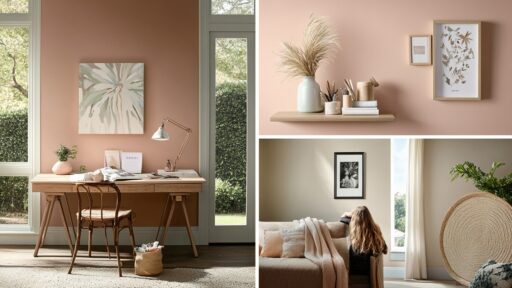
6. Pastel Accent Wall
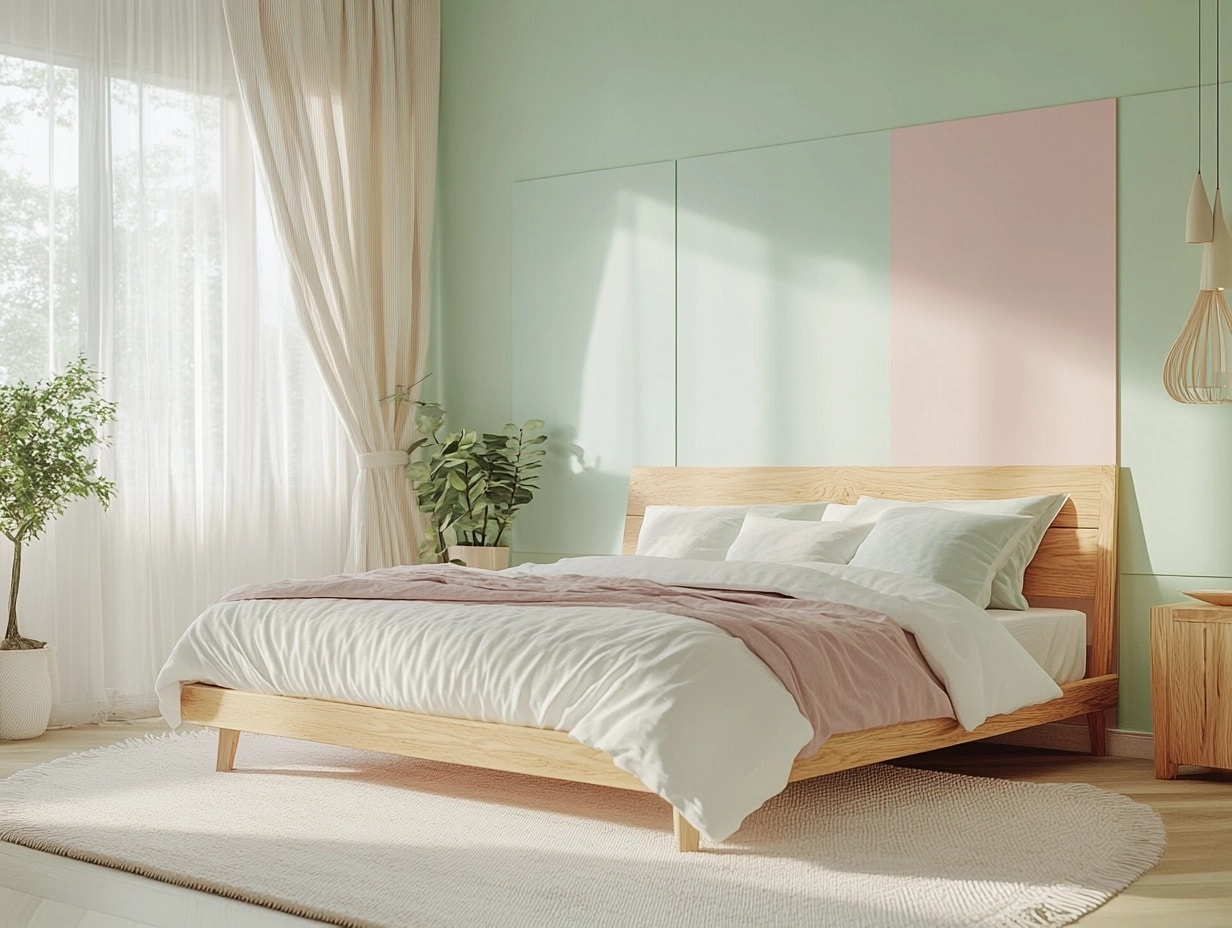
If you prefer something softer, a pastel accent wall might be your style.
- Mint green, soft peach, or lavender add a subtle touch of elegance.
- These shades work well in bedrooms, nurseries, or guest rooms.
Pastels bring charm and warmth without dominating the space.
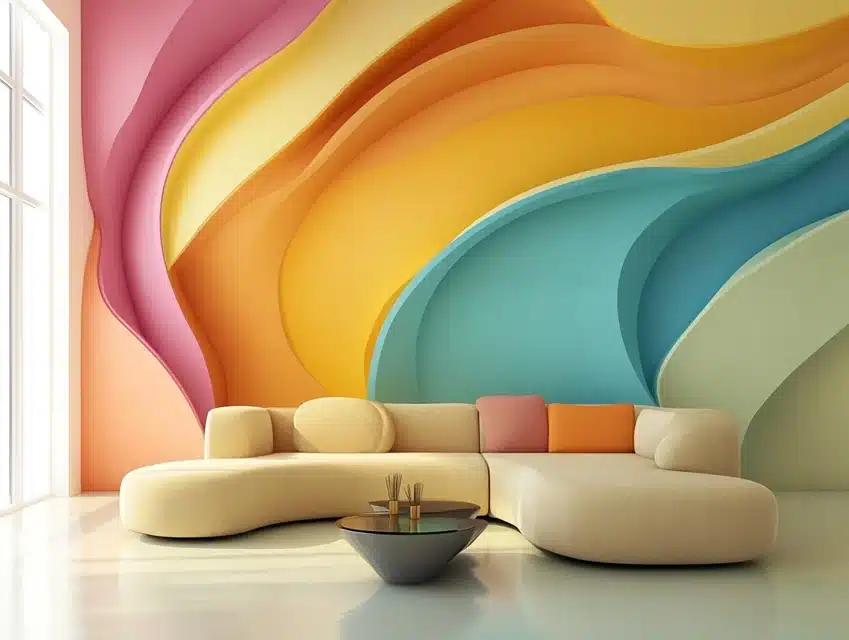
7. Abstract Designs
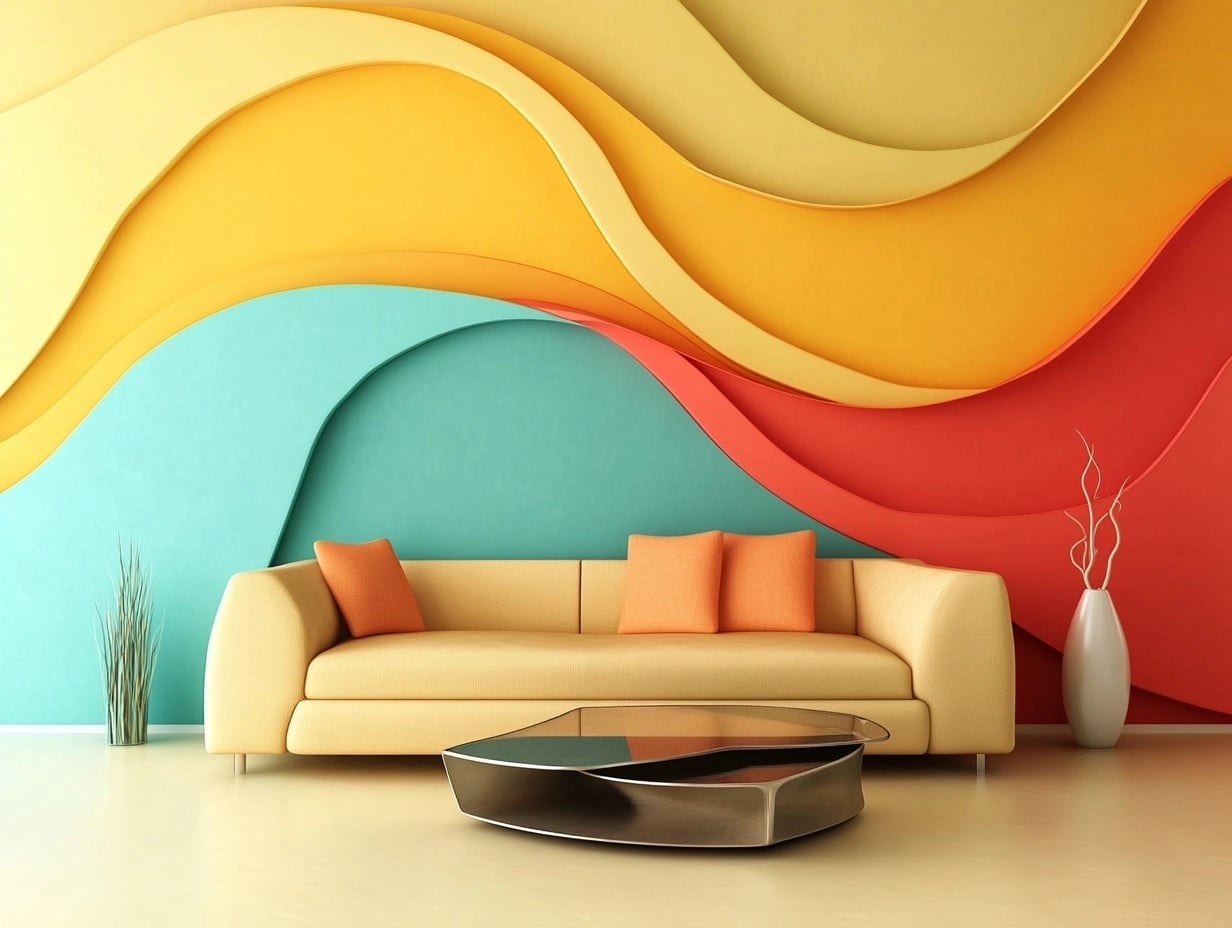
Abstract designs are where your creativity can run wild.
- Think curves, waves, or completely freeform shapes.
- Mix and match colors for a fun, artistic centerpiece.
This is great for a quirky touch in a living room or studio space.
8. Asymmetric Blocks
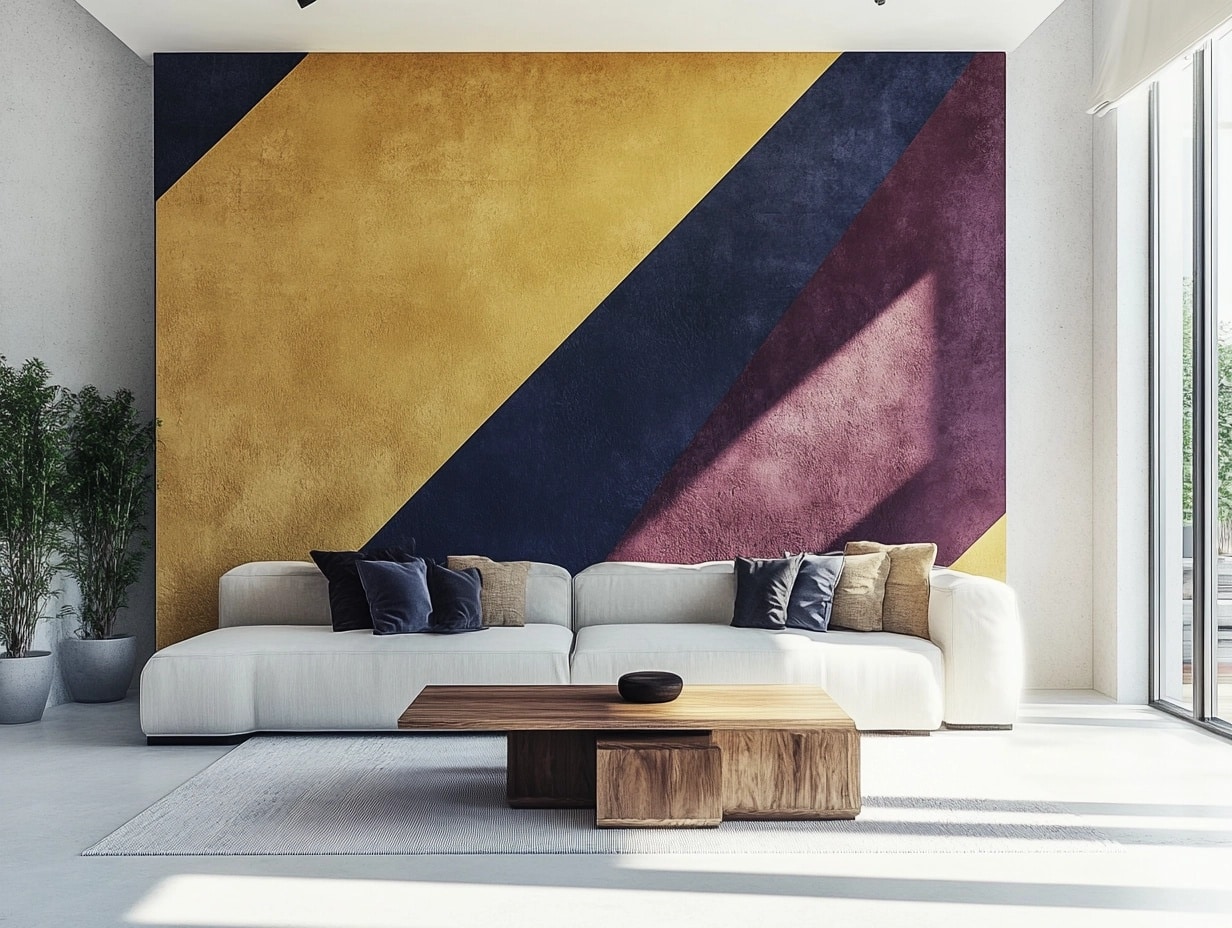
Forget symmetry! Asymmetric blocks create visual interest and a contemporary vibe.
- Use uneven blocks of contrasting colors for a bold look.
- Stick to neutral tones for a more understated, modern feel.
This works well on large walls in open-concept spaces.
9. Diagonal Color Splits
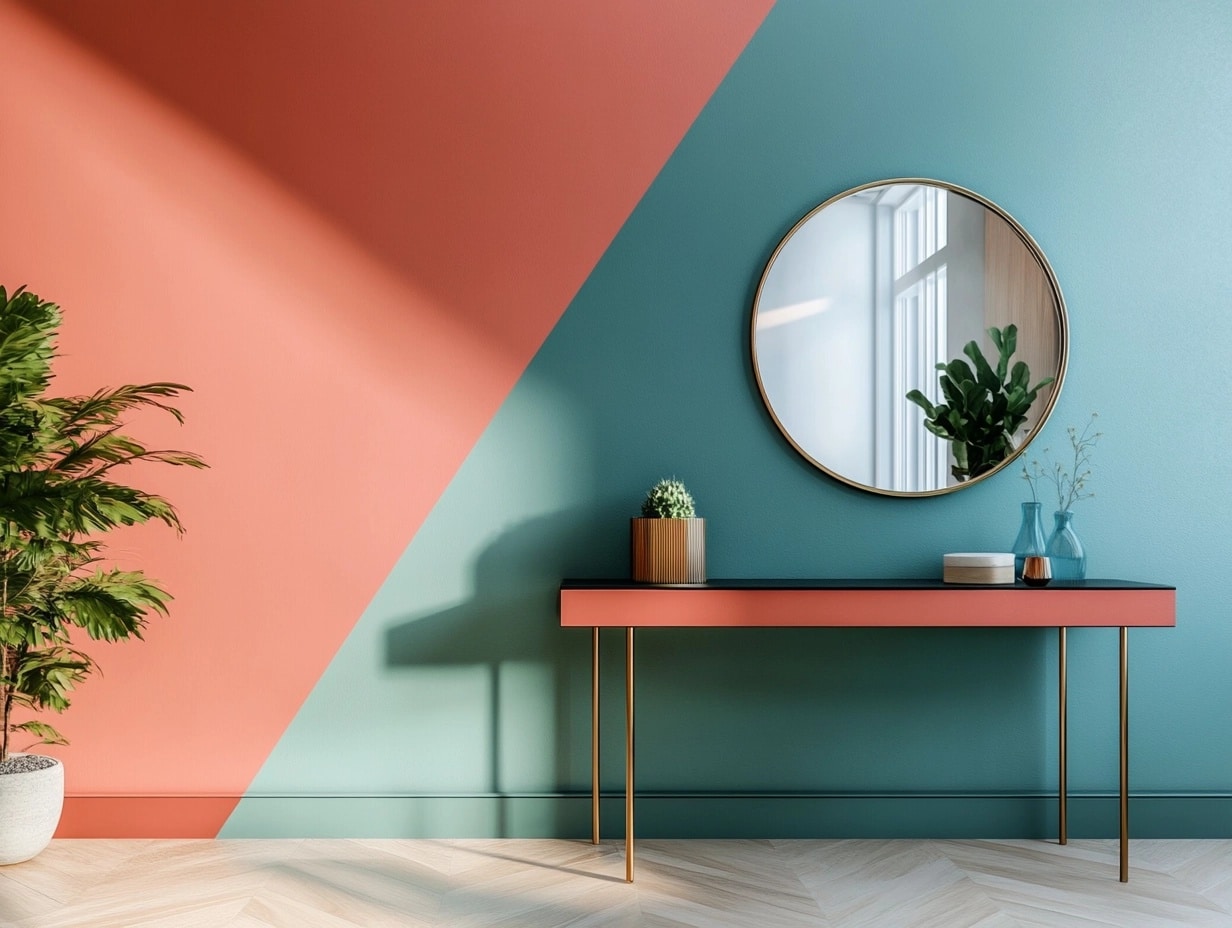
Diagonal splits are simple yet impactful.
- Use two bold colors, like teal and coral, to create a striking contrast.
- Add a metallic stripe at the divide for an extra touch of sophistication.
This style is perfect for entryways or feature walls.
10. Two-Tone Blocks
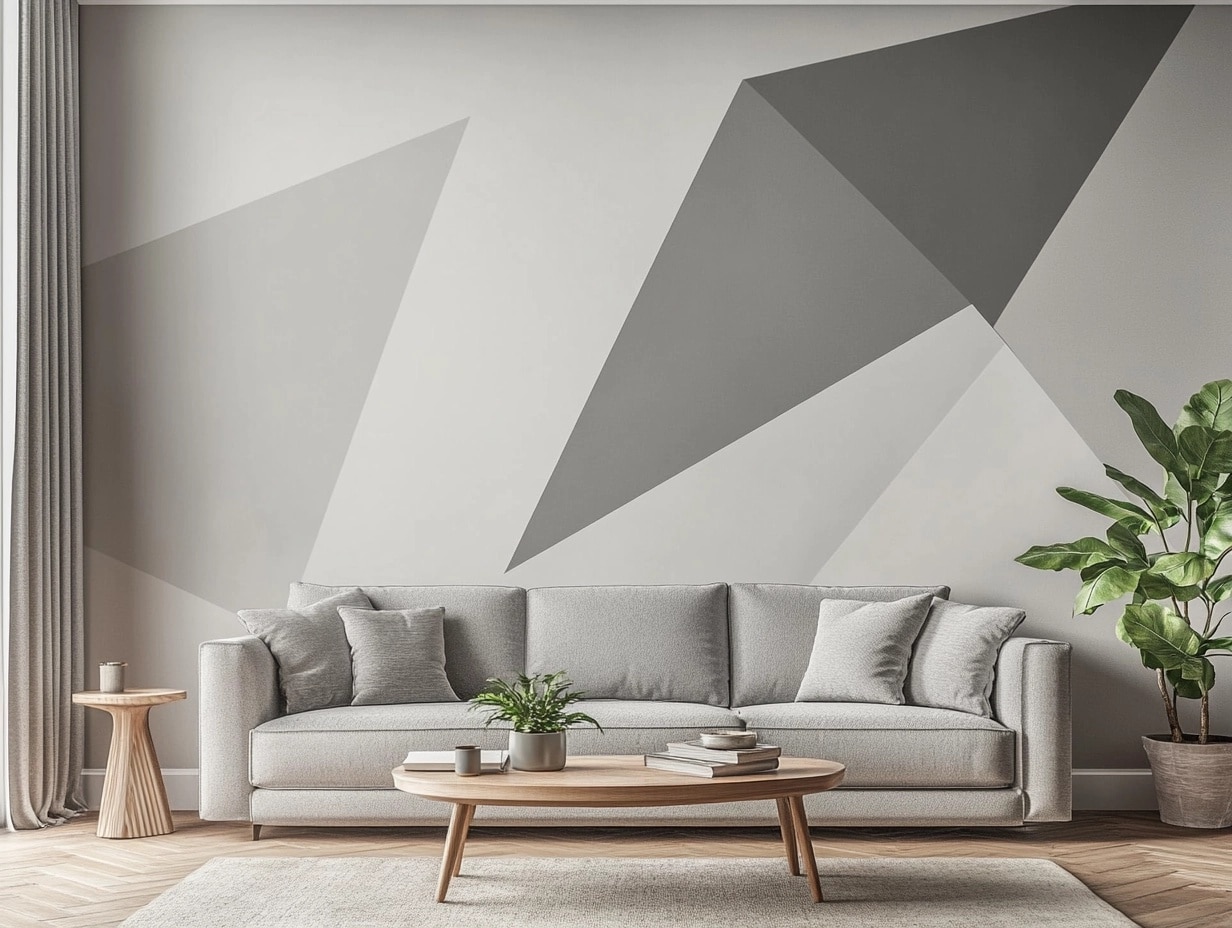
For a subtle yet refined effect, combine two shades of the same color.
- Pair light and dark gray, beige, or even green for a sophisticated look.
- This style is ideal for living rooms, offices, or formal spaces.
It adds depth without being overwhelming.
11. Multi-Color Grid
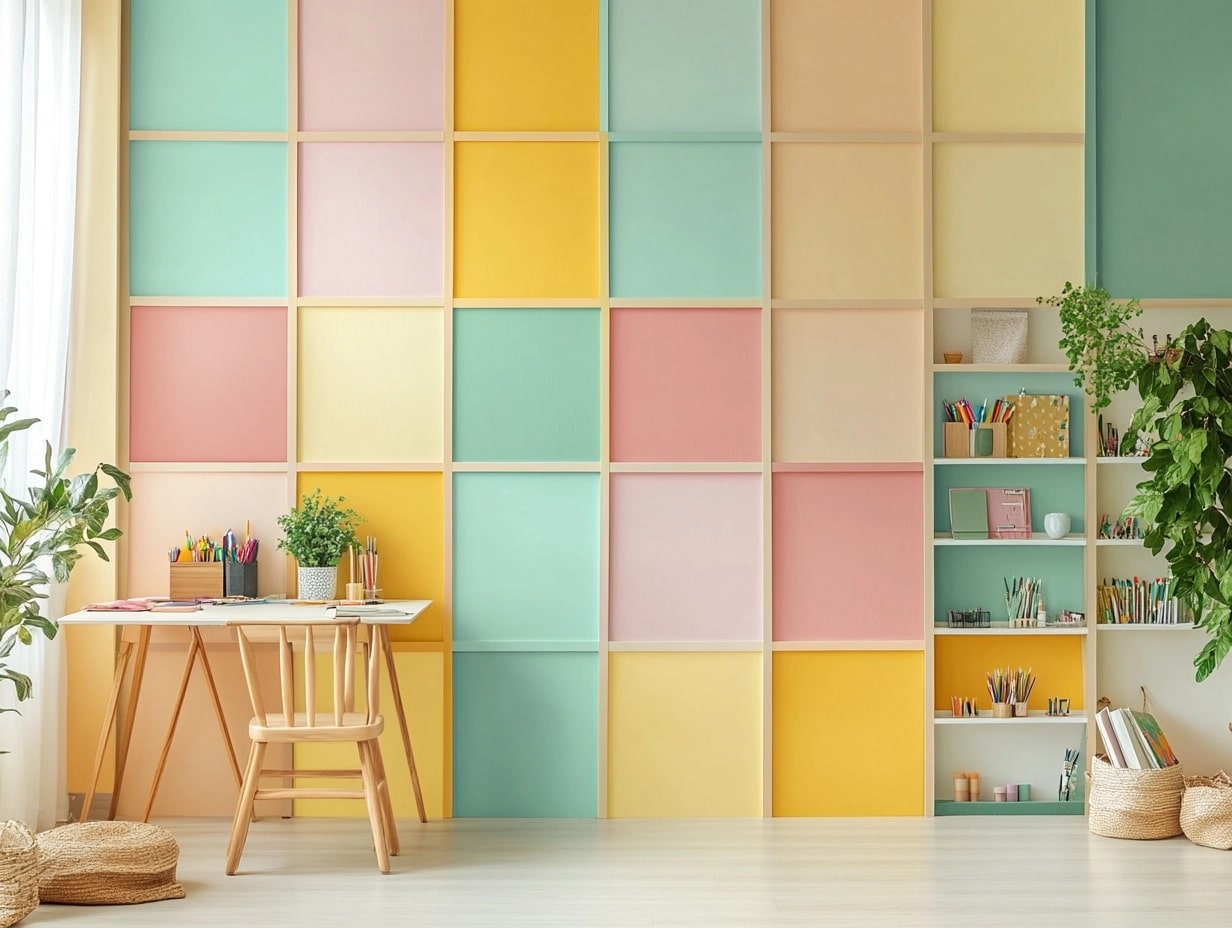
Divide the wall into a grid of squares or rectangles for a playful, organized design.
- Use a mix of vibrant colors for kids’ rooms or creative studios.
- Stick to muted tones for a modern, minimalist feel.
It’s versatile and can be tailored to any style or mood.
Tips and Techniques for Achieving a Professional Finish
Want to make your color block painting look like it was done by a pro?
Let me share the best tricks that I’ve learned from years of painting.
1. Avoid Streaks or Uneven Paint
- Use the right brush or roller. A foam roller works great for smooth surfaces.
- Apply thin, even layers instead of one thick coat.
- Let each layer dry completely before adding another.
Pro tip: Don’t overload your brush. Too much paint leads to streaks.
2. Use a Steady Hand for Precise Edges
- Tape off the edges carefully with painter’s tape.
- Use a small, angled brush for details and corners.
- Take your time—rushing leads to mistakes.
3. Blend Colors Smoothly
If your design calls for blending or gradients:
- Work while the paint is still wet for smoother transitions.
- Use a dry brush to mix colors where they meet gently.
- Practice blending on a scrap surface before starting on the wall.
Pro tip: Keep a damp cloth handy to fix small blending mishaps.
Final Thoughts
Now, you have all the tools and knowledge to create beautiful color block designs.
The steps are simple: clean your surface, plan your design, tape carefully, and paint with patience.
What’s next for you?
Maybe a bold statement wall in your living room. Or a simple canvas piece for your office.
Whatever you choose, remember that each project makes you better.
Want to keep learning? Try these next steps:
- Save paint swatches you like
- Take photos of color combinations that catch your eye
- Practice on small canvases first
Most importantly, have fun with it.
Your home should reflect your style, and color block painting gives you an easy way to make that happen.
Go ahead – pick up that brush and make something beautiful!
Frequently Asked Questions
Can I Use Color Block Painting on Furniture?
Yes! Color blocking can transform furniture like dressers, tables, and cabinets.
To ensure durability, use high-quality paint and seal it with a protective finish.
What’s the Best Type of Paint for Color Block Designs?
Matte, glossy, and satin paint all work well.
Choose based on the look you want. Matte gives a modern feel, while glossy adds shine.
Satin is a good middle ground.
How do I Fix Uneven Edges after Removing the Painter’s Tape?
Use a small, angled brush and the original paint color to touch up the edges.
Go slowly and carefully for clean results.
Can I Try Color Blocking if I’m Not Artistic?
Absolutely!
Color blocking is beginner-friendly.
Start with simple shapes like stripes or squares, and use painter’s tape to guide your lines.
How do I Protect my Walls from Fading?
Keep walls out of direct sunlight, dust them regularly, and consider applying a protective topcoat to maintain vibrancy over time.

