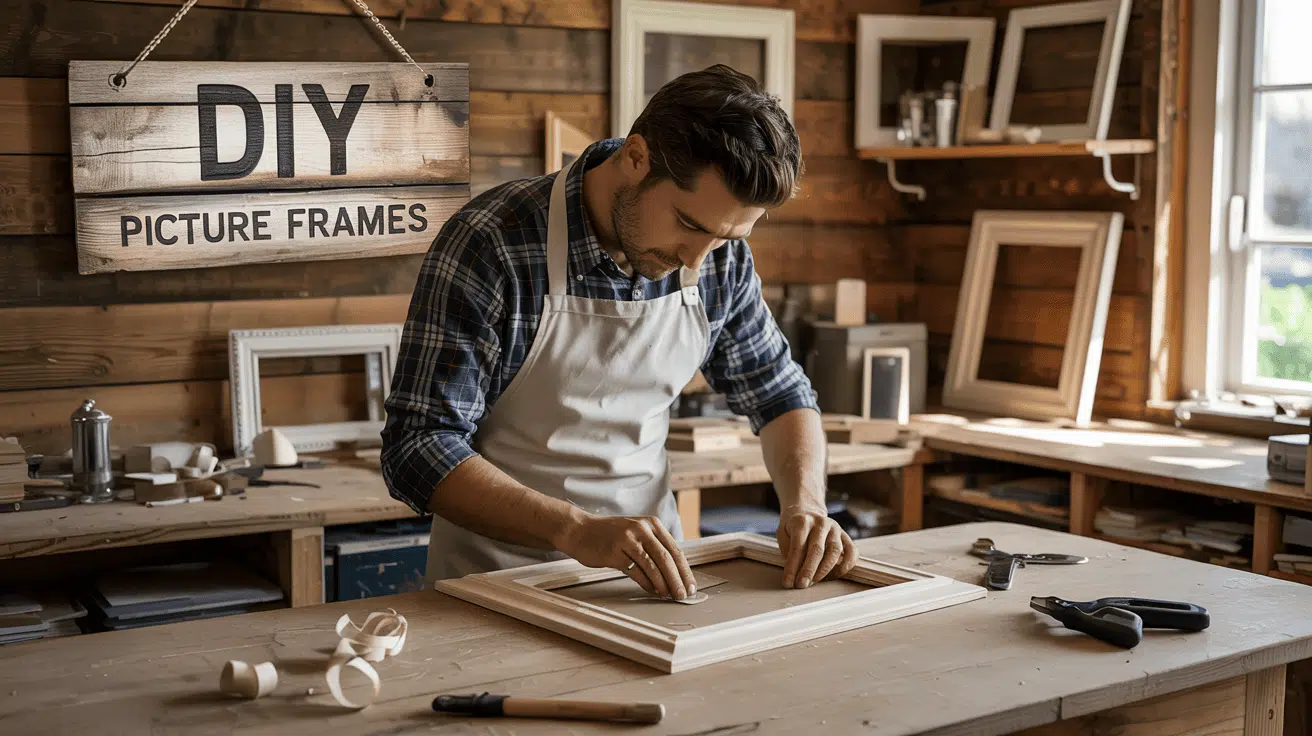
Have you ever walked into a room and spotted that annoying hole in your wall?
I know I have! Whether caused by a doorknob slamming too hard or a failed attempt to hang a picture, holes in our walls are super common problems.
In my experience, these pesky wall injuries can make any room look messy and unfinished.
But don’t worry! I’m going to show you some easy ways to fix them. You don’t need to be a pro to make your walls look good again. With a few simple tools and a little bit of patience, we can tackle this together.
Ready to turn that eyesore into a smooth, perfect wall again? Let’s get started!
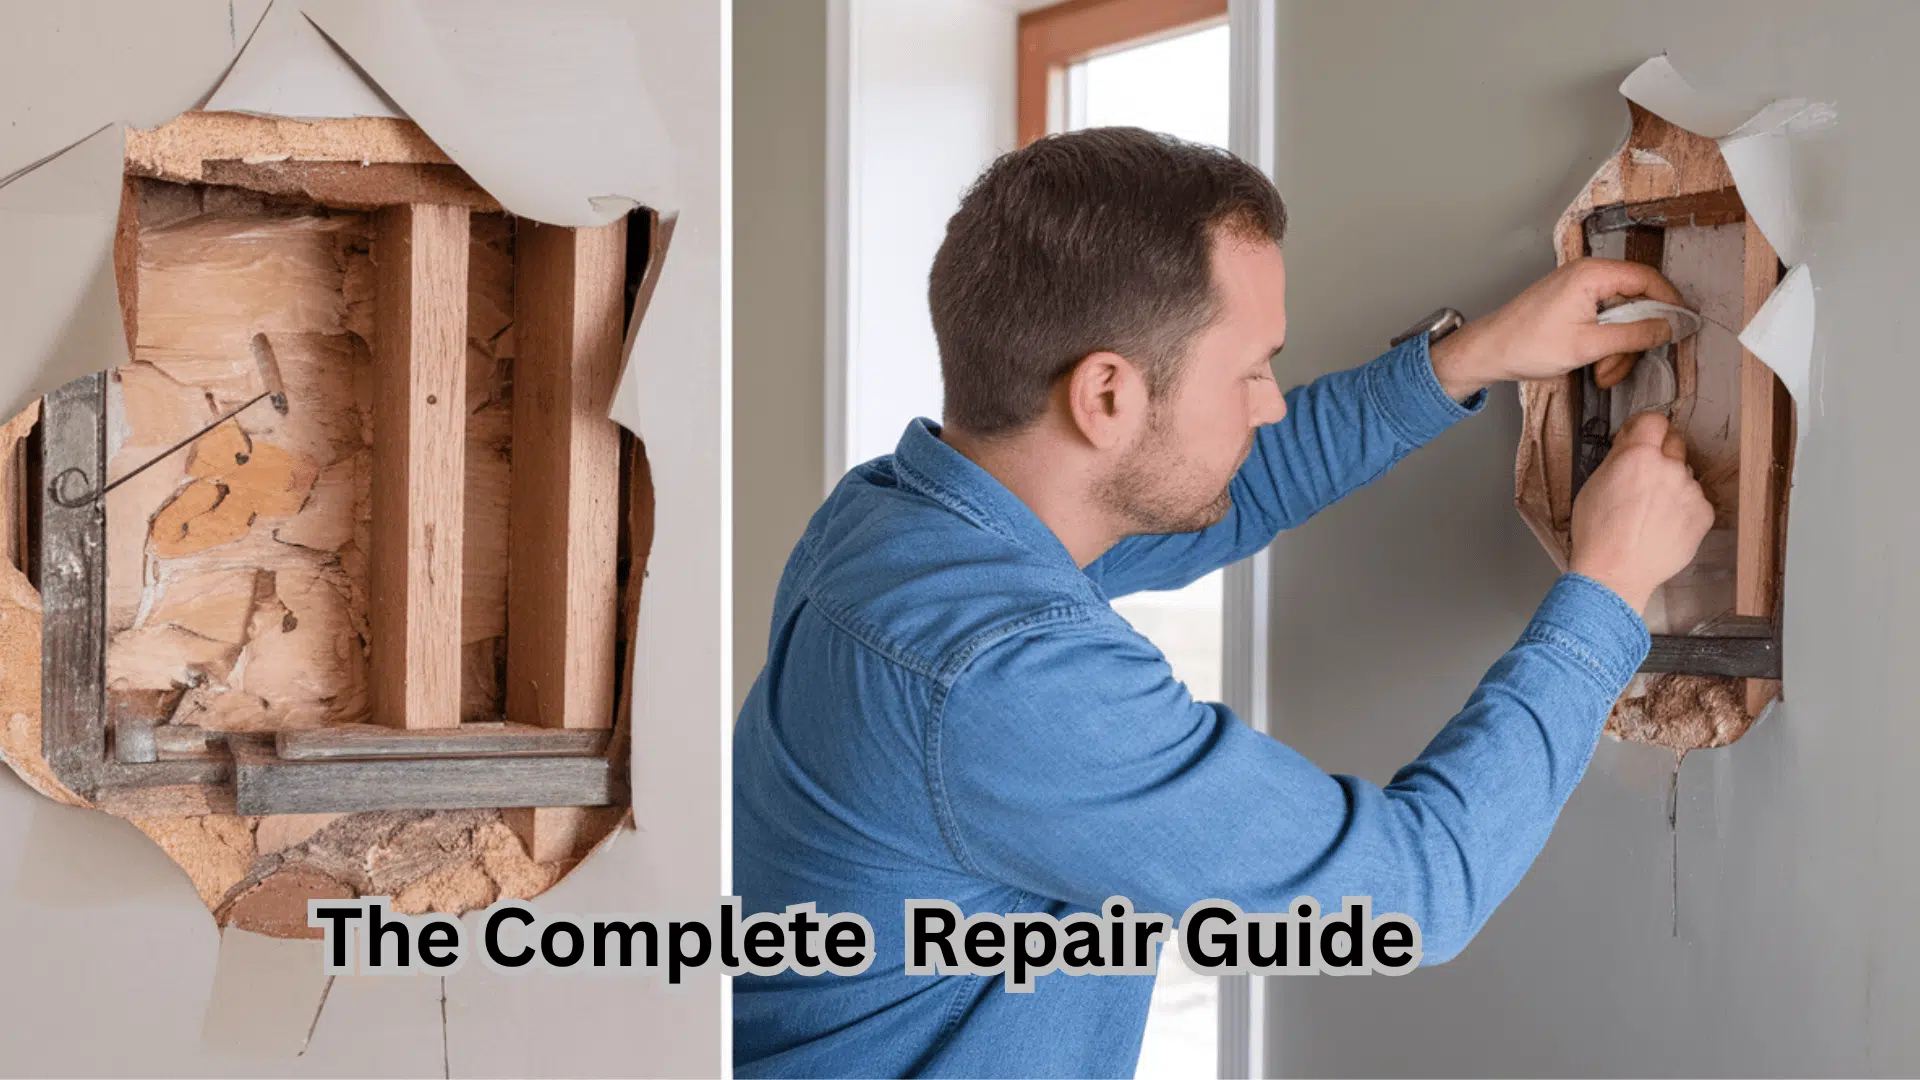
Understanding Wall Damage Types
Wall holes are openings or punctures in drywall caused by impacts, hardware installation, or structural movement. Proper hole-type identification is essential for selecting the right repair approach.
Small Holes:
- Easily patched with spackling compound or putty. Common from picture hanging nails, screws, and thumbtacks.
- Apply with a putty knife, let dry completely, then sand smooth before painting.
Medium-Sized Holes:
These require adhesive mesh patches for proper support. They typically result from TV mounts, shelving brackets, and wall anchors.
Apply mesh and cover with joint compound in thin layers, allowing drying time between coats.
Large Holes:
These usually result from doorknob impacts or furniture damage and require drywall replacement or patching kits.
To fix them, cut the damaged section into a clean square, install backing supports, attach the new drywall piece, and finish with joint compound.
Cracks:
- If they widen over time, they may indicate normal house settling or potential structural issues. Hairline cracks can be filled with elastic crack filler.
- V-shaped or widening cracks warrant professional inspection.
Popped Nail Heads:
- Result from lumber drying and house settling, pushing fasteners outward.
- Remove or recess the nail, drive a drywall screw nearby for better support, patch over with compound, and sand when dry.
Assessing Your Wall Before Repair
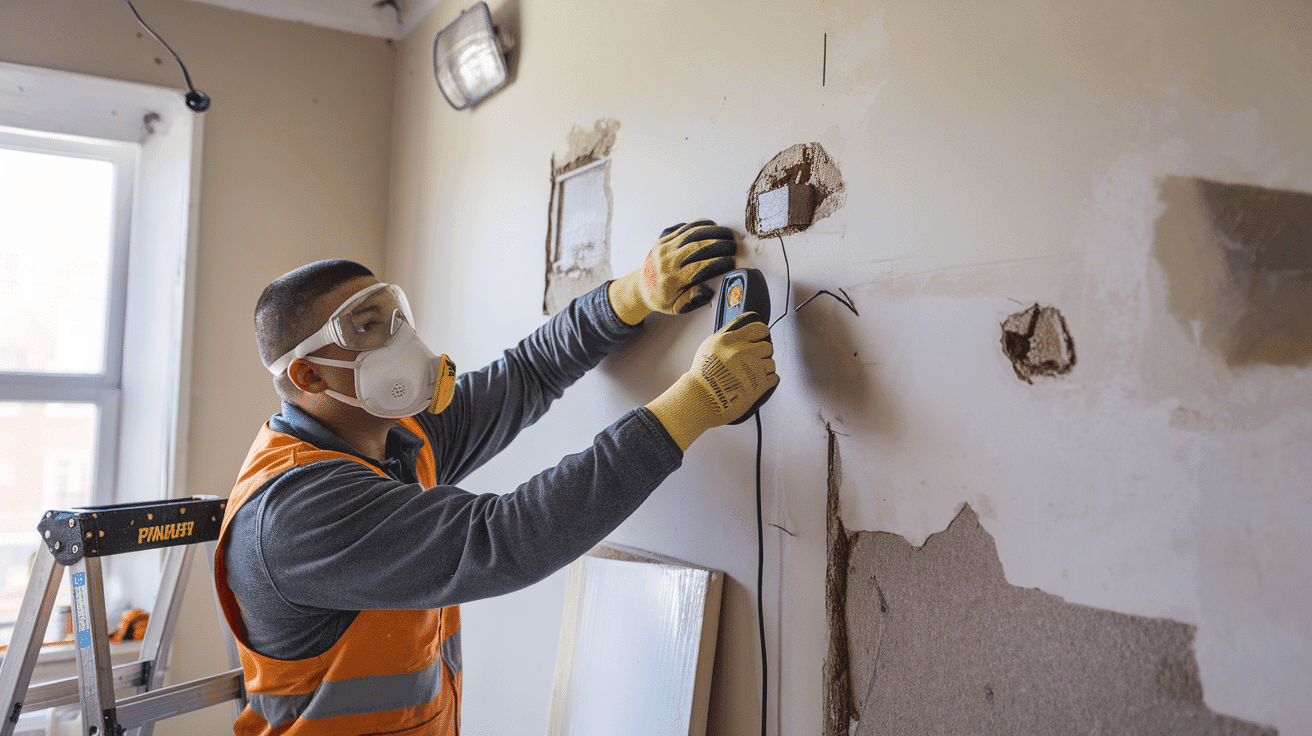
Before beginning any wall repair, carefully evaluate the severity of the damage to select the appropriate method. Use a stud finder to locate hidden wiring, pipes, and structural elements to avoid costly mistakes.
Always prioritize safety by wearing protective gear, ensuring proper ventilation, and turning off electricity when working near potential wiring.
These precautions prevent further damage and ensure successful, long-lasting repairs. For larger holes, check if structural reinforcement is needed, while smaller damage may only require simple patching compounds and minimal tools.
Consider the wall’s texture and finish to achieve a seamless blend with the existing surface. Before starting, document the damage with photos for insurance purposes and to track the repair progress.
Creative Ways to Cover Wall Holes
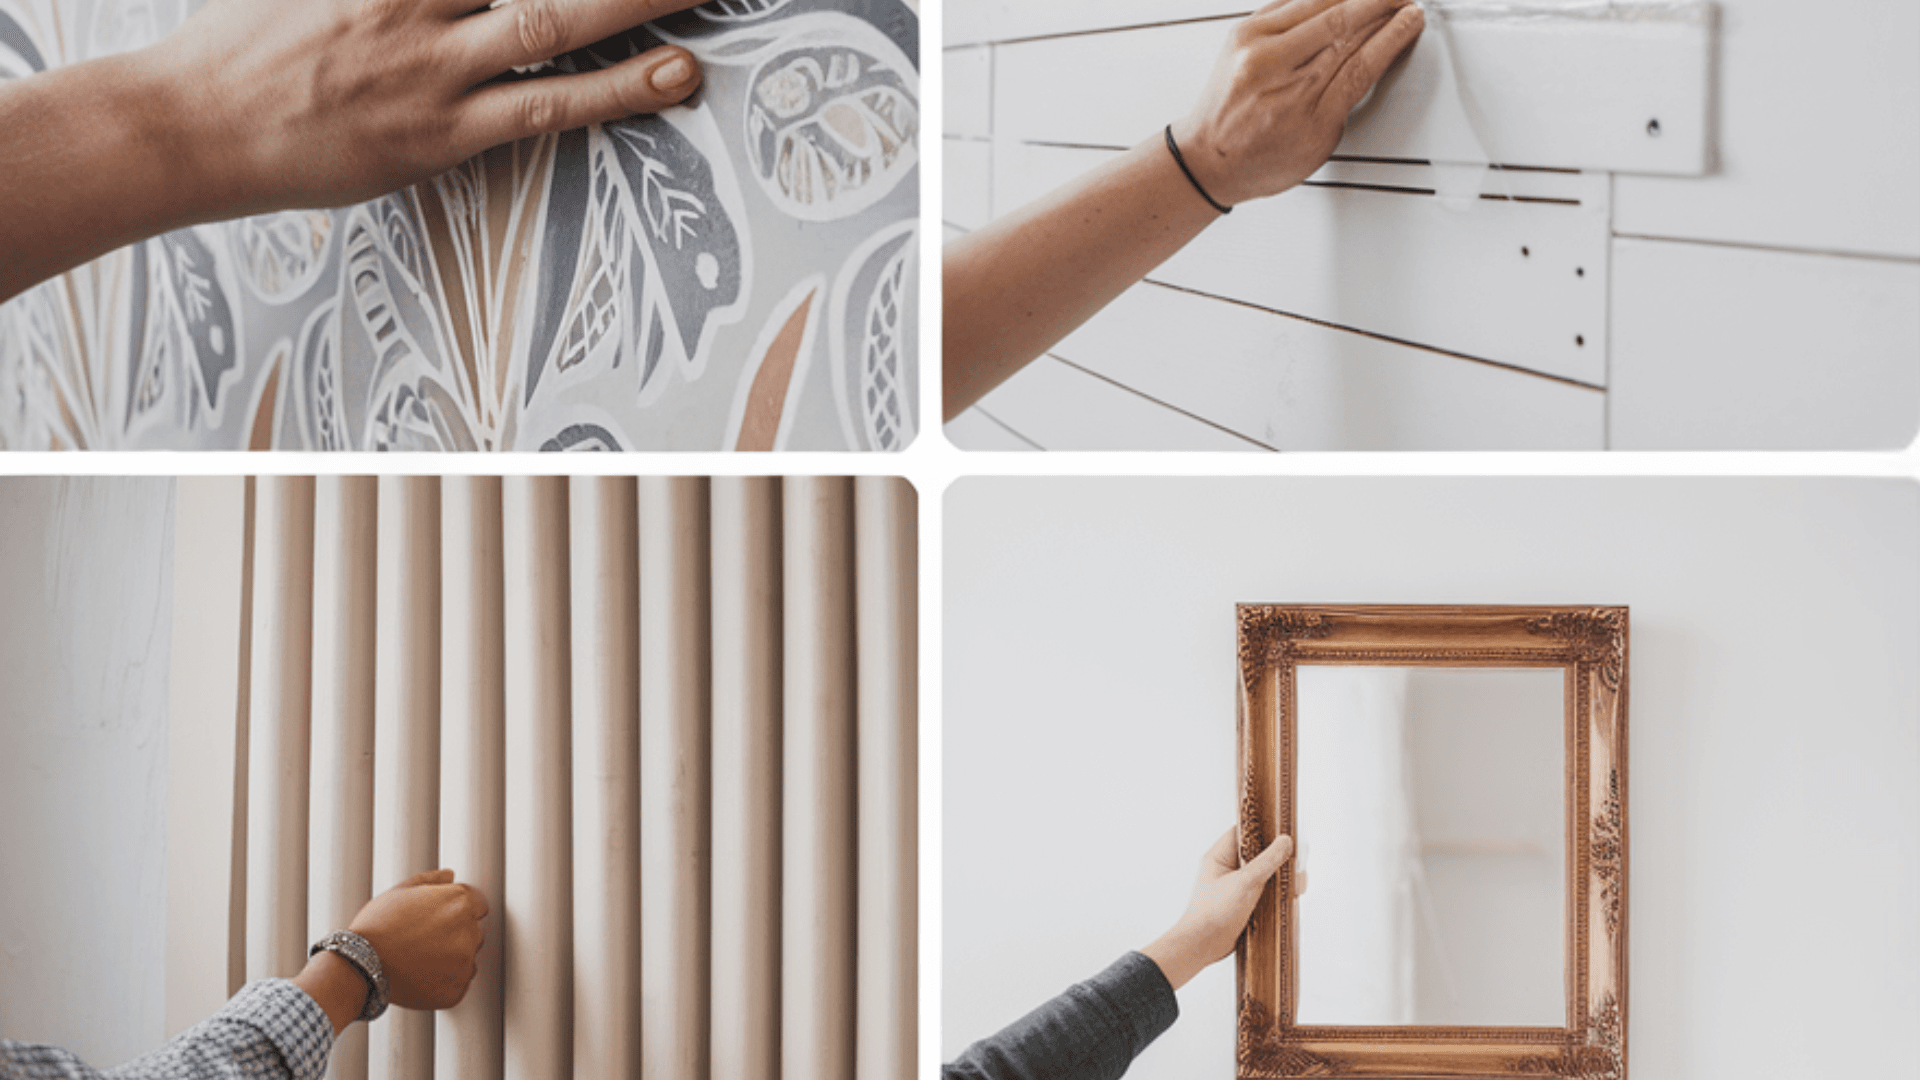
Strategically hang decorative artwork, mirrors, or tapestries directly over damaged areas to instantly hide imperfections while adding style. Install wall panels like shiplap, beadboard, or textured wallpaper to cover larger damaged sections and create an intentional design feature.
1. Using Wallpaper to Hide Imperfections
Textured and patterned wallpapers effectively mask wall damage by drawing attention away from surface irregularities. Busy patterns with dark colors are particularly effective at concealing imperfections.
For renters, removable peel-and-stick options from brands like Tempaper and Spoonflower offer damage-free application and removal. When applying over damaged areas, ensure the surface is as clean and smooth as possible, using liner paper underneath for severely uneven surfaces.
2. Paintable Wall Panels as Stylish Covers
Decorative wall panels offer both style and practicality for covering damaged walls. Options include fluted panels for vertical texture, classic shiplap for coastal charm, and traditional wainscoting for timeless grace.
Most panels attach directly to existing drywall with construction adhesive and finishing nails, concealing imperfections underneath.
Once installed, customize with paint to match your décor scheme or create a dramatic contrast with bold color choices.
3. Wood Slat Panels for Modern Appeal
Wood-slat walls create a natural, textured focal point while effectively hiding wall damage. DIY options involve mounting individual wooden strips to furring strips, while pre-made panels offer quicker installation with a similar visual impact.
This treatment draws inspiration from Scandinavian minimalism and mid-century modern design, bringing warmth and structural interest to any space while concealing underlying wall problems.
4. Upholstered Wall Panels for a Luxurious Look
Fabric-covered panels deliver a luxurious aesthetic while offering soundproofing benefits. Select medium to heavy-weight fabrics with texture or pattern for greater visual interest and durability.
Layer over foam of varying thickness depending on desired plushness. These panels work beautifully in bedrooms as headboard alternatives, in home offices for sound absorption, and in media rooms to enhance acoustics while hiding wall damage.
5. Using Decorative Art and Mirrors
The strategic placement of artwork and mirrors draws attention away from wall flaws. Position larger pieces directly over damaged areas, or create gallery walls with multiple smaller pieces to cover scattered imperfections.
When hanging heavier items, use appropriate anchors that penetrate beyond damaged drywall sections. Mirrors serve double duty by concealing damage while visually expanding the space and increasing light reflection.
Traditional Drywall Repair Methods
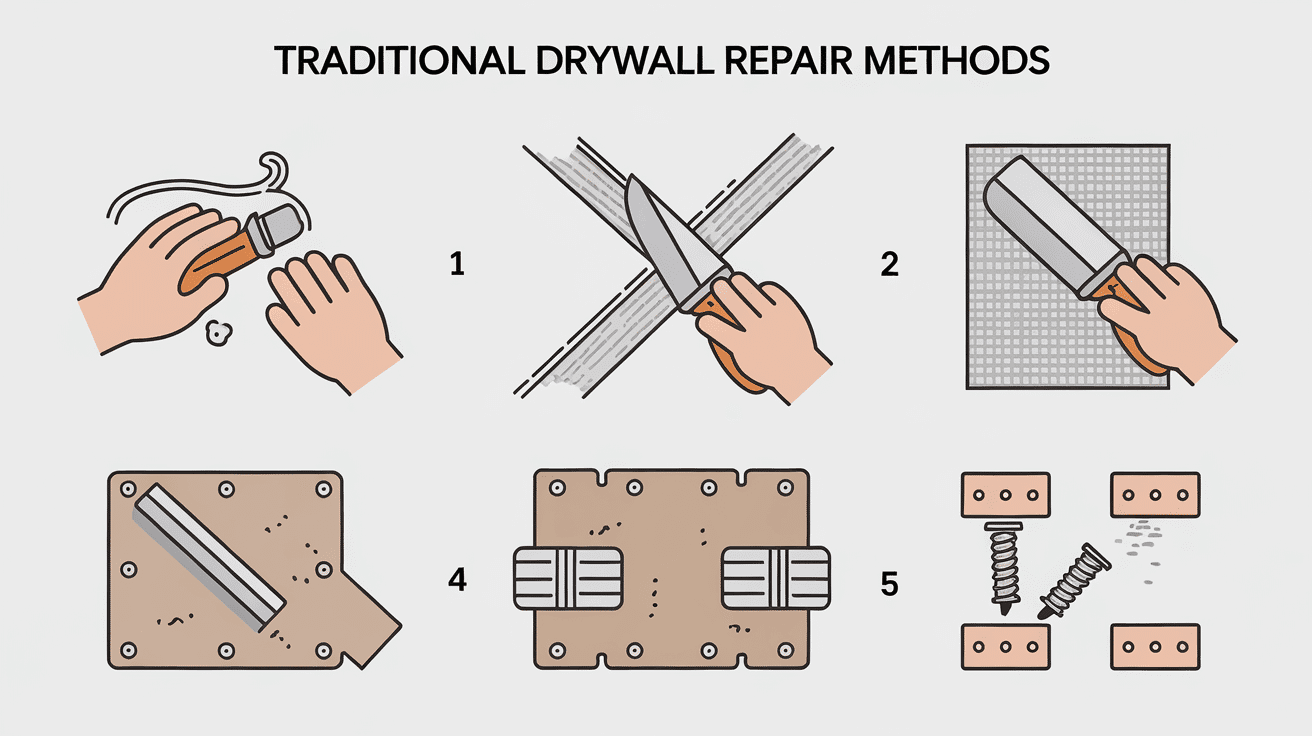
Traditional drywall repair methods are conventional techniques used for fixing damaged gypsum board surfaces without specialized modern tools or materials. They represent time-tested approaches that rely on basic hand tools and standard materials available since drywall became a common building material.
1. Fixing Small Nail Holes and Dents
Small wall imperfections are the easiest to repair with minimal tools and materials. Use lightweight spackle for these quick fixes – it dries faster than joint compound and requires less sanding.
Apply with a small putty knife, pressing firmly to fill the hole. Once dry (typically 1-2 hours), sand lightly with 220-grit sandpaper until smooth and flush with the wall surface.
For the most seamless finish, use a primer before applying touch-up paint, feathering the edges to blend with the existing wall color.
Tools and materials needed: Lightweight spackle, small putty knife, fine-grit sandpaper, primer, paint, and small brush or roller.
2. Repairing Wall Cracks
Wall cracks require proper preparation to prevent their reappearance. First, use a utility knife to slightly widen the crack into a V-shape, removing loose material.
For hairline cracks, apply self-adhesive fiberglass mesh tape directly over the prepared crack. For wider cracks (over 1/8 inch), use paper joint tape embedded in a thin layer of joint compound.
Apply three coats of joint compound, each slightly wider than the previous, allowing complete drying between coats. Sand progressively with 120, 150, and 220-grit sandpaper for a smooth, undetectable repair.
3. Patching Medium-Sized Holes
Medium holes (1-6 inches) are best repaired using adhesive-backed mesh patches. Clean the damaged area, removing loose material.
Cut the mesh patch slightly larger than the hole and press it firmly over the opening. Using a 6-inch drywall knife, apply joint compound over the patch in thin layers. Extend each layer beyond the previous one, feathering the edges.
Apply three coats, allowing each to dry completely before adding the next. Sand between coats and finish with 220-grit sandpaper for a smooth surface. Prime before painting to ensure proper adhesion and color matching.
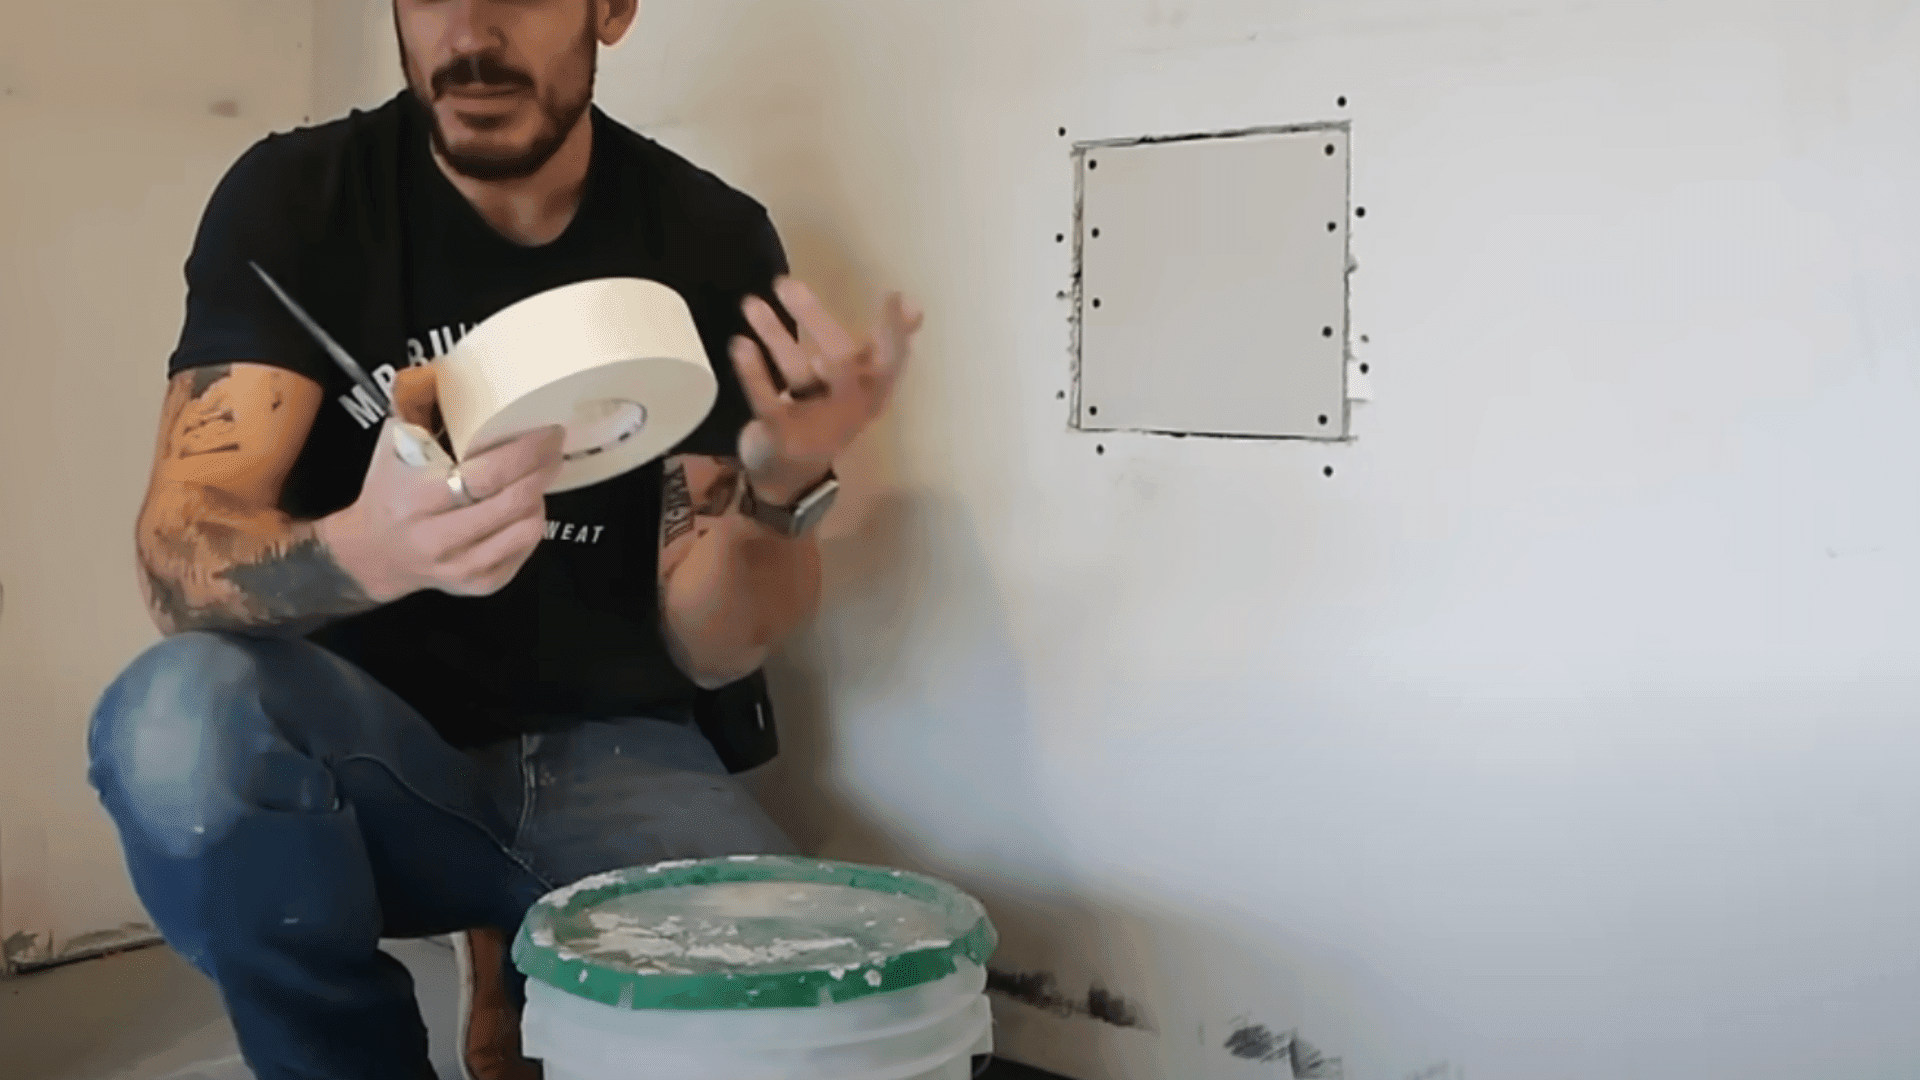
4. Fixing Large Drywall Holes
Large holes require replacing the damaged drywall section. Using a drywall saw, begin by cutting a clean, square, or rectangular shape around the injured area.
Install wood backing (1×3 furring strips) inside the wall cavity, securing them through the existing drywall with drywall screws. Cut a new piece of drywall to fit the opening precisely.
Secure it to the wood backing with drywall screws, countersinking them slightly. Apply paper joint tape and joint compound to all seams, building up three increasingly wide layers. Sand between coats and finish with fine-grit sandpaper, then prime and paint.
5. Dealing with Popped Nail Heads
Nail pops occur when lumber shrinks as it dries or the house settles, causing nails to pull away from the framing. To fix, drive a drywall screw about 1-2 inches above or below the popped nail (into the stud) to secure the drywall.
Remove or recess the popped nail using a nail set. Apply spackle or joint compound over both the nail and screw, building slightly above the surface.
When dry, sand smooth with fine-grit sandpaper. For long-term stability, always use screws instead of nails when installing drywall, as they have superior holding power and resist popping.
Step By Step Guide To Fixing a Dry Wall
This is a step-by-step guide on how to repair a hole in drywall, ensuring a seamless and professional-looking finish.
It covers everything from preparing the damaged area to securing the patch, applying joint compound, adding texture, and painting for a flawless result.
Step 1: Prepare the Damaged Area
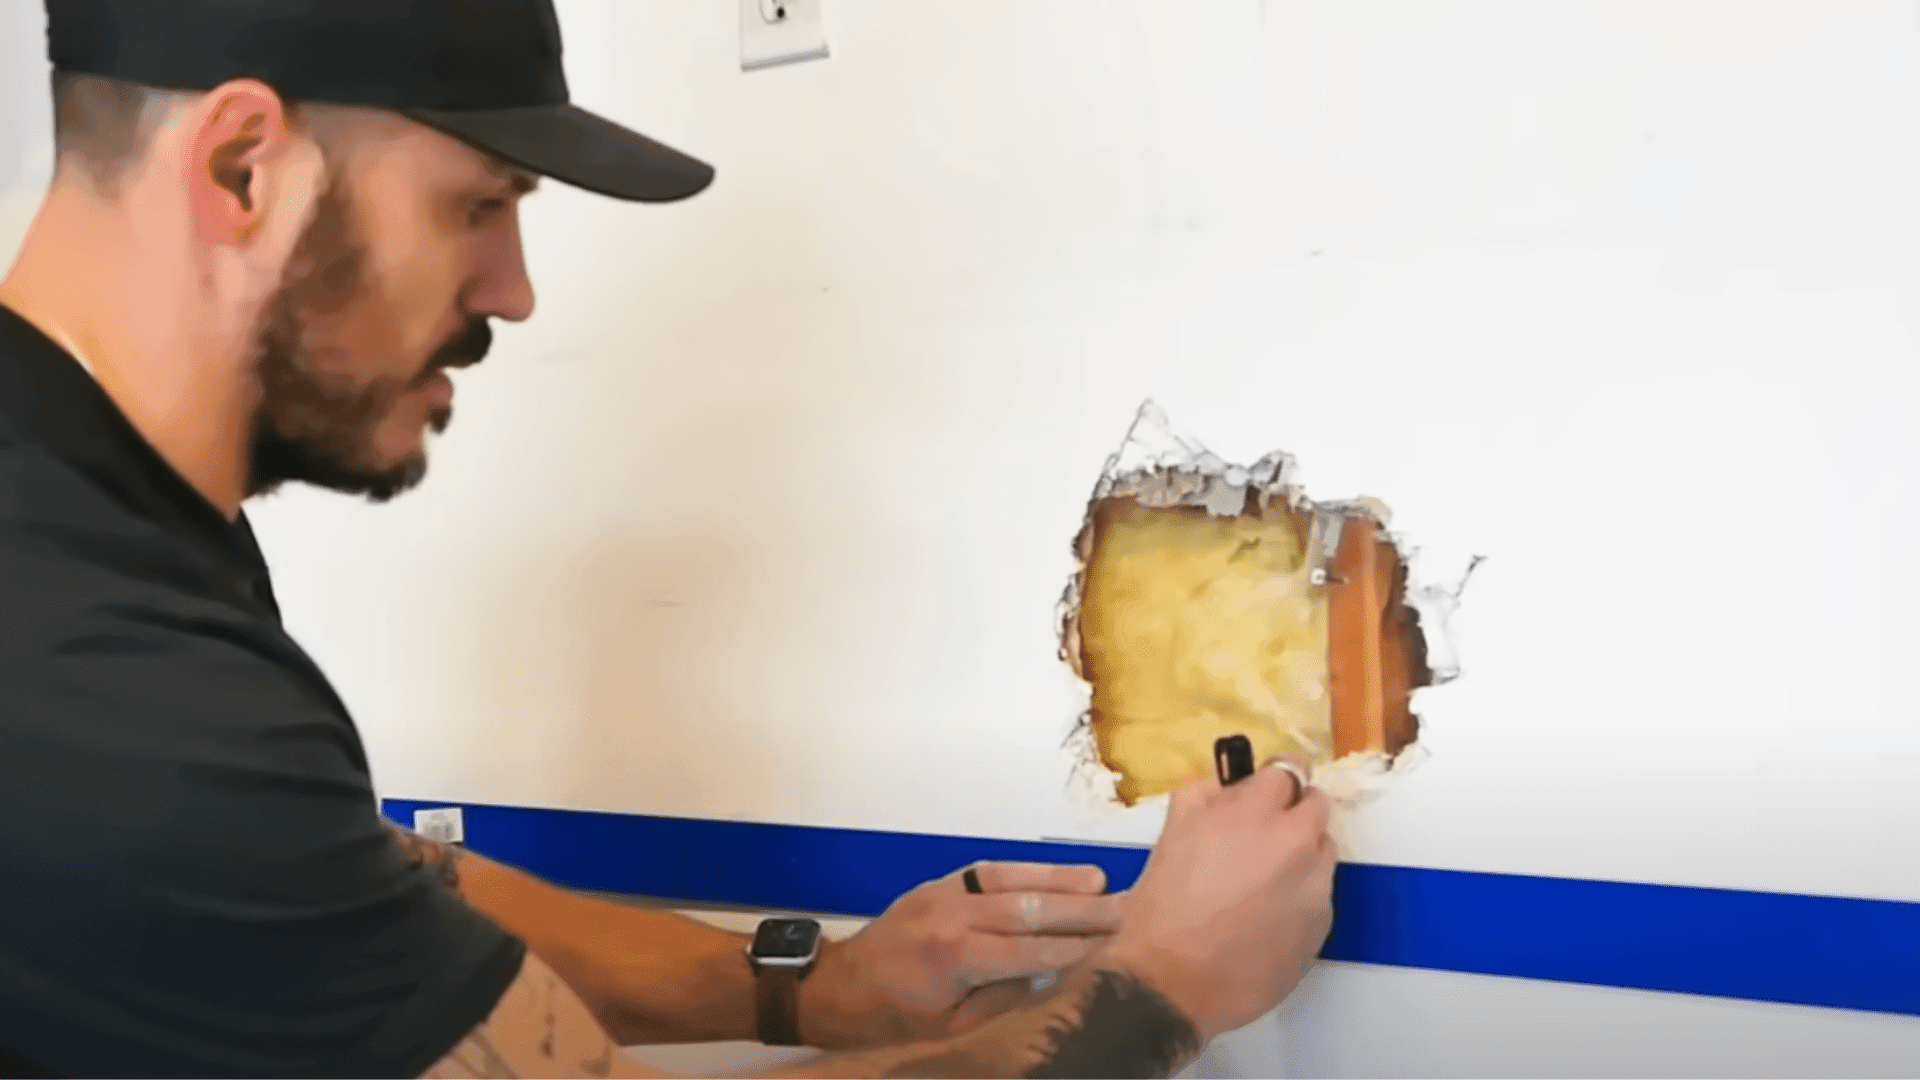
Start by cleaning and shaping the hole into a neat square or rectangle using a drywall knife. This ensures a better fit for the replacement piece. Remove any loose debris and dust from the edges to create a smooth surface for the patch to adhere to properly.
Step 2: Cut and Fit the Drywall Patch
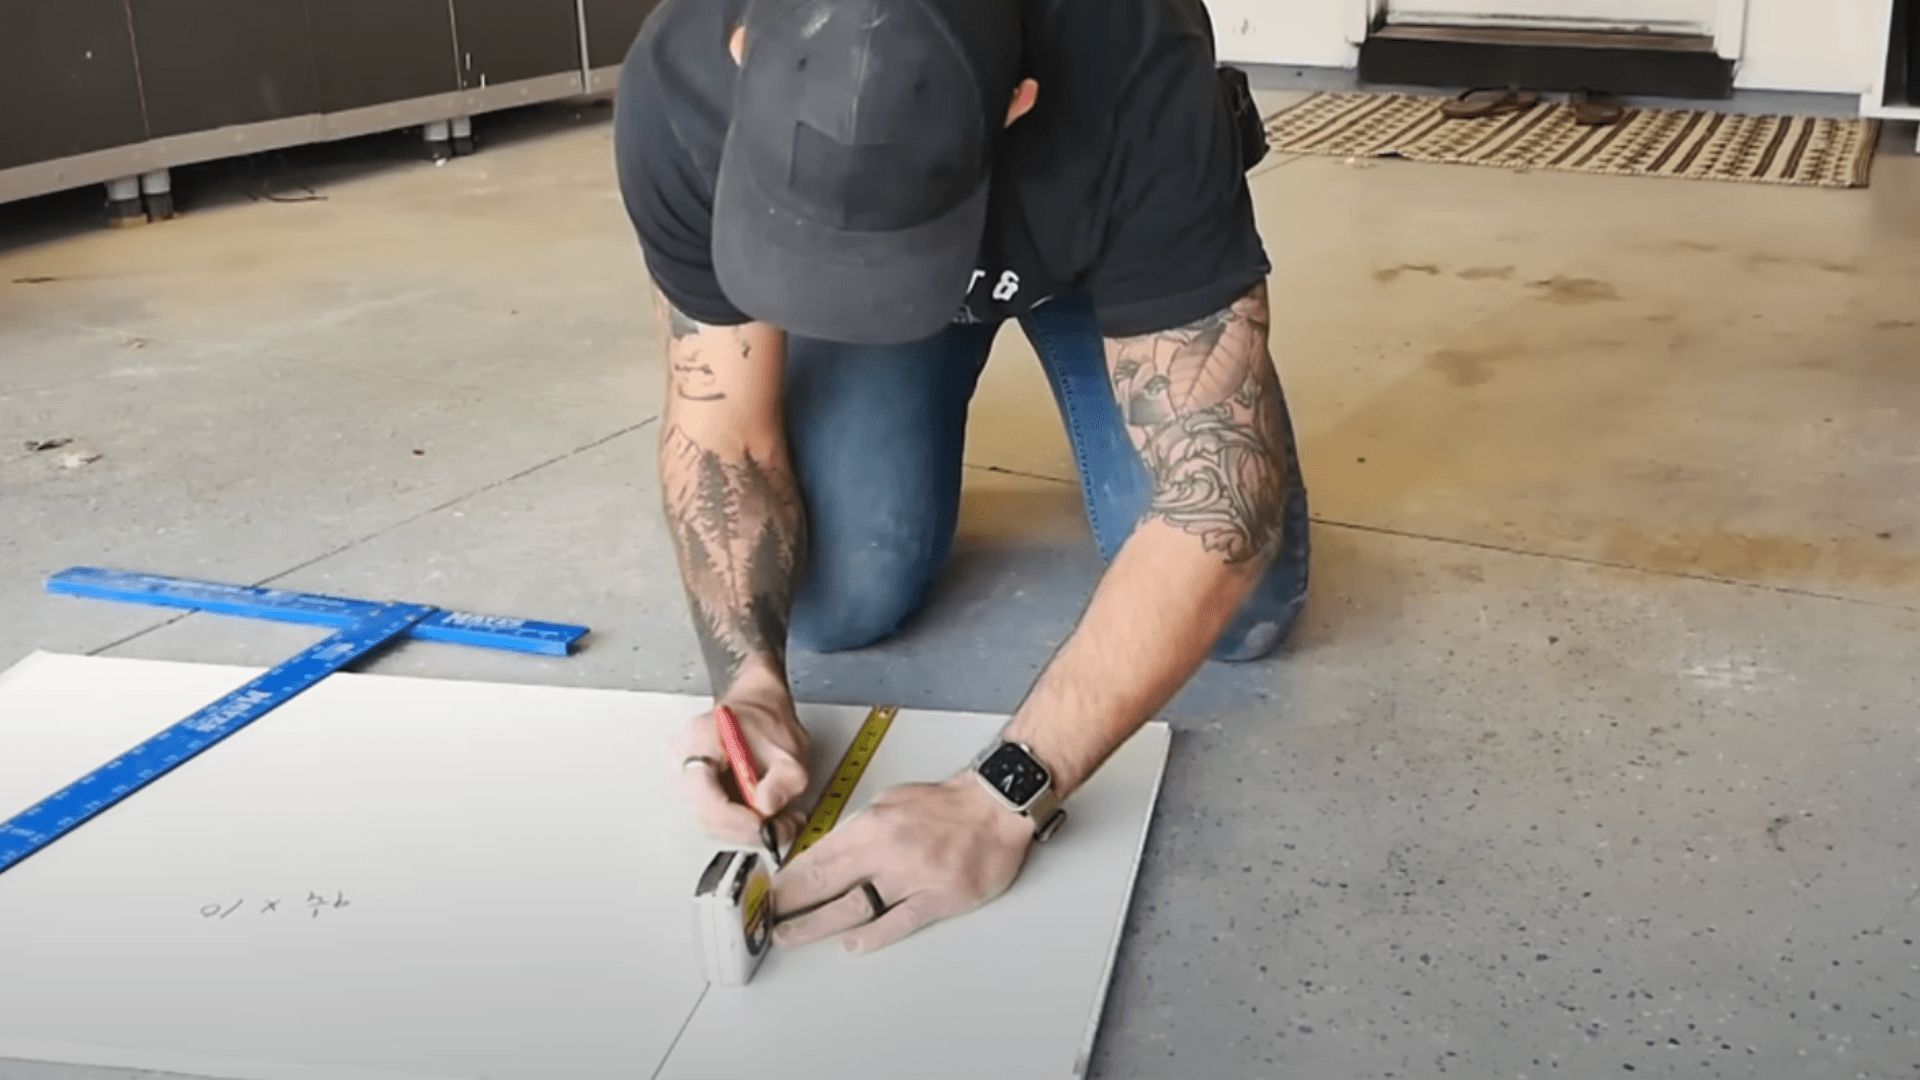
Measure the hole and cut a matching drywall piece using a straight edge and utility knife. Snap the drywall along the scored line for a clean break. Test the patch to ensure a snug fit before securing it with reinforcement pieces behind the hole for added stability.
Step 3: Secure the Patch in Place
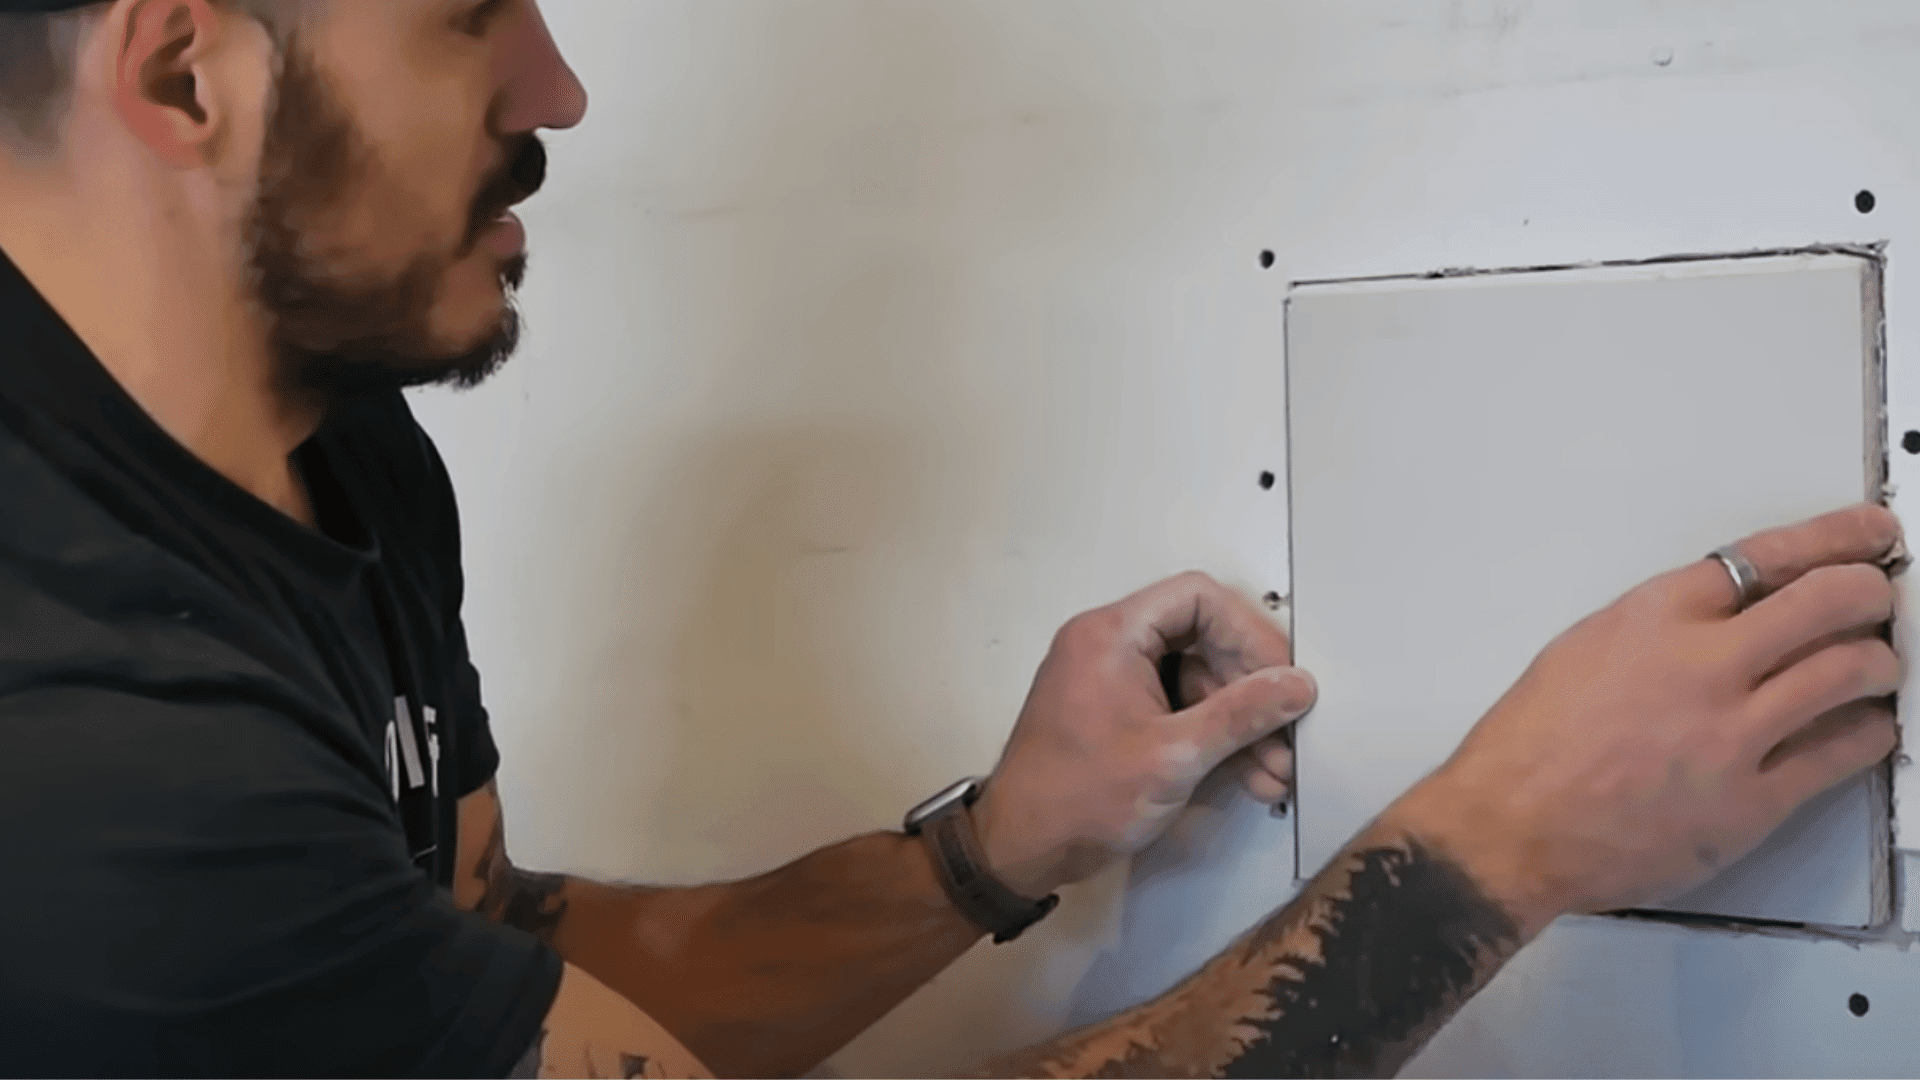
Attach support pieces inside the hole using screws, then place the drywall patch over them. Secure the patch with additional screws, ensuring they are slightly recessed. This prevents bumps when applying joint compound and allows for a smoother blending process.
Step 4: Apply Joint Compound and Tape
Spread a thin layer of joint compound over the seams, then press drywall tape into it to reinforce the joints. Smooth out excess compound with a putty knife. Apply a second, wider layer of joint compound, blending it into the surrounding wall. Allow it to dry completely.
Step 5: Texture and Paint for a Seamless Finish
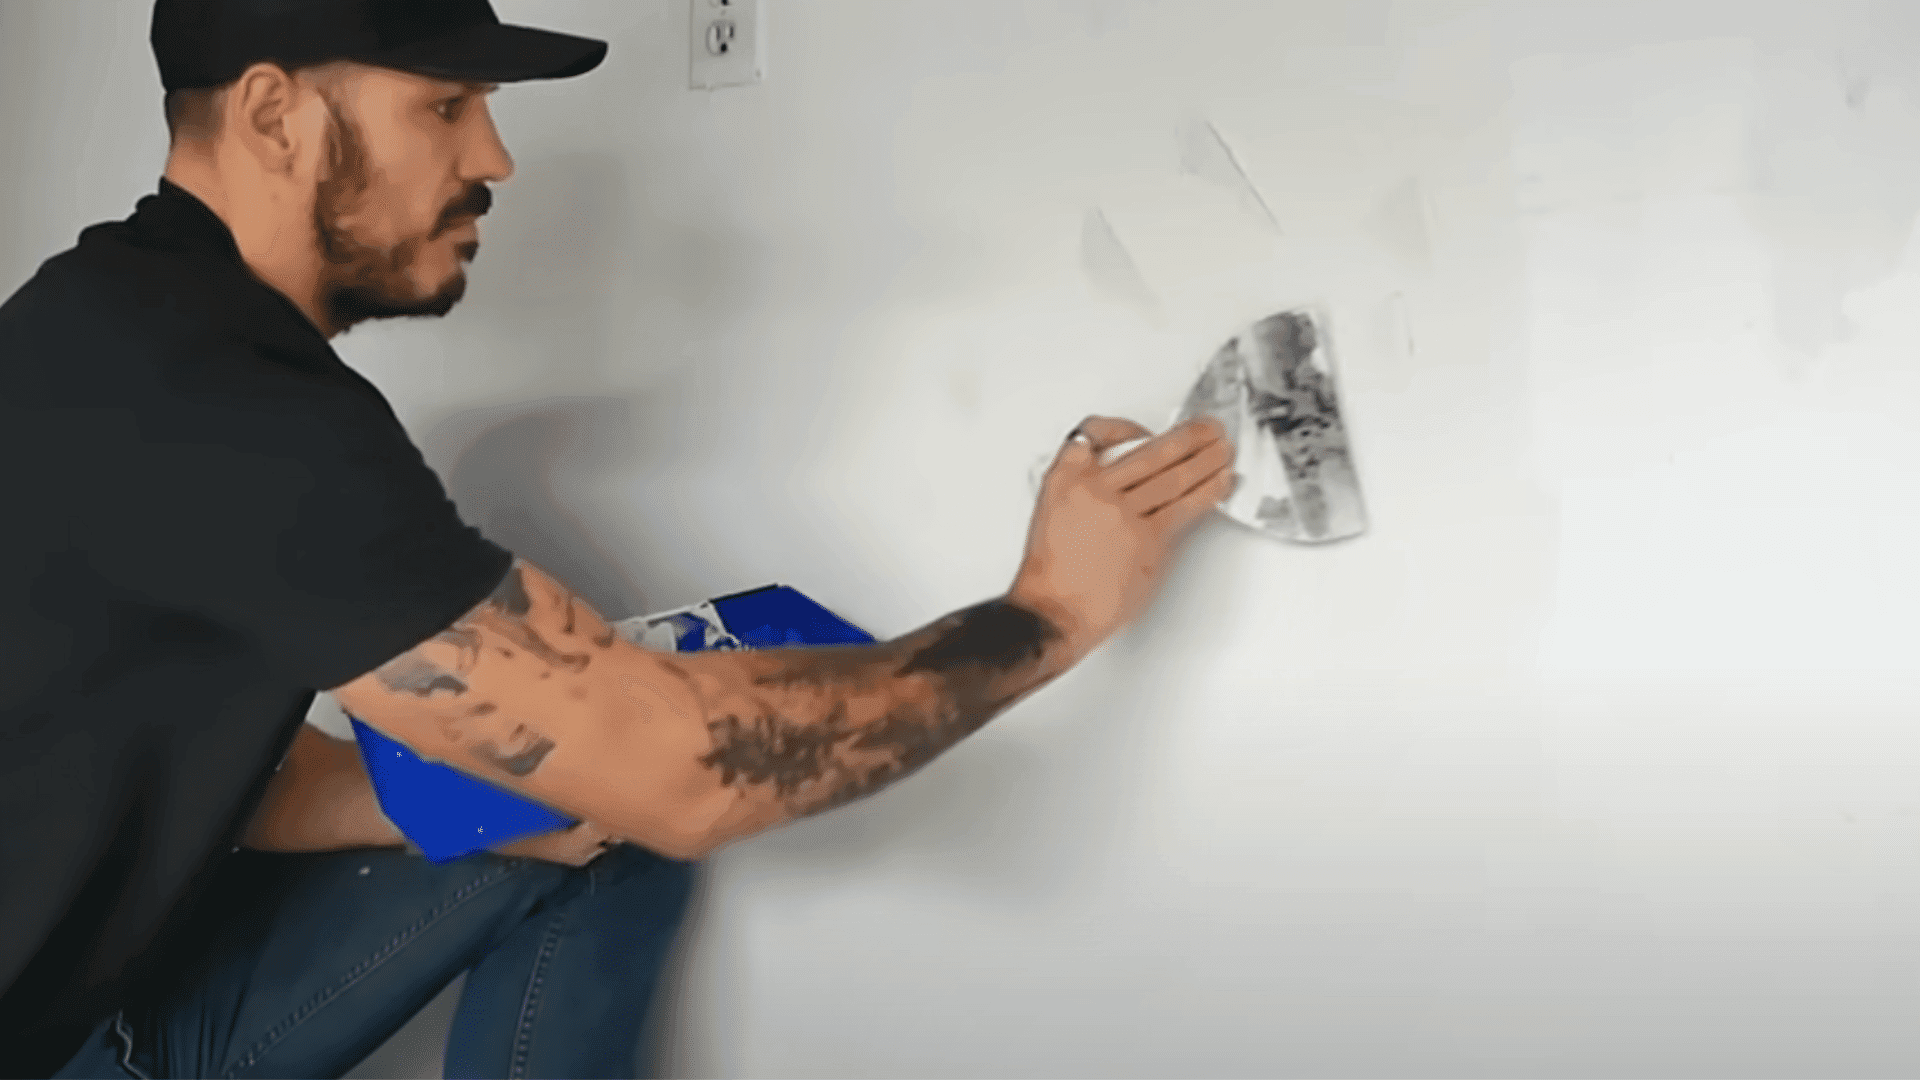
Once dry, sand the patched area to ensure a smooth surface. If the wall has texture, apply a matching pattern using a putty knife or spray-on texture. Let it dry, then paint over the patch to blend with the rest of the wall. The repair should now be virtually unnoticeable.
Watch The Step-by-Step DIY To Fixing a Dry Wall
For more information, check out this video tutorial by Mr. Build It
DIY vs. Professional Repair: When to Call for Help
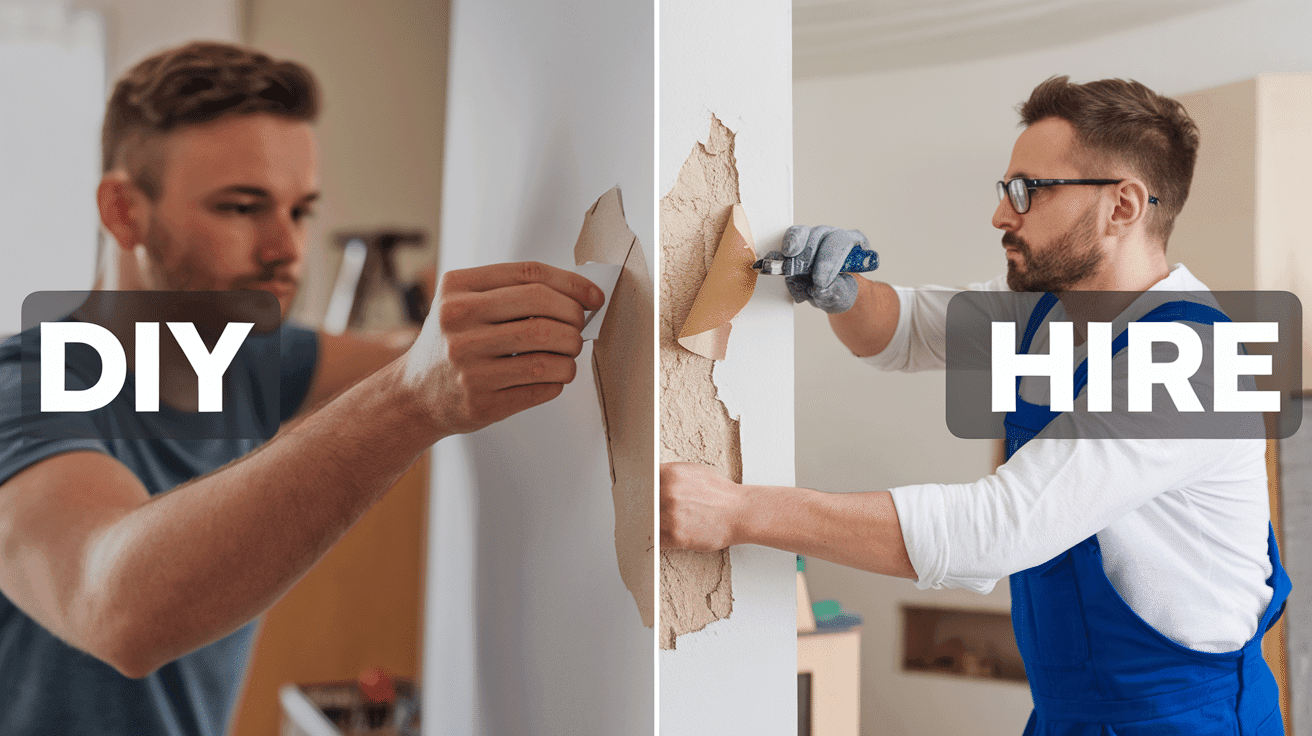
Before tackling any drywall repair, honestly assess your skill level and the complexity of the damage. Simple patches and small holes are typically manageable for most homeowners with basic tools.
However, professional help becomes essential when dealing with structural damage, water-damaged drywall near electrical components, or large ceiling repairs that require specialized equipment.
In comparison, hiring a professional to repair small holes can cost between $50 and $300, while large hole repairs range from $150 to $40—consider the time investment and potential for costly mistakes.
Professionals bring expertise, proper tools, and guarantees that ensure quality results, especially for visible areas where craftsmanship matters.
Preventative Measures for Wall Protection
Place furniture strategically away from walkways to minimize accidental impacts with walls. Install door stoppers and corner guards in high-traffic areas to prevent damage from door handles and moving objects.
When hanging items, use appropriate anchors based on weight—toggle bolts for heavier objects and plastic anchors for lighter items. Choose screws that properly match your anchor type for maximum holding power.
Conduct regular wall inspections, looking for early signs of damage like hairline cracks or nail pops. Address minor issues promptly with touch-up spackle and paint to prevent them from expanding into larger problems requiring extensive repairs.
Hole in the Wall Maintenance
Regular maintenance of a wall hole prevents further damage. Inspect edges frequently for crumbling and clear away accumulated debris from inside the opening.
Check for moisture intrusion, which can worsen damage to surrounding areas. Monitor for pests using the hole as an entry point into your home. Avoid physical contact near the damaged area to prevent expansion.
Consider applying temporary plastic sheeting or tape as a protective measure, especially in high-traffic areas.
Document any changes in the hole’s size or appearance to track deterioration. Consult a professional promptly for holes near electrical wiring, plumbing, or load-bearing structures.
When ready for repair, gather appropriate materials based on hole size and wall type.
Ending Notes
Now that I’ve shown you how to fix holes in your wall, I hope you feel confident to tackle this project!
Remember, everyone makes mistakes when learning new skills. I messed up plenty of times before getting good at wall repairs. The important thing is that you tried!
Don’t your walls look so much better now? Take a step back and appreciate your hard work. If you enjoyed fixing this hole, why not check for other spots in your home that need attention? Share a picture of your repair job on social media to inspire your friends!
Have questions? Leave a comment below! Don’t forget to come back for more easy home repair tips. What project should we try next? Let me know in the comments!

James McLaren, with a rich background in architecture from the University of Manchester, has been contributing his expertise to the world of creative construction and home innovation for over 20 years. His journey began as a project manager for a leading construction firm, where he honed his skills in bringing complex designs to life. James joined our platform as a freelancer in 2019, quickly becoming a favorite for his insightful and practical advice. He has been a pivotal force to our wing ever since, bringing our readers a blend of technical know-how and creative flair. Beyond his professional life, James is an avid woodworker and enjoys restoring vintage furniture, a hobby that complements his professional insights beautifully.